




How To Equip Photo Camera In Phasmophobia
How To Equip Photo Camera In Phasmophobia
The photo camera is an essential tool in Phasmophobia that you can purchase from the shop once you reach Year One. This guide will walk you through the simple process of equipping the camera and understanding how it works during your ghost-hunting investigations.
Purchasing and Equipping the Camera
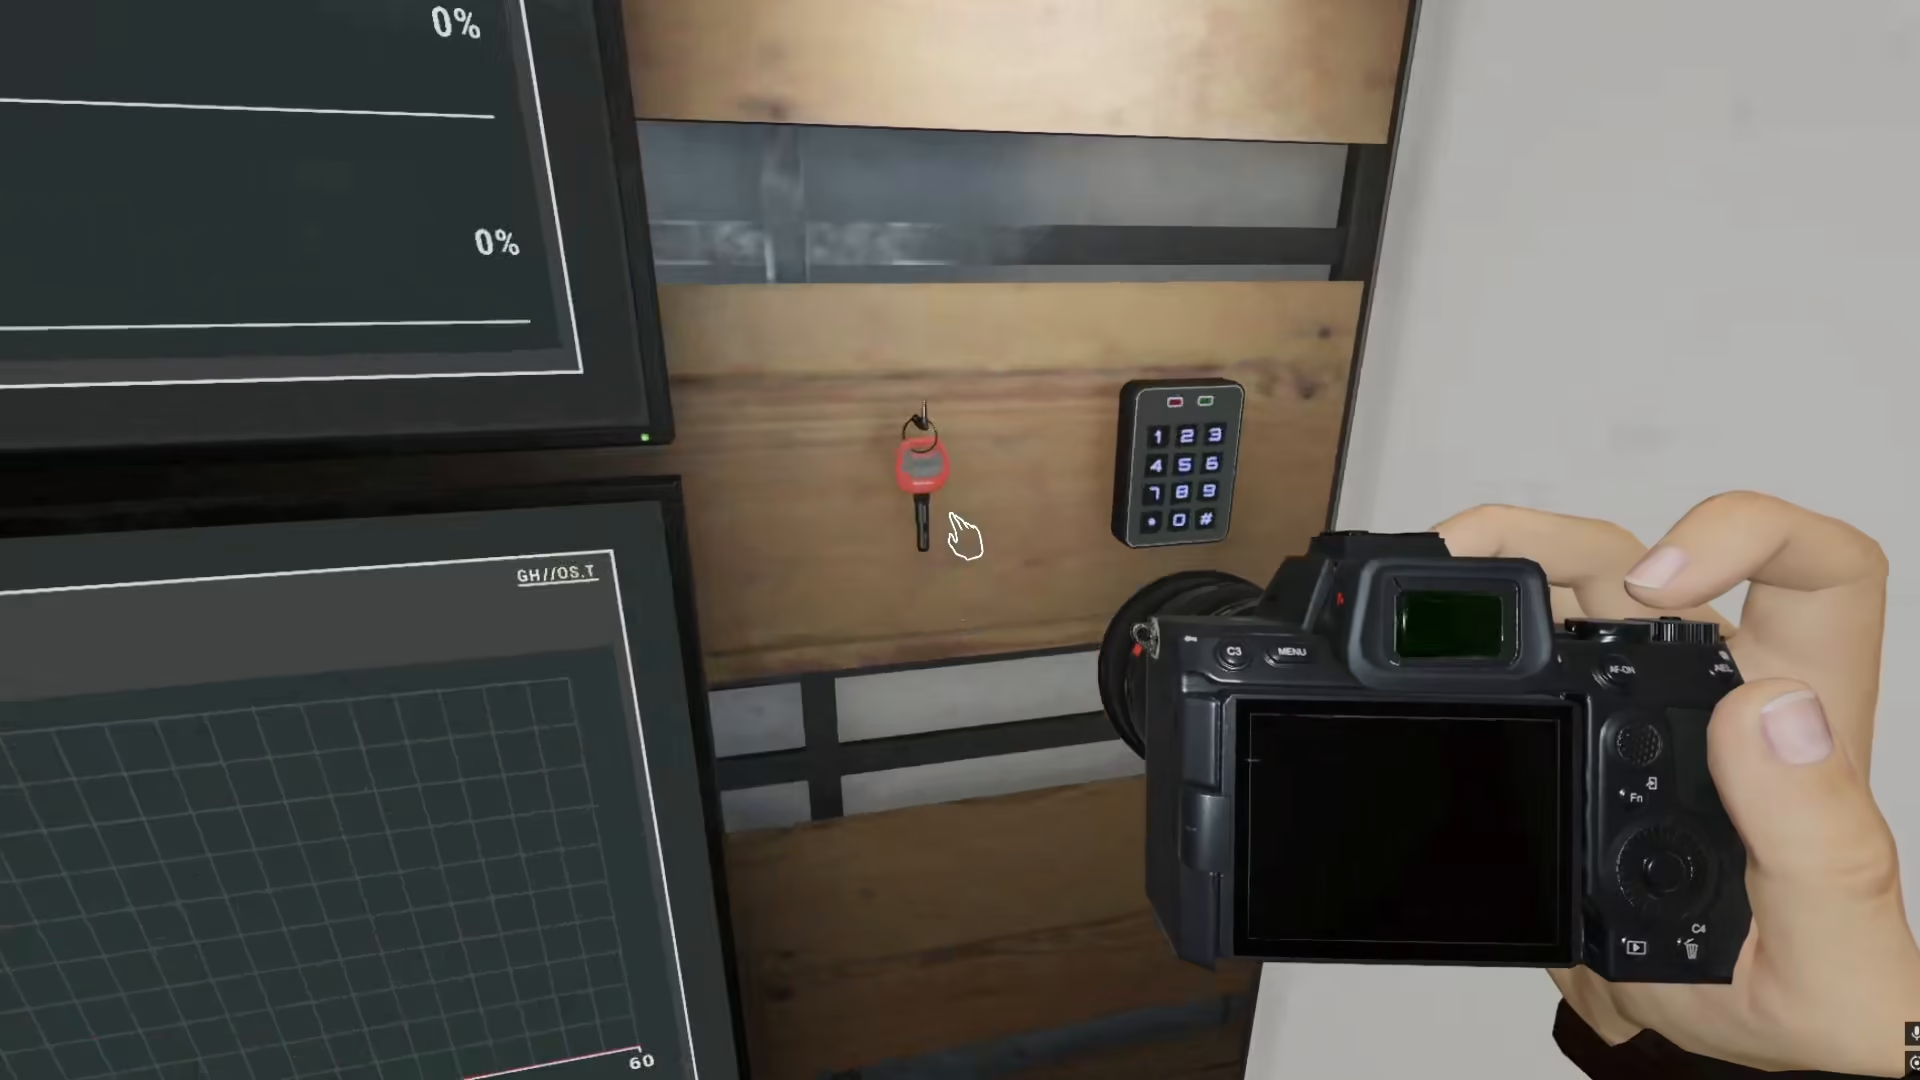
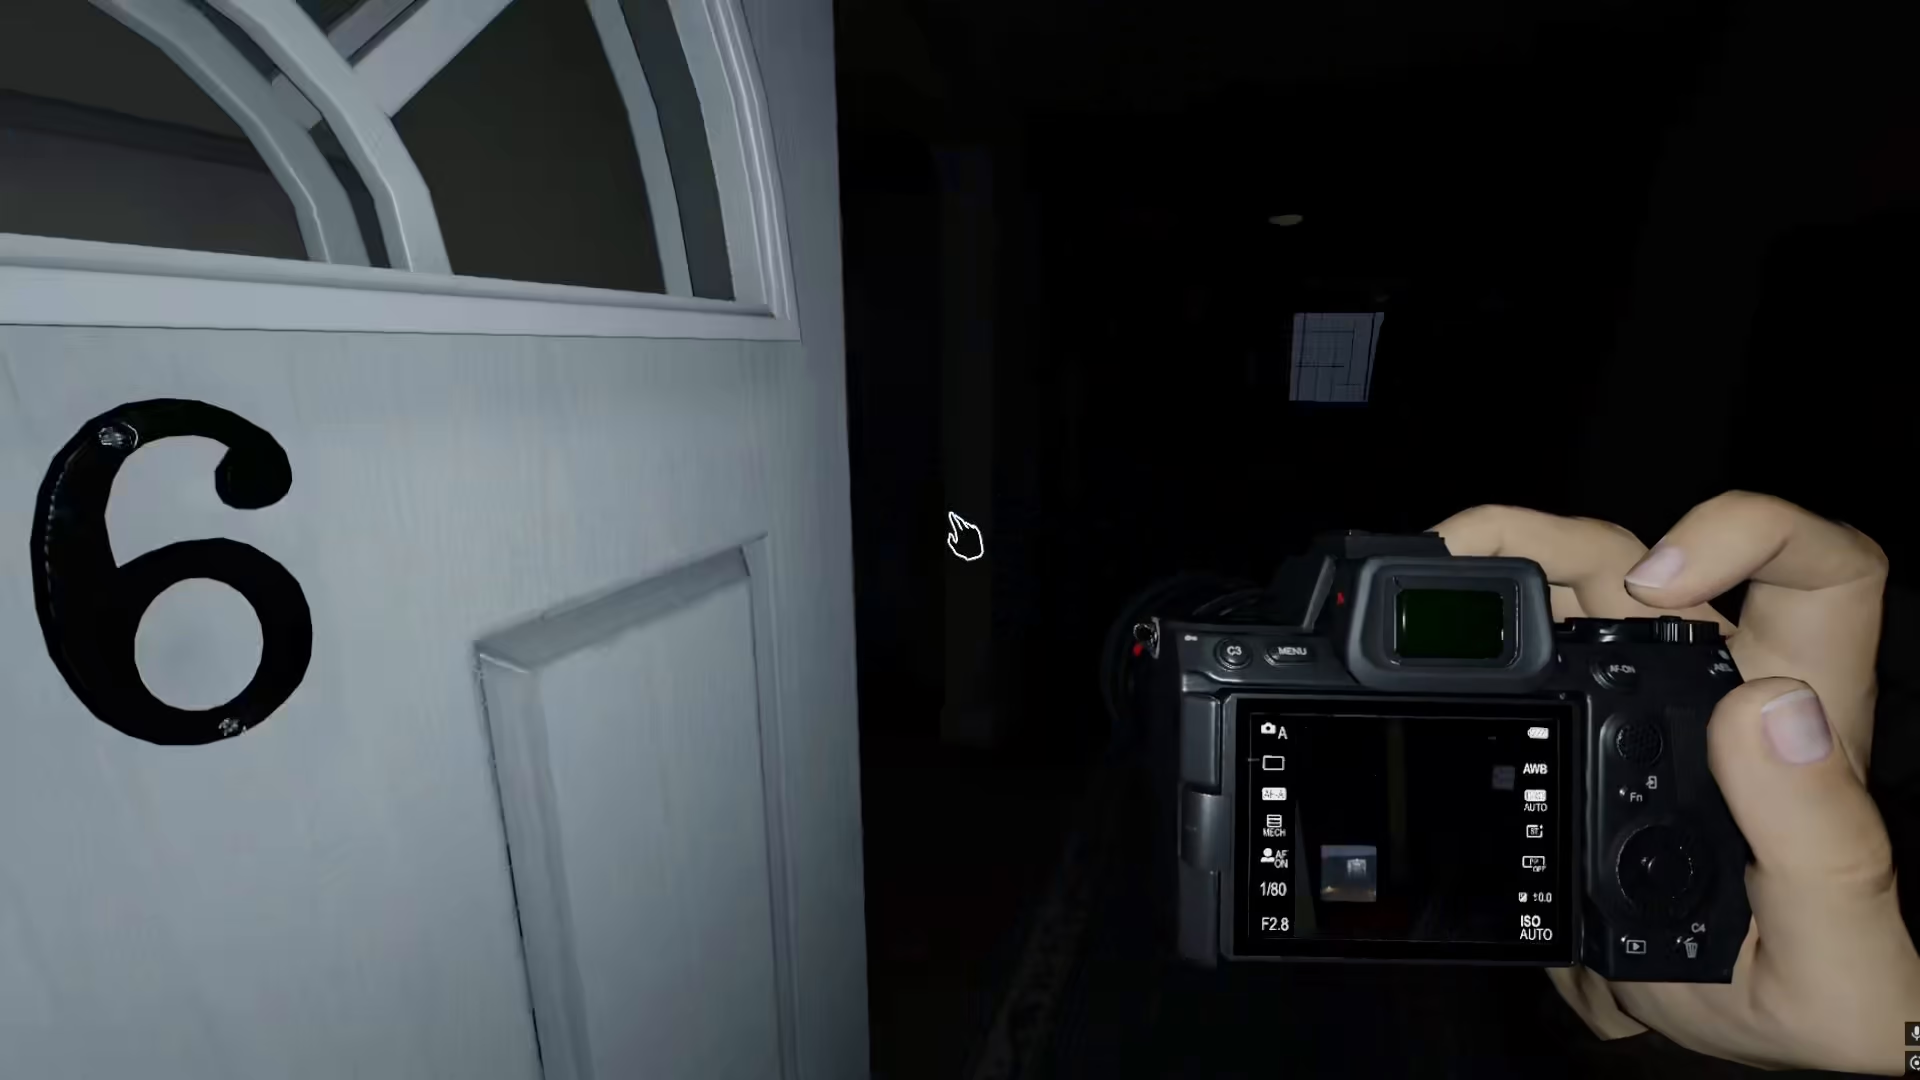
Once you have purchased the camera from the shop in Year One, equipping it is straightforward. Simply press E on the camera in your inventory to equip it. This method works the same way for every single item in Phasmophobia.
How the Camera Works
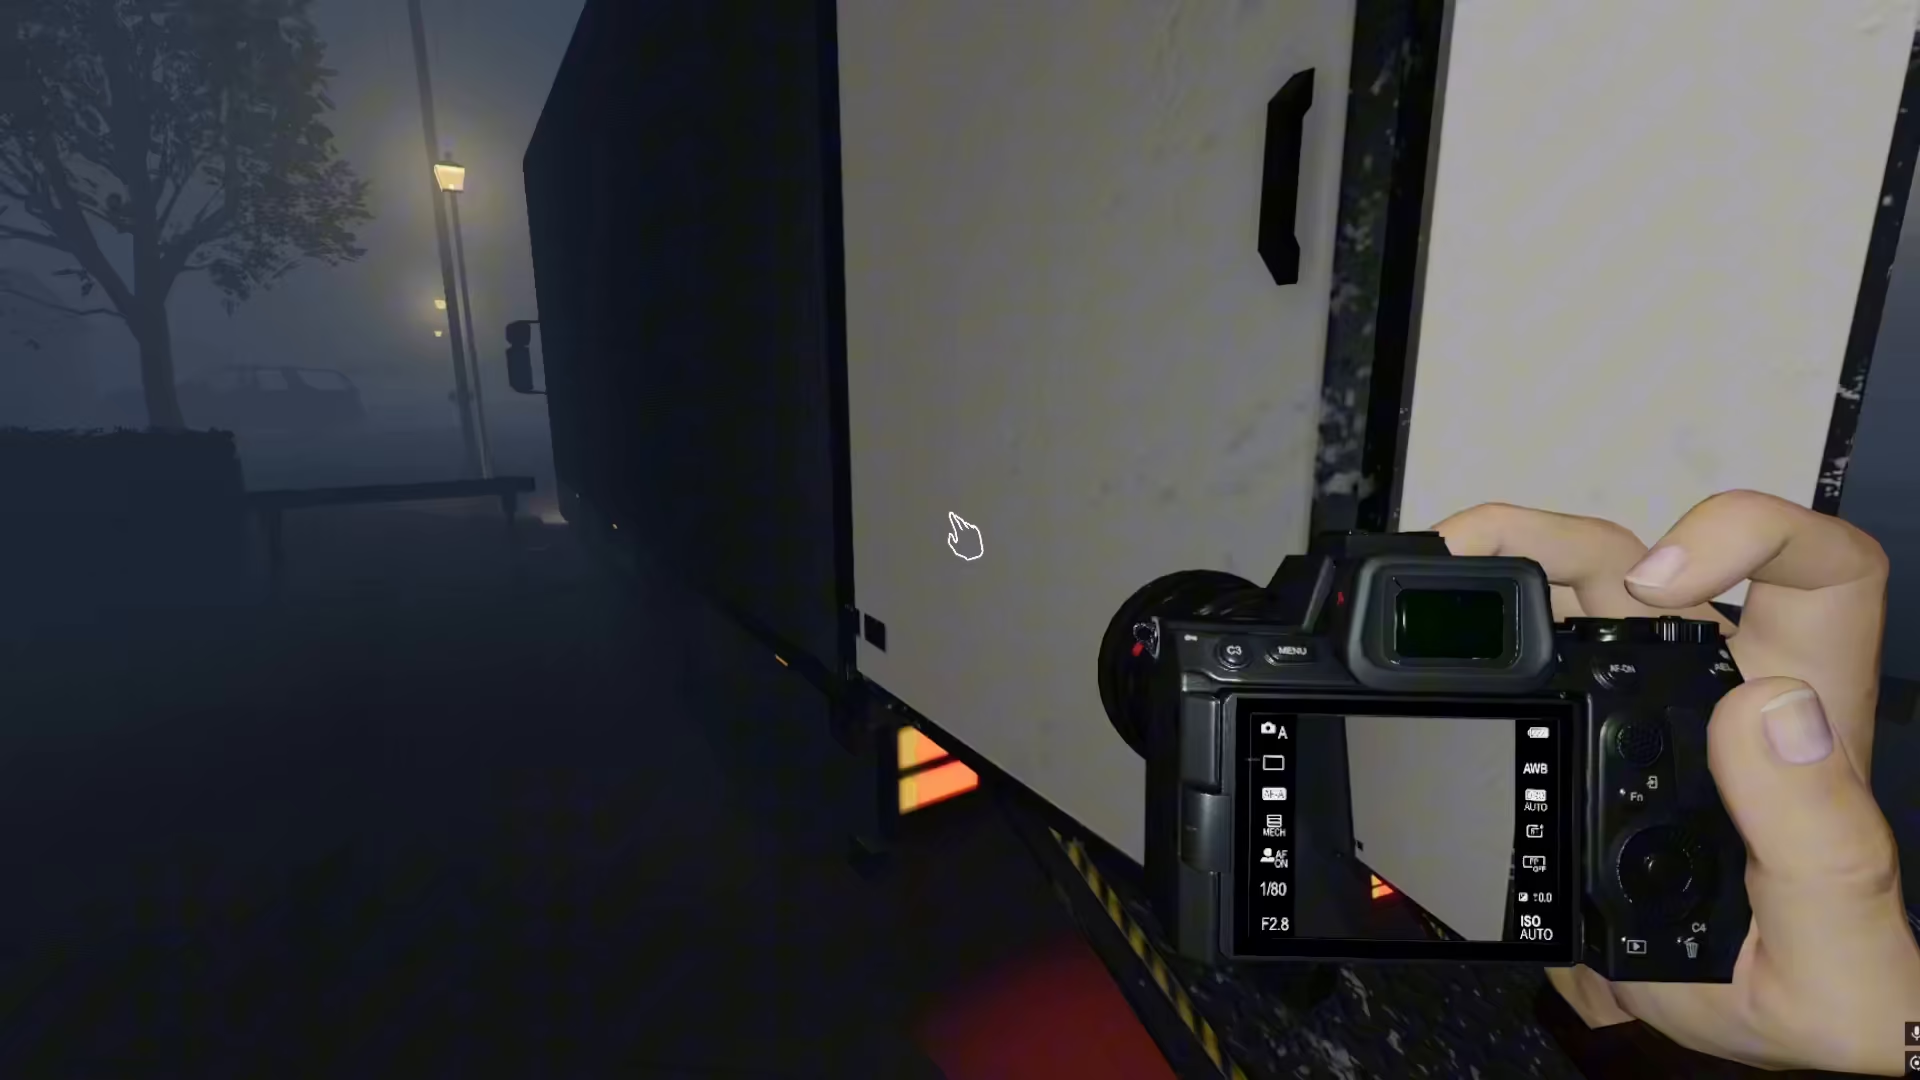
The camera has a location-based activation system. As soon as you step outside the van, the camera will start working and become fully functional. However, when you return inside the van, the camera will stop working. This behavior applies to every item in the game—they only function when you’re in the investigation location.
Taking Photos in Phasmophobia
Once the camera is active, you can take pictures of virtually anything you want during your investigation. However, there’s an important tip to remember: don’t take too many photos. If you click excessively, you’ll end up with a large number of images that become difficult to delete later. Be selective with your shots to keep your photo library manageable.
Summary
Equipping a camera in Phasmophobia is as simple as pressing E on it after purchasing it from the shop. Remember that the camera only functions when you’re outside the van, and you can take photos of anything during your investigation. Just be mindful not to take excessive photos, as they become tedious to manage afterward. Now you’re ready to document your ghost-hunting adventures!
Want to Support?
If you would like to help us continue making these guides – please consider joining our patreon here – https://www.patreon.com/c/JaviHeals
Alternatively – you can join our discord here – https://discord.gg/zD7Gjt6MHF