




How to Counter the Skull Merchant in Dead by Daylight
How to Counter the Skull Merchant in Dead by Daylight
The Skull Merchant is a semi-straightforward killer in Dead by Daylight that relies heavily on drone placement and detection mechanics. In this guide, we’ll break down her abilities and show you the most effective strategies to counter her pressure and turn the tide in your favor.
Understanding the Skull Merchant’s Abilities
Drone Deployment and Detection
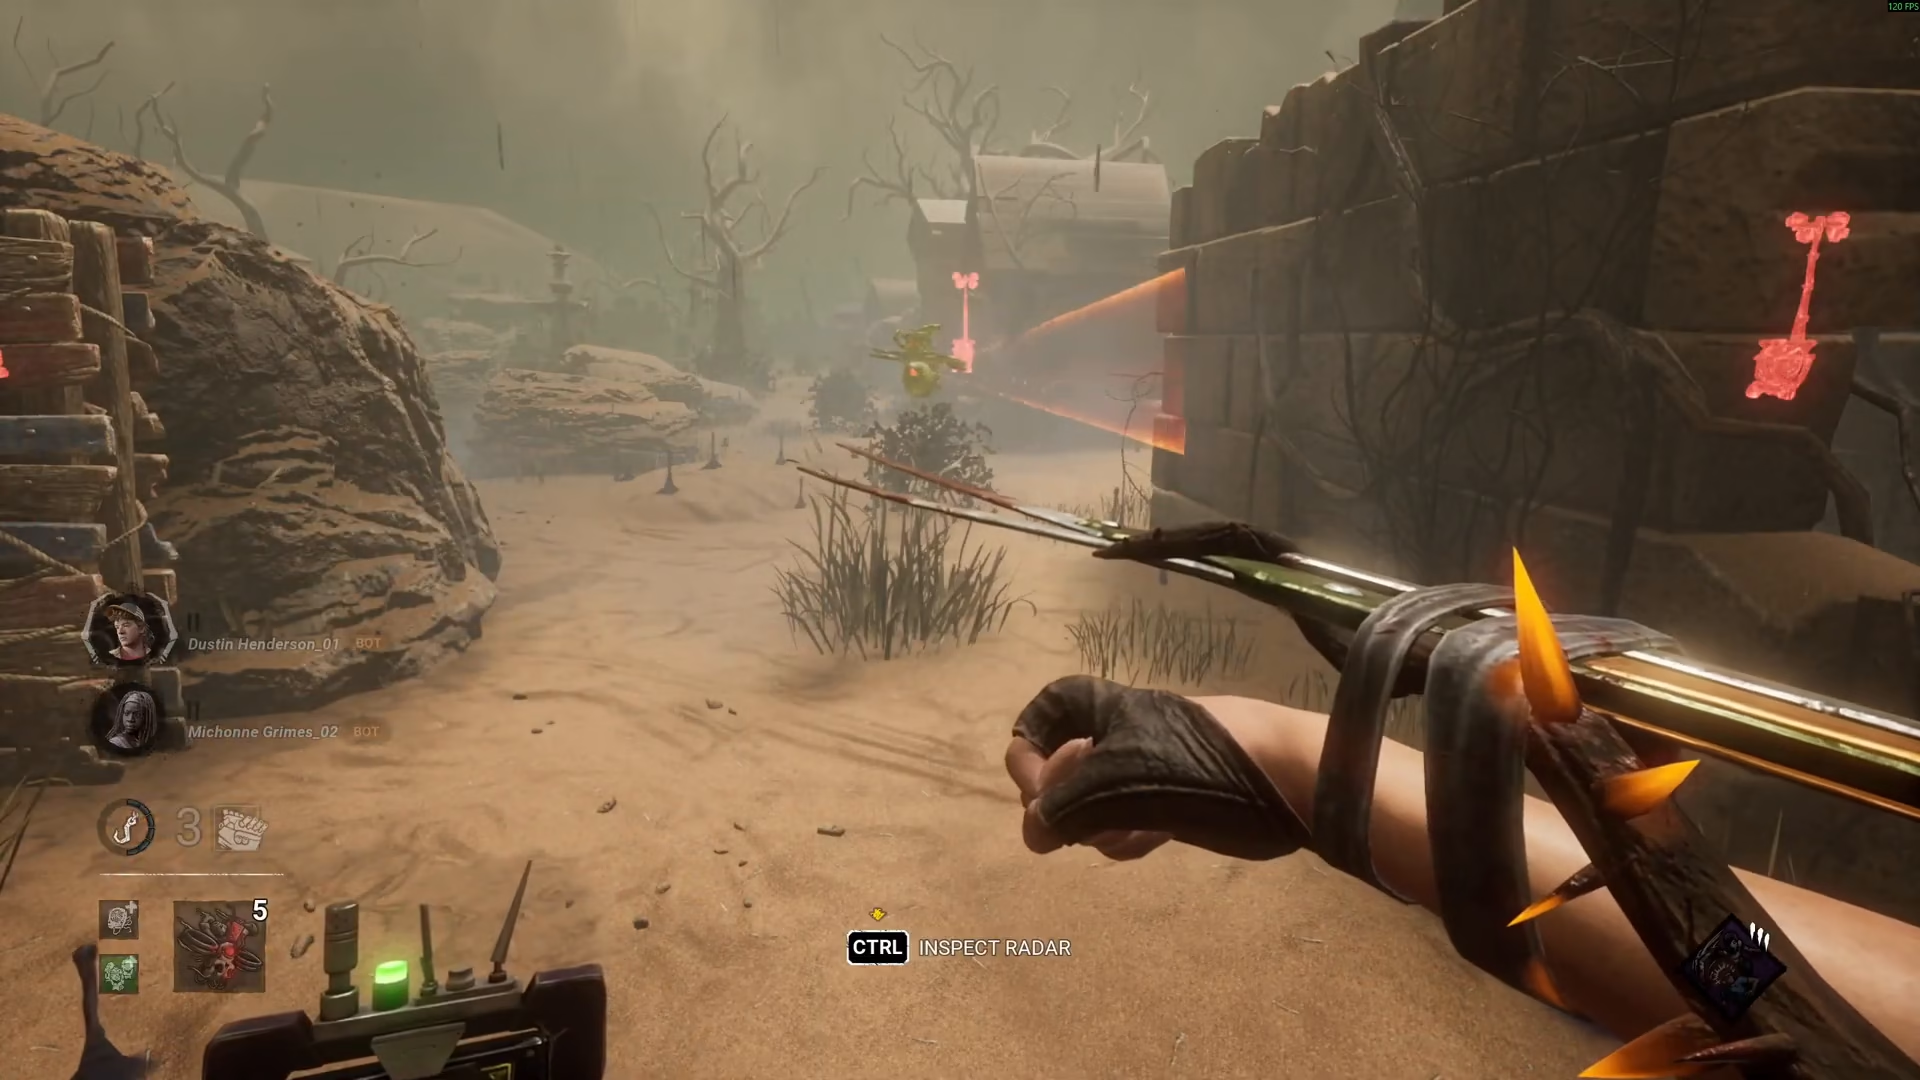
The Skull Merchant’s main ability revolves around placing drones across the map. When deployed, a drone spins around and scans within its detection range. If you walk into this range, the drone will detect you immediately.
Whenever the Skull Merchant places a drone down, she gains 8 seconds of undetectable. This is one of her primary tactics—if she suspects a survivor’s location, she can deploy a drone to get a temporary speed boost while remaining undetectable to you.
Scan Immunity
Once a survivor is detected by a scan line, they gain immunity and cannot be detected by another scan line for a few seconds. This prevents the Skull Merchant from hitting you with back-to-back consecutive scans.
Counter Strategies for the Skull Merchant
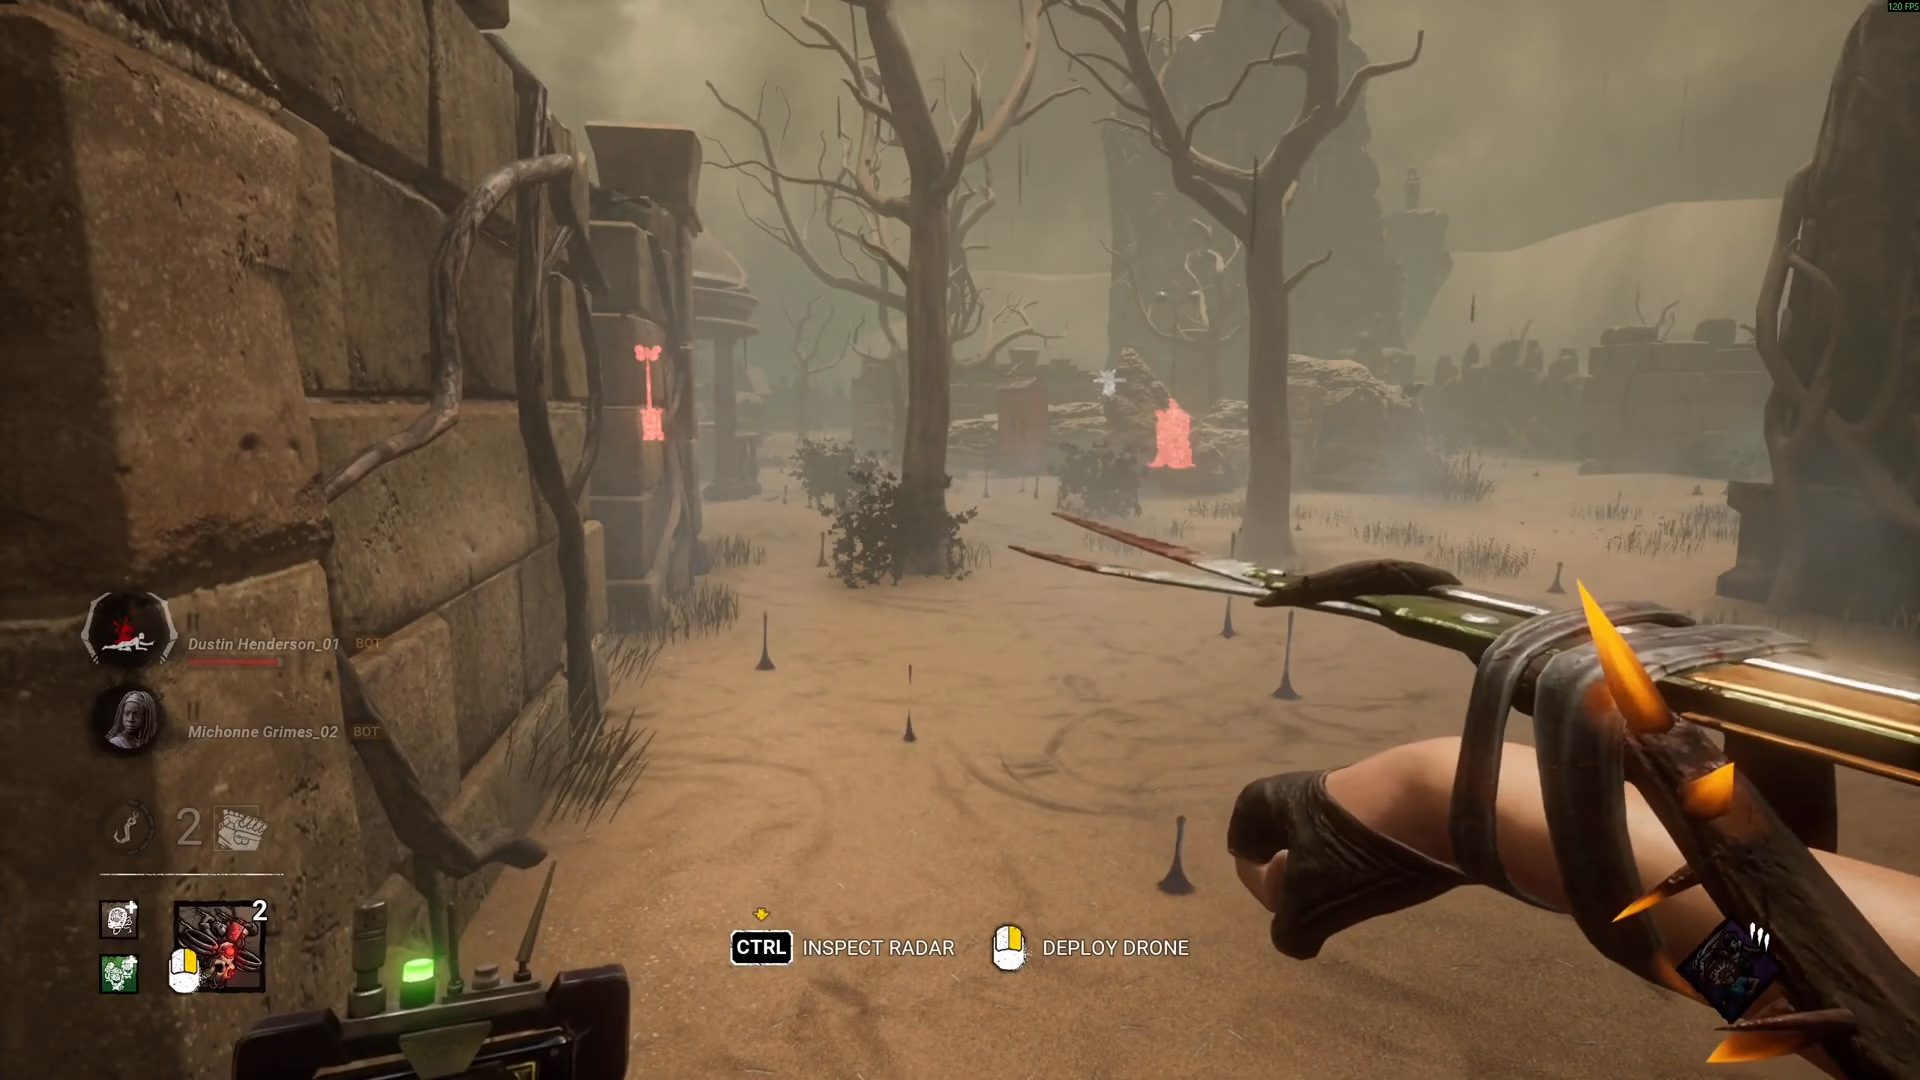
Listen to the Tear Radius
One of the most important counter tactics is listening carefully to the Skull Merchant’s tear radius (heartbeat). If the heartbeat suddenly stops, it doesn’t necessarily mean she’s left the area—it could indicate she’s much closer and has activated undetectable to strike. Always stay aware of your surroundings and use audio cues to track her position.
Hacking and Disabling Drones
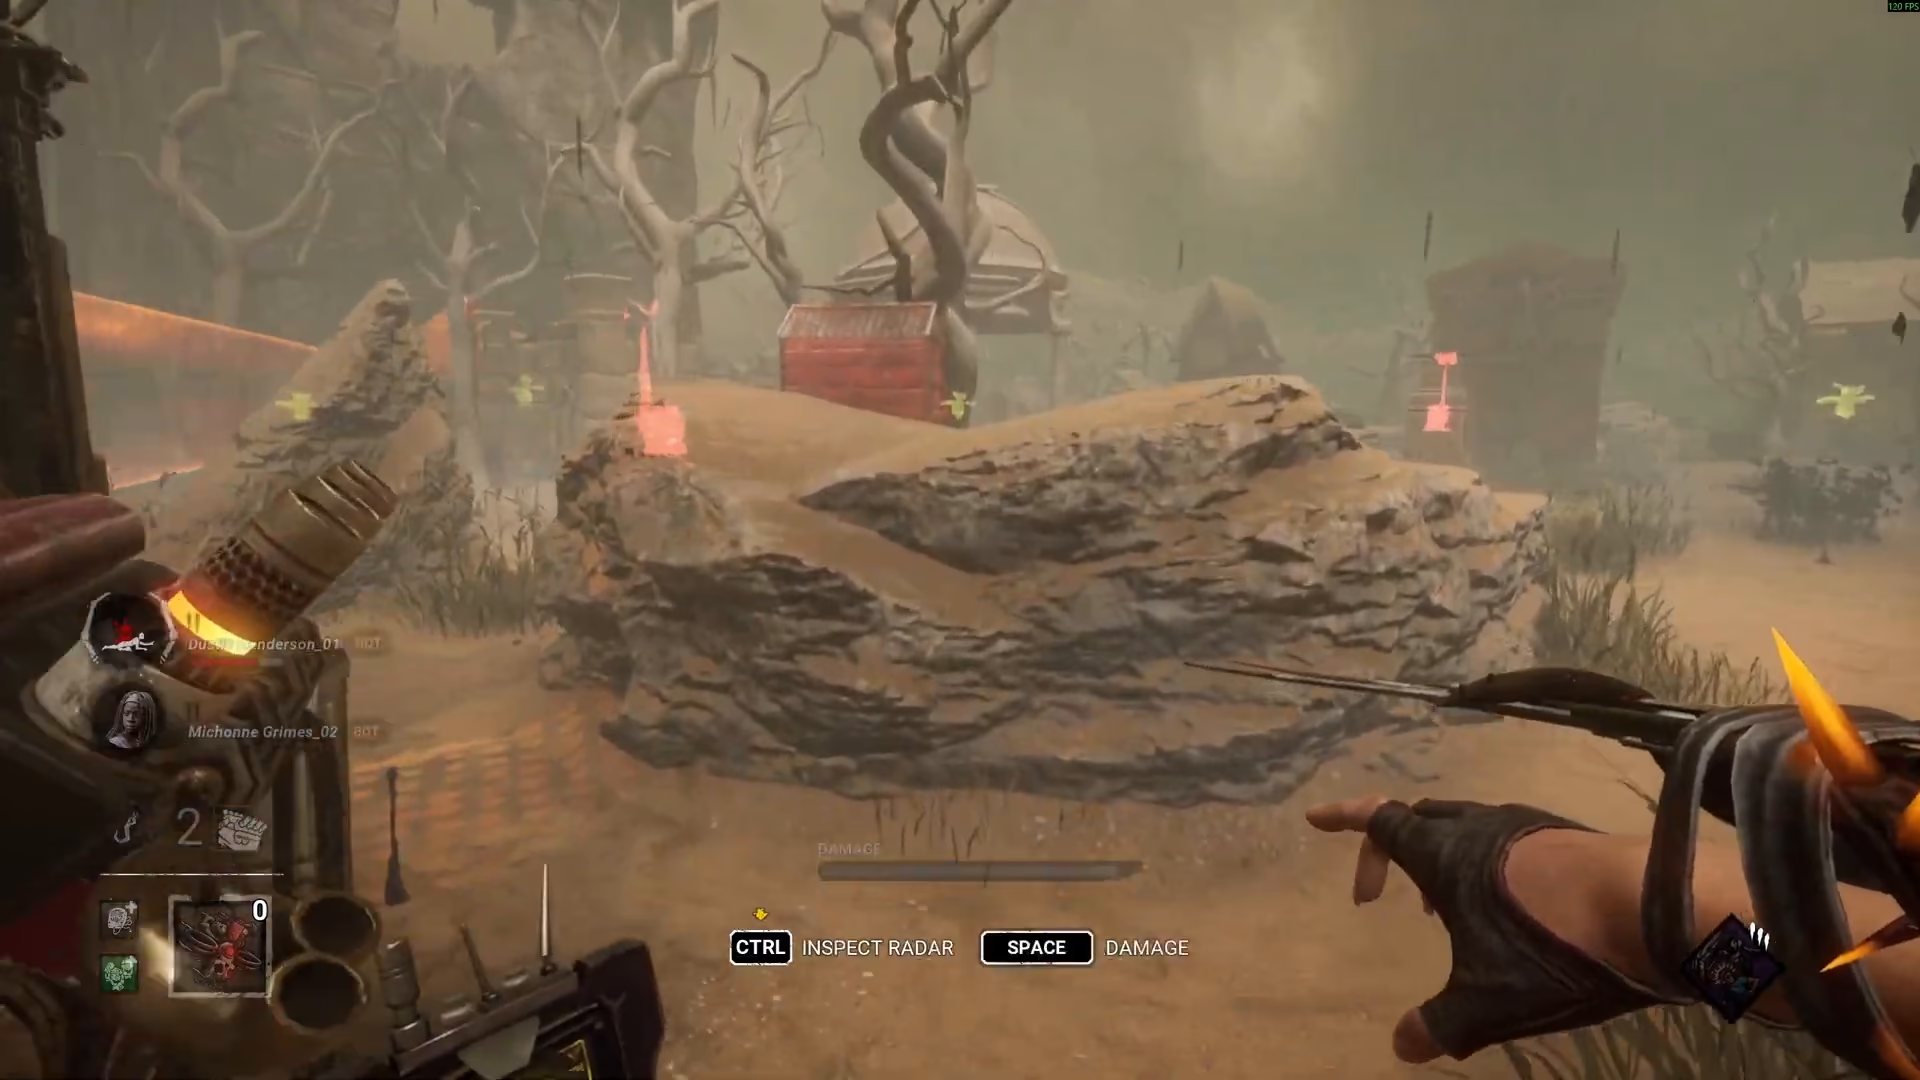
Survivors can attempt to hack drones as a key counter-strategy. If you fail to hack a drone, it partially fills a lock-on meter on you. However, successfully disabling a drone will disable it for 45 seconds. The Skull Merchant can recall and redeploy the drone, but this creates significant time wastage on her part.
While she’s constantly resetting drones, your team can focus on objectives and gradually work toward escape. This is one of the most effective ways to reduce her pressure.
Watch Out for Haste Speed Boosts
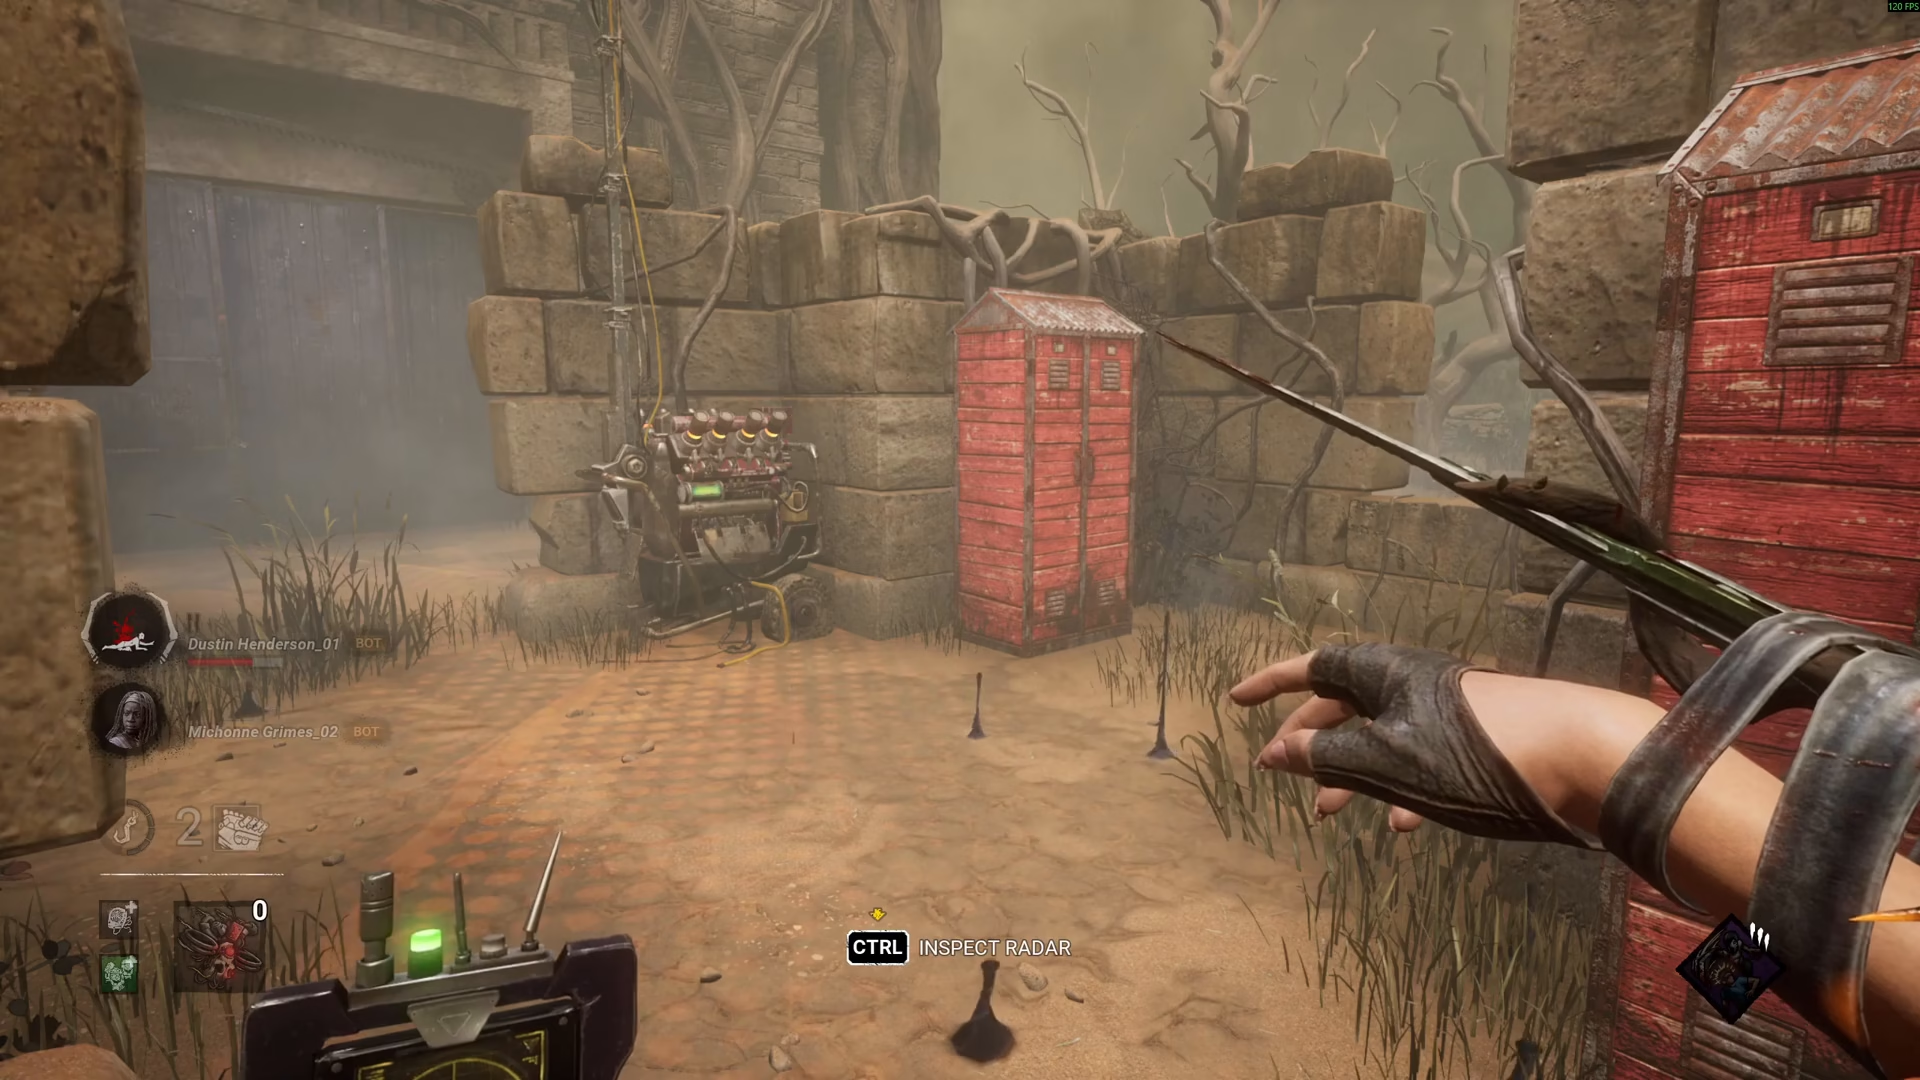
If you get scanned by a newly placed drone or if the drone’s scan direction has been changed and you get caught in the new scan, the Skull Merchant receives 5% haste for 8 seconds. Be mindful of giving her free speed boosts by allowing these scans to connect.
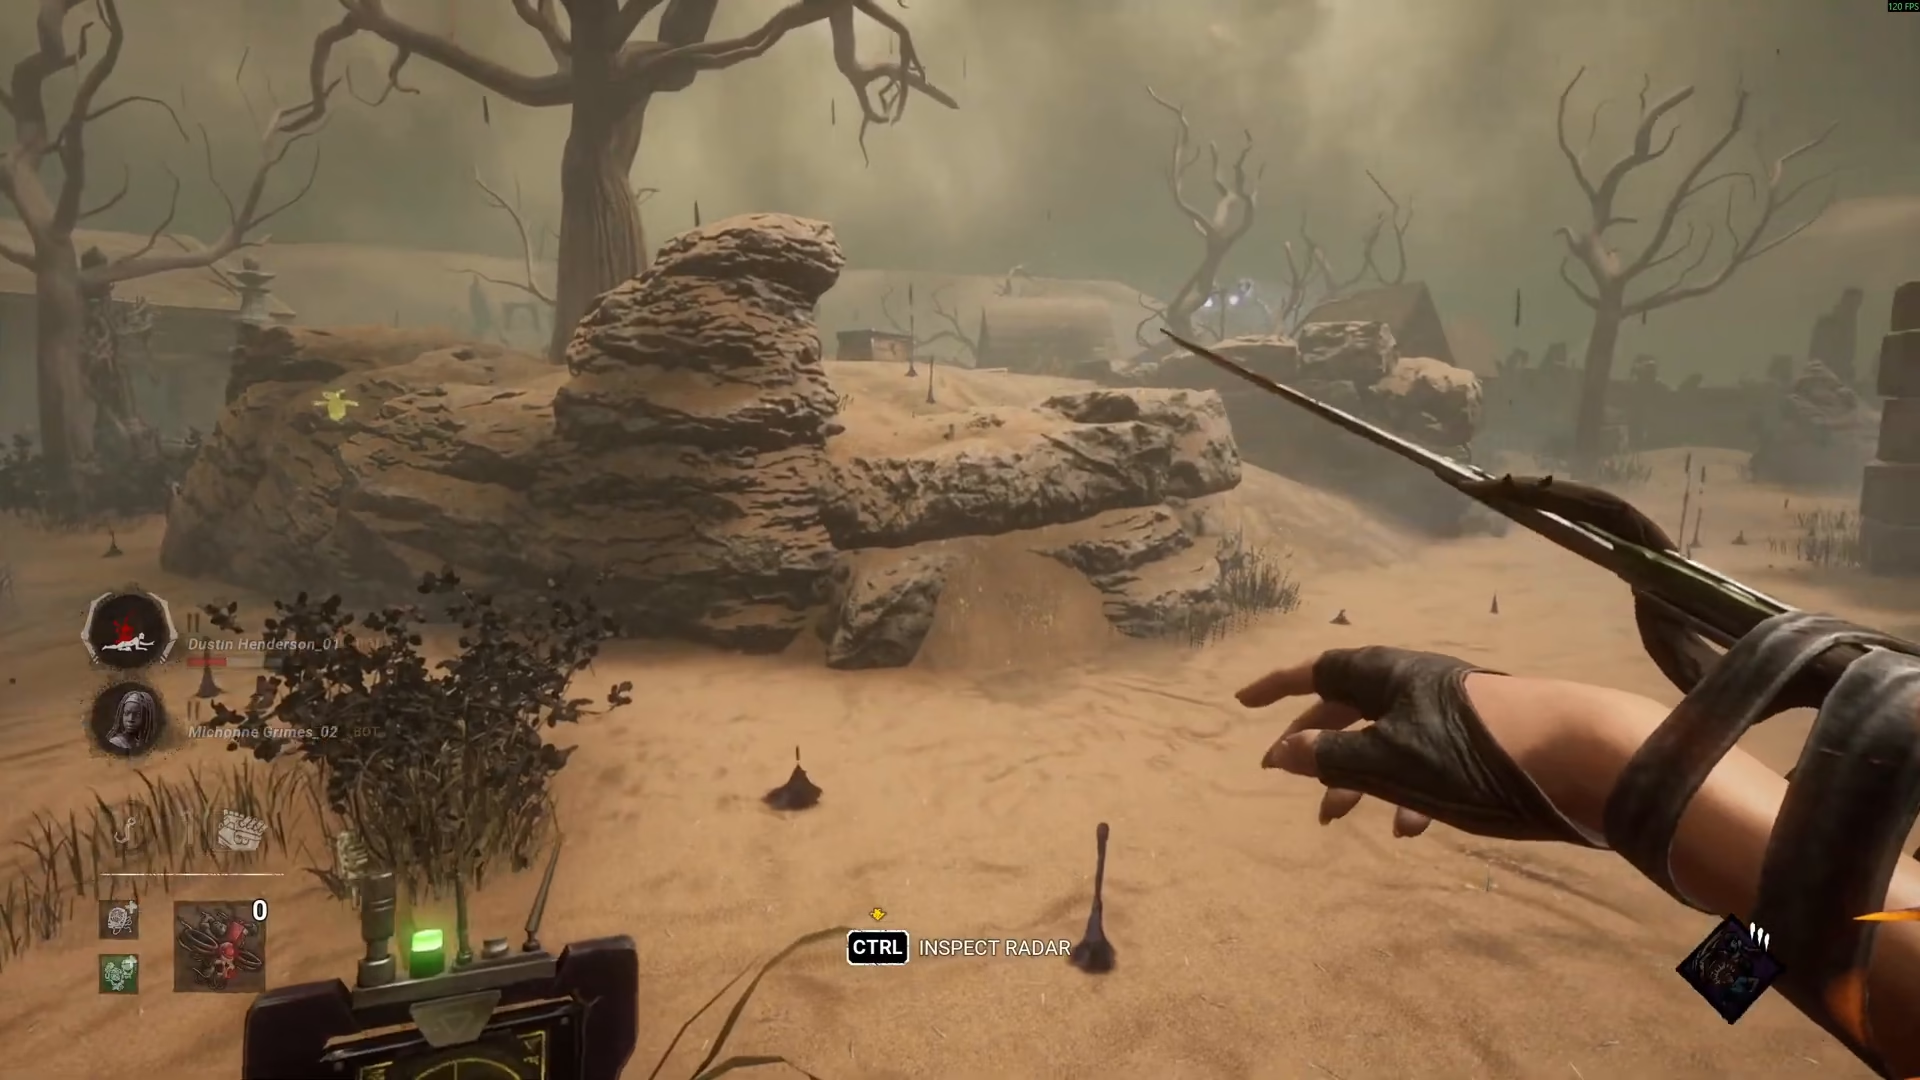
Understanding Claw Trap Mechanics
How Claw Traps Work
Each time a survivor is scanned by a drone, a meter fills up. If you don’t disable the drone before this meter fills completely, you will receive a claw trap. This trap injures you and applies the broken status effect, preventing healing.
Additionally, if you’re already afflicted with a claw trap, additional scans will briefly apply a 10% hindered status effect, slowing your movement.

Location Broadcasting
The primary danger of accumulating claw traps is that they broadcast your location to the Skull Merchant. Once you’re locked on, she can track you consistently throughout the map, making it extremely difficult to evade. Avoid letting yourself get scanned repeatedly—always prioritize disabling drones before the lock-on meter fills.

Key Counter-Tactics Summary
Team Coordination
Coordinate with your team strategically. Assign some survivors to disable drones while others focus on generators. This significantly reduces the information the Skull Merchant has access to and limits the pressure she can apply to the field.

Remember the Basics
Pay close attention to your surroundings and audio cues
Listen for the heartbeat and tear radius at all times
Keep in mind that perks can alter tear radius effects, so stay mindful
Prioritize disabling drones whenever possible
Remember that the Skull Merchant is essentially an M1 killer without drone pressure
By reducing her information and pressure, you can turn the match in your favor
Conclusion
The Skull Merchant is a manageable killer once you understand her mechanics and apply these counter-strategies. By listening for audio cues, disabling drones, and coordinating with your team, you can significantly reduce her effectiveness and secure your escape. Focus on preventing lock-ons, avoid unnecessary scans, and remember that her power relies on information—deny her that information, and she becomes just another M1 killer. Good luck out there!
Want to Support?
If you would like to help us continue making these guides – please consider joining our patreon here – https://www.patreon.com/c/JaviHeals
Alternatively – you can join our discord here – https://discord.gg/zD7Gjt6MHF