






How To Change Your Name In Fallout 4
How To Change Your Name In Fallout 4
Changing your character’s name in Fallout 4 is easier than you might think. While there’s no built-in in-game option for renaming your character after creation, PC players can use console commands to change their name at any time during gameplay. This guide walks you through the simple steps to rename your character using the console.
Understanding Your Options
In Fallout 4, there are a few ways to change your name depending on your platform. Console versions of the game have limited options, but mods are available through the Creation Club for players looking for alternative solutions. However, if you’re on PC, the console command method is the most straightforward approach and requires no additional mods or downloads.
How to Change Your Name Using Console Commands
Step 1: Open the Console
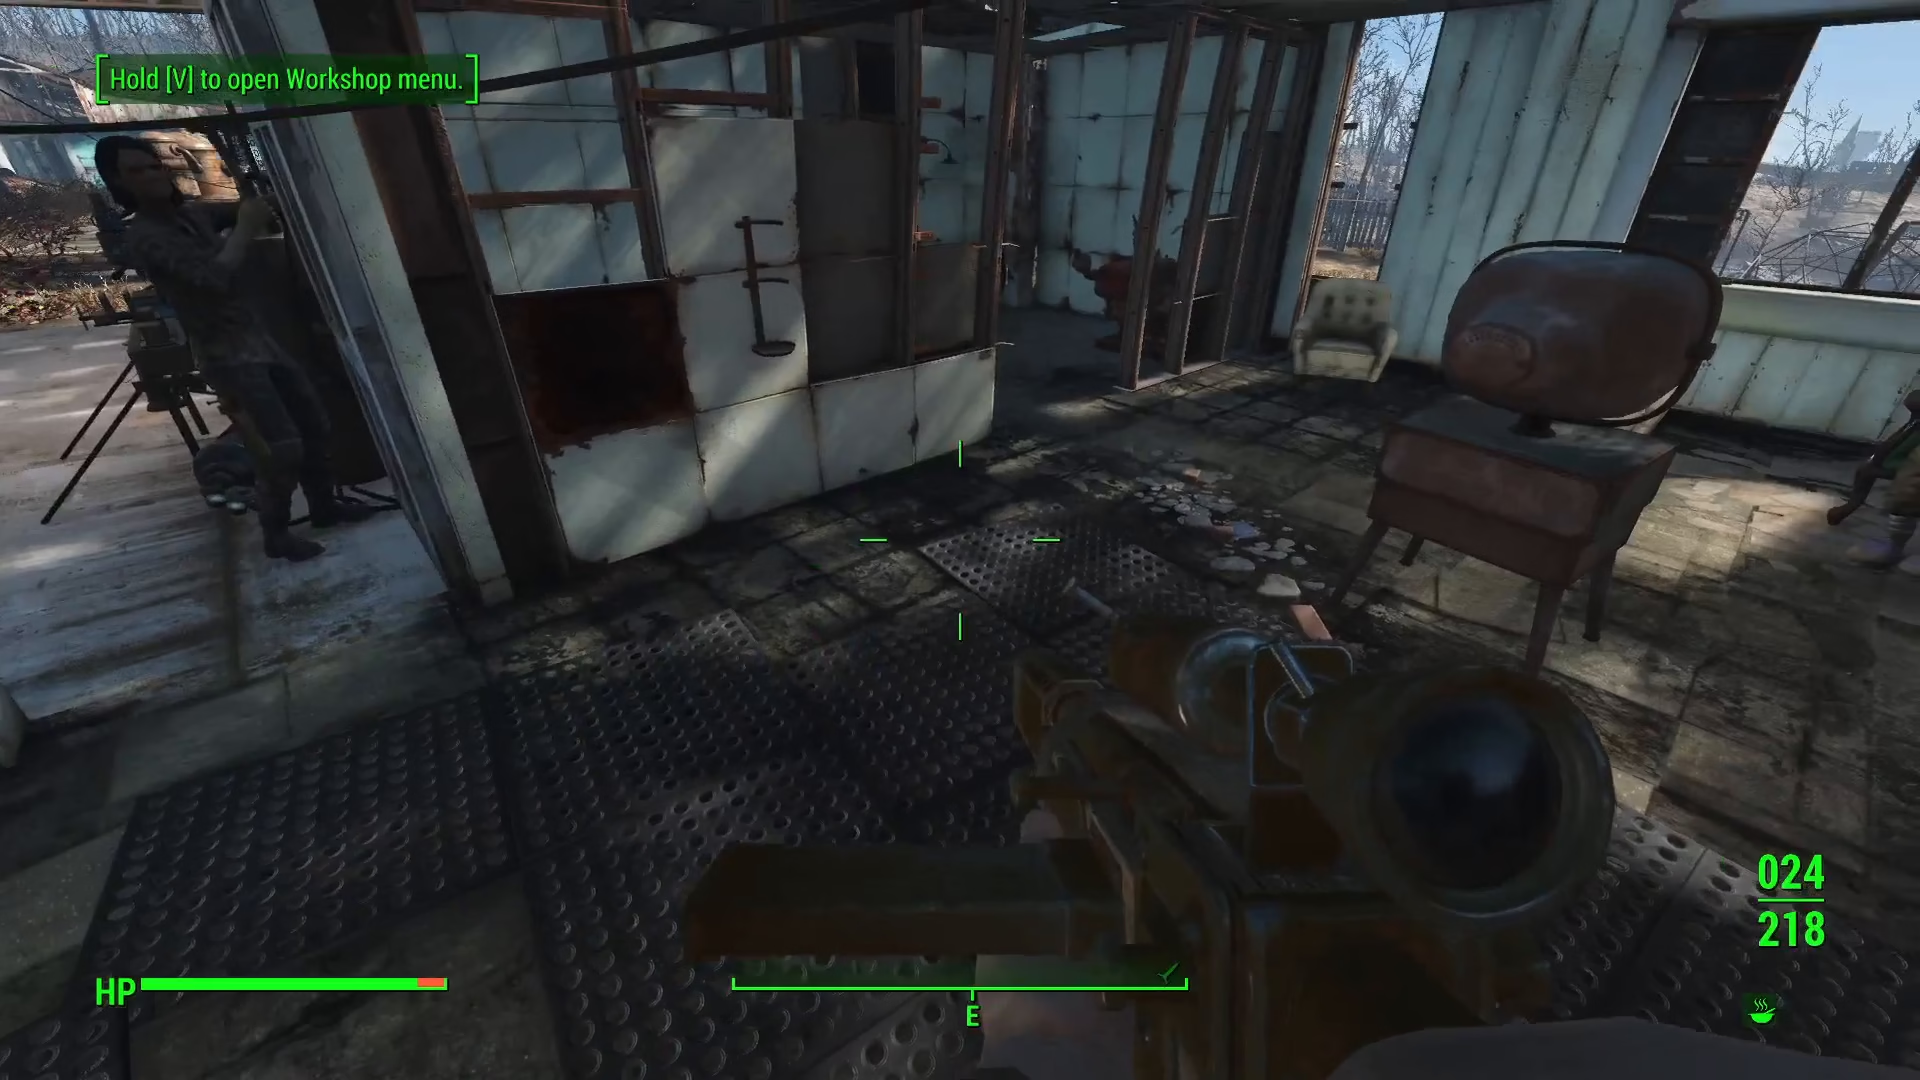
Start by opening the console menu in Fallout 4. Press the tilde key (~), which is located directly below the Escape key on your keyboard. This will bring up the black console window where you can input commands.
Step 2: Enter the Special Menu Command
Once the console is open, type the following command exactly as shown:
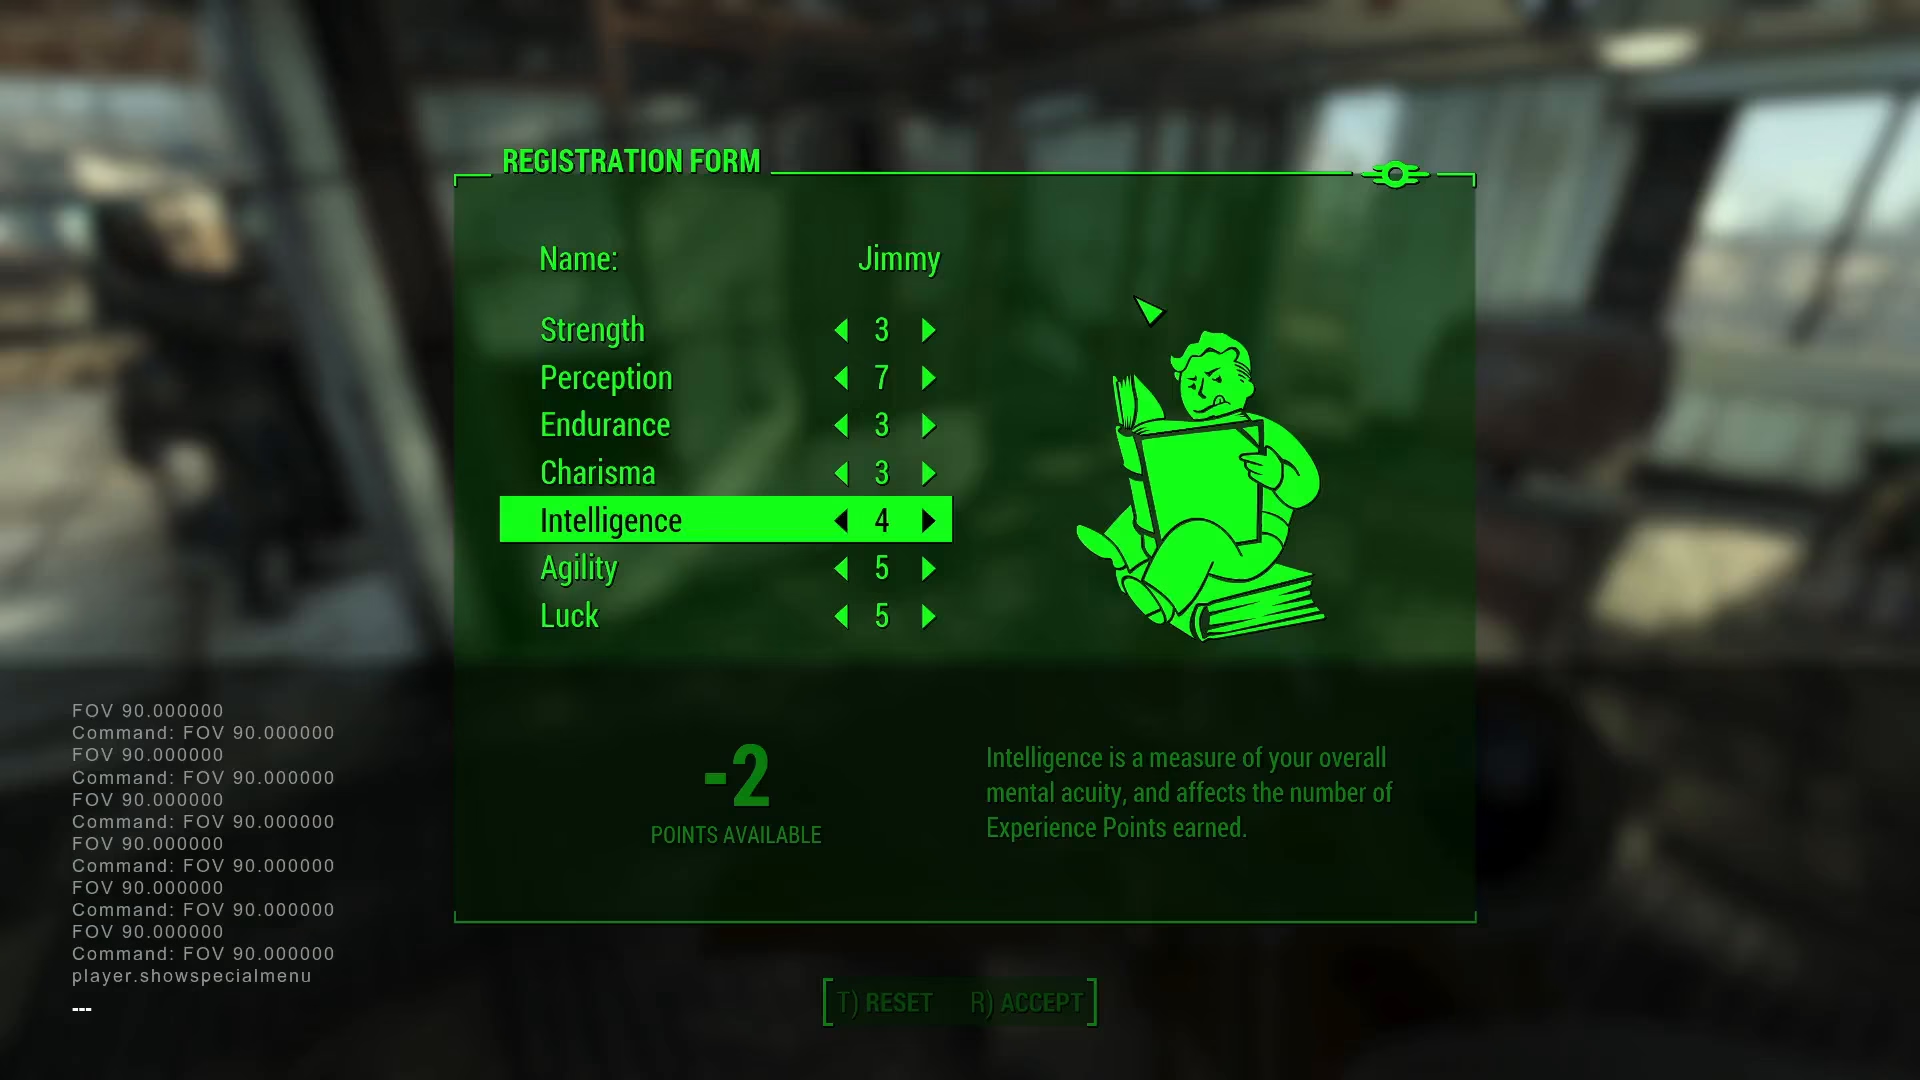
player.showSpecialMenu
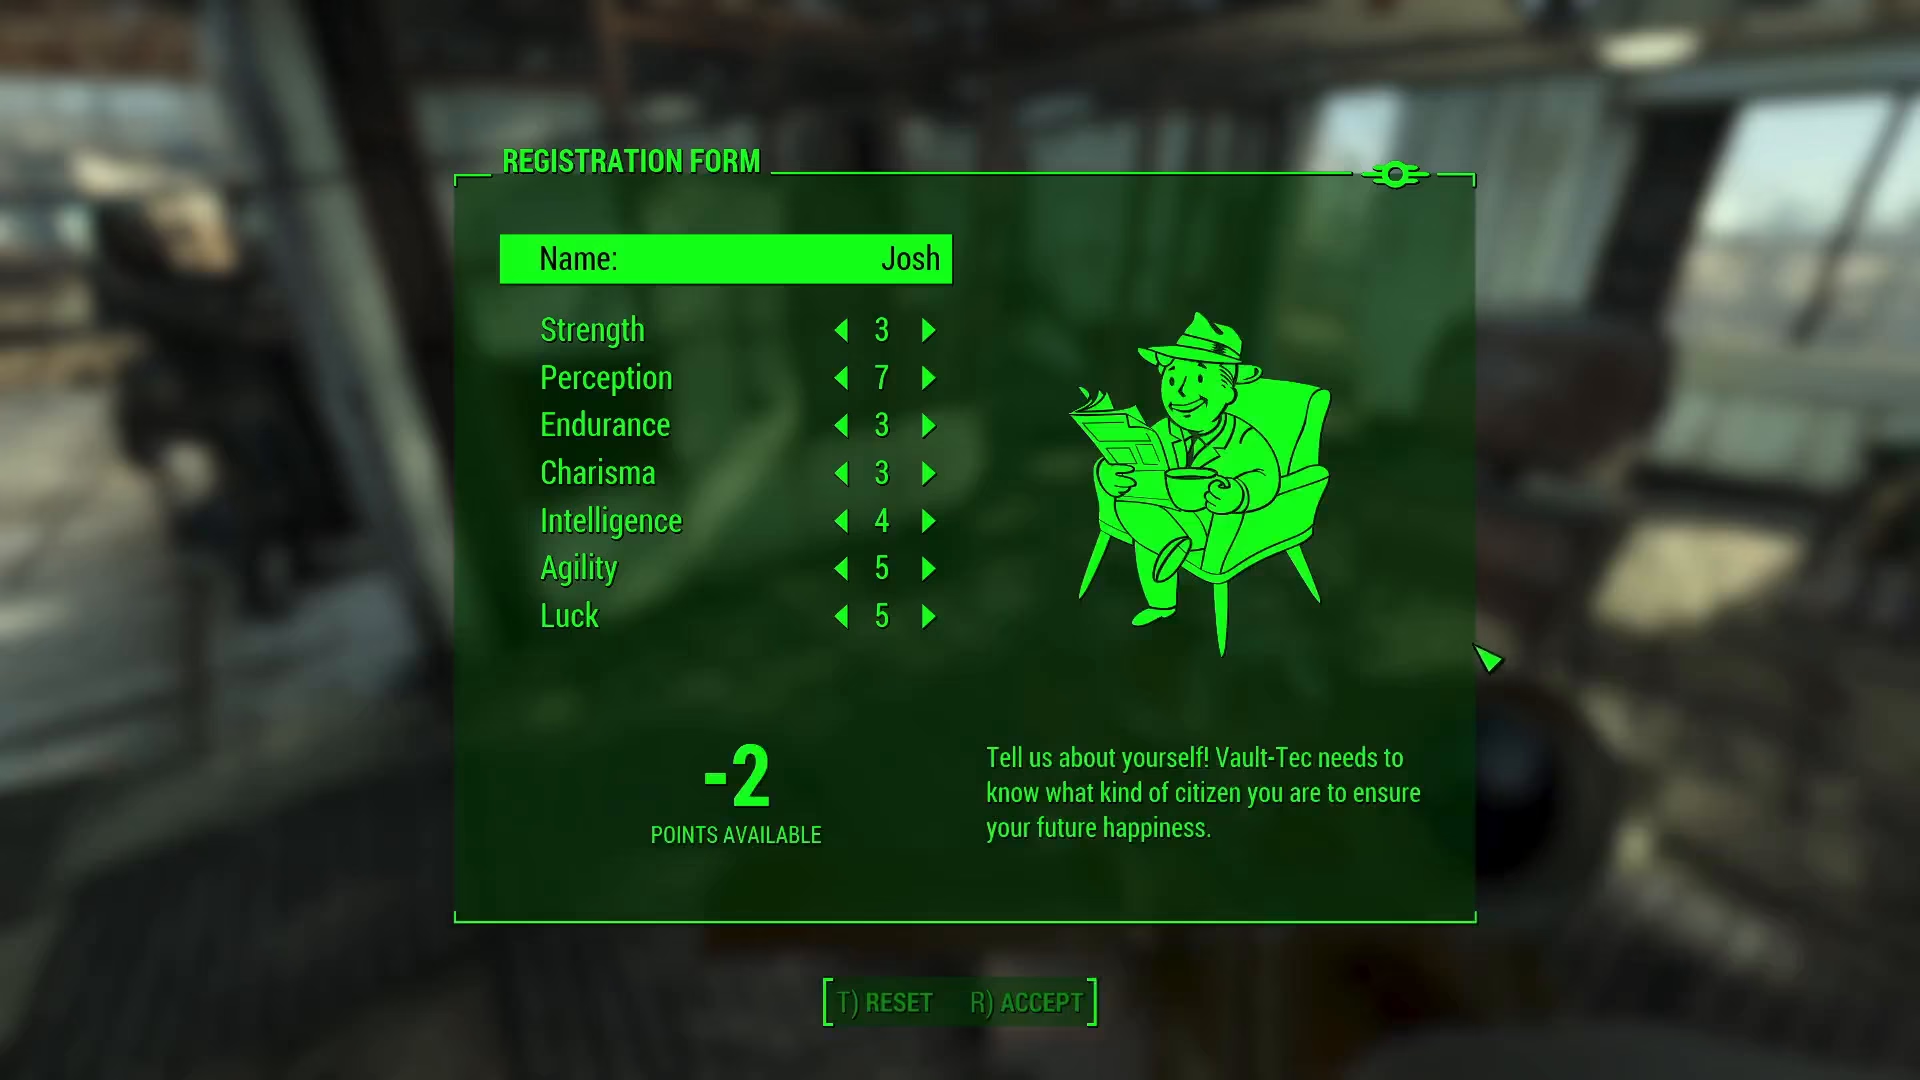
Press Enter to execute this command. This will bring up the SPECIAL menu—the same character creation menu you see at the beginning of the game when you allocate your initial stats. This menu is the key to changing your character’s name.
Step 3: Change Your Name
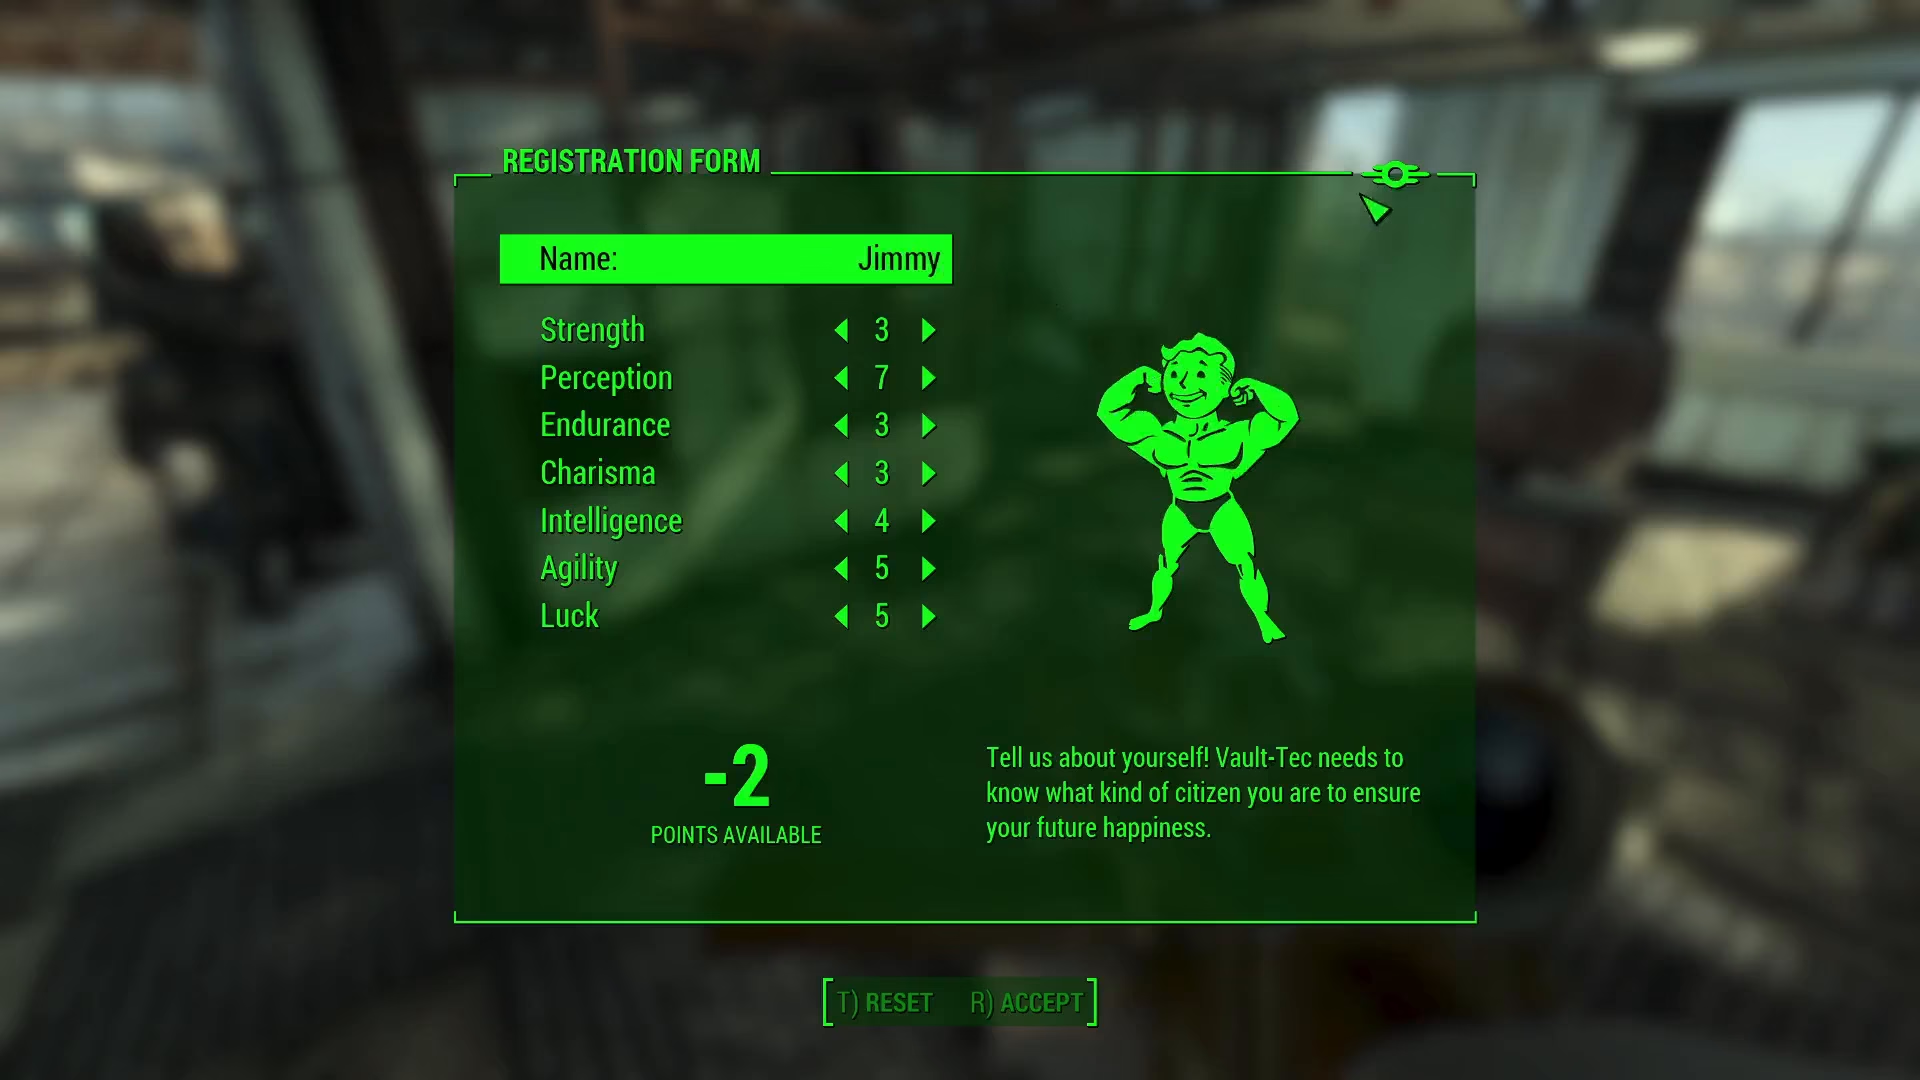
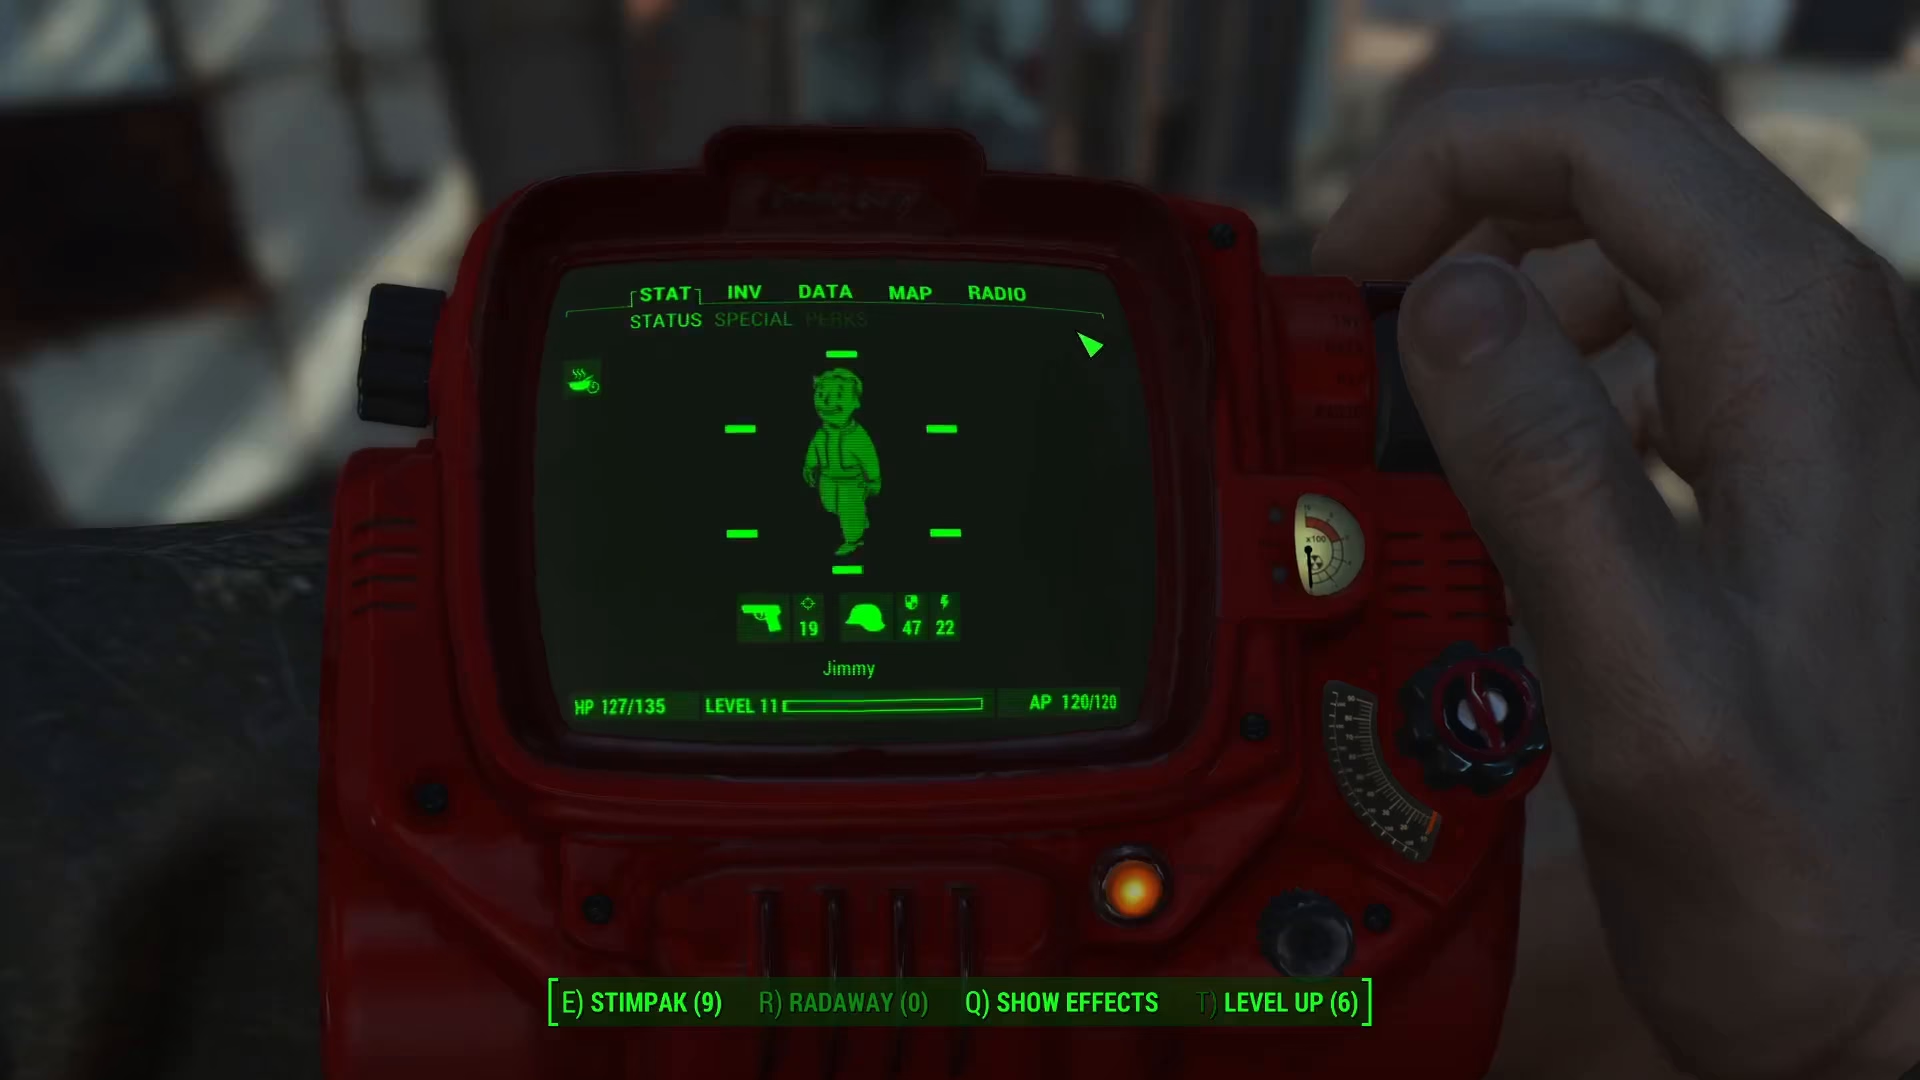
Within the SPECIAL menu, you’ll be able to edit your character’s name. Simply select the name field and replace it with whatever name you’d like. For example, you could change your character’s name to “Jimmy” or any other name you prefer. The name field works just like any other text input field.
Step 4: Close the Special Menu
After you’ve entered your new name, you need to close the SPECIAL menu. Unfortunately, there’s no way to exit this menu through normal controls, so you’ll need to use another console command. Open the console again by pressing the tilde key (~), and then type:
hide menu specialMenu
Press Enter, and the menu will disappear, confirming that your name change has been applied.
Verifying Your Name Change
Once you’ve closed the menu, your new name is now active in your game. You can verify this by checking your Pip-Boy or other in-game menus where your character’s name is displayed. Your character will now be referred to by their new name throughout the rest of your playthrough.
Summary
Changing your character’s name in Fallout 4 on PC is a quick and simple process that requires just two console commands: player.showSpecialMenu to open the character editor, and hide menu specialMenu to close it after making your changes. This method works at any point during your game, allowing you to rename your character whenever you wish.
Want to Support?
If you would like to help us continue making these guides – please consider joining our patreon here – https://www.patreon.com/c/JaviHeals
Alternatively – you can join our discord here – https://discord.gg/zD7Gjt6MHF