How To Build & Use Housing Districts – Frostpunk 2
How To Build & Use Housing Districts in Frostpunk 2
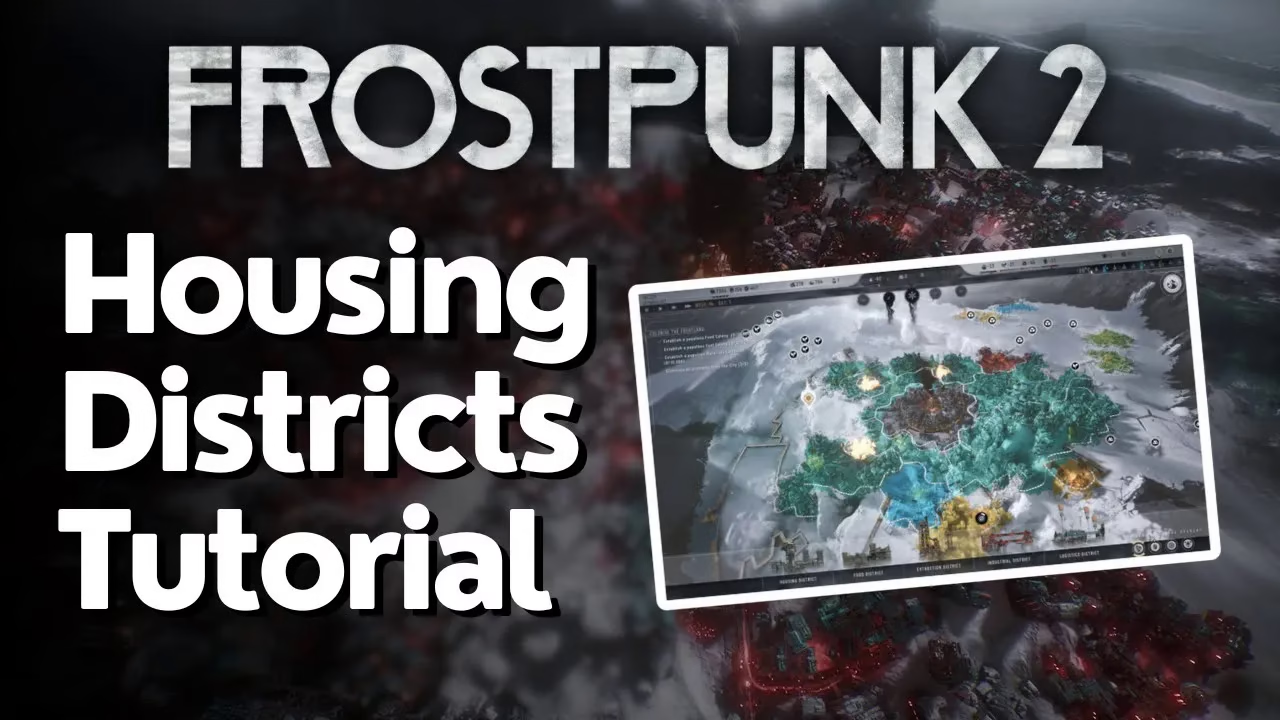
Housing districts are essential for providing shelter to your citizens in Frostpunk 2. This guide walks you through the complete process of building and managing housing districts, from frost breaking the land to optimizing heat distribution and workforce allocation.
Preparing the Area: Frost Breaking
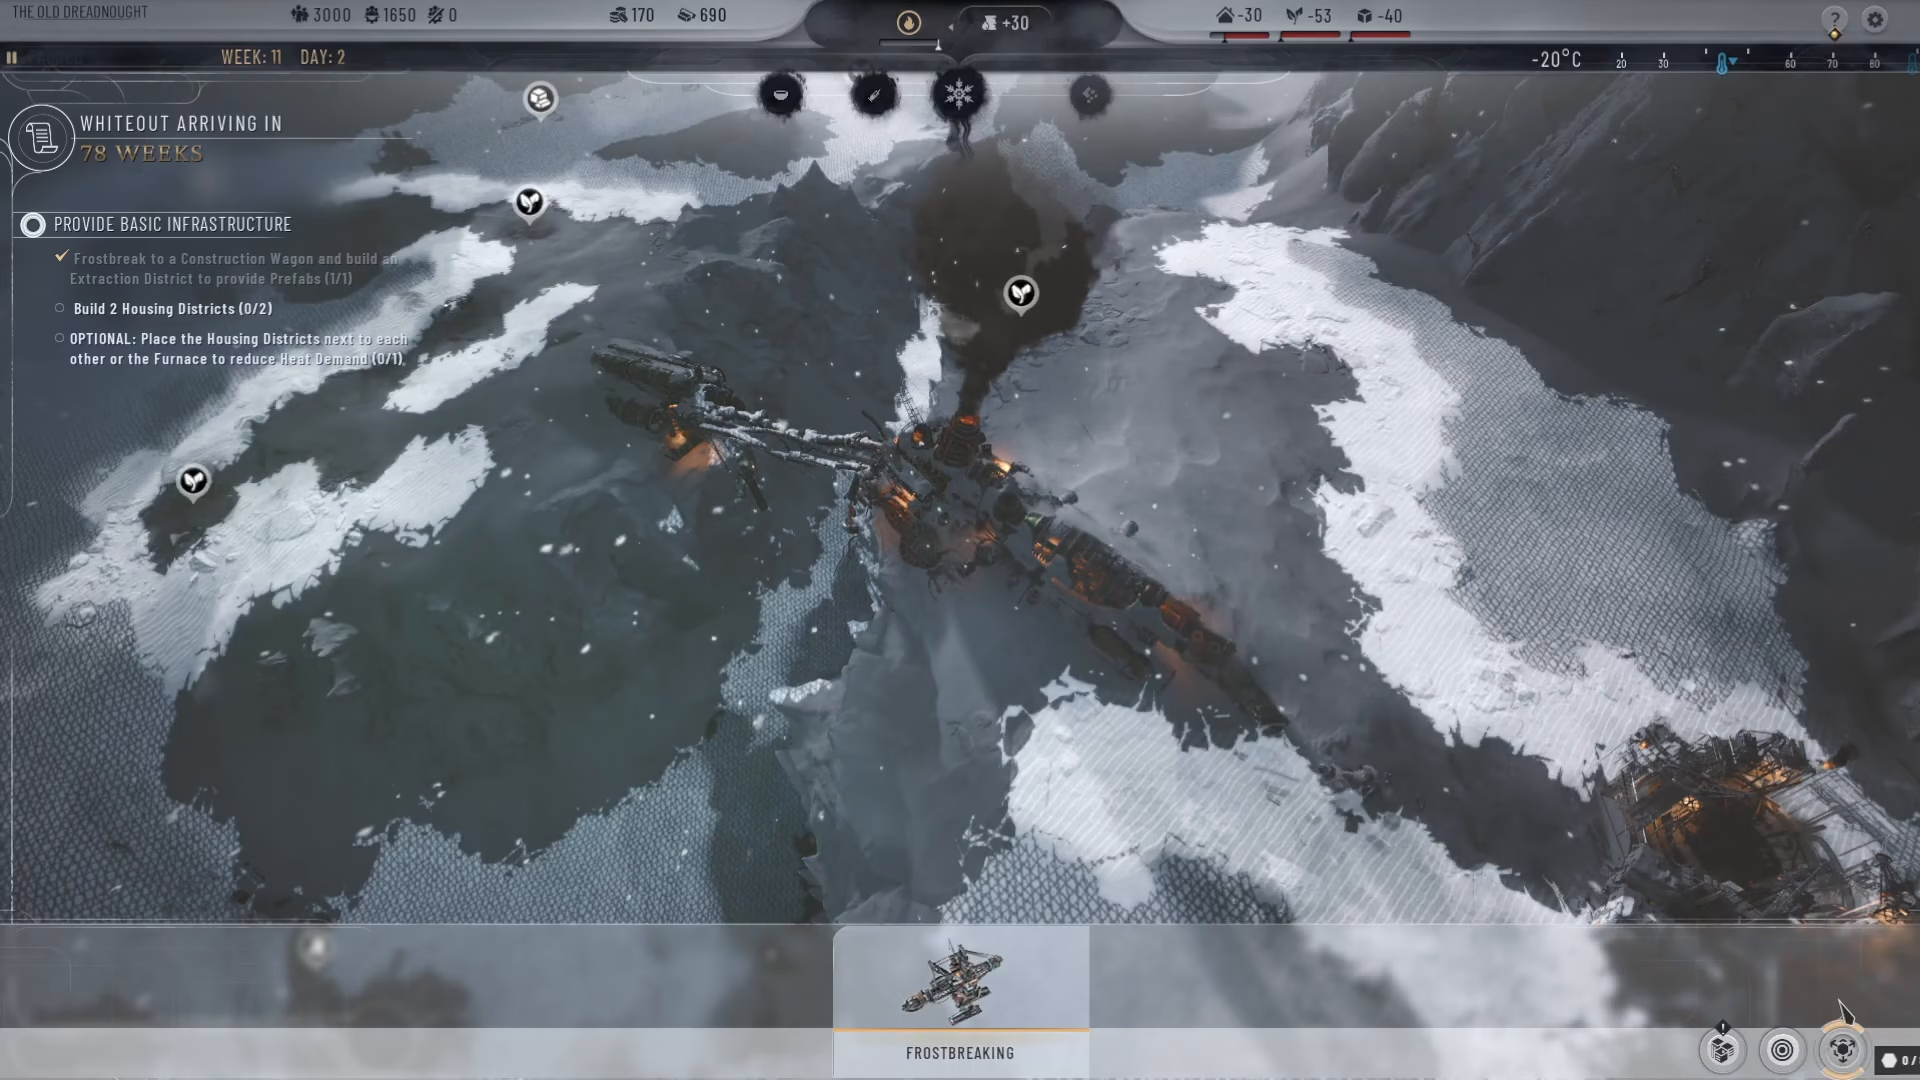
Before you can construct a housing district, you must first frost break the area you want to build on. Frost breaking unlocks tiles for use in your city. To frost break an area, click the frost breaking button located in the right-hand corner of your screen. You’ll want to frost break multiple tiles around your generator—typically 8 tiles in a circle pattern will give you plenty of space for housing construction.
Building Your First Housing District
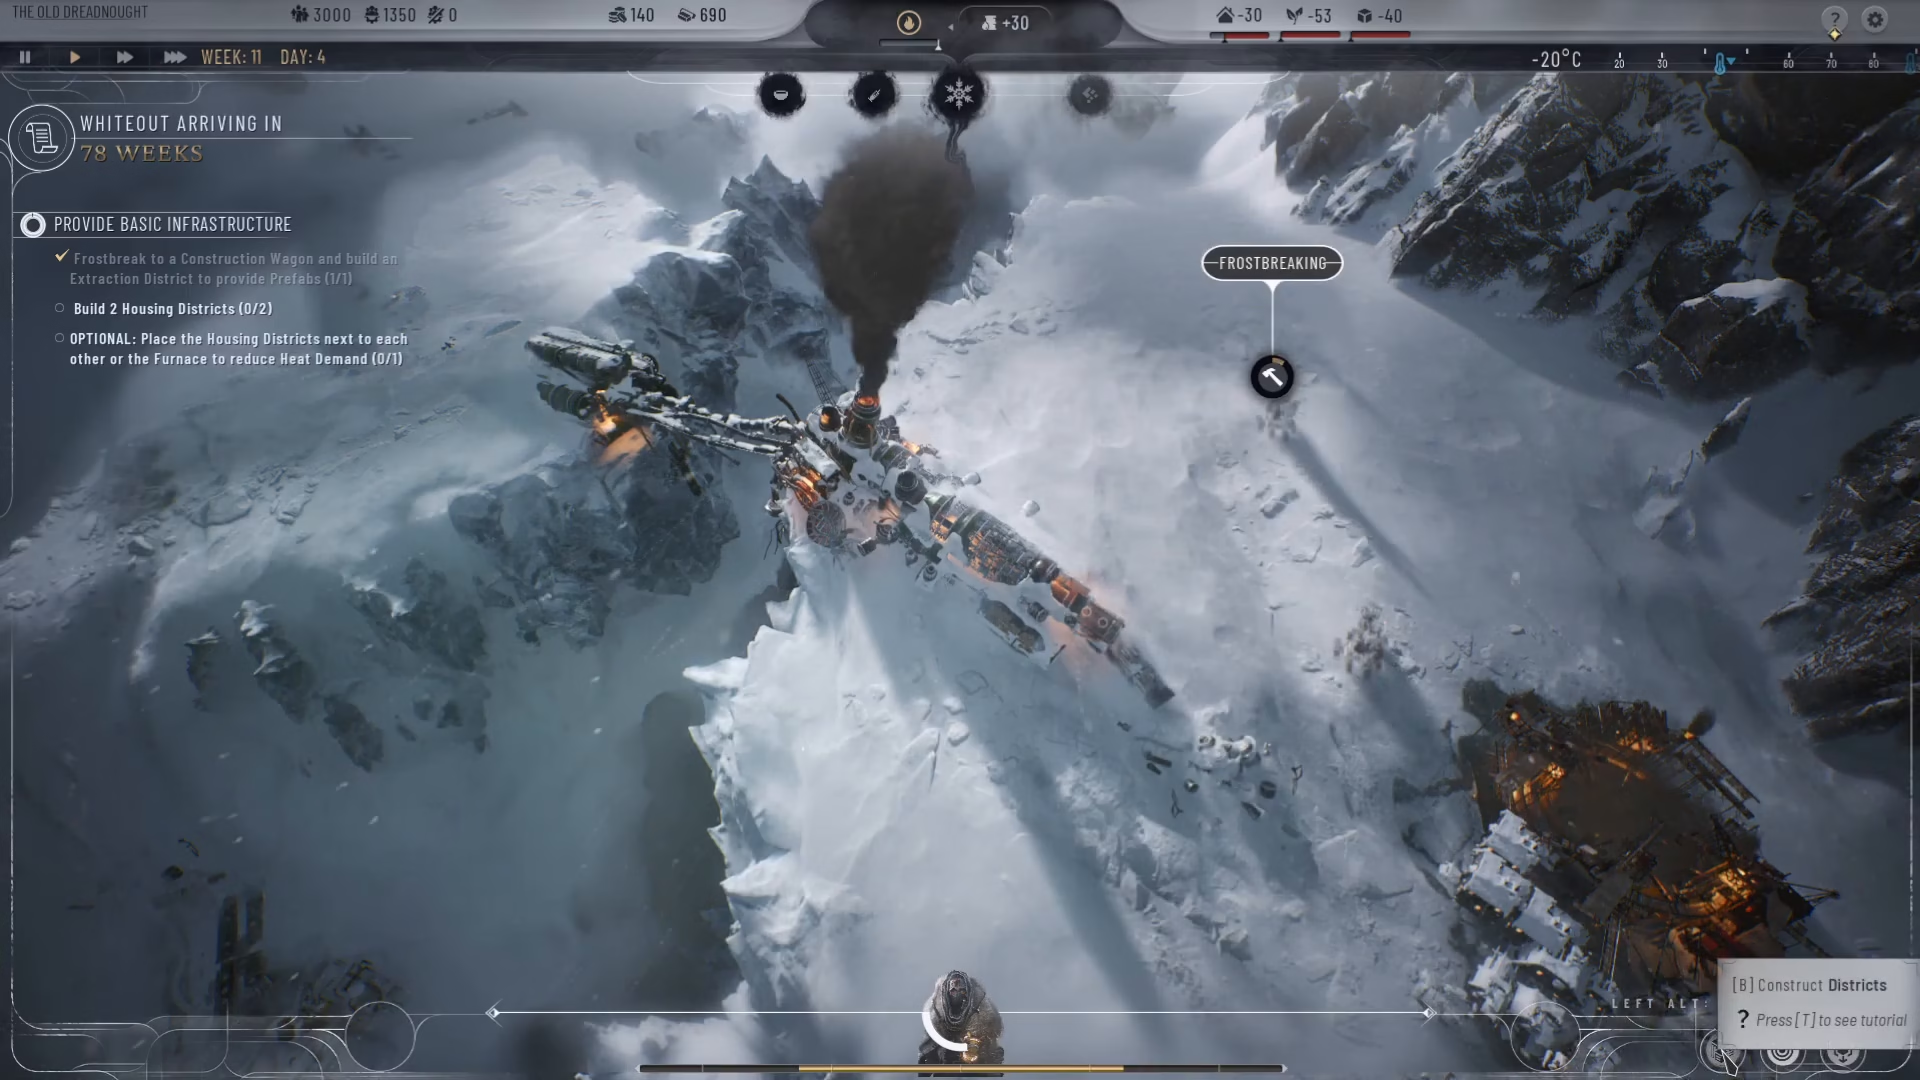
Once you’ve frost broken the necessary tiles, you’re ready to construct. Press the B key on your keyboard or click the construction button to open the district menu. Select Housing District from the available options.
Resource and Population Requirements
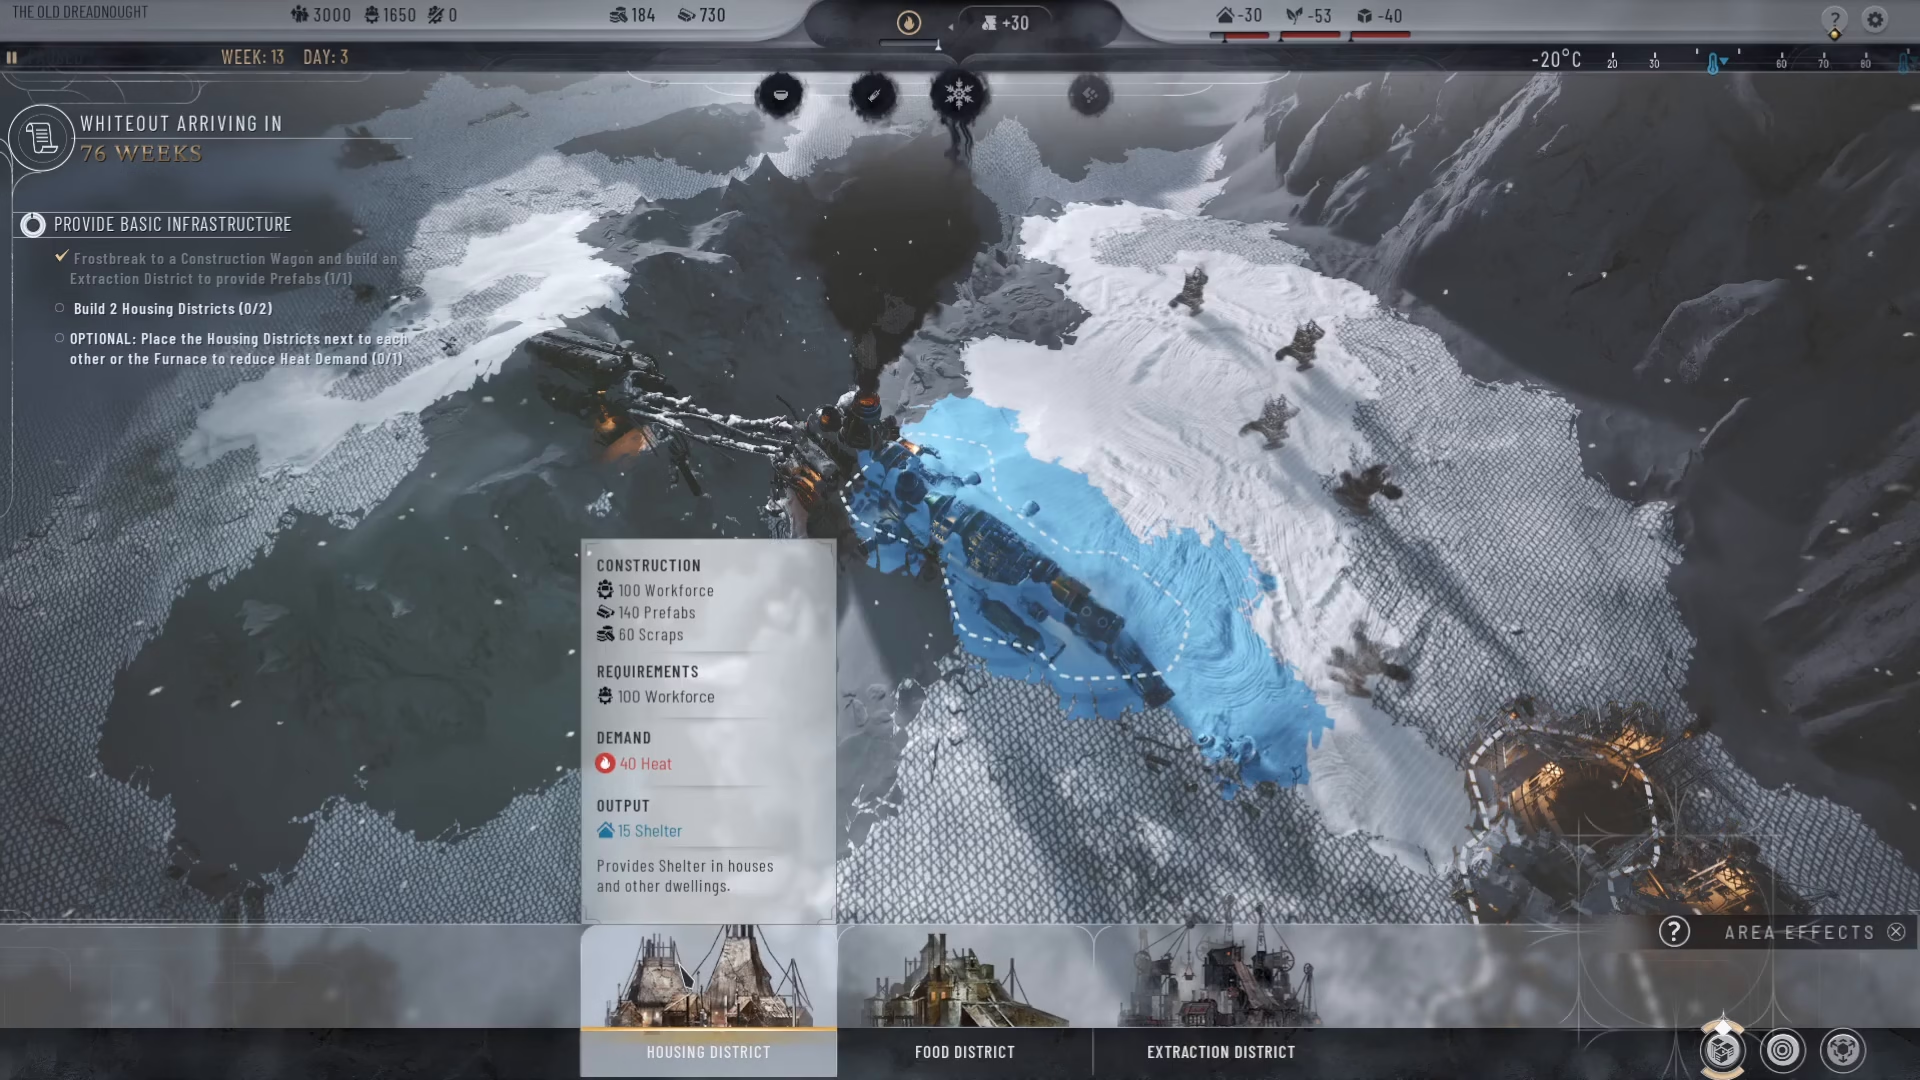
Building a housing district requires the following resources and conditions:
Prefabs
Scraps
Members of workforce
100 people to operate the district
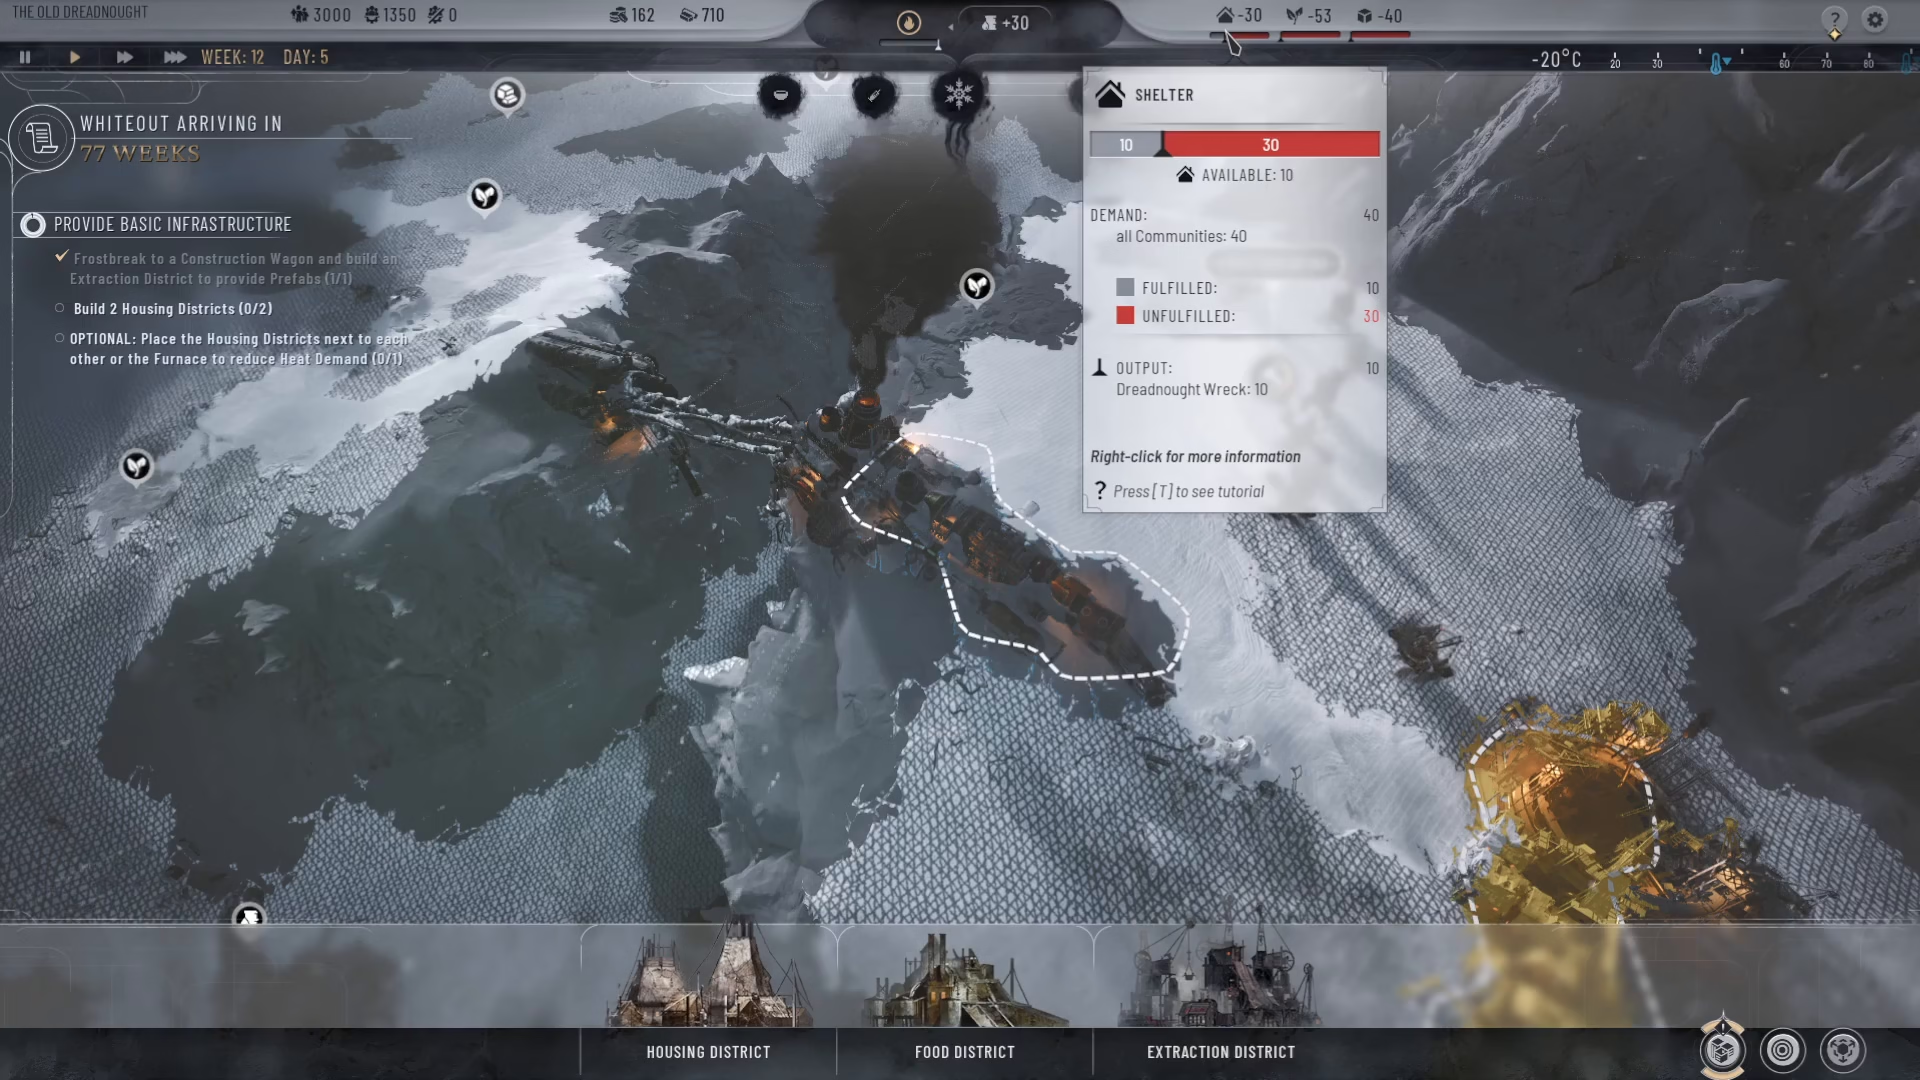
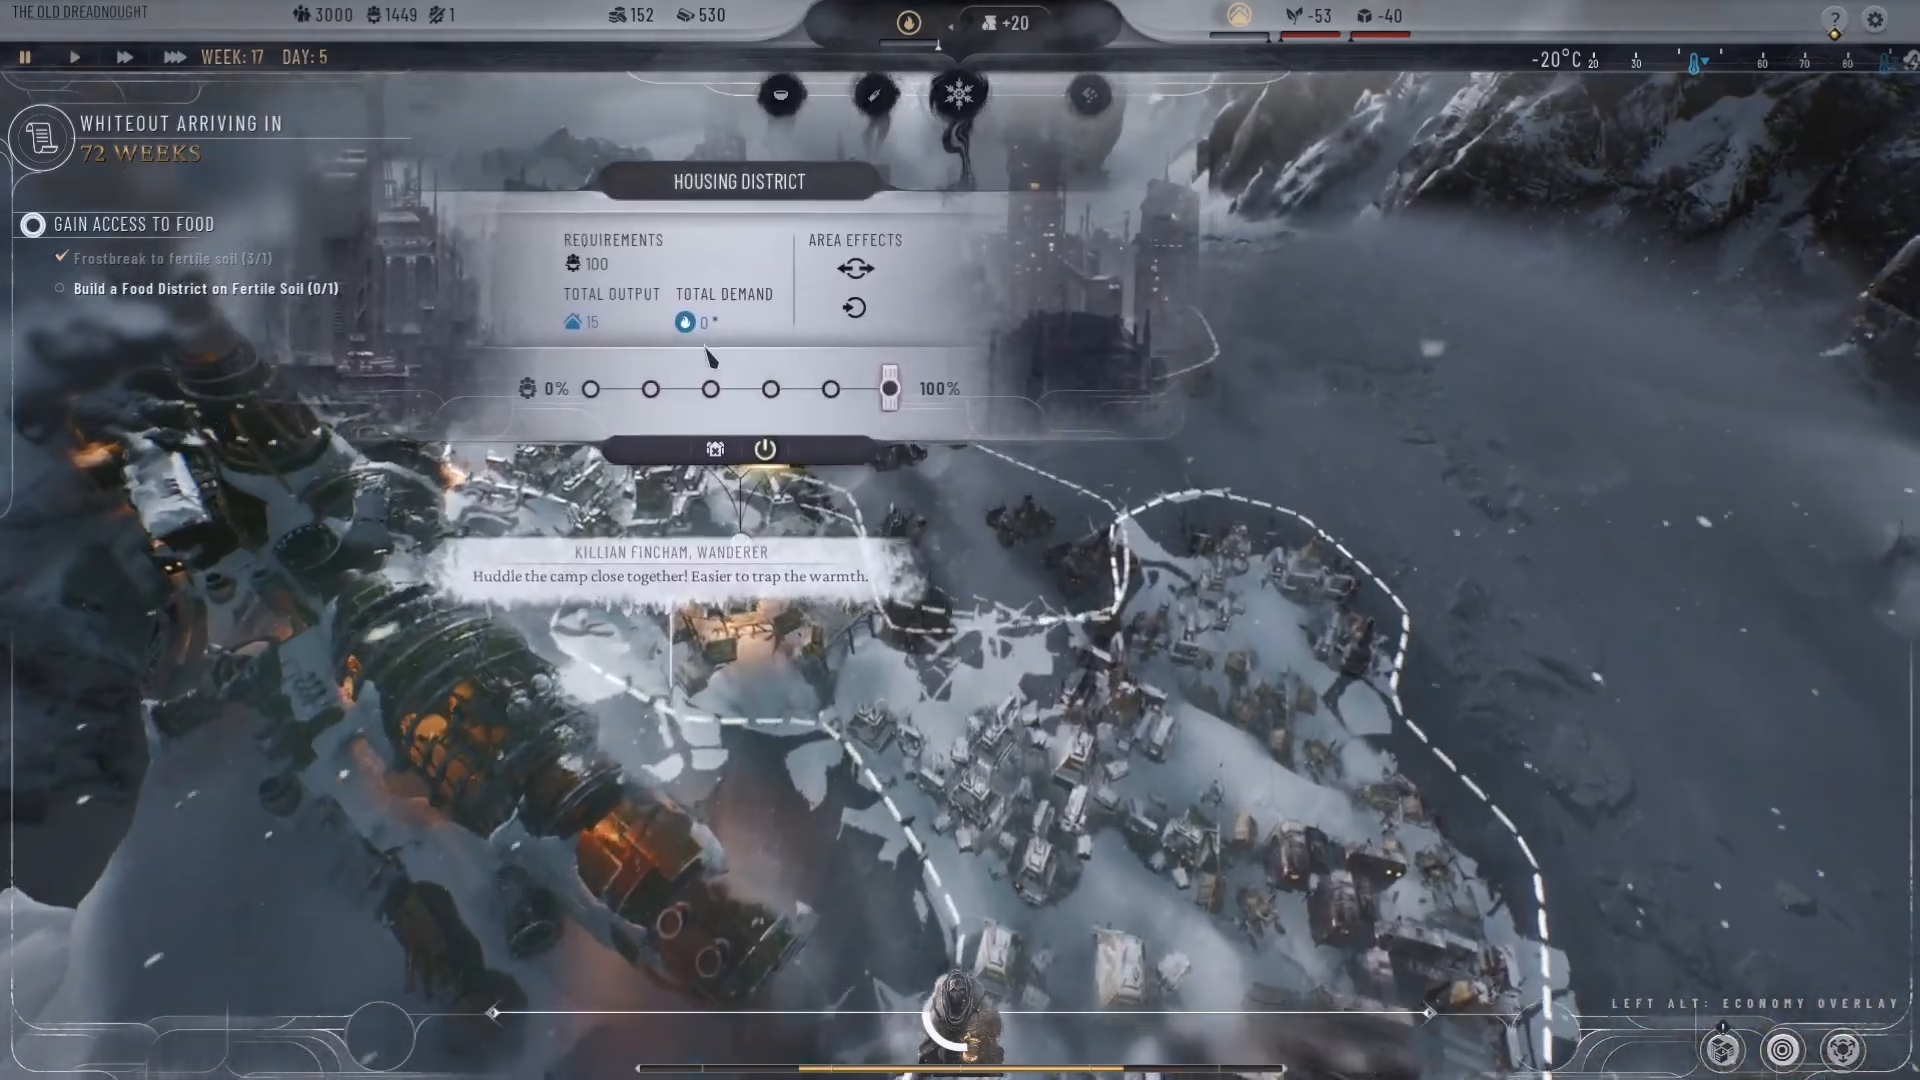
The district will demand heat and output 15 units of shelter. To determine how many housing districts you need, check the top of your screen where your shelter status is displayed. The shelter indicator shows:
Demand — total shelter needed
Fulfilled — current shelter provided
Unfulfilled — shortage remaining
Since each housing district provides 15 units of shelter, you may need to build multiple districts to meet your population’s needs.
Strategic Placement: Proximity to the Generator
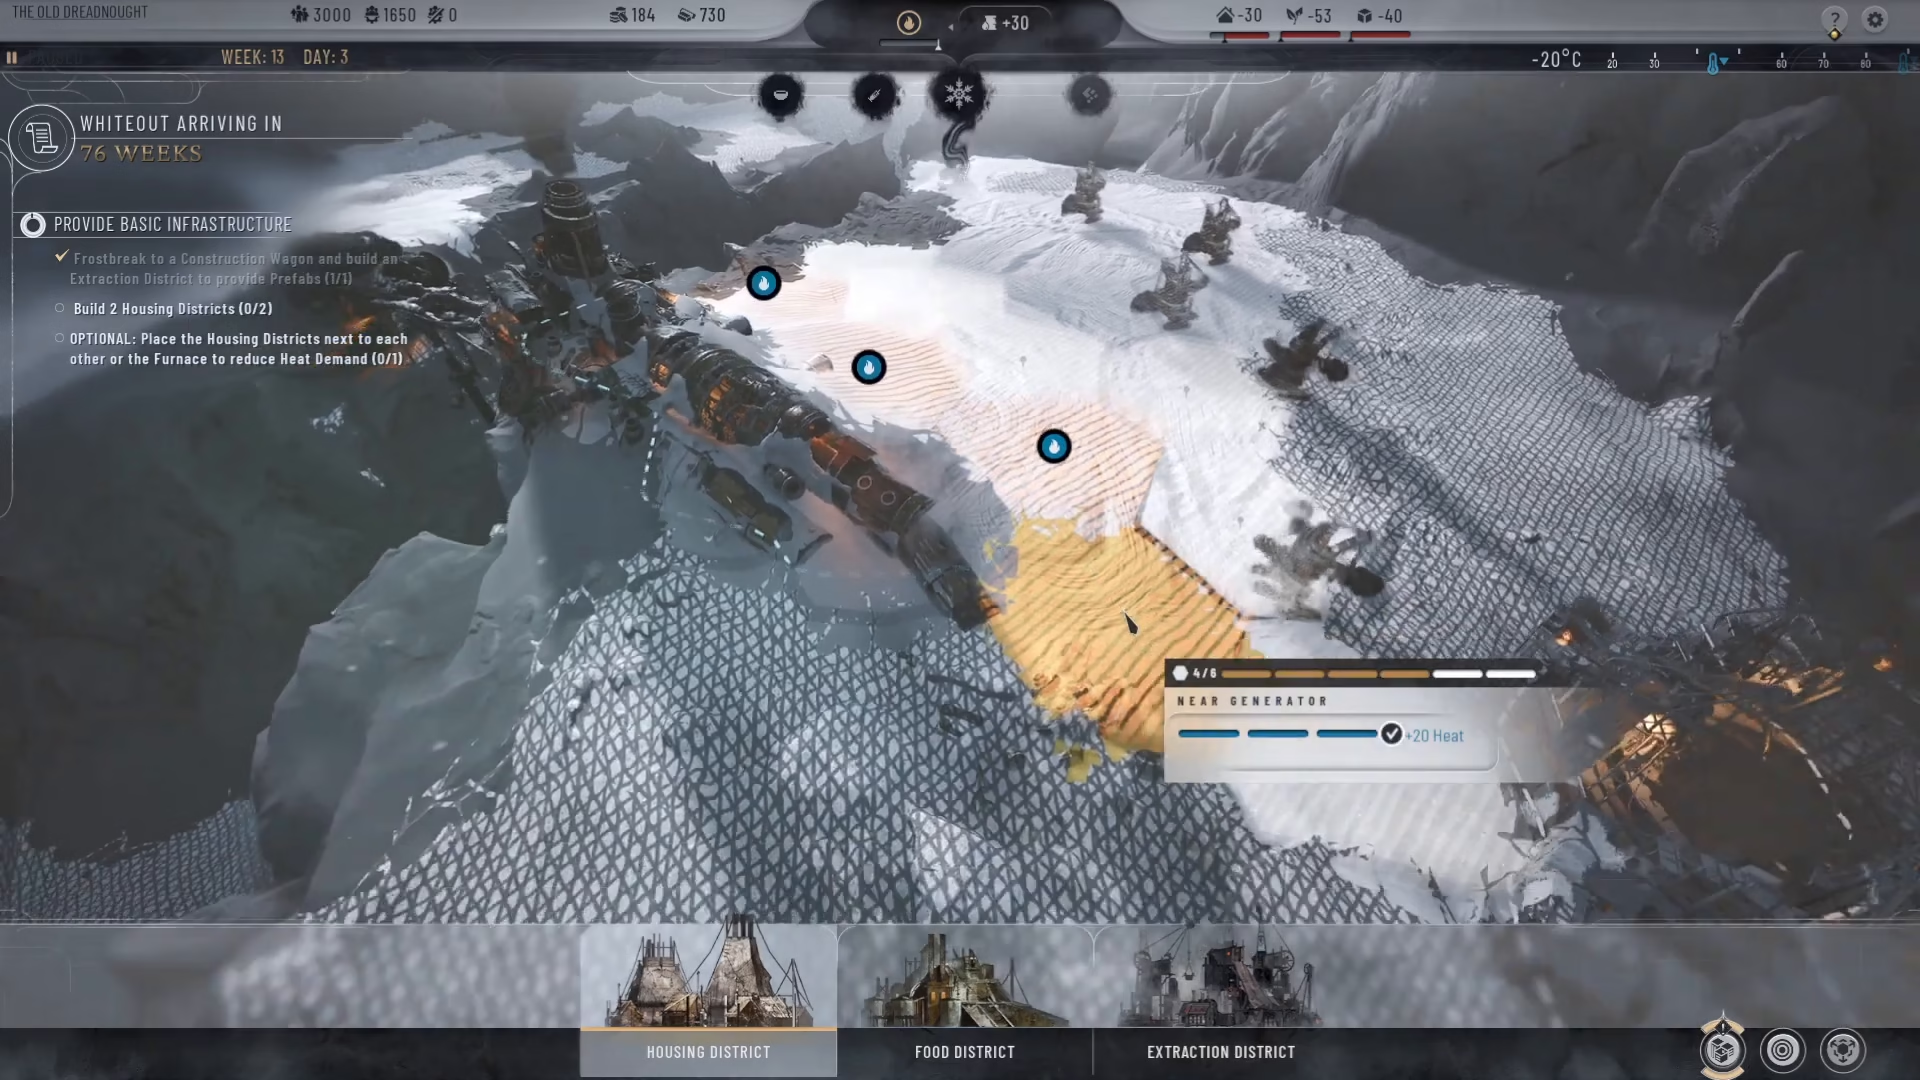
Housing district placement is critical for heating efficiency. When you click on housing district and begin placement, the available tiles will light up in blue. Pay close attention to the heat bonuses displayed—you’ll see indicators like “Near Generator +20 Heat.”
Always place housing districts as close as possible to your generator. This proximity ensures your citizens have warm homes and maximizes your heat efficiency. Placing districts far from the generator will result in cold housing and wasted resources.
Placement Mechanics
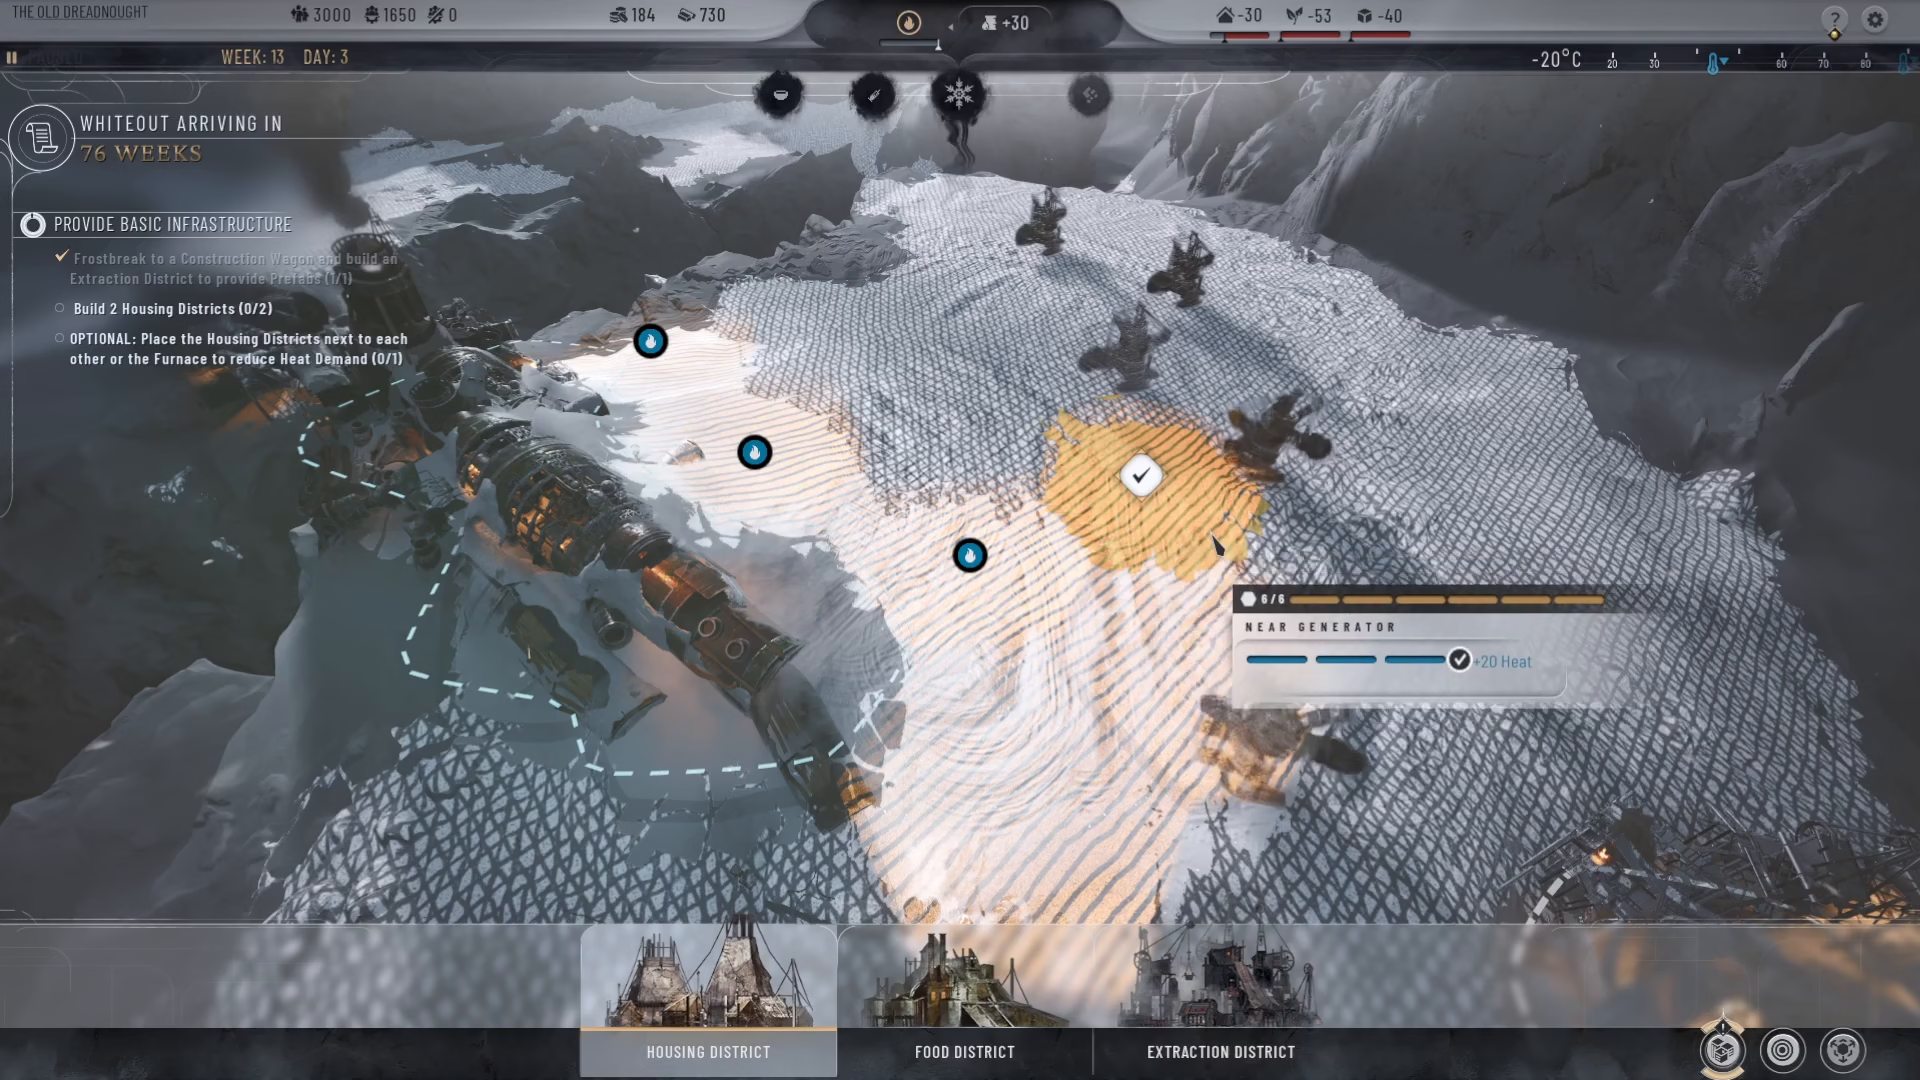
A housing district consists of 6 quadrants. Click each quadrant to select it for construction. Once you’ve selected all 6 quadrants (or as many as you need), confirm your placement by clicking the build button. The system will automatically prioritize tiles nearest to the generator for maximum heat benefit.
If you’ve frost broken additional tiles beyond those near the generator, those outlying areas can be used but won’t benefit from the generator’s heat bonus.
Managing Multiple Housing Districts
For most cities, a single housing district won’t provide enough shelter. You can build a second (or additional) housing district using the same process. Simply press B again, select Housing District, and place the quadrants in another available area near your generator.
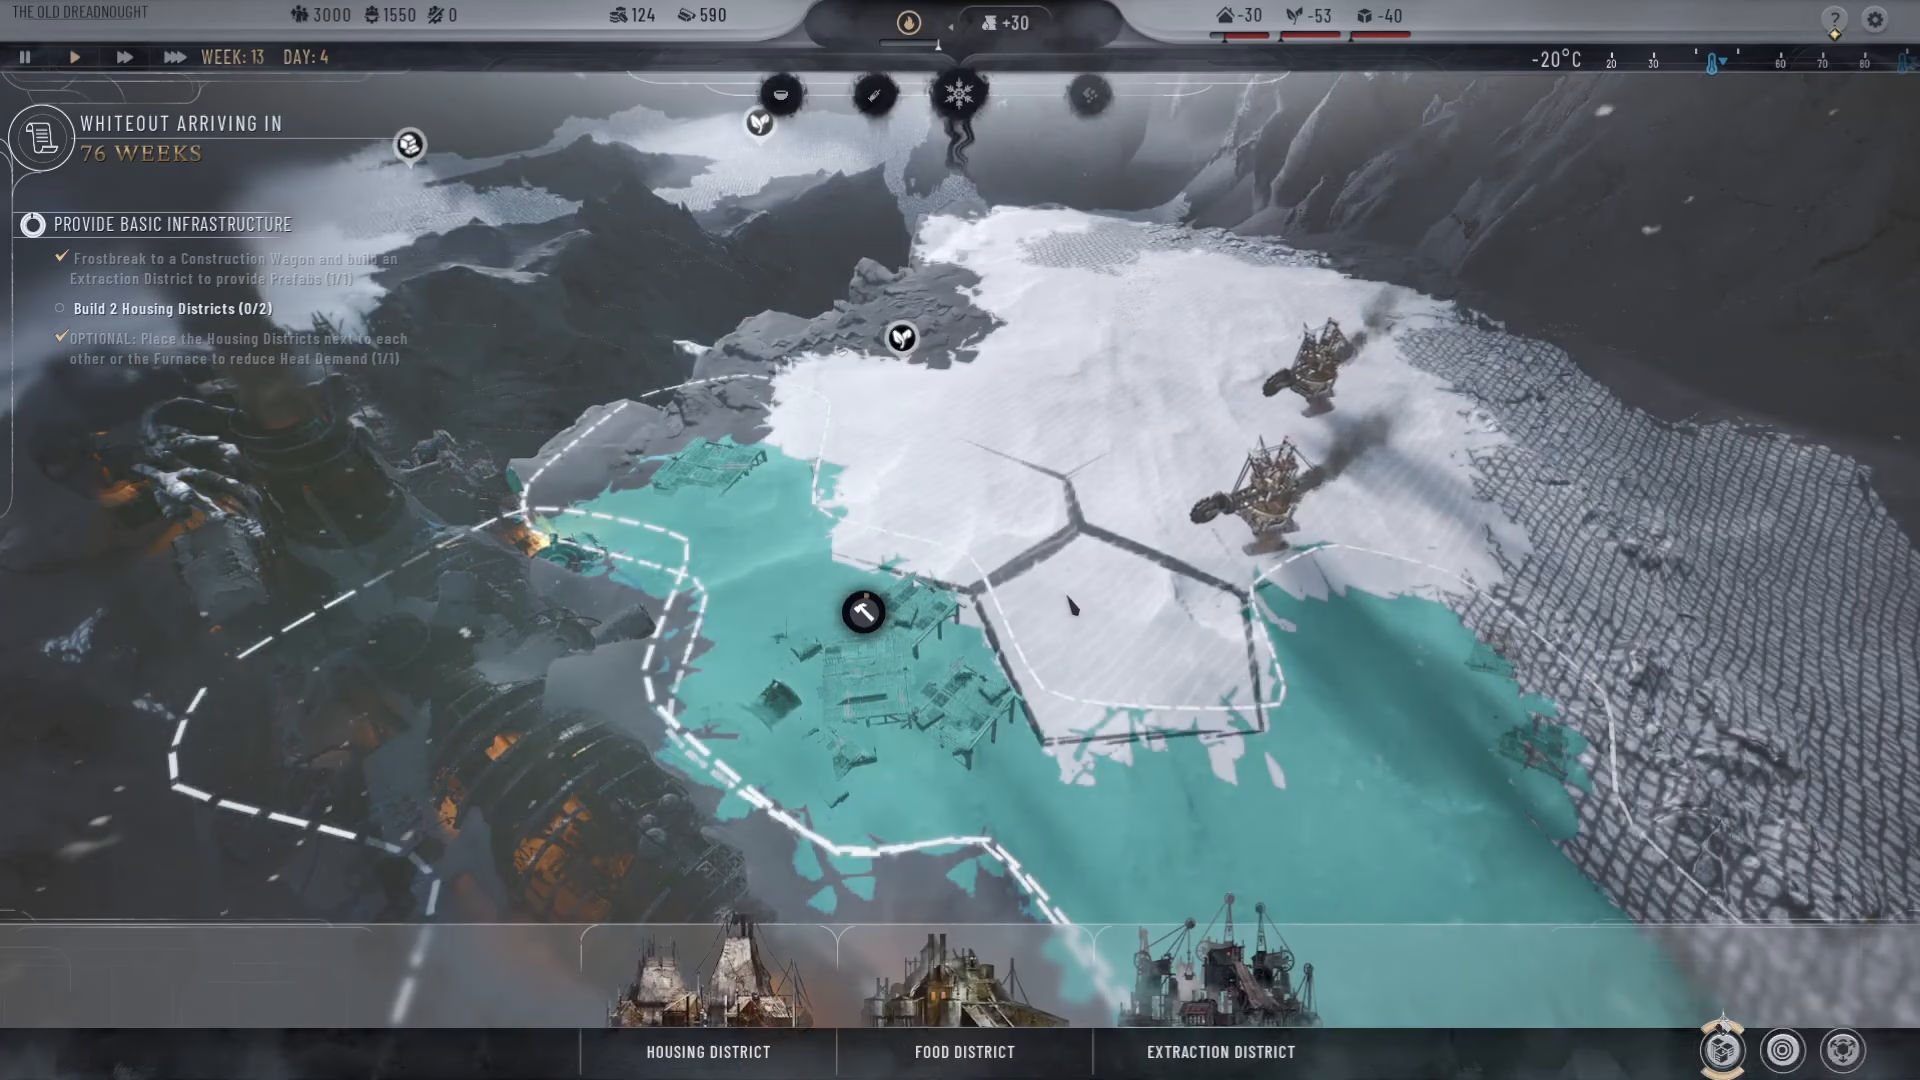
Once construction begins, you’ll see tents being built automatically. Depending on your available resources and workforce, this construction will progress in real-time.
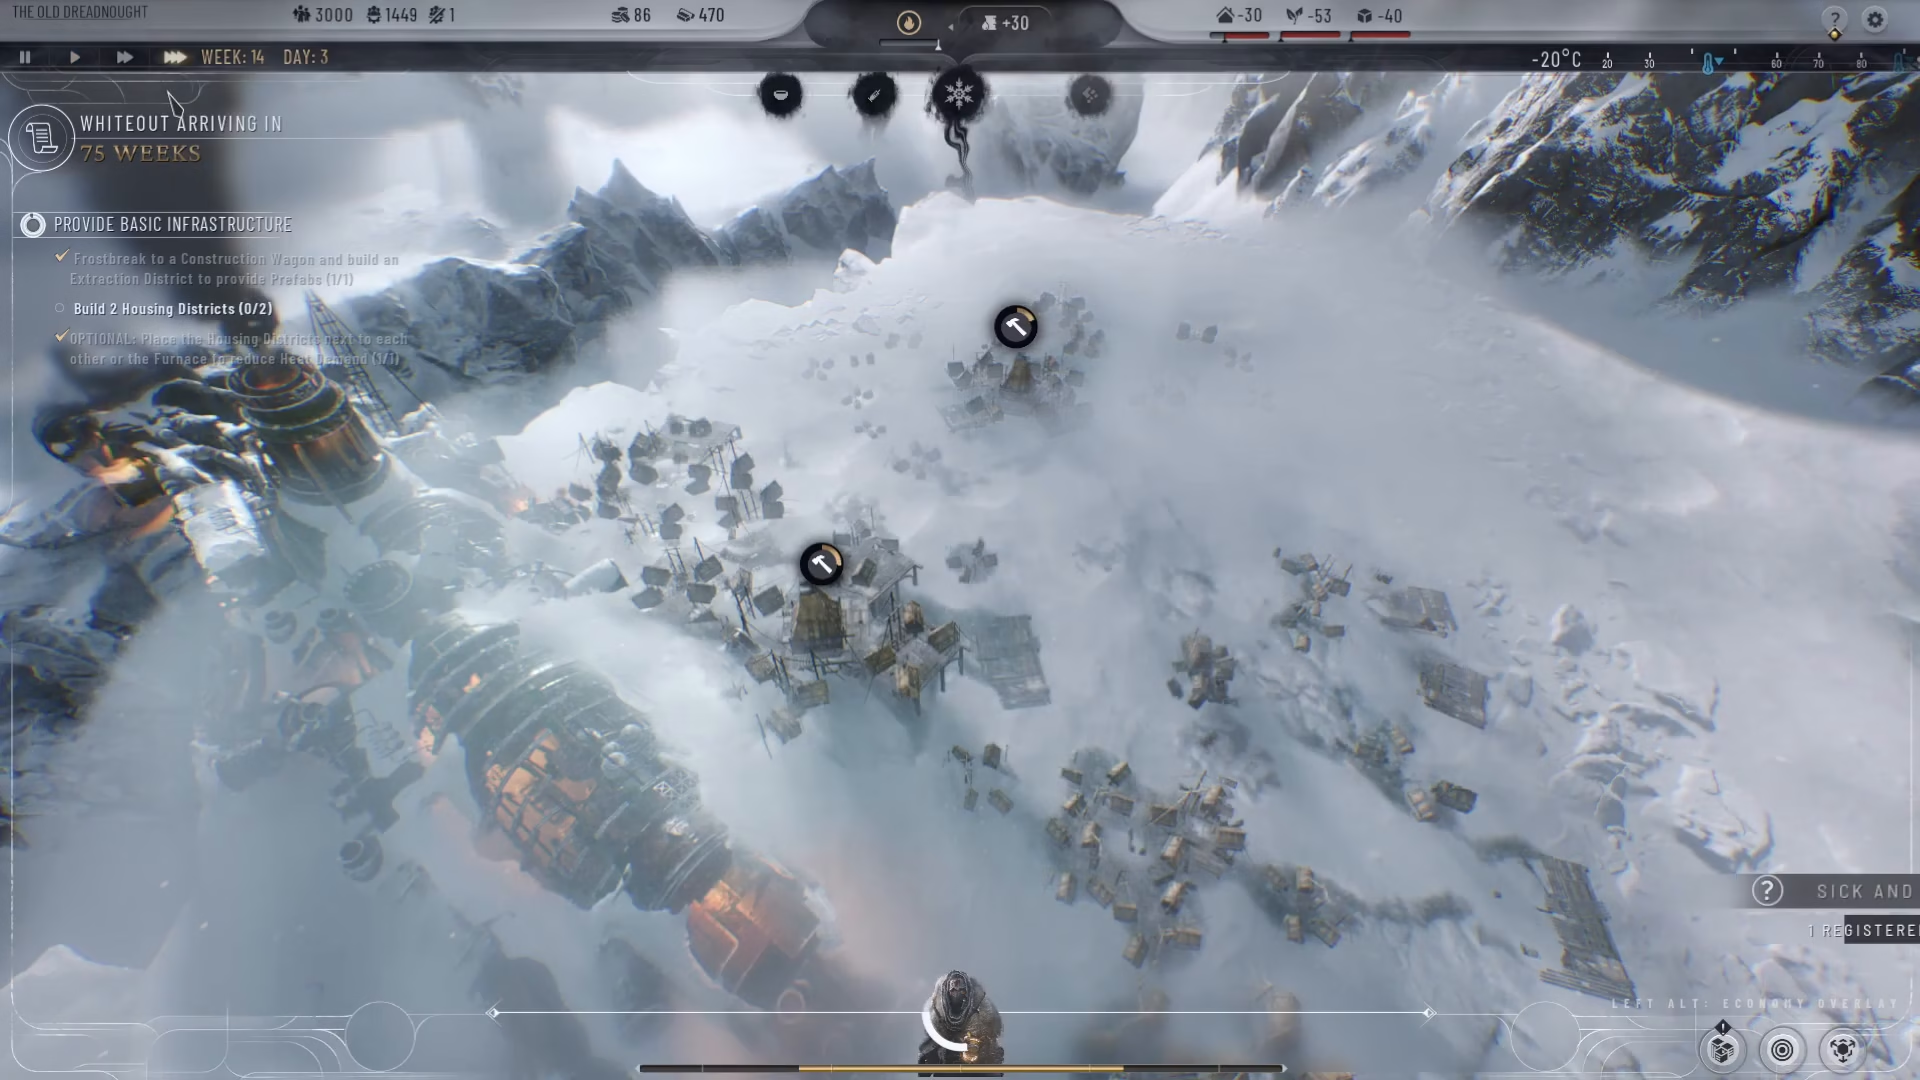
Operating and Optimizing Housing Districts
Workforce Requirements
Each housing district requires 100 able-bodied workforce members to operate. This represents eligible people needed to maintain the district and provide services to its residents. Ensure you have sufficient workforce allocated before building multiple districts.
Adjusting Output Levels
Once built, you can regulate a housing district’s output by clicking on it and adjusting the demand slider. The total output is shown in the district’s details panel. You can scale output to:
15 units (full capacity)
12 units
9 units
6 units
3 units
0 units (completely deactivated)
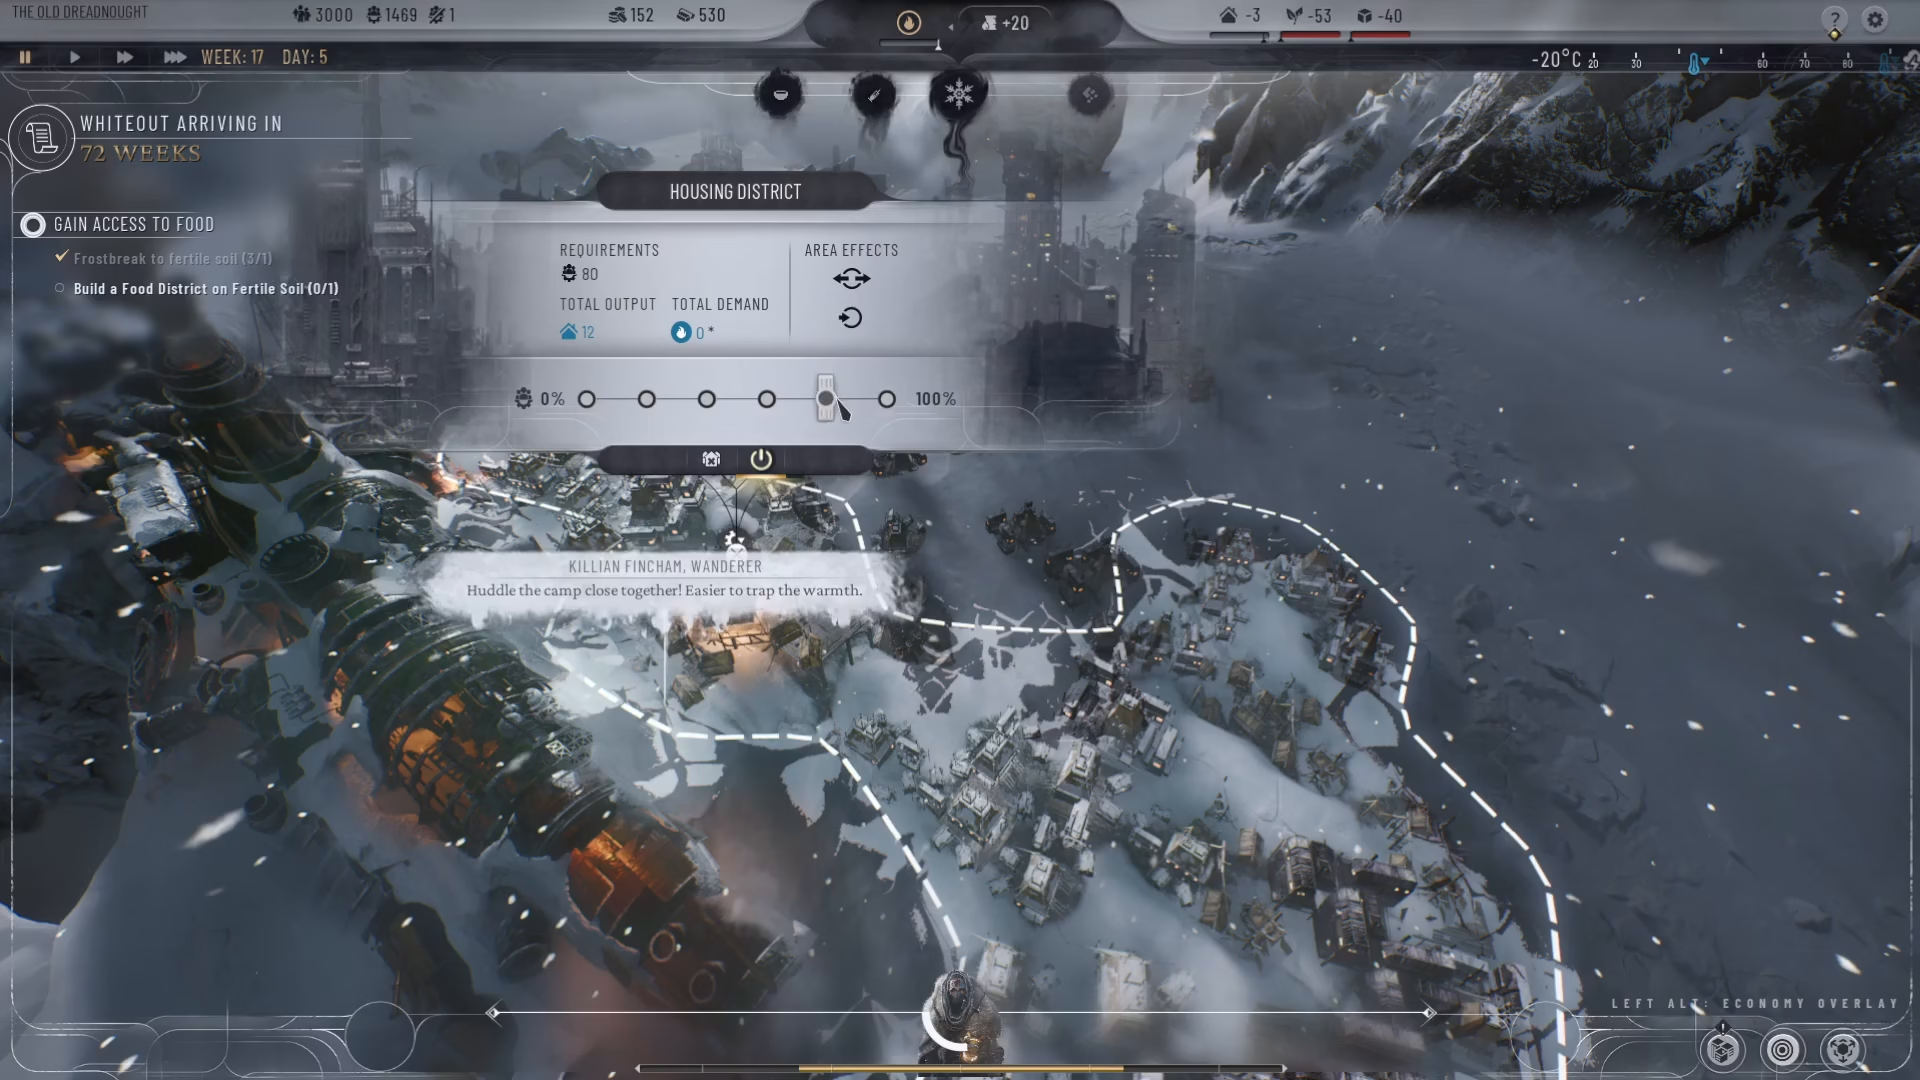
Lowering output is useful if you have excess shelter or need to free up workforce for other operations.
Area Effects and District Interactions
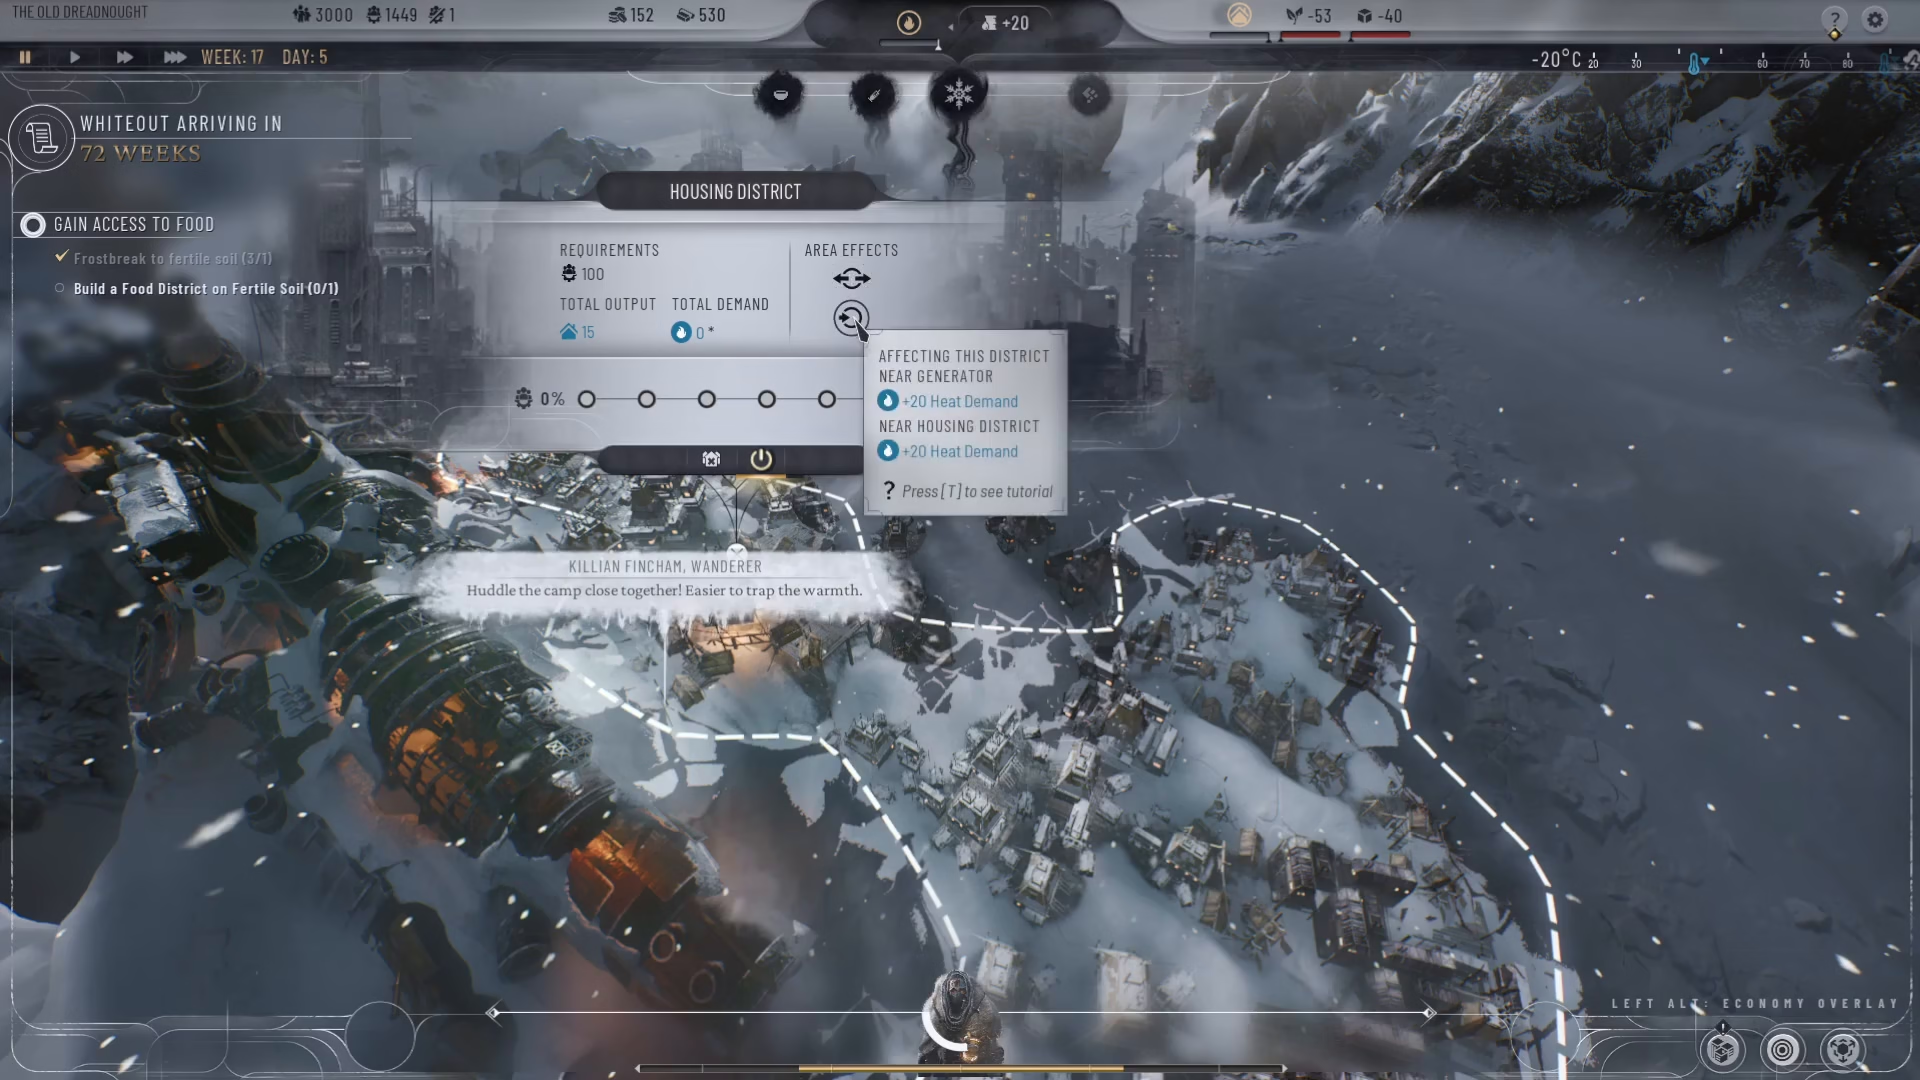
Housing districts don’t operate in isolation—they affect and are affected by nearby districts. When you view a housing district’s details, you’ll see an Area Effects section that shows:
Heat generated by the district that benefits neighboring areas
External bonuses affecting the current district (like proximity to the generator or other housing districts)
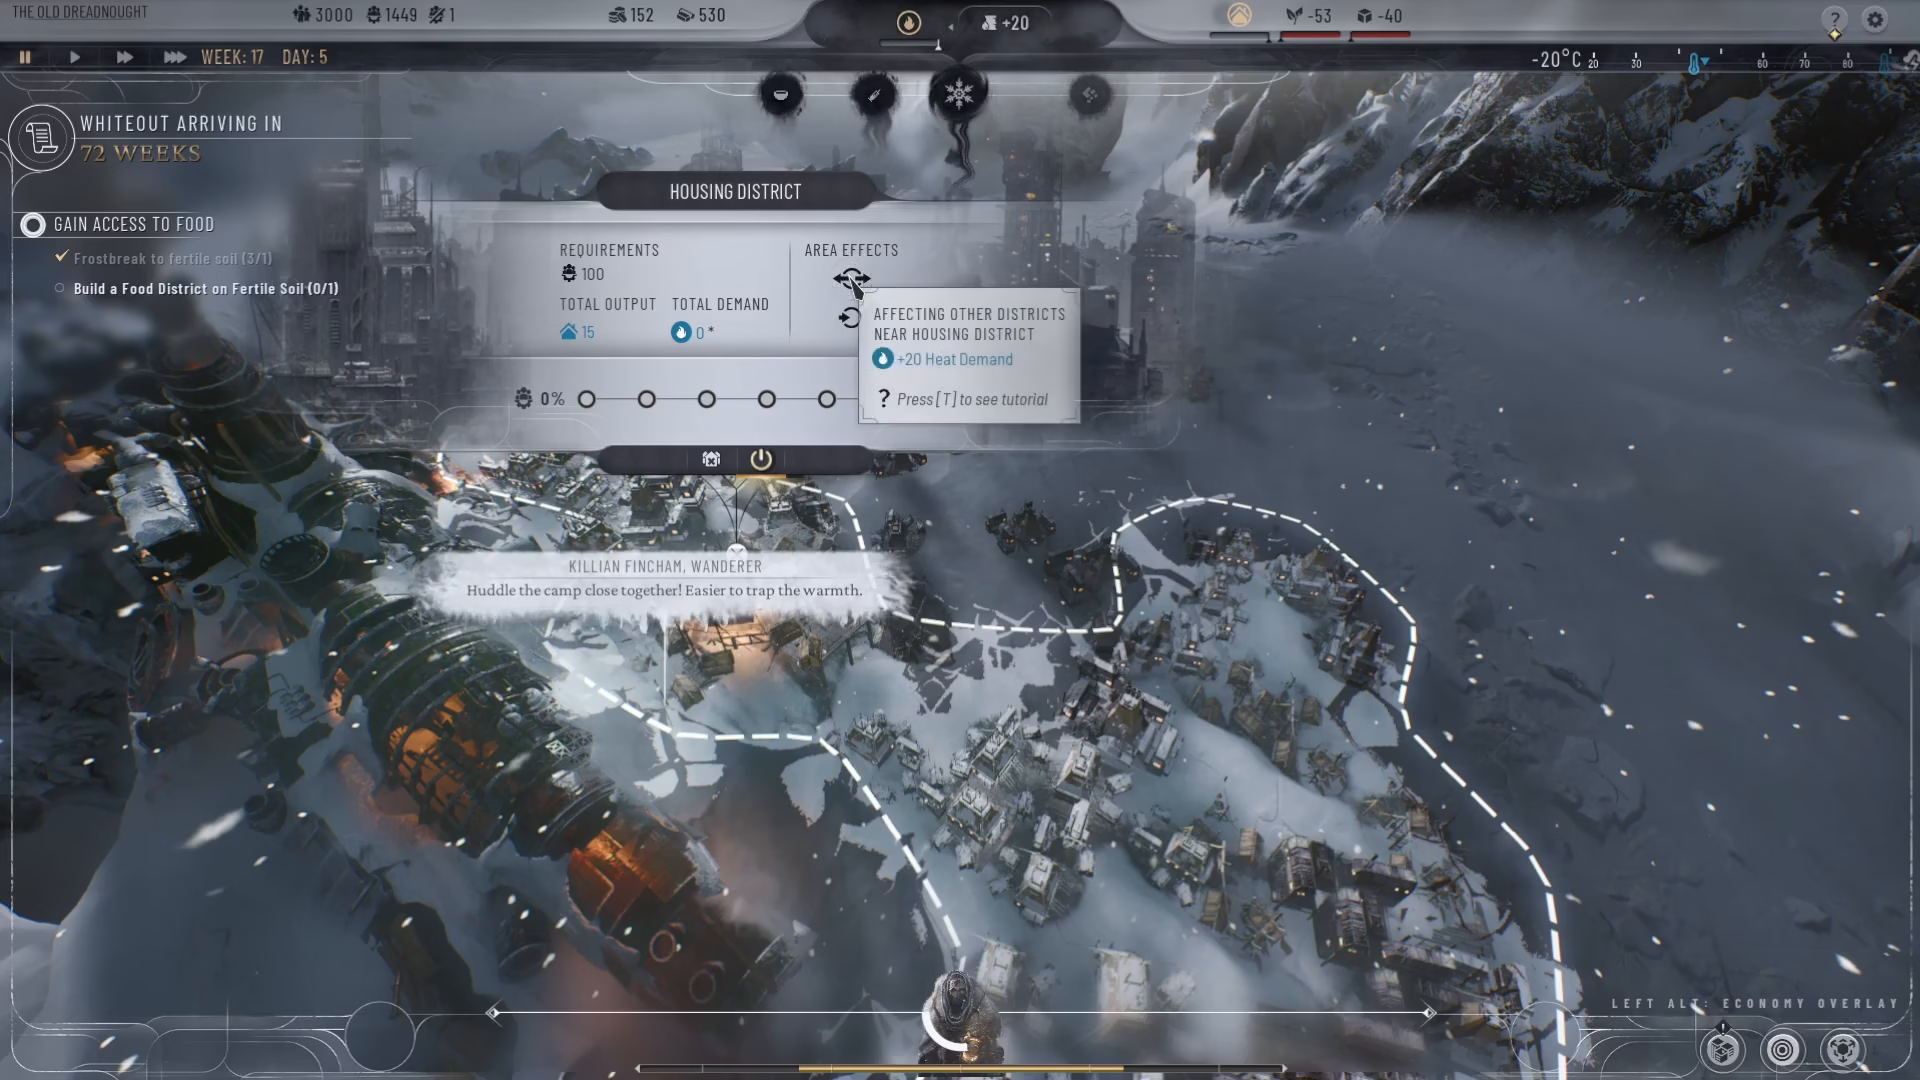
The heat from housing districts dissipates into local areas, providing thermal support to nearby buildings and districts. Additionally, housing districts positioned near the generator receive heat bonuses, and districts near other housing districts receive additional heat support.
Deactivation and Demolition
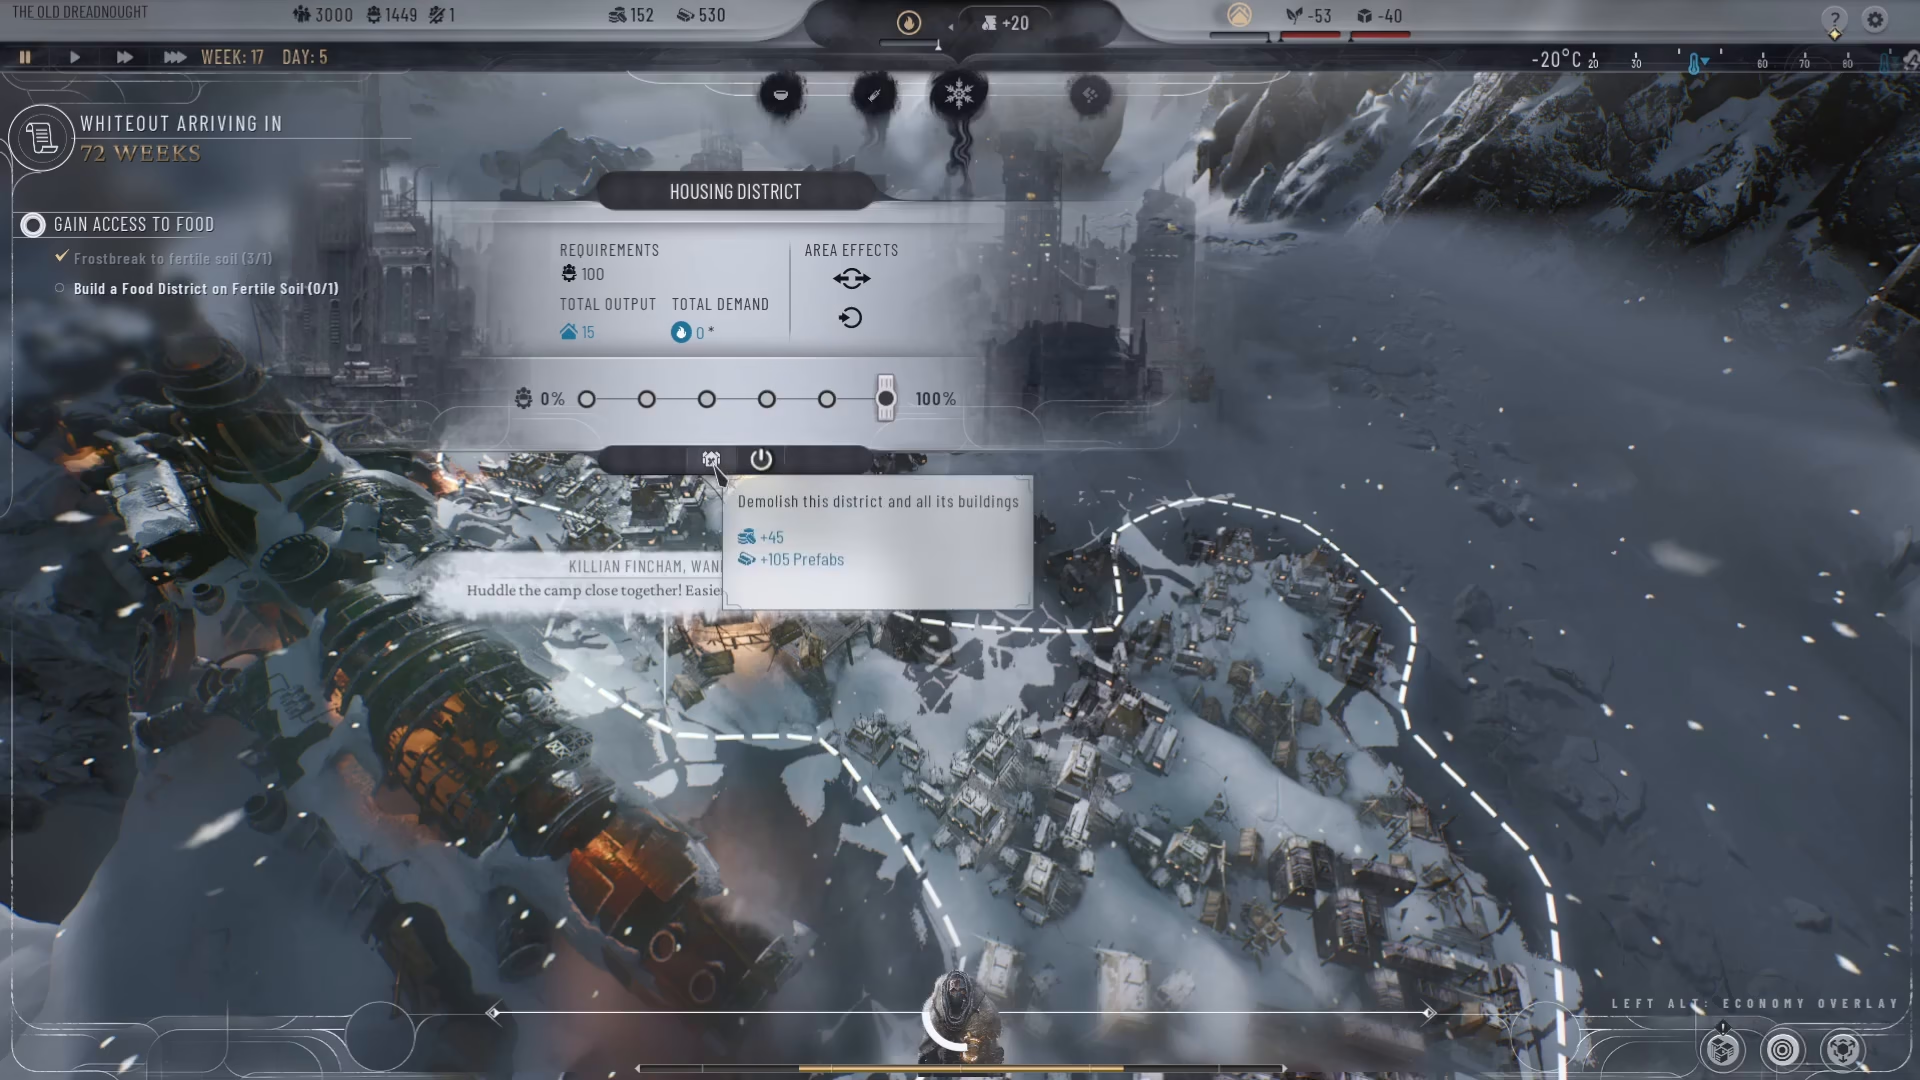
You have full control over housing district management. You can:
Deactivate a district temporarily using the deactivation button without destroying it
Demolish a district and recover some materials for reuse
Conclusion
Building and managing housing districts in Frostpunk 2 requires careful planning and strategic placement. Prioritize frost breaking near your generator, place housing districts in close proximity to maximize heat efficiency, and manage workforce and output levels based on your population’s needs. With multiple housing districts properly positioned and optimized, you’ll ensure your citizens have adequate warm shelter to survive the frozen world.
— Want to Support? —
If you would like to help us continue making these guides – please consider joining our patreon here – https://www.patreon.com/c/JaviHeals
Alternatively – you can join our discord here – https://discord.gg/zD7Gjt6MHF