
How to do the Pond Lab in Grounded
How to Complete the Pond Lab in Grounded
The Pond Lab is one of the key locations you’ll explore in Grounded. This comprehensive guide will walk you through every step needed to navigate the lab, activate all necessary switches, collect important items, and successfully escape. Whether you’re a beginner or looking to optimize your route, follow these detailed instructions to complete the Pond Lab efficiently.
Getting Started: Initial Setup and Equipment
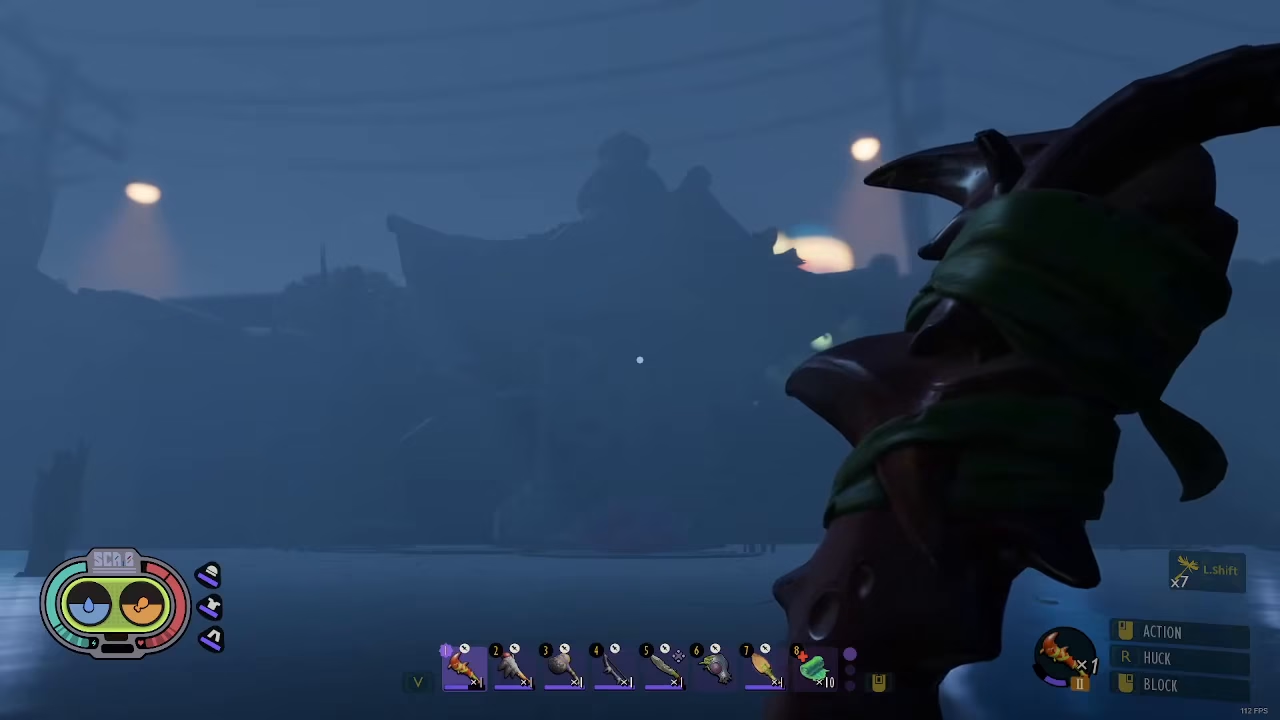
Before you begin your descent into the Pond Lab, make sure you have the right equipment. Head near the fountain and prepare to jump down into the water. You’ll want to gather a Gail Tube and Fin Flops before starting—both items are easy to find using resources already available in the pond. These tools will significantly improve your swimming speed and efficiency underwater.
Once you’re equipped, jump down from near the fountain and begin swimming straight down. You’ll immediately notice a black hose or tube—this is your primary guide throughout the descent. Follow it closely, as it will lead you to all the key areas you need to visit.
Following the Path: Tubes and Air Bubbles
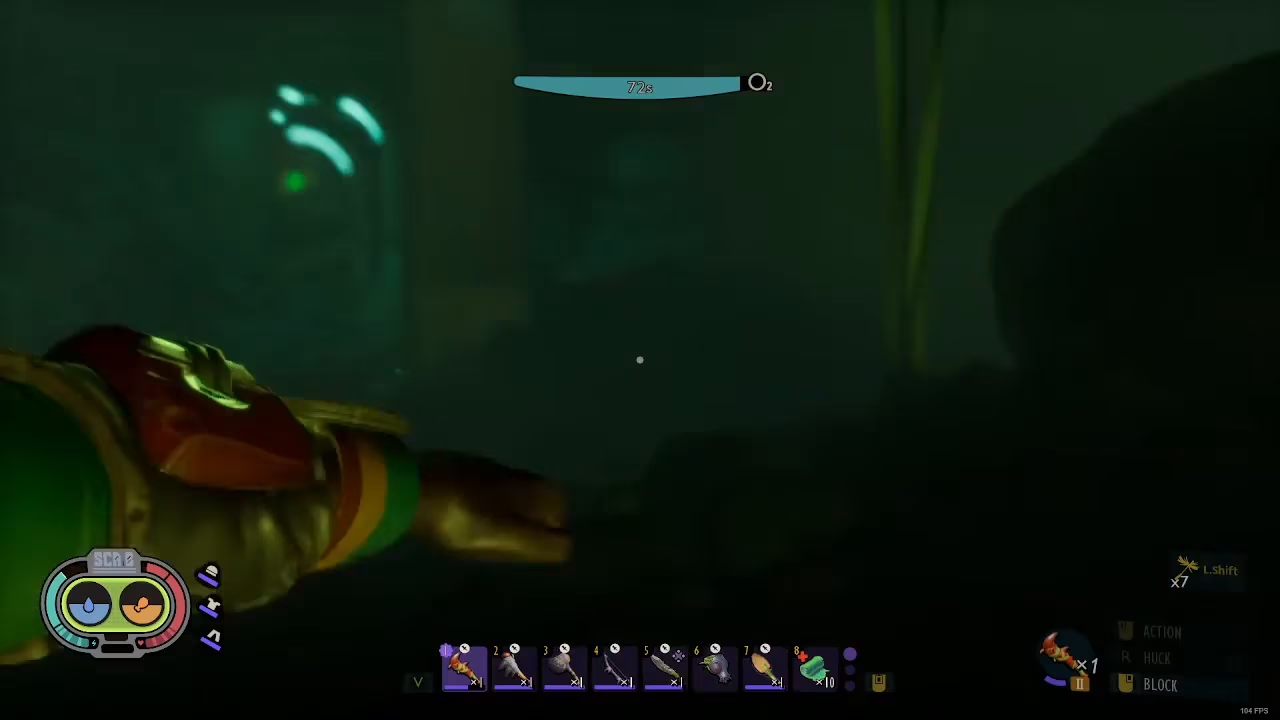
As you swim down the black tube, you’ll encounter several clusters of bubbles along the way. These bubbles are your lifeline—they provide free air with minimal effort required. Take advantage of them whenever you pass by to keep your oxygen levels topped up.
Continue following the black tube all the way to the bottom of the lab. At the bottom, you’ll see bubbles being propelled forward by air currents. Swim toward these propelled bubbles and they will shoot you forward rapidly, helping you move through the lab much faster and more efficiently.
Entering the Main Lab: Door and Biometric Scanner
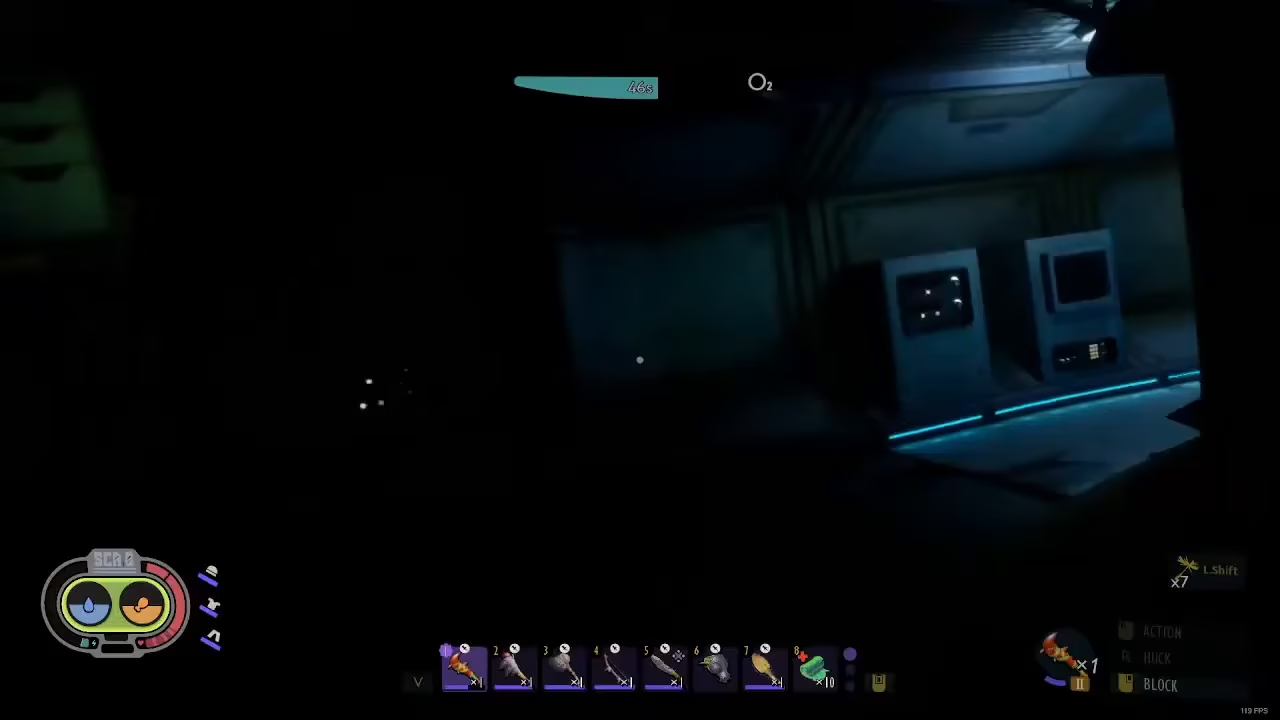
Swim toward the door in the middle of the water—you’ll recognize it by the green marking above it. Open this door by swimming up to it. Once inside, turn right and continue following the path ahead of you.
You’ll soon reach another door that requires a biometric scanner to open. Use your scanner to unlock it, then swim upward to access an air pocket. This is a safe resting point where you can catch your breath and prepare for the next phase.
Collecting Initial Items and Resetting the Power Grid
In this air pocket area, you’ll find a Rotten Slime Lantern and some Lore information. Collect both items—the lantern will be especially useful for illuminating dark areas later on.
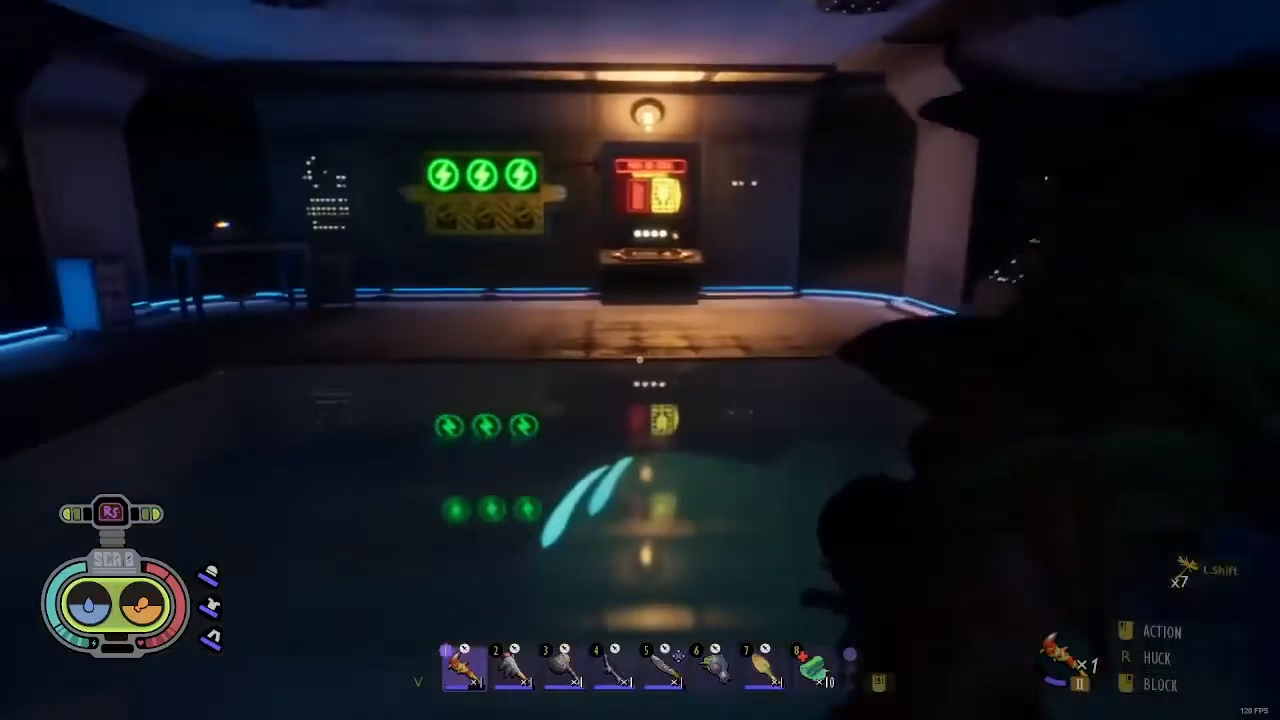
After gathering these items, locate and interact with the Power Grid Control. When you hit this control, it resets the breaker system. This action requires you to flip three switches throughout the lab to restore full power. The switches will appear red on your scanner until activated.
Activating the First Switch
Return the way you came, swimming back down through the areas you’ve already traversed. With your Slime Lantern in hand, you’ll have better visibility as you navigate back to the main underwater area.
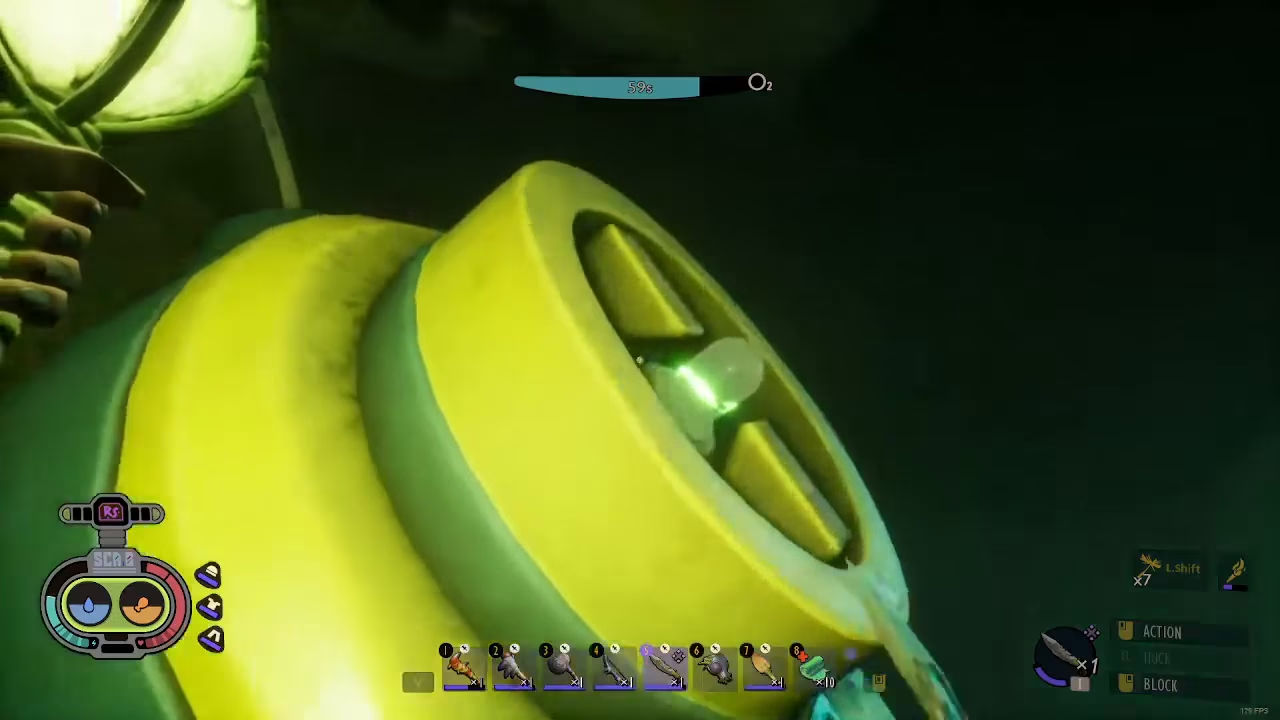
Locate the first switch—it’s positioned just to your left when you exit back into the main area. Swim over to it and press E to flip the switch from red to green. This completes the first of three required activations.
Finding and Activating the Second Switch
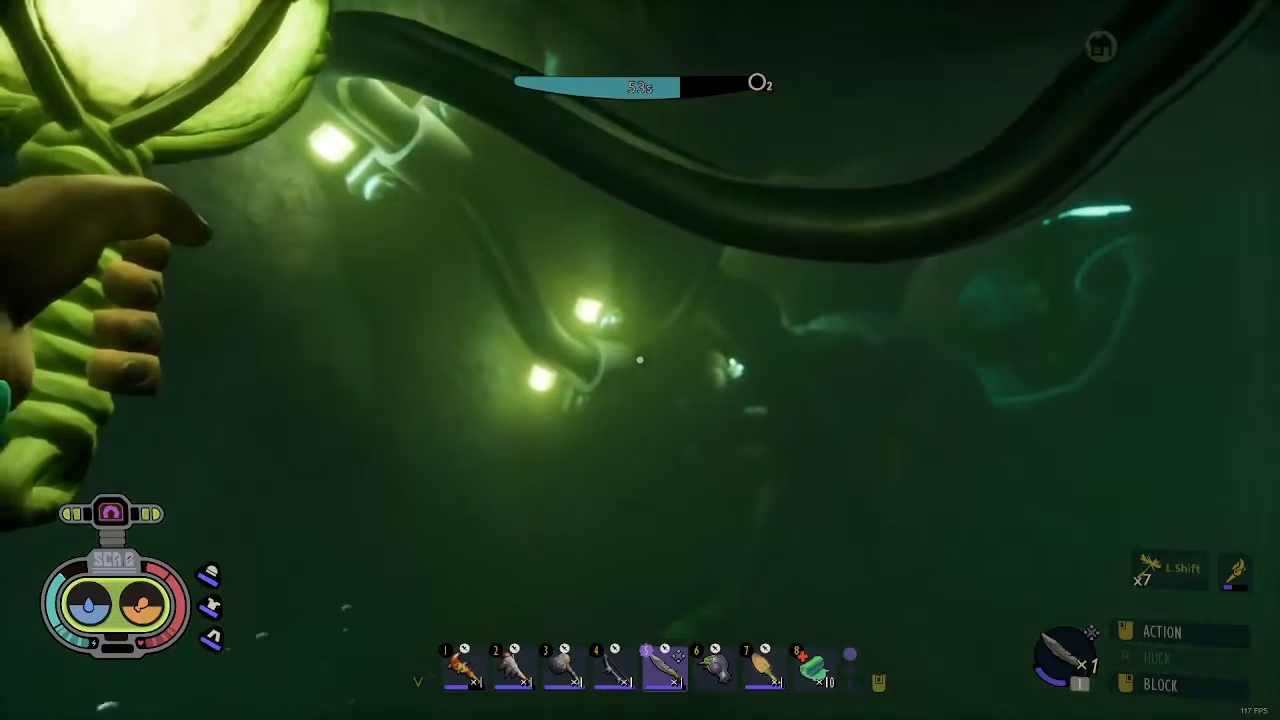
After activating the first switch, turn around and follow the black wire that you’ll see in front of you. This wire serves as a guide leading you directly to the second switch location.
Swim through the passages while following the black wire. When you reach the end of the wire, swim upward to the switch location. Press E to activate this switch, turning it from red to green as well.
Refilling Air and Preparing for the Third Switch
Return to the main central area where you first entered the lab. Swim upward to the air pocket at the top and refill your oxygen completely. Having maximum air is critical before you proceed to the third switch, as the path is more complex and time-consuming.
Once your air meter is full, prepare to descend again through the door you came through initially. You’ll follow a similar pattern as before, but with some variations in your route.
Navigating to the Third Switch in the Plastic Area
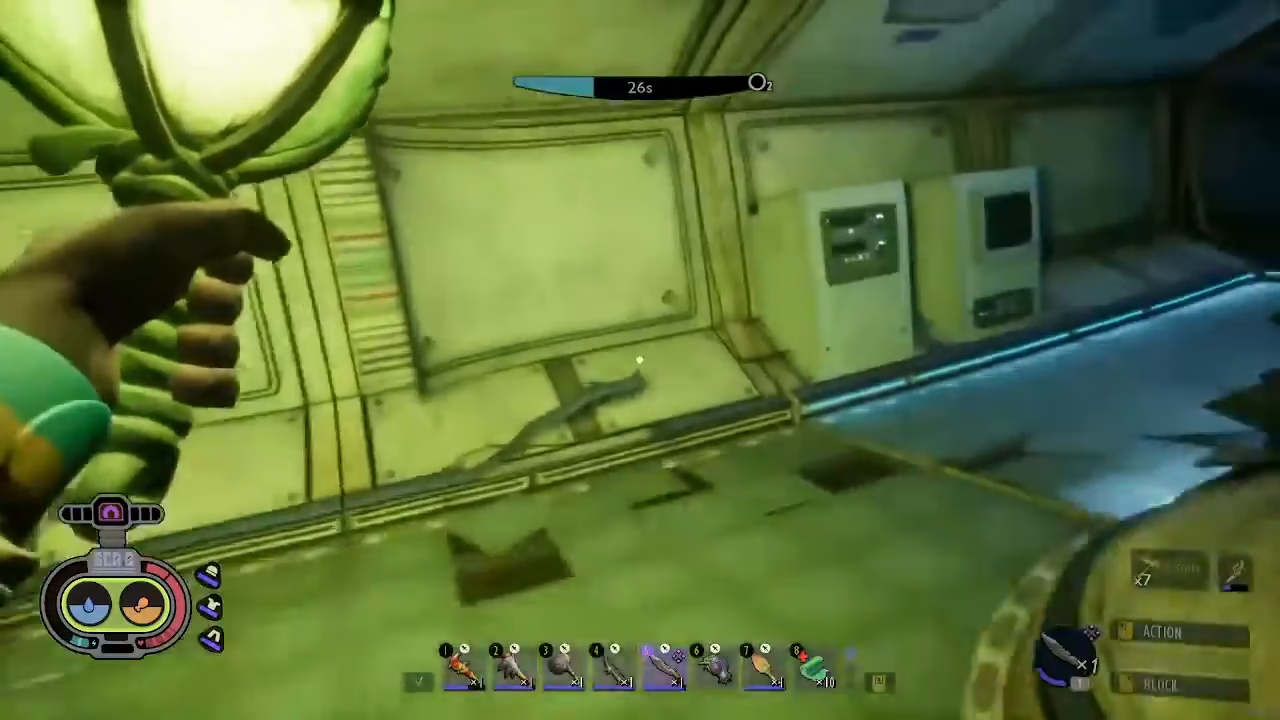
Swim back down through the main door and follow the same general path as before. However, this time you can swim straight instead of turning left—this shortcut will ultimately lead you to the same destination.
You need to enter the plastic tubing area where the third switch is located. To do this, swim into the tube in front of you. Once inside, follow these navigation steps in order: at the intersection, turn left, then turn right, then turn right again. Continue forward into the next area.
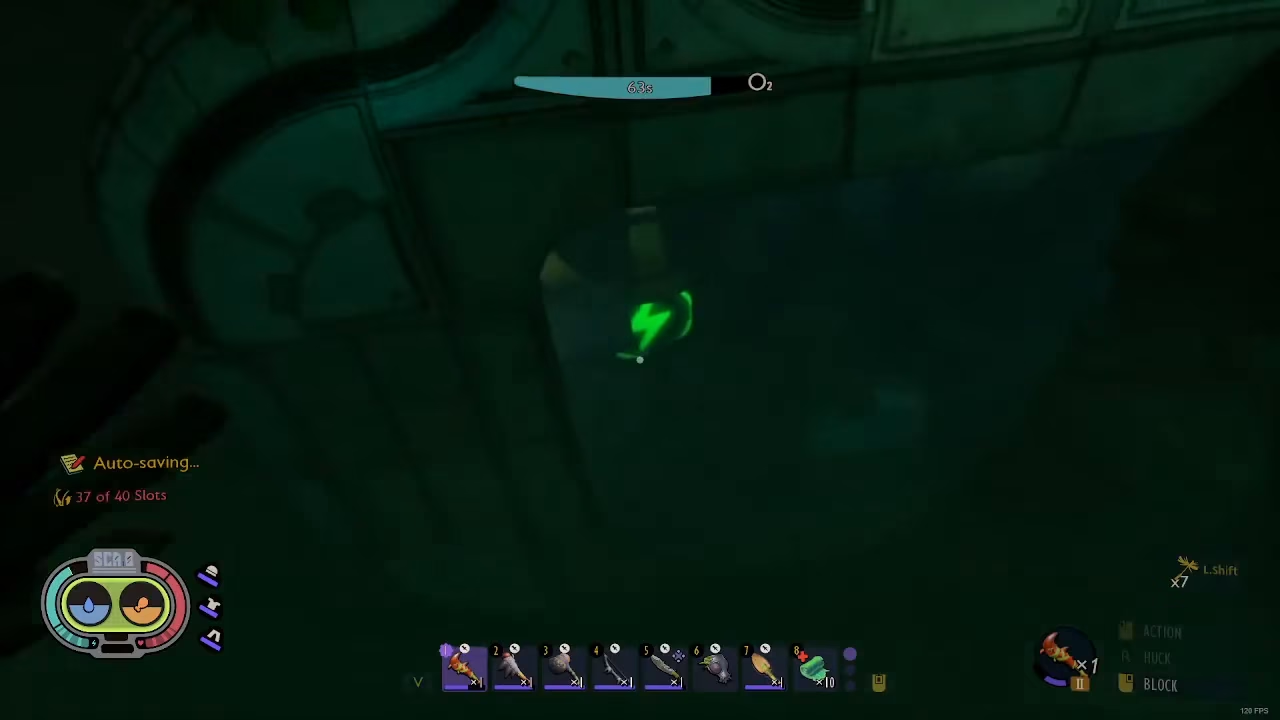
Locate and flip the third switch from red to green. Once this final switch is activated, a large door in the middle of the lab will open automatically, significantly improving your access to air and making navigation much easier for the rest of your exploration.
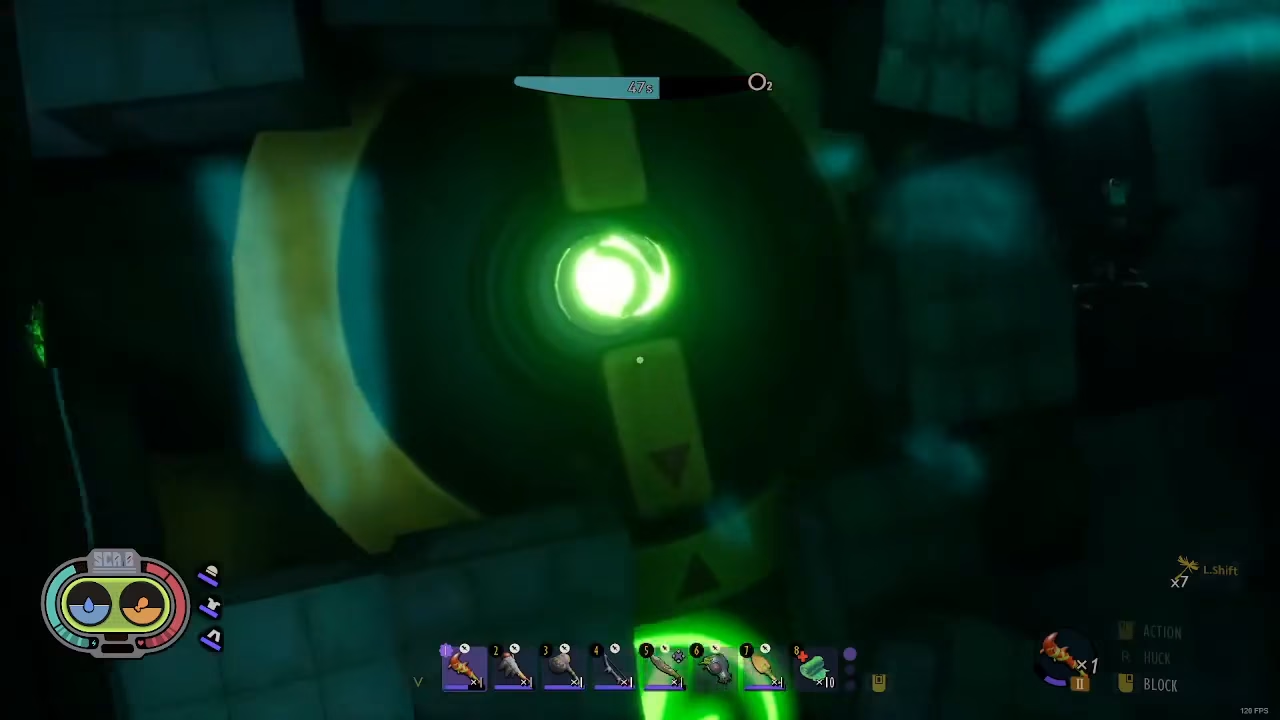
Accessing the Central Chamber and Setting Your Respawn Point
Now that all three switches are activated and the main door has opened, you have much easier access to fresh air and better overall navigation throughout the lab. The areas are now interconnected, making it simpler to move between locations.
Before continuing deeper into the lab, consider using the respawn point that’s available in this central area. Setting your respawn here means that if you die during the more challenging sections ahead, you’ll return to this relatively safe location rather than having to repeat the entire journey from the beginning.
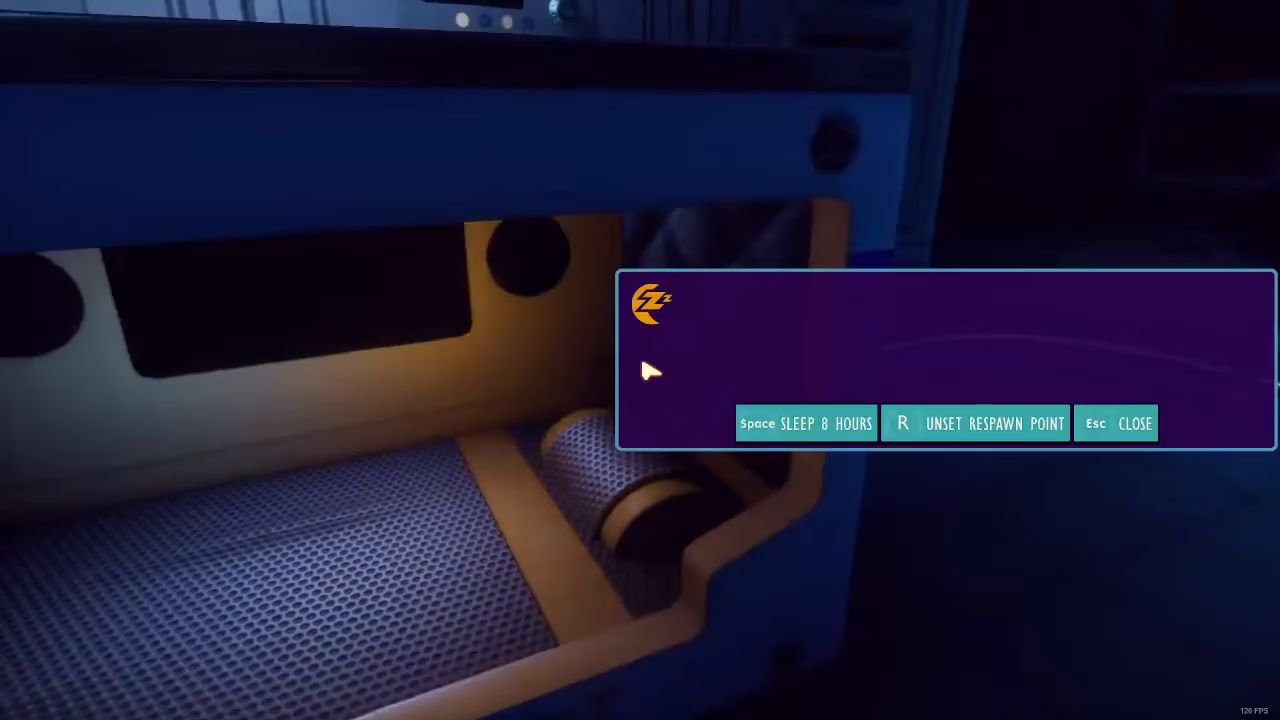
Exploring and Collecting Loot
Exit through the door on the right side of the central chamber and turn right. Swim downward and begin exploring the connected passages. With the main path now open, all the different areas are accessible and interconnected.
You’ll find multiple chests scattered throughout this section of the lab. Inside these chests, you’ll discover crafting materials to create additional Slime Lanterns. If the darkness becomes an issue, search for Slime Lantern recipes and craft more torches to improve your visibility in the darker passages.
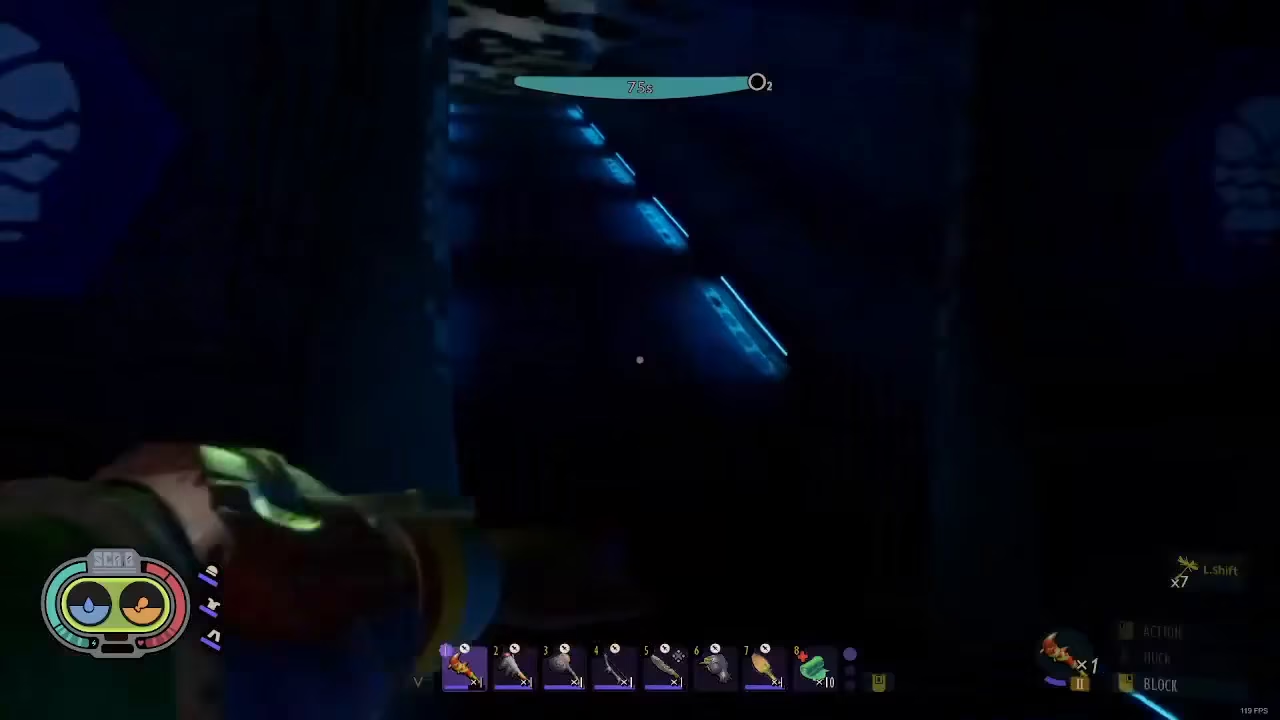
Navigating the Main Hallway and Reaching the Keyboard Terminal
Continue through the lab passages, equipping your weapons as you go—this will help you swim more efficiently and prepare you for any potential encounters.
Follow the natural path that the level design guides you through. Swim through the hallway and continue forward, staying on the main route. Eventually, you’ll reach an area with a keyboard terminal. When you approach this keyboard, an on-screen prompt will tell you to “mash keys.” Rapidly press keys to activate the terminal, which will open all the necessary doors to allow you to proceed to where you need to go.
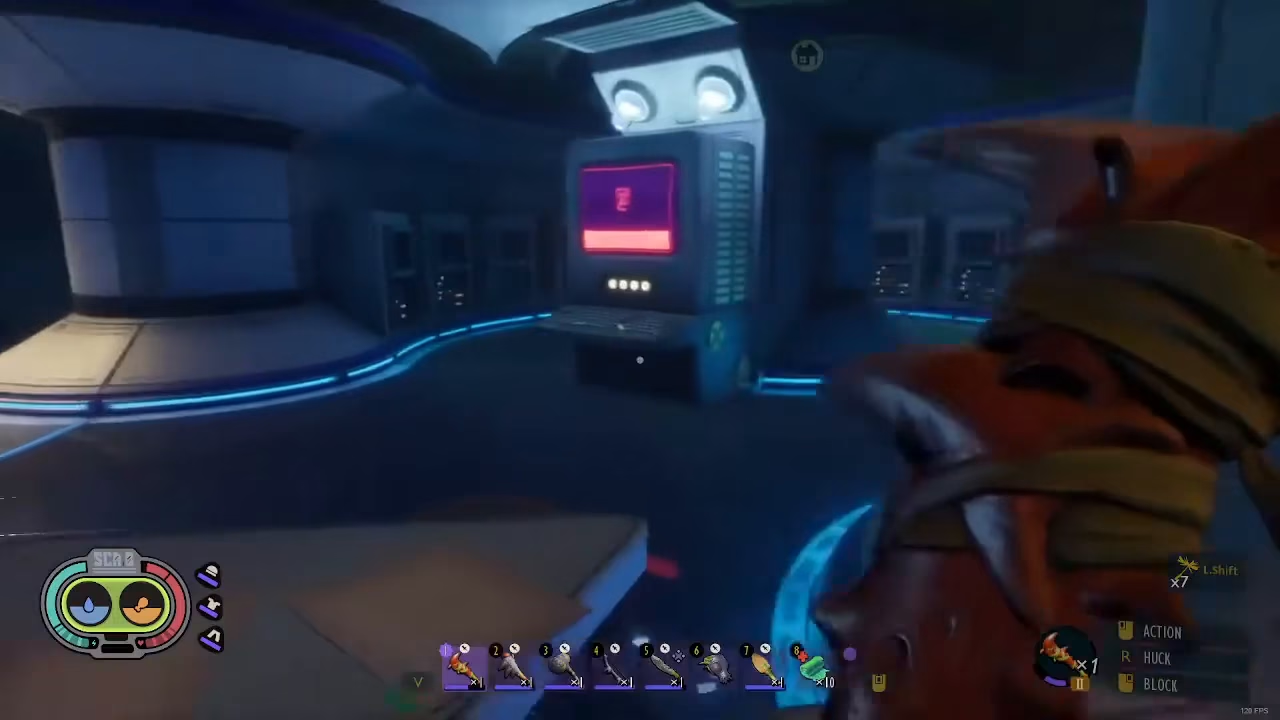
Entering the Final Chamber and Collecting Creatures
Return to the main central area after completing the keyboard sequence. Go through the now-open door and turn left, continuing upward through the passages.
Turn left again to enter the main final chamber area. Here you’ll encounter several creatures including Arcors, Tays, and a Scabby. Make sure to collect all of these creatures as you navigate through the space. Once you’ve gathered all the items and creatures in this area, you’re ready to proceed to the final objective.
Collecting the Superchip and Opening the Dome
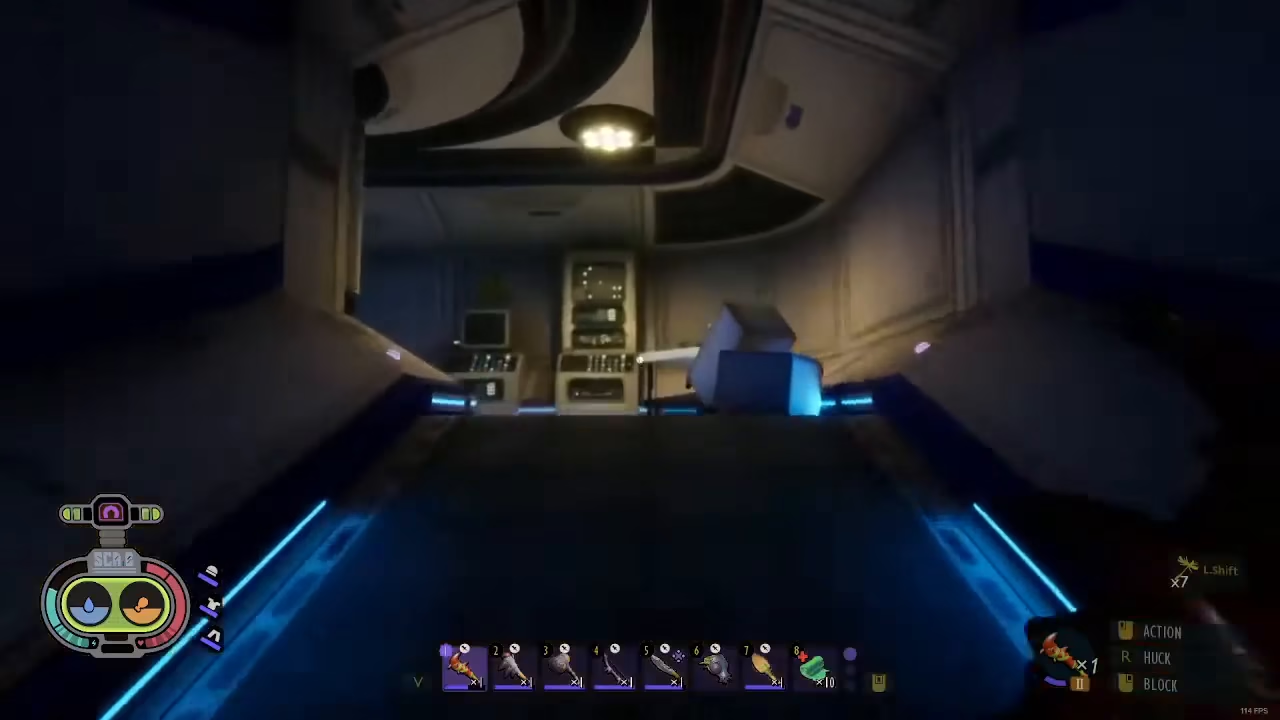
Follow the spiral path that leads upward from where you are. Climb up this spiral corridor until you reach the top level.
At the top of the spiral path, look to your left—you’ll see a table with the Superchip sitting on it. Interact with this item to trigger the final sequence. When you collect the Superchip, the large dome above the lab will open, giving you a clear view of the outside world beyond the pond and providing an easy exit route.
Making Your Exit from the Pond Lab
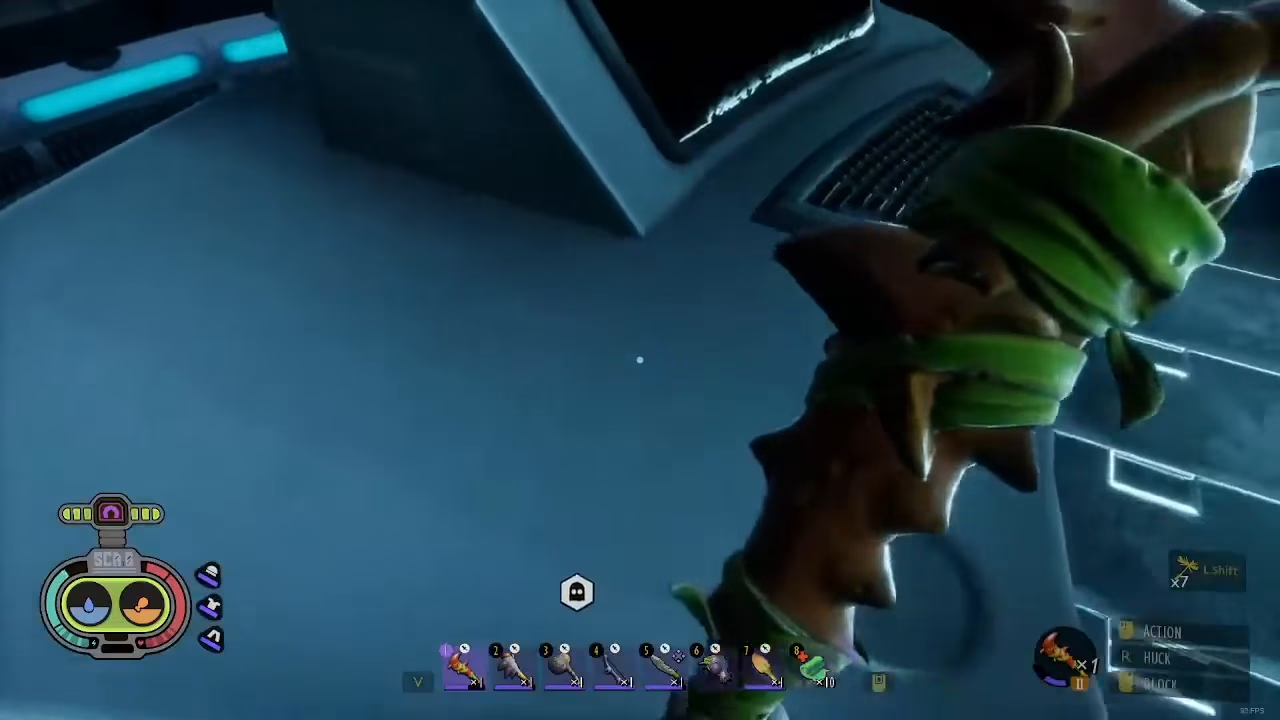
Now that the dome is open, head toward the chair you see in front of you and jump down. Walk through the door that’s now in front of you and proceed to the door on your right side.
Go down the path ahead of you. The door will open automatically as you approach. Continue forward and upward—because you’ve opened the dome, this exit door is now accessible and provides you with a clear path out of the lab and back to the surface.
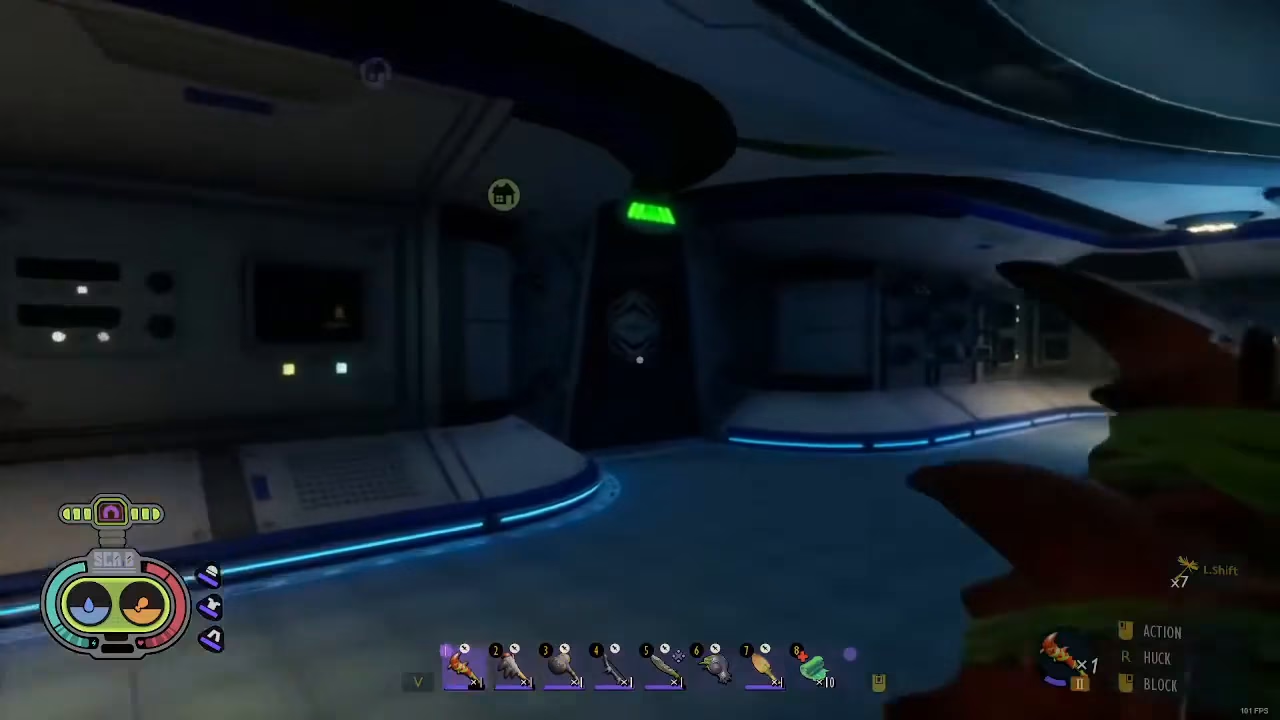
With the dome open, you’ve also secured a return route for future visits to the lab, making it much easier to come back and complete any unfinished business or collect additional resources.
Conclusion
Congratulations! You’ve successfully navigated and completed the Pond Lab in Grounded. By following these steps in order—gathering equipment, following the black tubes, activating all three switches, collecting the Superchip, and opening the dome—you’ve unlocked one of the game’s major locations. Remember to use air bubbles strategically, keep your Slime Lanterns equipped in dark areas, and take advantage of the respawn point to make your exploration safer. Now you’re ready to tackle whatever challenges await you next in Grounded.
— Want to Support? —
If you would like to help us continue making these guides – please consider joining our patreon here – https://www.patreon.com/c/JaviHeals
Alternatively – you can join our discord here – https://discord.gg/zD7Gjt6MHF