





How To Complete The Prologue In Frostpunk 2
How To Complete The Prologue In Frostpunk 2
The prologue in Frostpunk 2 can be challenging when you first attempt it, but once you understand the core mechanics and strategy, it becomes much more manageable. This guide walks you through the entire prologue from start to finish, covering everything you need to know to successfully complete this introductory mission. Whether you’re playing on Citizen difficulty or a harder setting, the same fundamental approach applies—you just need to work faster on higher difficulties.
Selecting Your Difficulty and Starting the Game
Begin by clicking on “Prologue” to start the mission. You’ll be presented with difficulty options, and this guide uses Citizen difficulty, which is the easiest setting available. While Citizen is the most forgiving, it’s still not a walk in the park. However, the strategy remains the same regardless of difficulty—you simply need to execute faster on harder modes.
When you first load into the prologue screen, immediately pause the game. This is crucial because the prologue is fundamentally a race against time.

Understanding the Prologue Objective
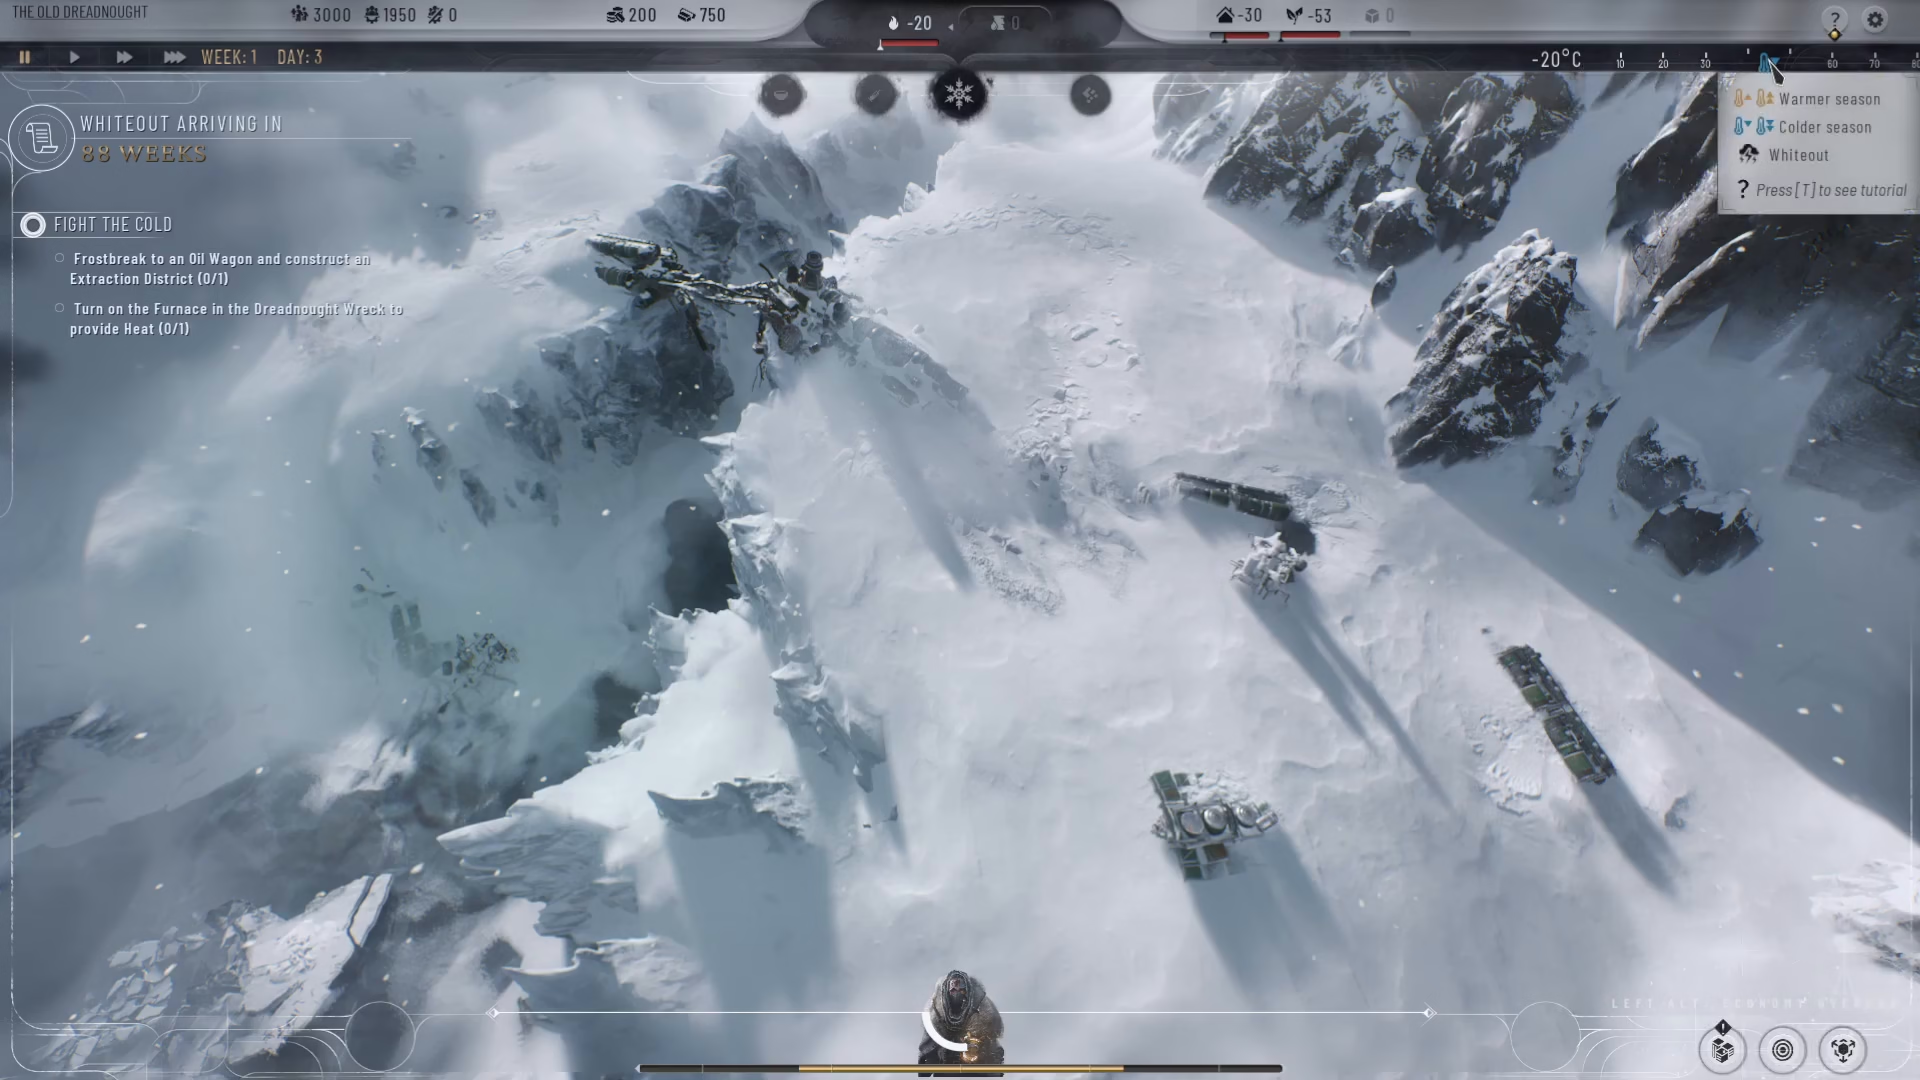
The main goal of the prologue is to survive a whiteout event. In the top right corner of your screen, you’ll see a temperature indicator measured in weeks and days—unlike Frostpunk 1, which used hours. As time progresses, temperatures will drop significantly. Within a few weeks, a whiteout will occur, forcing everyone indoors because it’s too cold to go outside. Your primary objective is to stockpile enough food to keep your population fed and alive during this whiteout event.
Frost Breaking Strategy
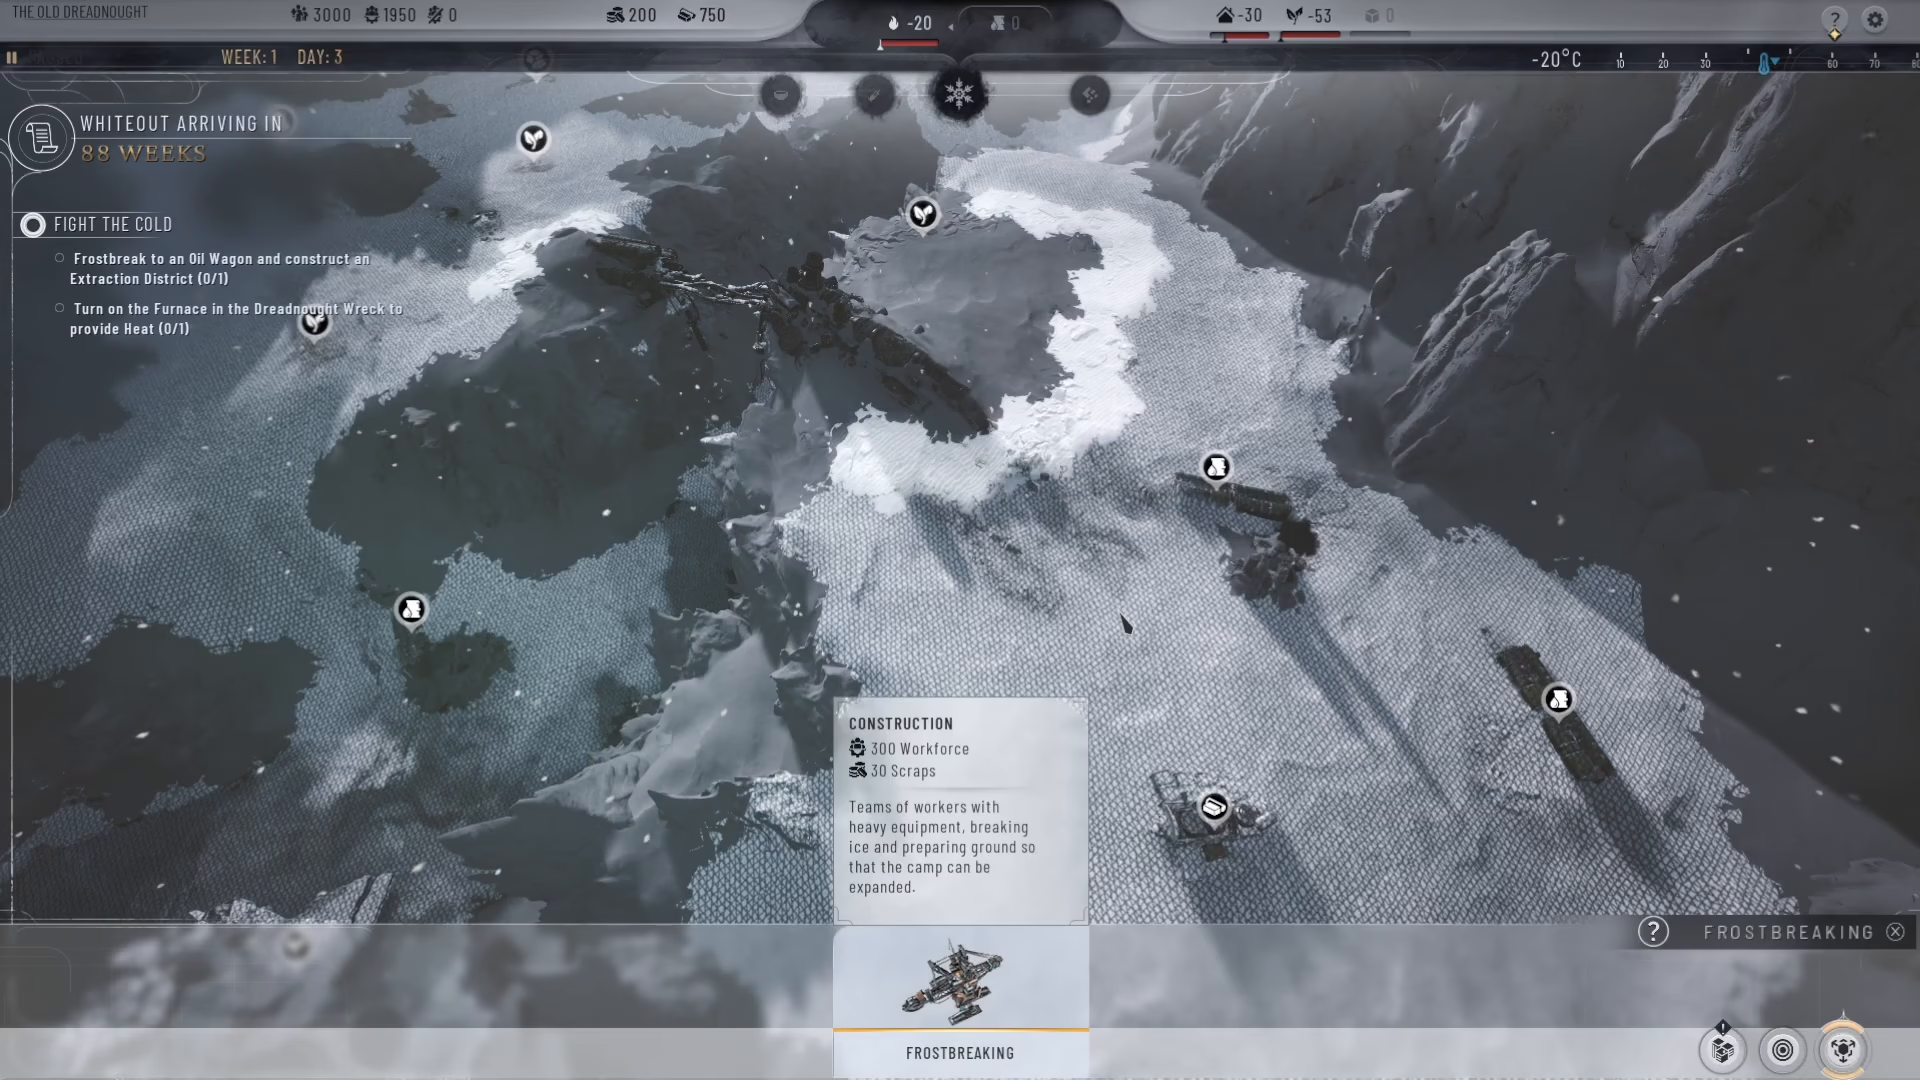
The first action you’ll take is frost breaking—essentially breaking through ice to create buildable terrain. While the game is still paused, navigate to the Frost Break button in the bottom right corner. You can frost break the white hexagonal tiles visible on your map. Focus on frost breaking tiles that contain valuable resources, particularly oil wagons and food sources.
Your frost breaking strategy should prioritize:
Oil wagons (for heat production)
Free fab resources
Food areas (your primary concern)
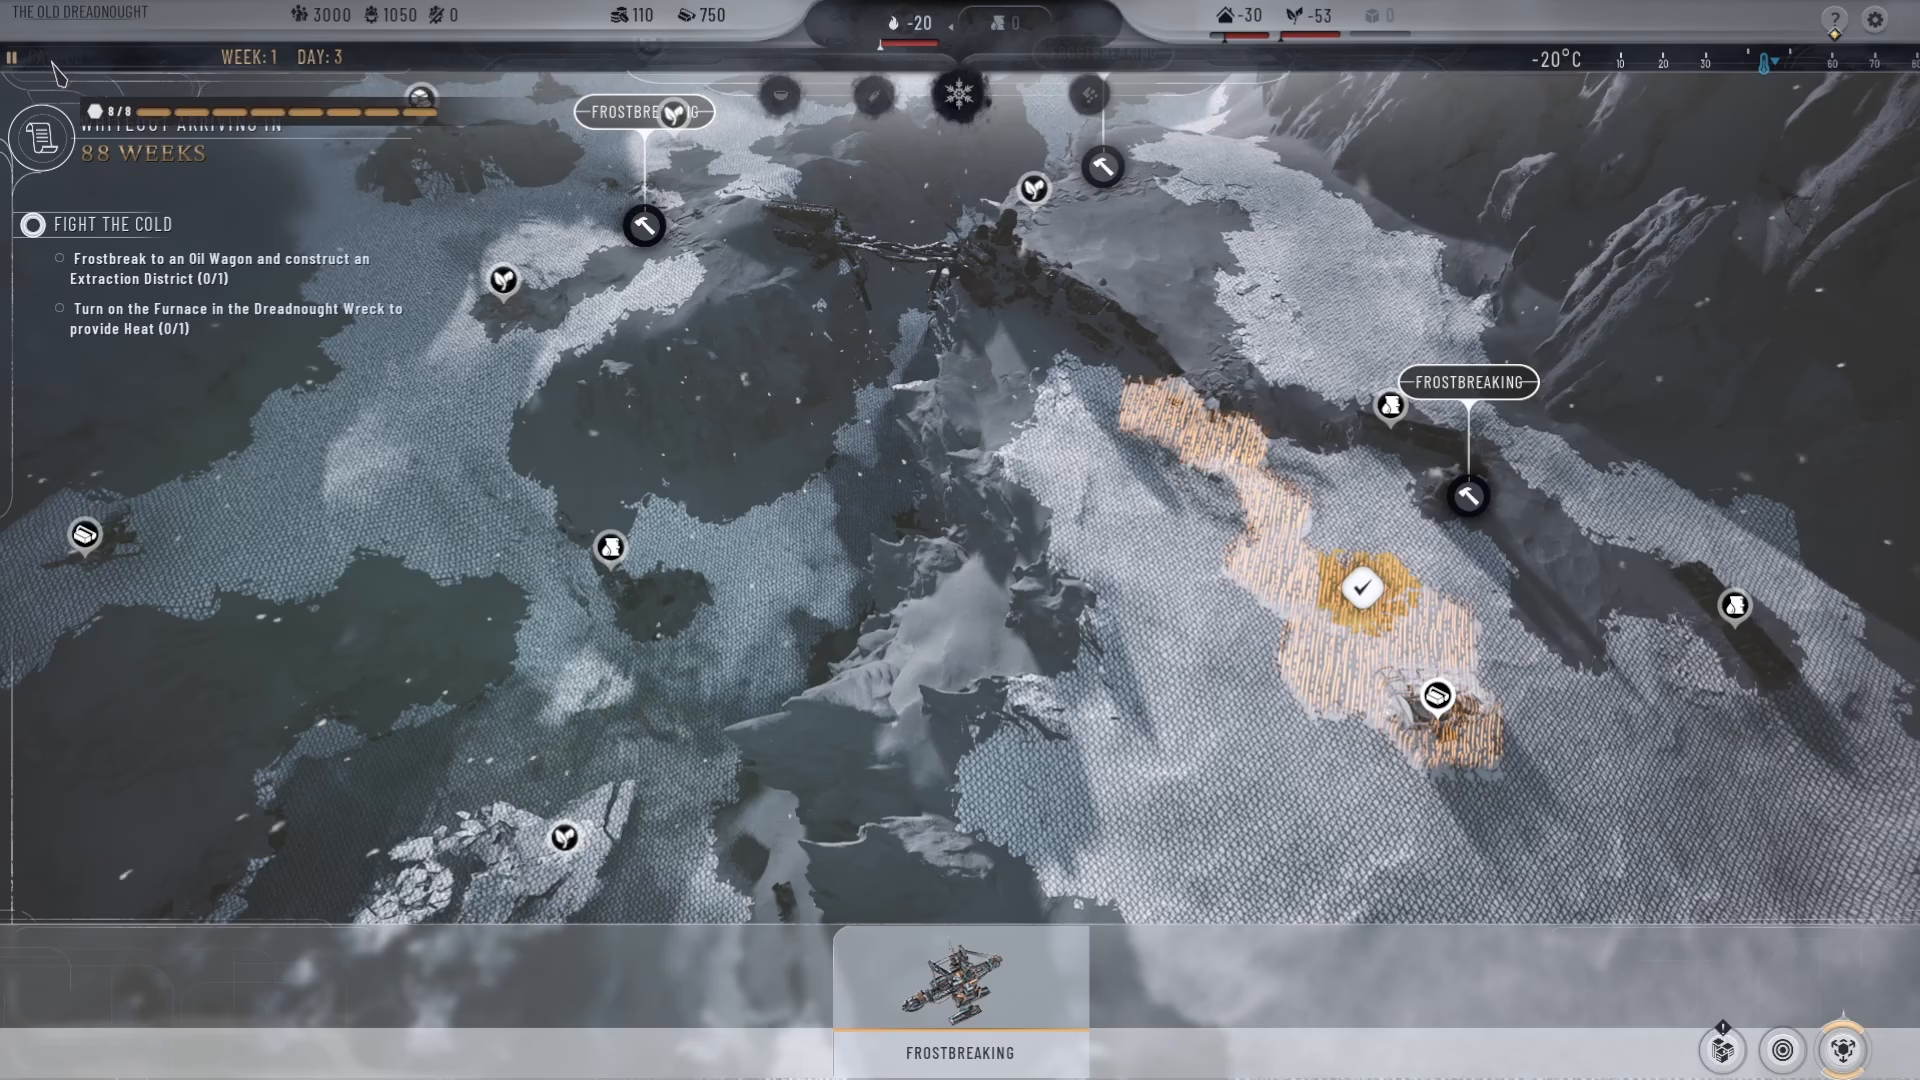
You can frost break up to 8 hexes per action. Before even starting the game proper, you should frost break multiple tiles strategically. For example, you might frost break tiles 1, 2, 3 to reach an oil wagon, then tiles 4, 5, 6 to reach another oil wagon, and so on. By the time you unpause on Week 1 Day 1 (essentially at game start), you’ll have already set the groundwork for efficient resource extraction.
Once you’ve frost broken as much as possible while paused, press the spacebar to unpause the game. All your queued frost breaking actions will now execute automatically while you focus on district construction.
Constructing Your Districts
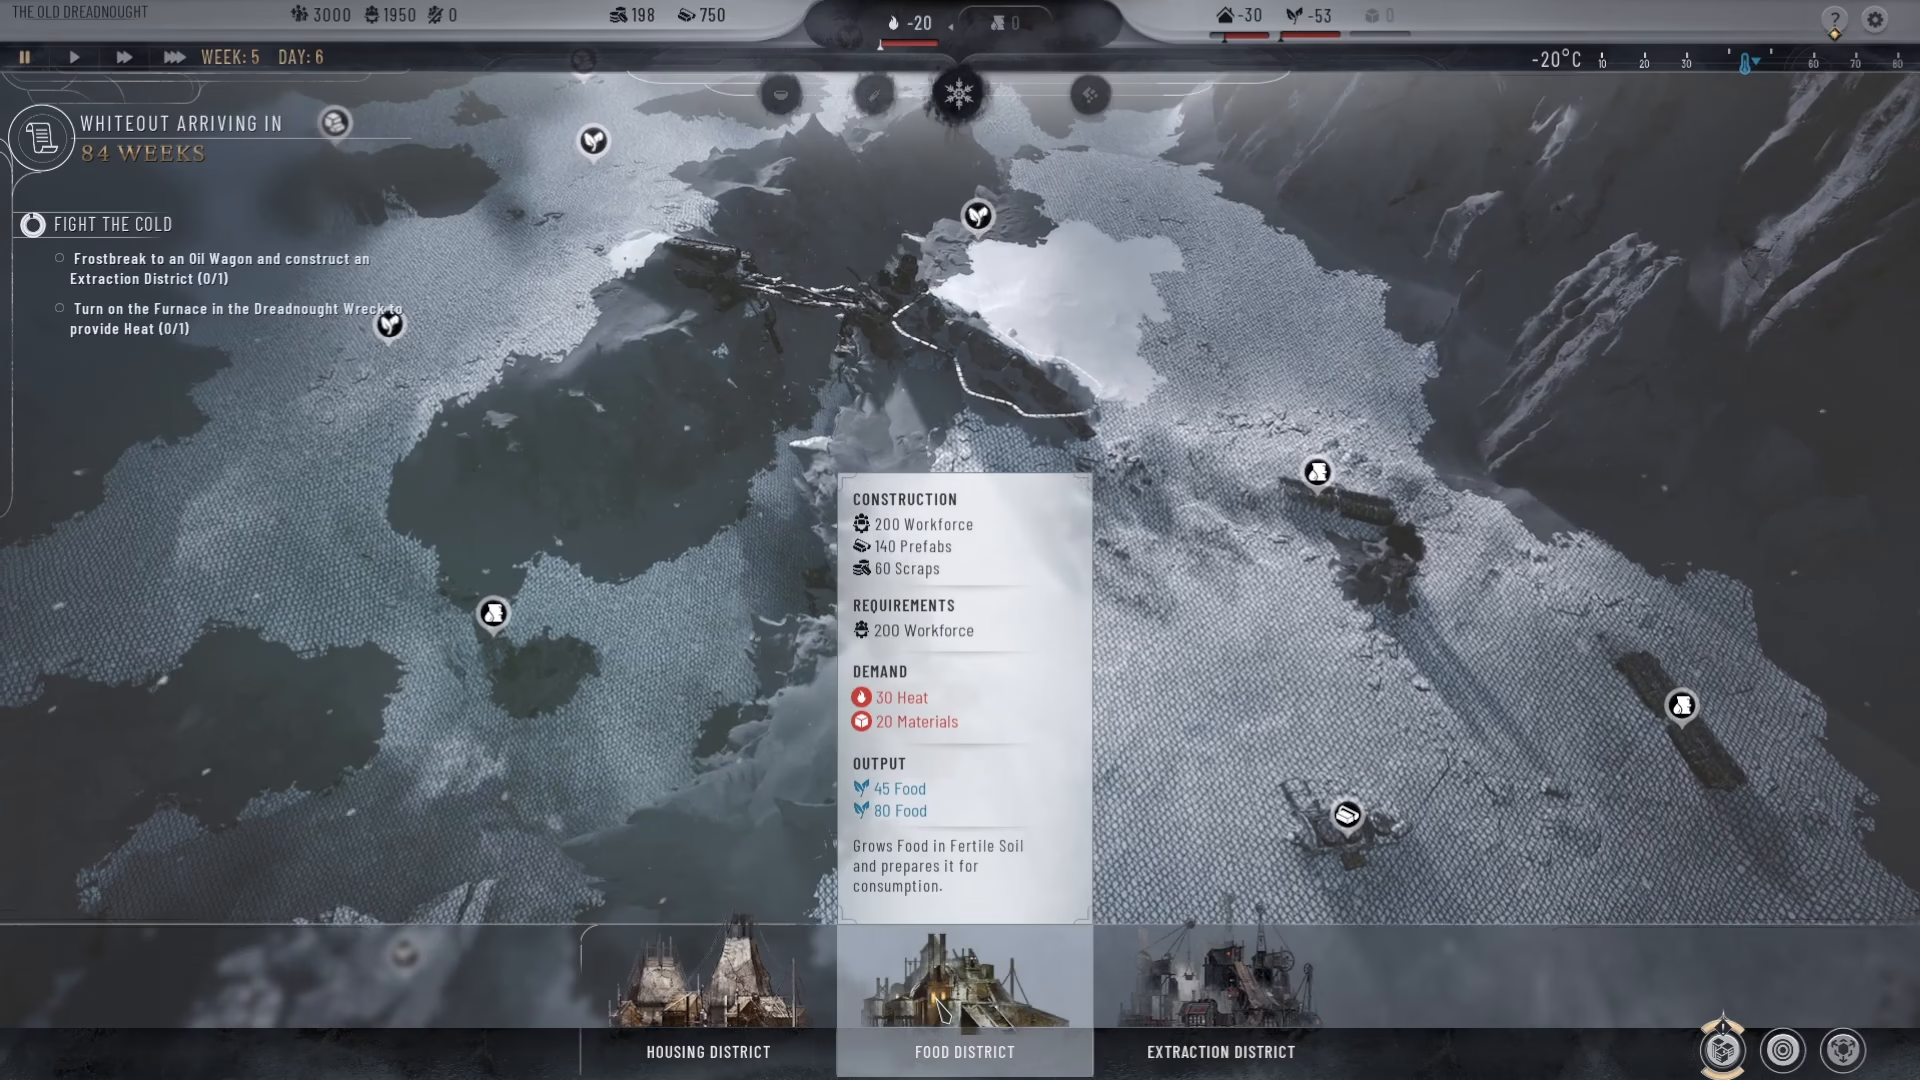
Food Districts
Once your frost broken areas are ready, immediately begin constructing food districts. Click on “Construct Districts” and select “Food District.” Place these on fertile soil tiles—you can identify these by their distinct appearance. Build multiple food districts; your first priority is establishing a reliable food supply. As soon as a food district is operational, enable “Emergency Shifts” to maximize food production, though be aware this does have long-term consequences for your workers.
Housing Districts
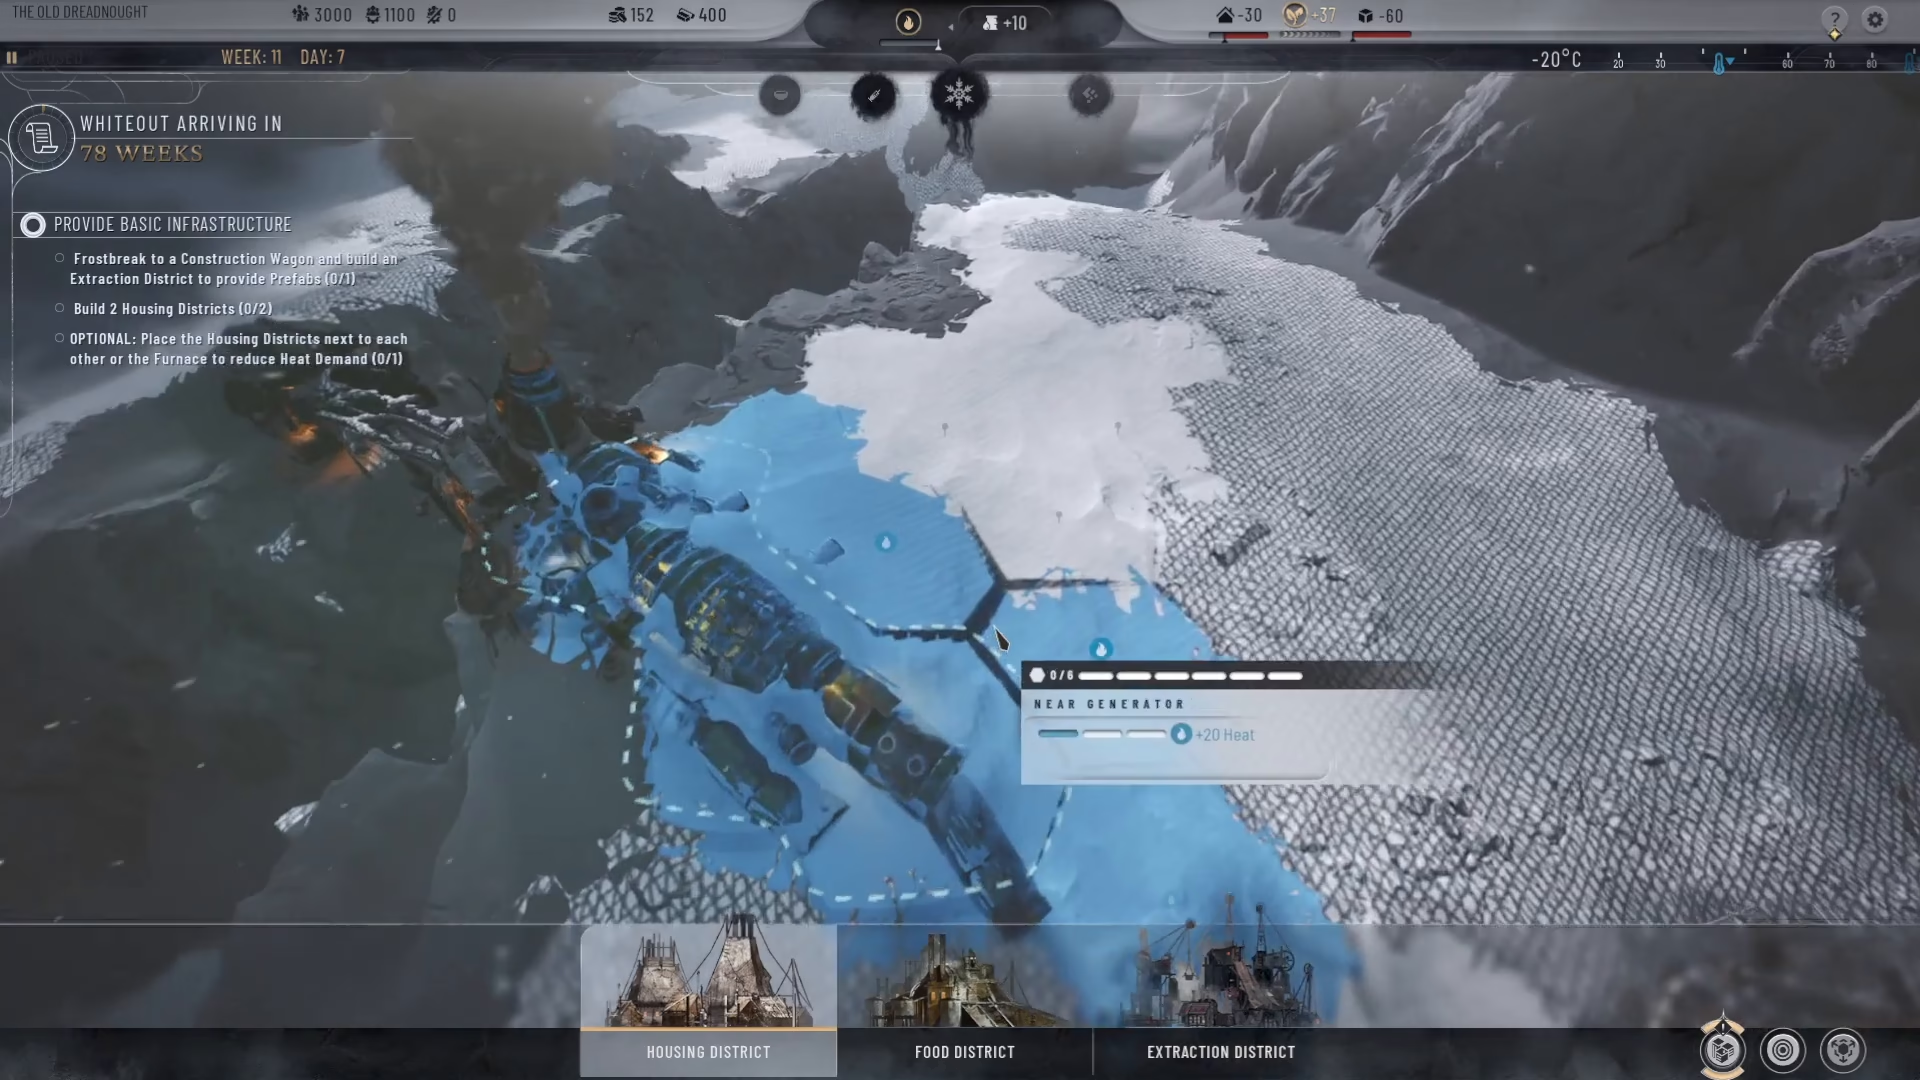
Build housing districts near your generator for heat coverage. Housing districts with the blue heat icon indicate they’re receiving warmth from nearby heat sources. This prevents cold-related issues and provides shelter for your population. Build at least two housing districts to ensure adequate shelter, placing them strategically around your generator.
Extraction Districts
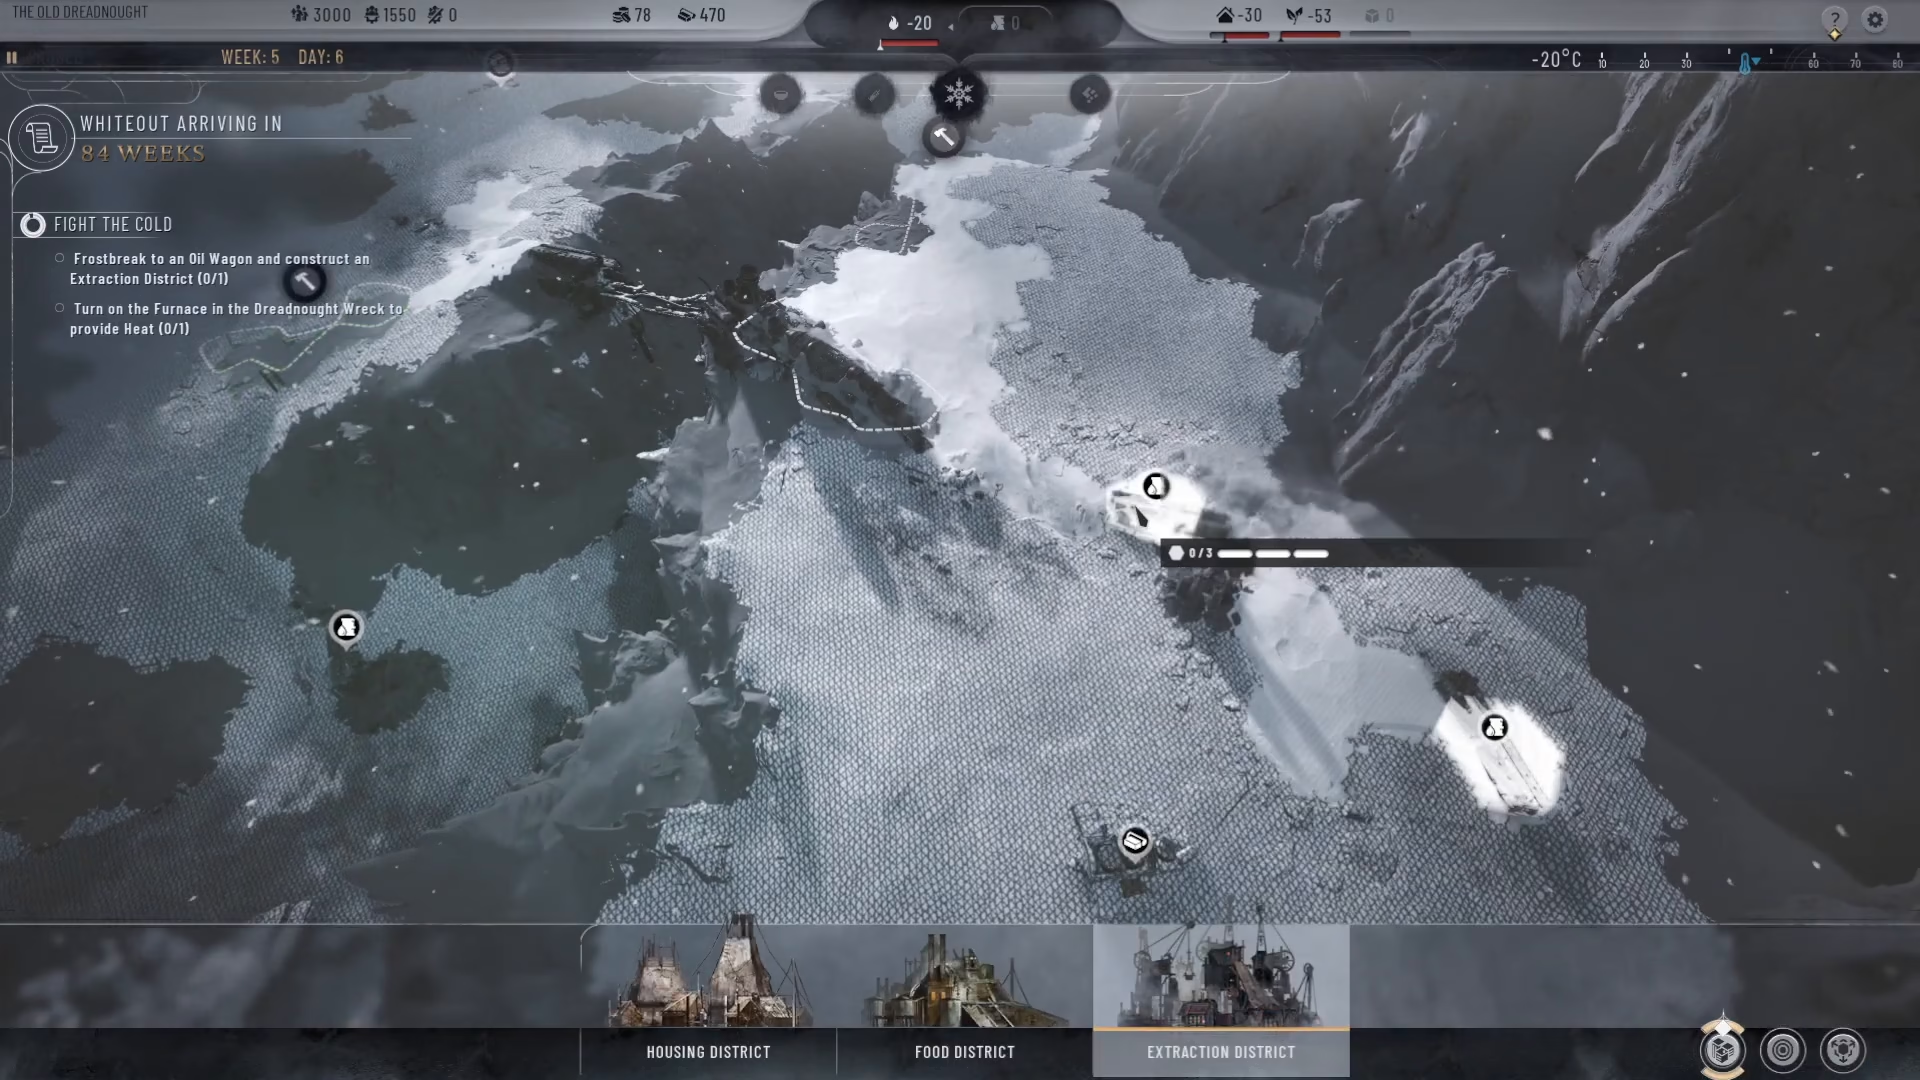
Construct extraction districts on oil wagons to generate heat, and on prefab resources to create construction materials. These are essential for building additional districts. Be careful not to build too many districts at once and exhaust your prefab supply—if this happens, demolish unnecessary districts to recover prefabs and continue building.
Managing Resources and Production
Prefab Management
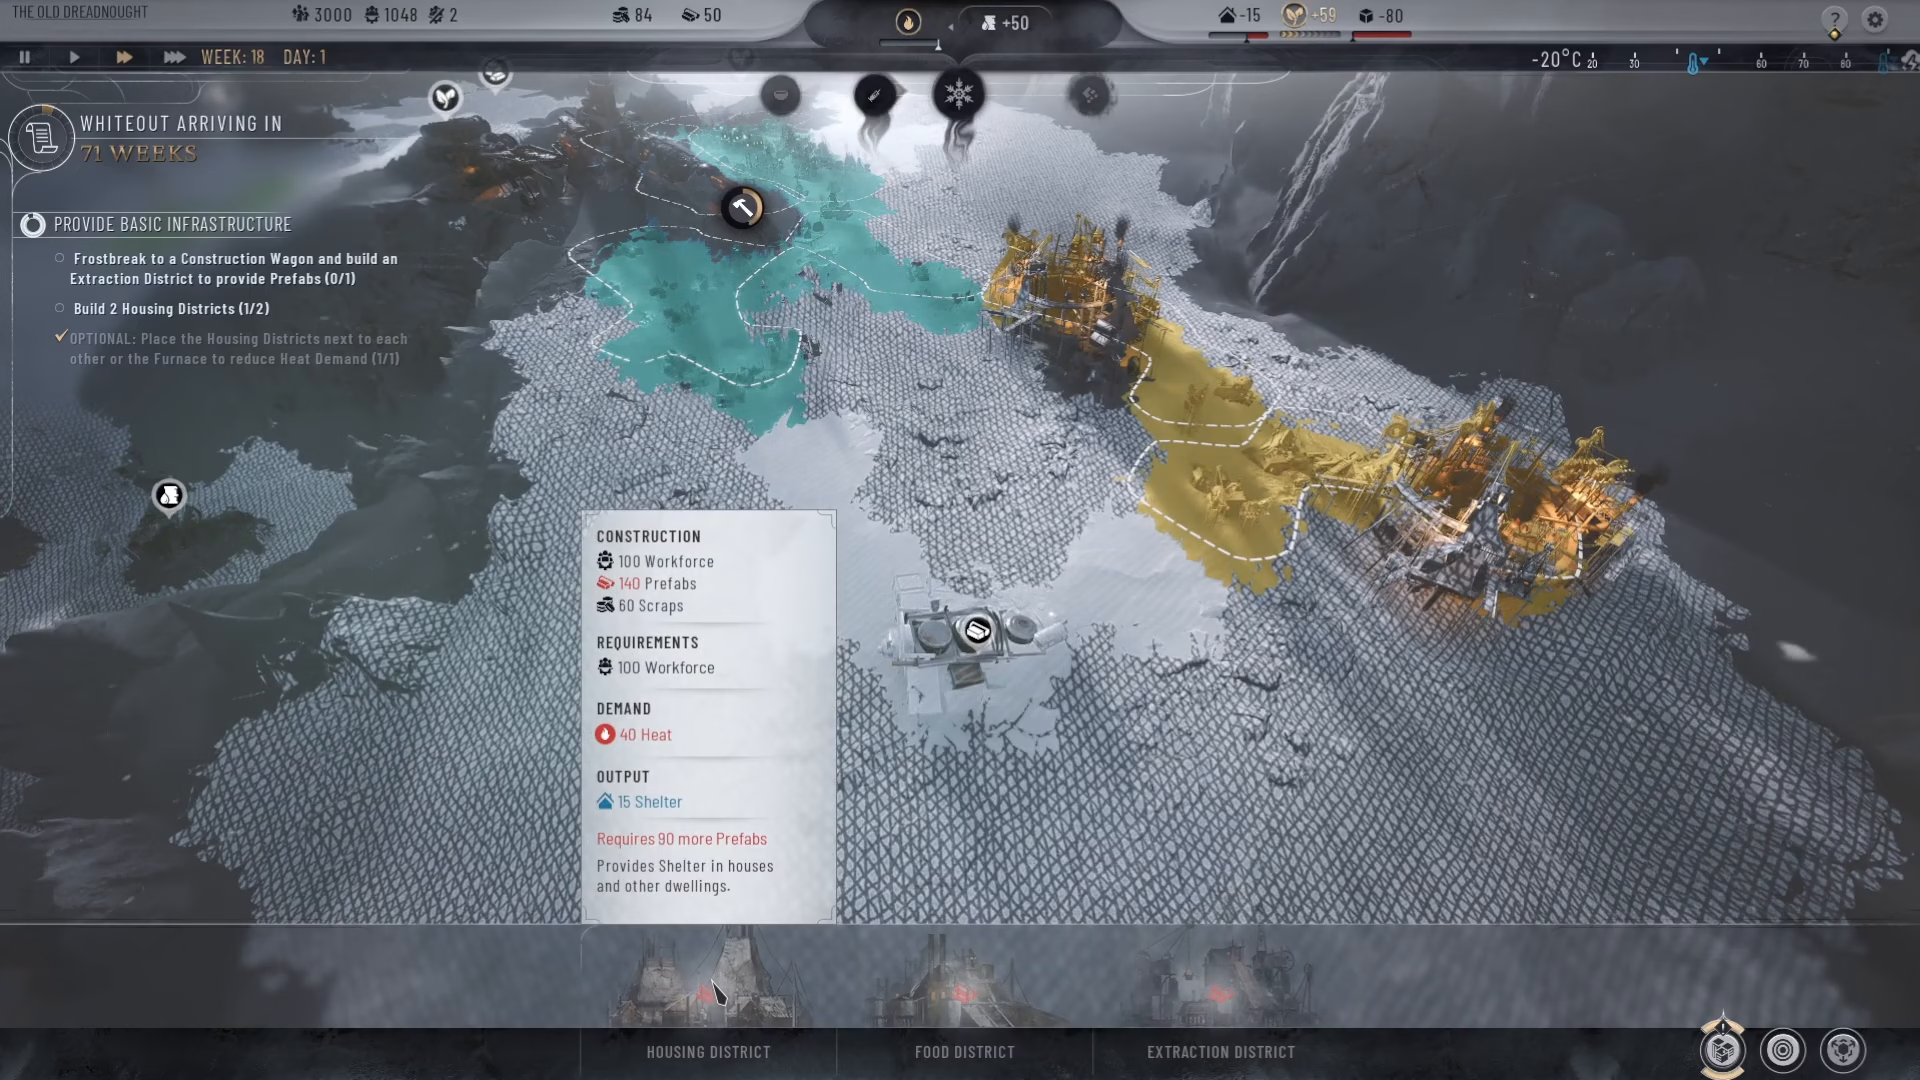
Prefabs are essential for constructing any district. You obtain them through extraction districts built on prefab resources. Monitor your prefab supply carefully—if you run low, you won’t be able to build new districts. If you’ve miscalculated and built too many districts without a prefab source, demolish a non-essential district to reclaim materials and continue operations.
Heat Management
Your population needs adequate heat to survive. Extract oil through oil wagons and use it to power your generator. All your active districts consume heat, so you need to maintain a surplus. If you notice heat deficiencies, prioritize building additional extraction districts on remaining oil wagons.
Material Extraction
Materials are relatively scarce in the prologue. Once you’ve established your initial food and heat production, build extraction districts on maintenance wagons to generate materials. These will supplement your resource reserves and allow for continued expansion.
Expanding Food Production
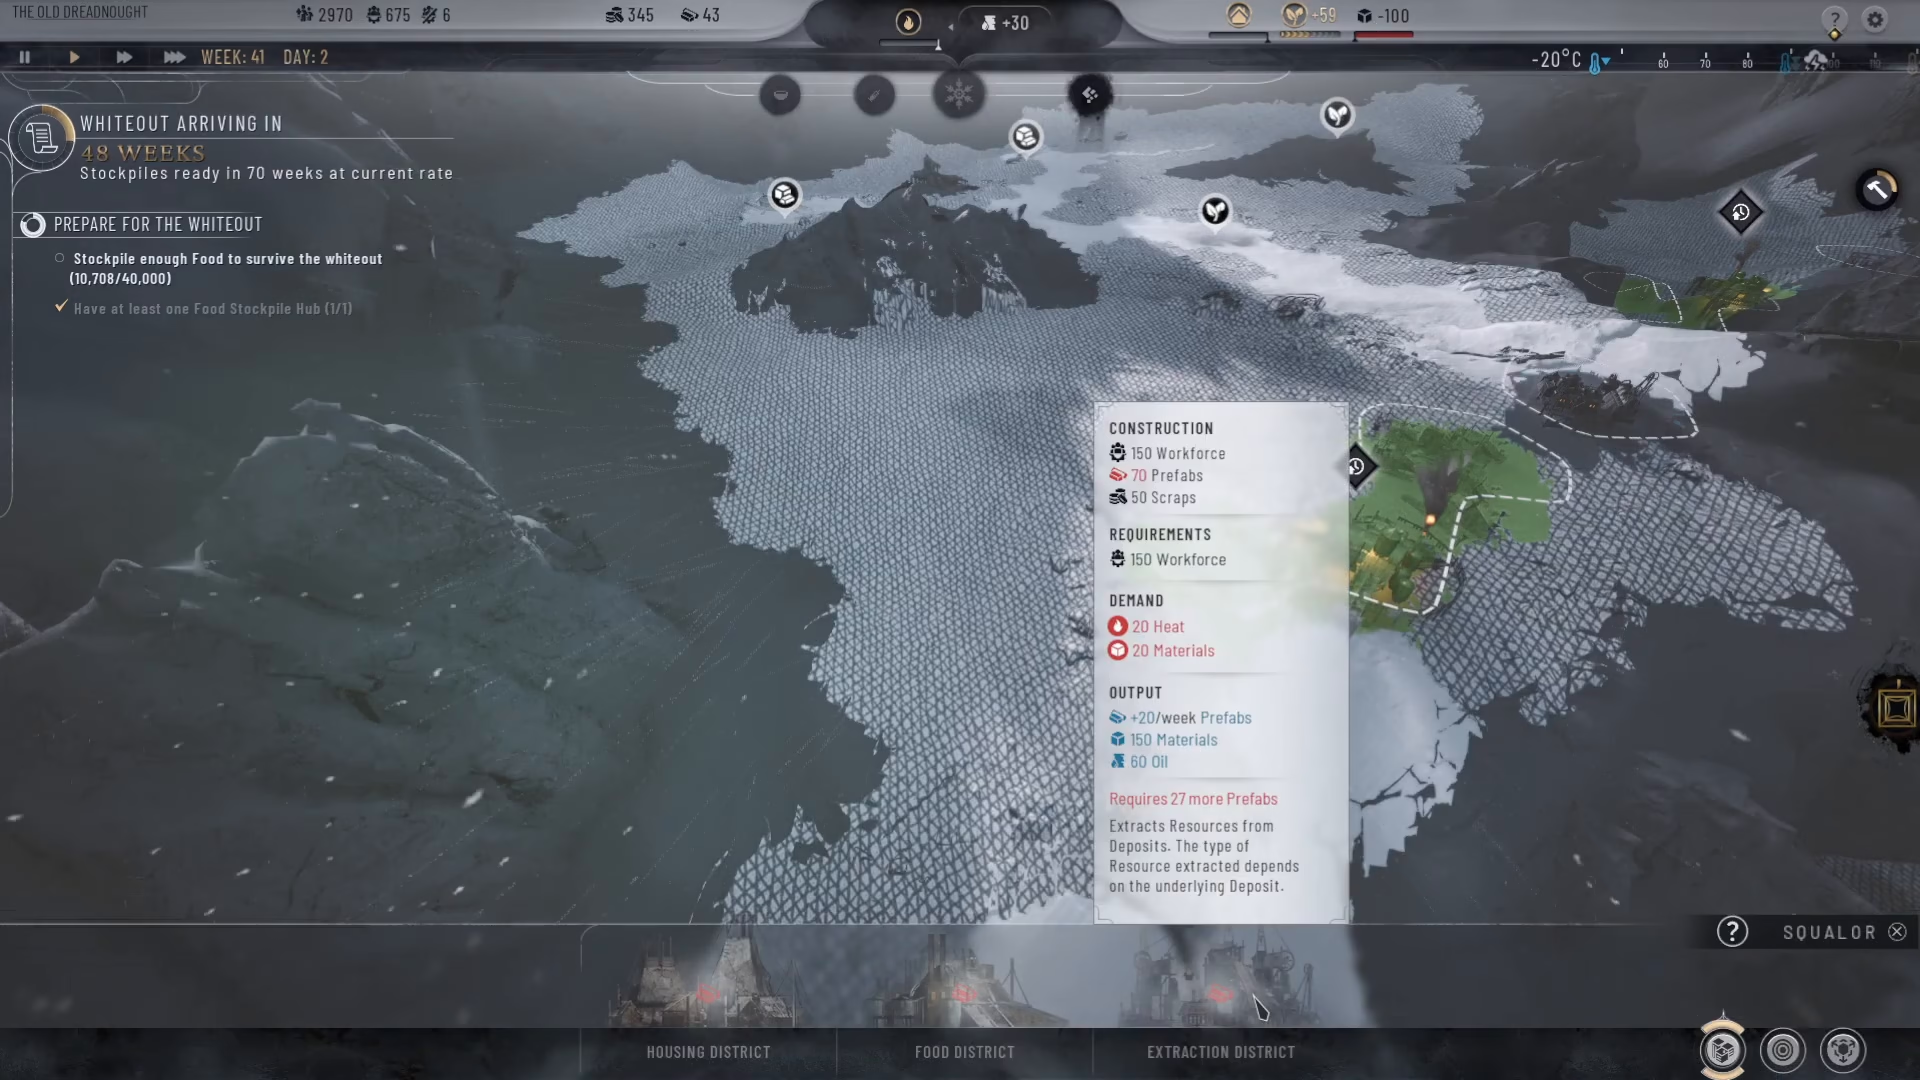
Food is your primary concern throughout the prologue. As you progress, continue frost breaking new food-producing tiles and constructing additional food districts on them. Remember to enable emergency shifts on all food districts to maximize output. Some food sources will eventually deplete—when this happens, demolish the district and shift your focus to remaining food sources.
Building Food Stockpile Hubs
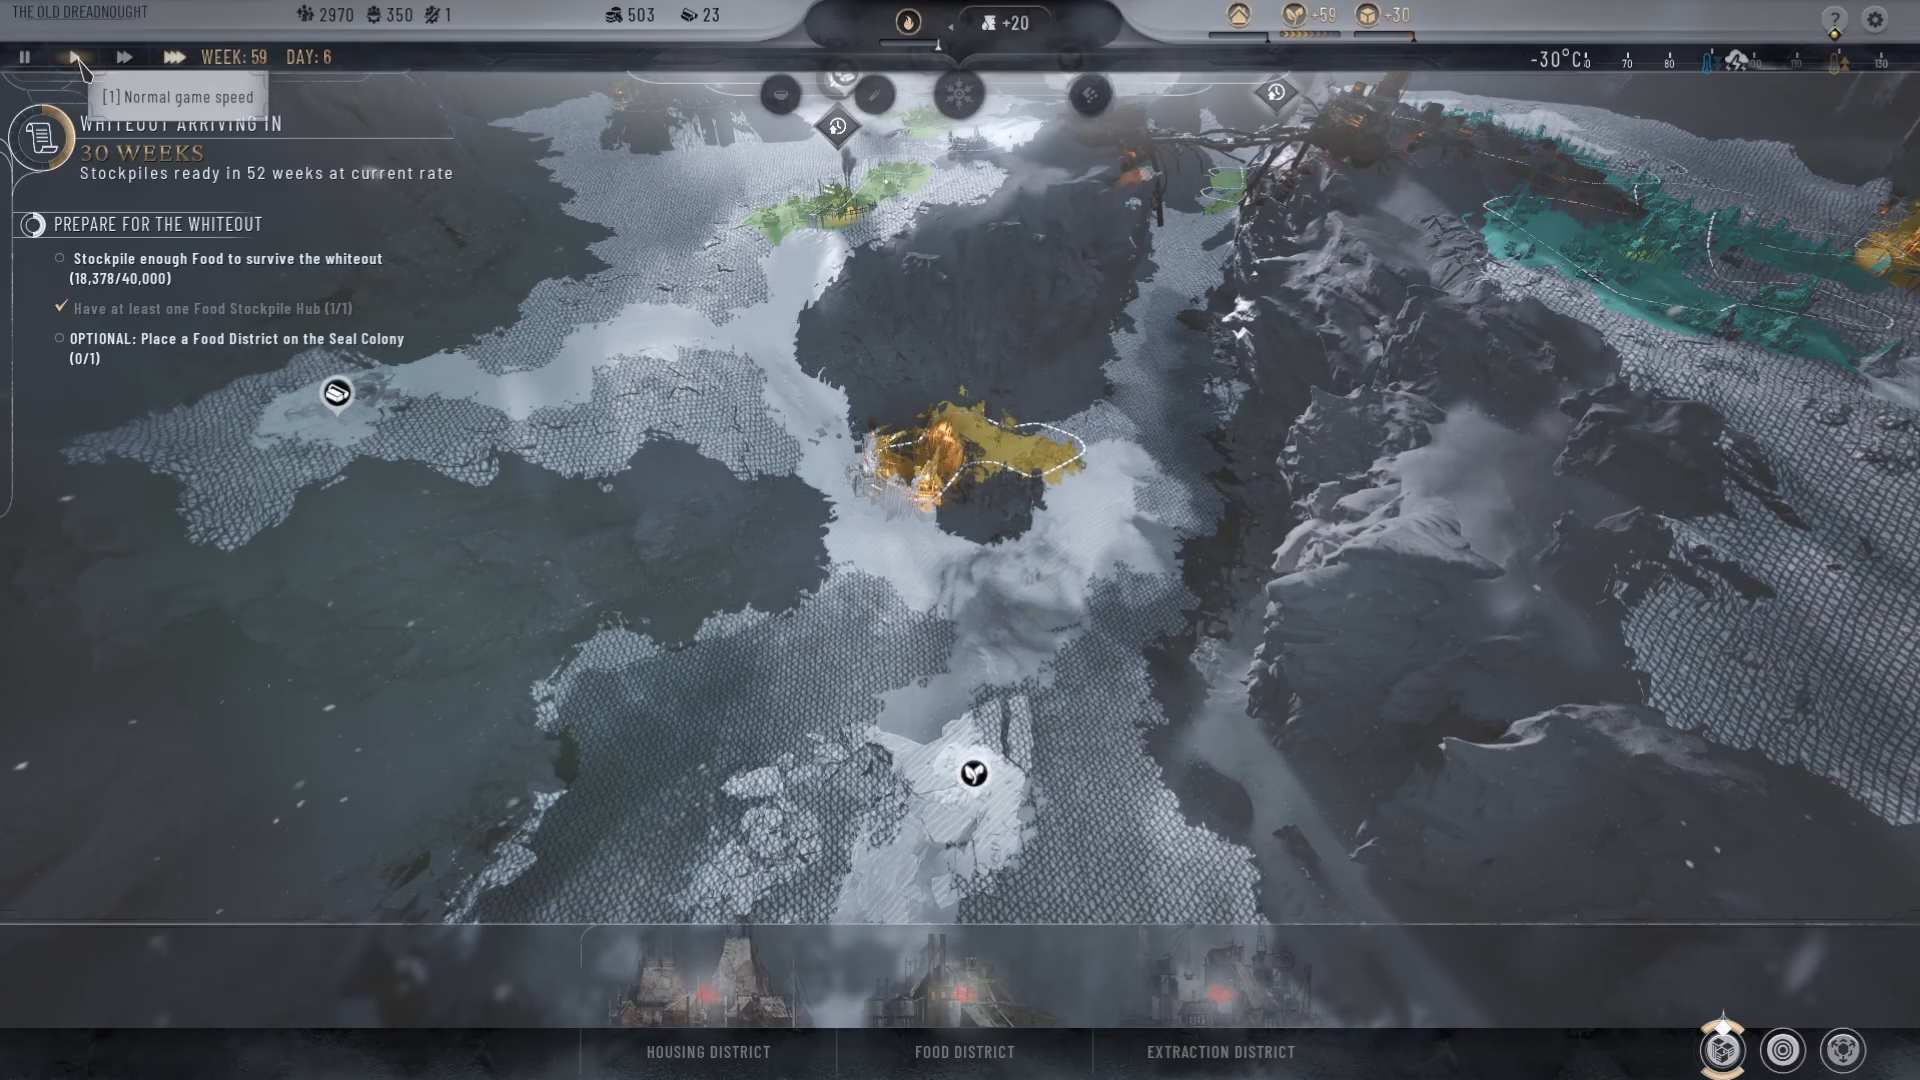
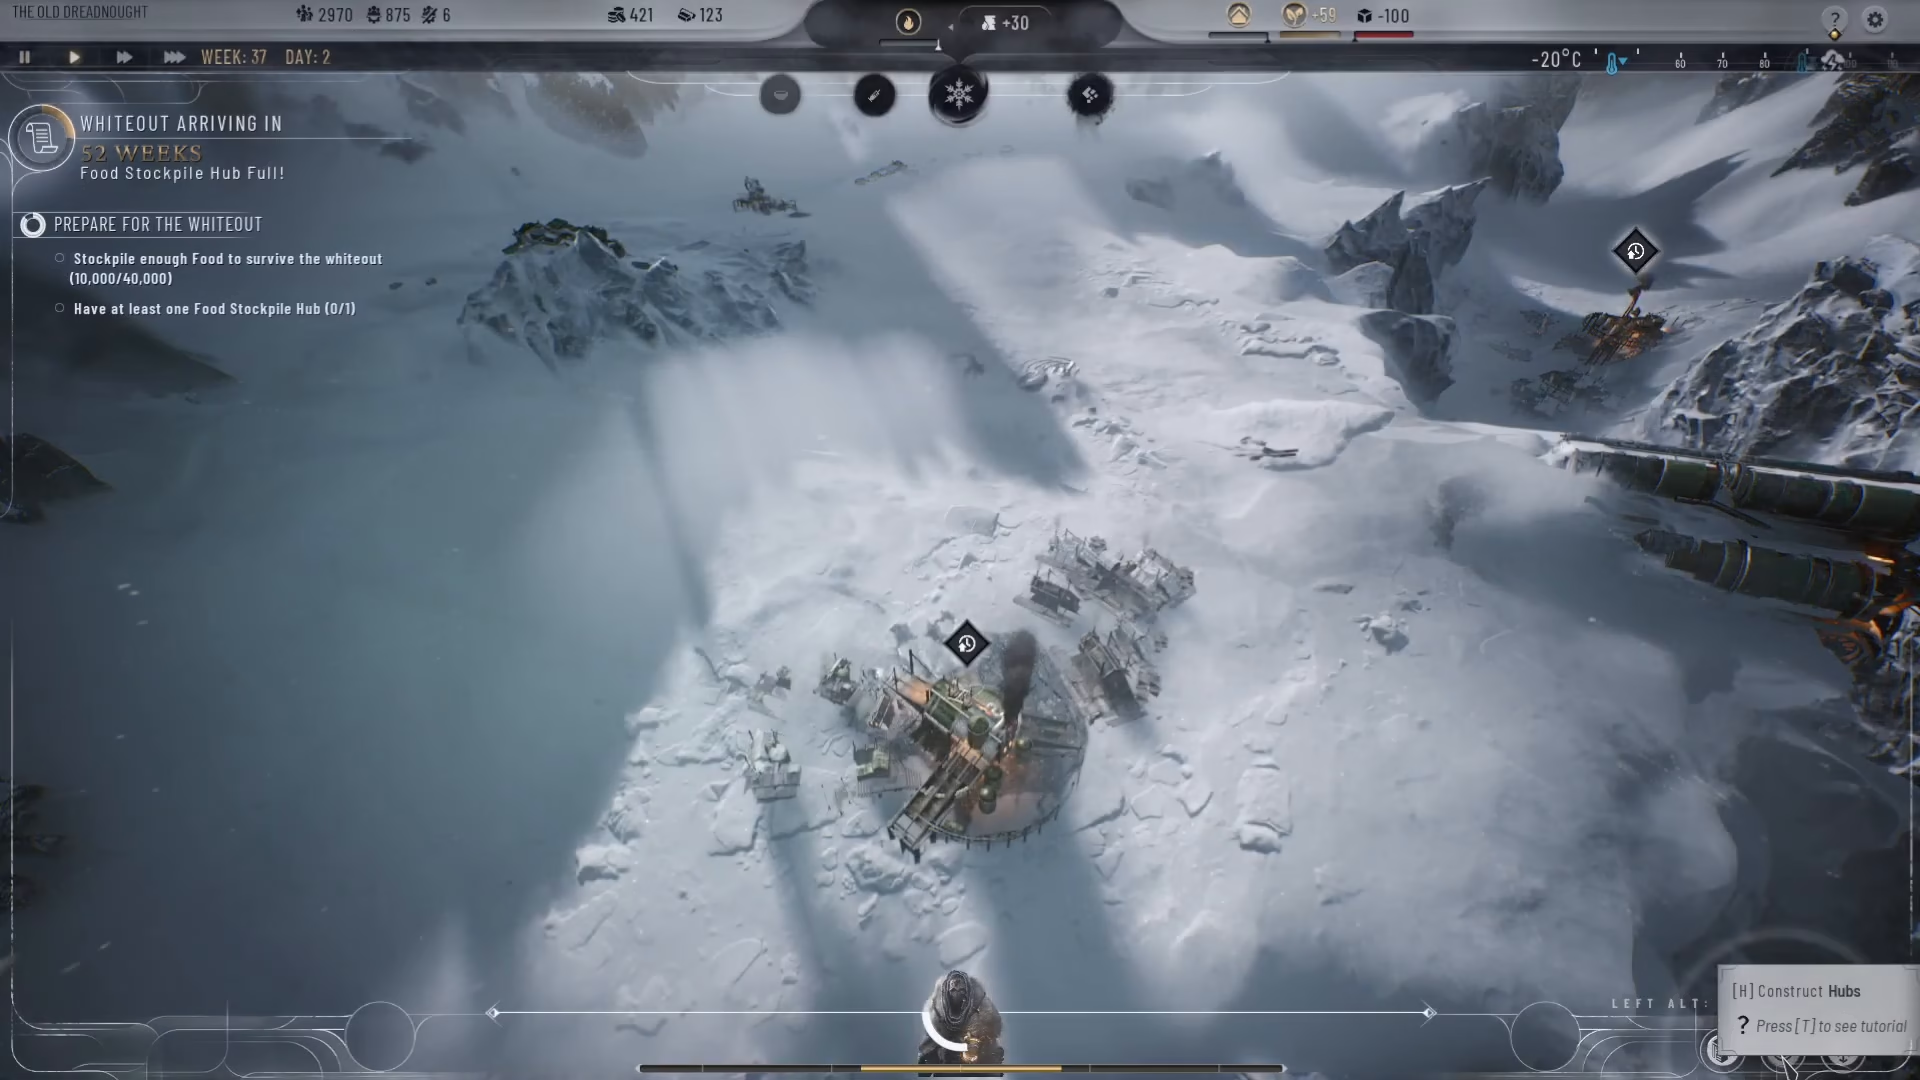
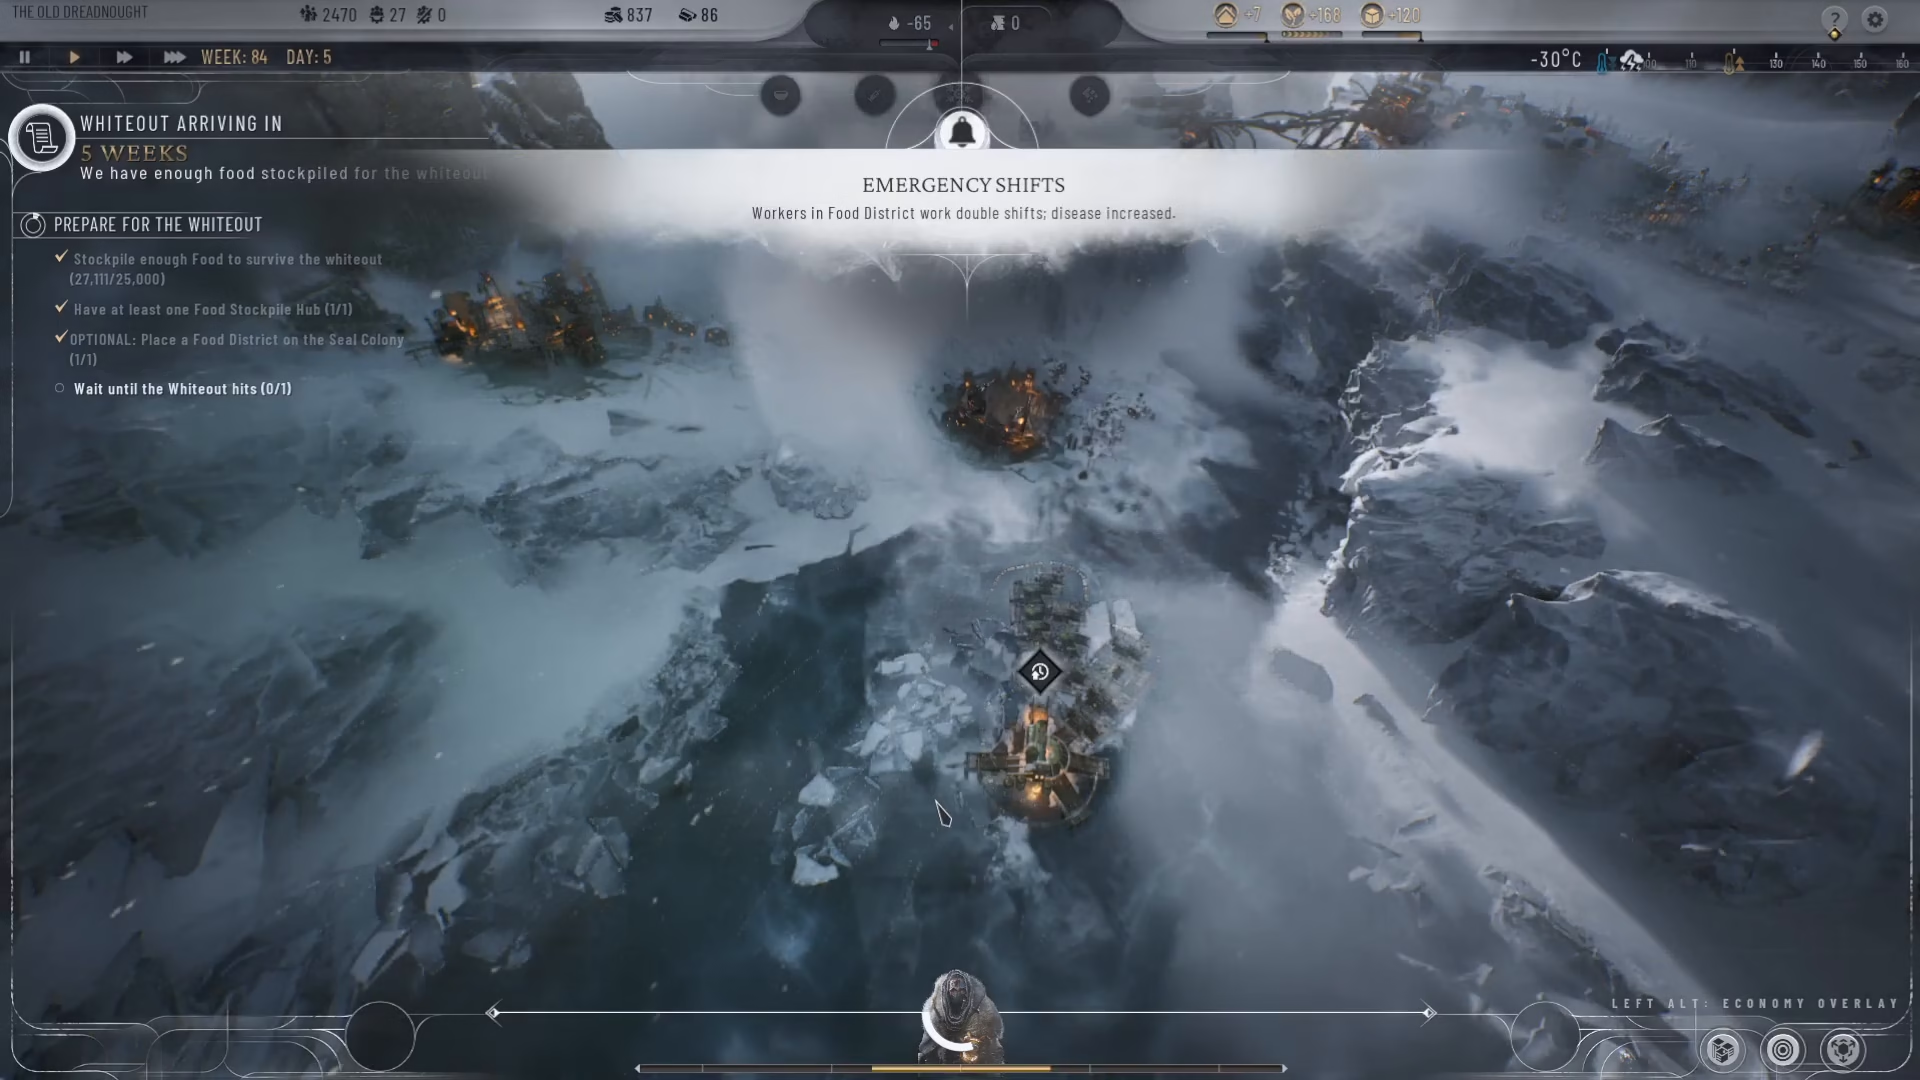
As you accumulate food, you’ll receive notifications about building food stockpile hubs. These structures increase your food storage capacity. The base storage capacity is 10,000 food units. A single food stockpile hub increases this to 25,000, and building a second hub raises the limit to 40,000 units. Your goal is to stockpile enough food to survive the whiteout event—typically 40,000 food is the target, though this can be reduced through certain choices.
The Seal Slaughter Decision
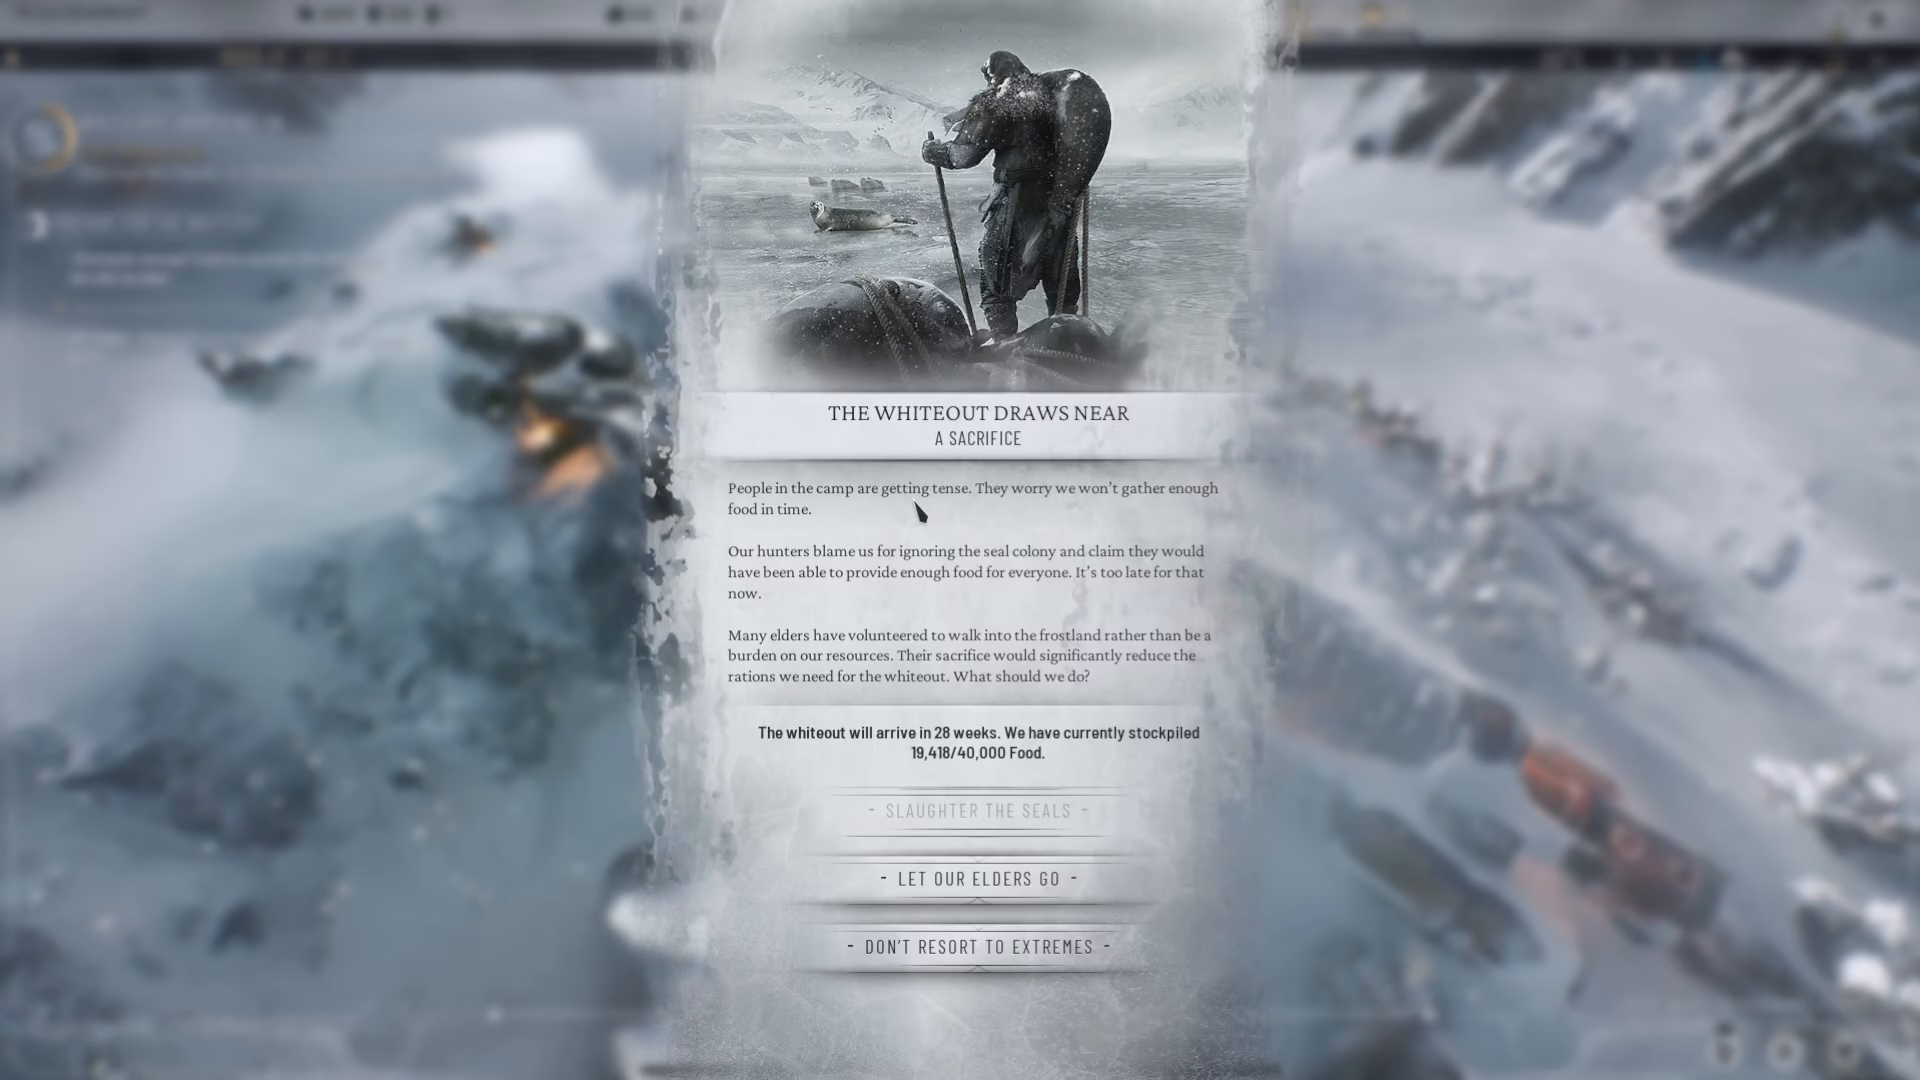
Approximately 28 weeks into your prologue, you’ll receive a message about the approaching whiteout. At this point, you’ll be presented with two options: “Slaughter the Seals” or “Let Our Elders Go.” If you choose to slaughter the seals, food requirements decrease from 40,000 to 25,000, making your goal significantly easier to achieve. If you choose to let your elders go, your workforce decreases, but this is less impactful than the food reduction benefit.
The Final Push to Victory
In the final weeks before the whiteout, continue maximizing food production from all available sources. With limited time remaining, focus entirely on food accumulation. Ensure all your food districts have emergency shifts enabled, and continue building additional food districts as long as you have prefabs and frozen terrain to develop.
As you approach the countdown to the whiteout, monitor your food stockpile constantly. The game will display how many weeks remain until the white event arrives. If you’ve successfully stockpiled the required amount of food, you’ll survive the whiteout and complete the prologue.
Completing the Prologue
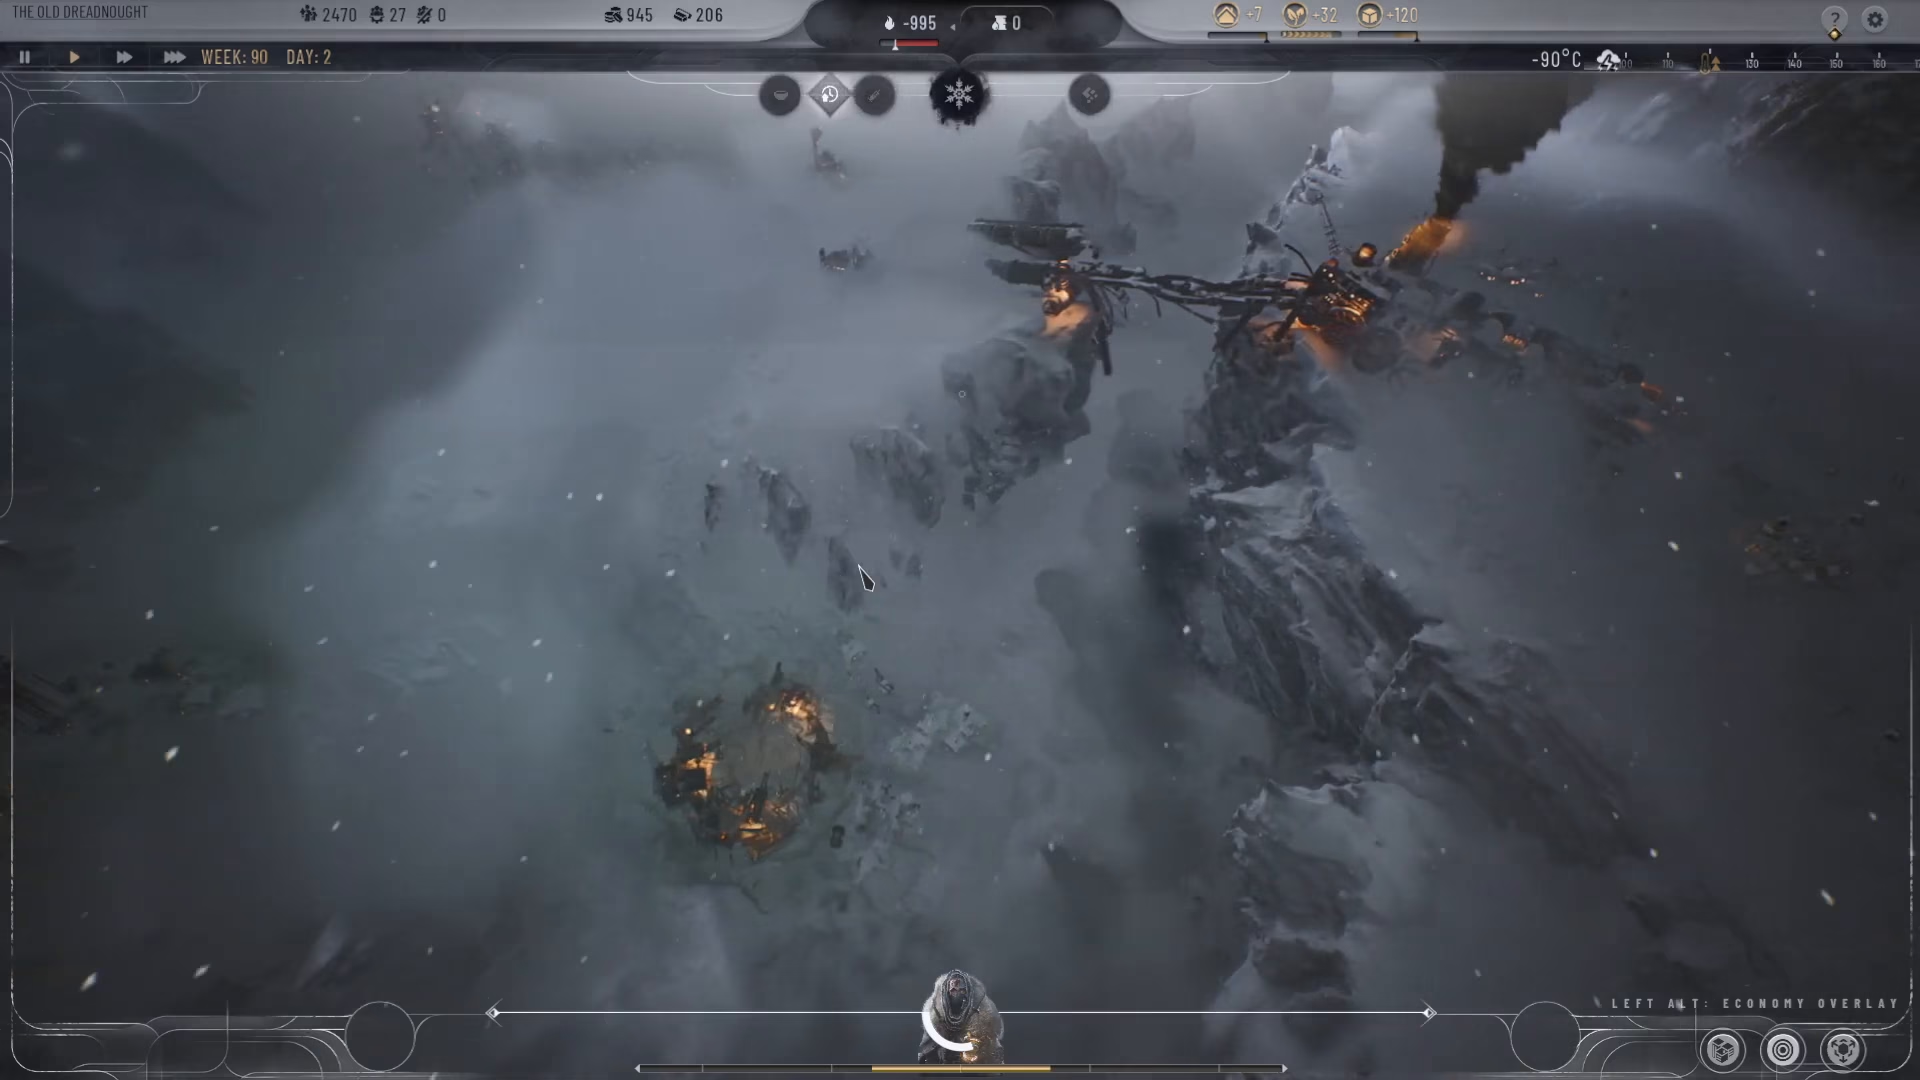
When the whiteout arrives, a massive storm will engulf your settlement. If you’ve met the food requirements, you’ll receive a success message. The game will then present a cutscene and transition you to the main game proper. You’ll never return to this prologue area again, so don’t worry about optimizing it beyond what’s necessary to survive.
Summary
The prologue in Frostpunk 2 is fundamentally a resource management race. Success requires strategic frost breaking before gameplay begins, efficient district placement prioritizing food production, careful management of prefabs and materials, and continuous optimization of your settlement. By following this guide—frost breaking key tiles while paused, building multiple food districts early, managing your heat and material supplies, and focusing on food stockpiling above all else—you’ll successfully complete the prologue and progress to the main game. Remember, this is just the tutorial area, so play decisively without second-guessing yourself.
— Want to Support? —
If you would like to help us continue making these guides – please consider joining our patreon here – https://www.patreon.com/c/JaviHeals Alternatively – you can join our discord here – https://discord.gg/zD7Gjt6MHF