





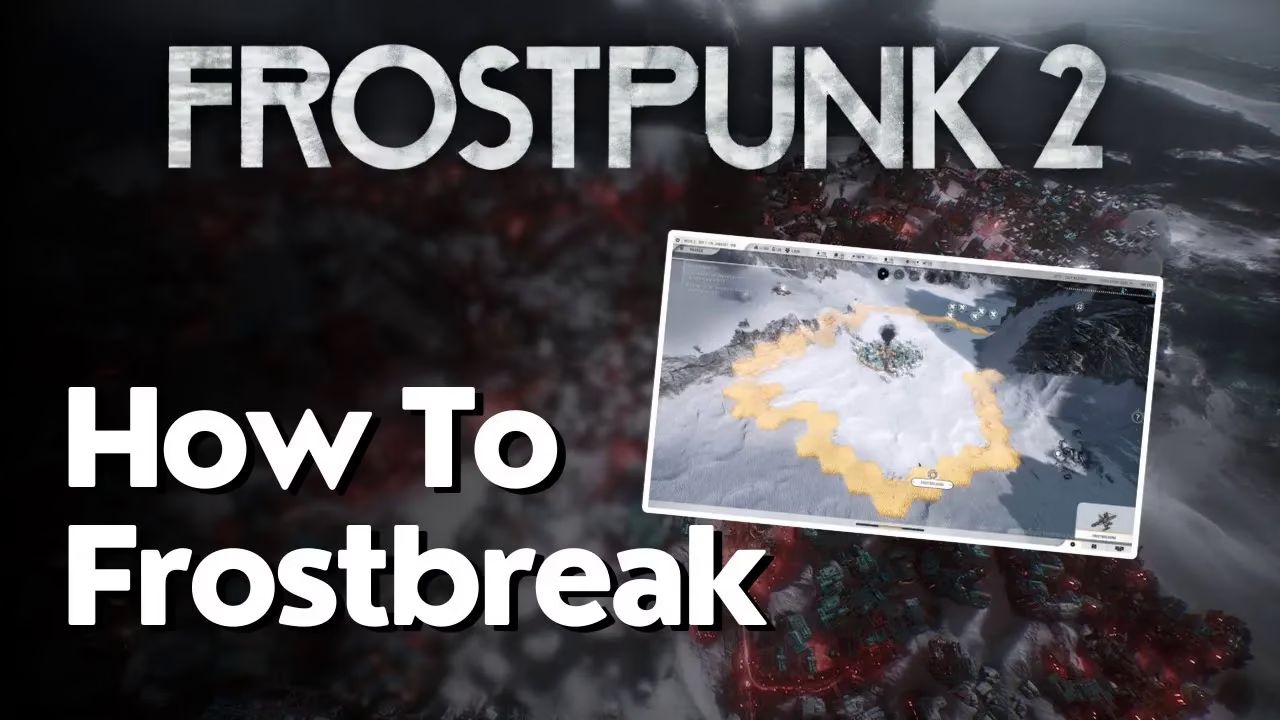
How To Frostbreak In Frostpunk 2
How To Frostbreak In Frostpunk 2
Frostbreaking is a crucial mechanic in Frostpunk 2 that allows you to unlock frozen tiles for district construction and resource gathering. This guide walks you through the complete frostbreaking process, from locating the frostbreak button to successfully clearing tiles for building.
Understanding Frostbreaking Basics
Frostbreaking is the primary method for unlocking tiles that are currently locked under snow and ice. When you start, most of the map appears frozen and unusable. To build districts and access resources, you need to frostbreak these areas first.
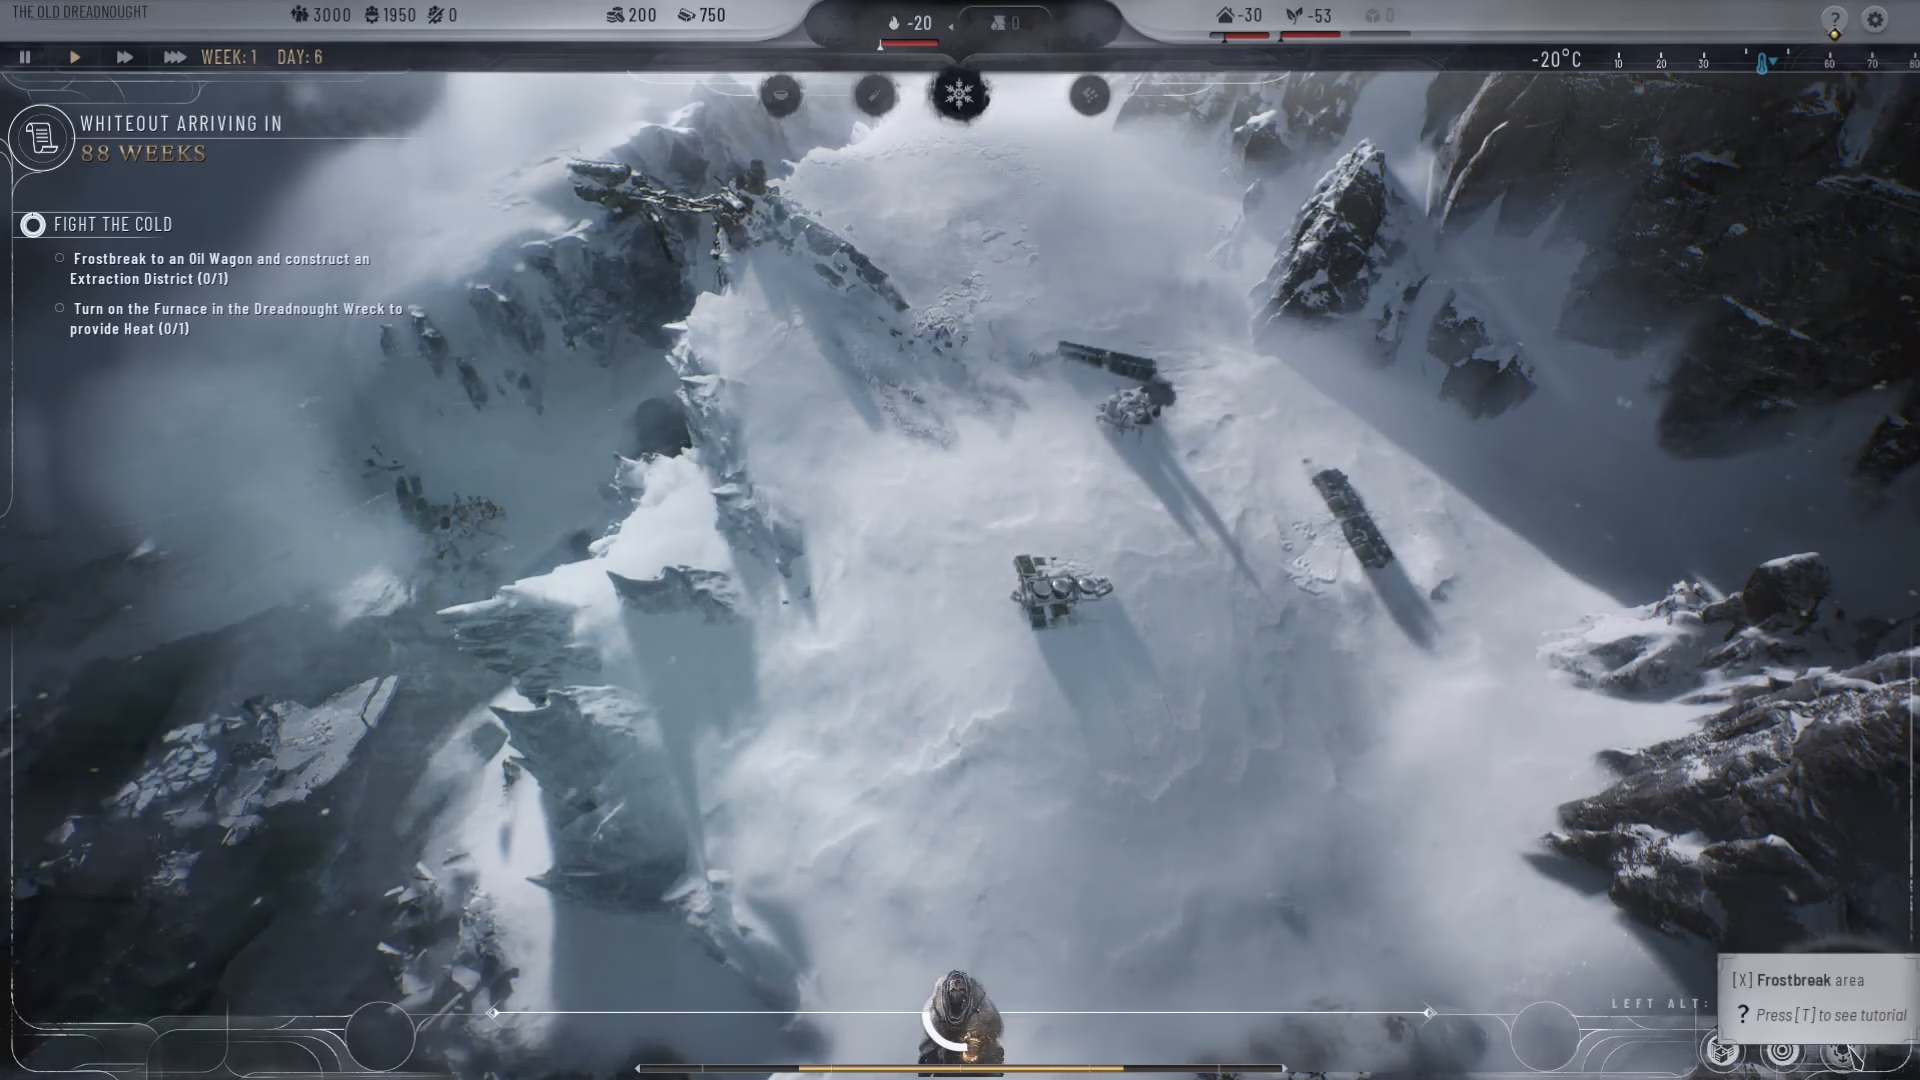
Look at the bottom right corner of your screen. You’ll see a button labeled “Frost break area” — this is your key to unlocking new territory. All the snow-covered tiles you see are locked, and you cannot build or interact with anything on them until they are frostbroken.
Identifying Frostbreakable Tiles
Not all tiles can be frostbroken at any given time. Pay attention to the white-colored tiles on your map — these are the ones available for frostbreaking. The game makes this distinction clear visually so you know where you can take action.
Beyond just clearing empty snow, frostbreaking becomes strategic when valuable resources or structures are involved. You’ll often notice oil wagons, construction wagons, and other important items scattered across the frozen landscape. Prioritize frostbreaking paths that lead toward these resources so you can access and build upon them.
Executing a Frostbreak Action
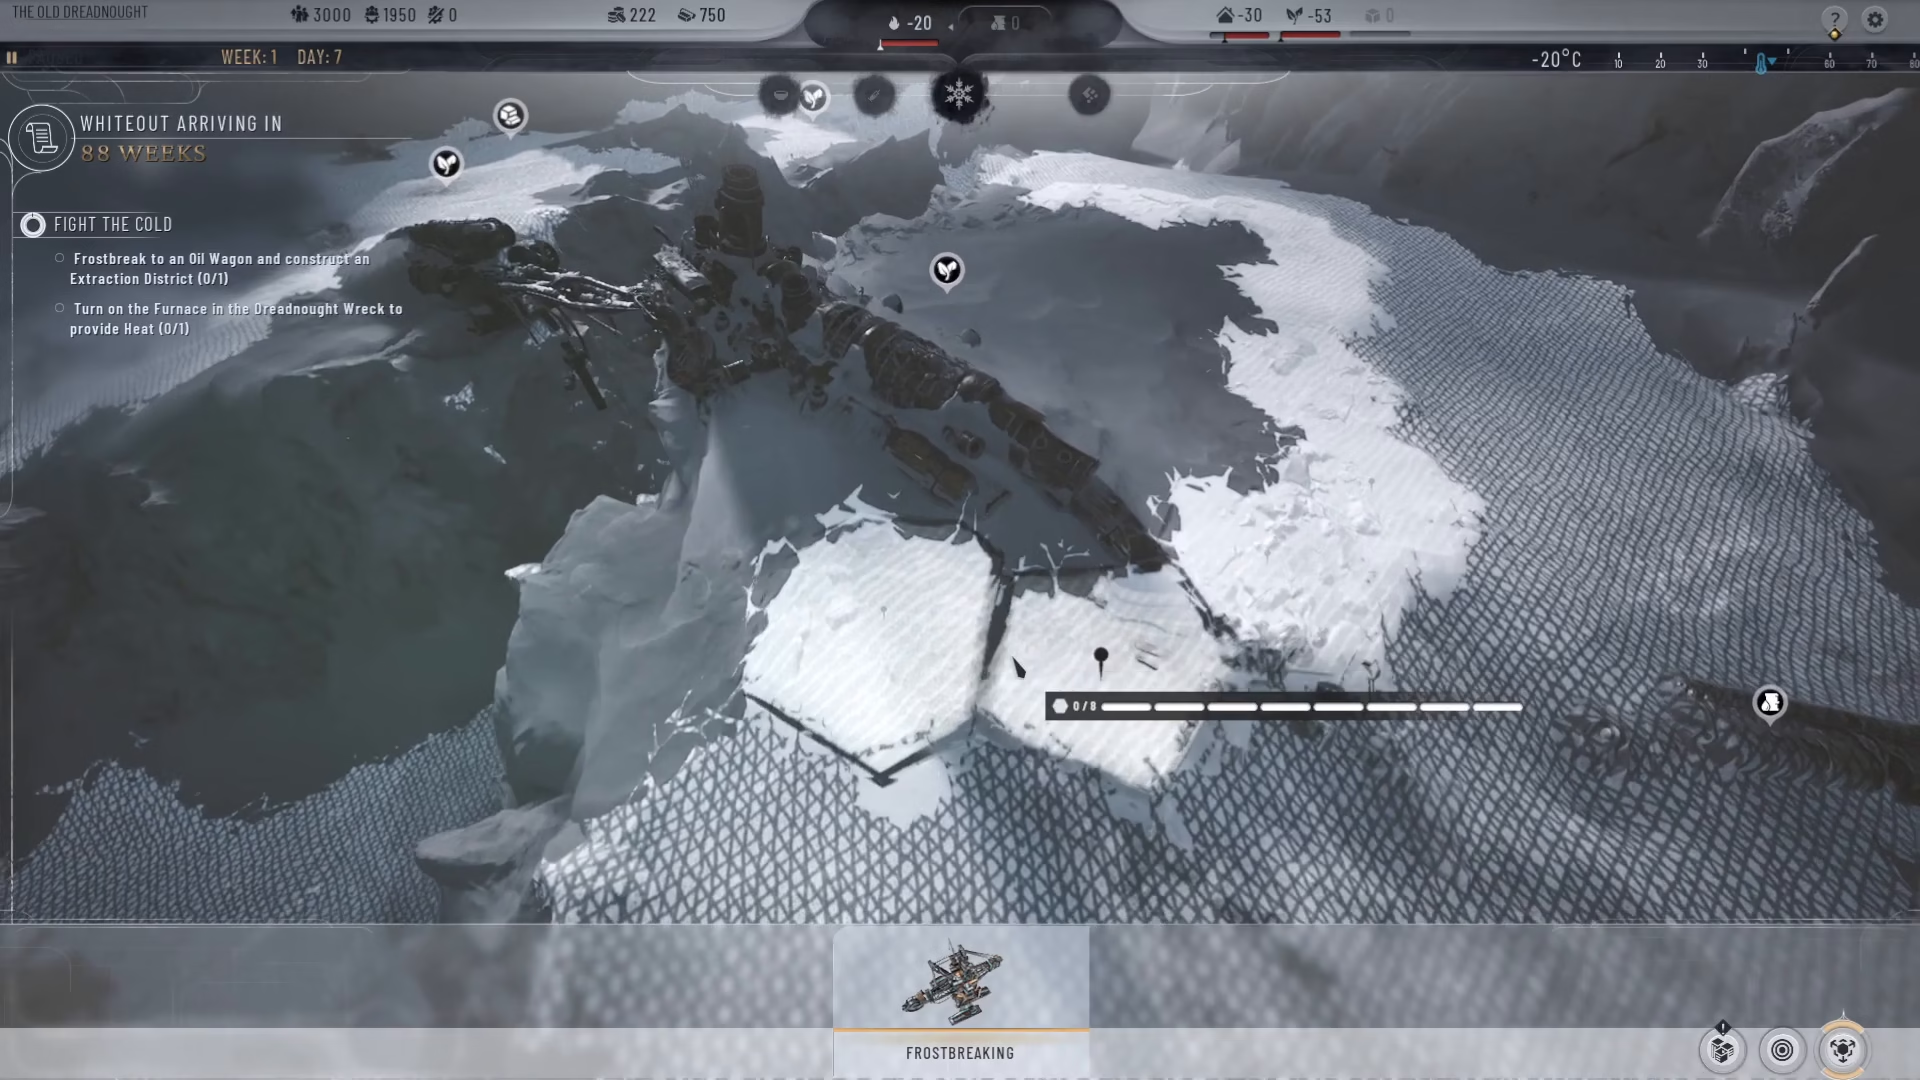
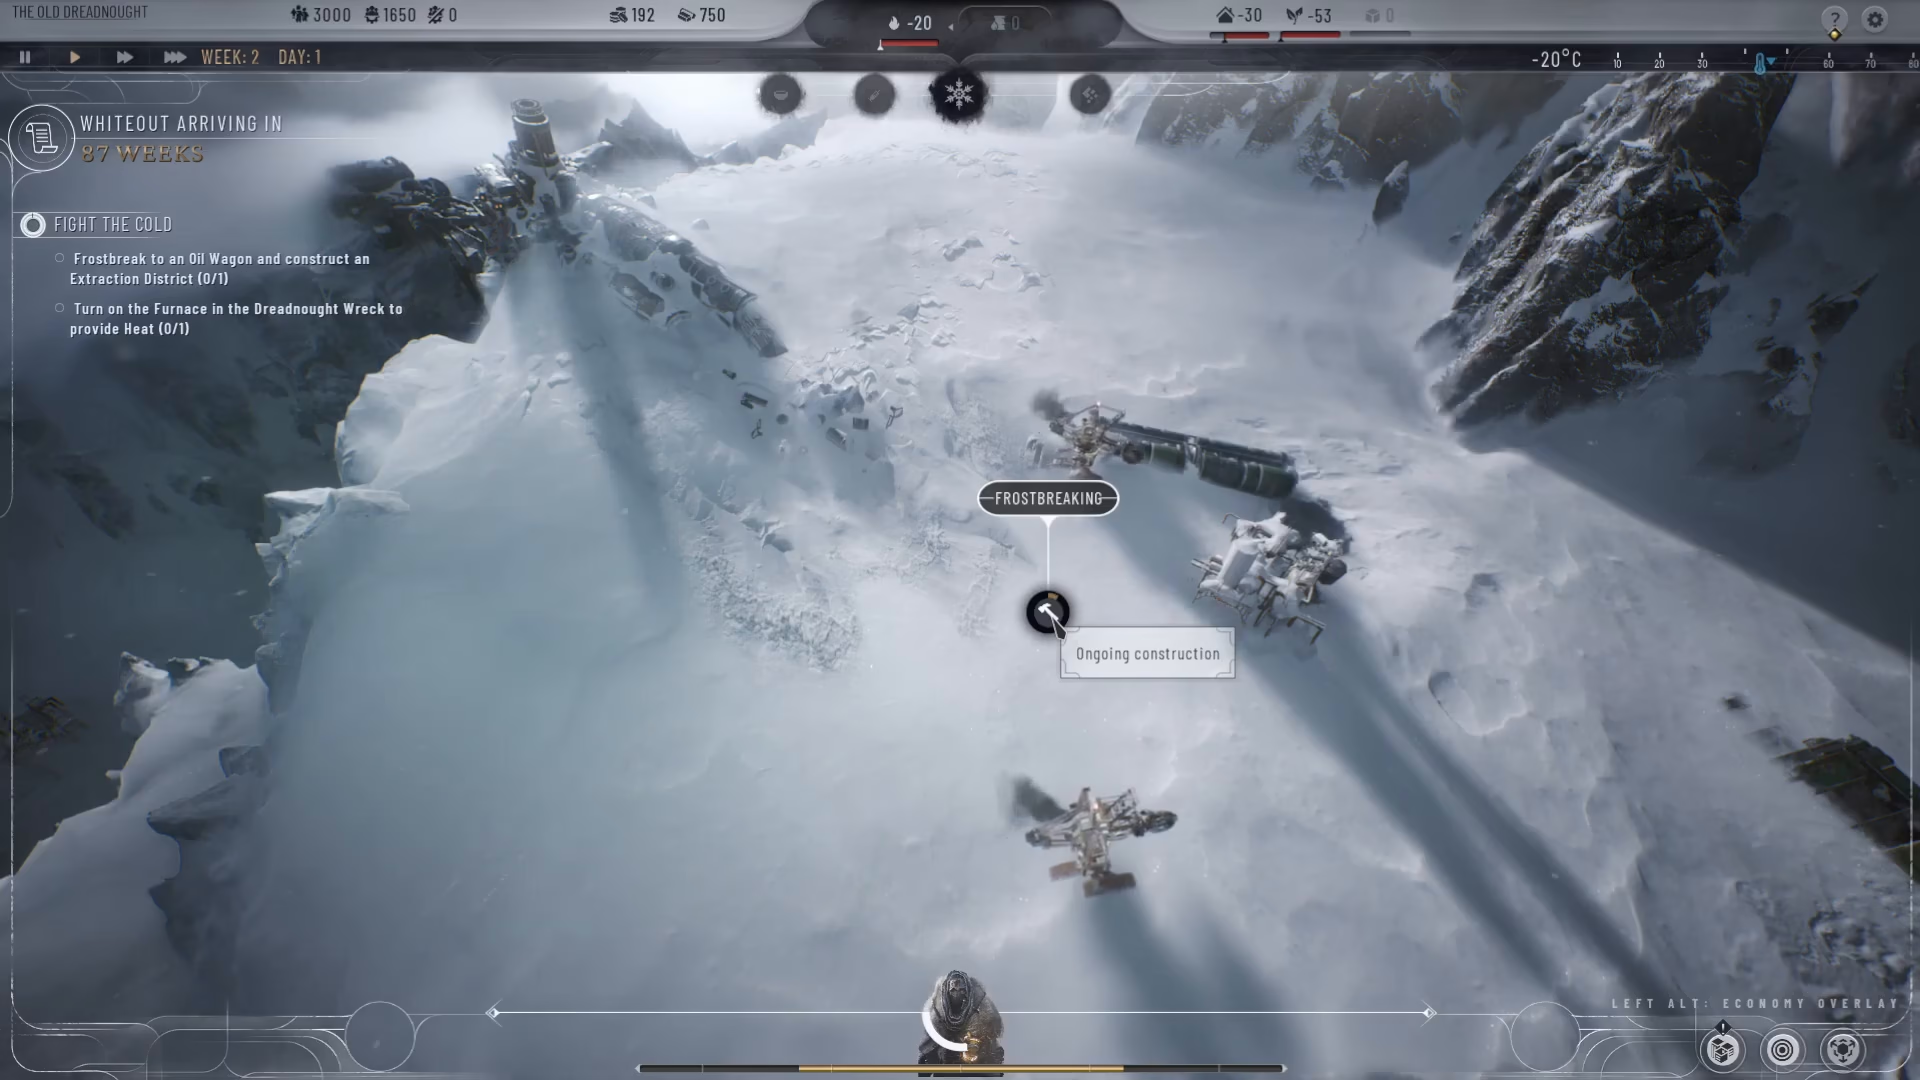
Here’s a practical example of frostbreaking in action. Starting from your Dreadnought ship, you can plan a frostbreak path by counting tiles: 1, 2, 3 across to reach the oil wagon, then continuing 4, 5, 6, 7, and 8 to also reach a construction wagon. This single frostbreak action will unlock both resource locations.
Watching the Frostbreak Process
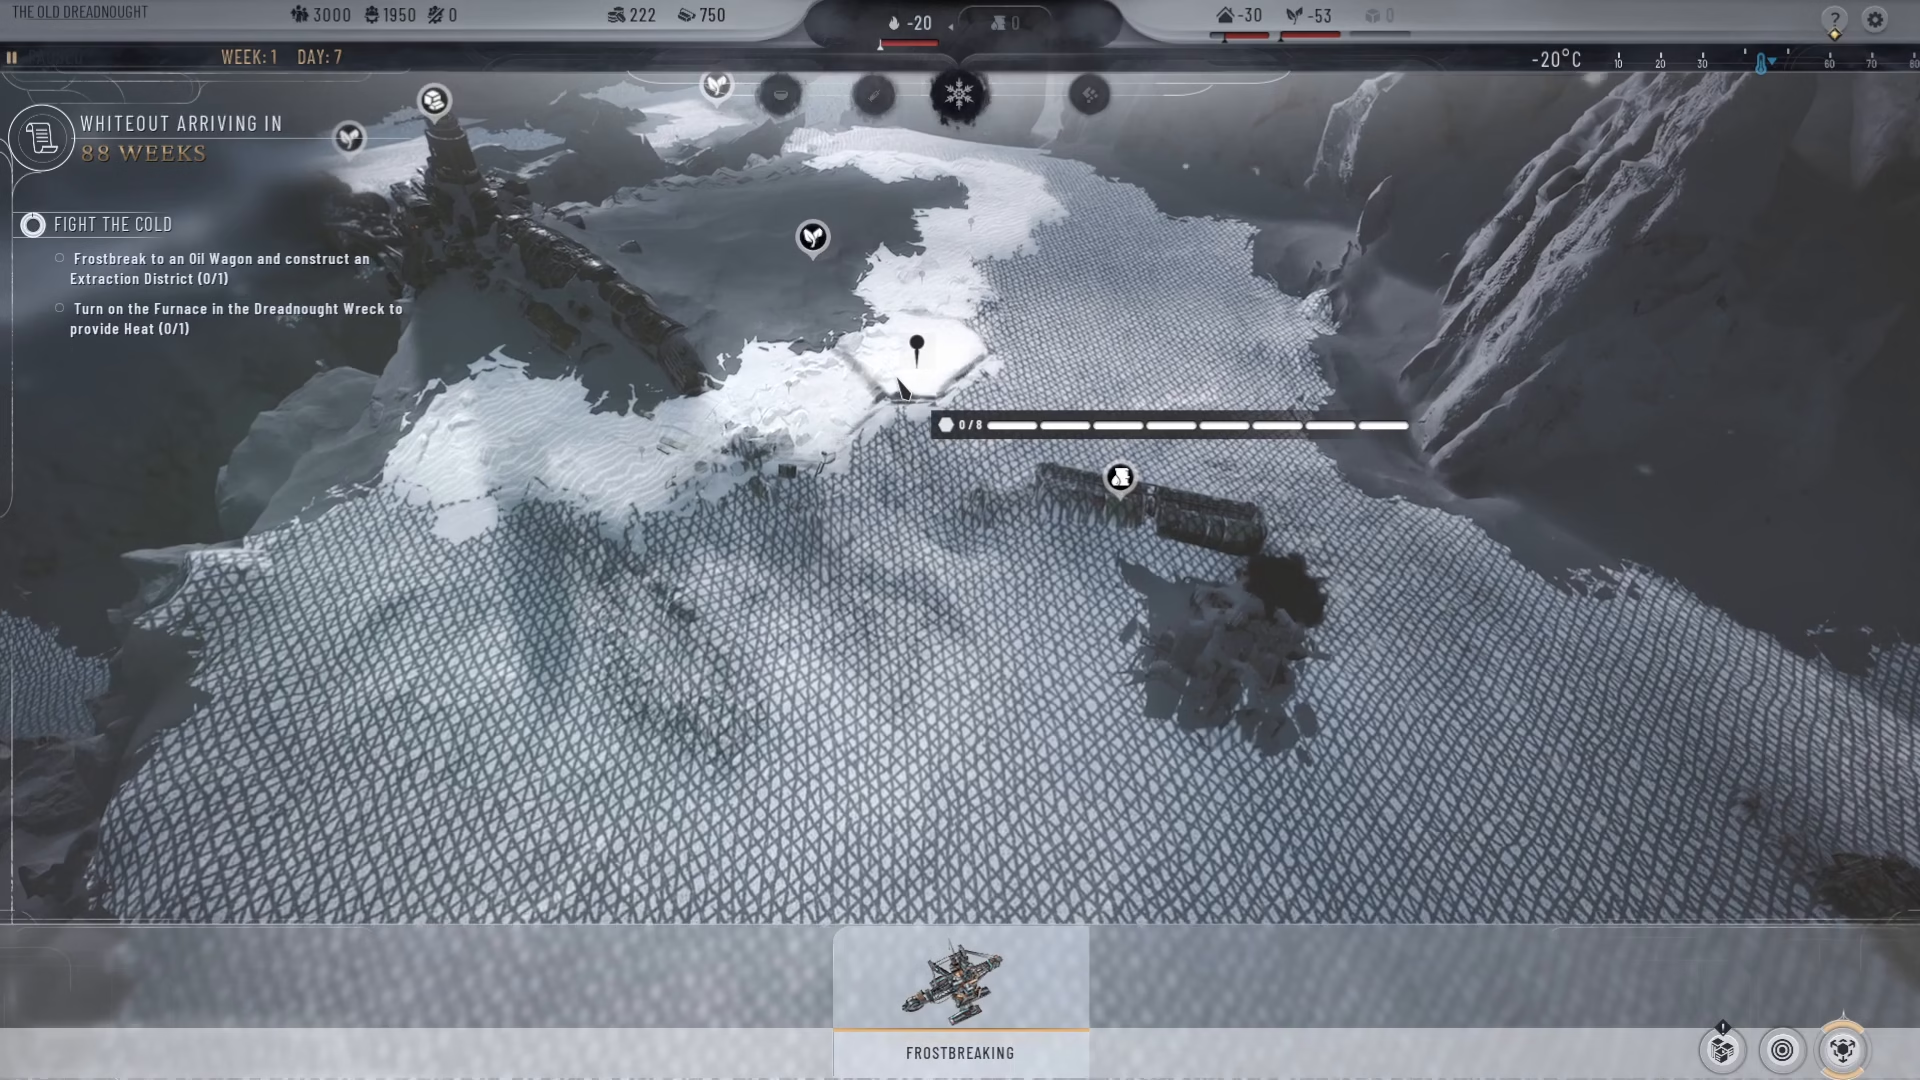
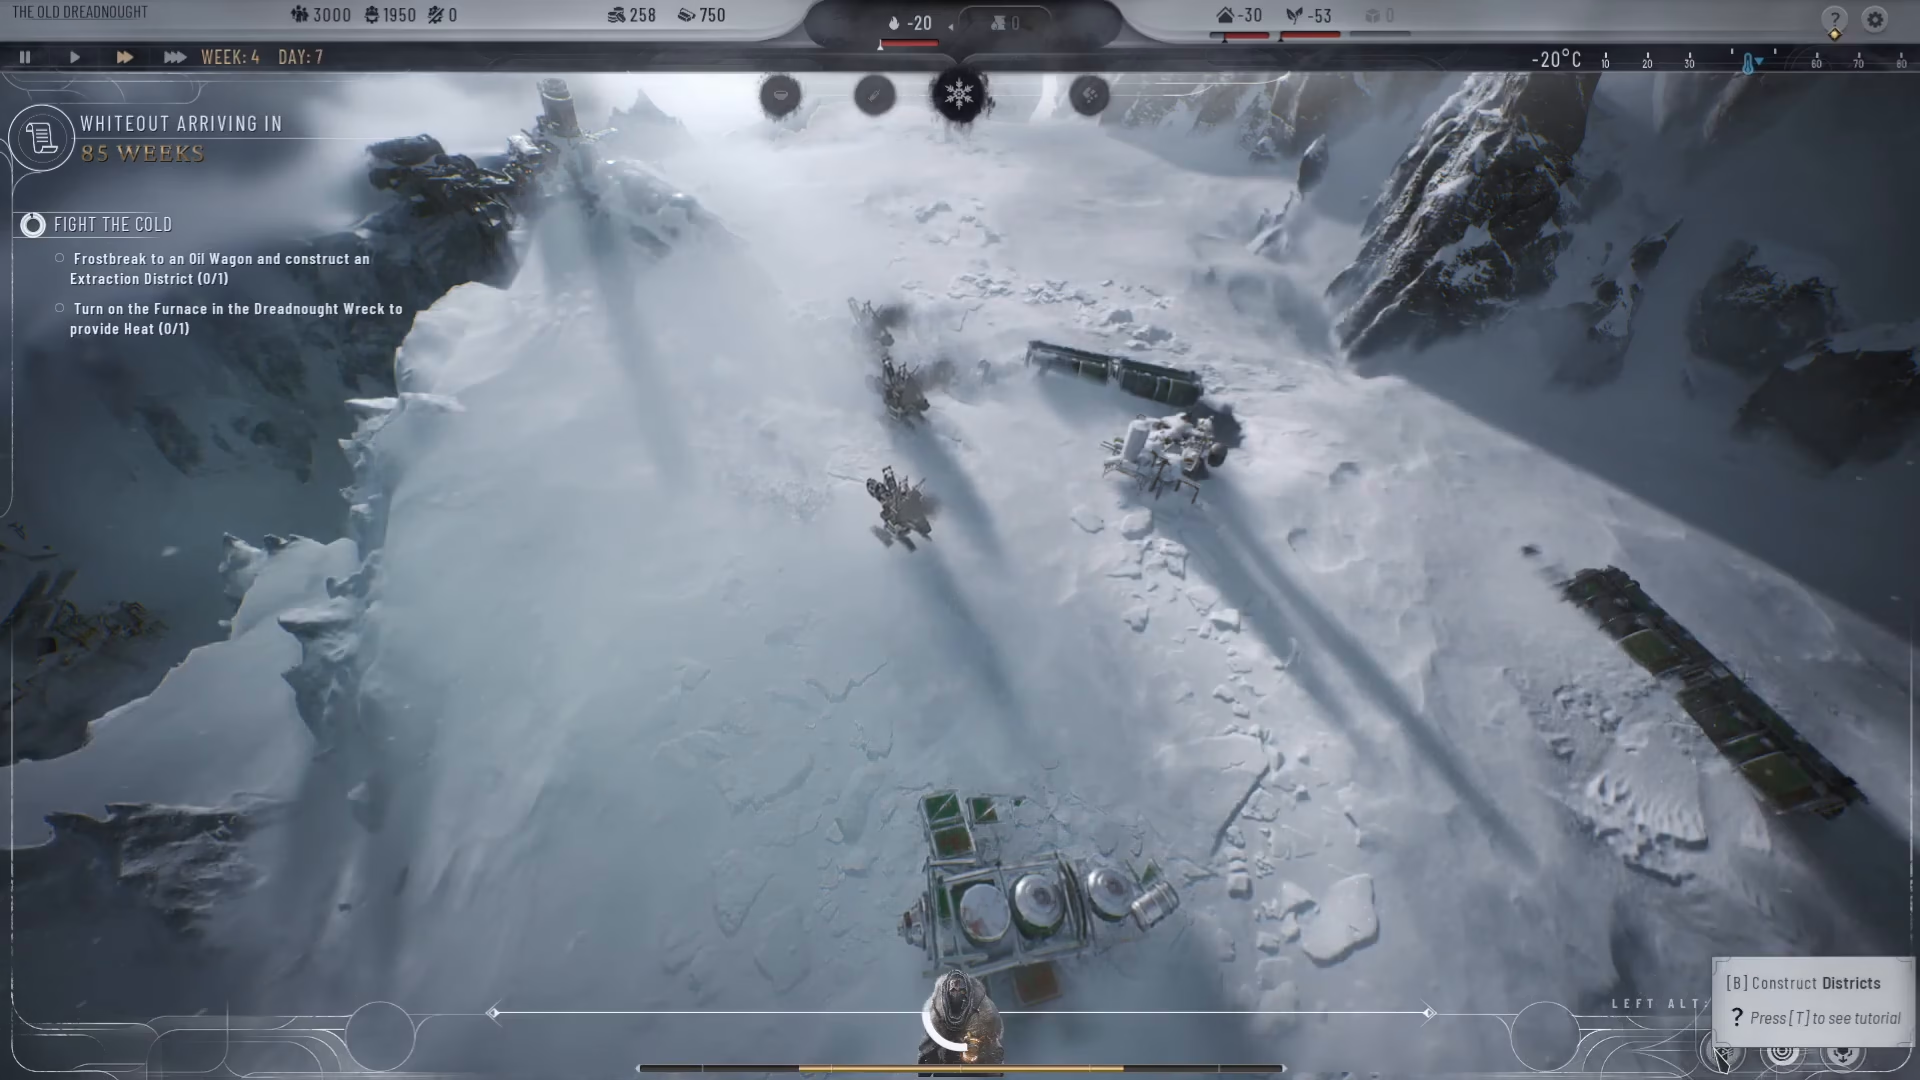
Once you’ve initiated a frostbreak, you don’t need to do anything else — the process is automatic. You’ll see drills emerge from your position and begin clearing the area. The visual change is dramatic: the harsh, jagged snow terrain gradually transforms into cleared ground with visible roads and paths.
Be patient while the frostbreak completes. The drills will work their way through all the tiles you selected, and once the snow is completely gone, the frostbreak is finished.
Using Your Newly Frostbroken Tiles
After the frostbreak is complete, navigate to your “Build Districts” menu. The tiles you just frostbroke will now appear as usable tiles available for construction. This is where you can place your districts and begin developing those areas.
Summary
Frostbreaking in Frostpunk 2 is straightforward once you understand the process. Locate the “Frost break area” button, select white tiles that lead toward valuable resources or empty space, initiate the frostbreak, and wait for the automatic drilling process to complete. Your newly cleared tiles will then become available for district construction. Mastering this mechanic early will help you expand your settlement efficiently and access critical resources.
— Want to Support? —
If you would like to help us continue making these guides – please consider joining our patreon here – https://www.patreon.com/c/JaviHeals
Alternatively – you can join our discord here – https://discord.gg/zD7Gjt6MHF