





How To Send Scouts In Frostpunk
How To Send Scouts In Frostpunk
Scouting is a crucial mechanic in Frostpunk that allows you to explore the map, discover resources, and interact with other settlements. This guide will walk you through the complete process of unlocking and sending scout teams, from building your first beacon to managing multiple scouting expeditions.
Unlocking the Beacon
The first step to sending scouts in Frostpunk is unlocking the beacon building. This structure is your central hub for all scouting operations and can be researched very early in the game. Once constructed, the beacon allows you to manage and deploy scout teams across the map.
Managing Your Scout Teams
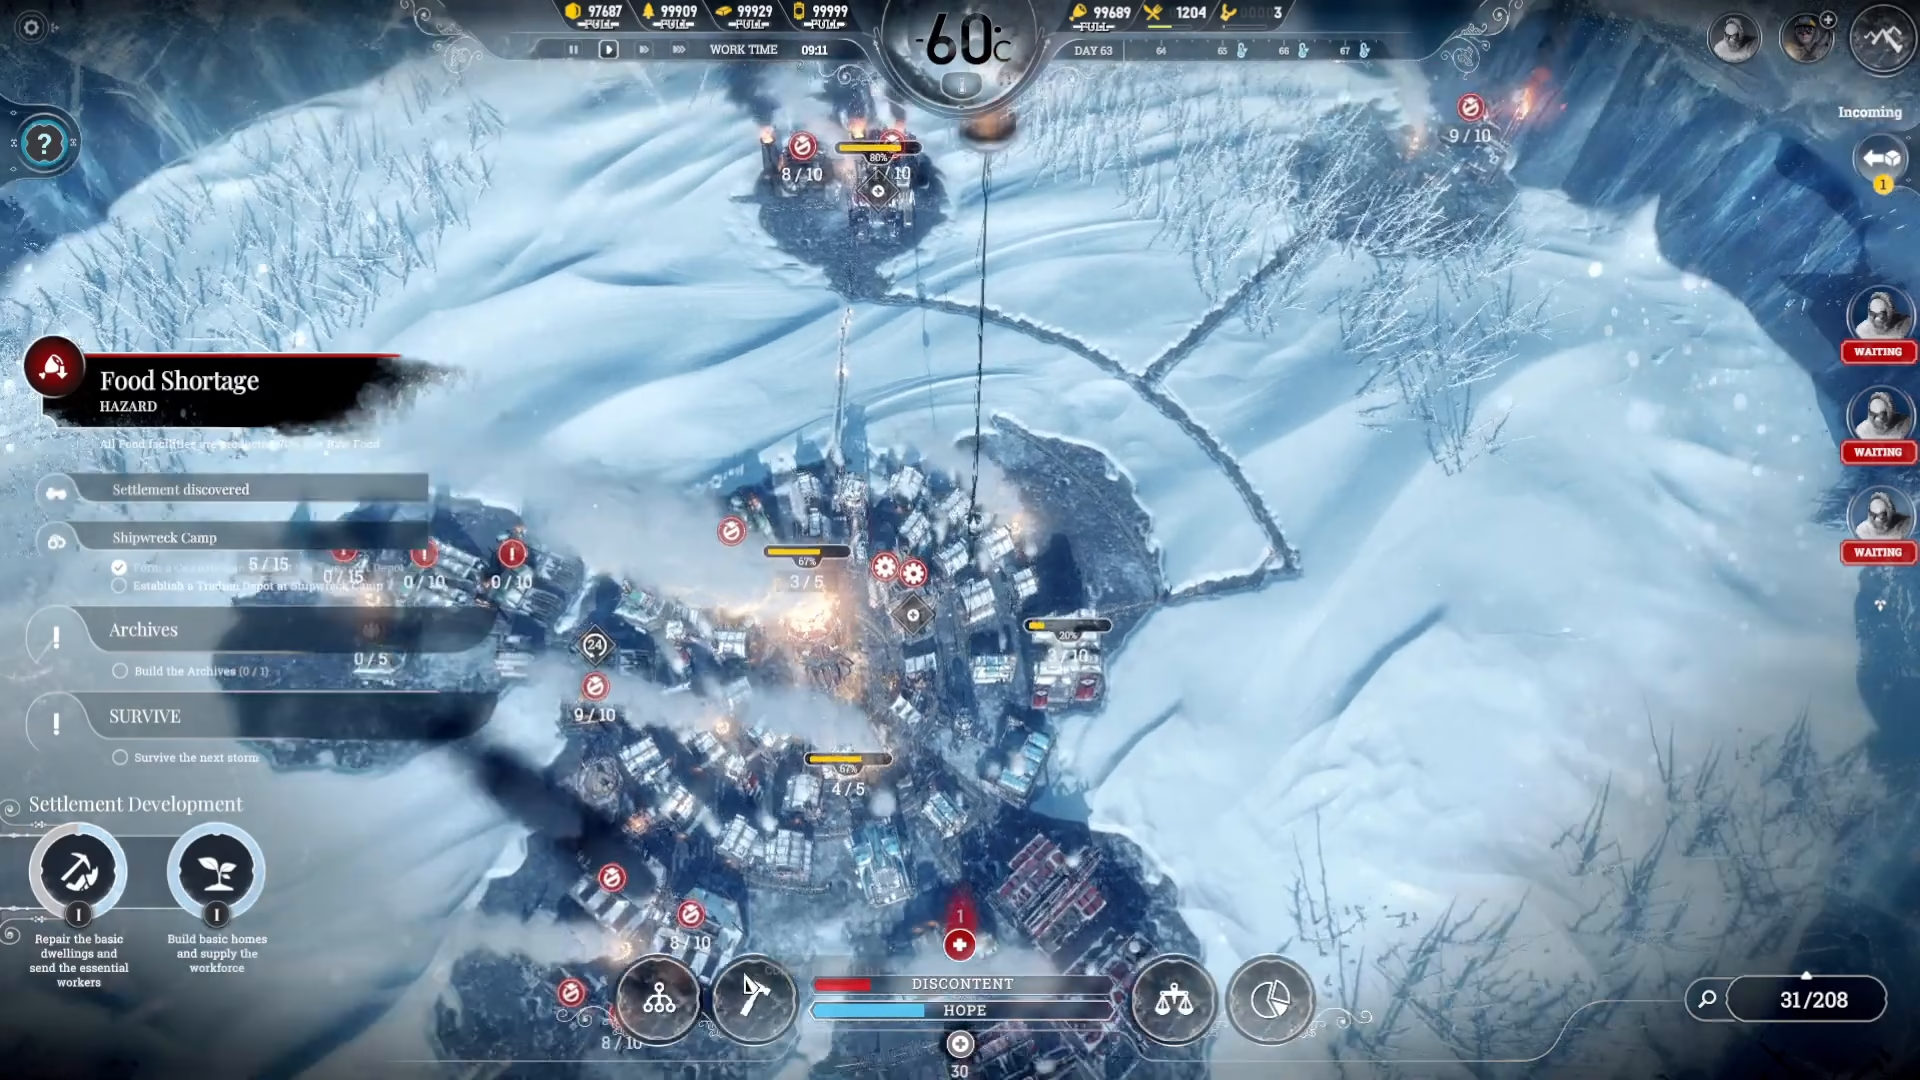
When you click on your beacon, you’ll see an overview of your active scout units. By default, you may have scouts labeled as Unit 1, Unit 2, Unit 4, and so on. The interface also displays an option to “create a new scout team.” However, there’s an important limitation: each beacon building has a maximum capacity. Initially, your limit is three scout teams, and you cannot support additional expeditions beyond this threshold.
Expanding Your Scout Capacity
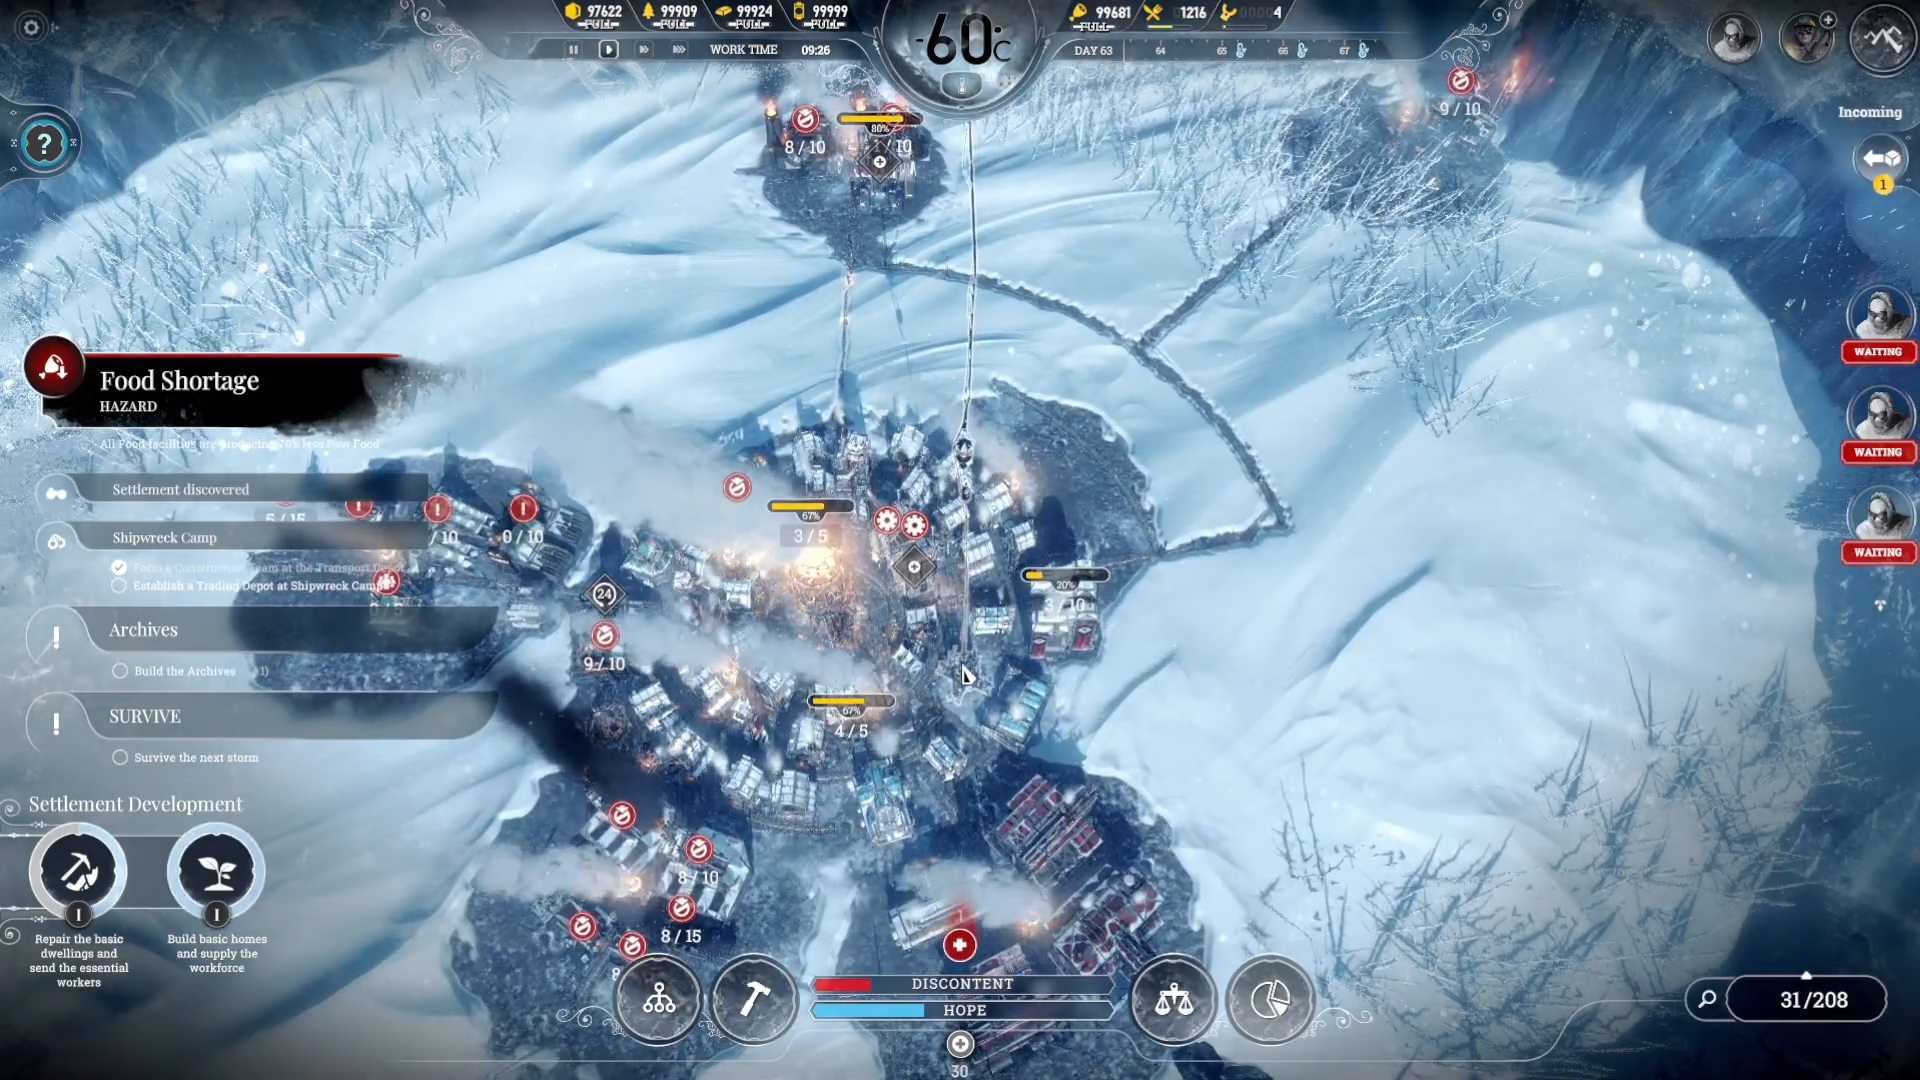
To unlock additional scout teams beyond the initial three, you’ll need to advance your technology tree. Navigate to the Exploration and Industry section of your research options. Here you’ll find several important upgrades:
Available Scout Upgrades
Beacon – Your first research to unlock basic scouting (conducted in your Workshop)
More Scouts – Raises your scout team limit to 2
Lighter Scouts Sleds – Increases scout movement speed
Boosted Scouts Sleds – Further increases scout movement speed for faster exploration
Additional Scouts – Unlocks your third team of scouts
Deploying Your Scouts
Accessing the Map View
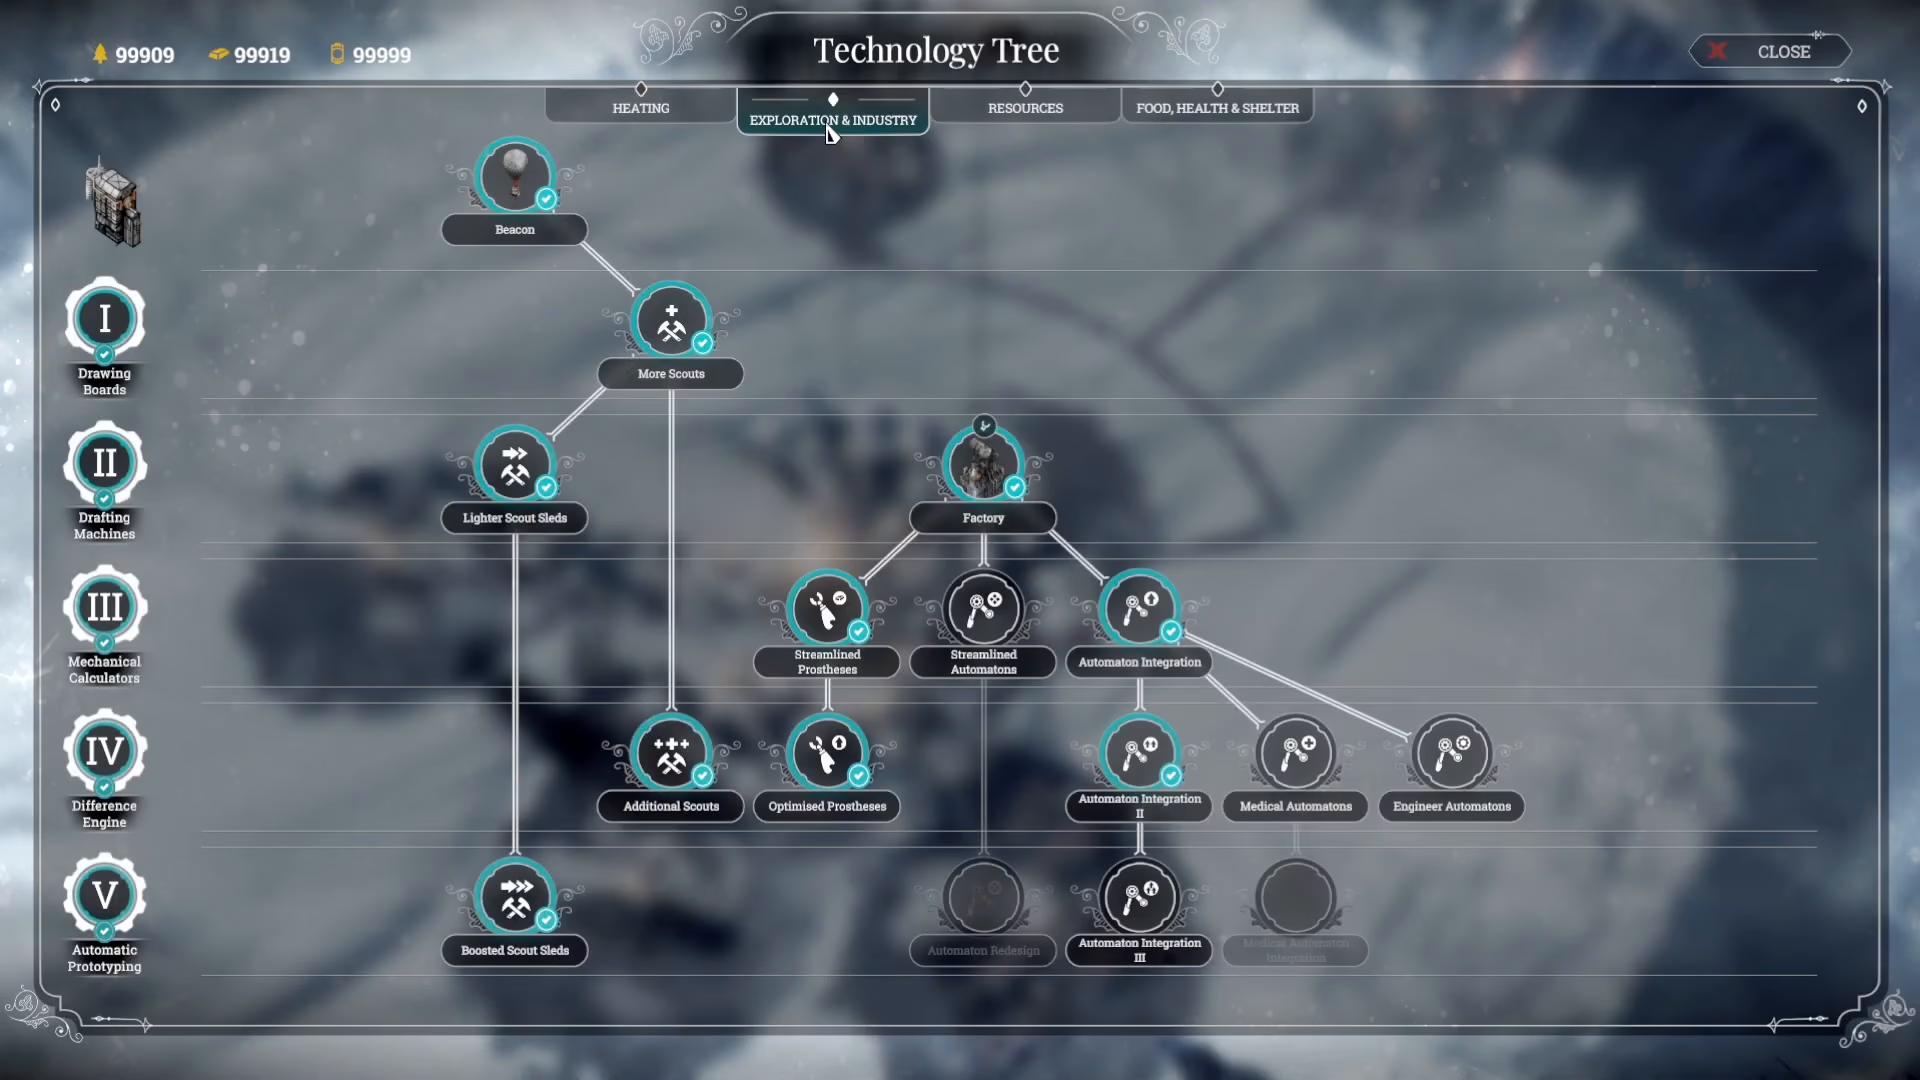
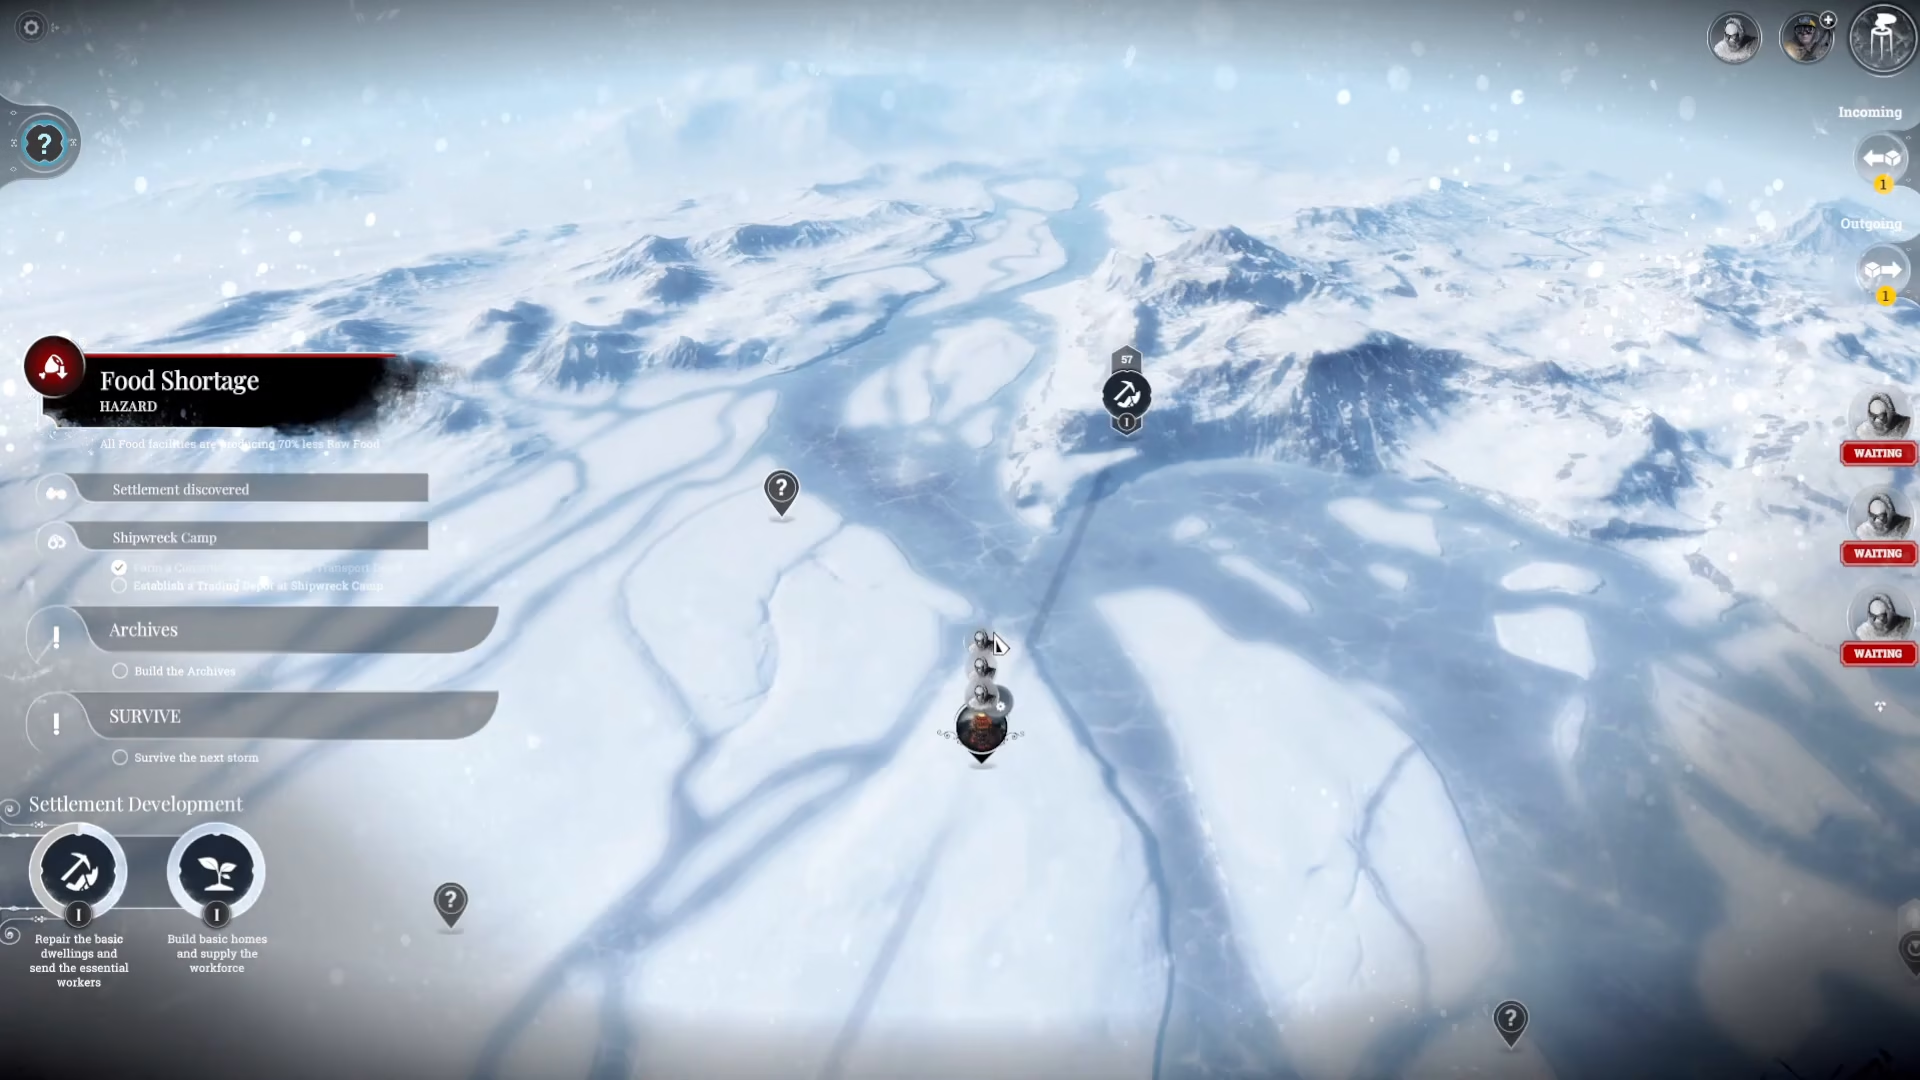
To send out your scouts, you’ll need to access the expanded map view. If you’re playing on PC, simply zoom out using your mouse wheel. This will bring up a screen showing all available scout teams and the surrounding territories you can explore.
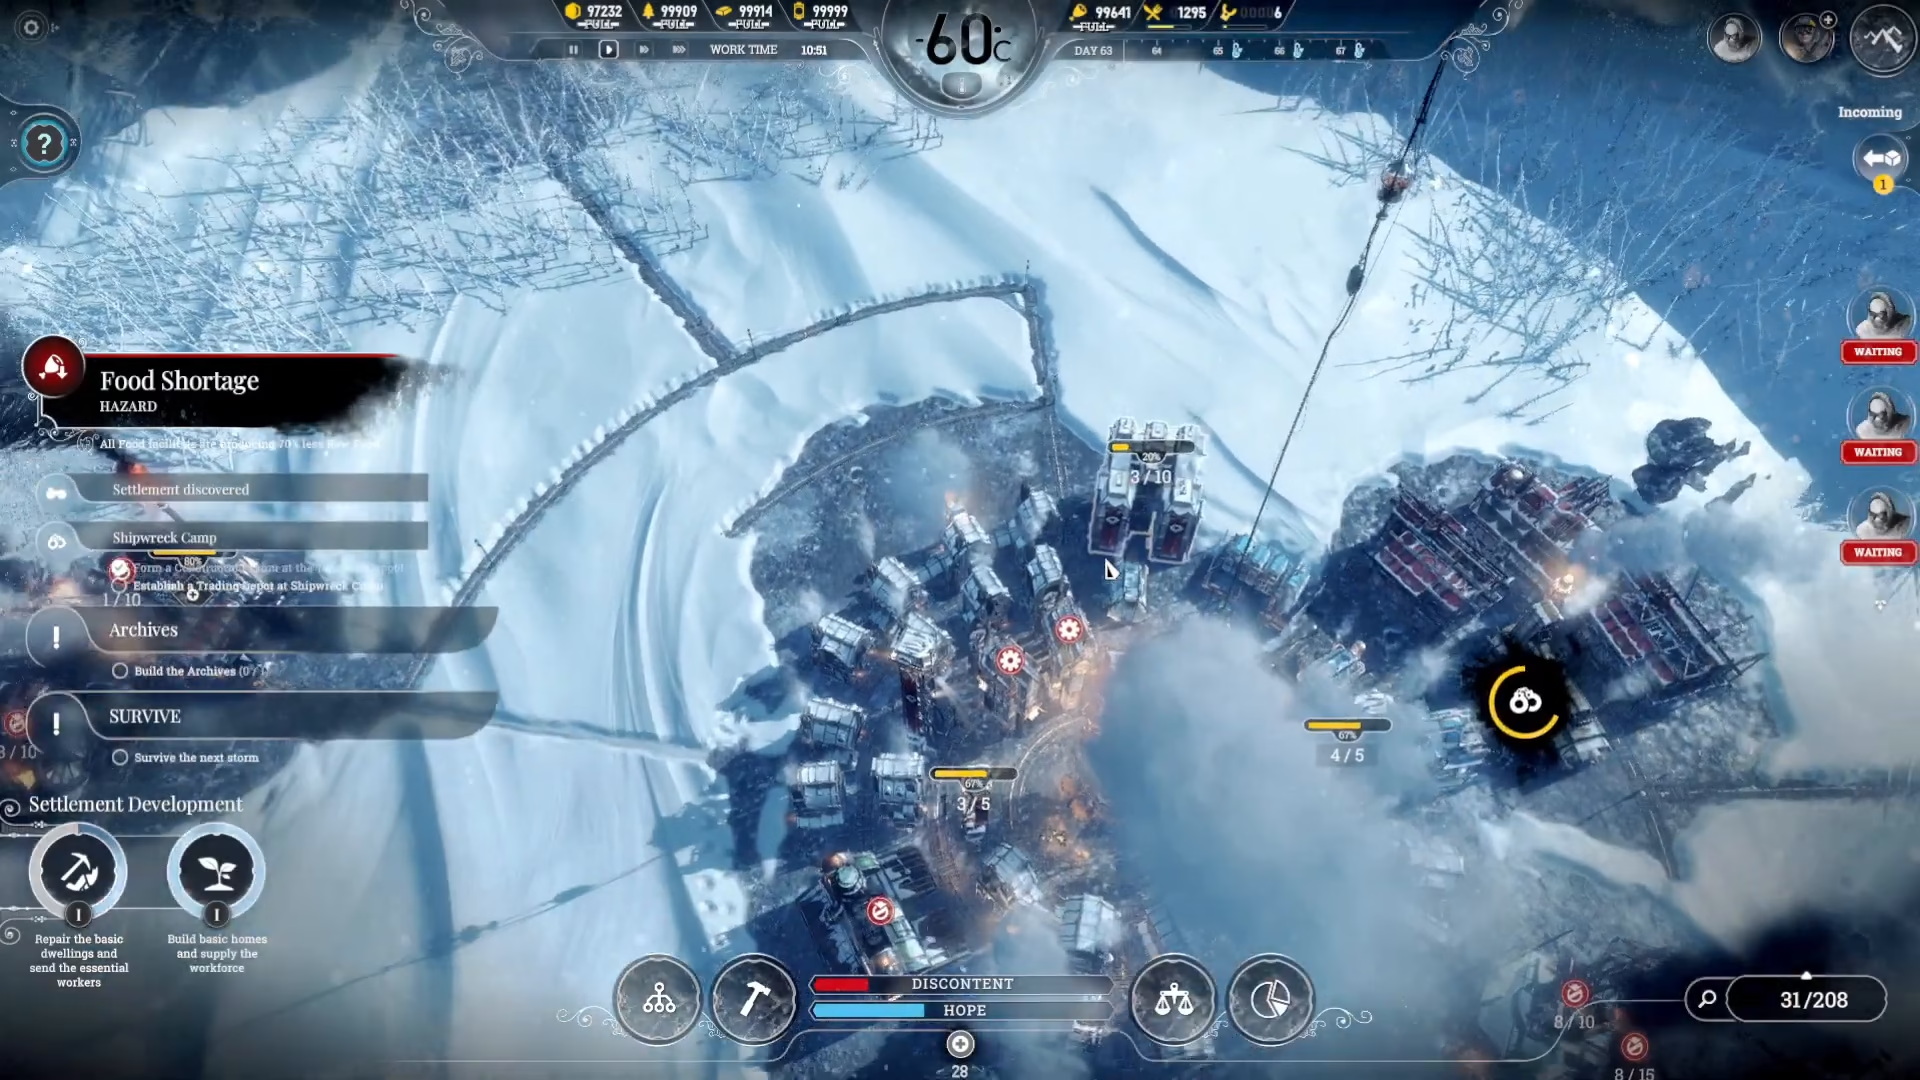
Sending Scouts to Locations
Once you’re in the zoomed-out map view, sending scouts is straightforward:
Click on a scout team to select it
Click on the destination location you want them to explore
Press the green arrow button to confirm and send the team
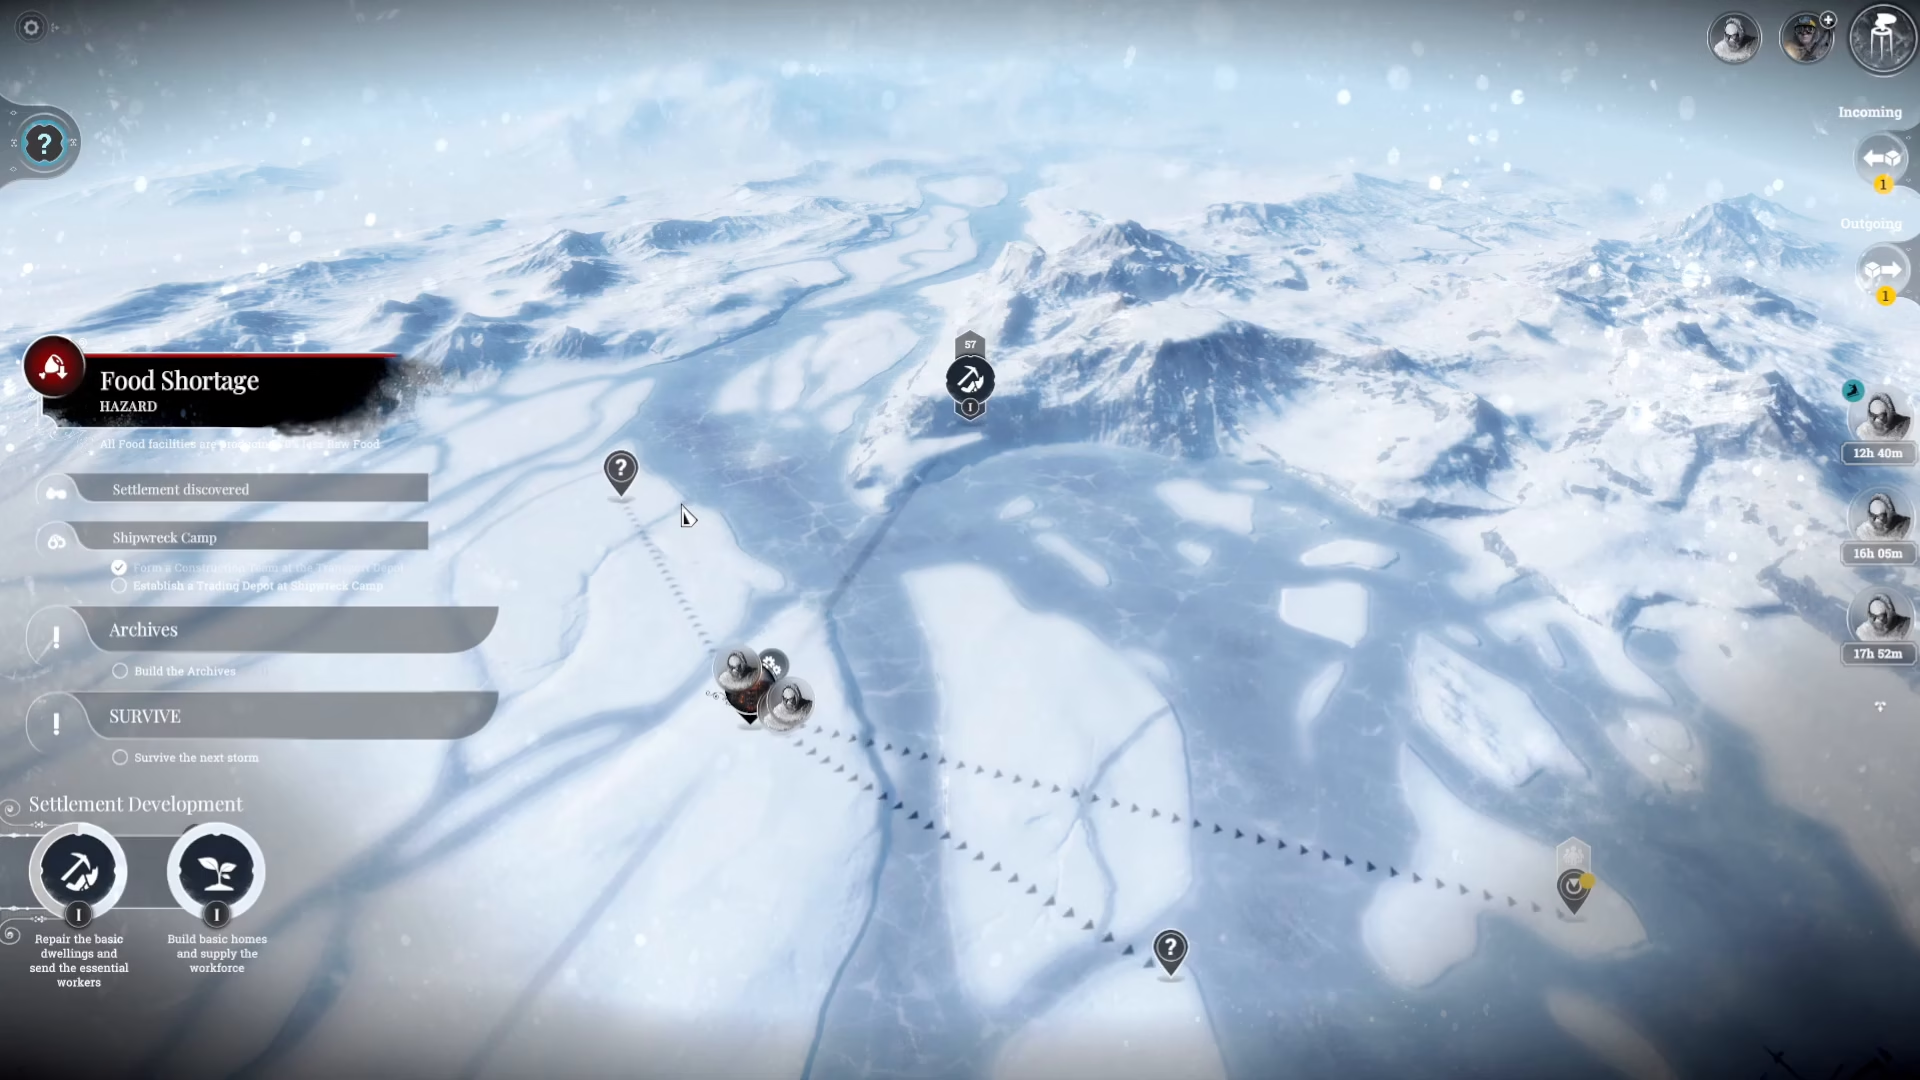
You can repeat this process for each of your available scout teams. For example, you might send one team to explore a location called “Loan,” another to a different territory, and your third team to yet another area. This allows you to maximize your exploration efforts across multiple fronts simultaneously.
What Happens After Scouts Arrive
Once your scout teams reach their destination, you’ll receive an alert notification. At this point, you have several options: you can send them back home, proceed with additional tasks, or explore new areas. The map in Frostpunk is quite extensive, and different locations may present varying options and encounters. Take advantage of these opportunities to gather resources and information about surrounding settlements and territories.
Summary
Sending scouts in Frostpunk is an essential skill for successful gameplay. Start by researching and building your beacon, then expand your capabilities through the technology tree. Use the zoomed-out map view to deploy your teams strategically across multiple locations. With practice, you’ll master the art of exploration and uncover all the secrets your frozen world has to offer.
Want to Support?
If you would like to help us continue making these guides – please consider joining our patreon here – https://www.patreon.com/c/JaviHeals
Alternatively – you can join our discord here – https://discord.gg/zD7Gjt6MHF