






The Gift Side Gig Quest Guide in Cyberpunk 2077
The Gift Side Gig Quest Guide in Cyberpunk 2077
The Gift is a side job in Cyberpunk 2077 that requires you to acquire a specific cyberdeck mod and use it to hack into a network. This guide will walk you through every step of the mission, from locating the quest giver to successfully completing the hacking sequence.
Finding the Quest Location
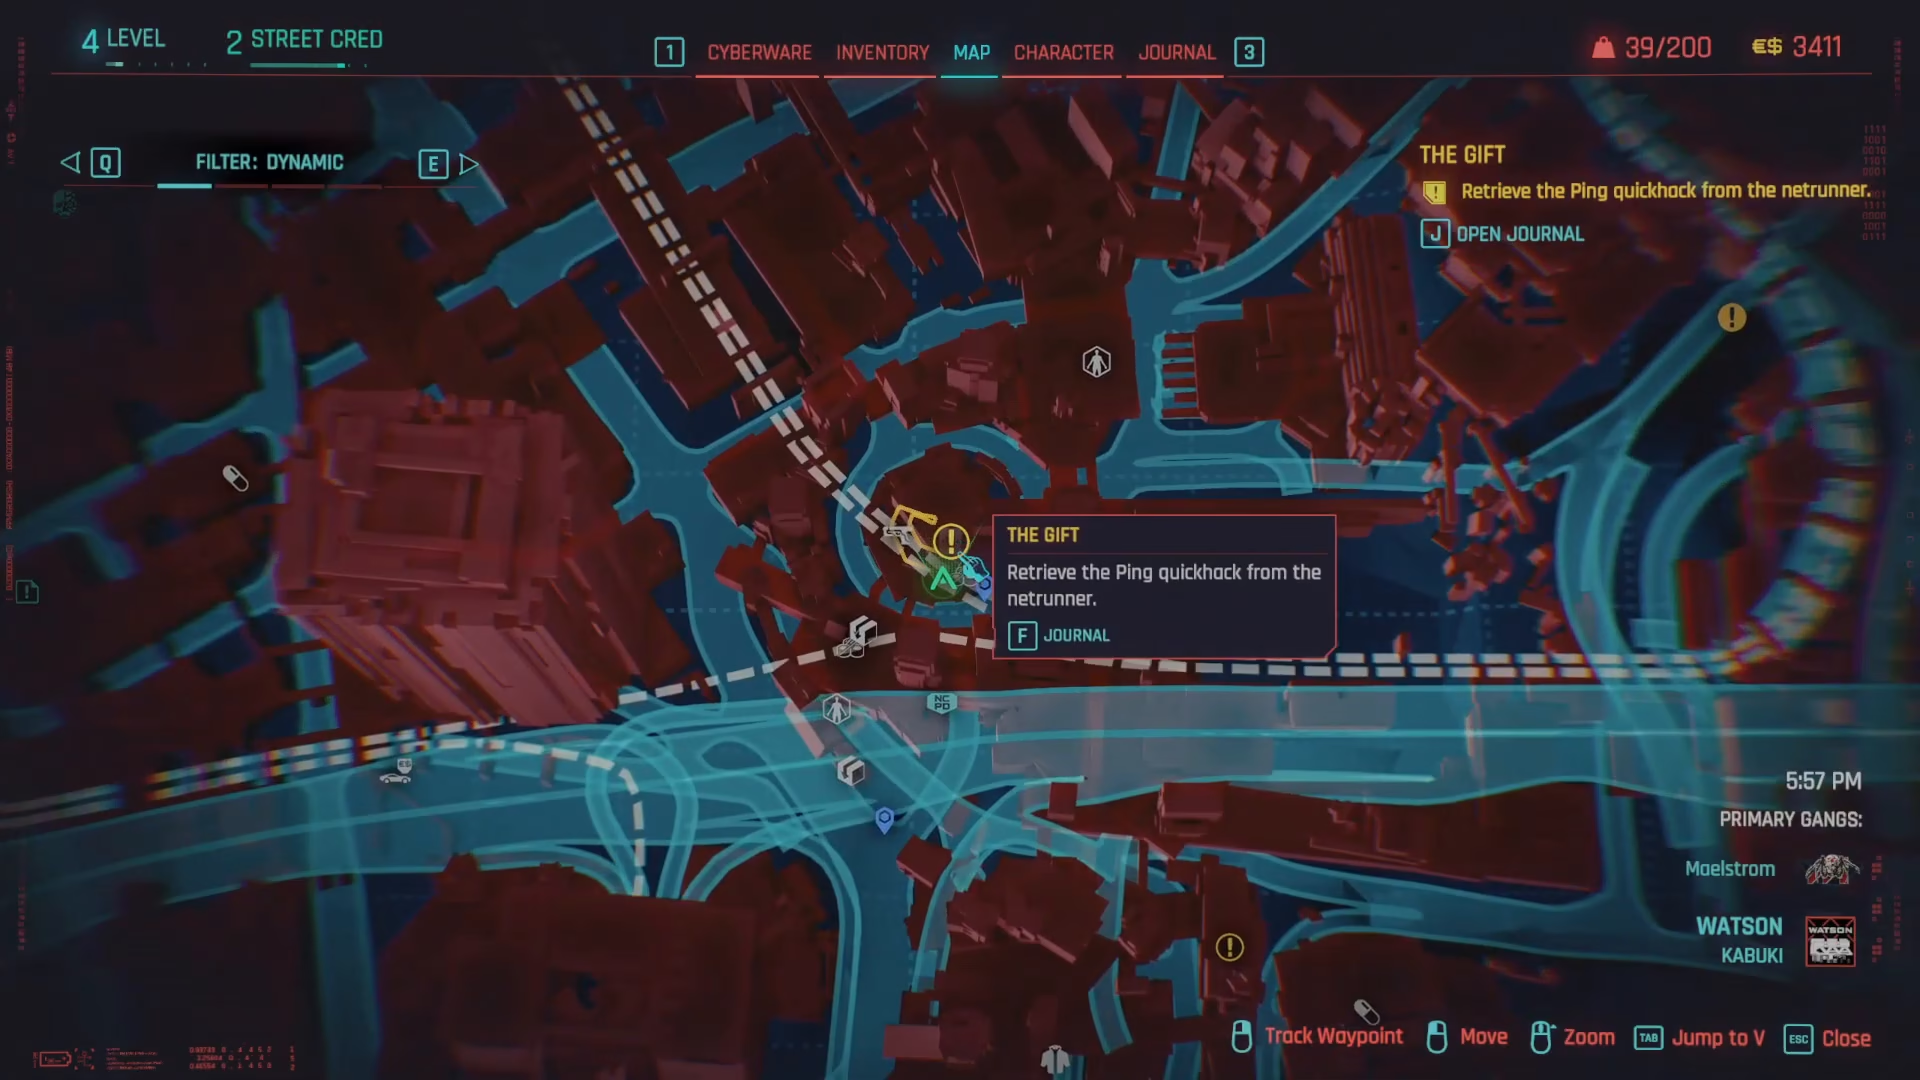
The Gift side job begins in Watson, specifically in the Kabuki district. Make your way to the marked location and head upstairs to meet the quest giver inside.
Purchasing the Ping Cyberdeck Mod
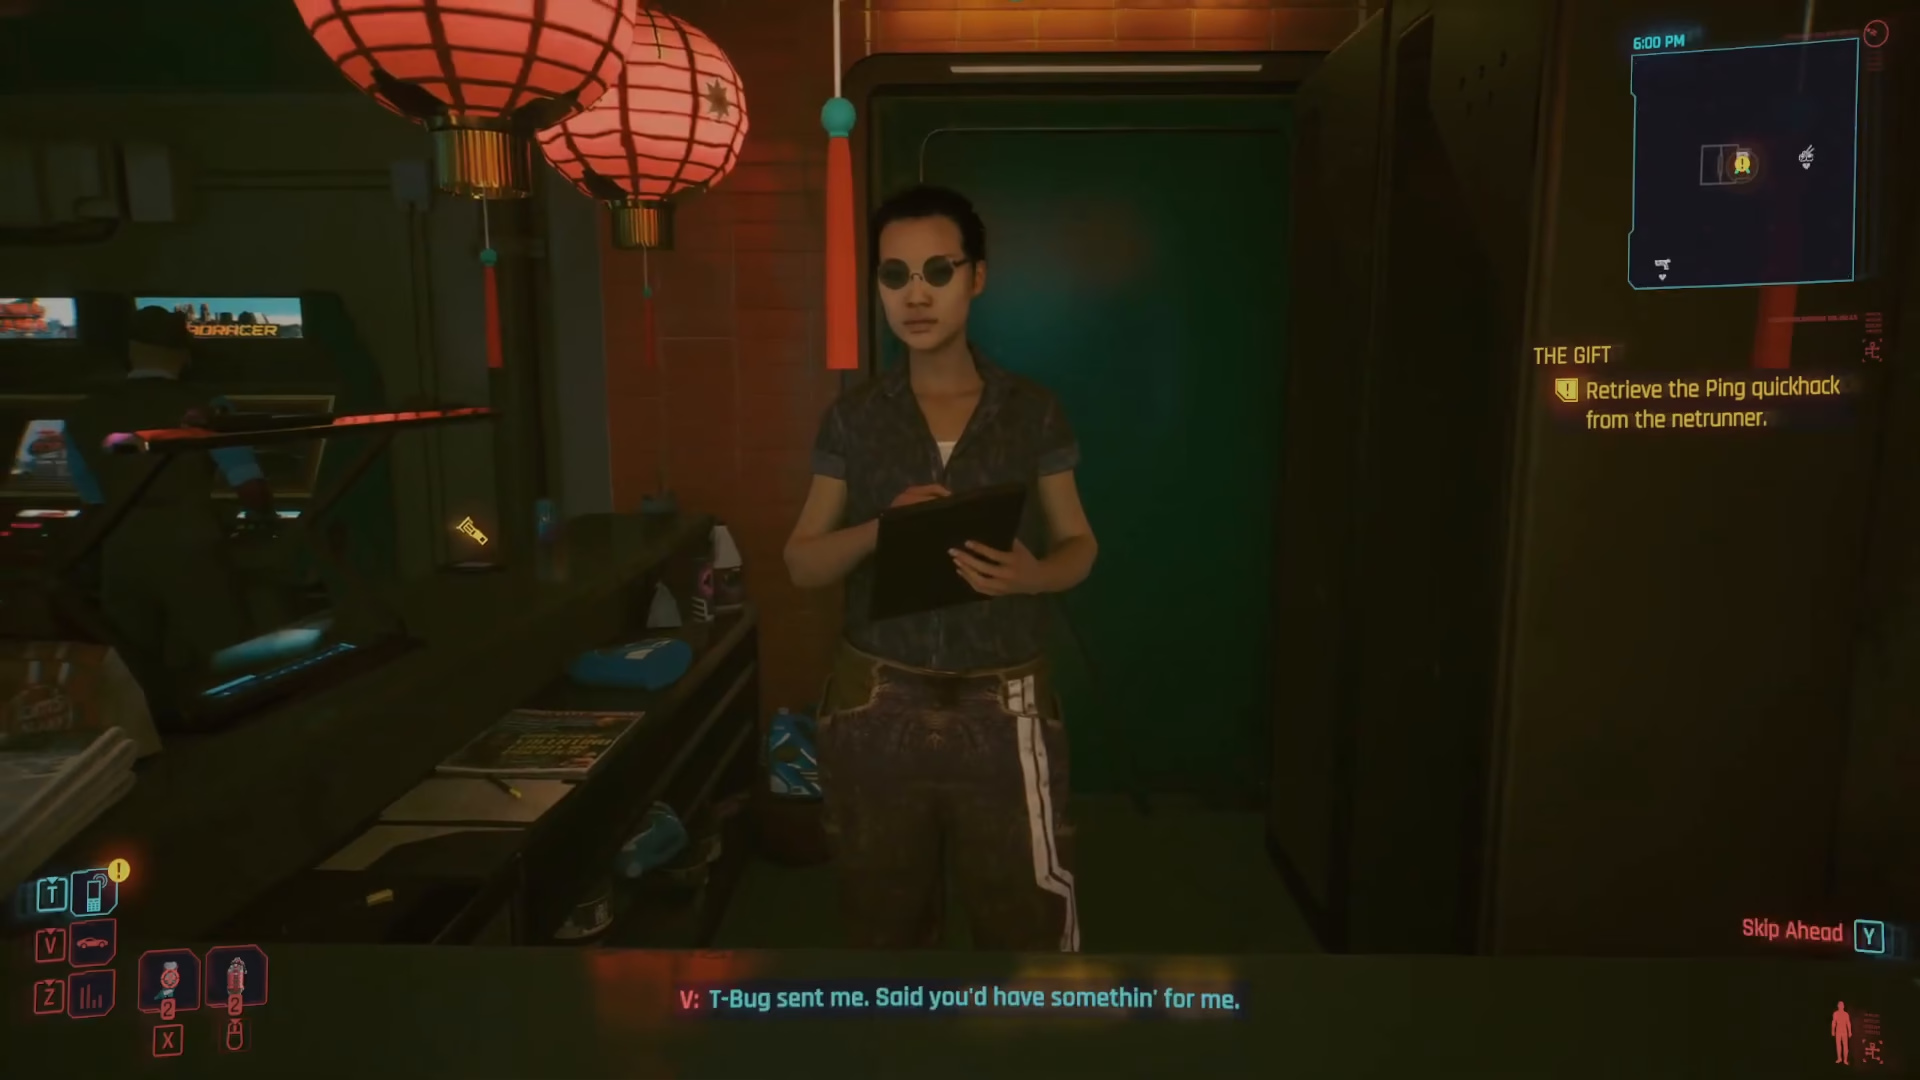
Once inside, speak with the lady to access the shop. Look for the Ping mod at the bottom of the available inventory. This mod has a duration of eight seconds and is labeled as “Untraceable reveals enemies and devices connected to the local network.” Purchase this item to proceed with the quest.
Installing the Cyberdeck Mod
After purchasing the Ping mod, exit the shop and open your inventory. Navigate to the cyberdeck slot to open the mod screen. Select the cyberdeck slot and locate the Ping mod on the left-hand side. Once installed, the Ping mod will appear alongside other quickhacking options such as Overheat, Reboot Optics, and Short Circuit.
Using the Ping Mod on the First Network
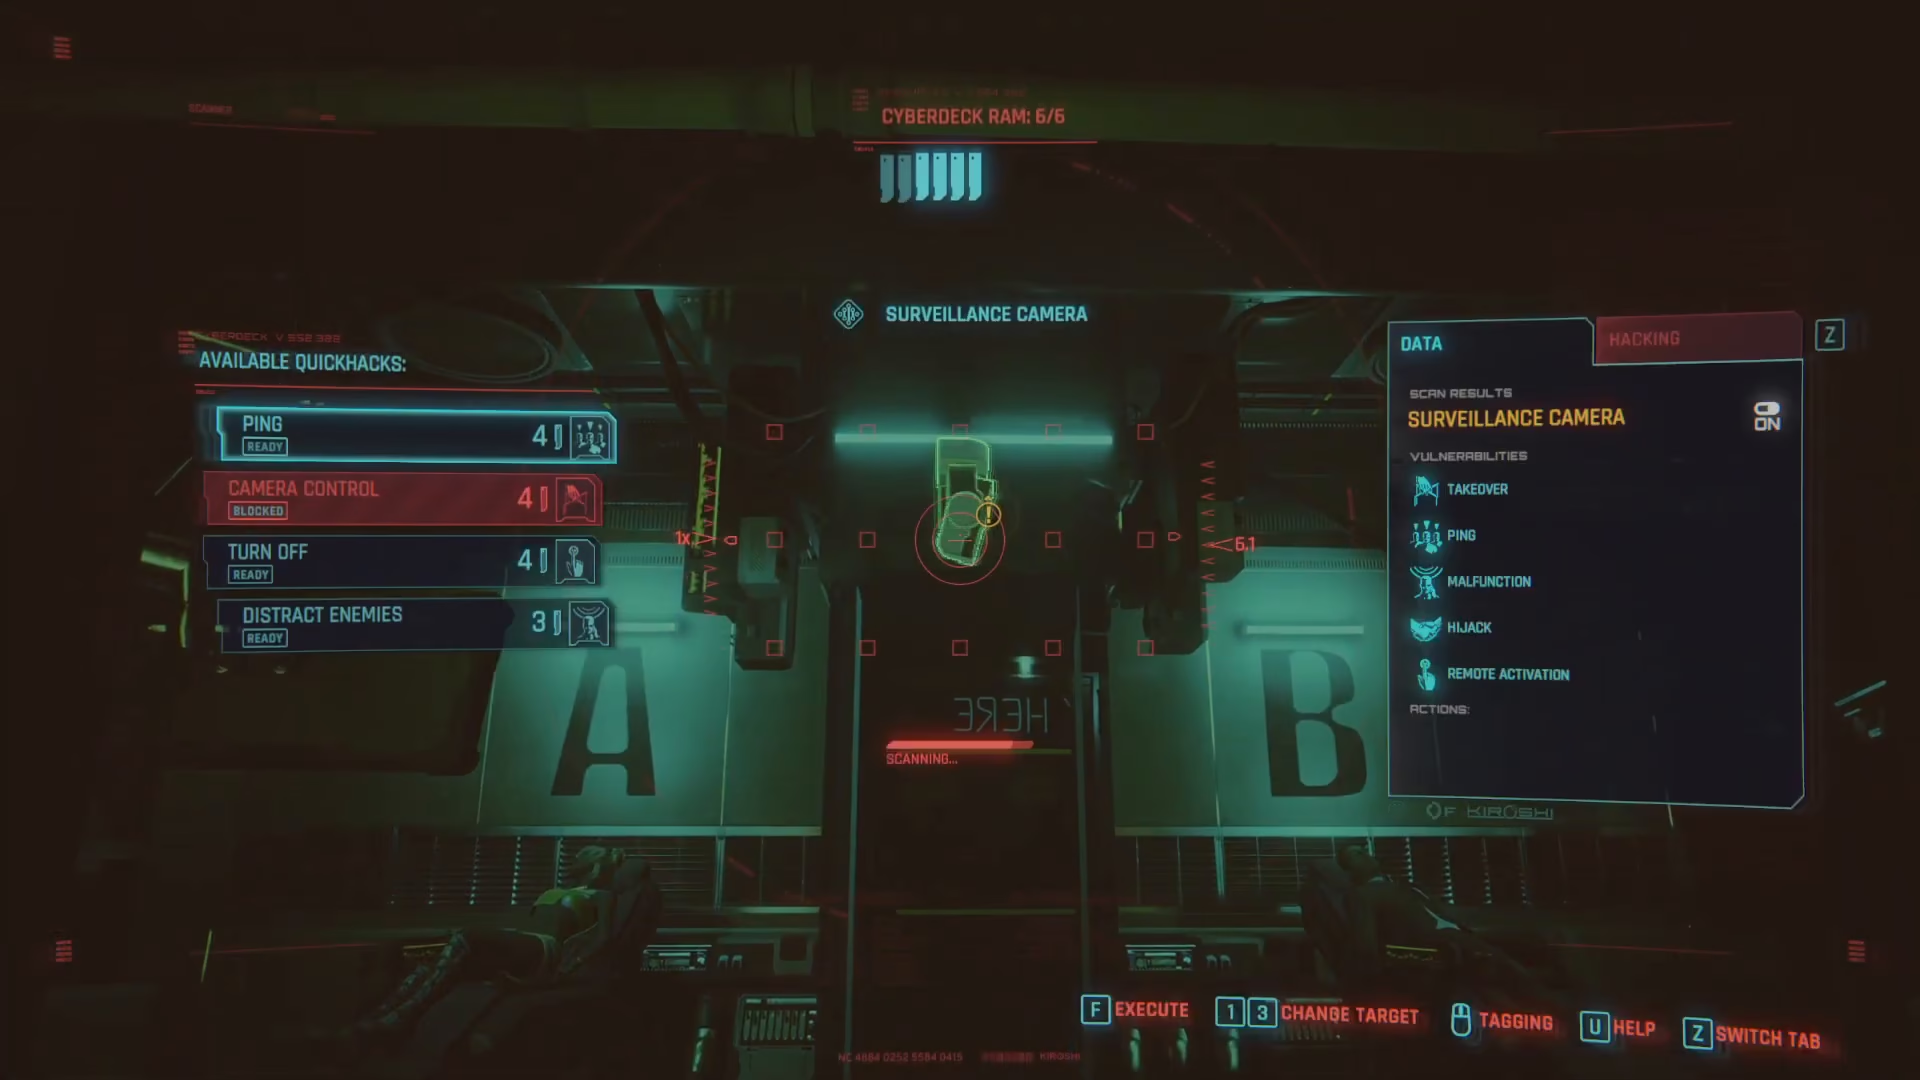
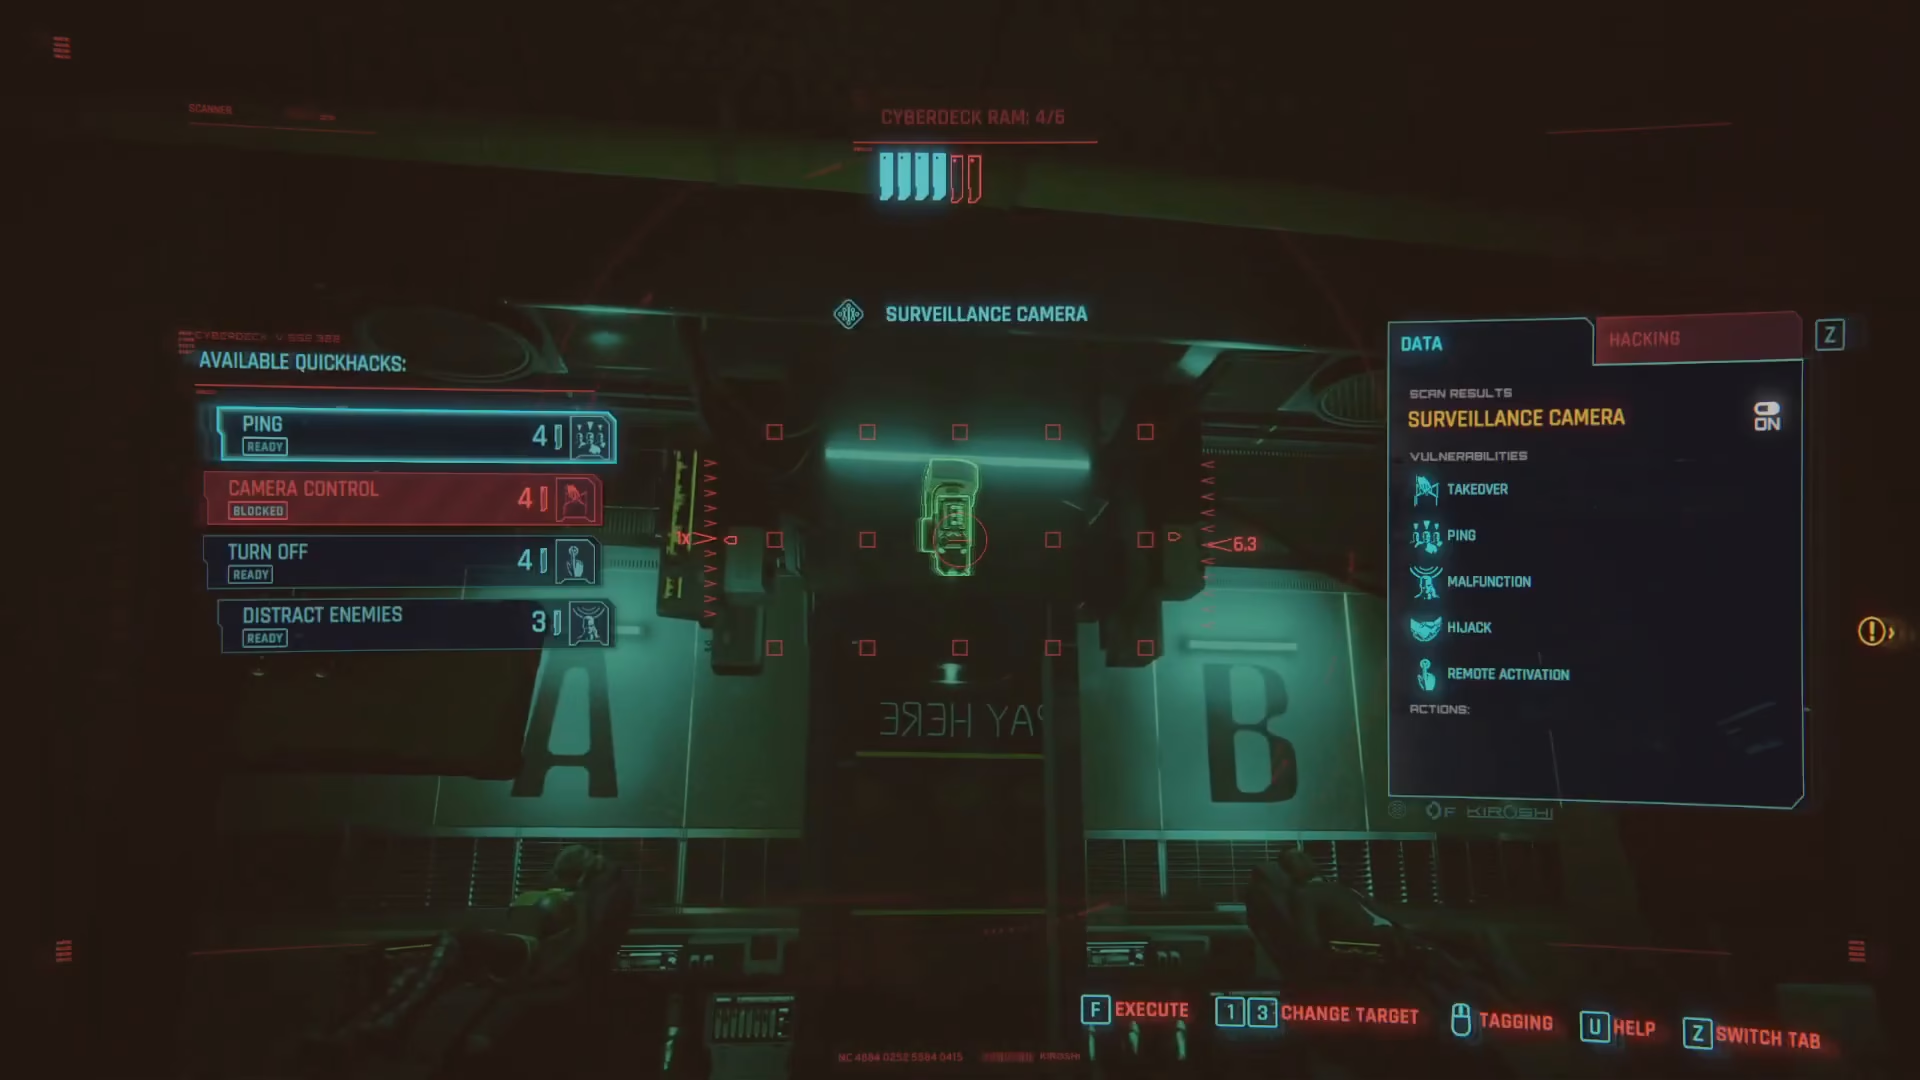
With the Ping mod installed, press Tab (on PC) to access the quickhacking interface and target the camera or access point. Hover over your target using Tab navigation, then use your mouse wheel to select the Ping option. Make sure to toggle “Don’t distract enemies” to avoid alerting nearby guards. Press F to execute the Ping hack.
The Ping will reveal all devices and connections on that network. Note that each Ping costs 4 RAM, so manage your RAM resources carefully. As you scan additional networks, your RAM will regenerate, allowing you to continue hacking.
Identifying Connected Access Points
As you scan the networks, you’ll discover which access points are connected to each other. For example, after pinging one network, you may find it connects to an access point on the wall. Identify these connections and prepare to jack in to the next network.
Jacking Into the Wall Access Point
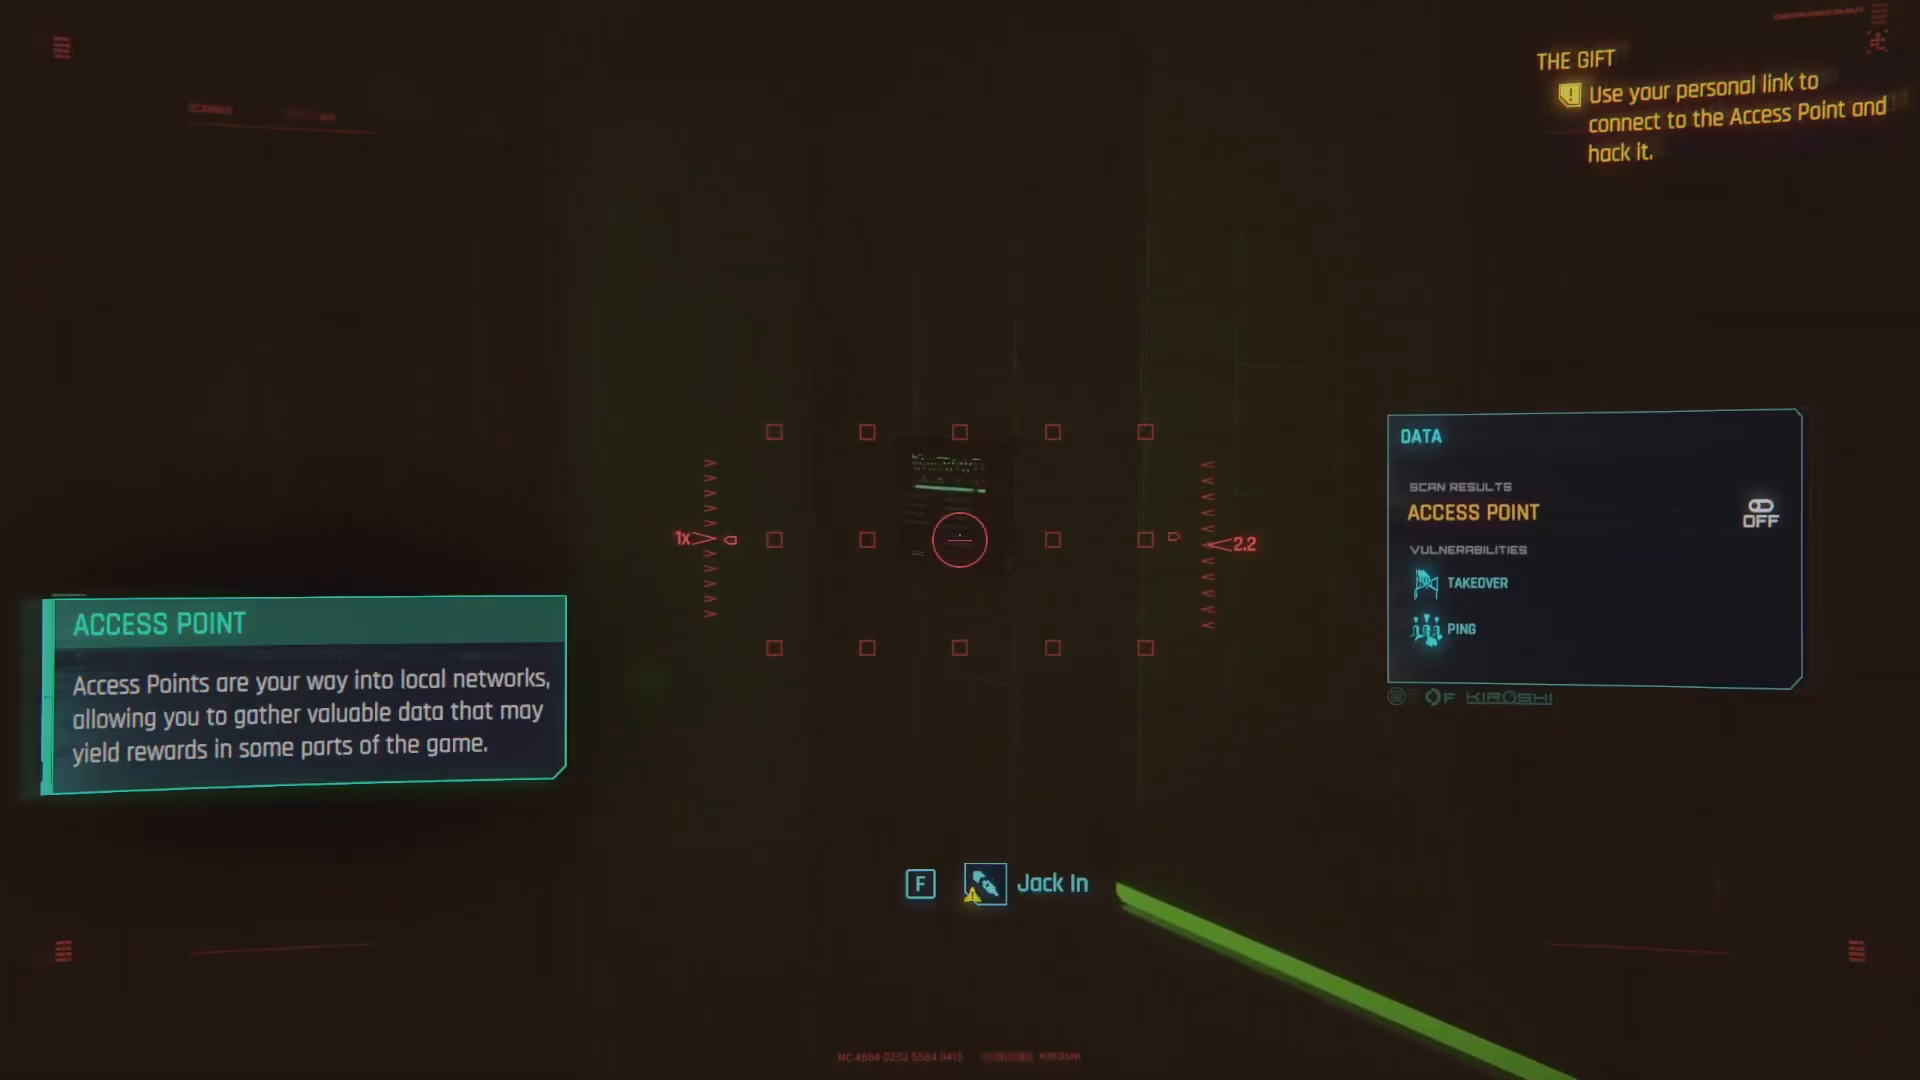
Once you’ve identified the connected access point, approach it and press F to jack in to that network. This will initiate a sequence puzzle that you must complete to upload the required data.
Completing the Sequence Puzzle
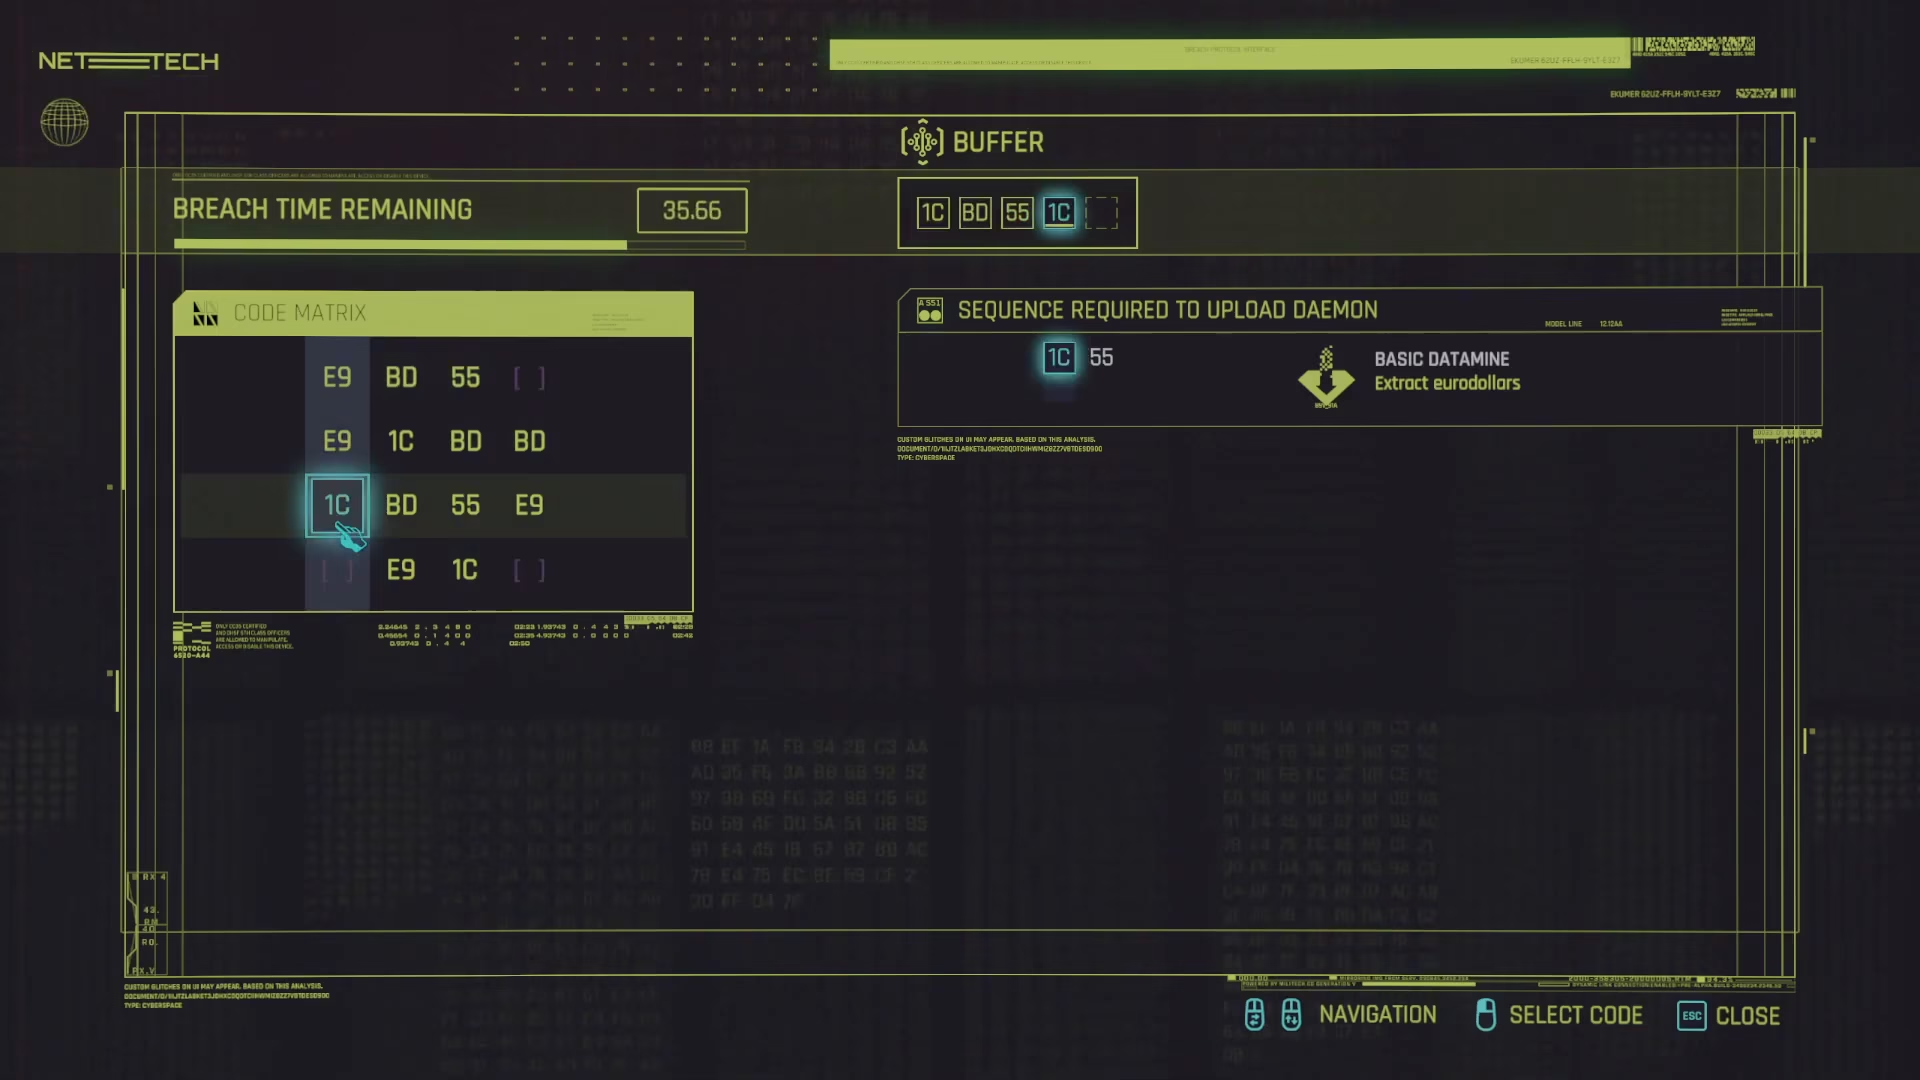
The hacking sequence requires you to input the code 1C55. You’ll be presented with five buttons to navigate through. The key to solving this puzzle is understanding the directional movement: you need to move down, then across, then down again, then across once more to reach your target nodes.
Start by moving down to node 1C. This will position you in a new row. Next, move across to node BD. Finally, move down to reach 1C55. Once you’ve successfully navigated to 1C55, the sequence is complete and the hack succeeds.
The strategy is to position yourself so that when you move across and then down (or up), you can access both 1C and 55 in the same row, allowing you to complete the sequence efficiently.
Quest Complete
Once you’ve successfully completed the hacking sequence and uploaded the data, the Gift side job is complete. You’ve now learned how to use the Ping quickhack mod, identify network connections, and navigate hacking sequences in Cyberpunk 2077.
Want to Support?
If you would like to help us continue making these guides – please consider joining our patreon here – https://www.patreon.com/c/JaviHeals
Alternatively – you can join our discord here – https://discord.gg/zD7Gjt6MHF