







What Moves The Dead Quest Guide In The Blood of Dawnwalker
What Moves The Dead Quest Guide – Blood of Dawnwalker
This comprehensive guide will walk you through the “What Moves The Dead” quest in Blood of Dawnwalker. Follow along step-by-step as we navigate through town, gather information about Silas, explore hidden areas, and uncover the mysteries waiting in the depths below.
Starting the Quest
Begin by following Kraken Mavasa through the gate. You’ll encounter bandits during a cutscene that you’ll need to defeat. After clearing the area, follow Kraken inside to proceed.
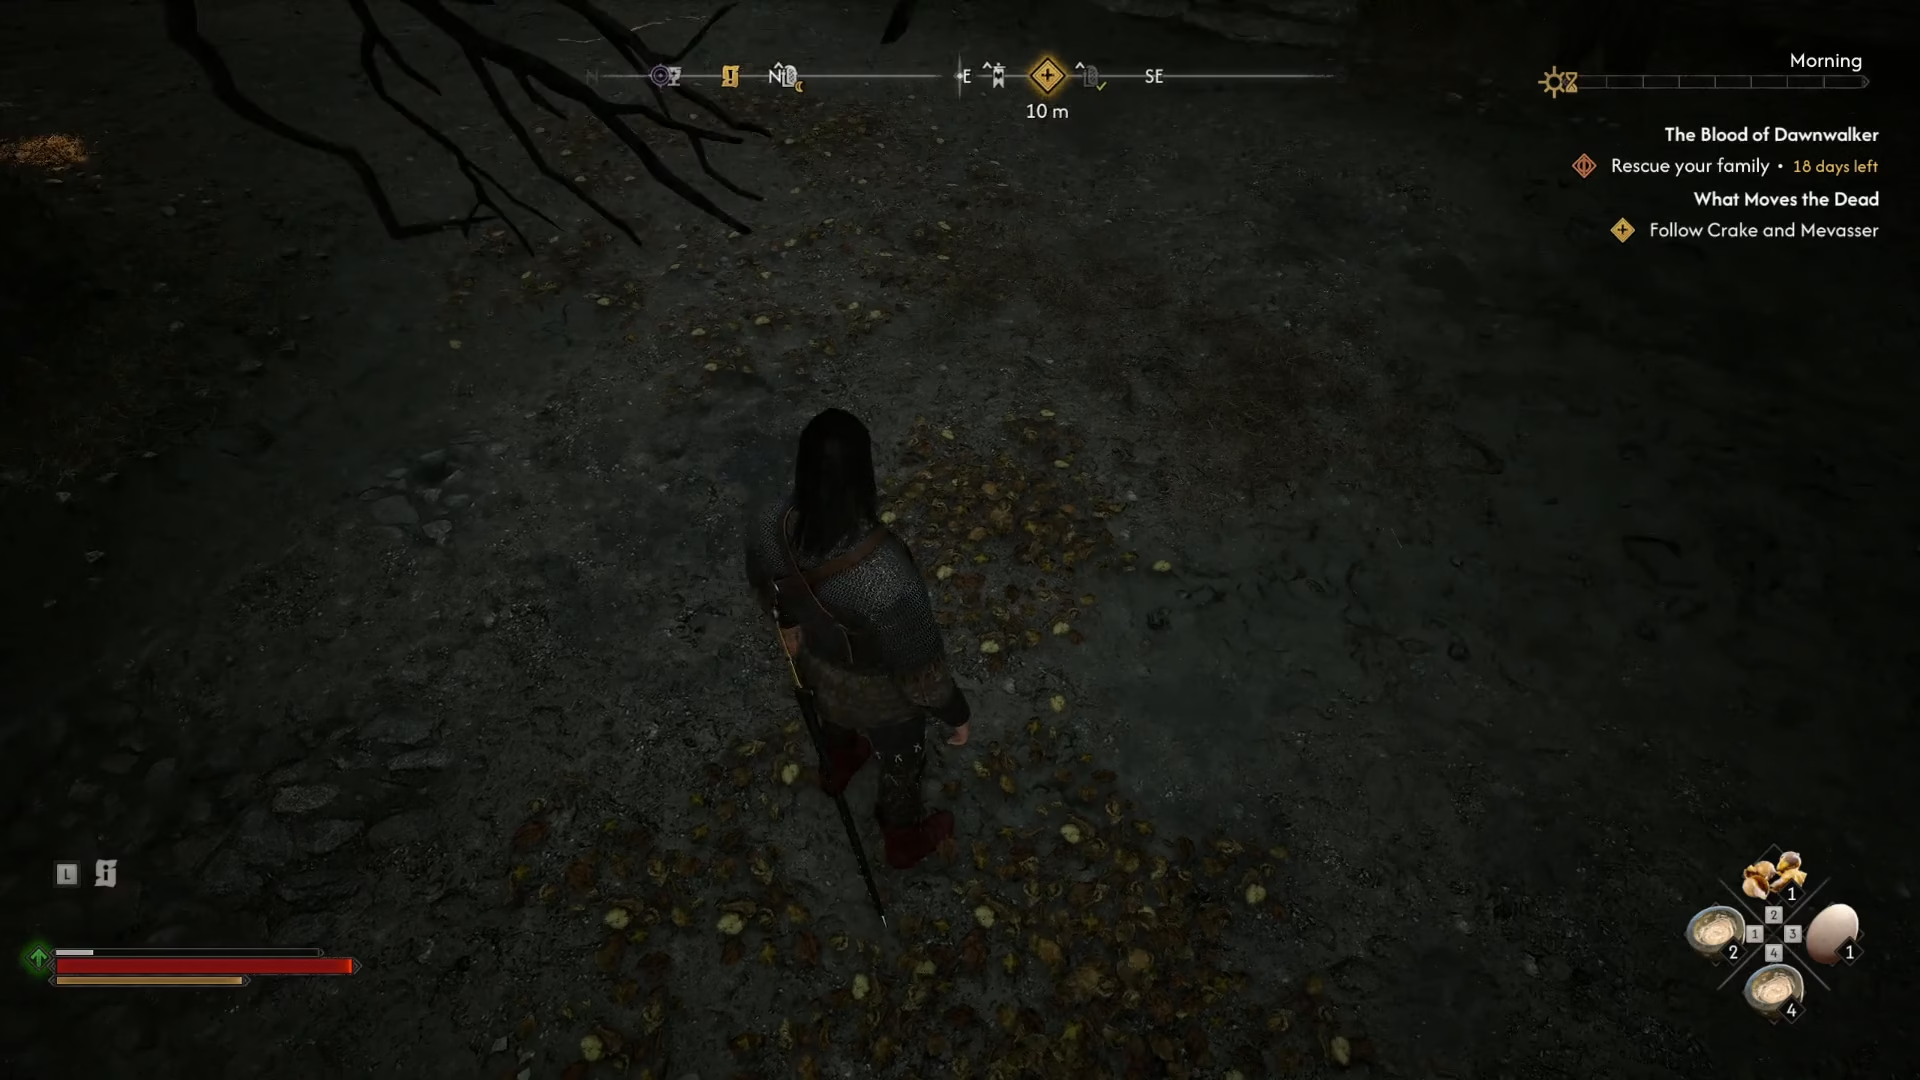
Gathering Information from Townspeople
Your next objective is to ask townspeople about Silas (also referred to as “Silas” by locals). Using Finder Vision can help you navigate the area more easily and identify which NPCs to speak with.
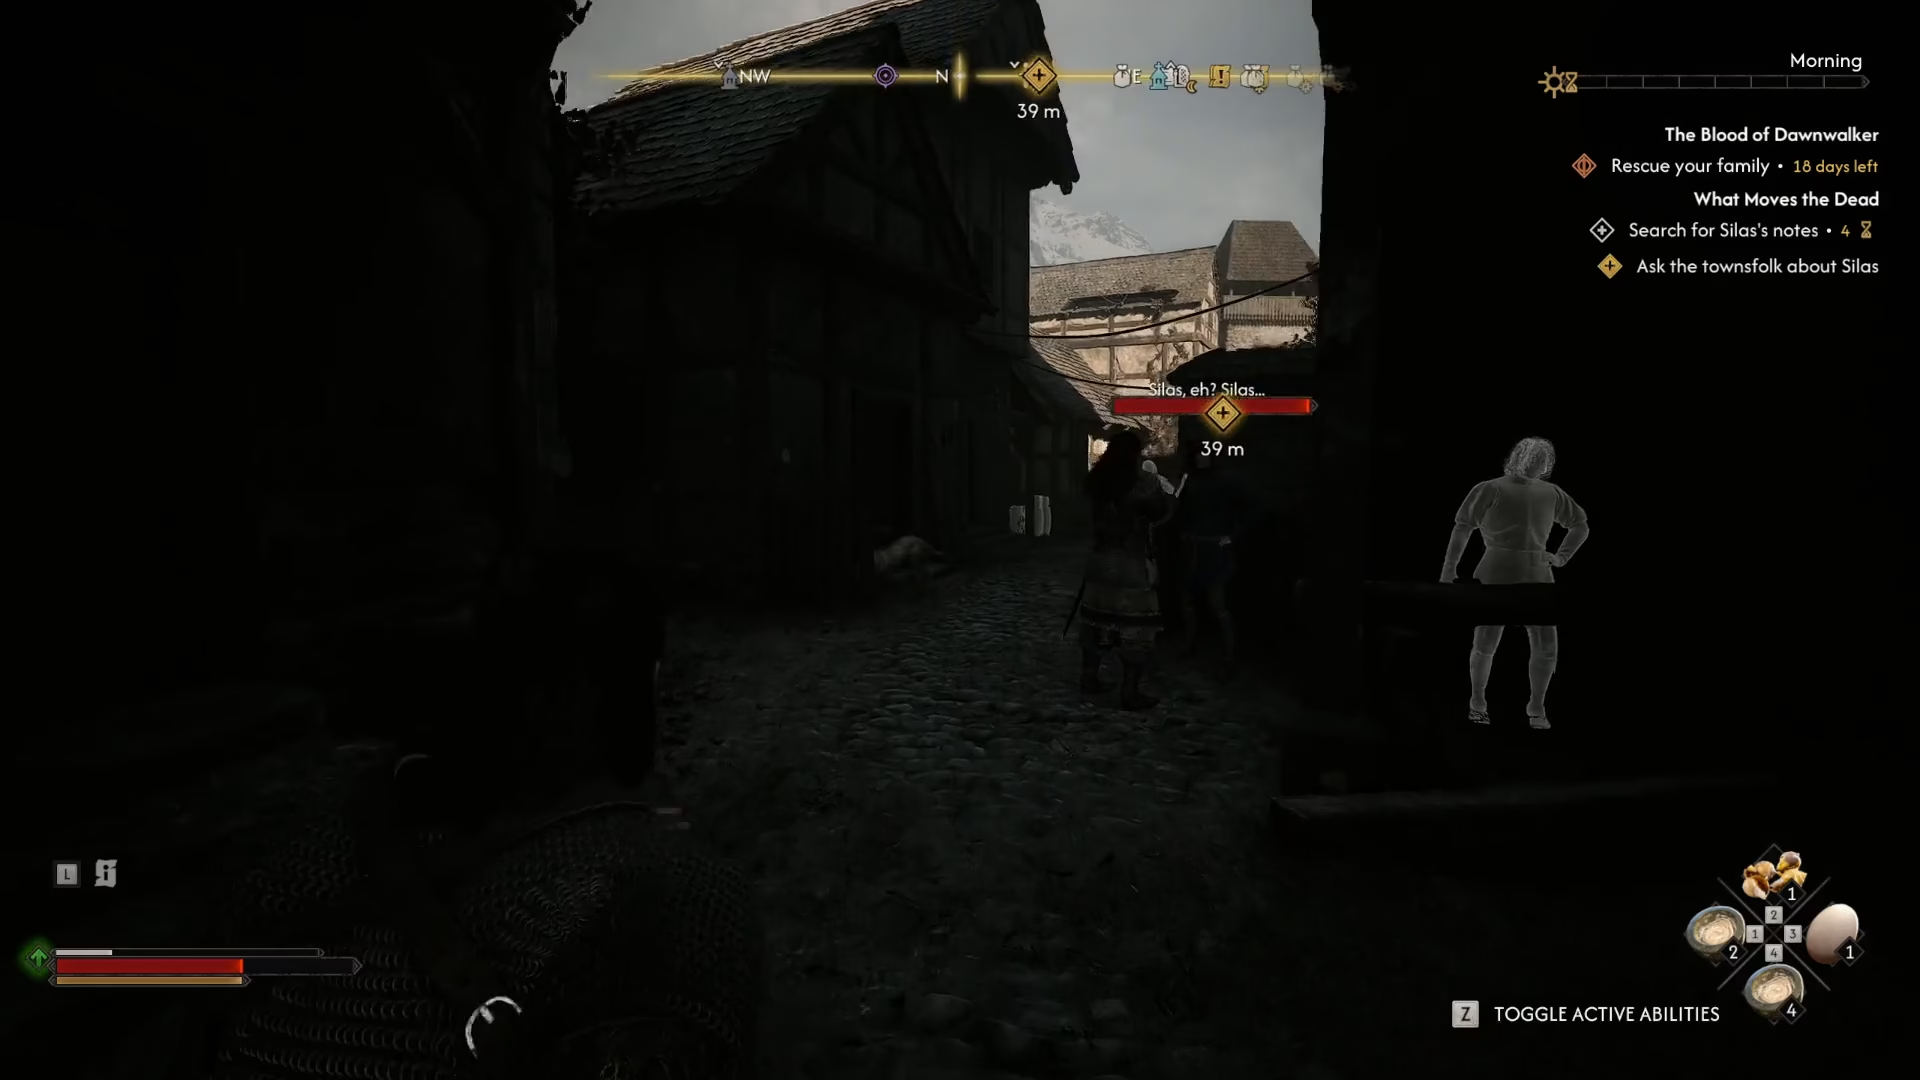
Key NPCs to Question
Start by asking the guide in the wall for information. Next, speak with the old woman in the alley—she’ll direct you to Henrik, the store owner, who may have useful information about Silas’s whereabouts.
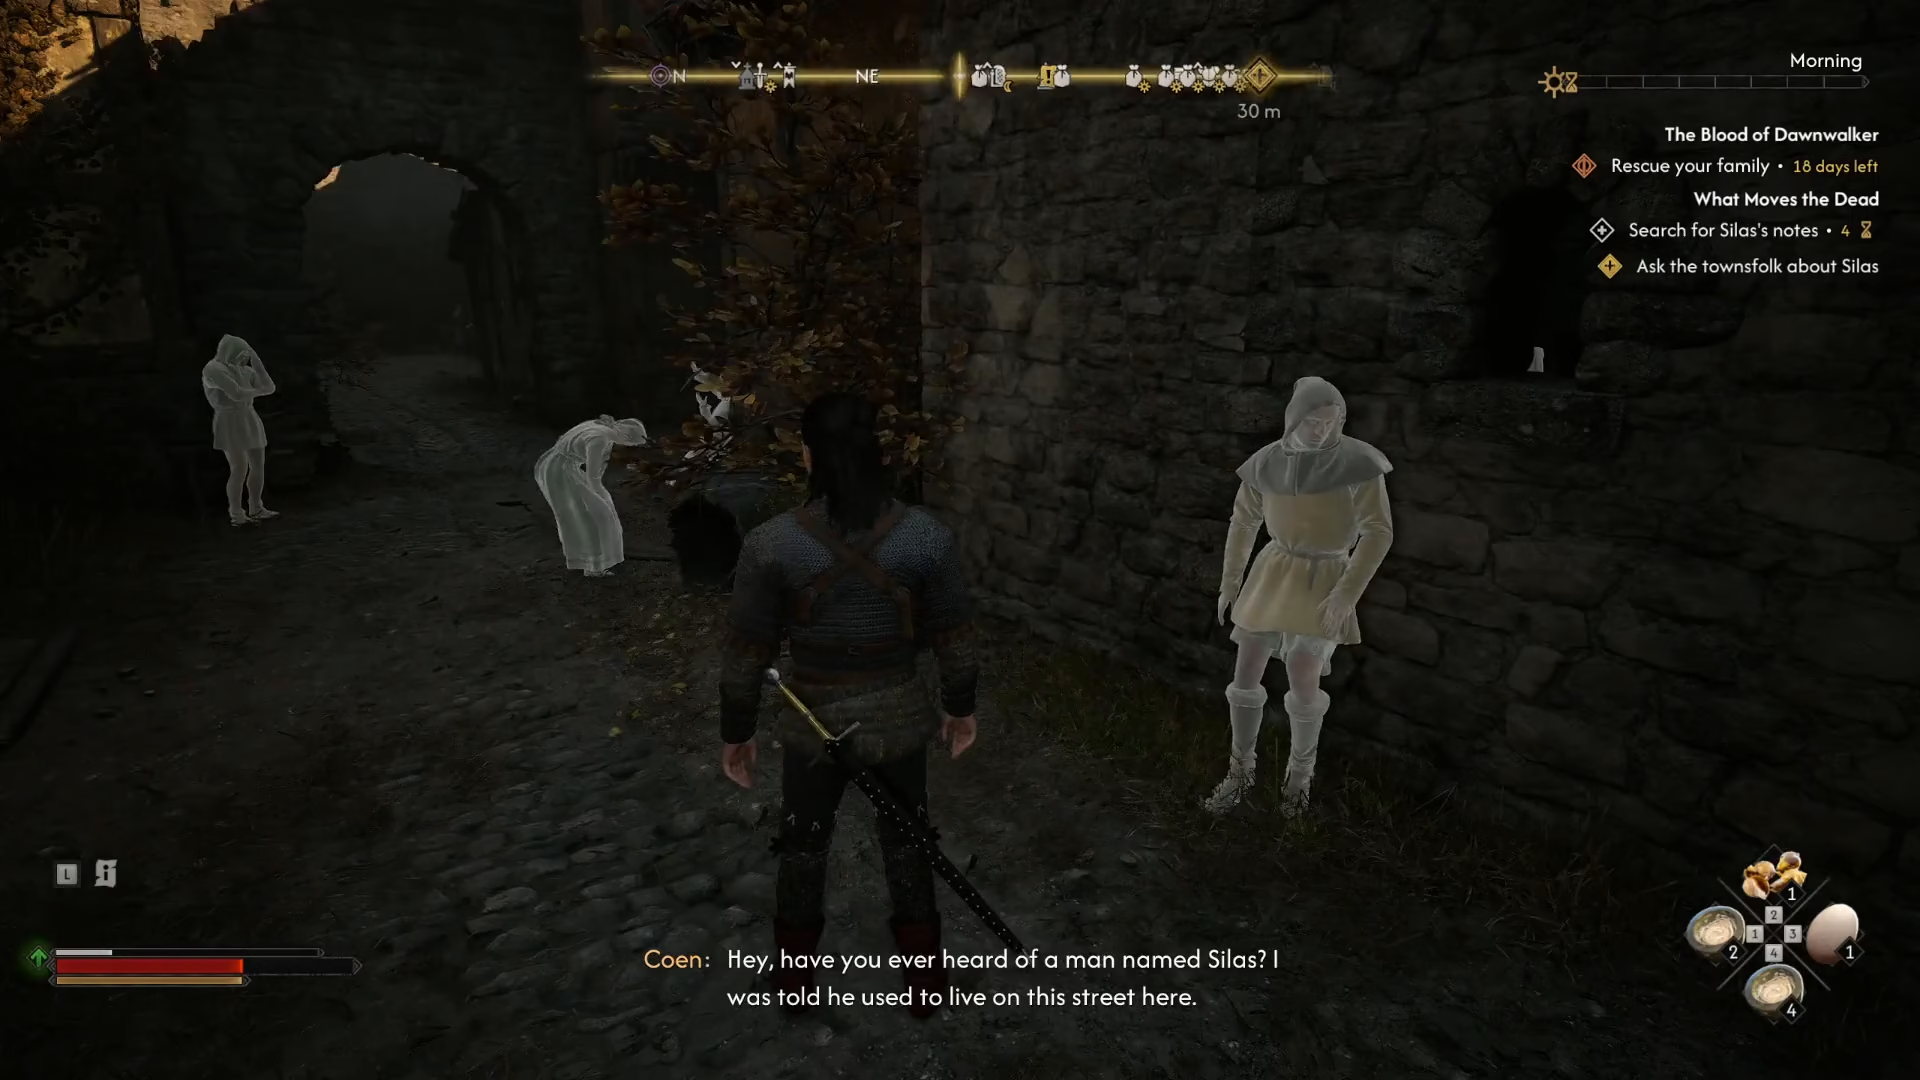
Finding the Yellow House
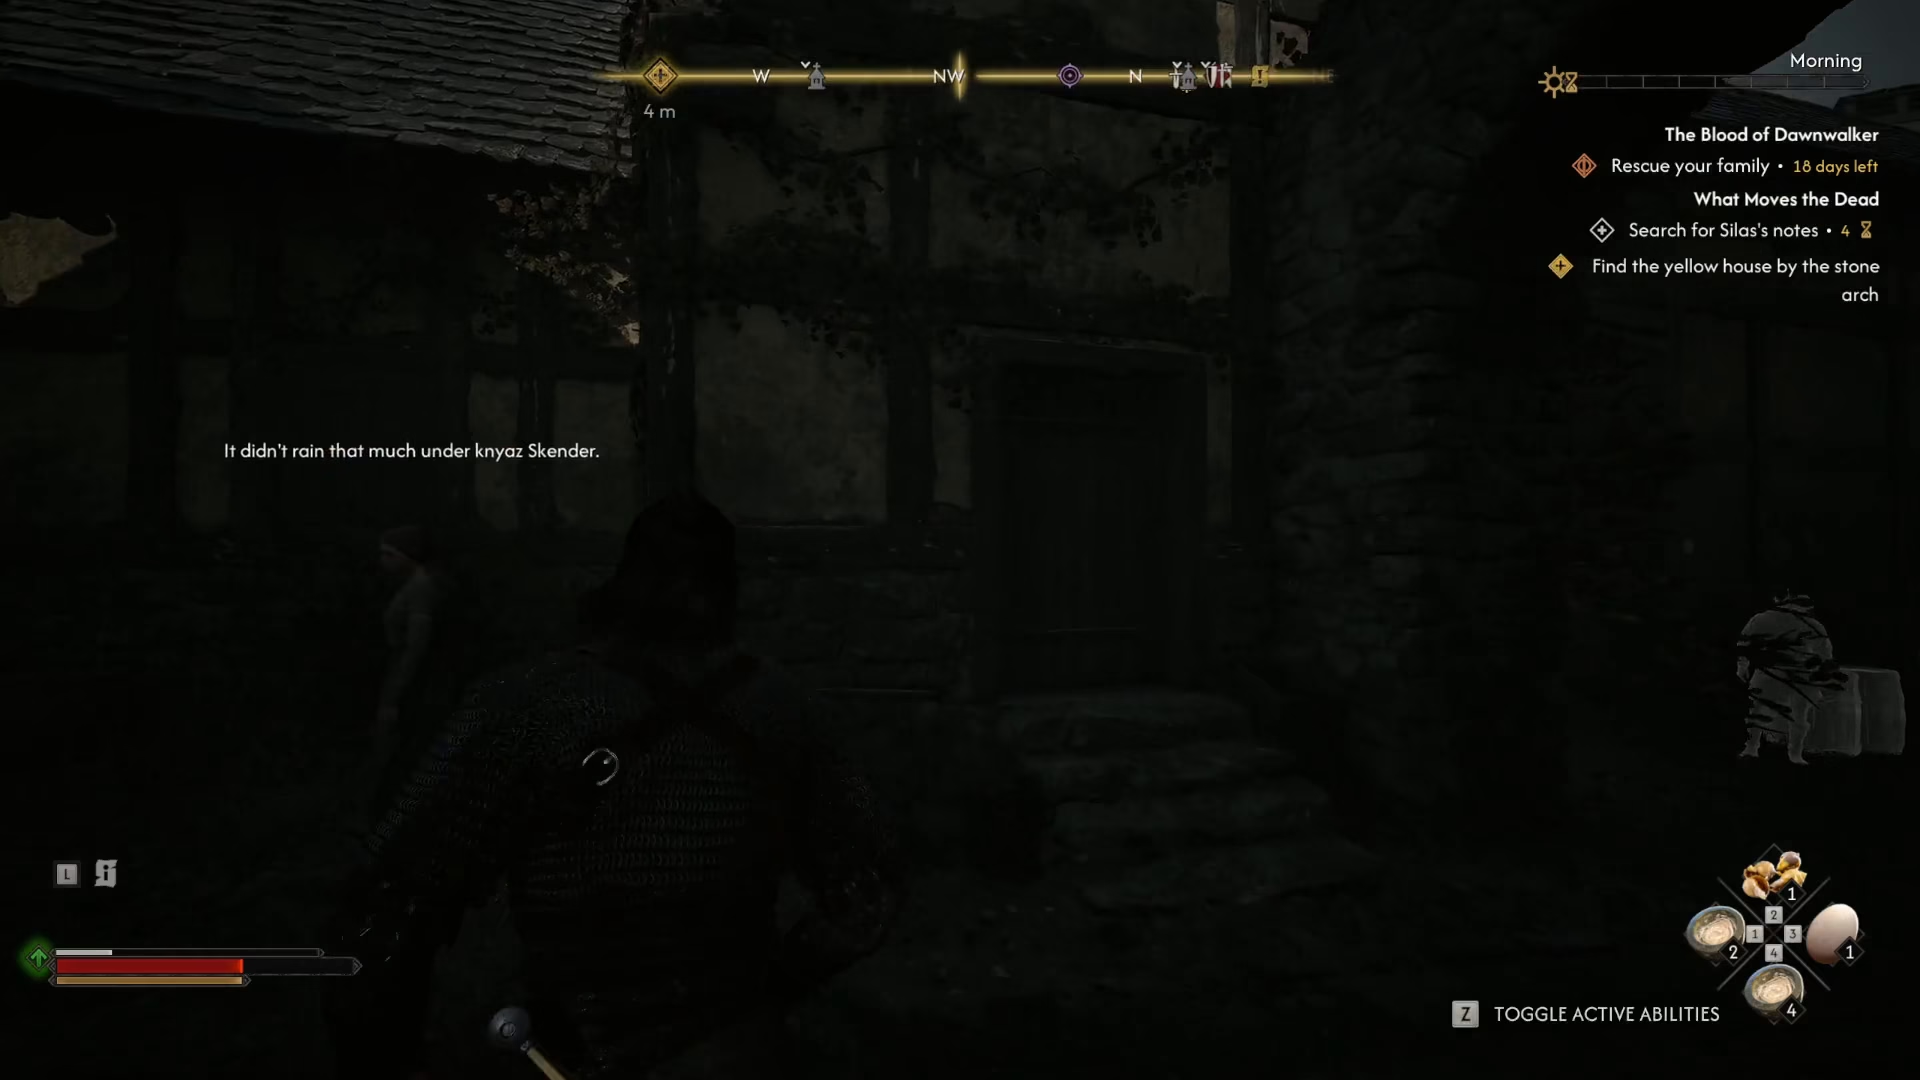
Henrik will tell you that his grandson lives nearby in a yellow house near a stone arch. This location is just around the corner from the store—literally opposite where you’re standing. The store itself is right next to the old woman’s location.
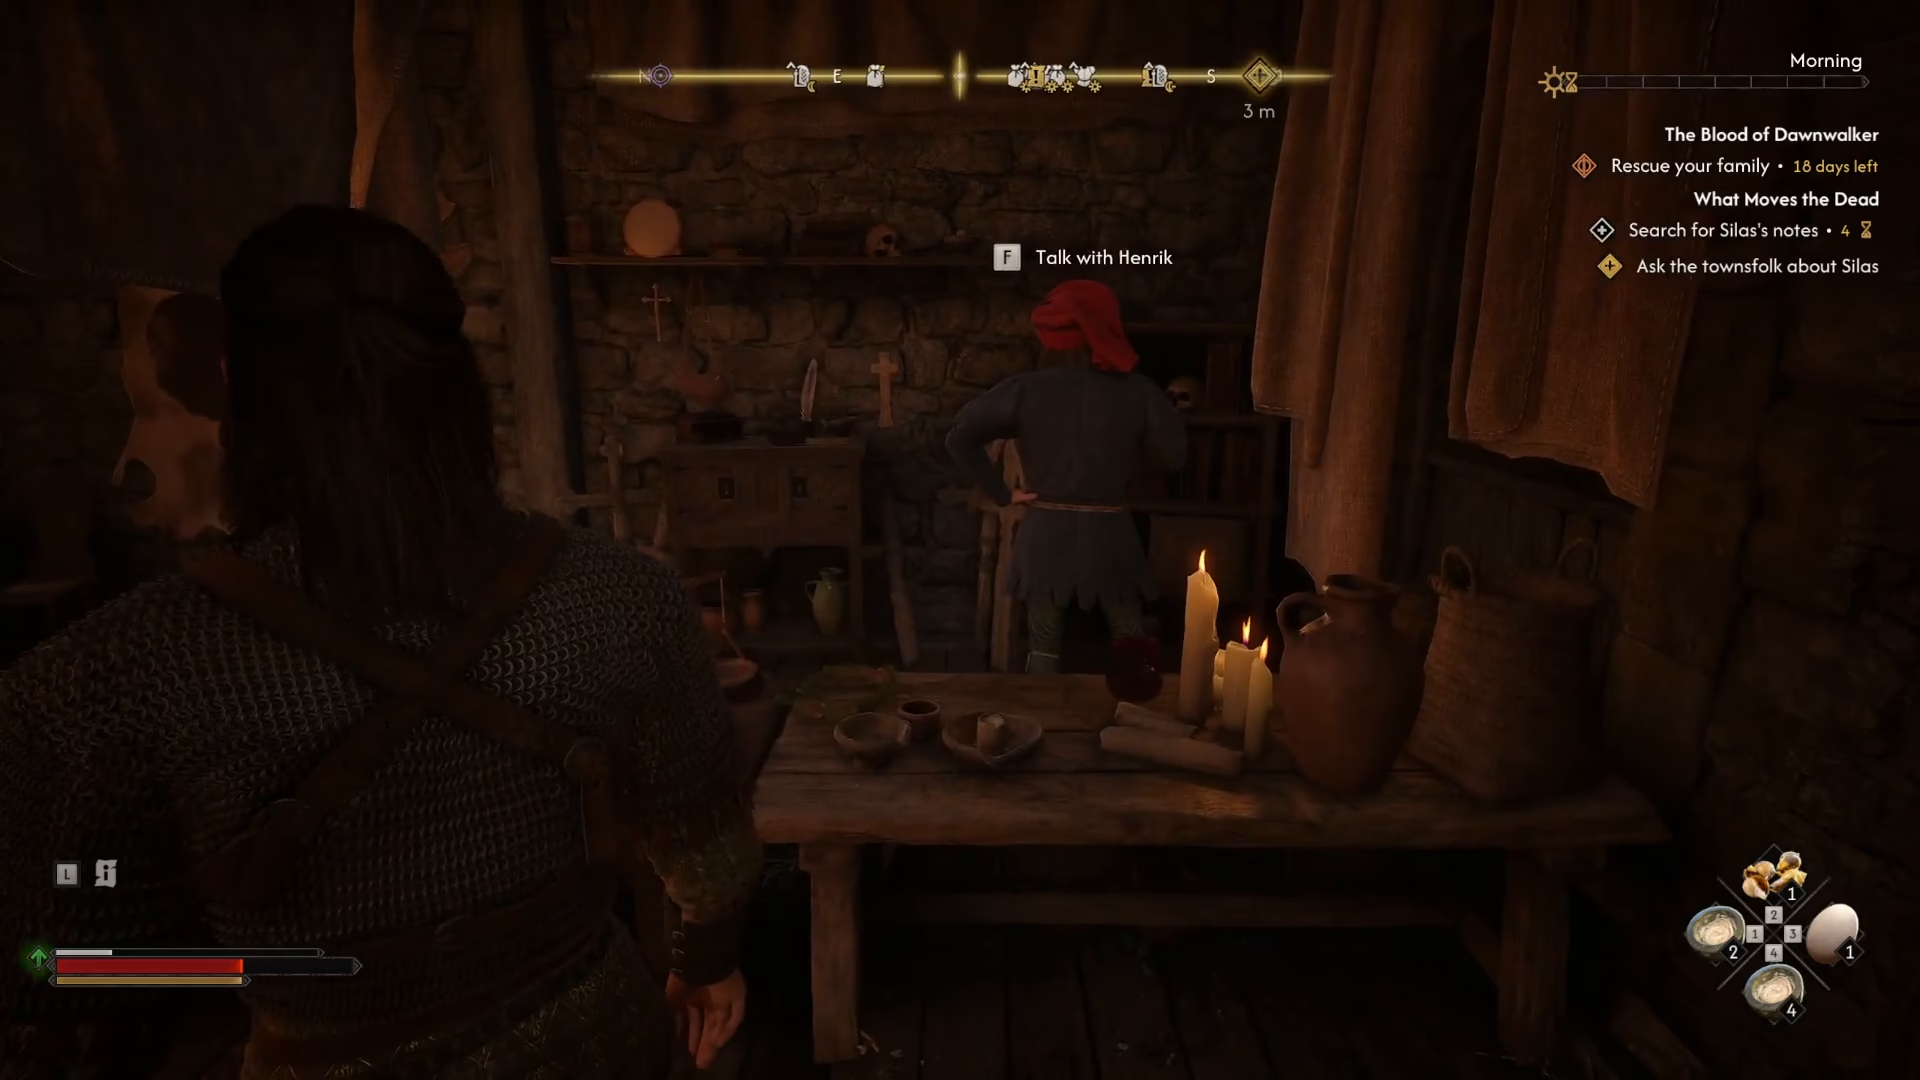
Exploring the Yellow House
When you reach the yellow house, you’ll find several doors. Most are locked initially. You’ll need to wait for Crake to unlock the doors so you can proceed inside.
Investigating the Tapestry and Floor
Once inside, move through the rooms and inspect the tapestry. Continue into the next room and inspect the chimney carefully. Afterward, examine the floor in the main area—you’ll discover a trap door leading downward.
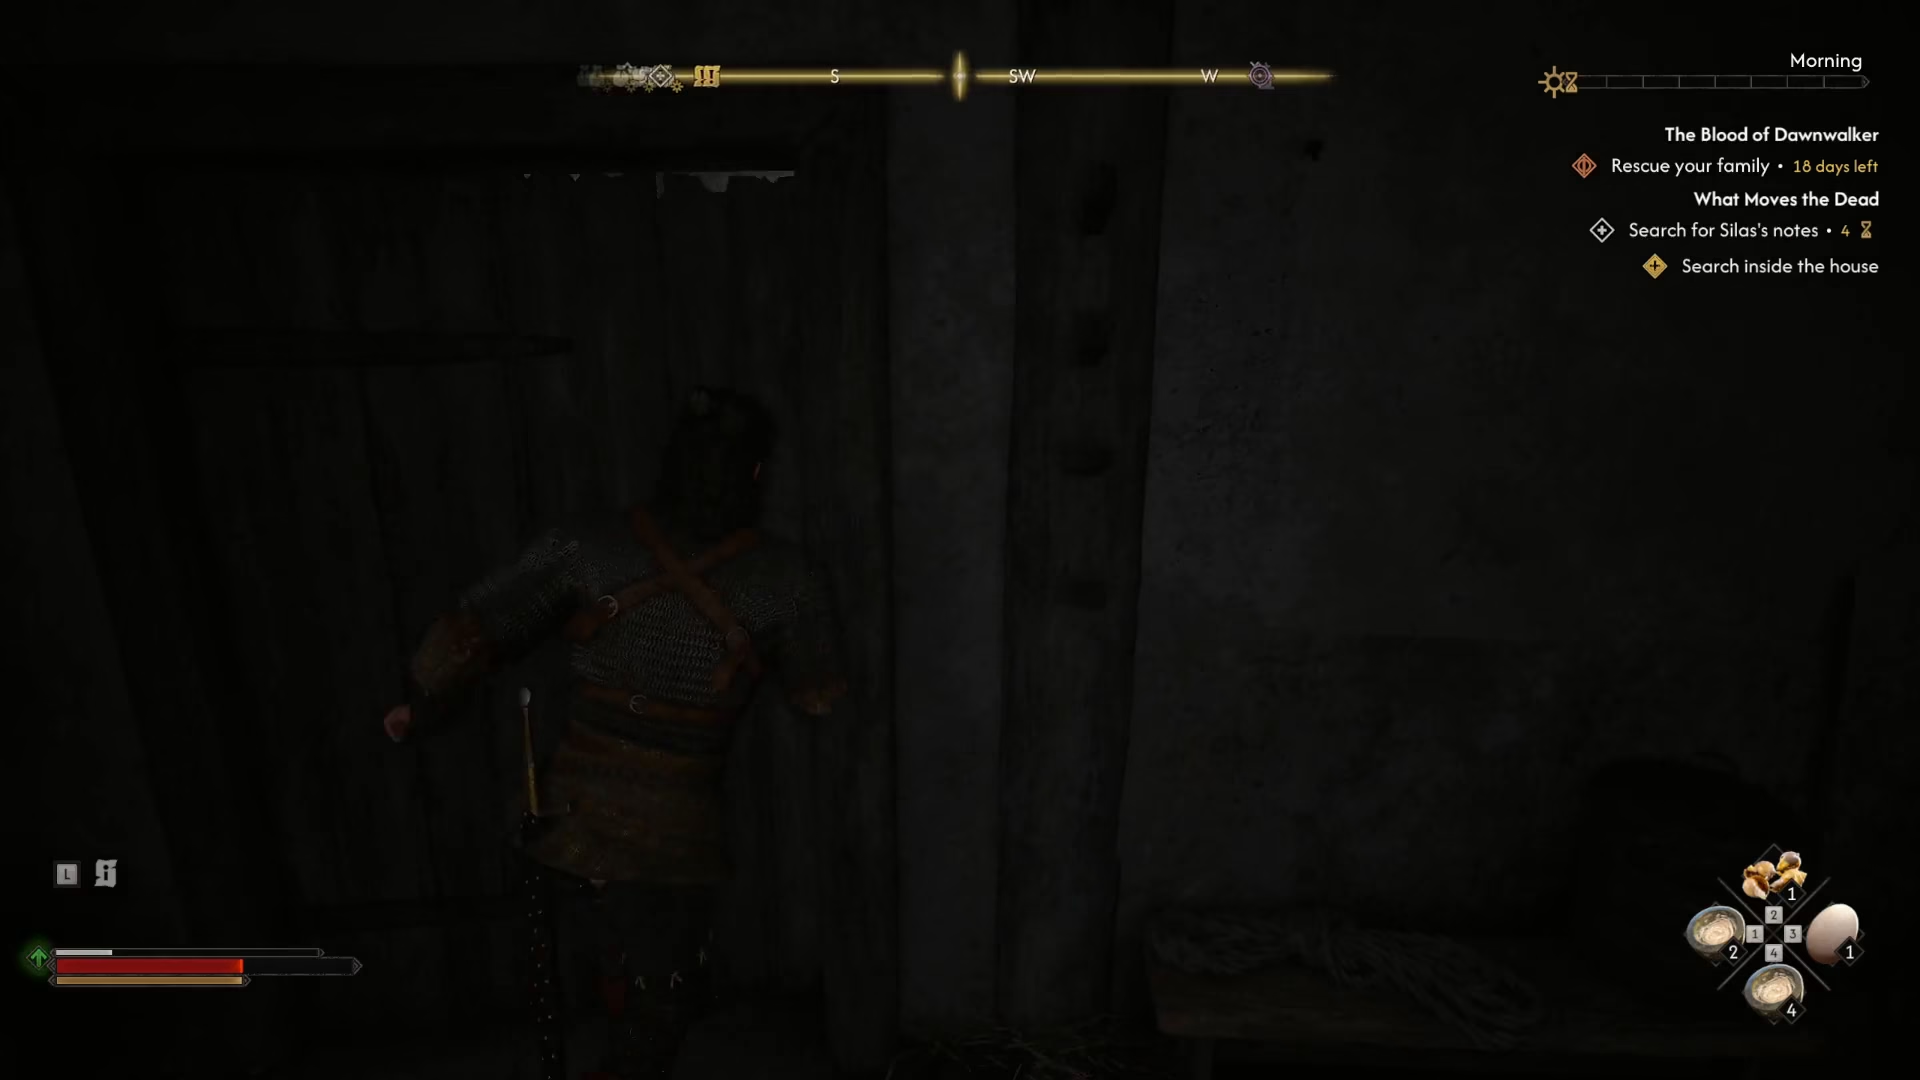
At this point, Crake will run off to inform Brent about your discovery. It’s now time to investigate what lies below.

Descending into the Basement
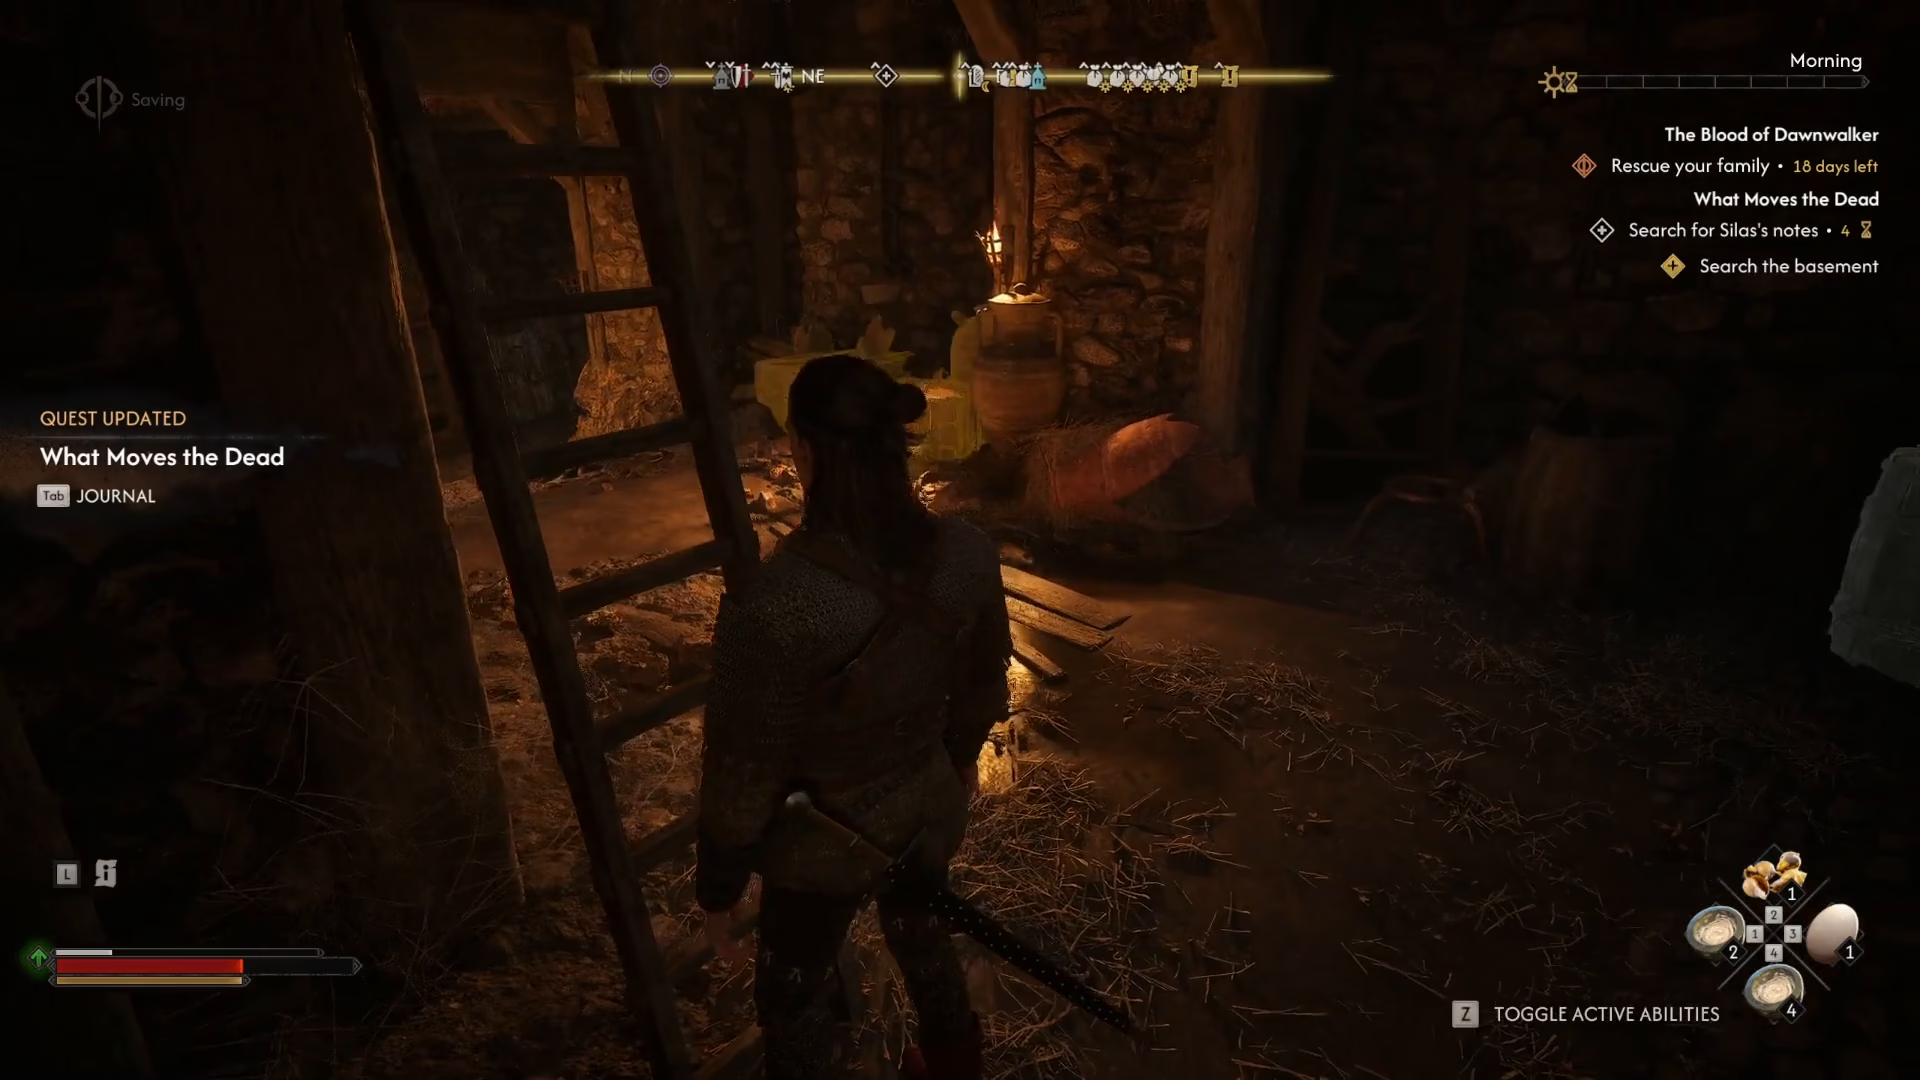
Jump down through the trap door into the basement. Your goal here is to search for Silas’s notes and gather intelligence. Check the area thoroughly, especially the shelf in this section.
Finding the Hidden Passages
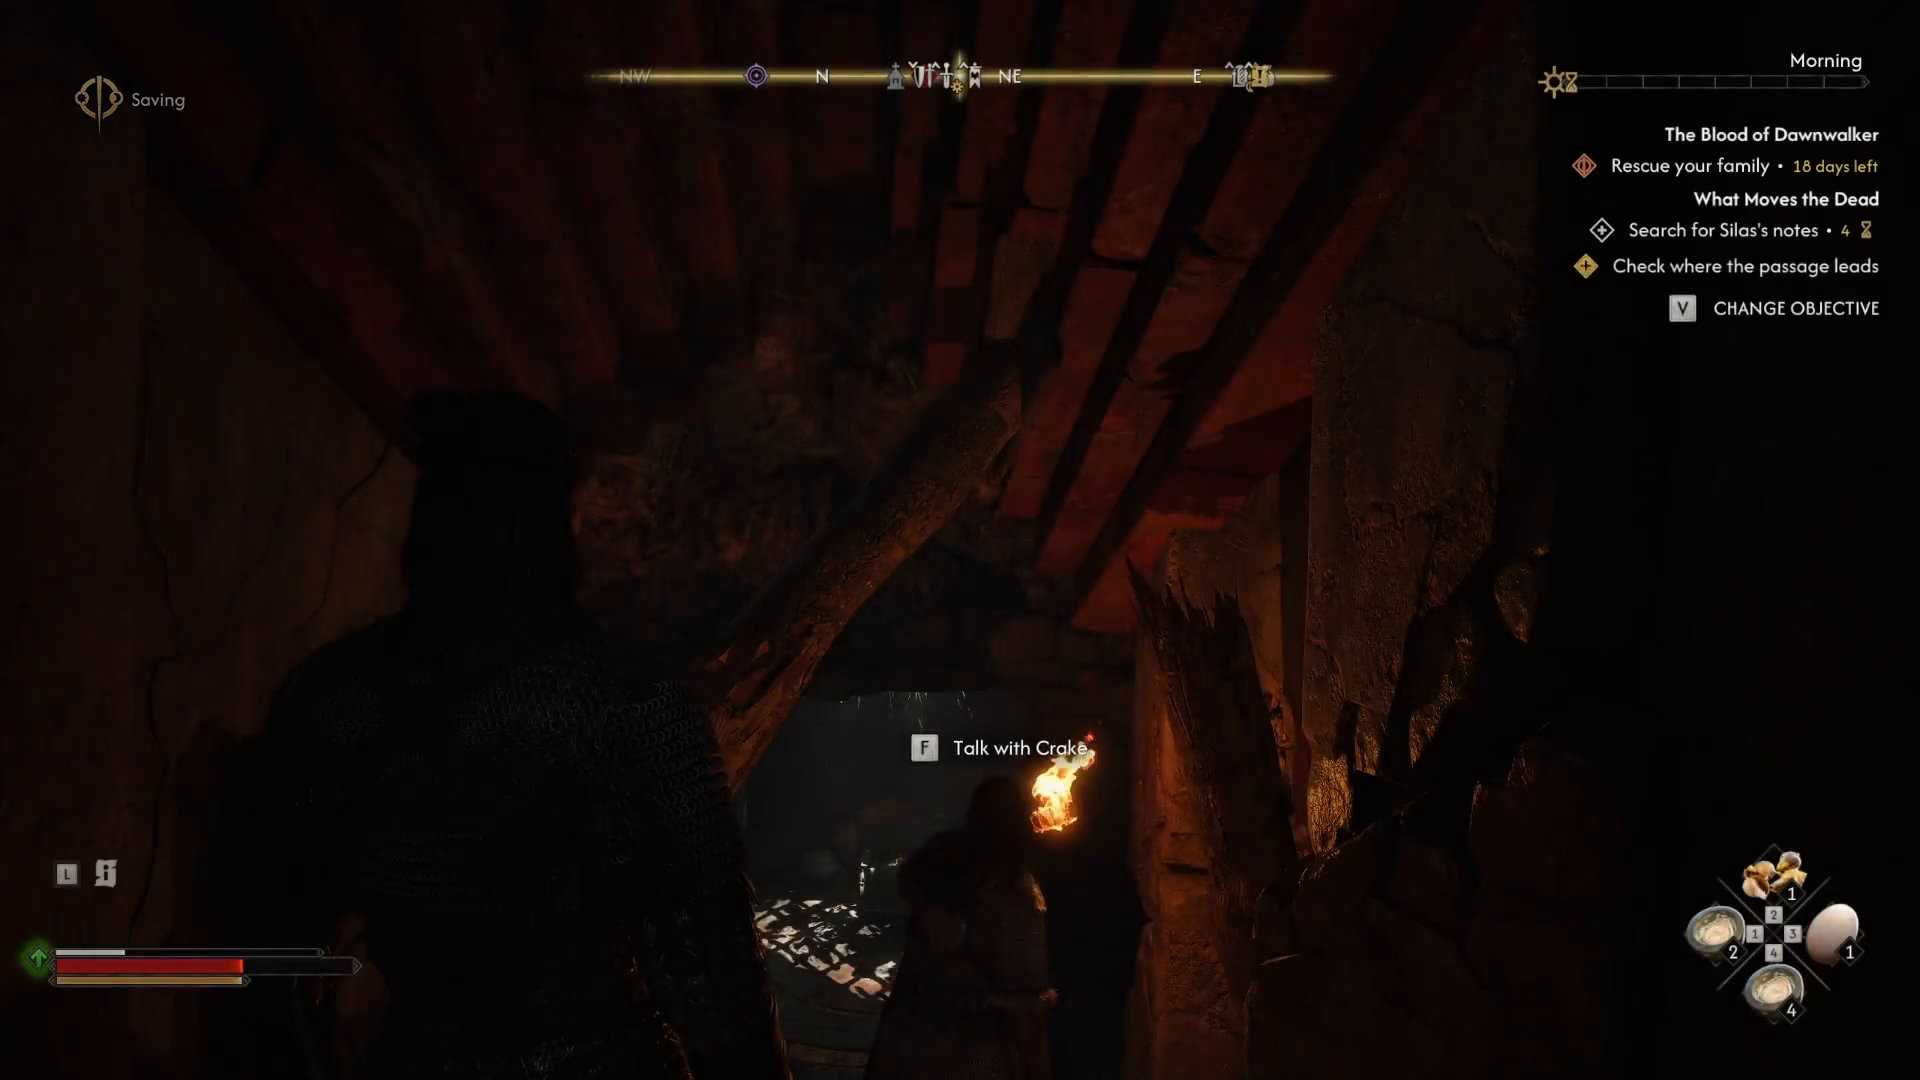
You’ll find a bookcase in the basement—move it to reveal a hidden passage leading even deeper underground. Follow the passageway to the side and explore further.
The Laboratory and Underground Corridors
As you venture deeper, you’ll discover a laboratory area. On a table here, you’ll find important documentation regarding the laboratory itself. Additionally, pick up the aged key that’s sitting on the table—you’ll need this for progression.
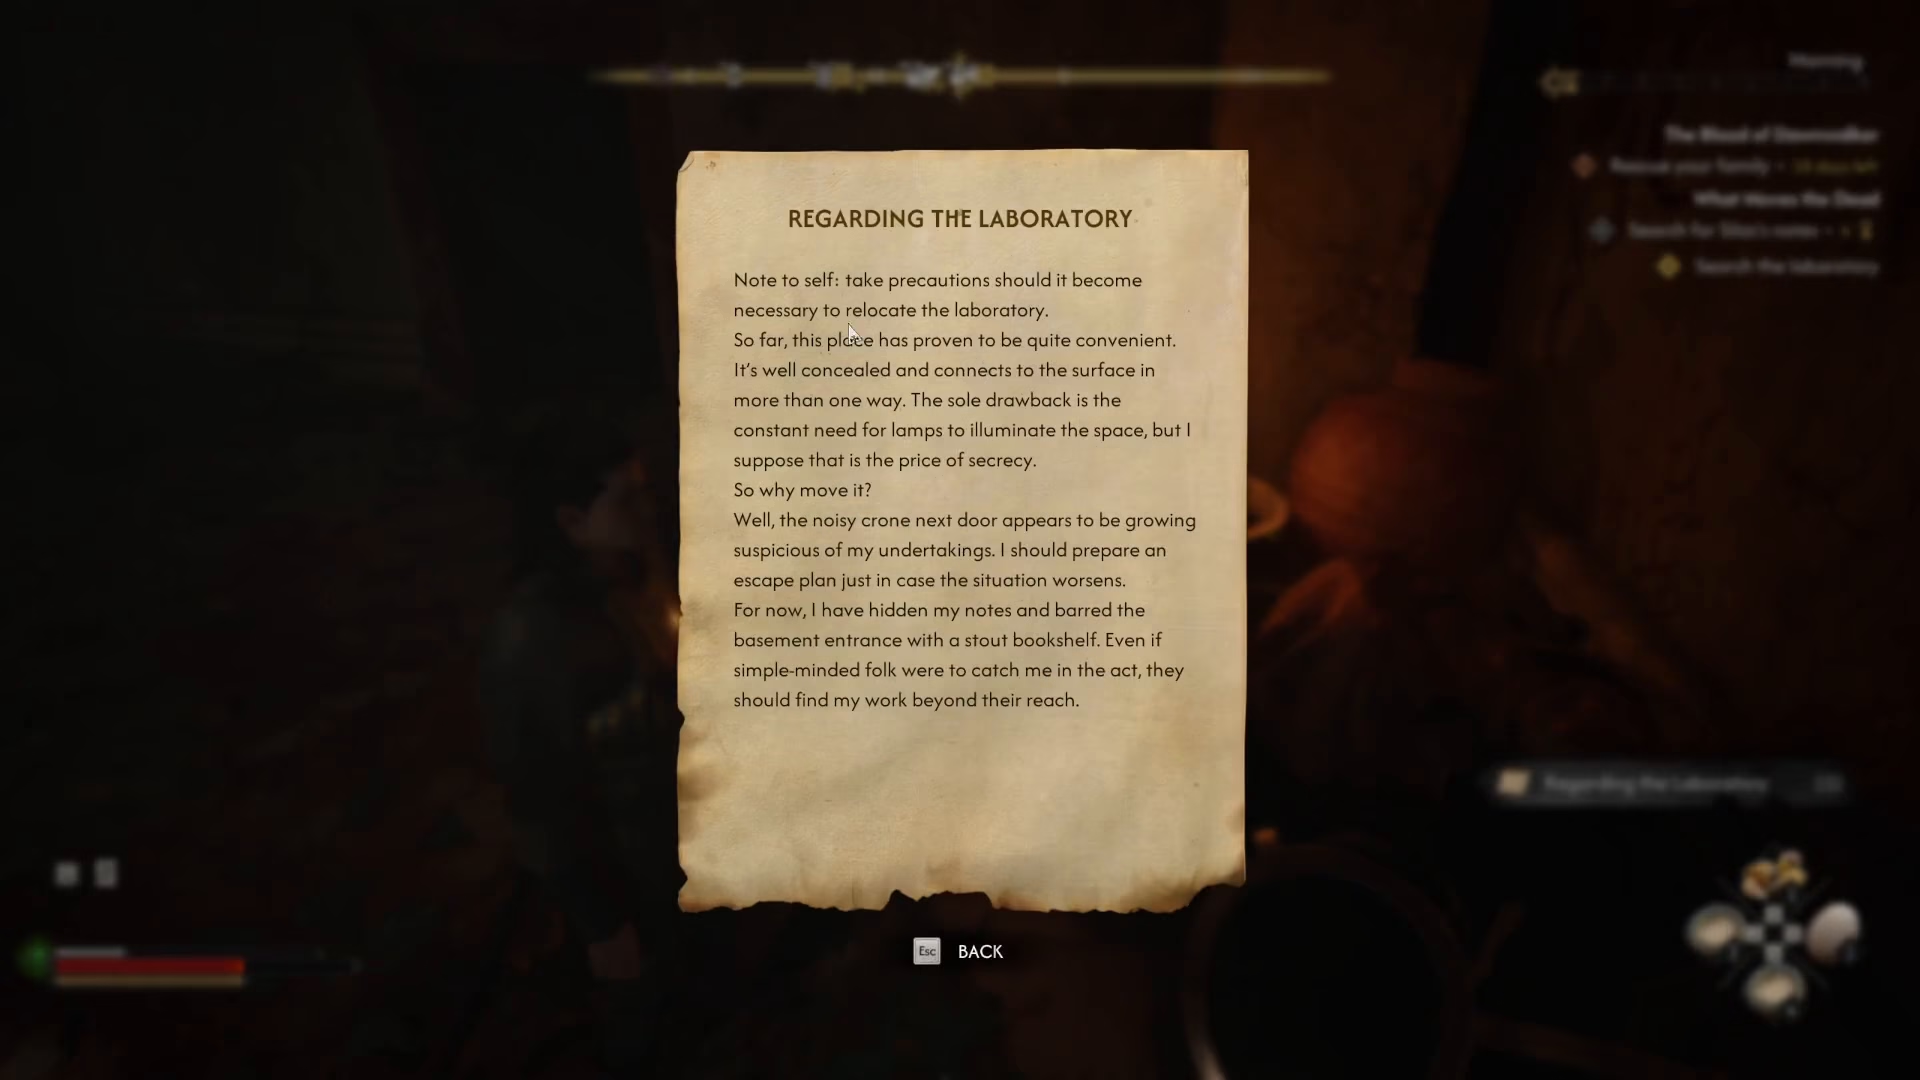
Follow the footsteps through the corridors. Turn left when you reach the next intersection, and inspect the body at the end of the corridor. Continue forward and prepare for more exploration ahead.
The Prison Area
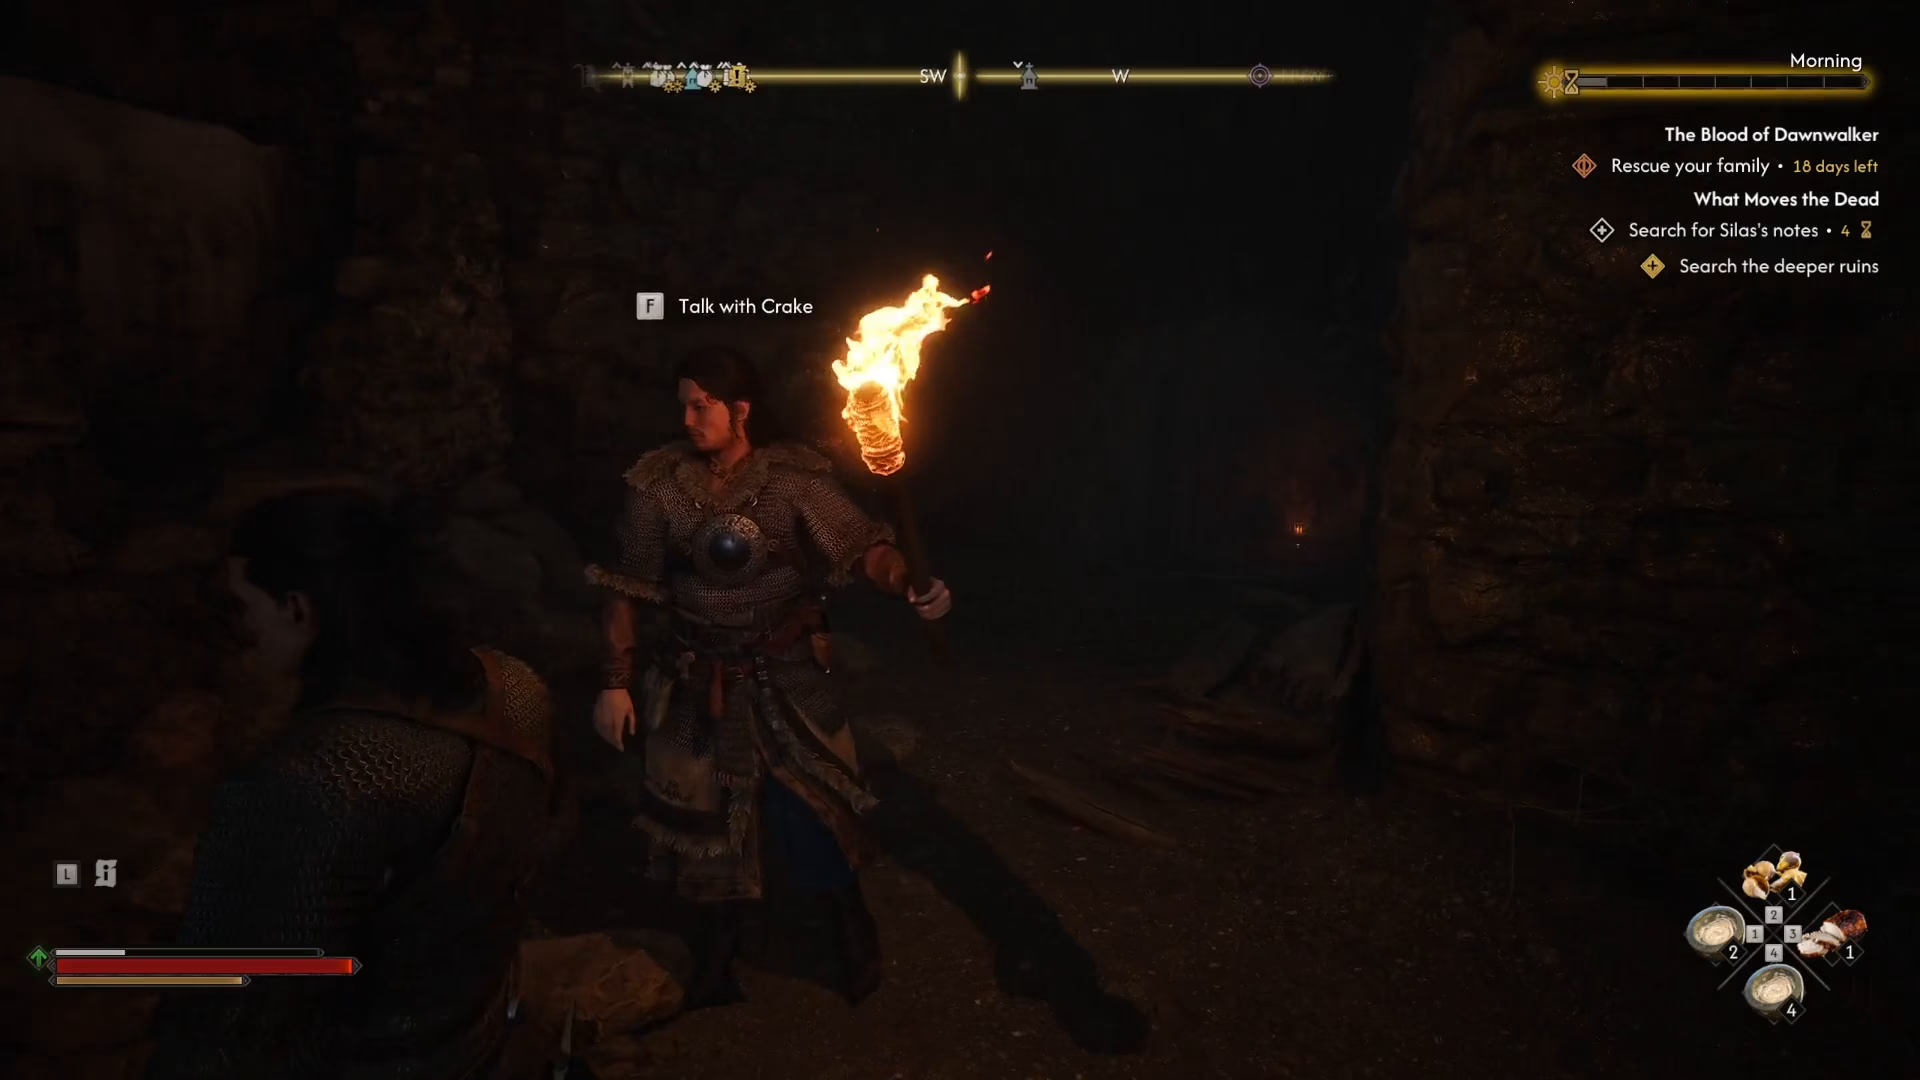
You’ll enter a prison section as you continue downward. Keep progressing through this area. When you encounter the next body, inspect it and pick up the note you find there.
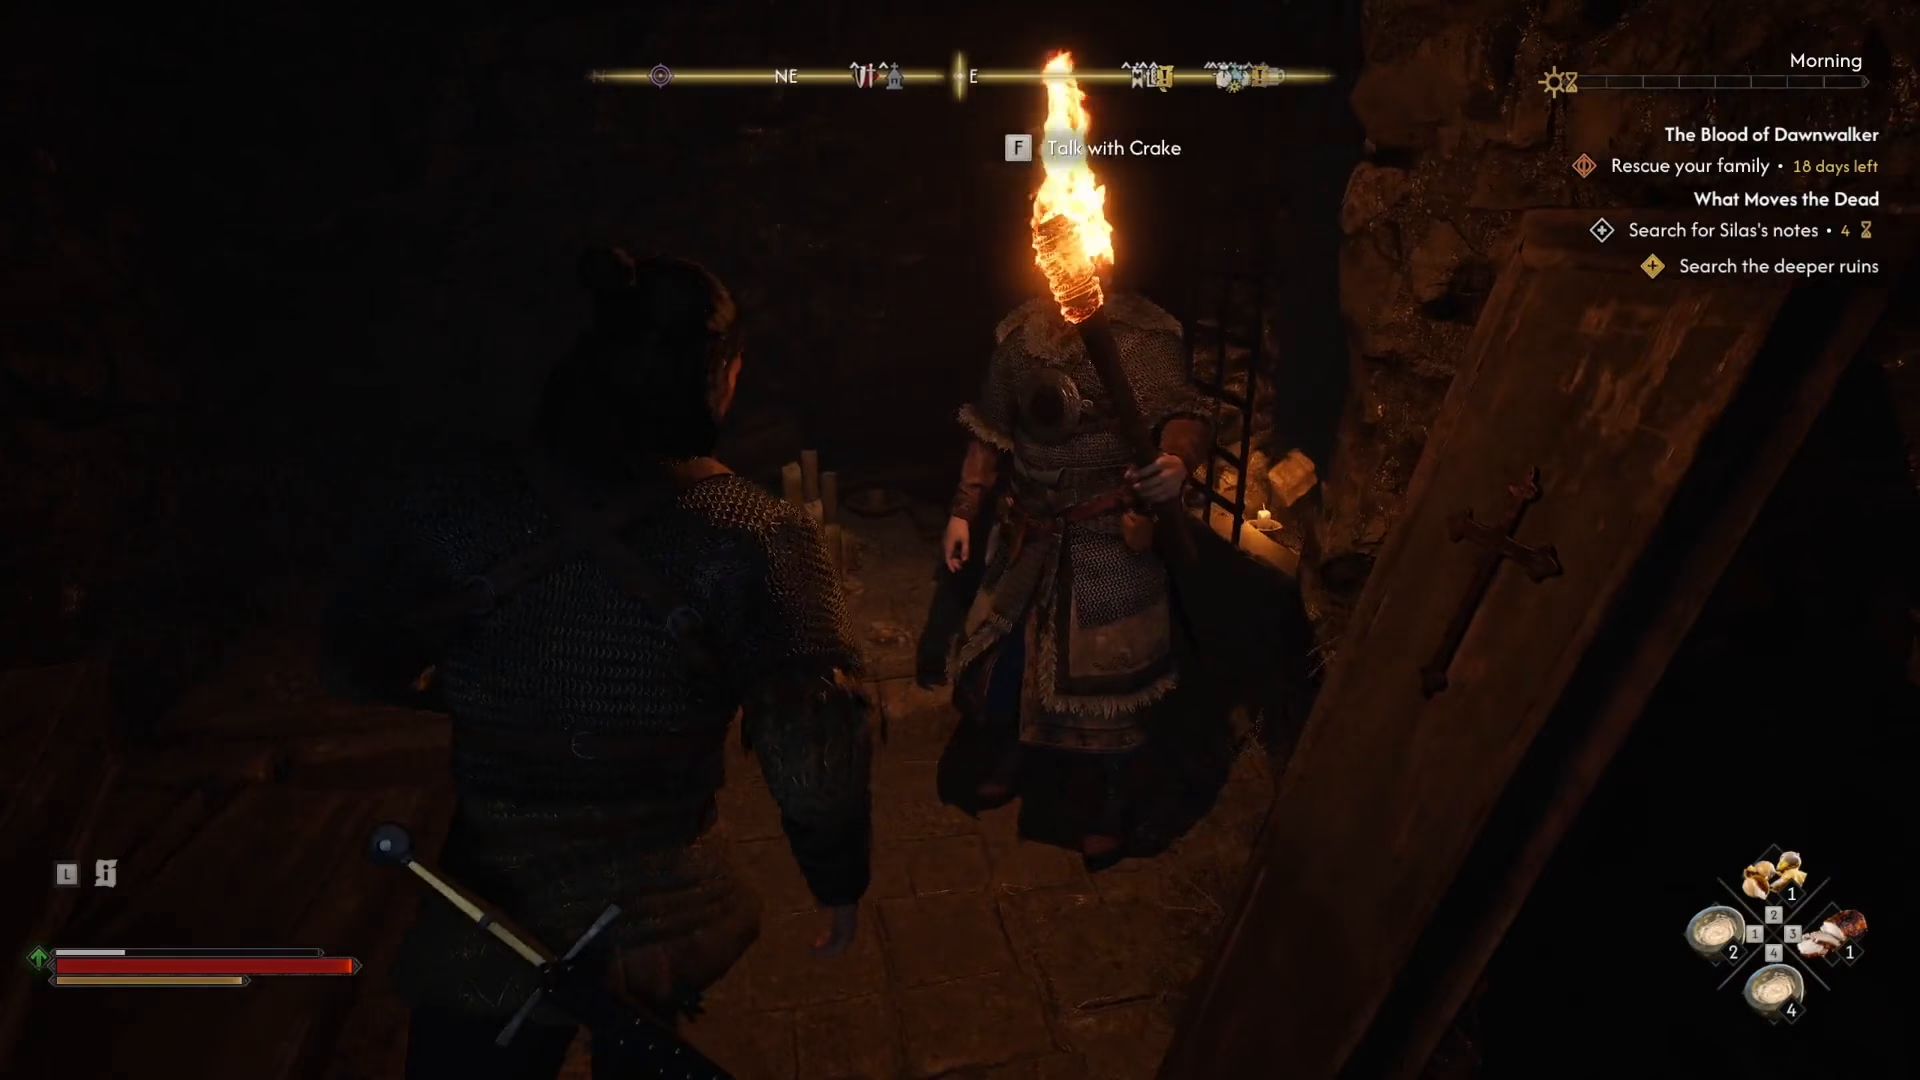
After gathering this intelligence, chase after Cohen as he moves forward through the depths.
Combat and Continued Exploration
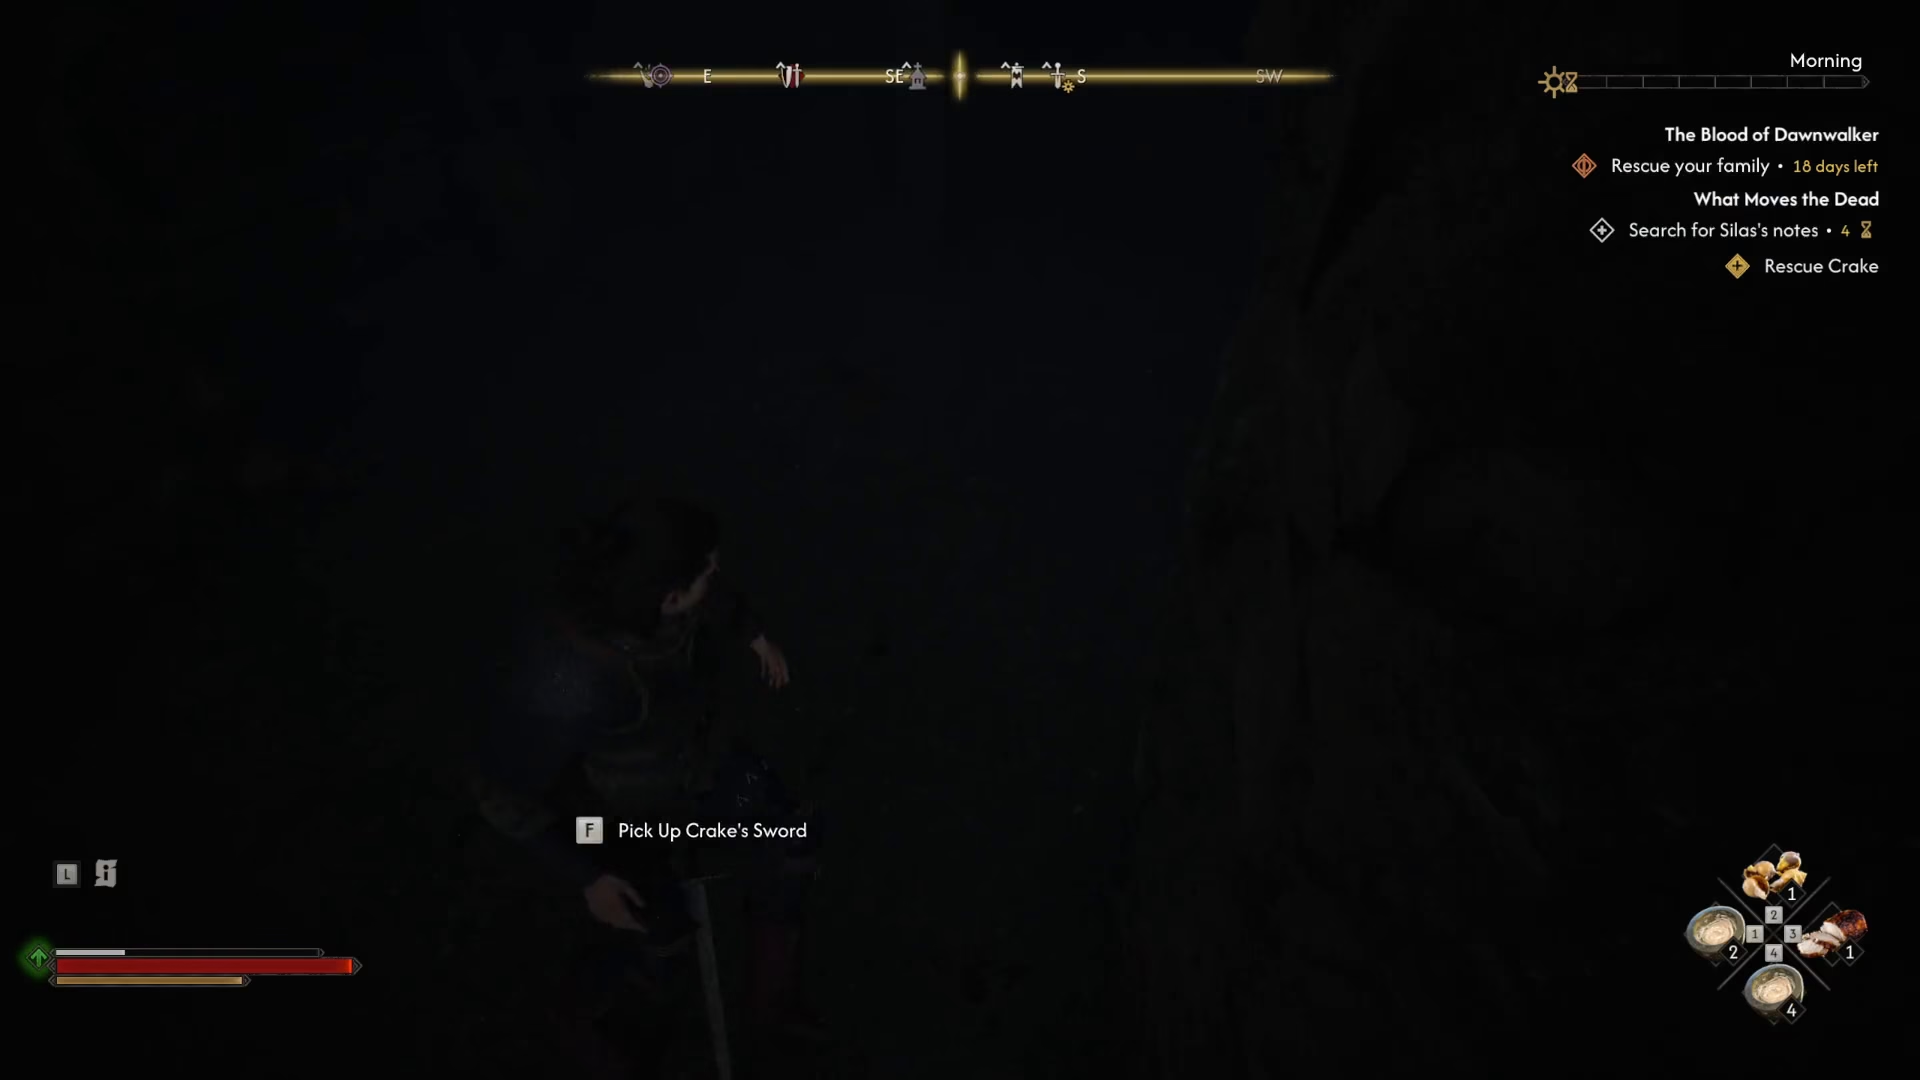
As you progress deeper, you’ll discover a greatsword—equip it as it will help in the combat ahead. In the next room, you’ll encounter wolves that need to be defeated. These enemies are called “mongrels” and pose a moderate threat.
Squeezing Through Tight Passages
After defeating the mongrels, you’ll need to squeeze through a tight hole to continue forward. This leads you upward toward the exit.
Finding Your Way Out
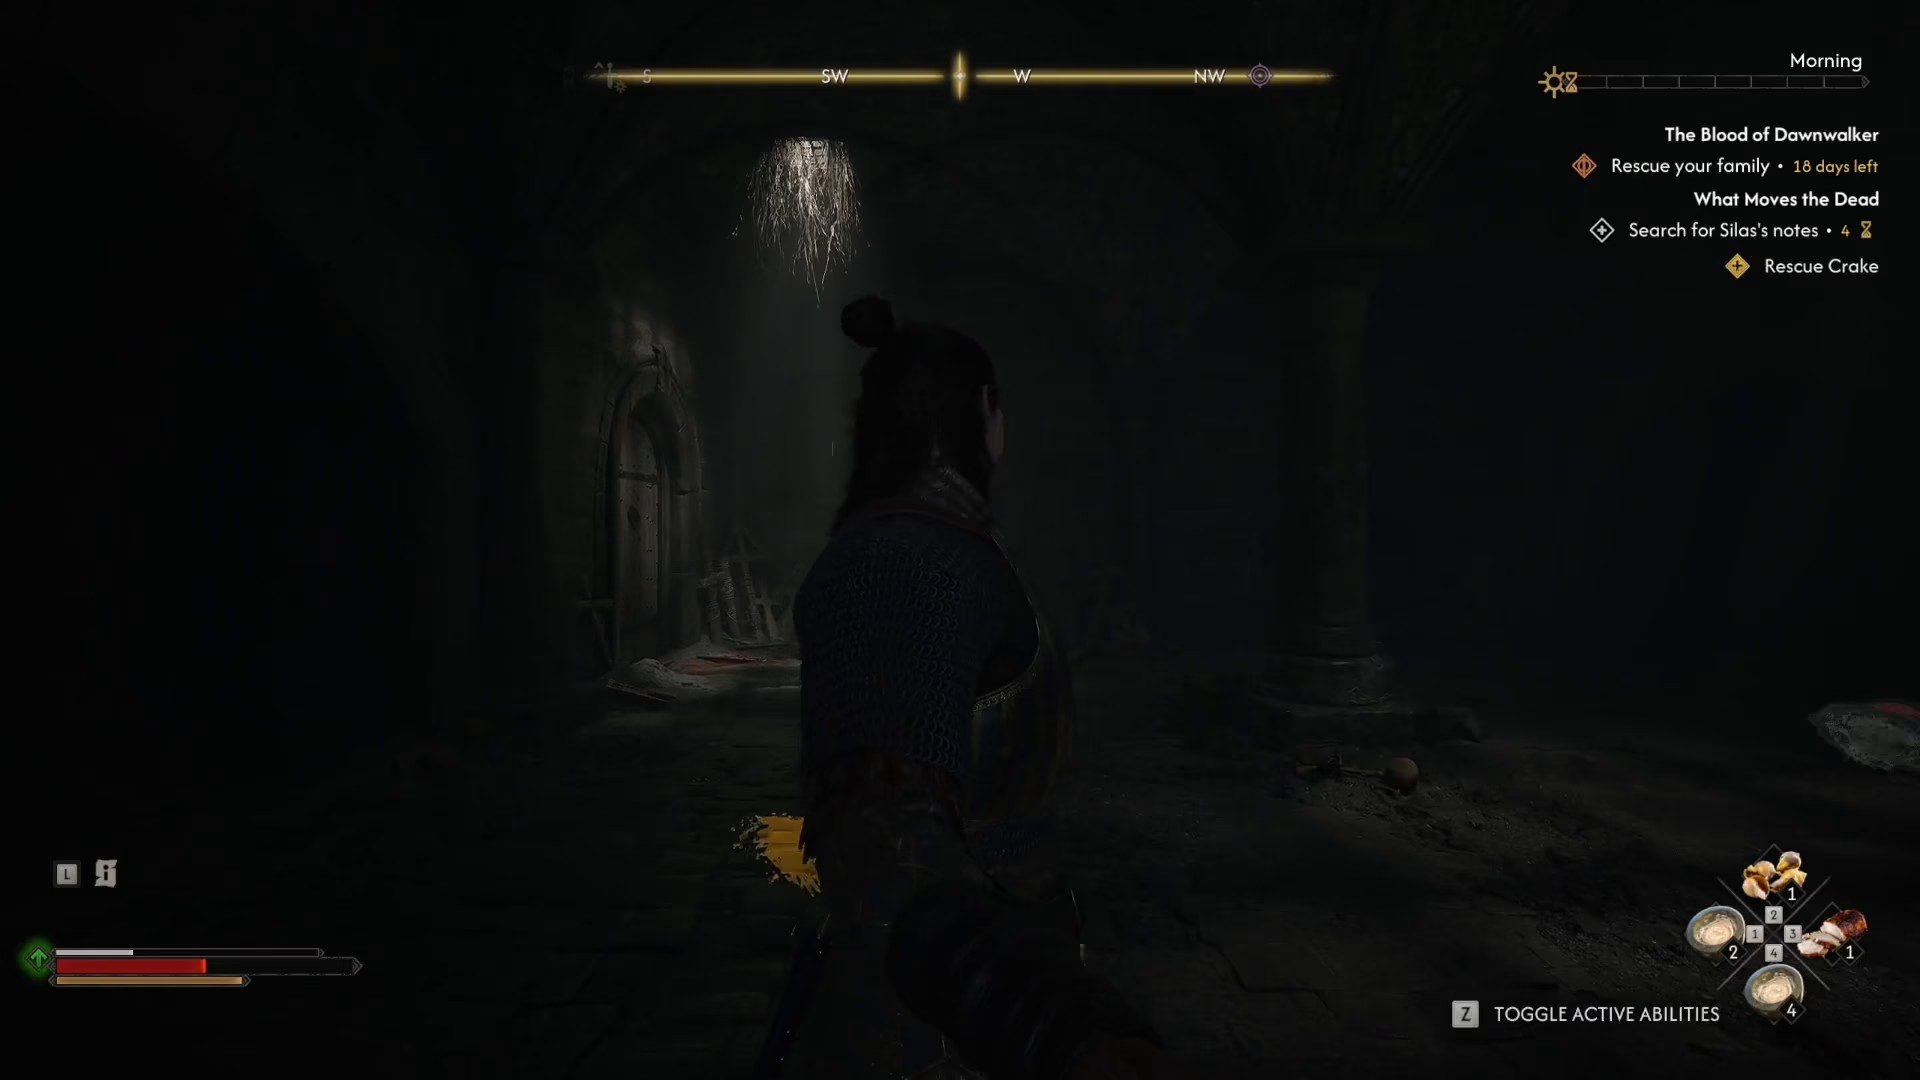
As you head upstairs, pay careful attention to which door you take. Make sure to go through the door on the left—taking the wrong path will lead you back to where you came from. It’s worth looting the area thoroughly before departing, as there are valuable items scattered throughout the underground complex.
The Final Encounter
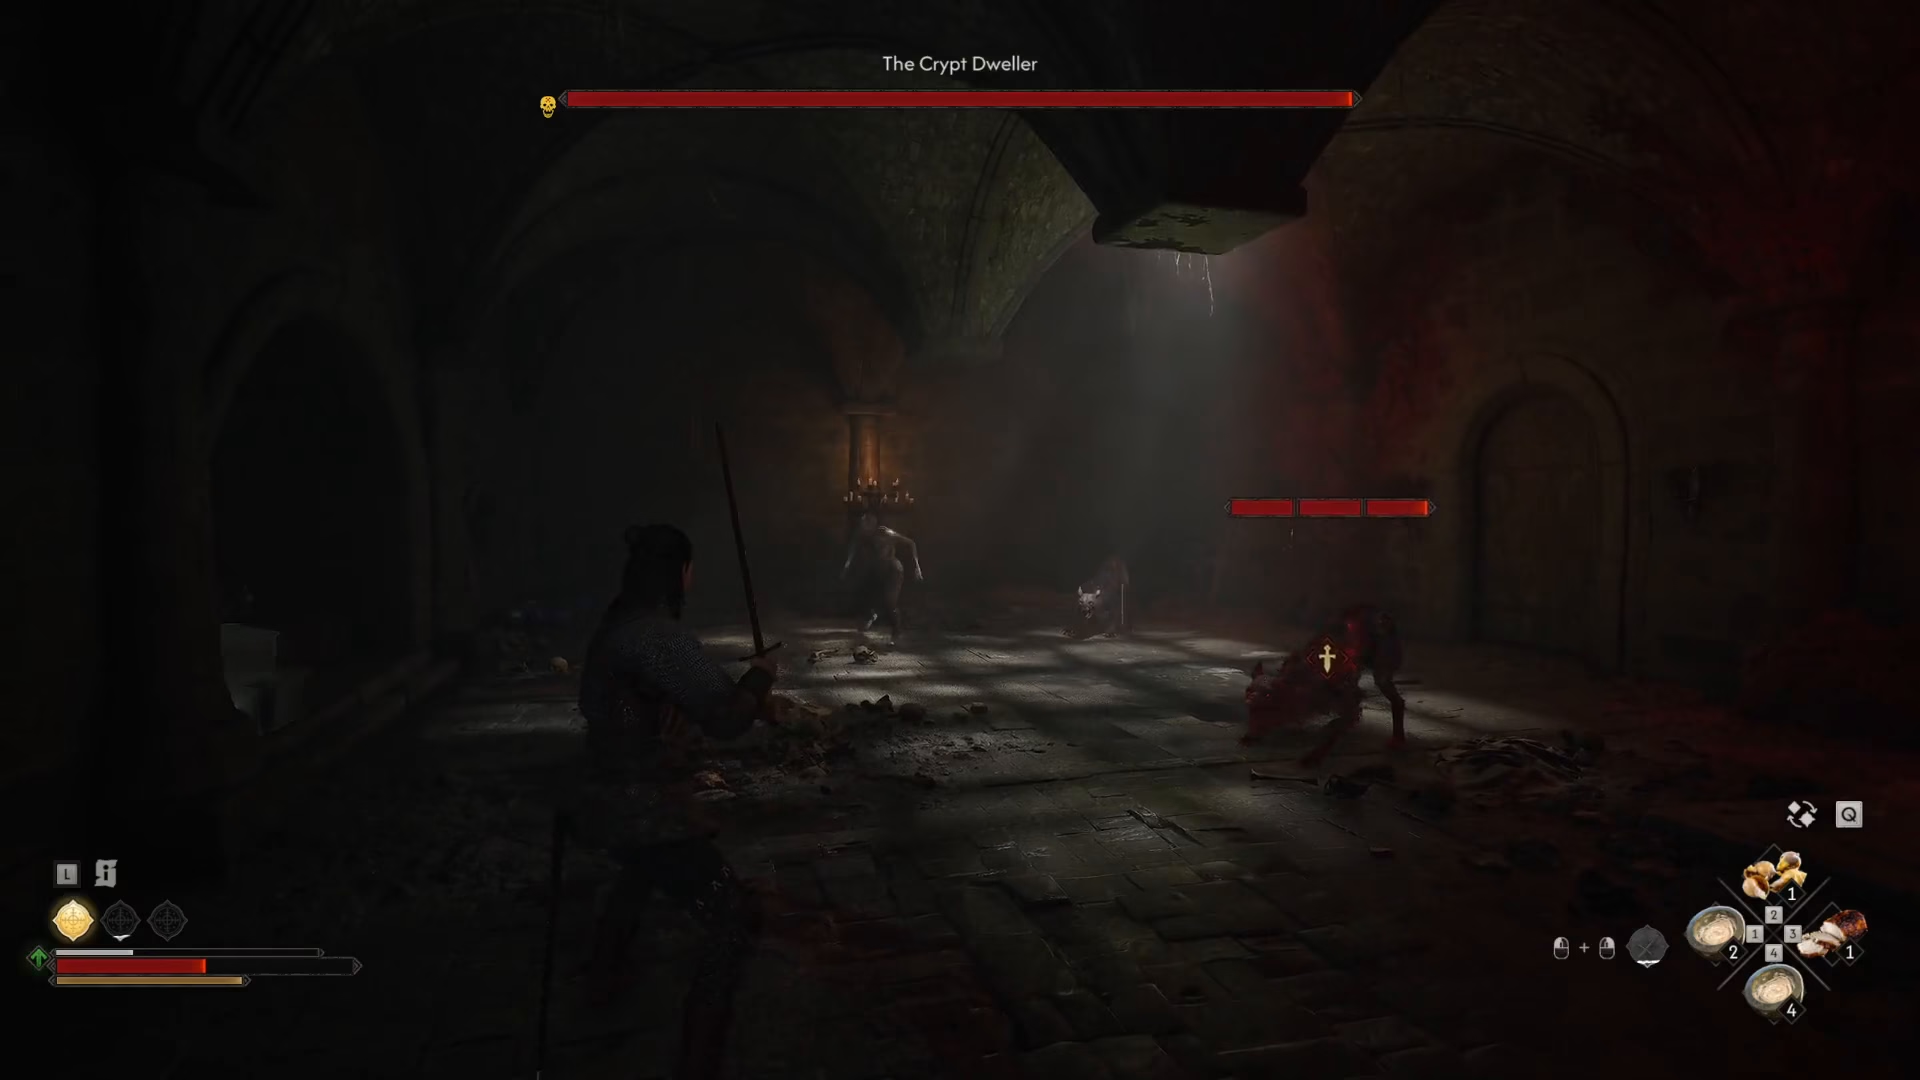
Continue up the stairs toward the light. You’ll eventually encounter the Cryptweller. After dealing with this encounter, proceed up the remaining stairs to escape the underground area.
Quest Completion
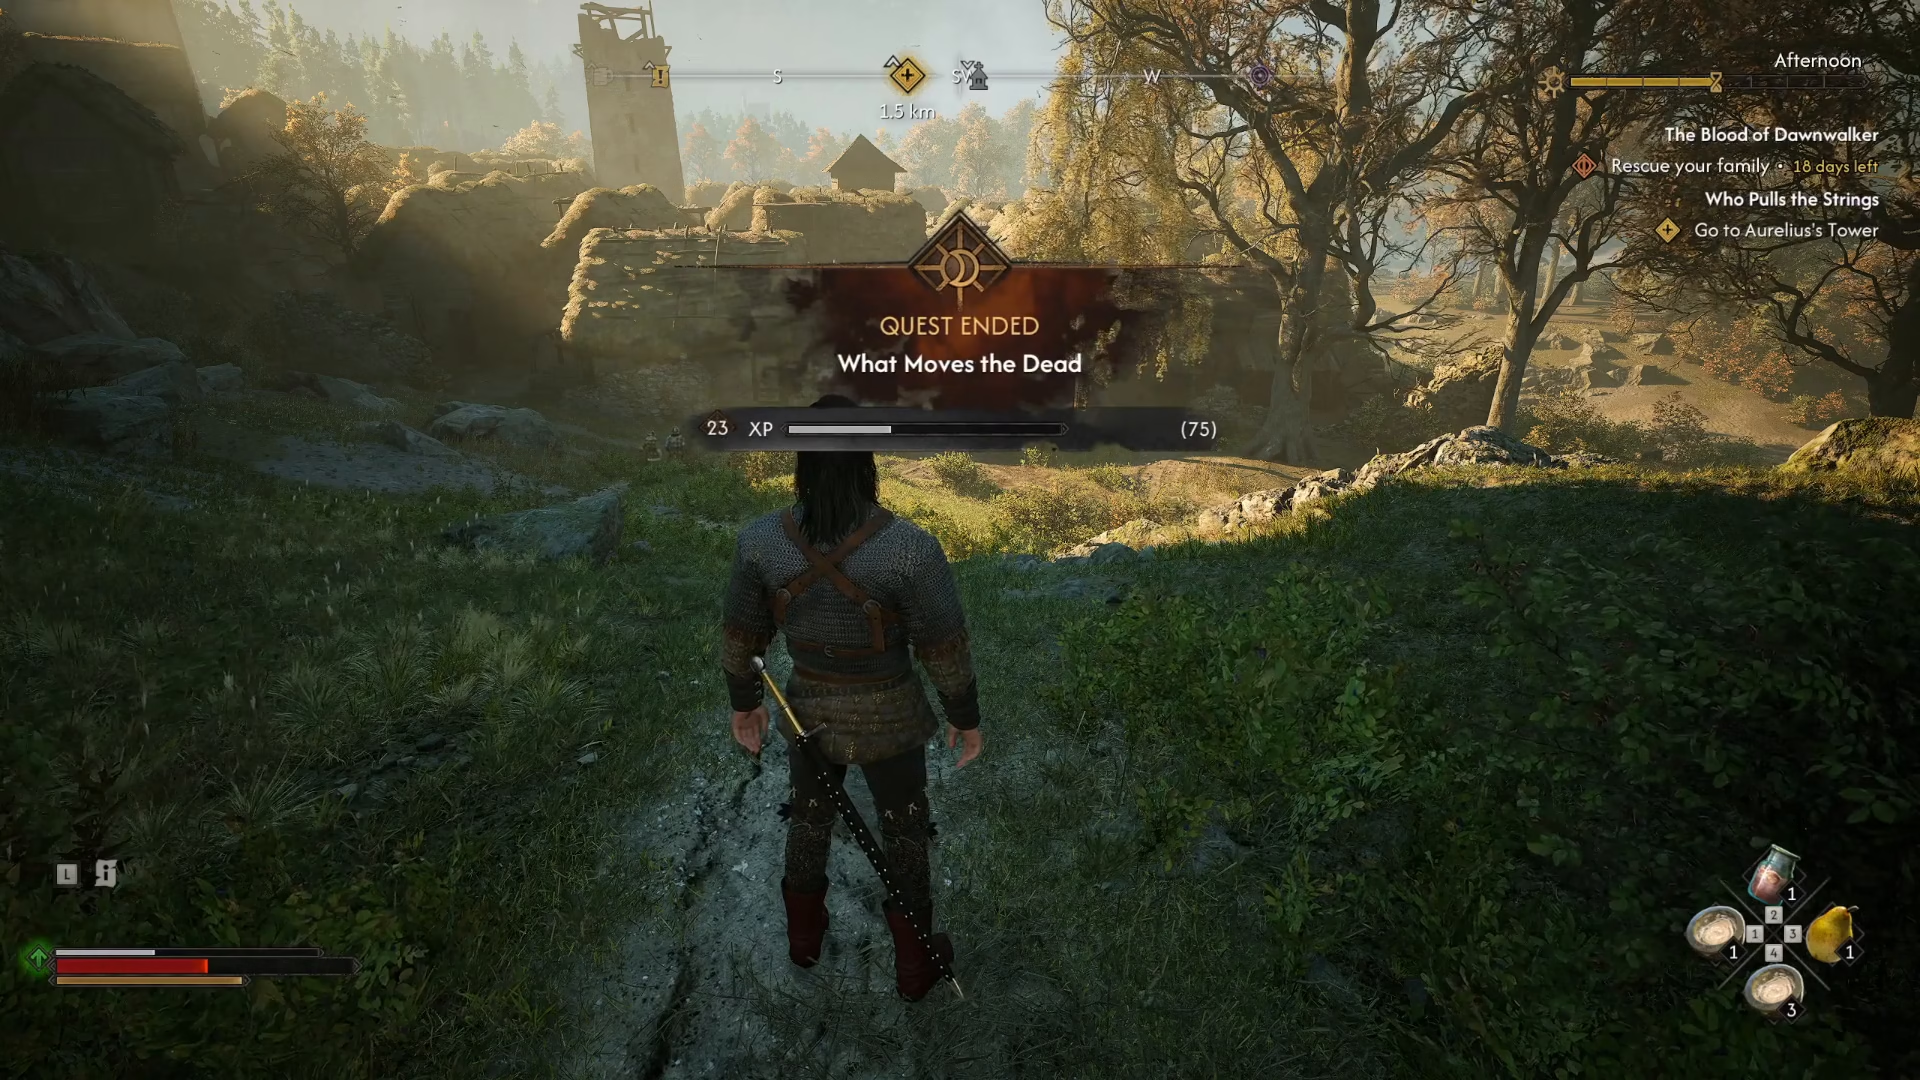
Once you’ve made your way out, the “What Moves The Dead” quest will be marked as complete. Note that escaping the underground will fast-forward time by approximately half a day. Upon completion, the quest “Pull the Strings” will automatically begin, so be prepared for the next chapter of your adventure.
Summary
The “What Moves The Dead” quest is now behind you. You’ve gathered crucial information about Silas, explored the hidden underground network, and uncovered important documentation in the laboratory. The knowledge and items you’ve collected will serve you well as you continue your journey through Blood of Dawnwalker.
Want to Support?
If you would like to help us continue making these guides – please consider joining our patreon here – https://www.patreon.com/c/JaviHeals
Alternatively – you can join our discord here – https://discord.gg/zD7Gjt6MHF