




How to Light Up Bases in Rust (1)
How to Light Up Bases in Rust
Lighting up your base at night is essential for both functionality and security in Rust. Whether you’re just starting out or looking to create a fully powered base, there are multiple methods available depending on your progression and resources. This guide will walk you through both the early-game tuna can lamp approach and the more advanced electrical lighting system.
Early-Game Lighting: Tuna Can Lamps
Before you have access to electricity, the tuna can lamp is your best friend. This simple lighting solution requires three basic materials:
Empty tuna can
Wood
Low grade fuel
To obtain an empty tuna can, simply explore food crates around the map. When you find a tuna can, eat the contents and you’ll have an empty can ready to use.
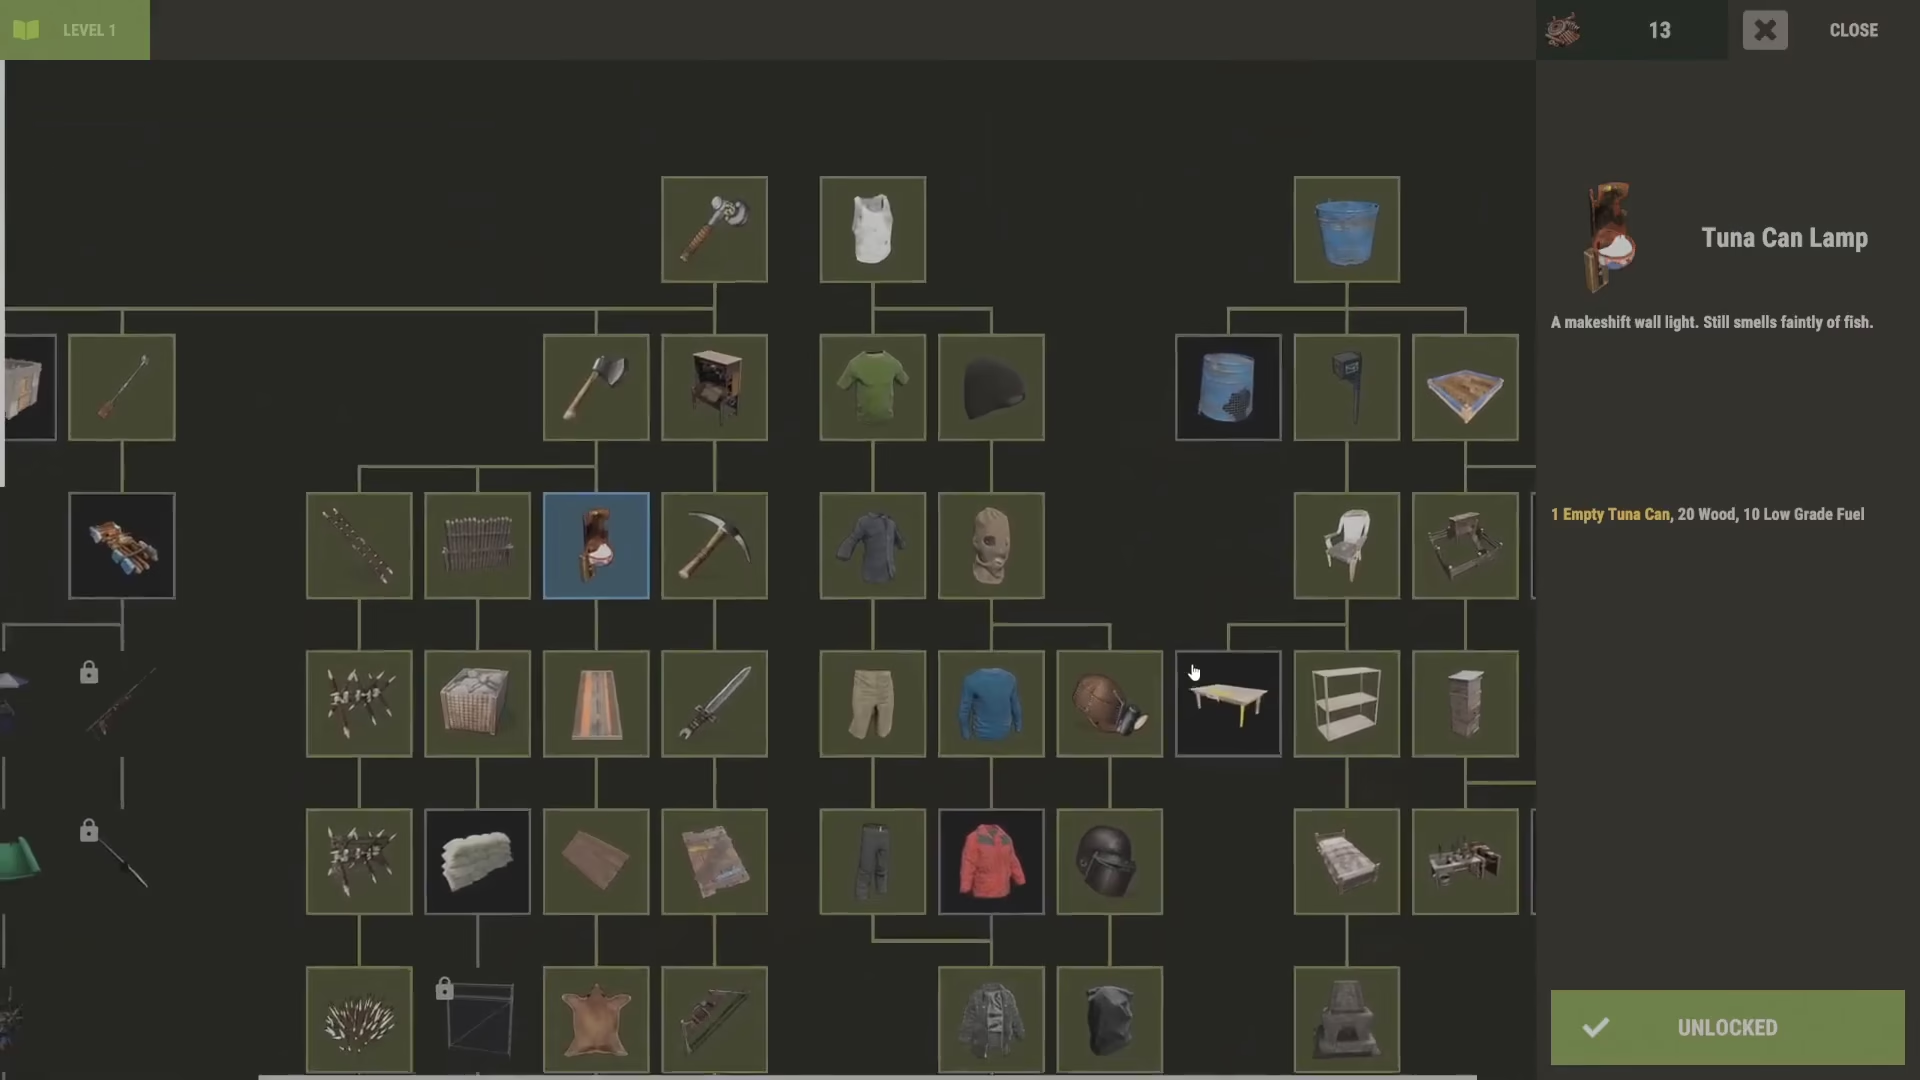
Installing and Fueling Tuna Can Lamps
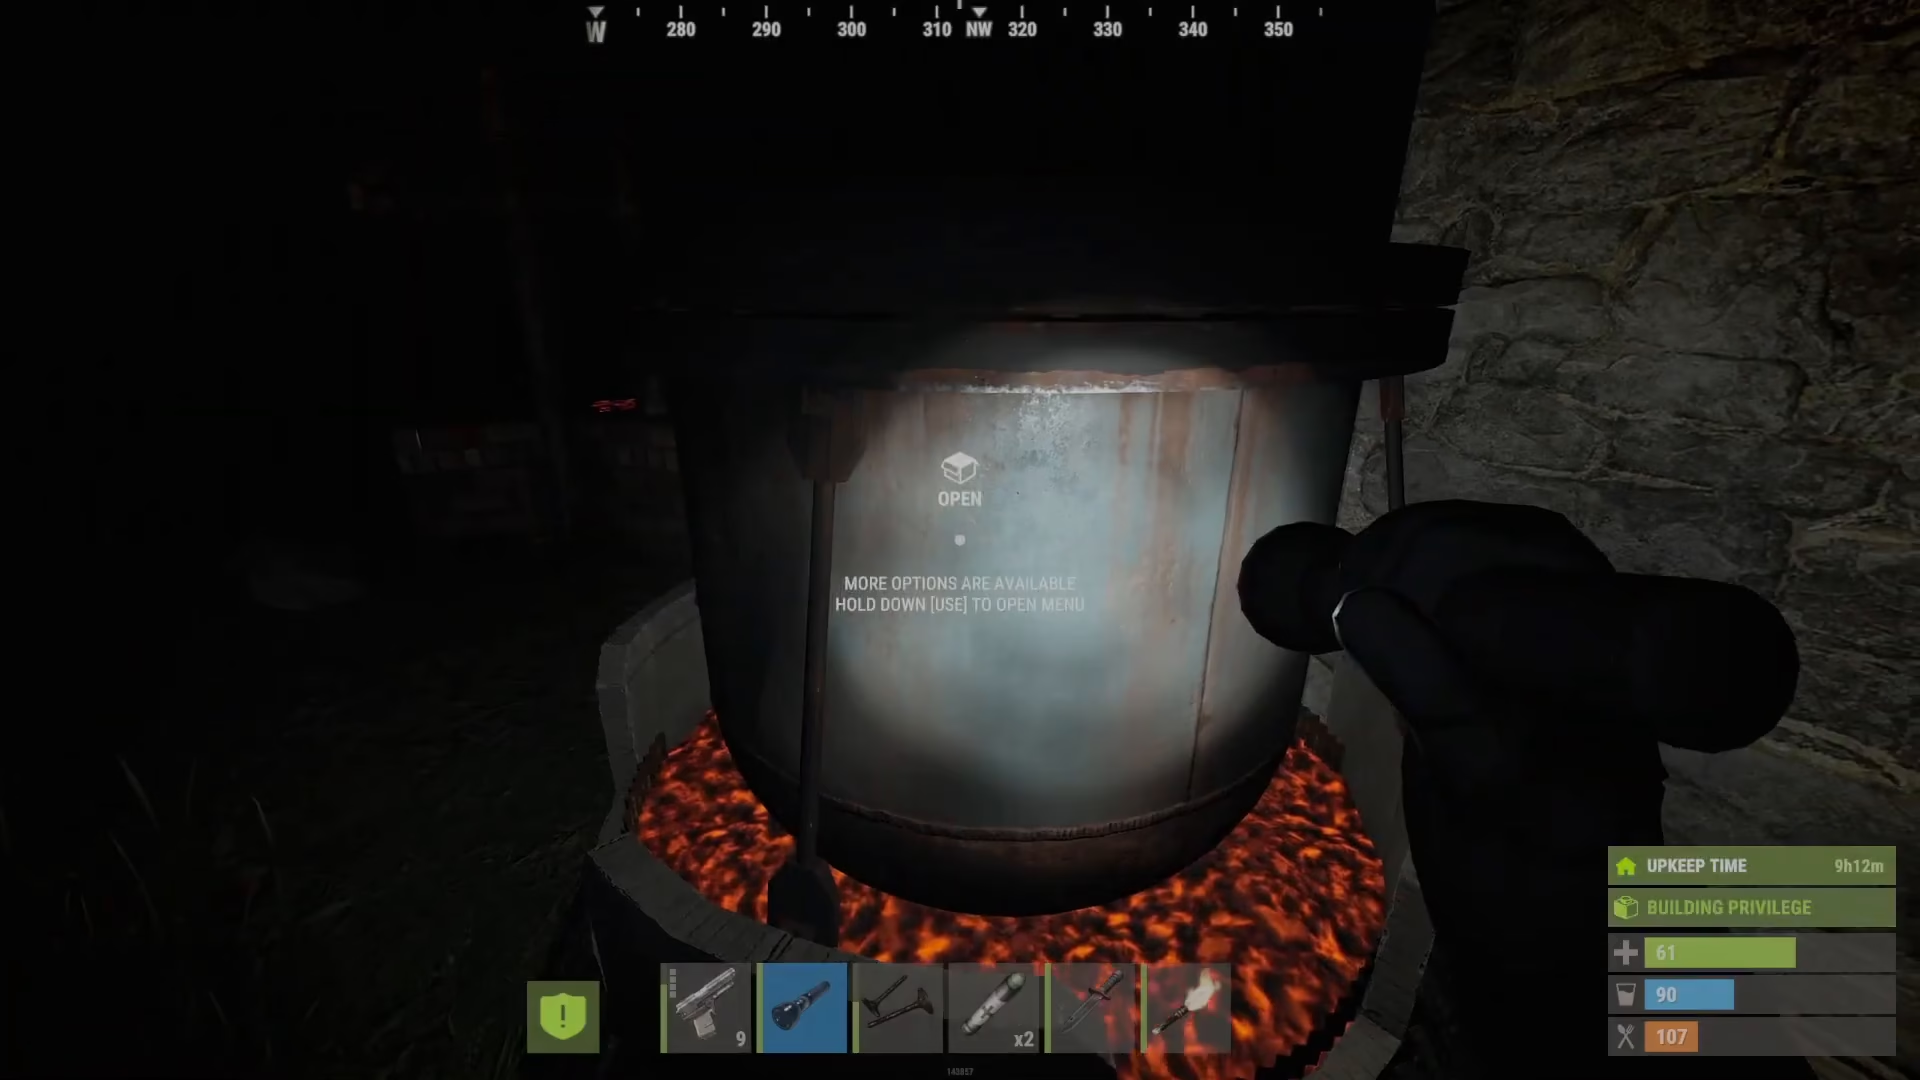
Once you have an empty tuna can, you can place the lamp directly on walls throughout your base. However, you’ll need to fuel it with low grade fuel. You can obtain low grade fuel by either crafting it in a refinery or by looting red barrels scattered across the map.
To refuel your lamps, simply open the refinery, drag low grade fuel into it, and then transfer the fuel into your tuna can lamps as needed. Keep in mind that tuna can lamps require regular maintenance and fuel refills to remain functional.
Advanced Lighting: Electrical System
For a more reliable and efficient lighting solution, the electrical route is highly recommended once you have access to the necessary components. This method eliminates the need for constant fuel refills and provides consistent lighting throughout your base.
Solar Panels and Power Distribution
The foundation of your electrical lighting system begins with a solar panel. Once you’ve unlocked and placed a solar panel, you can connect it to your lighting fixtures using the wire tool.
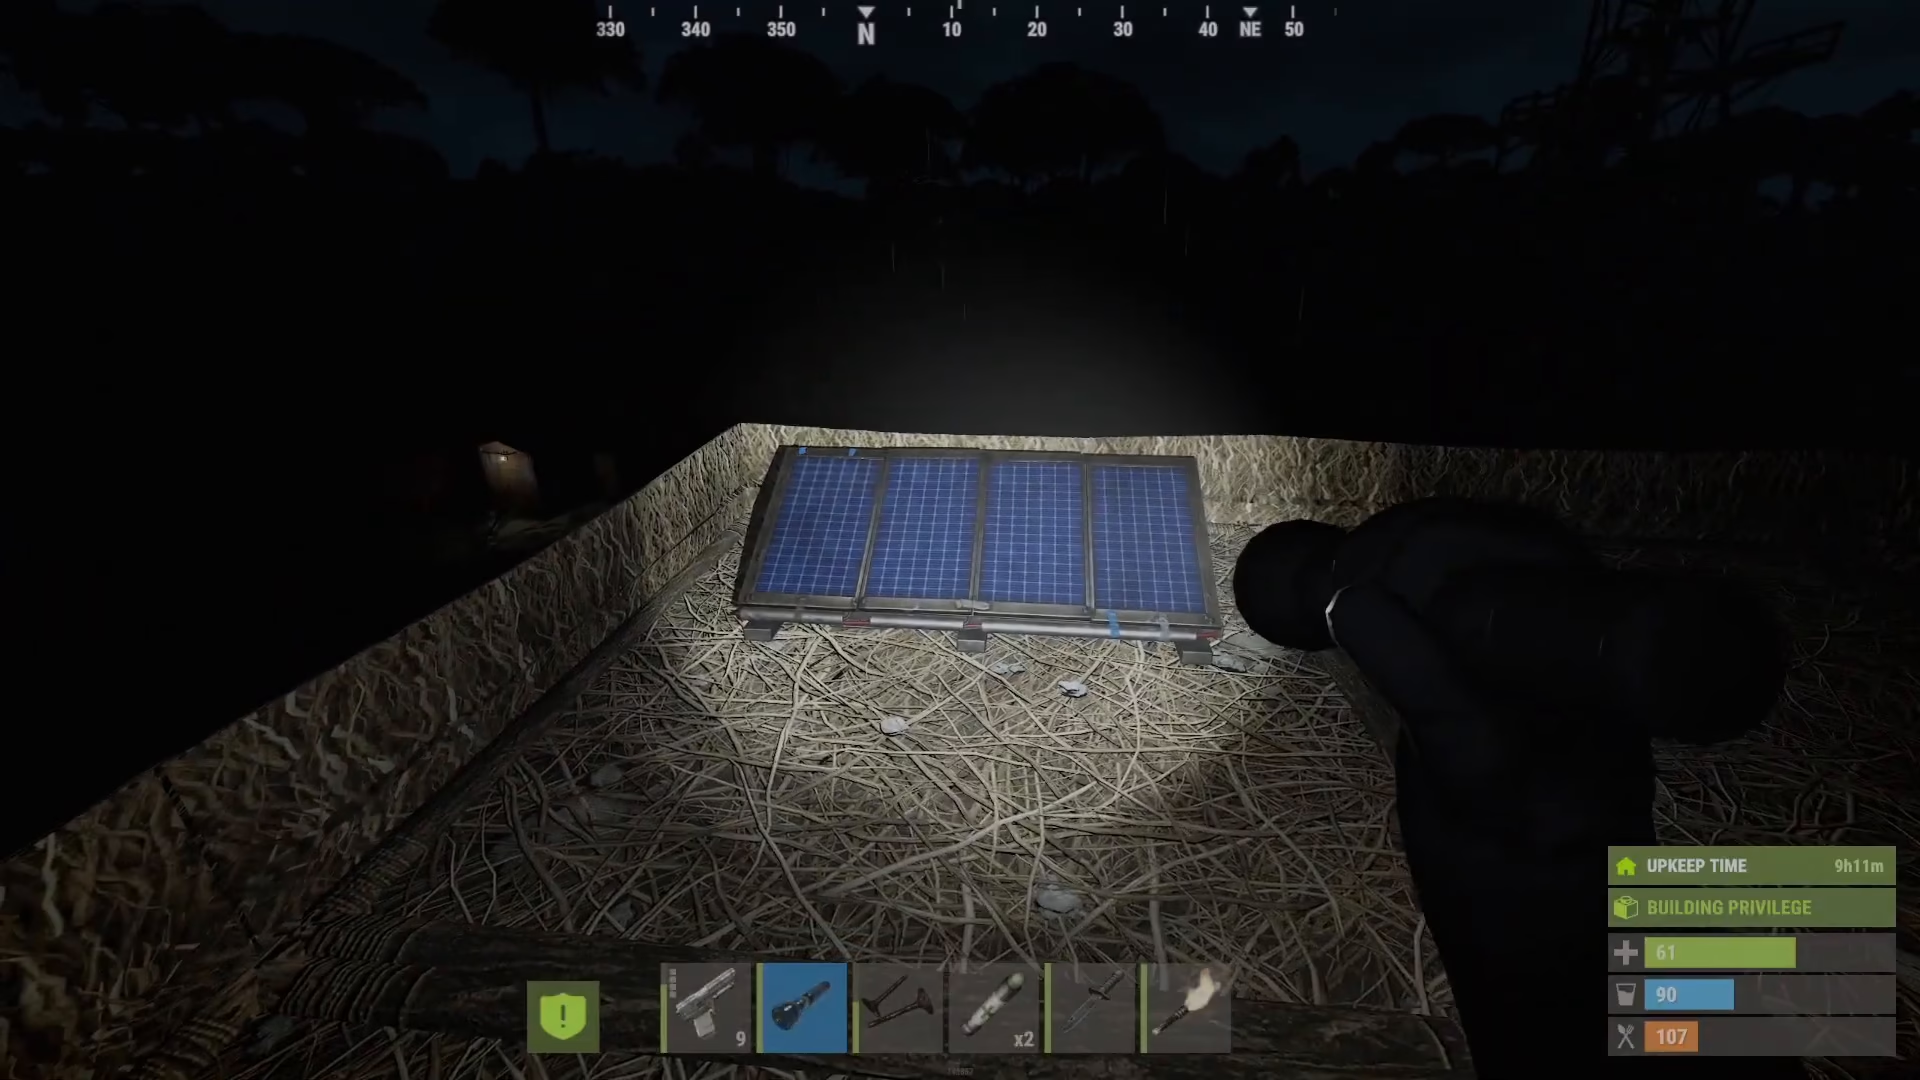
Using the Wire Tool
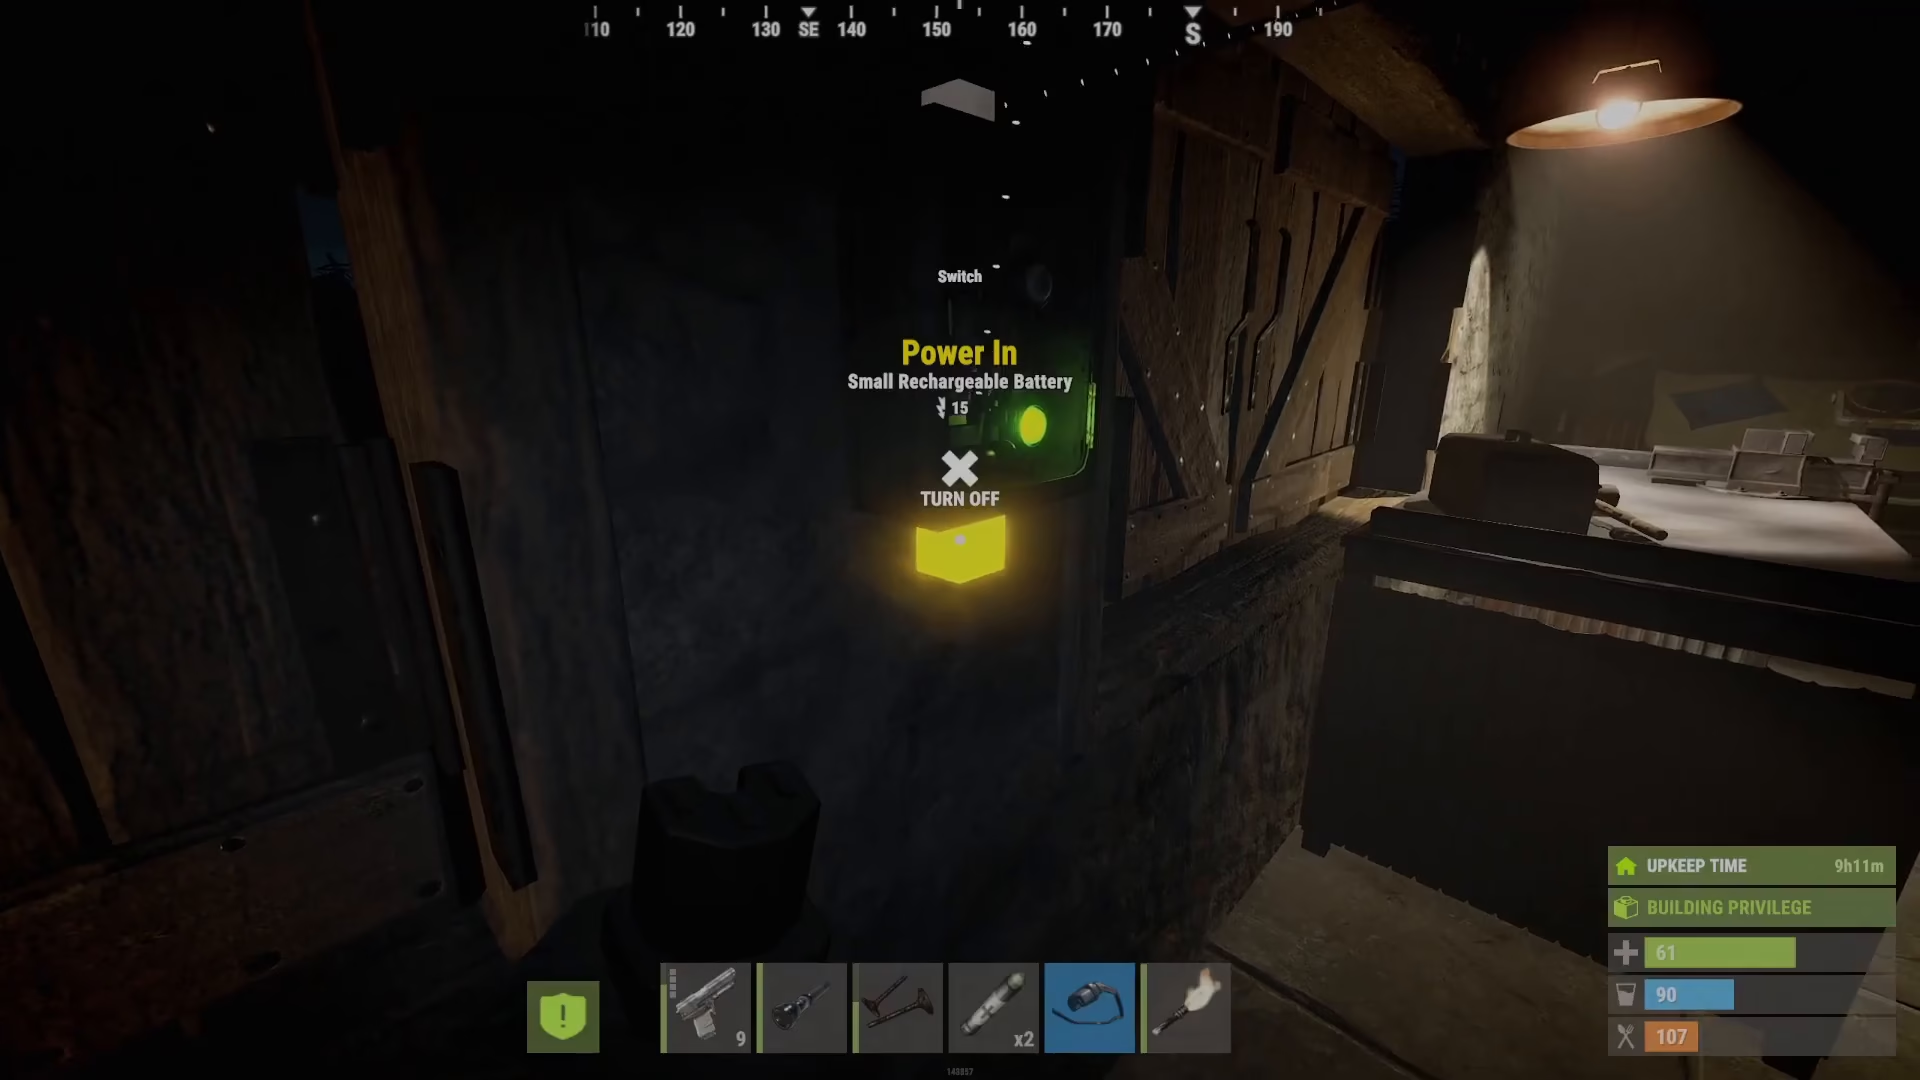
The wire tool is essential for creating your electrical network. Each electrical component has a power input and power output connection point. When you aim at a component with the wire tool, you’ll see labels indicating “power in” and “power out.”
To connect your solar panel to your lamps:
Select the wire tool from your inventory
Aim at the solar panel’s power output
Connect it to the first lamp’s power input
Chain additional lamps together using the pass-through feature
Lamp Pass-Through Configuration
One of the most efficient aspects of electrical lamps is their pass-through capability. This means you can connect one lamp to the next lamp in a chain, rather than requiring individual wires from the power source to each lamp. This reduces clutter and simplifies your base’s electrical infrastructure.
Unlocking Electrical Components
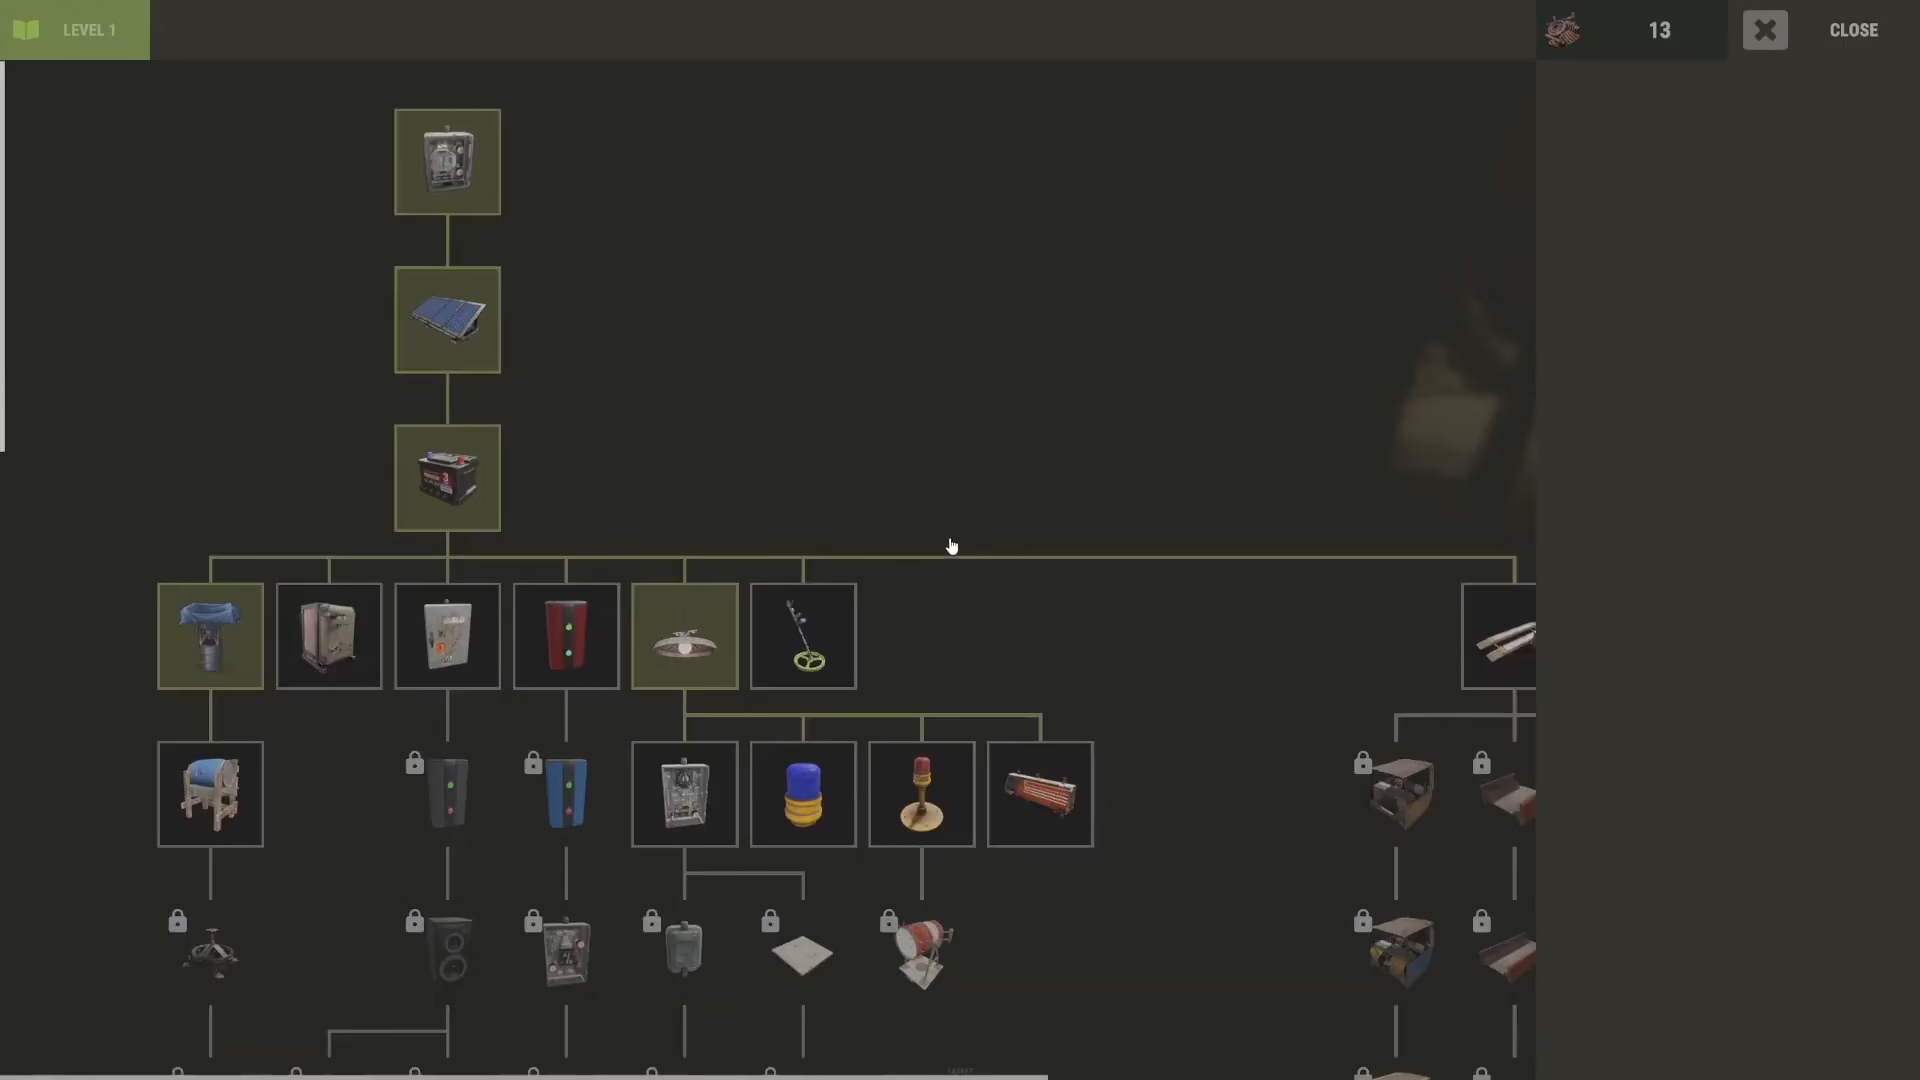
All electrical components, including solar panels and electric lamps, are unlocked through the engineering workbench. The engineering workbench is the central hub for all electrical-related research and crafting in Rust.
Summary
Lighting your Rust base can be accomplished through two primary methods. Early in your gameplay, tuna can lamps provide a functional solution using minimal resources, though they require regular fuel maintenance. As you progress and unlock electrical components through the engineering workbench, switching to a solar panel and electrical lamp system will dramatically improve your base’s efficiency and eliminate the need for constant refueling. The electrical route is the long-term solution for any serious base builder.
Want to Support?
If you would like to help us continue making these guides – please consider joining our patreon here – https://www.patreon.com/c/JaviHeals
Alternatively – you can join our discord here – https://discord.gg/zD7Gjt6MHF