




How To Build A Bridge in Valheim
How To Build A Bridge in Valheim
Building bridges in Valheim can seem intimidating at first, but with the right approach and materials, you’ll be crossing rivers and valleys with ease. This guide walks you through the entire process of constructing a functional bridge, from initial placement to adding structural supports.
Getting Started: Setup and Preparation
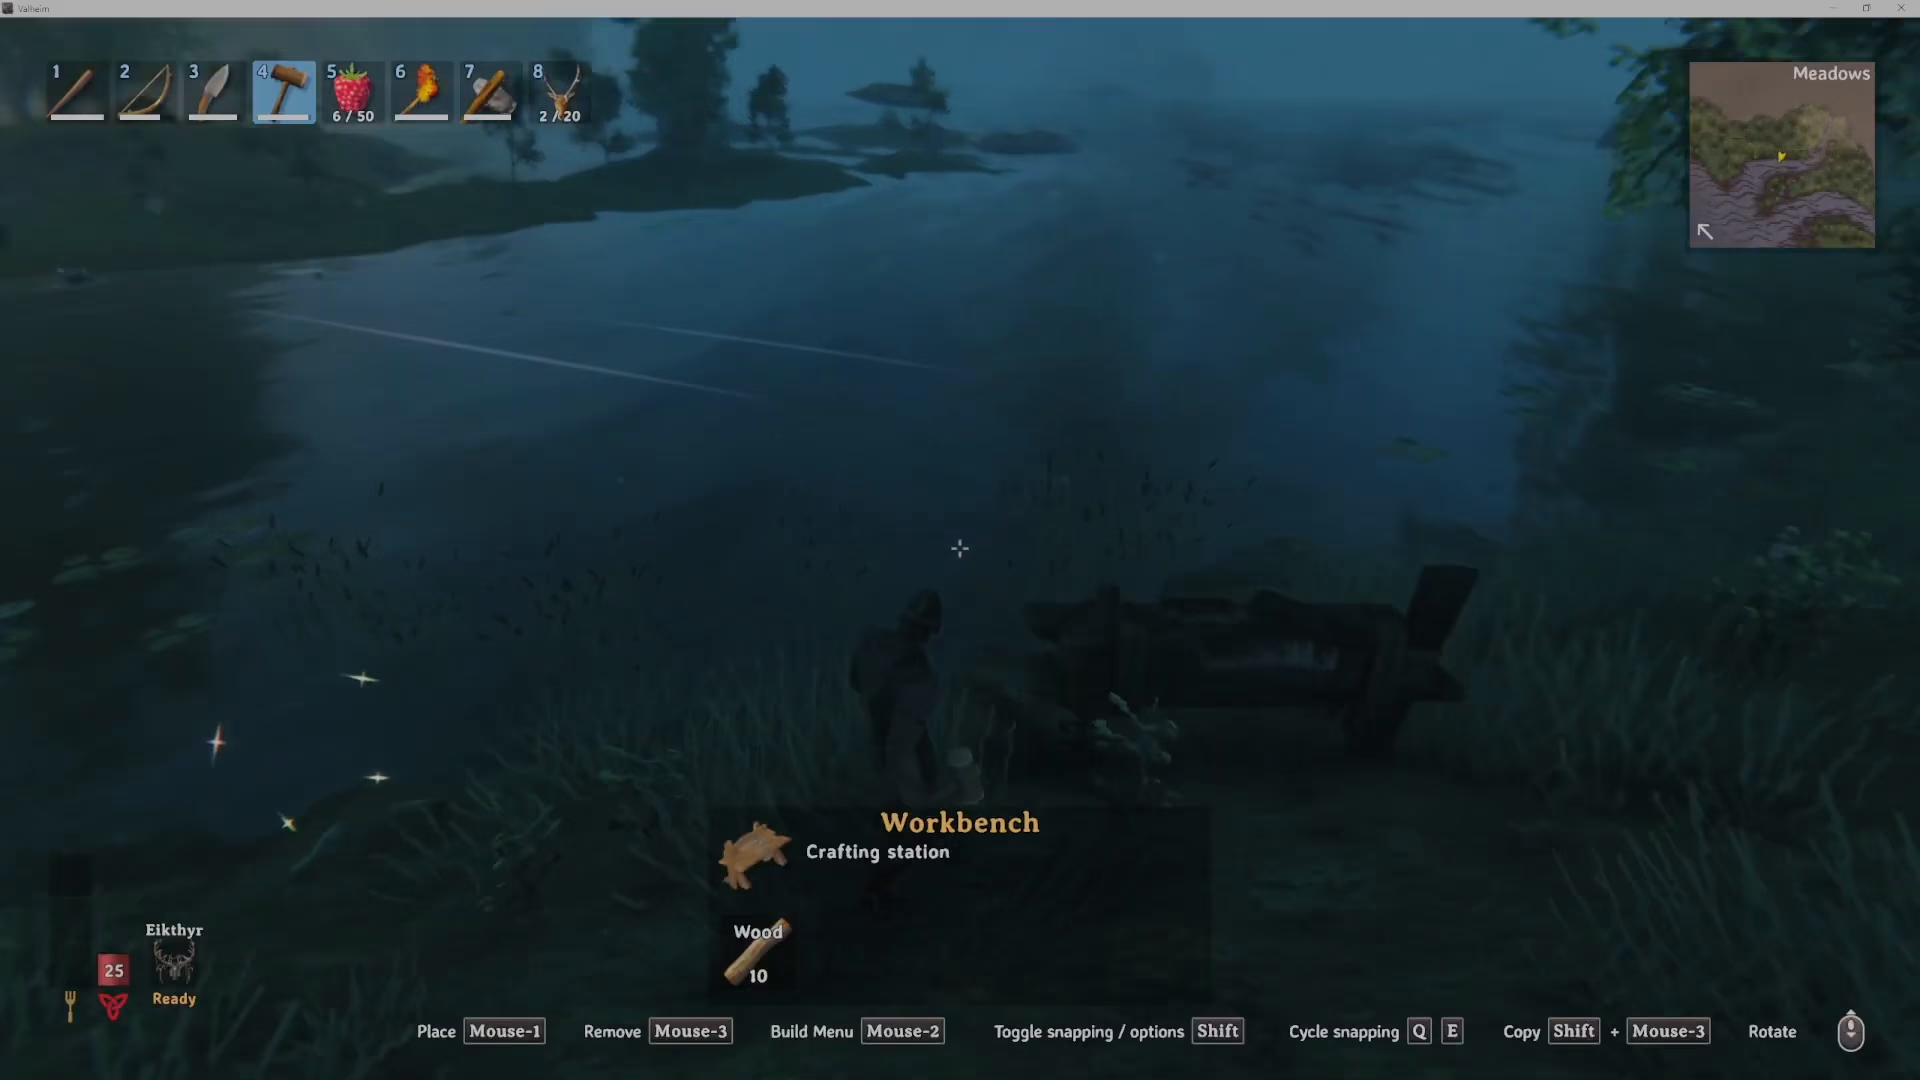
Before you begin building, understand that you’ll need a substantial amount of wood. Start by placing a workbench down near the river where you want to build your bridge. The workbench is essential because it enables you to place platforms and other building pieces.
Building the Bridge Foundation
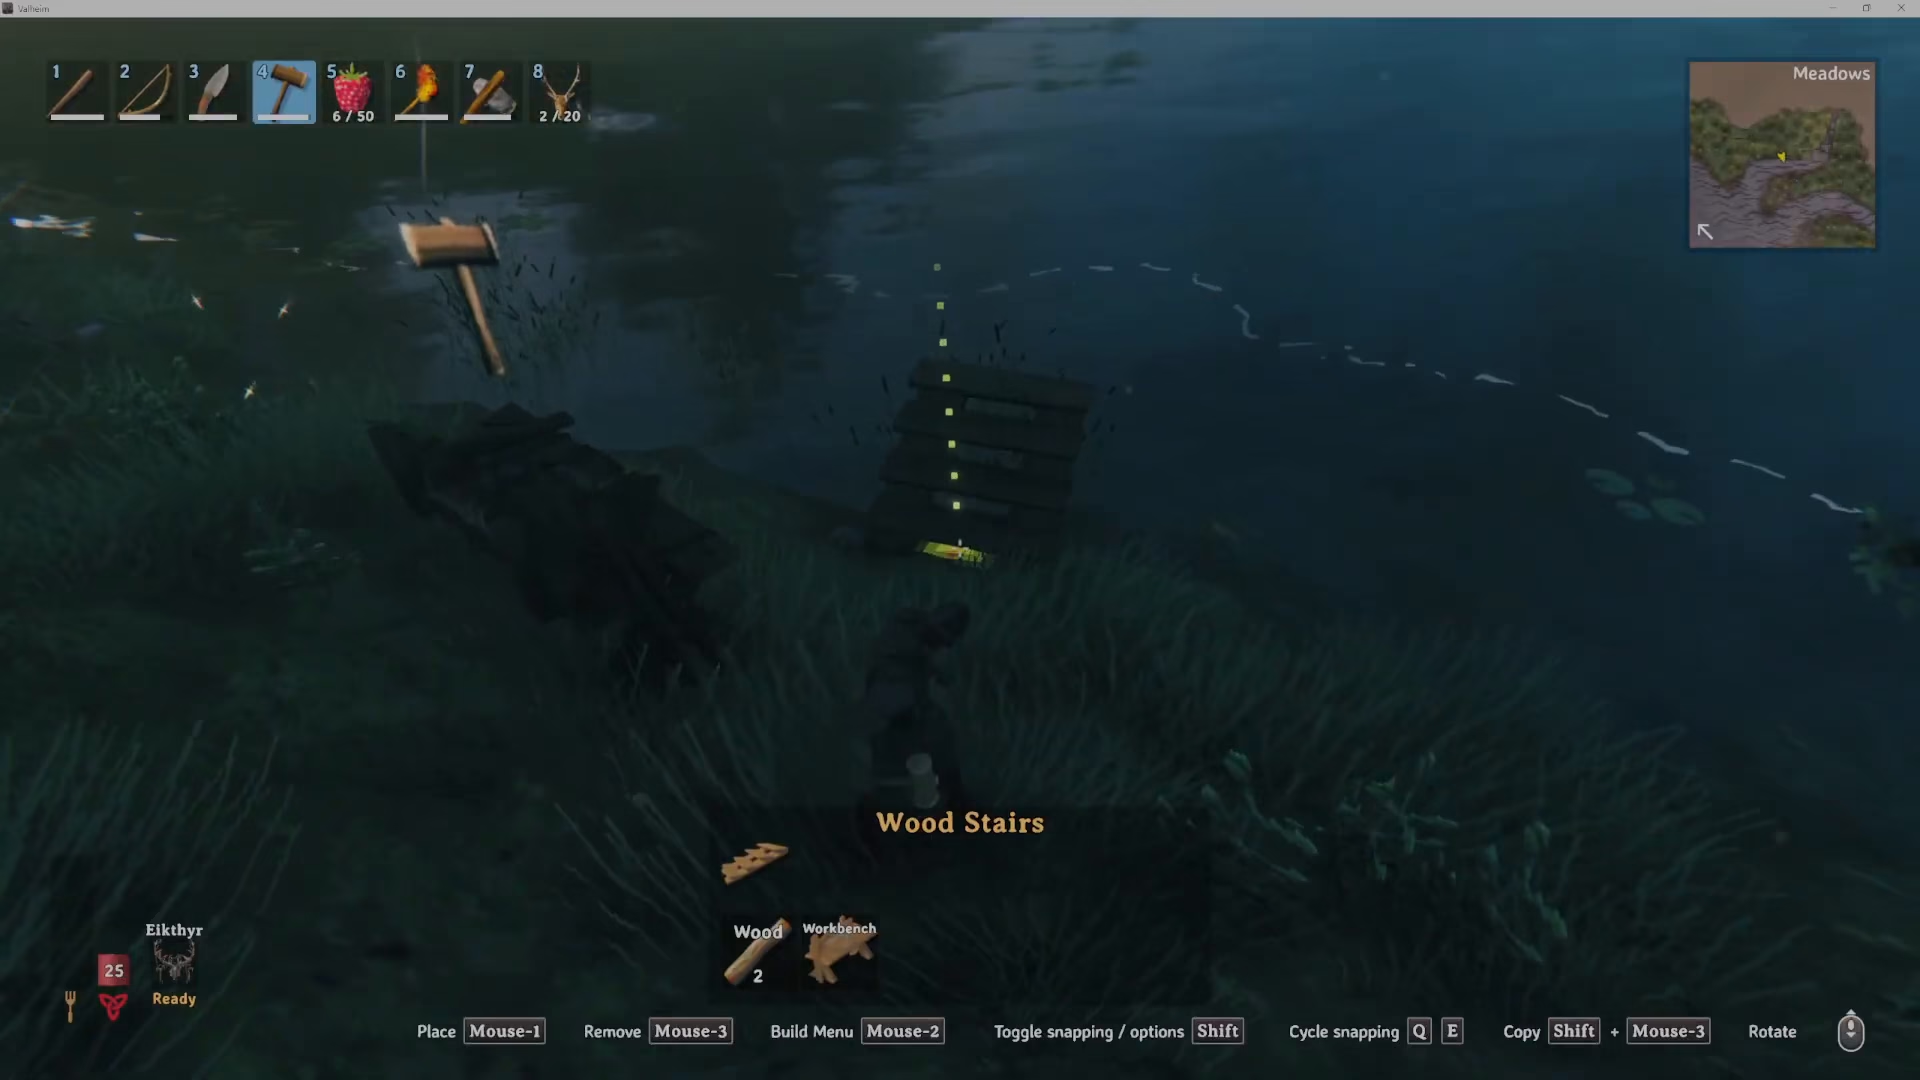
Once your workbench is in place, begin by placing stairs that will cross the river. Next, place wooden floors against the stairs to form the bridge surface. For cart passage, you’ll want to make your bridge wider, but for this tutorial, a single-width bridge is sufficient to demonstrate the concept.
Leveling the Ground
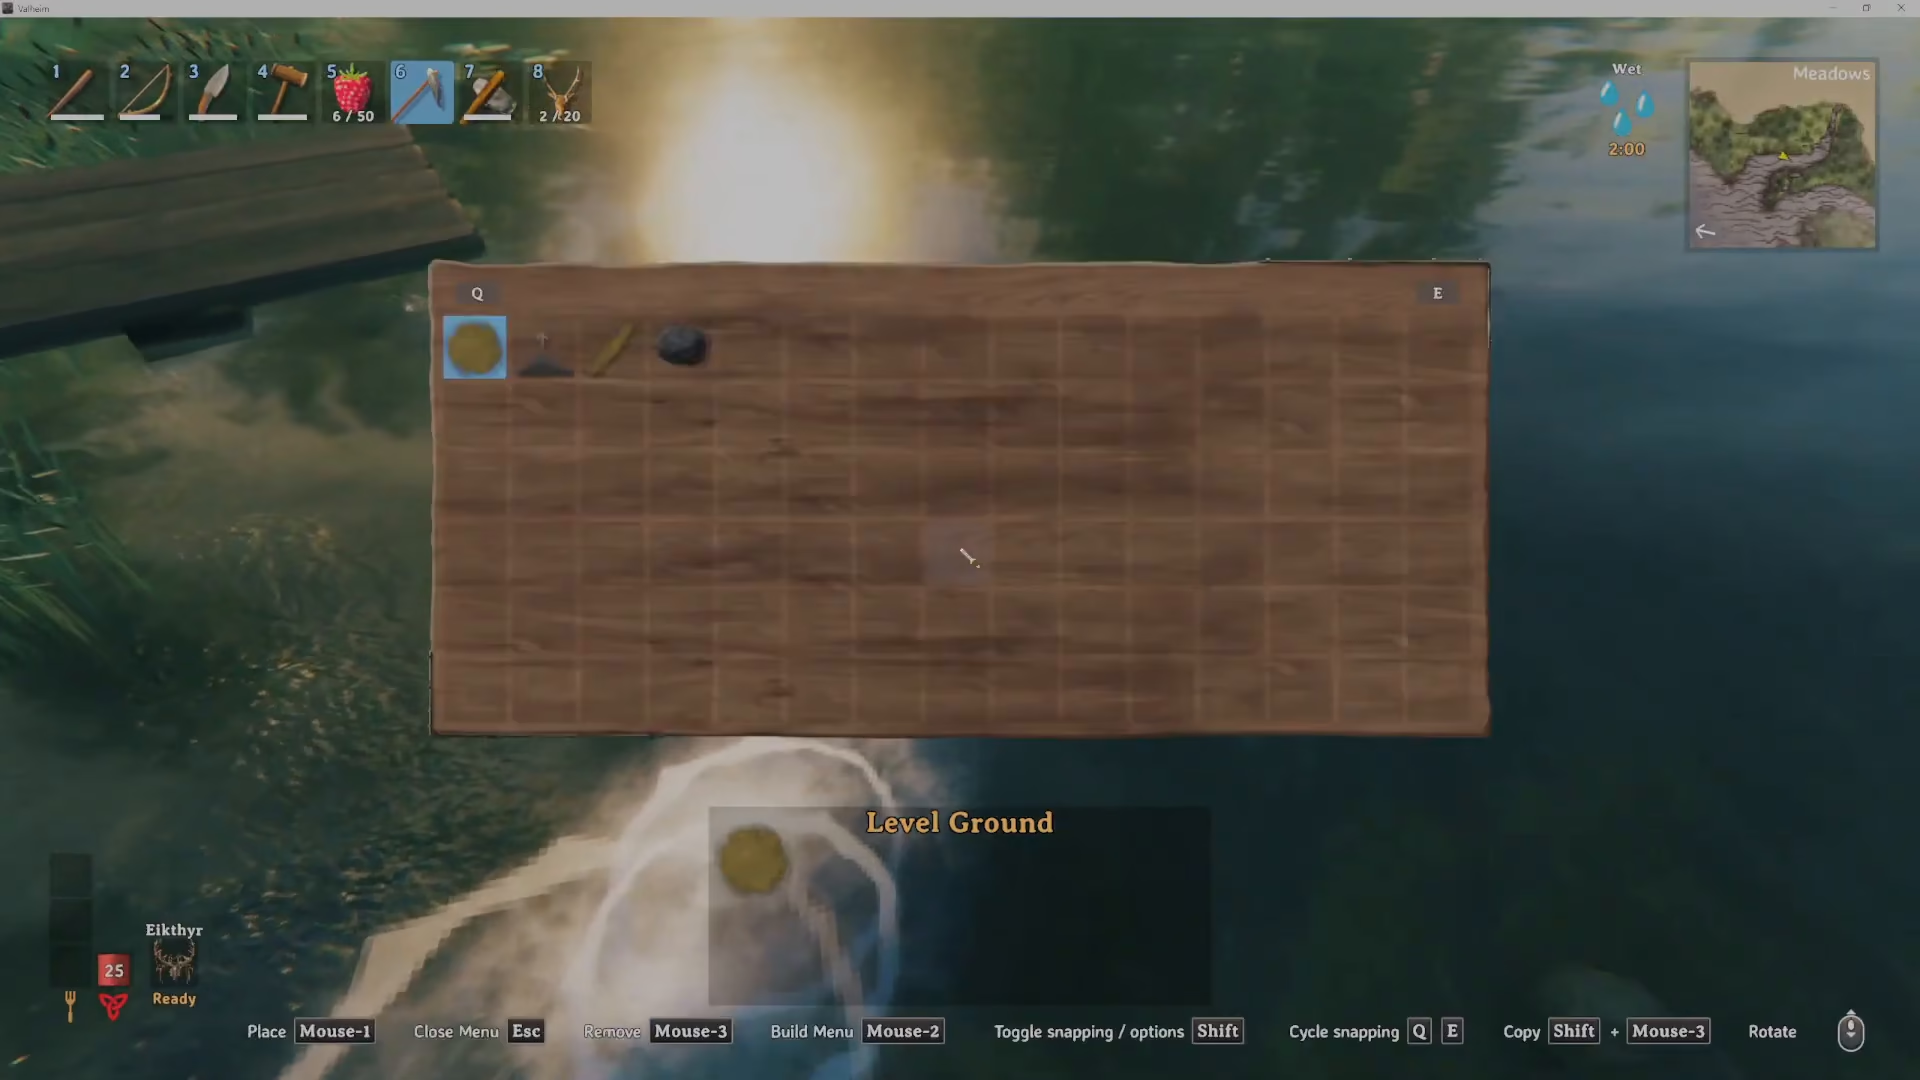
Here’s where things get more challenging. You may find that pieces won’t place properly at first. To solve this, use your hoe to level the ground. Right-click with the hoe to raise the ground to your desired depth. This creates a proper working area for your bridge and makes future placement much easier.
Alternatively, if your only goal is crossing water, you can simply build a bridge out of stone directly throughout the lake. This method works just as effectively.
Expanding Your Bridge
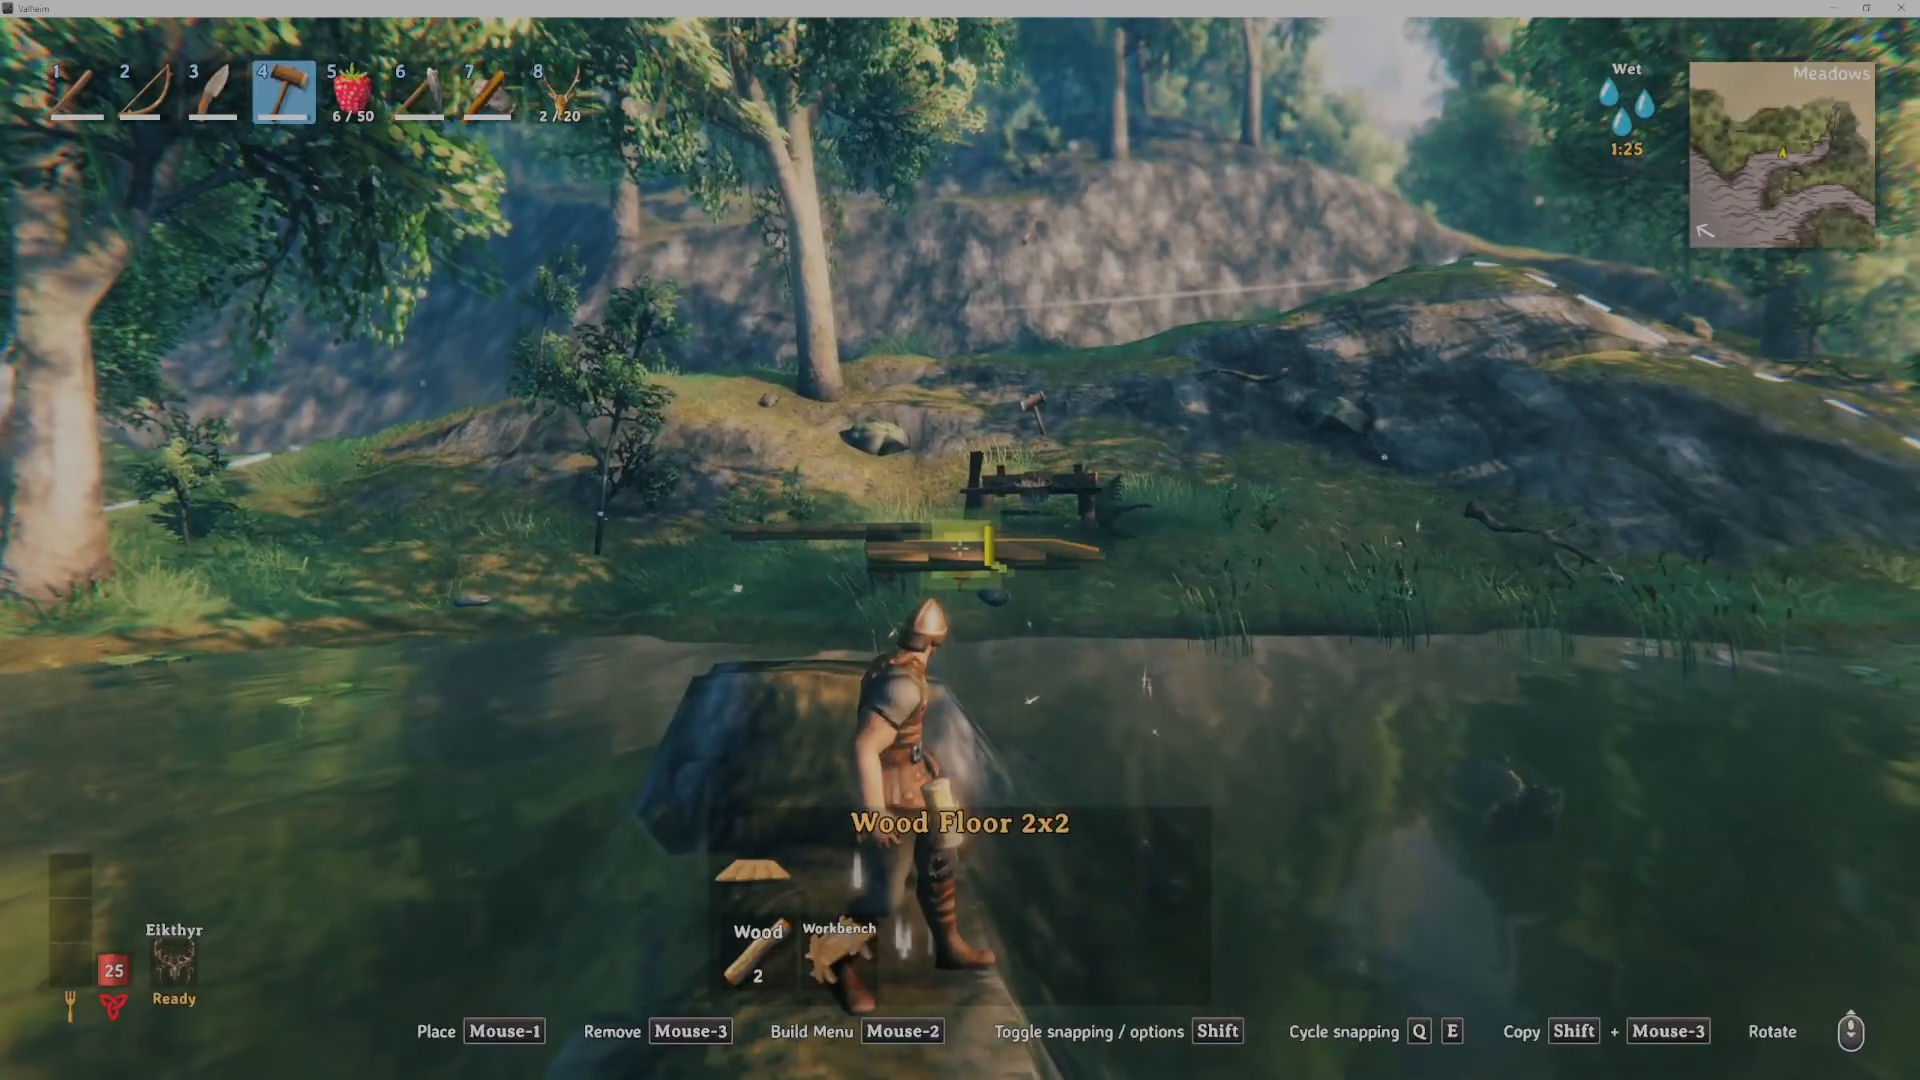
Continue the bridge across the water by moving your workbench along with you. This gives you a much easier way of placing new pieces as you extend further across.
Adding Structural Support
You’ll quickly notice that your bridge pieces begin to collapse without proper support. To prevent this, place wooden poles underneath your bridge at regular intervals. These supports are crucial for stability.
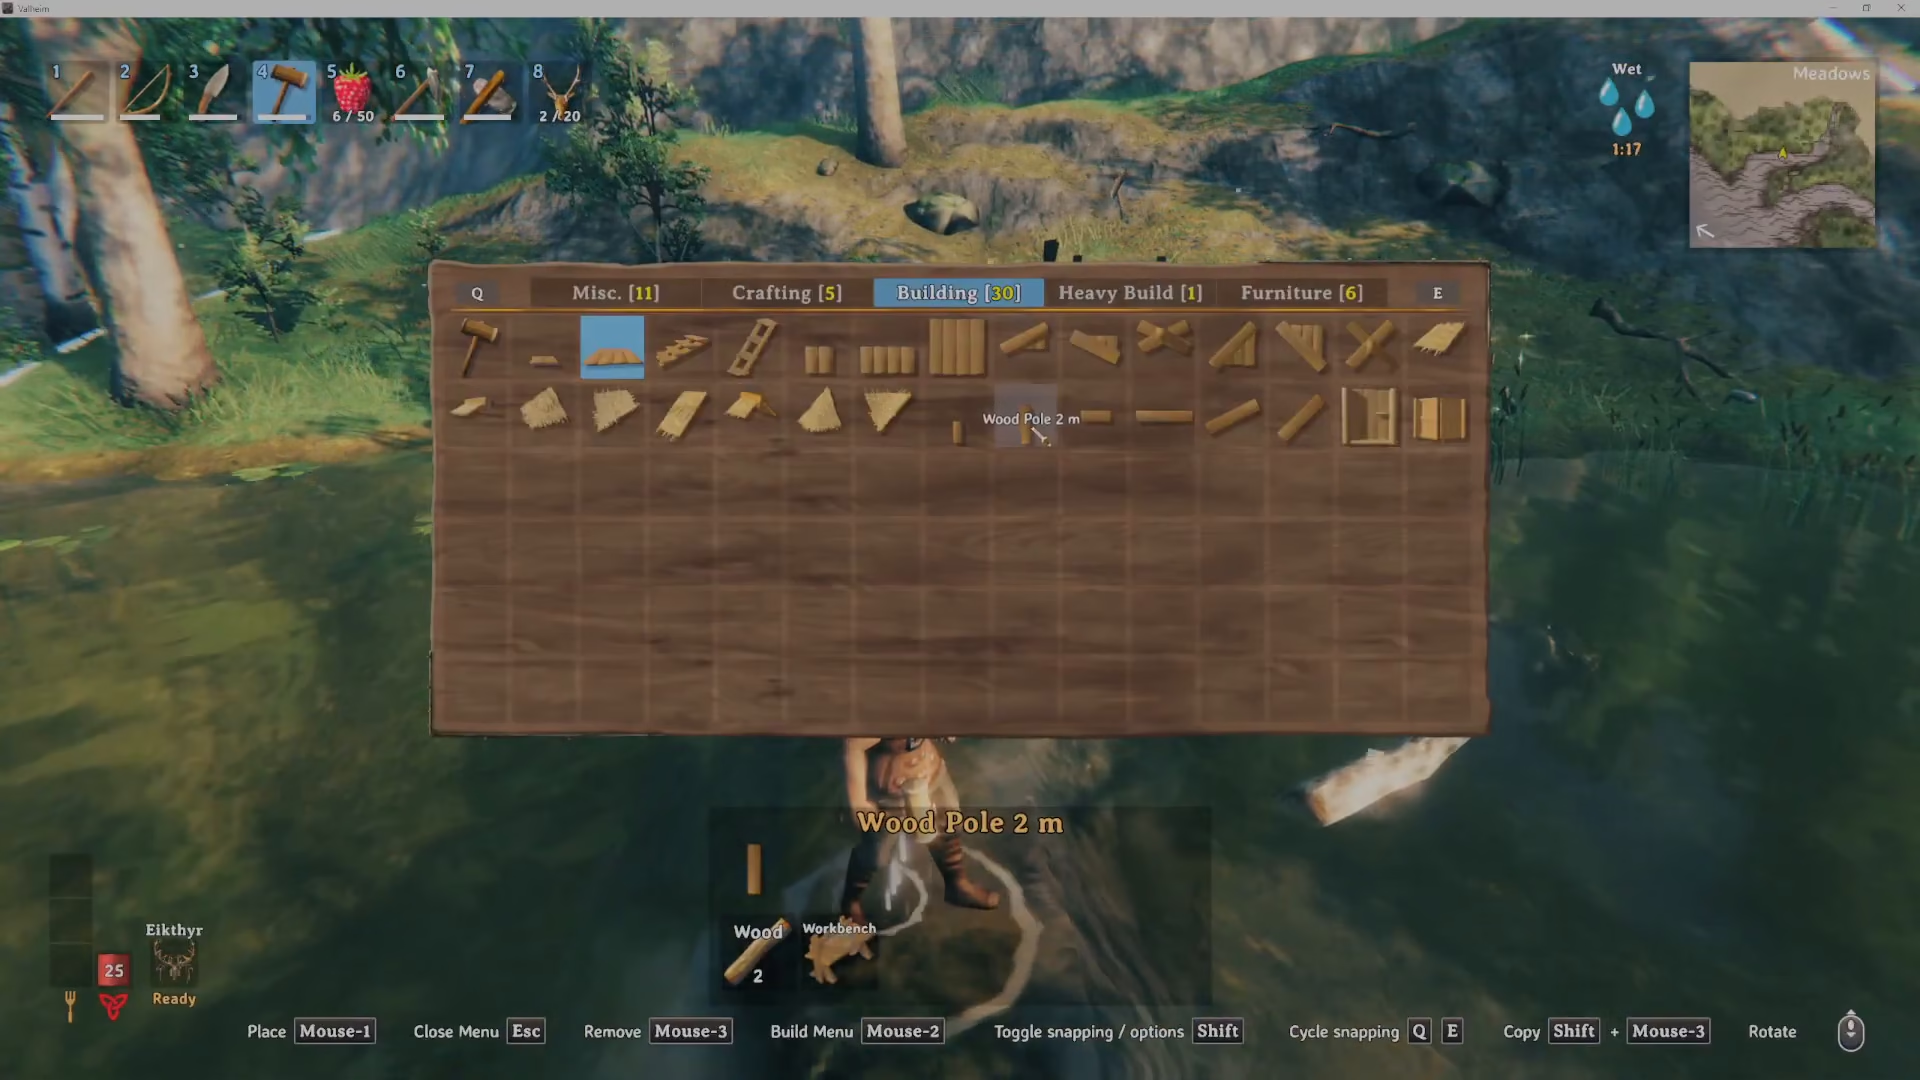
It’s recommended that you place a wooden pole beneath your bridge approximately every three floors. The wooden poles can snap to the bottom of your floor pieces automatically, making placement straightforward.

Final Thoughts
With these steps complete, you now have a functional bridge with proper support. While aesthetics may vary depending on your building style and preferences, the structural integrity remains the same. Your bridge will now safely support passage across rivers and valleys in Valheim.
— Want to Support? —
If you would like to help us continue making these guides – please consider joining our patreon here – https://www.patreon.com/c/JaviHeals
Alternatively – you can join our discord here – https://discord.gg/zD7Gjt6MHF