



How to Get Custom Icons In Dead by Daylight
How to Get Custom Icons In Dead by Daylight
Want to personalize your Dead by Daylight experience with custom icons? This guide walks you through the process of installing custom icon packs using the Night Light program. Follow these simple steps to transform your in-game icons and make your loadout truly unique.
Getting Started with Night Light
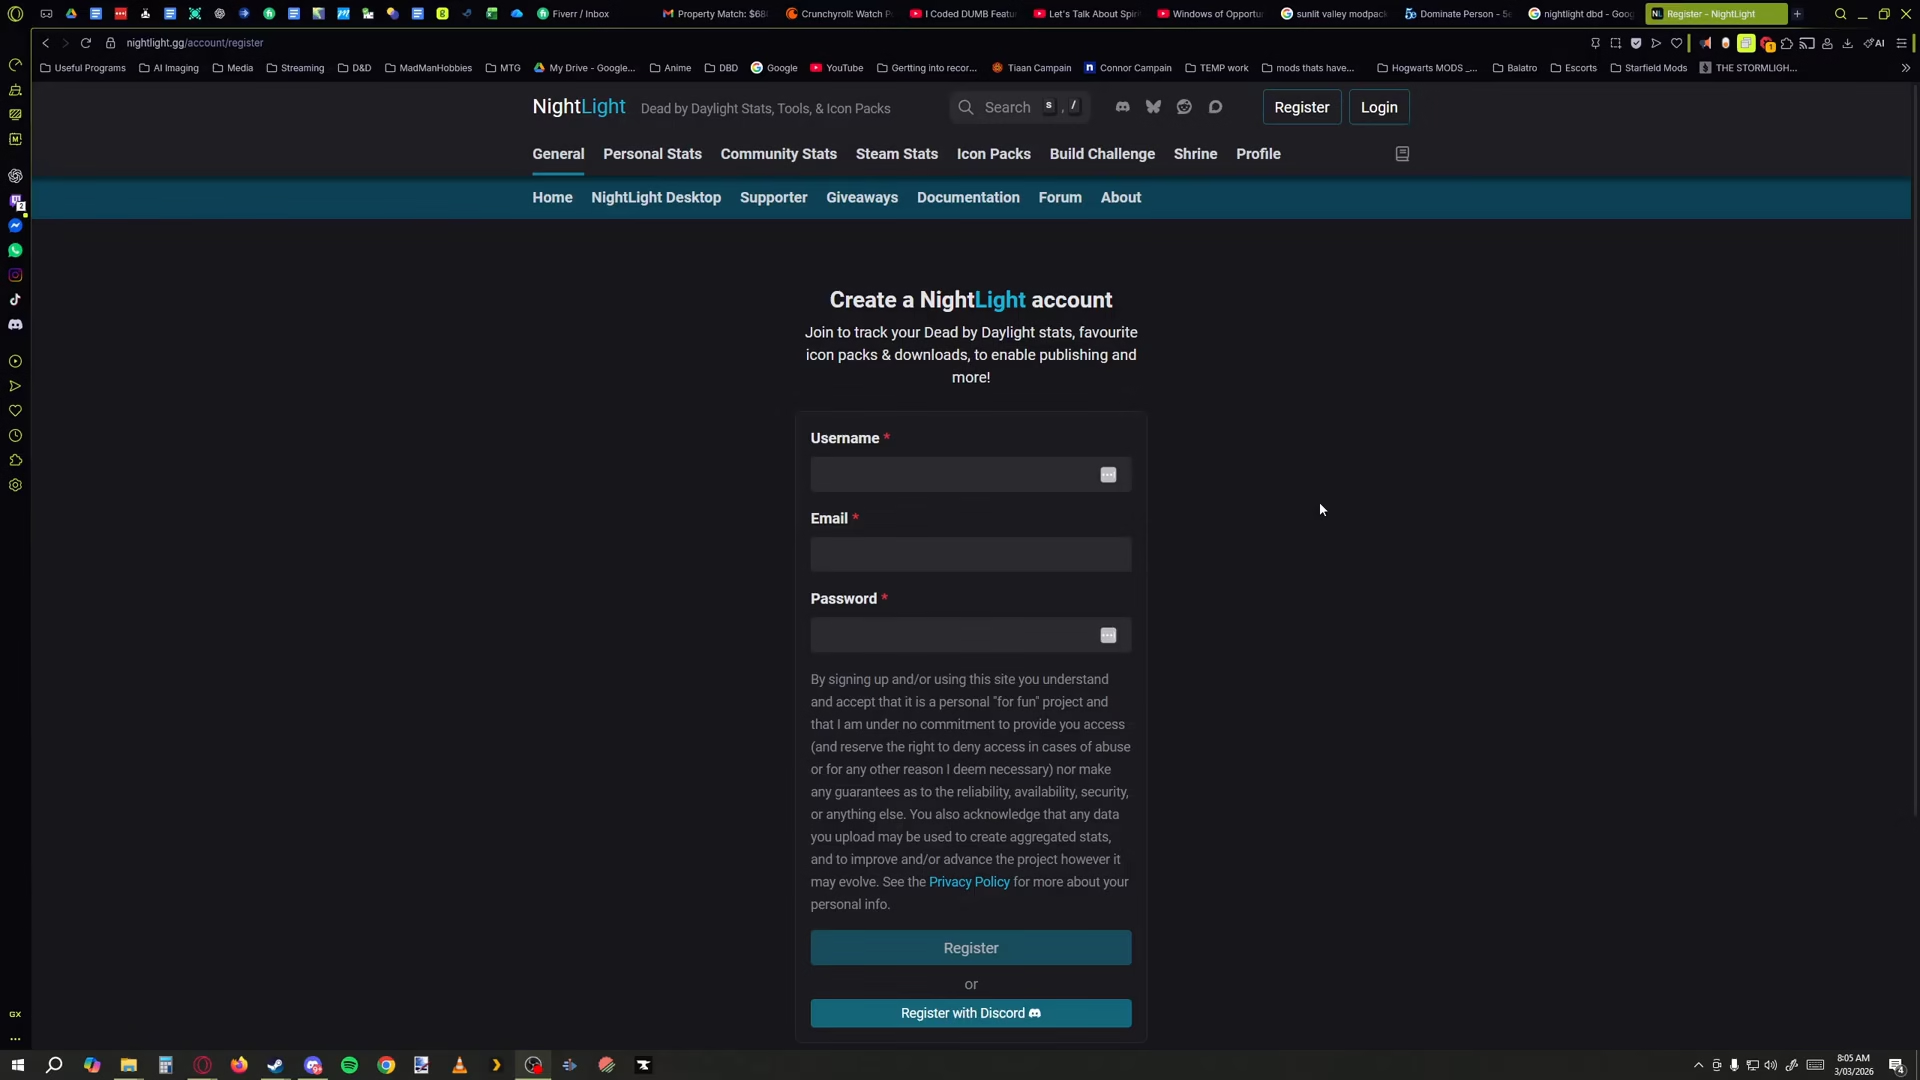
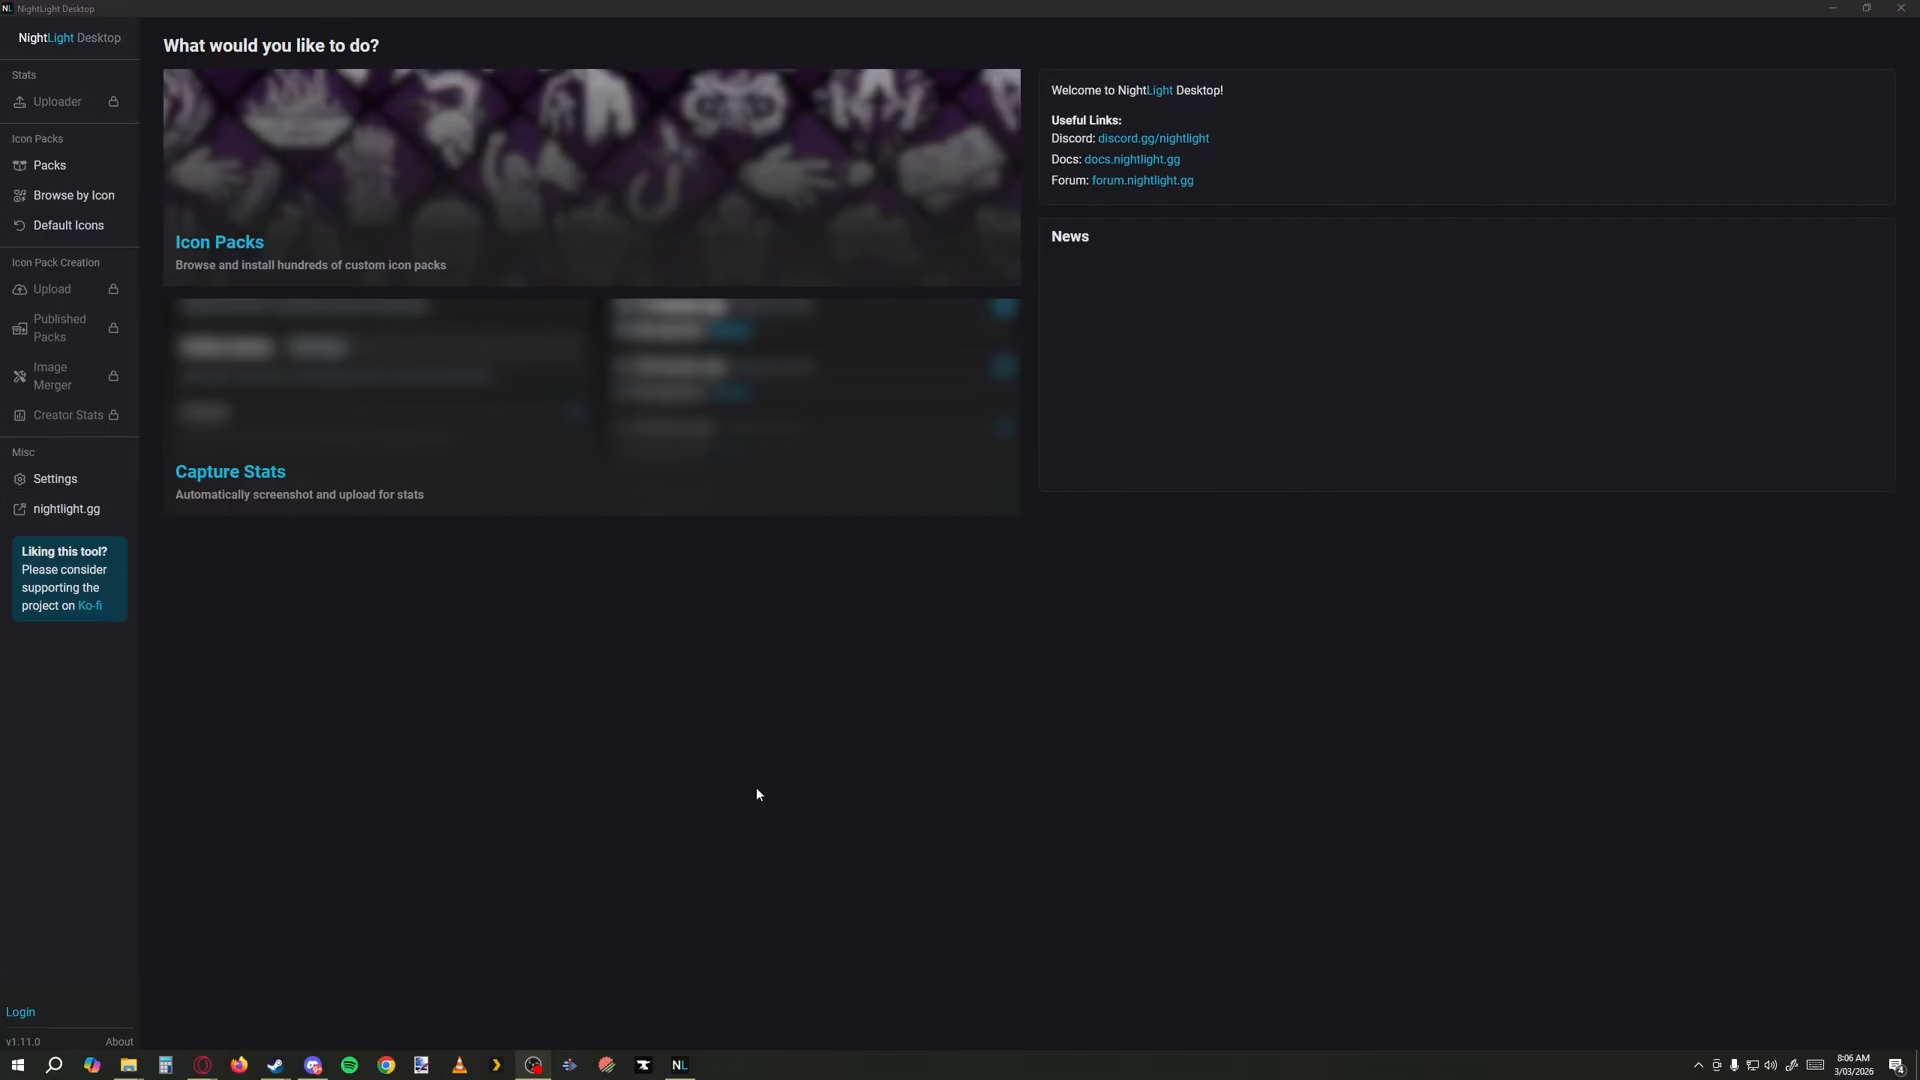
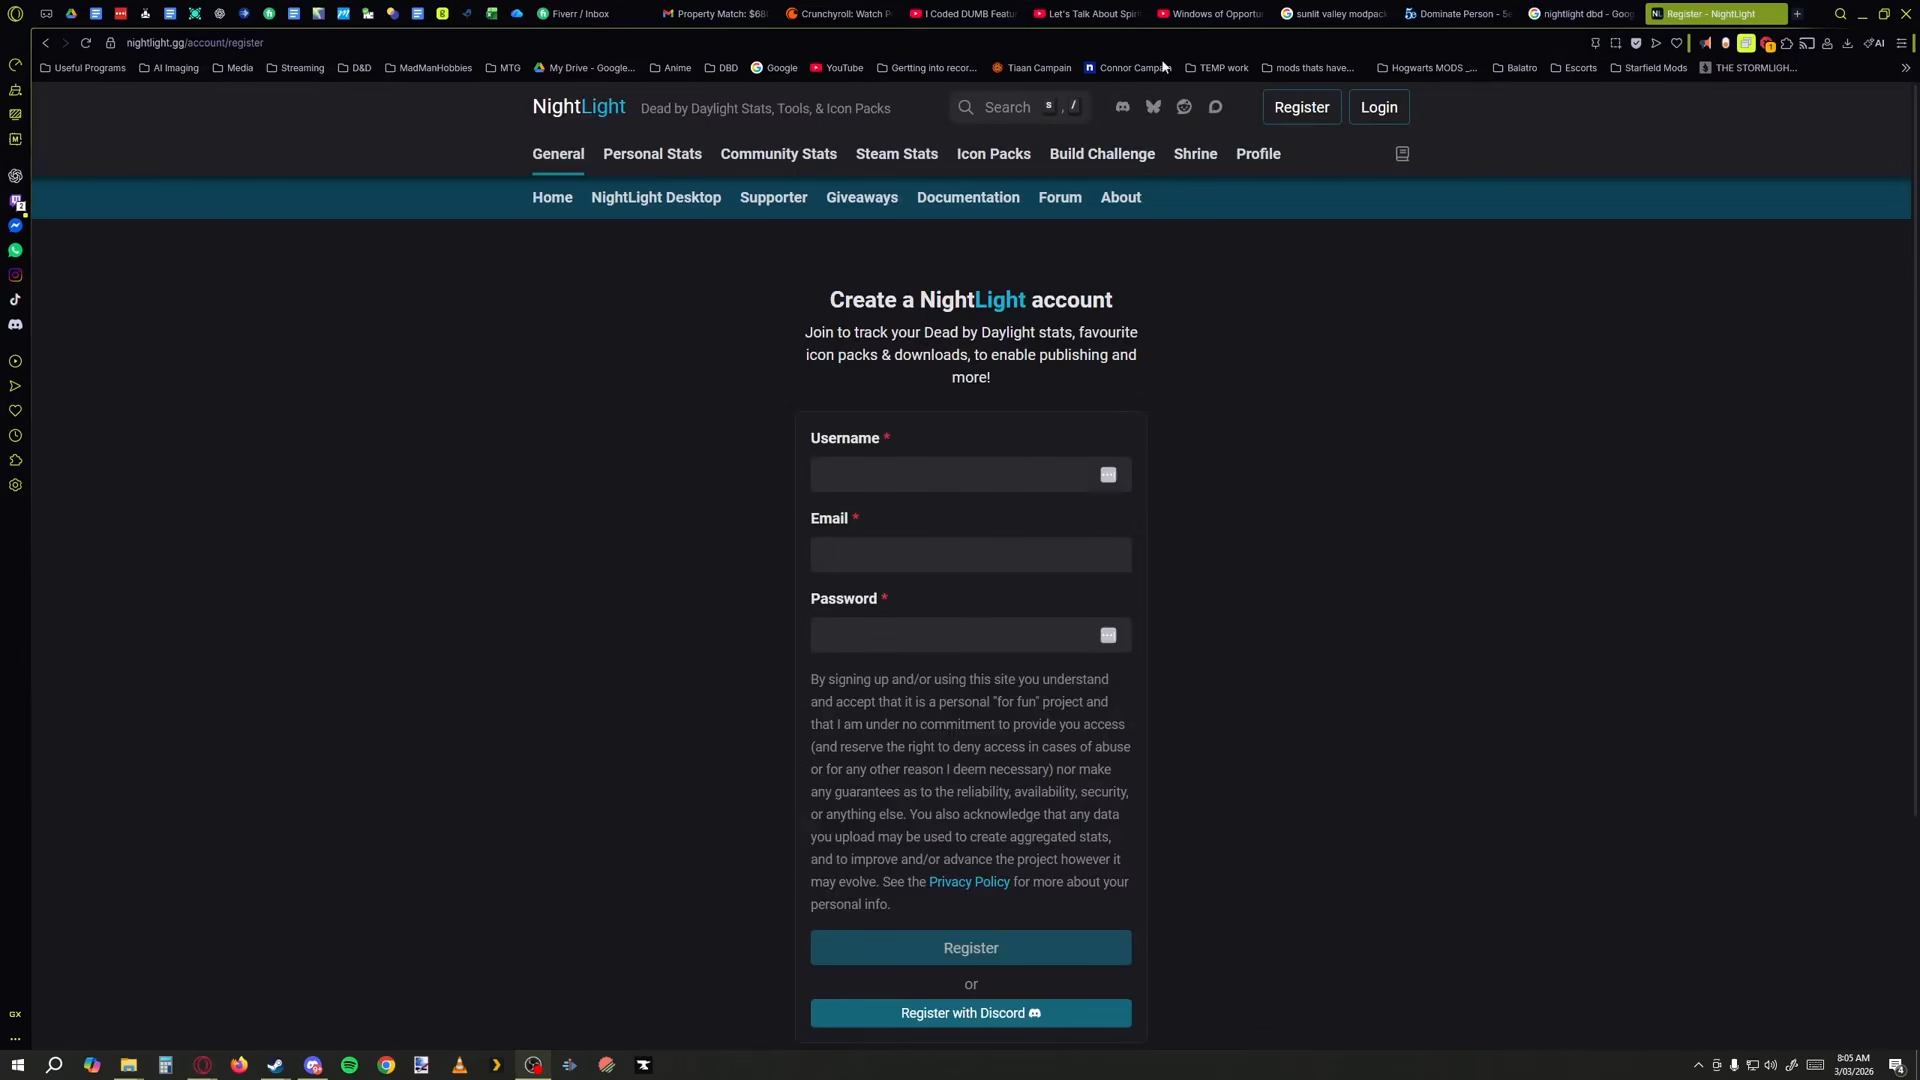
The primary method for installing custom icons in Dead by Daylight is using a program called Night Light. Begin by downloading and registering for the Night Light application.
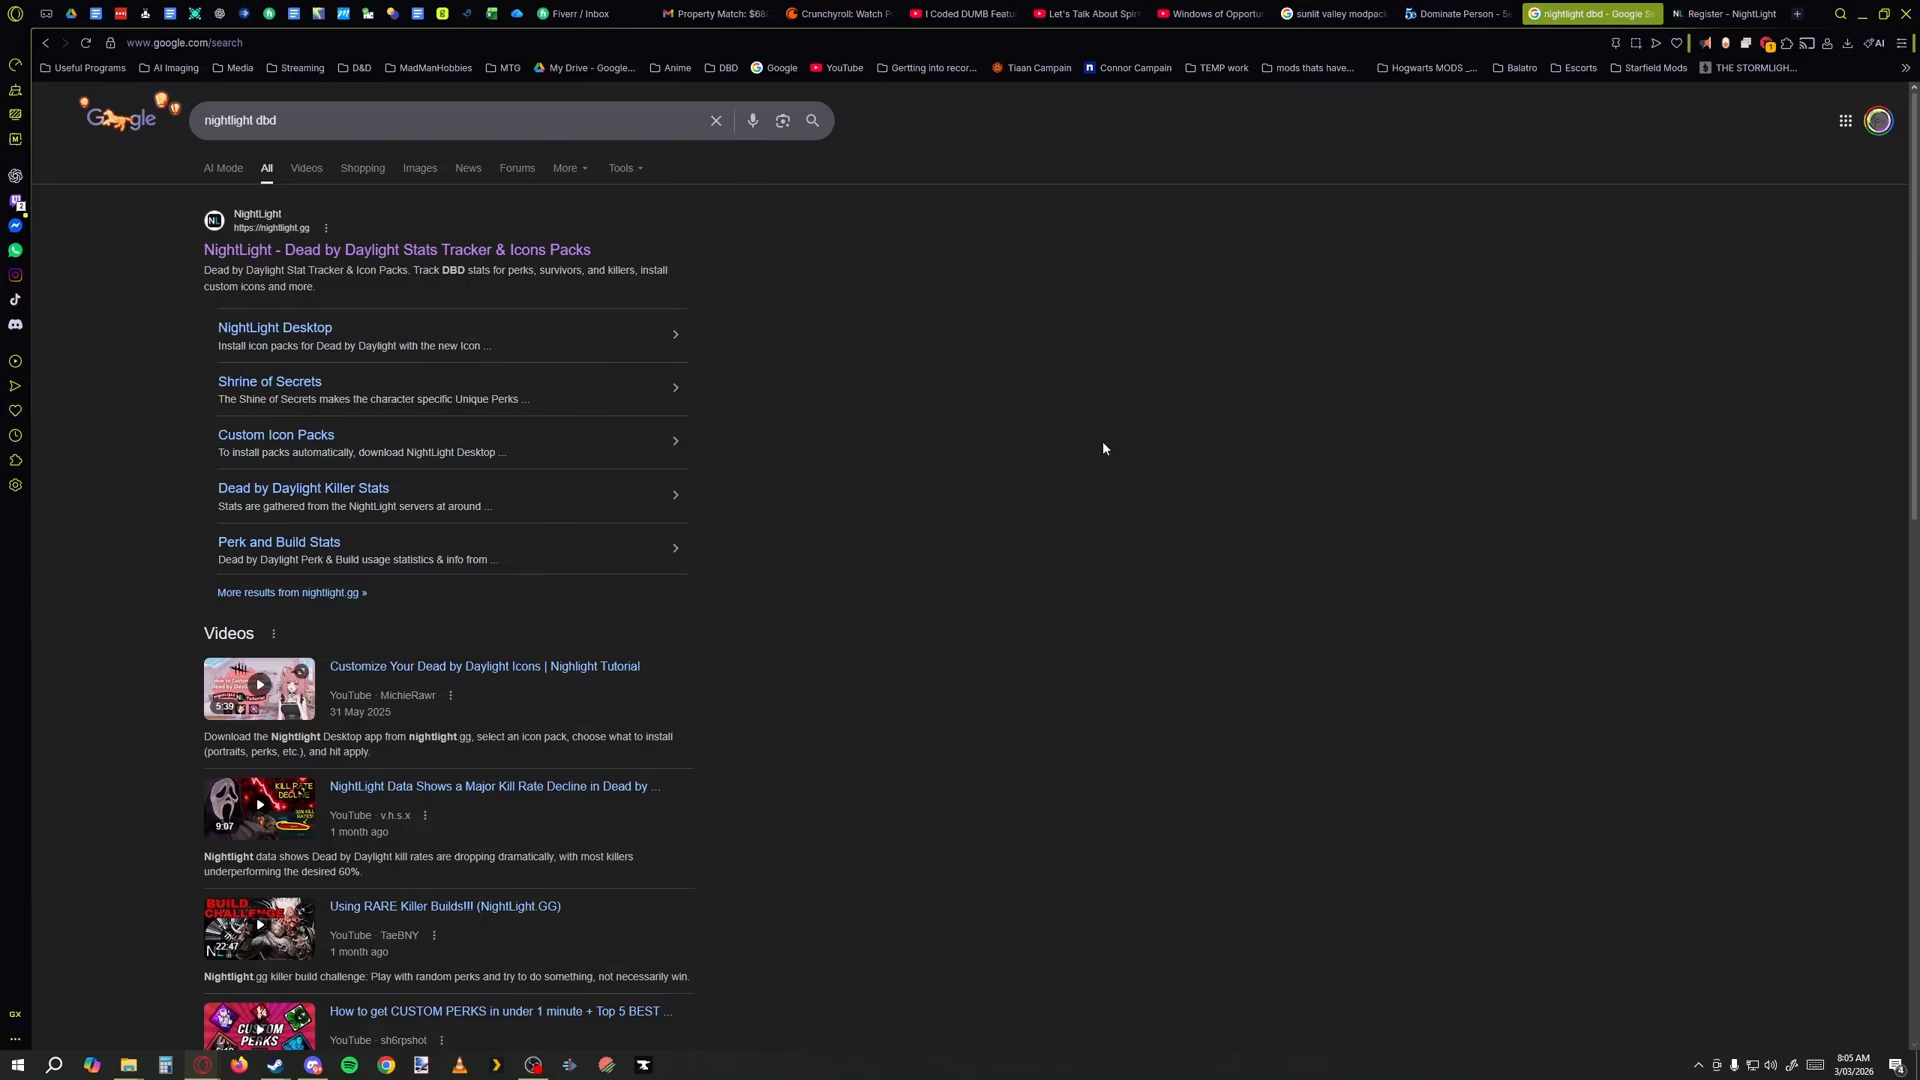
Once you have successfully downloaded the program, launch the application to begin browsing available icon packs.
Browsing and Selecting Icon Packs
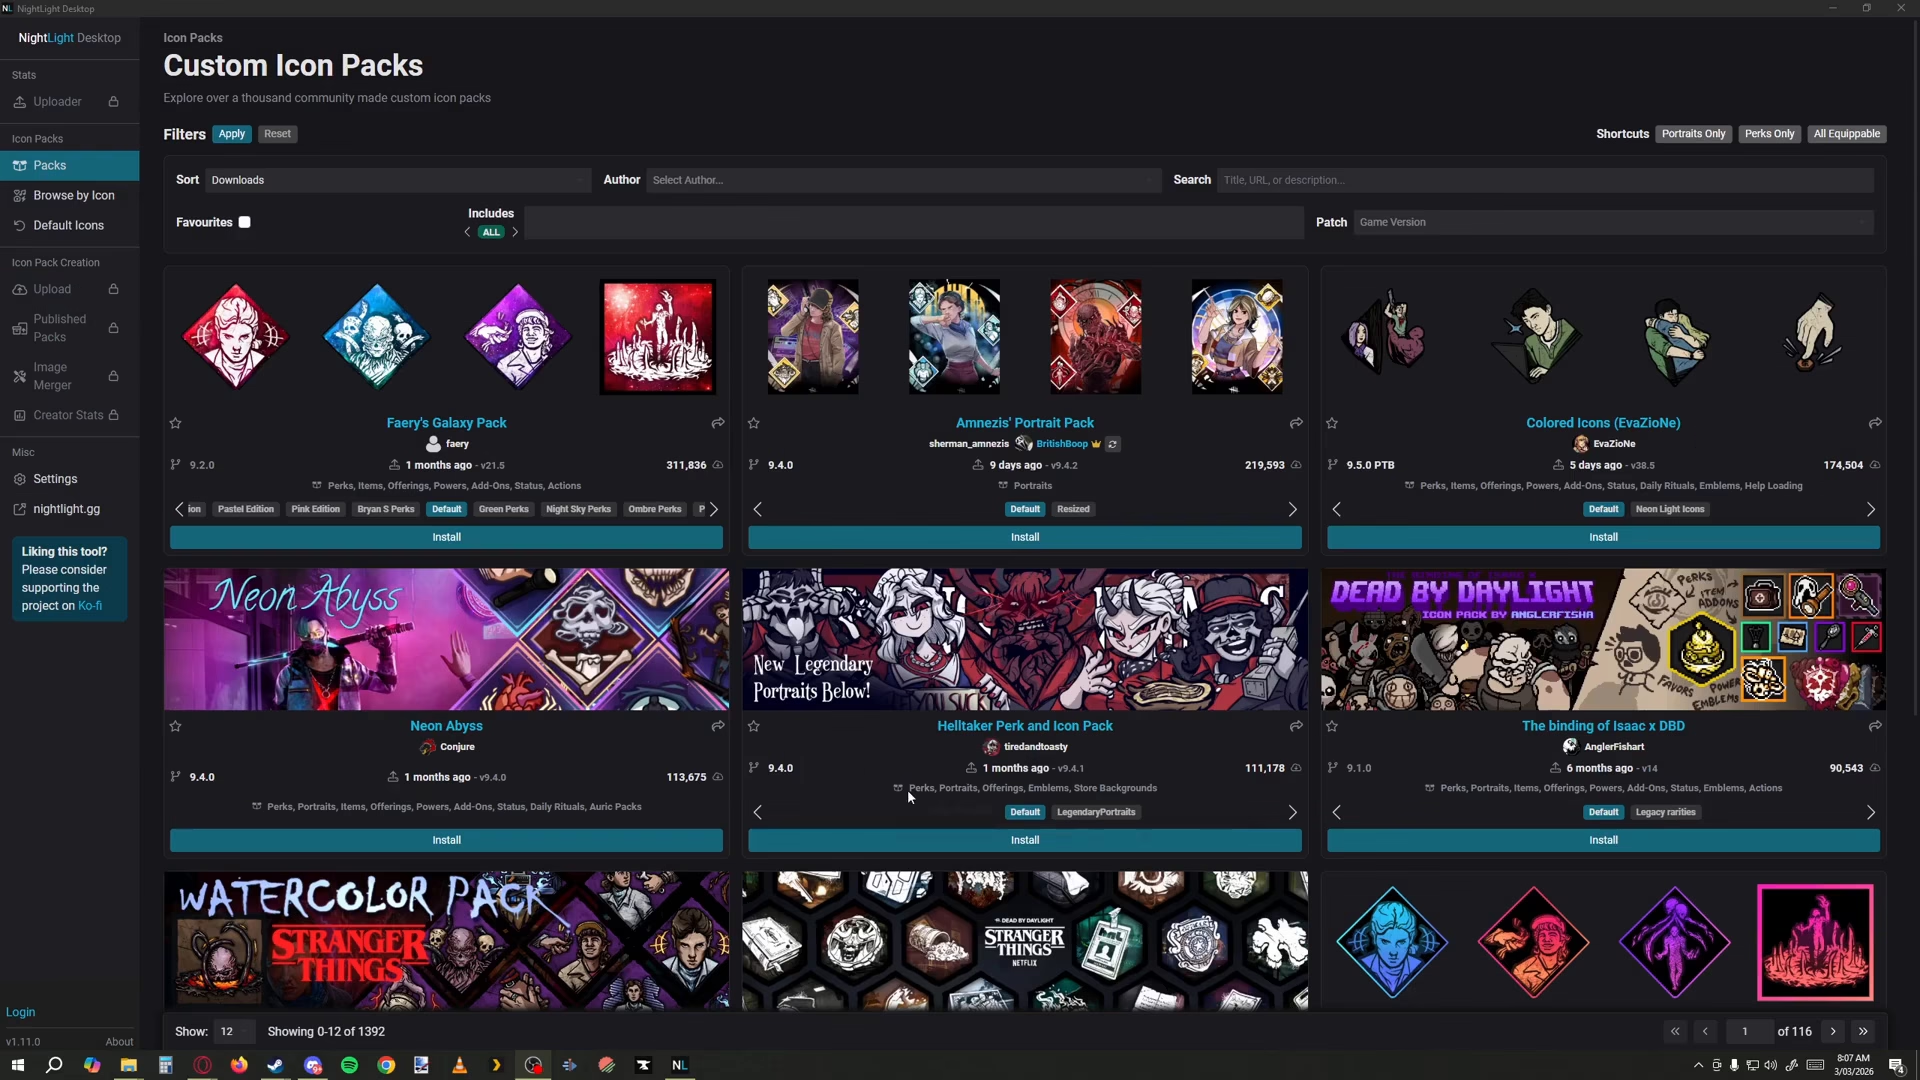
When the Night Light app opens, navigate to the “Packs” section if you aren’t already there. This is where you’ll find a wide selection of community-created icons to choose from.
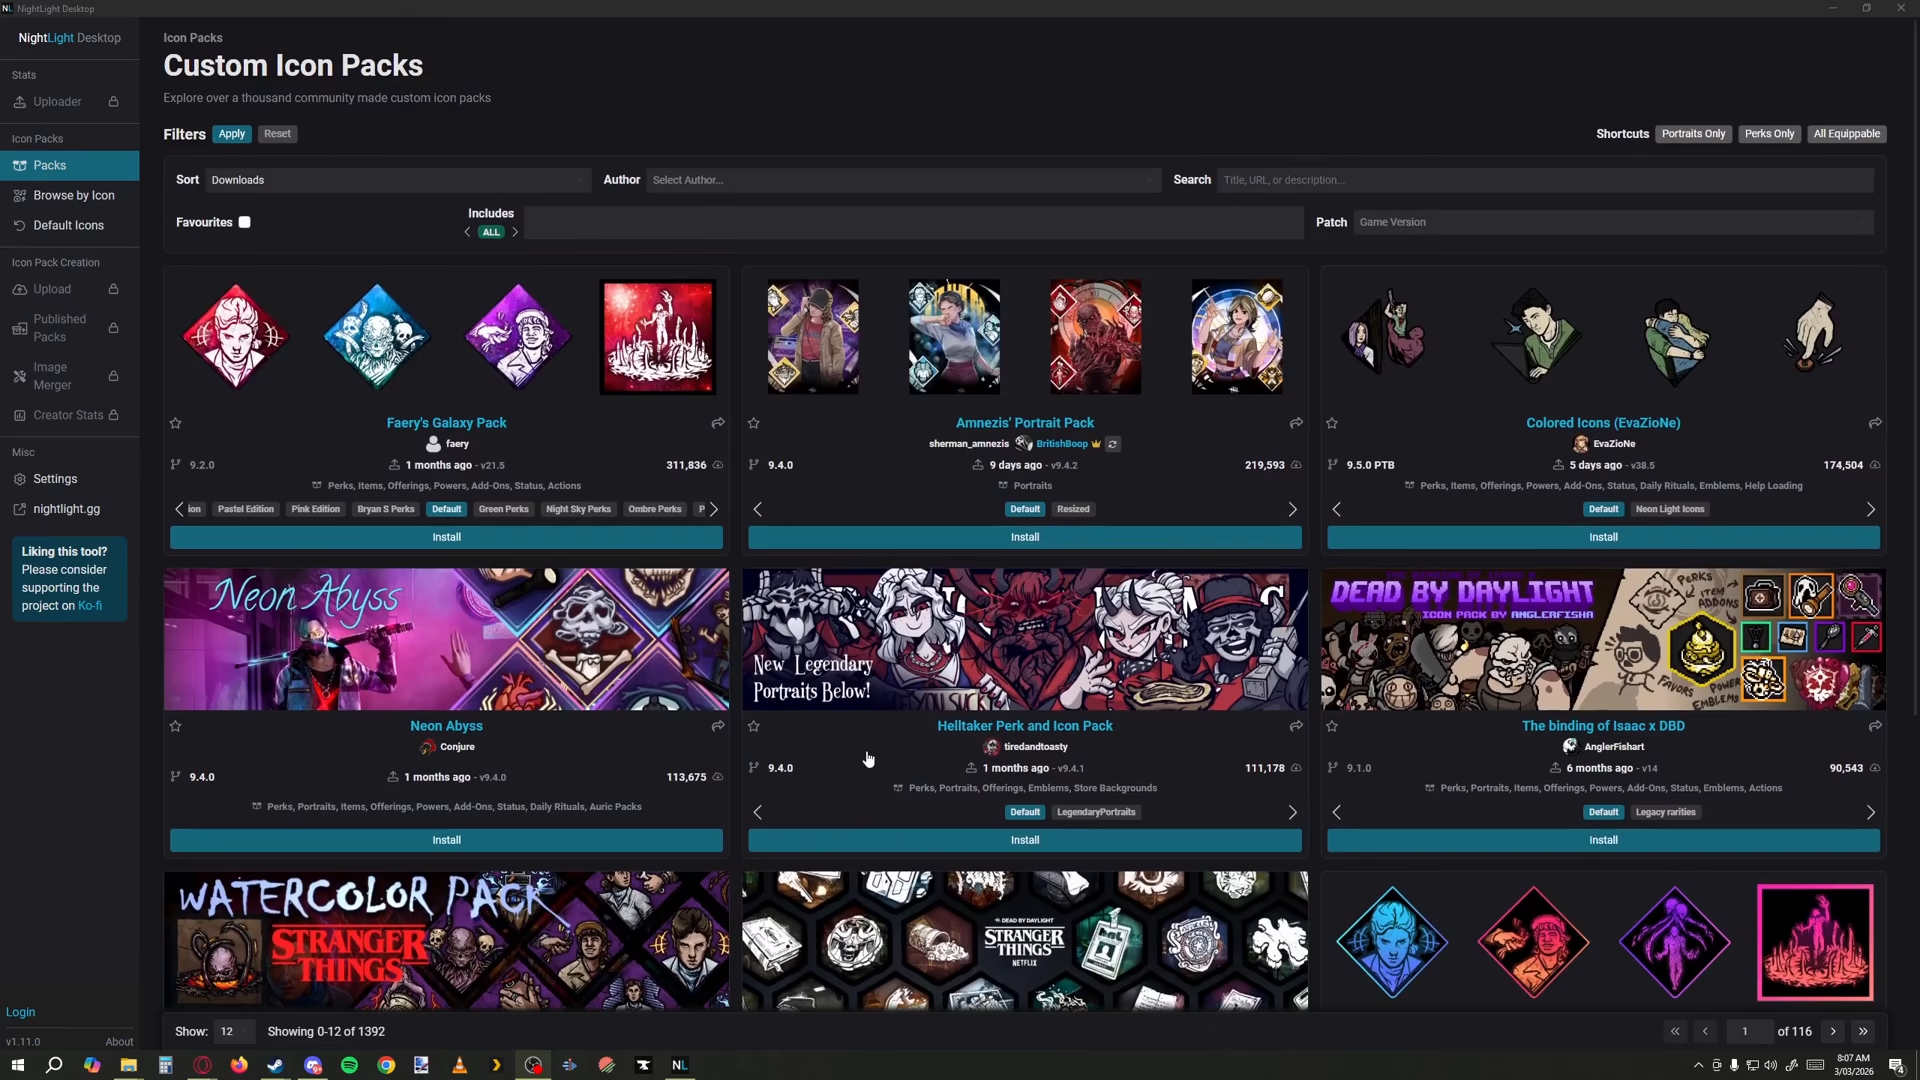
Take your time scrolling through the available packs and select one that matches your style and preferences.
Important Anti-Cheat Warning
Before proceeding with installation, it’s crucial to understand the risks involved. While custom icons themselves are not considered cheating, the anti-cheat system in Dead by Daylight has the potential to flag this modification as a cheat. Although such incidents are very rare and unlikely, there have been documented cases where players’ accounts were flagged as cheating after installing custom icons. User discretion is strongly advised.
Installing Your Custom Icon Pack
Once you’ve selected a pack you like, click the “Install” button to begin the installation process.
If you’re using multiple icon packs that cover all of your icons, you may want to enable the relevant option. Otherwise, leave all settings as they are and click “Install Files” to proceed.
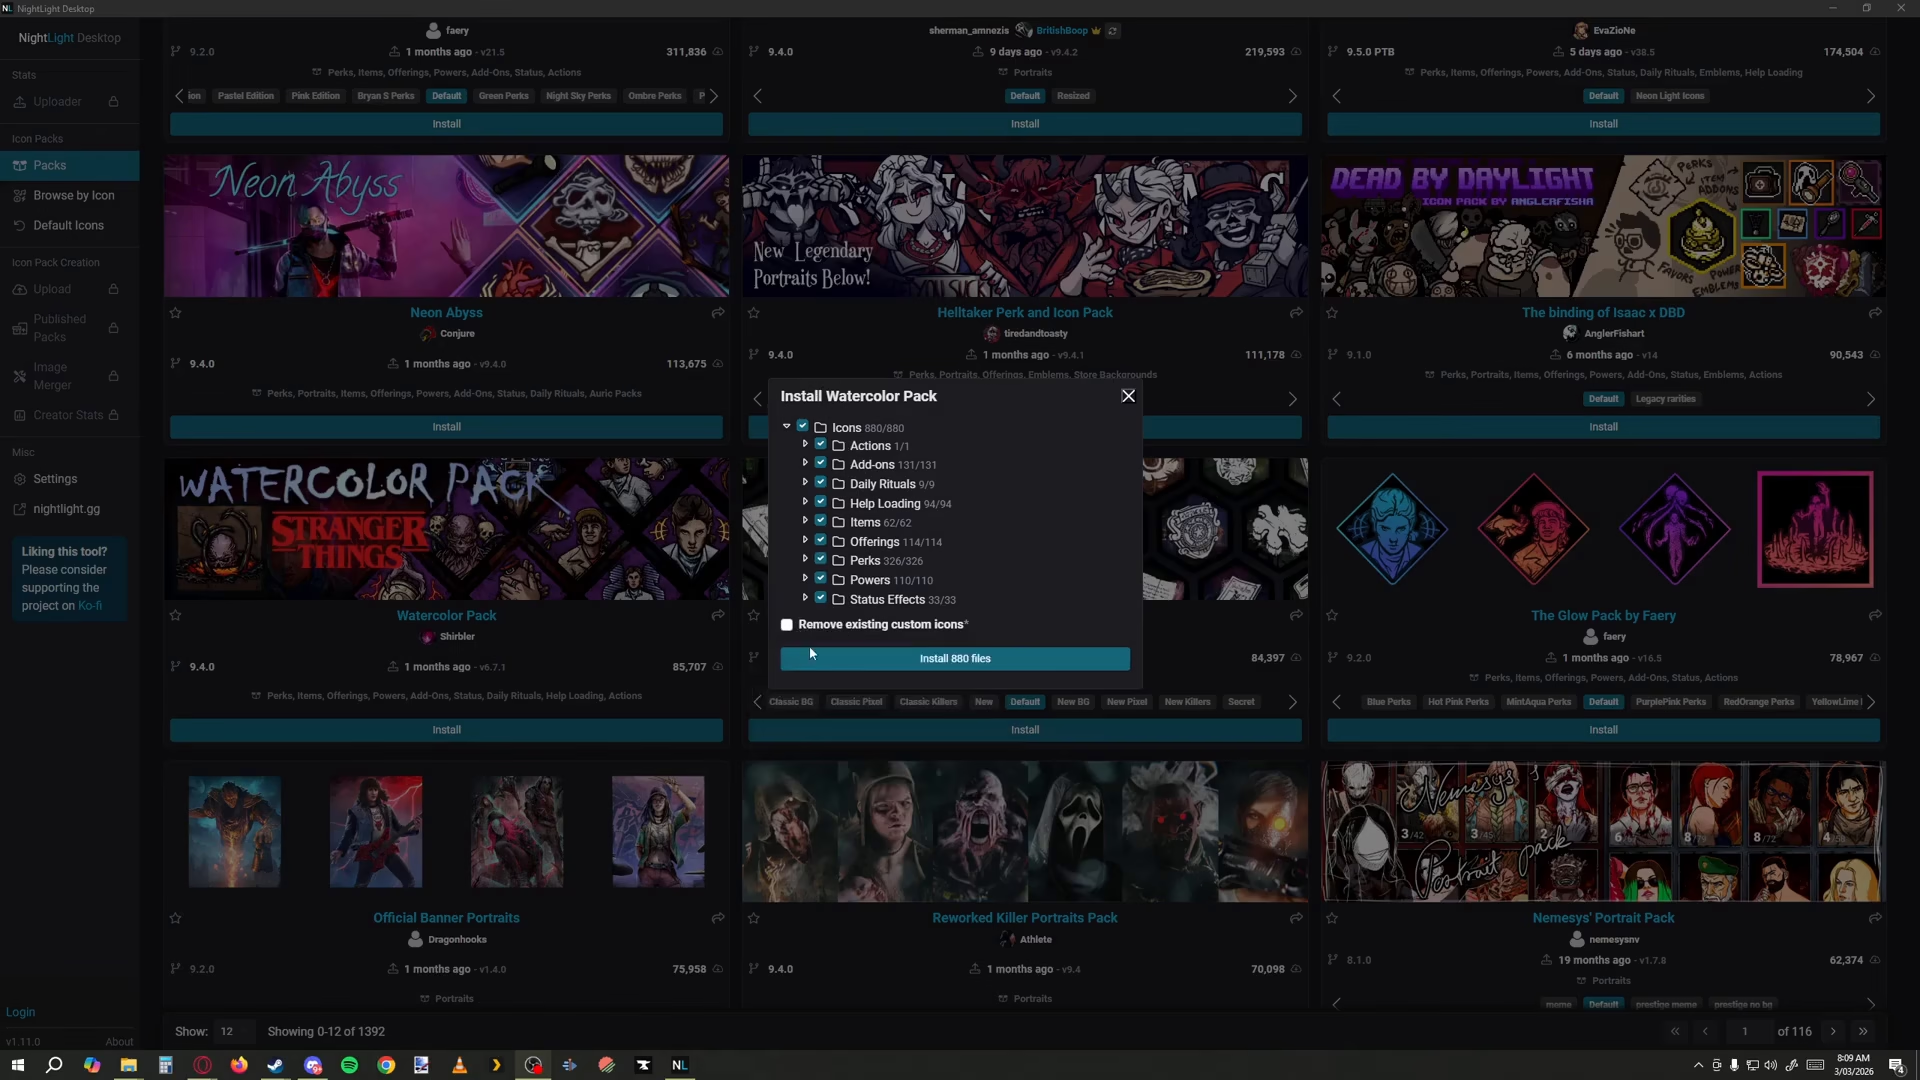
After the installation is complete, close Dead by Daylight if it’s currently open, then relaunch the game for the changes to take effect.
Verifying Your Installation
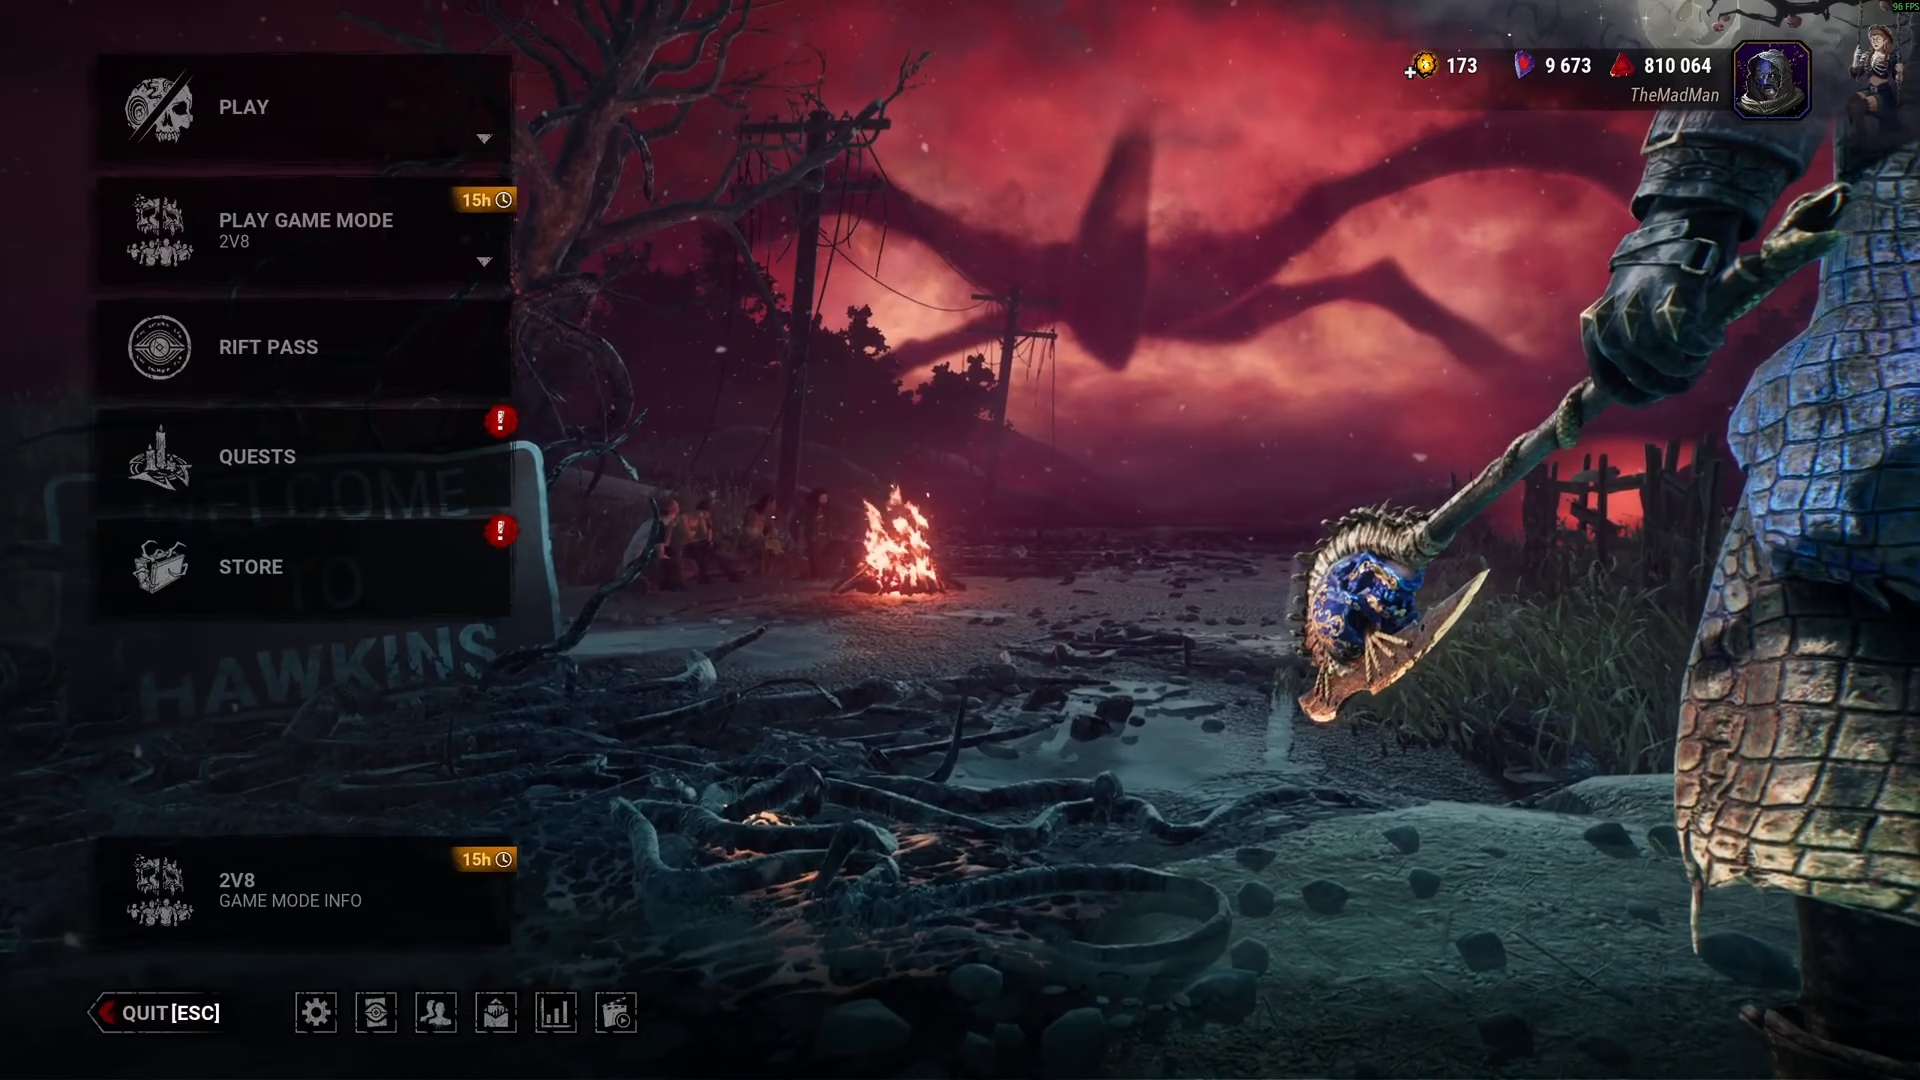
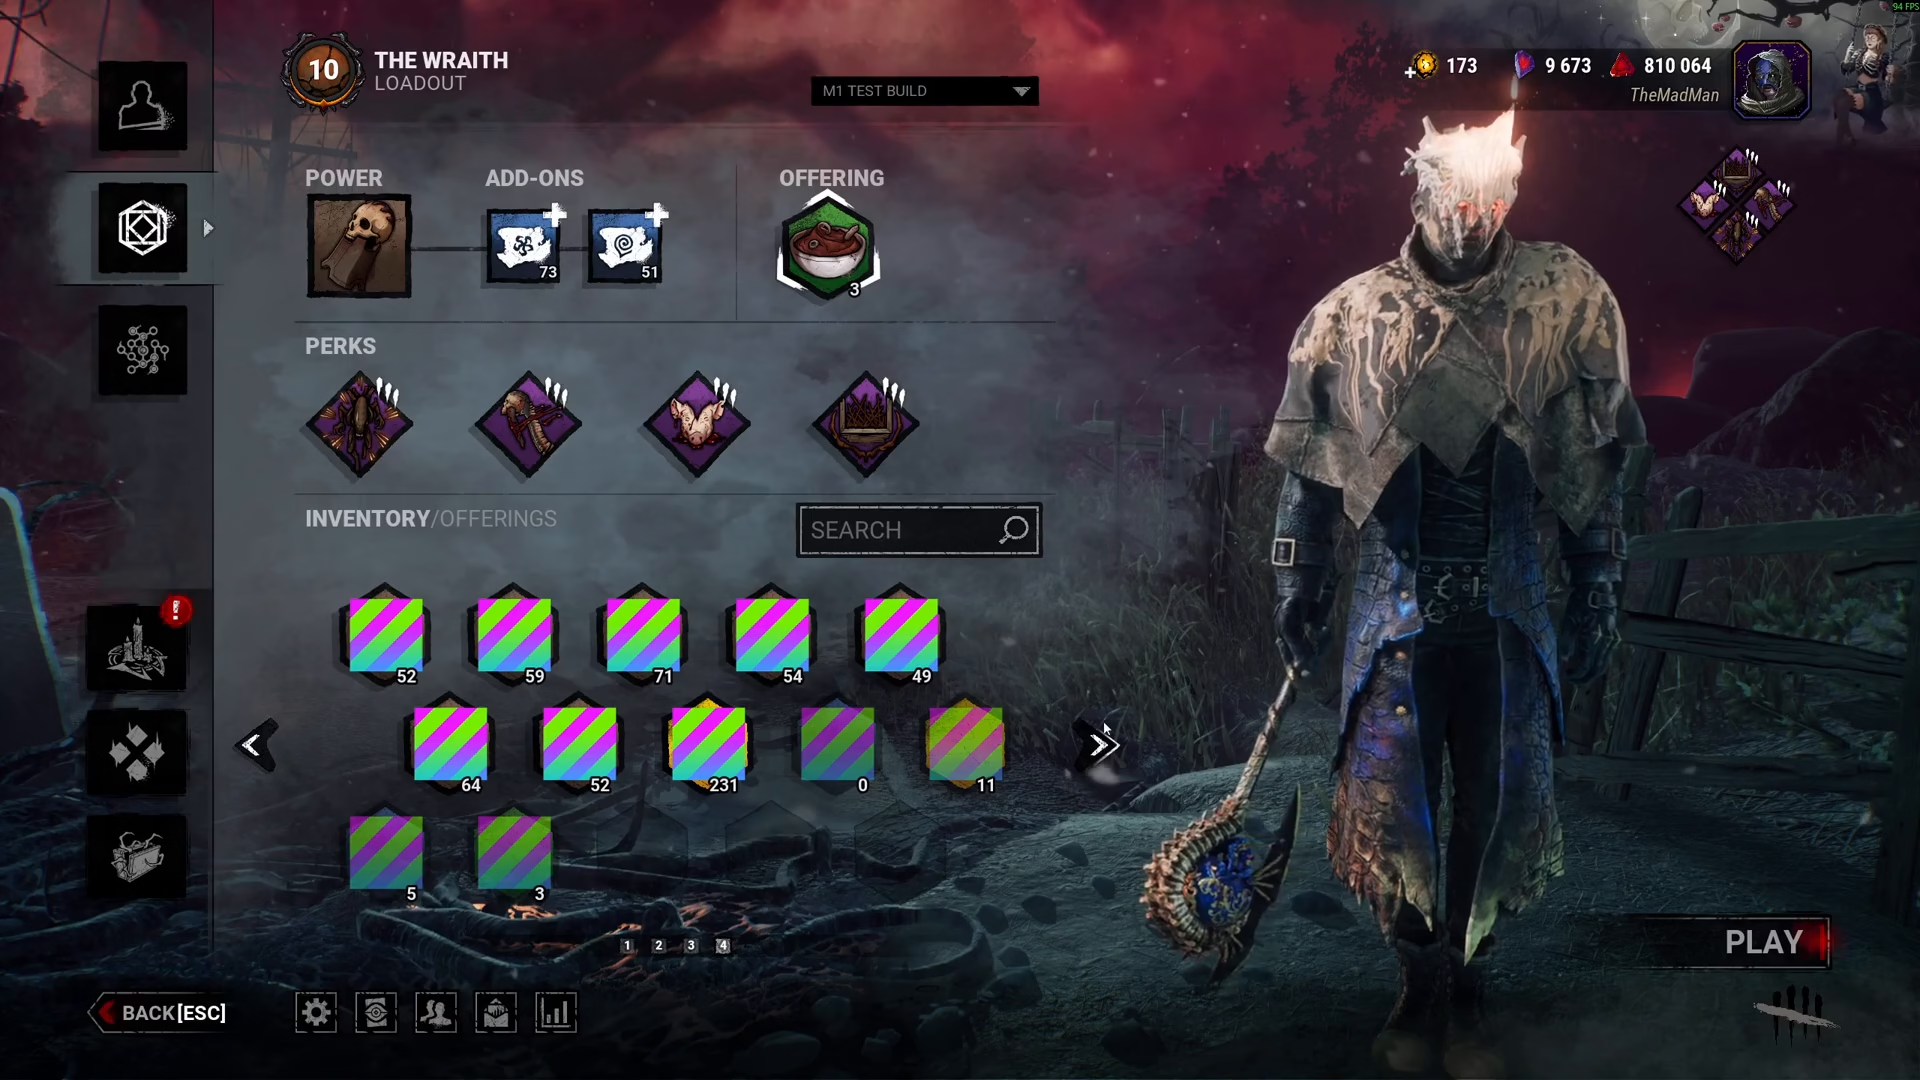
To confirm that your custom icons have been installed correctly, navigate to your Characters section within the game. Then access your Loadout page. If everything installed properly, you should immediately notice a change in your default icons compared to the standard Dead by Daylight icons.
Troubleshooting Glitched Icons
While browsing your newly installed icons, you may occasionally encounter glitched or corrupted icon displays. Don’t panic—this is a common occurrence and is nothing to worry about. Simply pan through the icons and you’ll likely find that many of them display correctly.
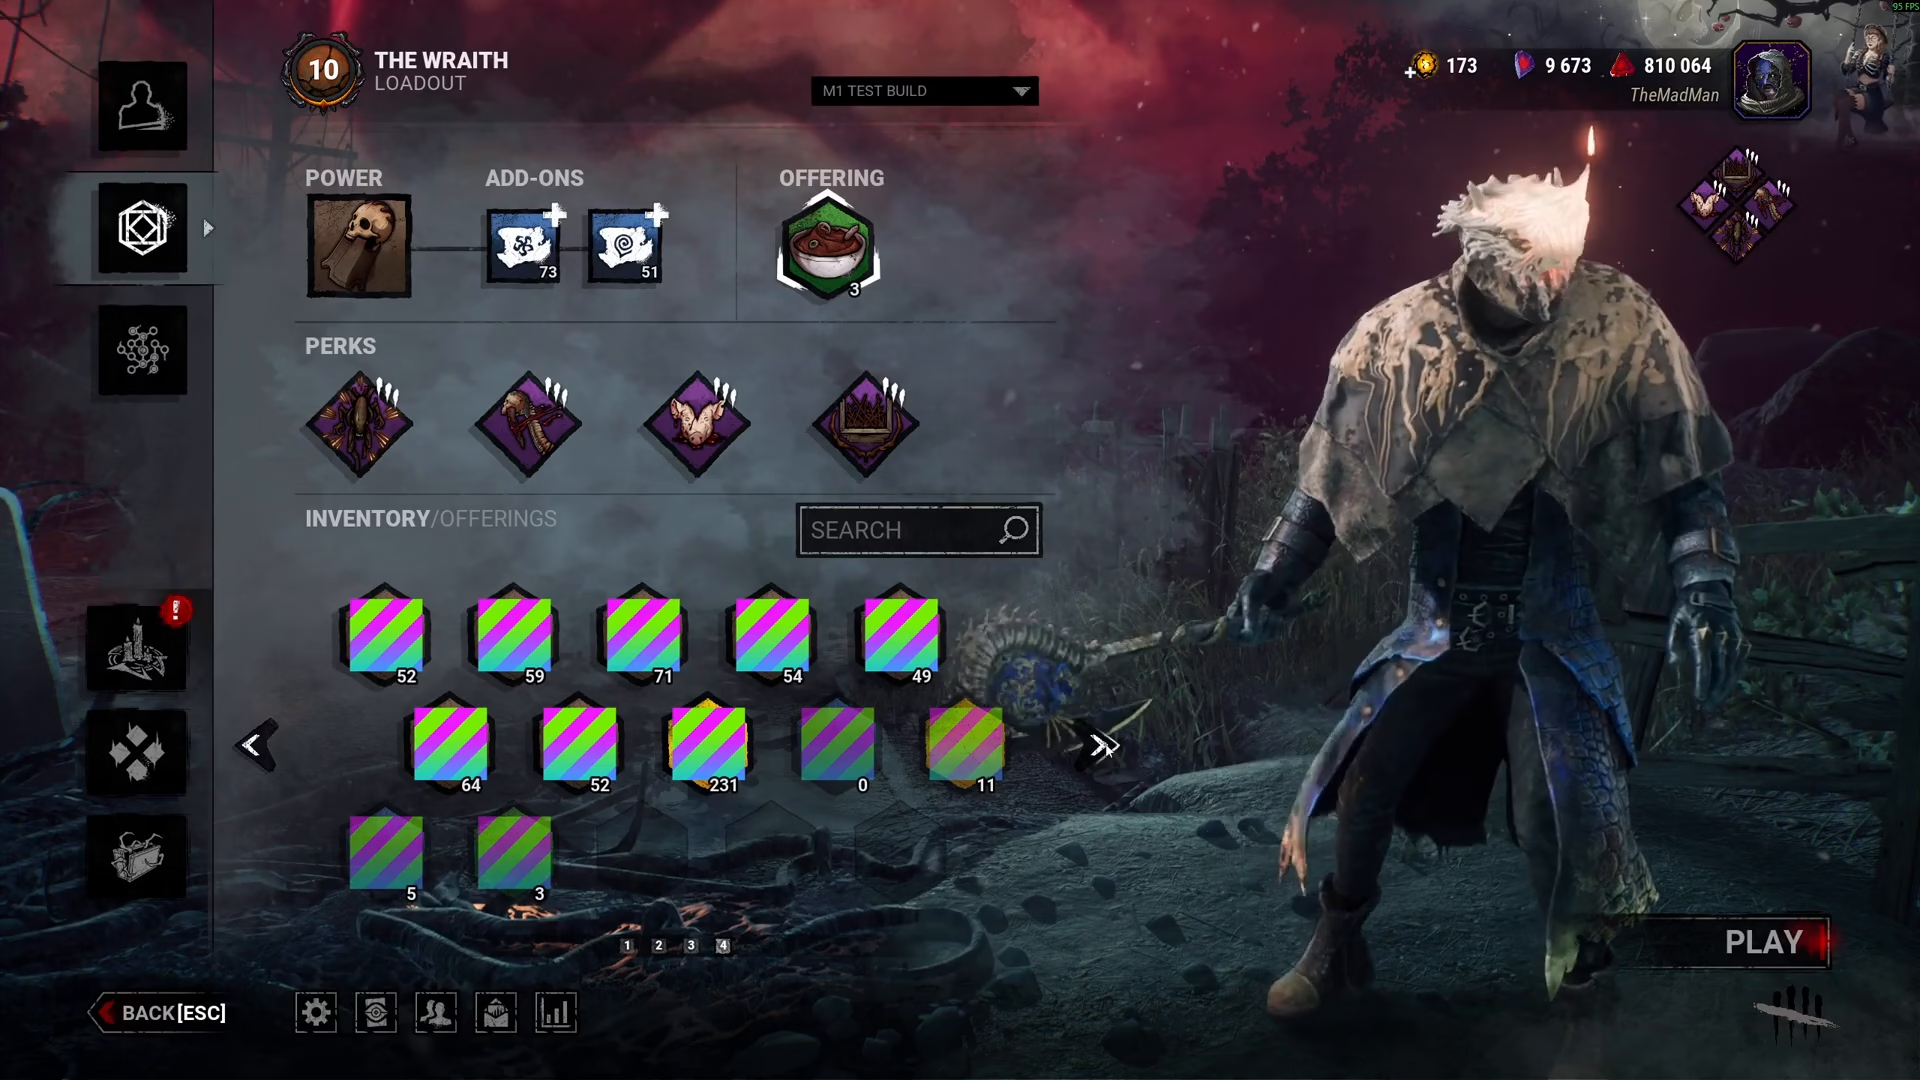
If you do encounter glitched icons, the easiest fix is to toggle the icon selection off and back on. This simple action will refresh the display and show the icons perfectly fine. This is merely a temporary replacement glitch with no lasting consequences.
Summary
Installing custom icons in Dead by Daylight using Night Light is a straightforward process that allows you to personalize your gaming experience. Simply download Night Light, browse the community icon packs, install your chosen pack, and verify the installation in your game’s loadout section. Remember to proceed at your own risk, as the anti-cheat system could theoretically flag this modification. If you encounter any glitched icons during use, a simple toggle off and back on will resolve the issue.
Want to Support?
If you would like to help us continue making these guides – please consider joining our patreon here – https://www.patreon.com/c/JaviHeals
Alternatively – you can join our discord here – https://discord.gg/zD7Gjt6MHF