How to Grow Grains In Farming Simulator 25
How to Grow Grains in Farming Simulator 25: Complete Tutorial
This comprehensive guide walks you through the entire process of growing grains in Farming Simulator 25, from soil preparation to harvest and sale. Whether you’re a beginner or looking to optimize your farming strategy, you’ll learn everything you need to know to successfully cultivate wheat, barley, canola, oats, soybeans, and sorghum.
Understanding Grain Crops and Seasons
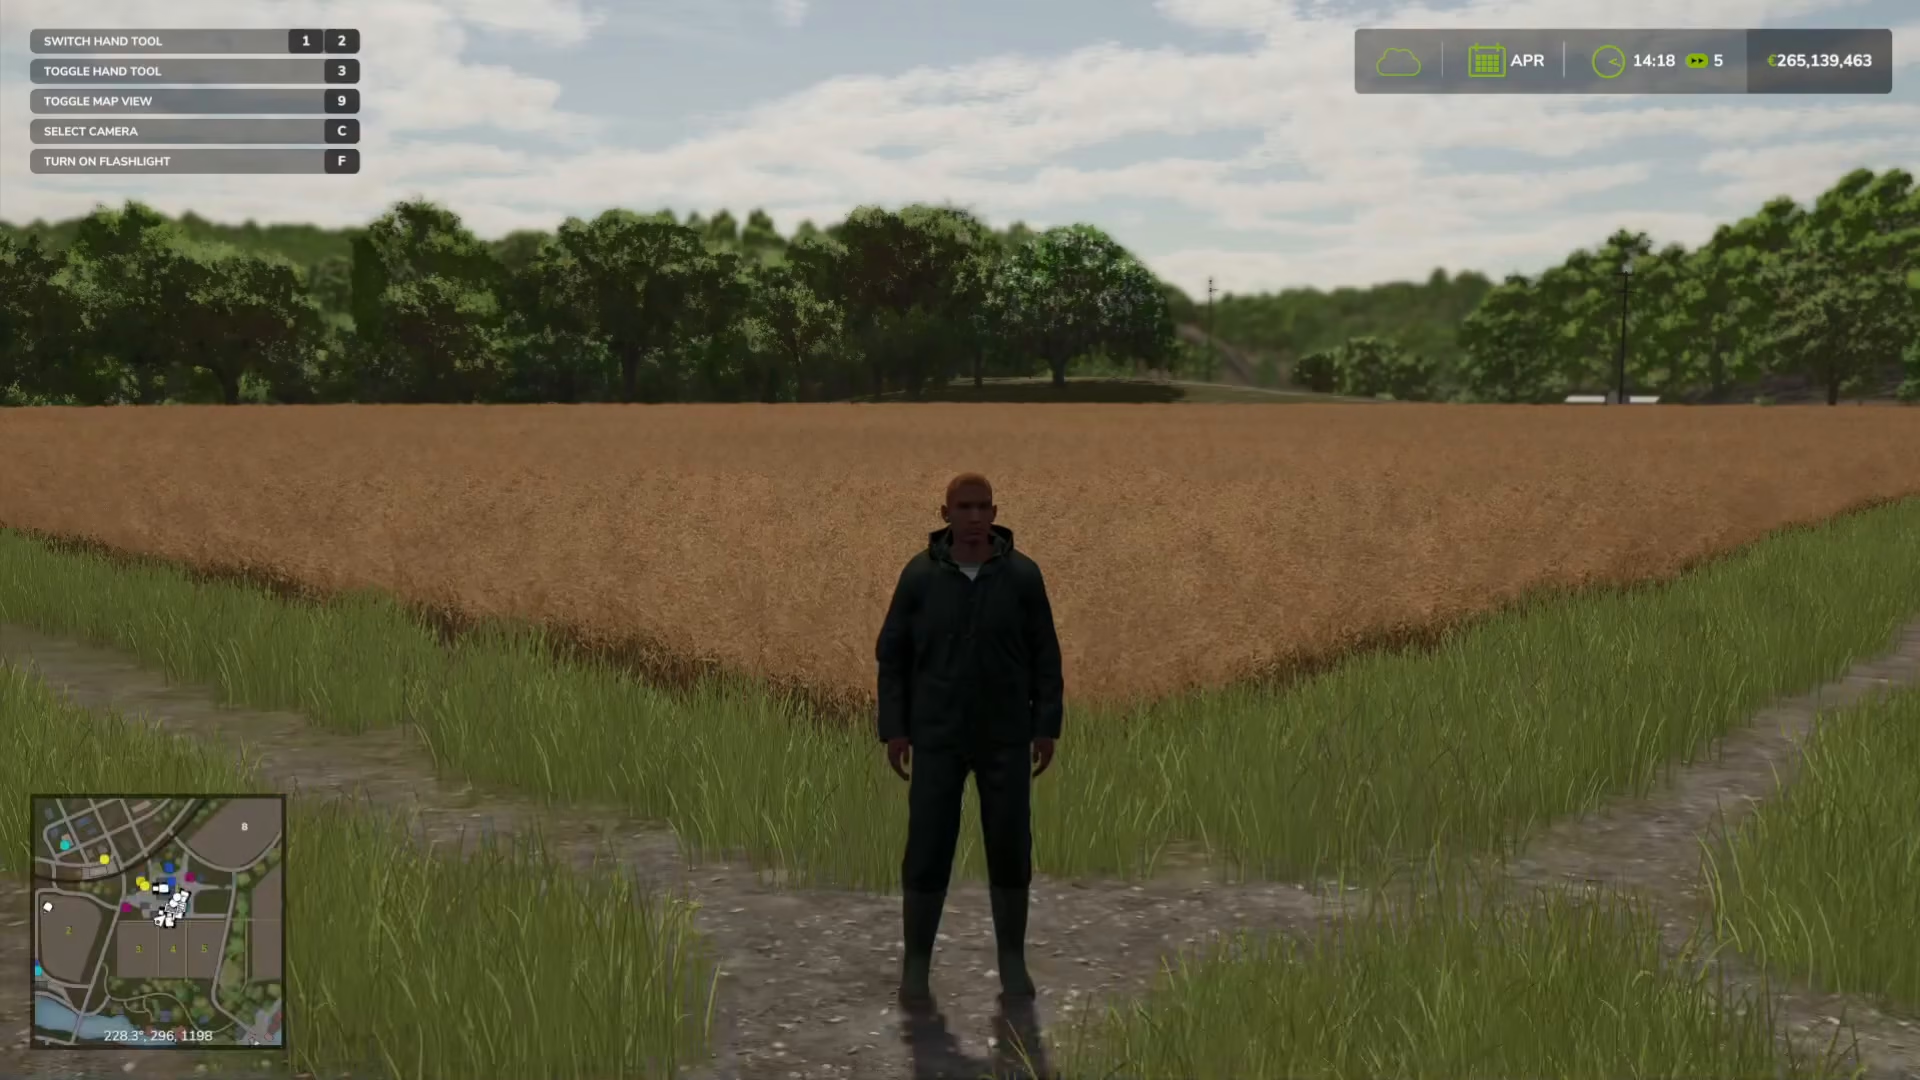
Grains in Farming Simulator 25 include wheat, barley, canola, oats, soybeans, and sorghum. All of these crops follow the same cultivation process, though you can choose to focus on any single grain type.
By default, you can plant and harvest crops whenever you like. However, if you want to enable seasonal growth for a more realistic experience, navigate to Options > Game Settings and toggle Seasonal Growth on. This will restrict planting and harvesting to specific seasons for each crop.
Using the Map to Track Growth Stages
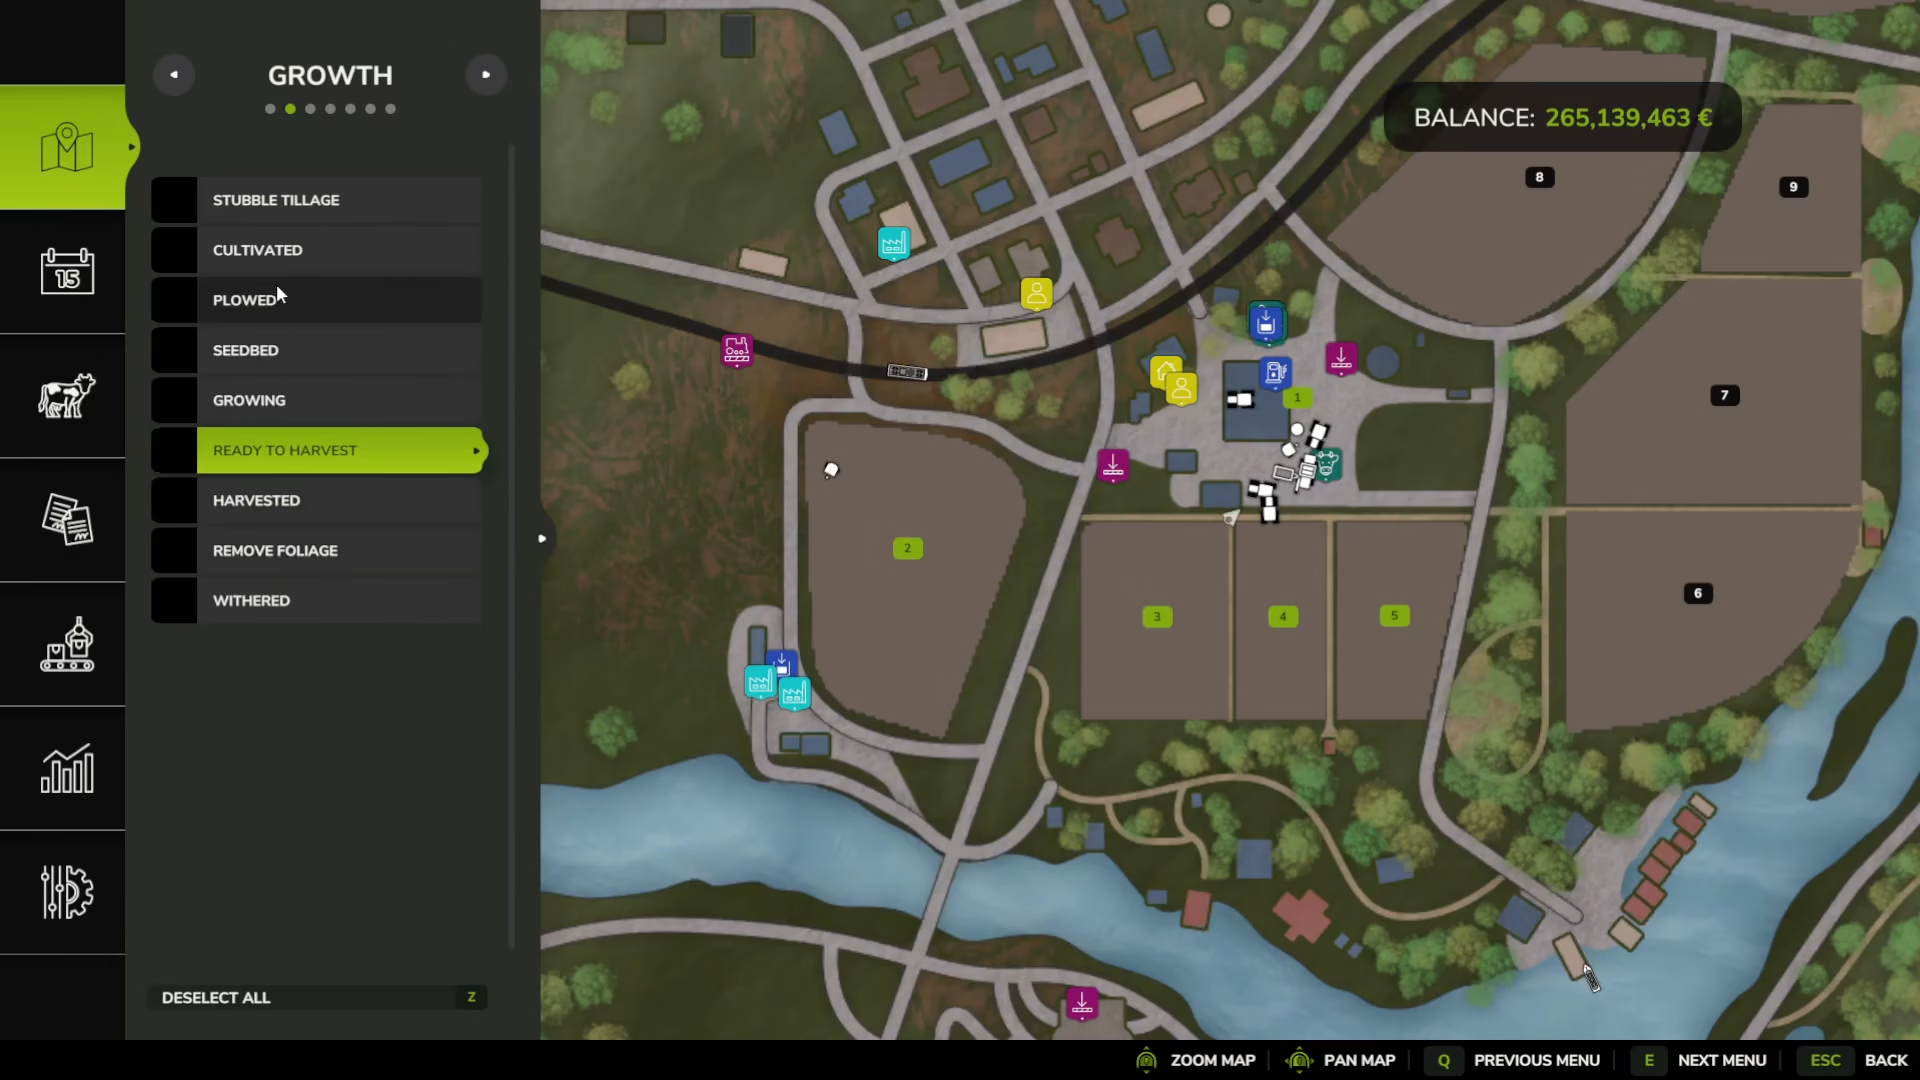
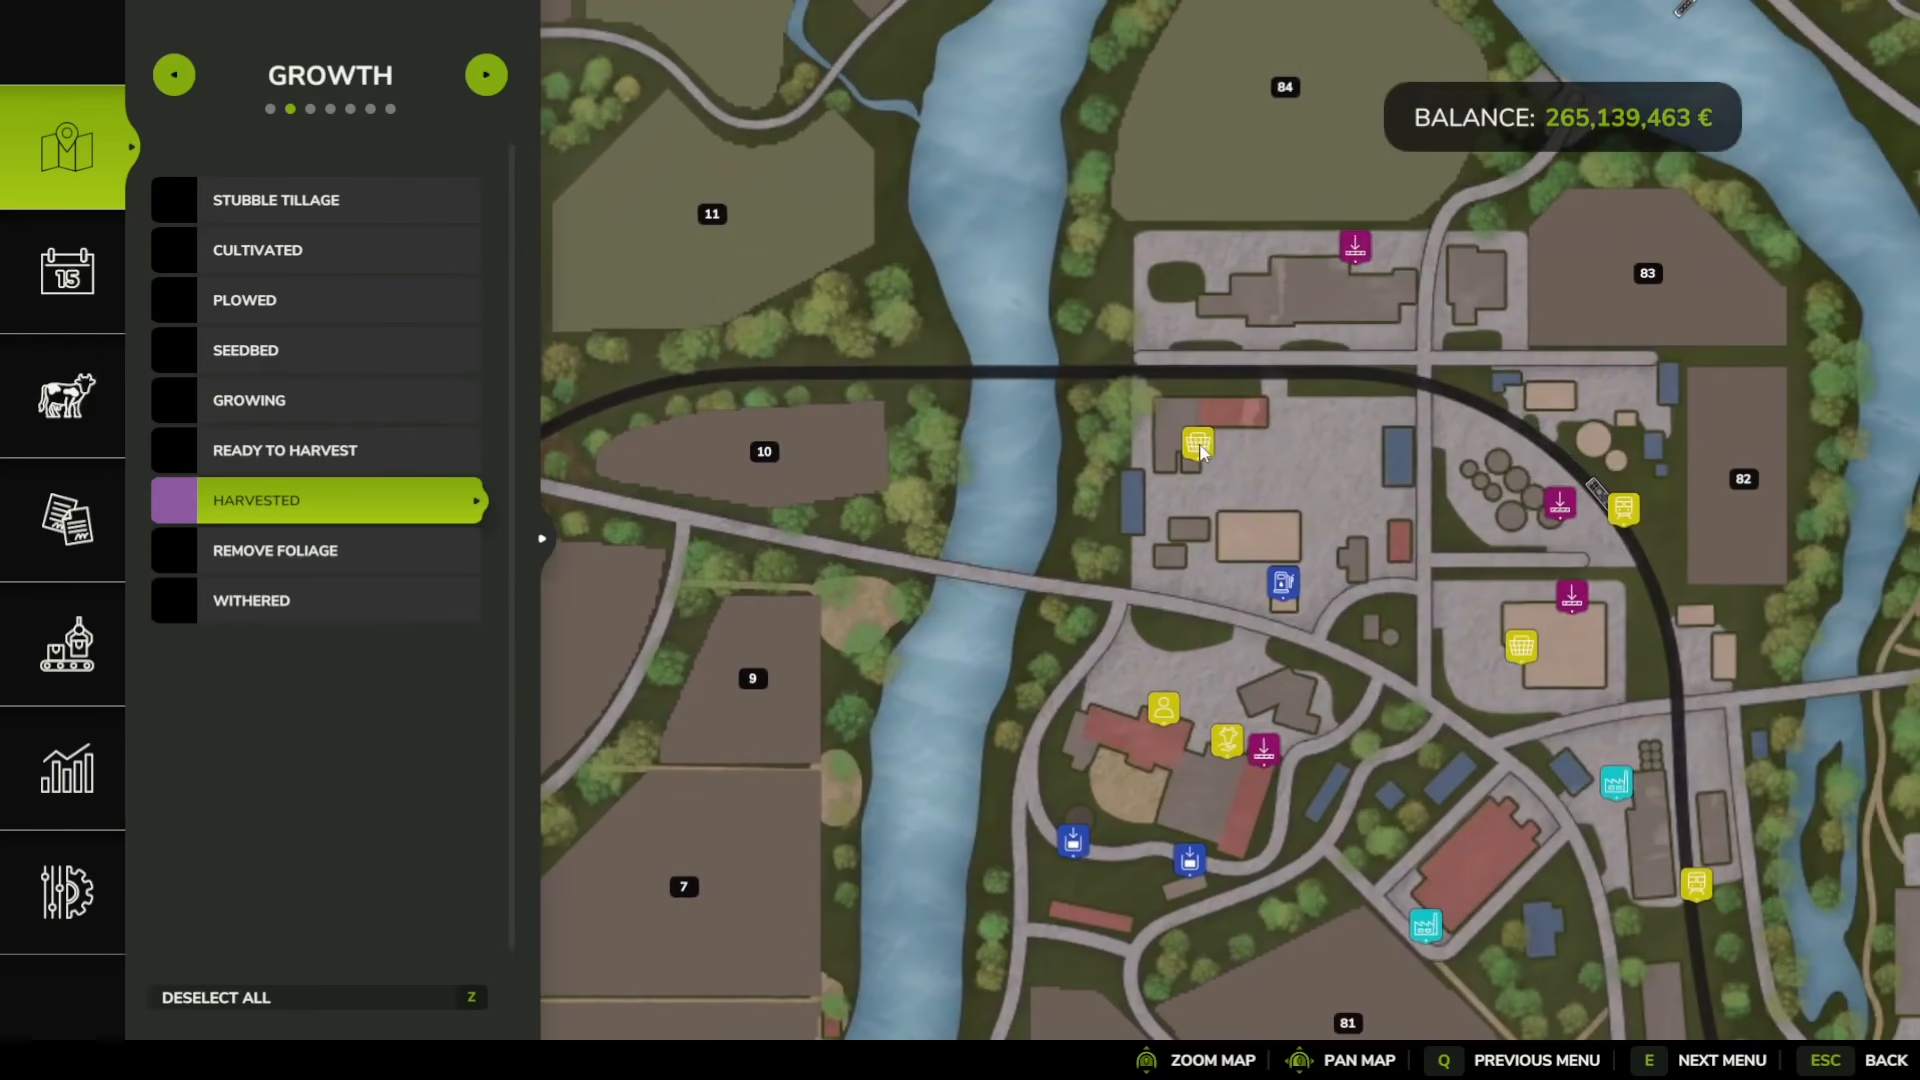
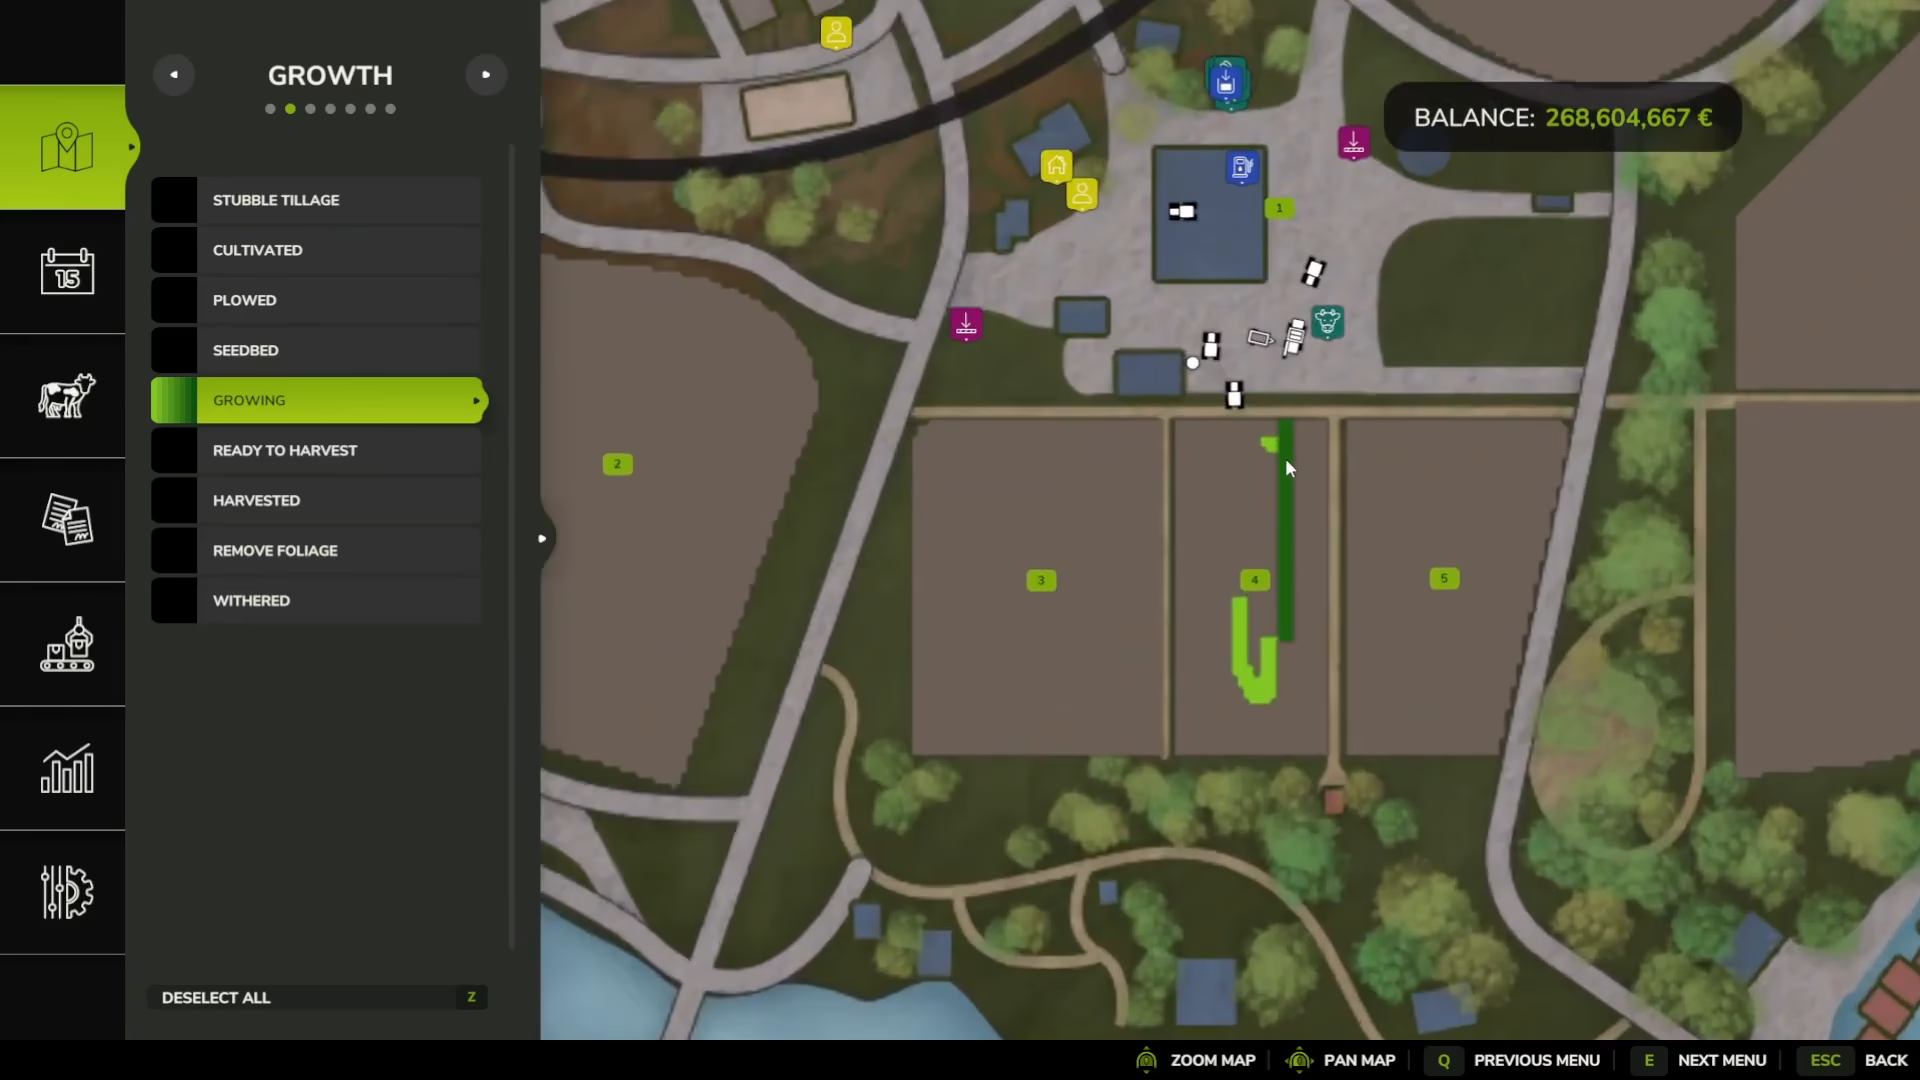
The in-game map is an essential tool for monitoring your crops. Open the map and navigate to the Growth tab. You can toggle different growth stages on and off to get a clear view of your fields:
Cultivated/Stubble Tillage: Land ready to be seeded
Growing (Light Green): Crops that have just started to grow
Growing (Dark Green): Crops nearly ready to harvest
Ready to Harvest (Orange): Crops at full maturity
Harvested: Fields already harvested but not yet prepared for the next crop
Essential Equipment
To complete the full grain cultivation cycle, you’ll need several pieces of equipment. At minimum, you should have:
A tractor (such as John Deere)
A cultivator for soil preparation
A seeder for planting
A combine harvester with appropriate header
A trailer for transporting grain
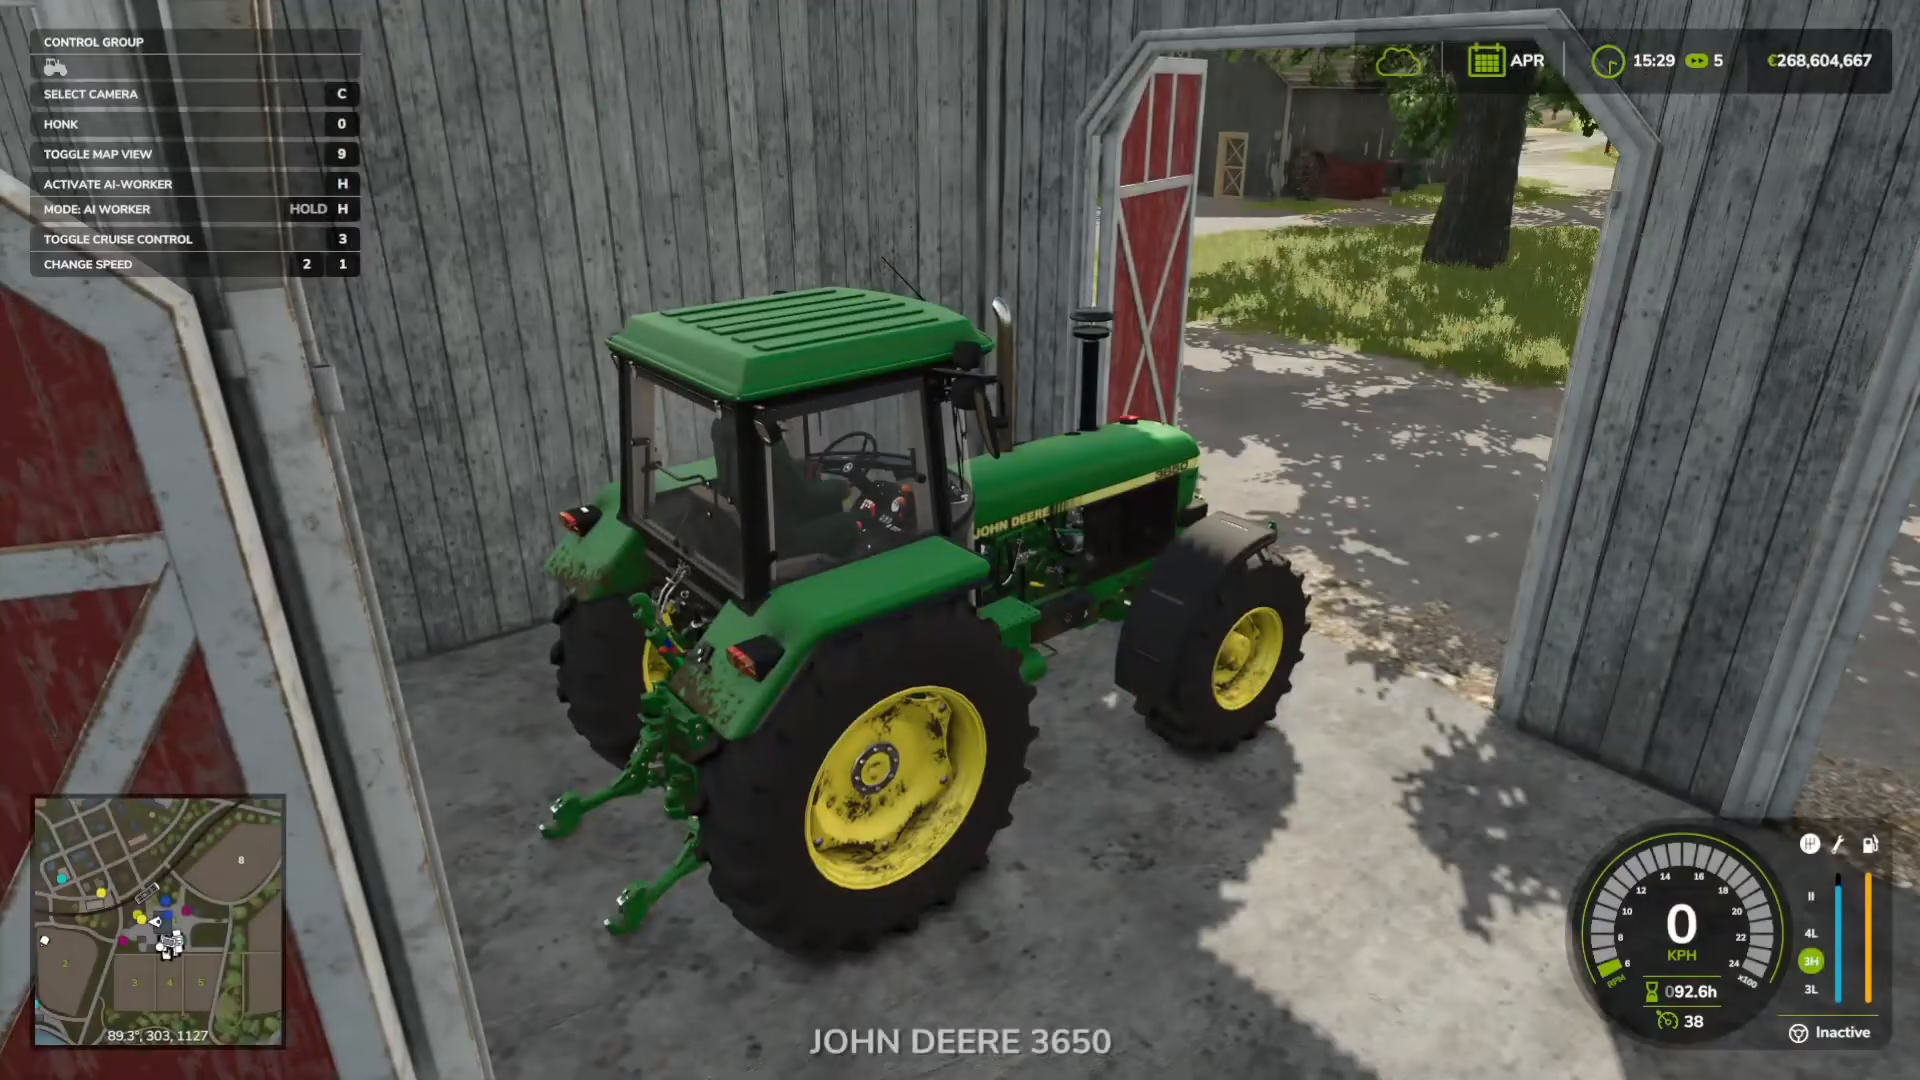
Visit the shop in your town (marked with a basket icon on the map) to purchase or lease equipment. You can buy multiple tractors to attach different machines, or use a single tractor and swap attachments as needed. Smaller tractors work fine for most grain farming tasks.
Step 1: Liming Your Soil (Optional but Recommended)
Liming prepares the soil with lime and significantly increases your harvest yield. While this step is optional, it’s a valuable part of the farming process.
Purchasing Lime Equipment and Materials
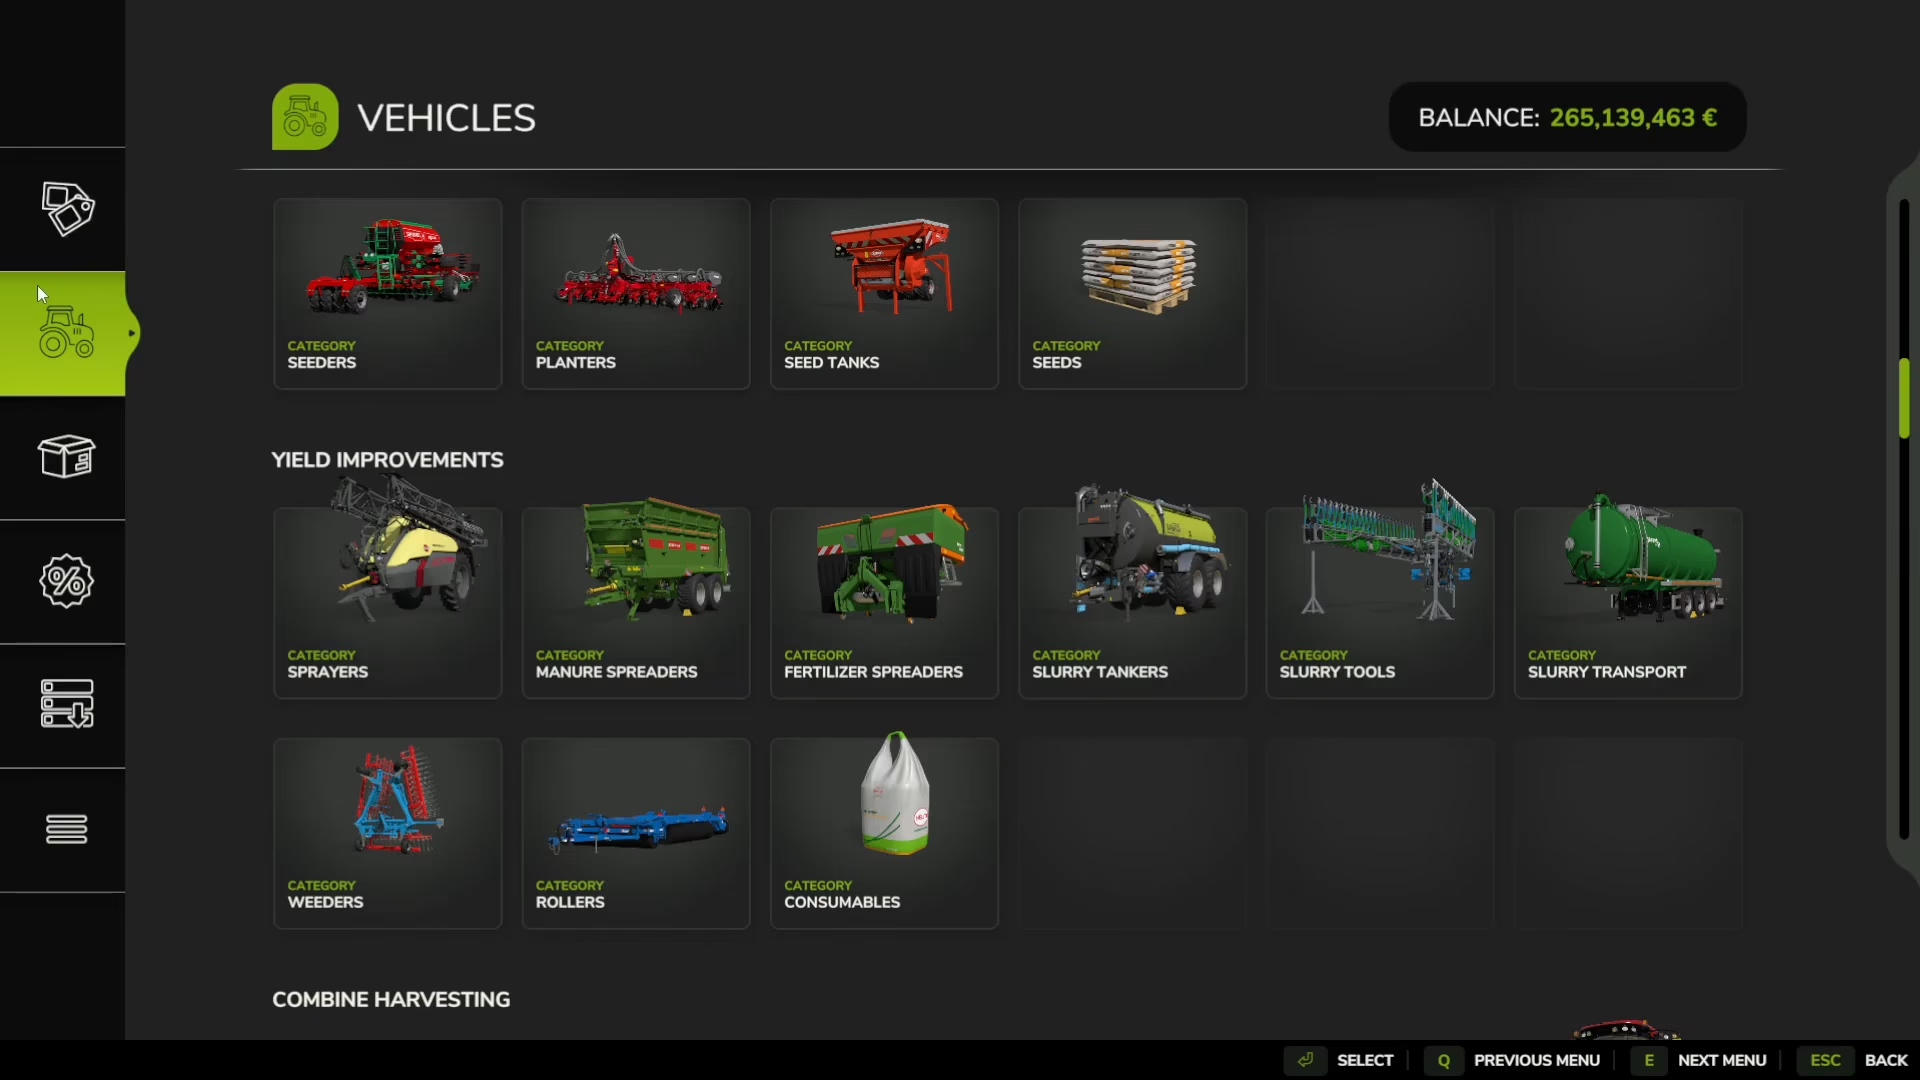
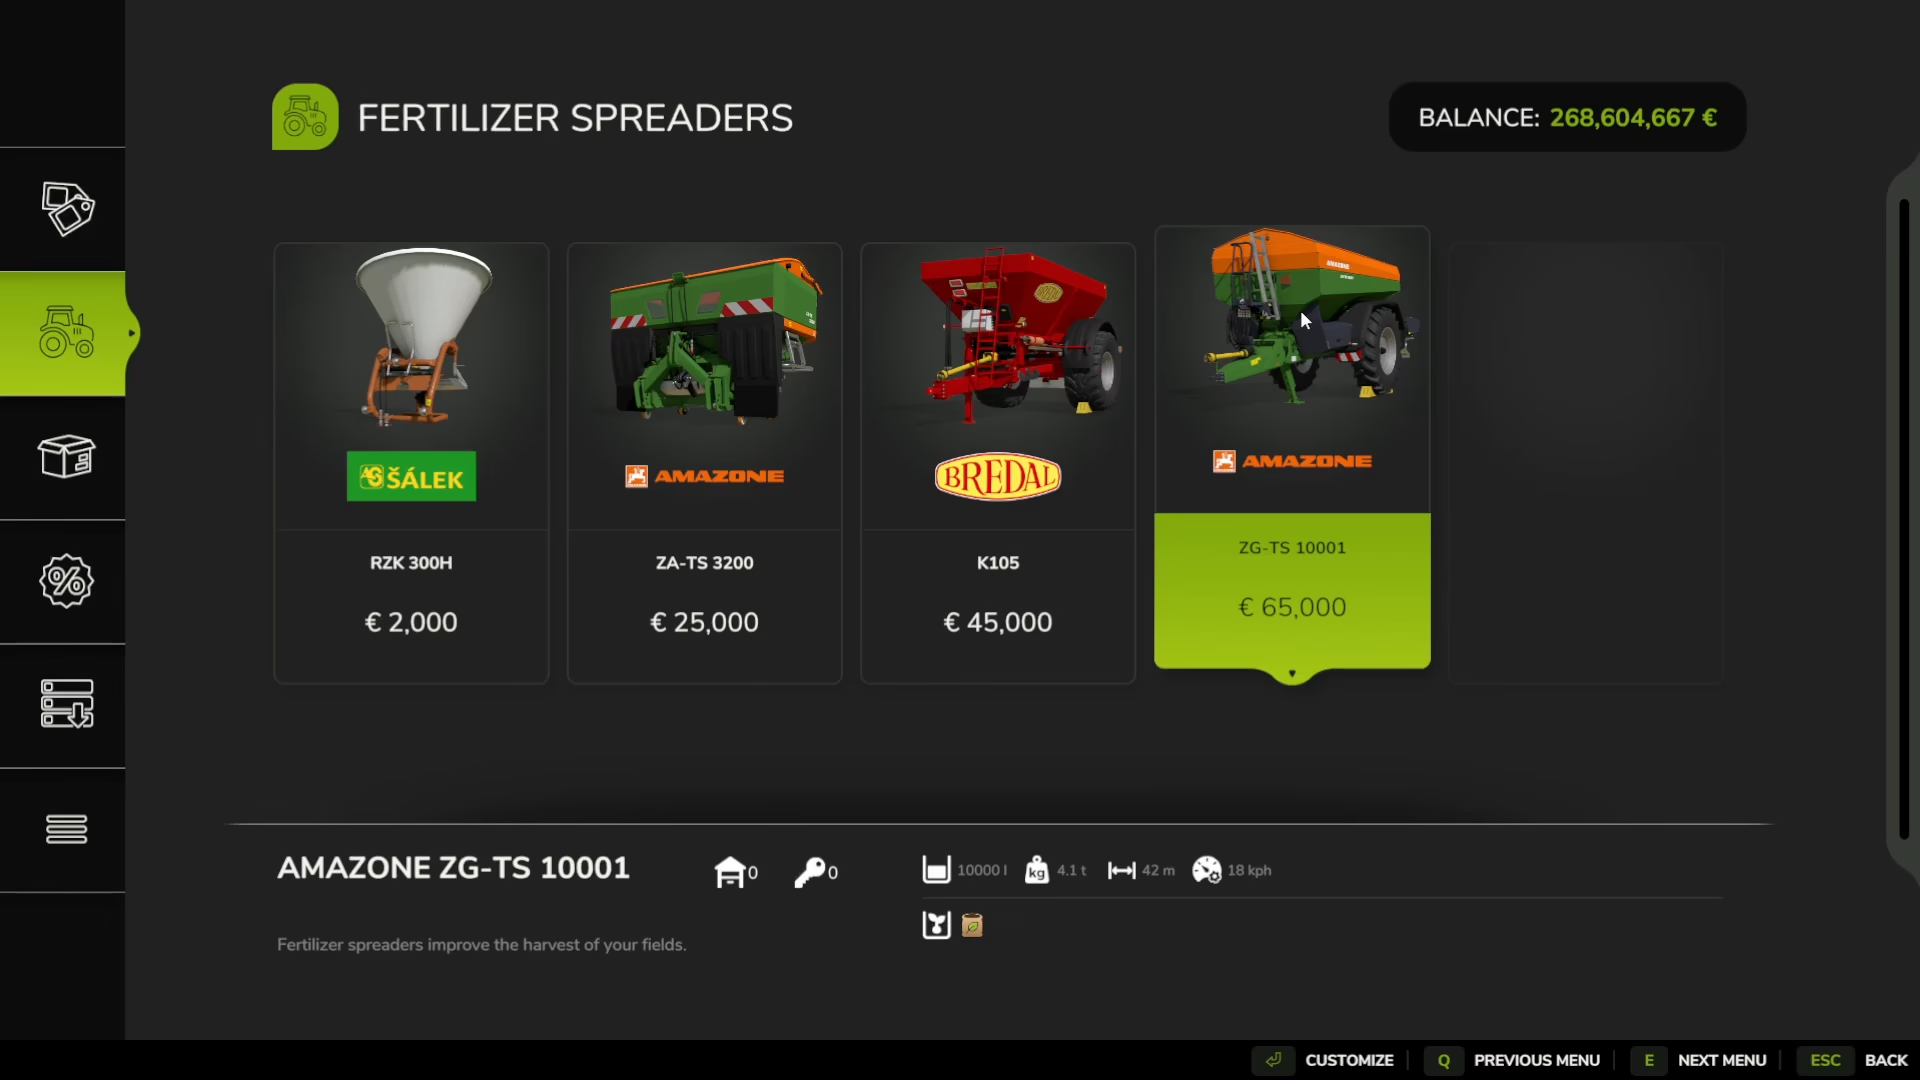
In the shop, go to Yield Improvements (indicated by the tractor icon on the second tab) and purchase a Brädel lime spreader. Next, navigate to Consumables and buy bags of lime. Start with 5 bags to test the process.
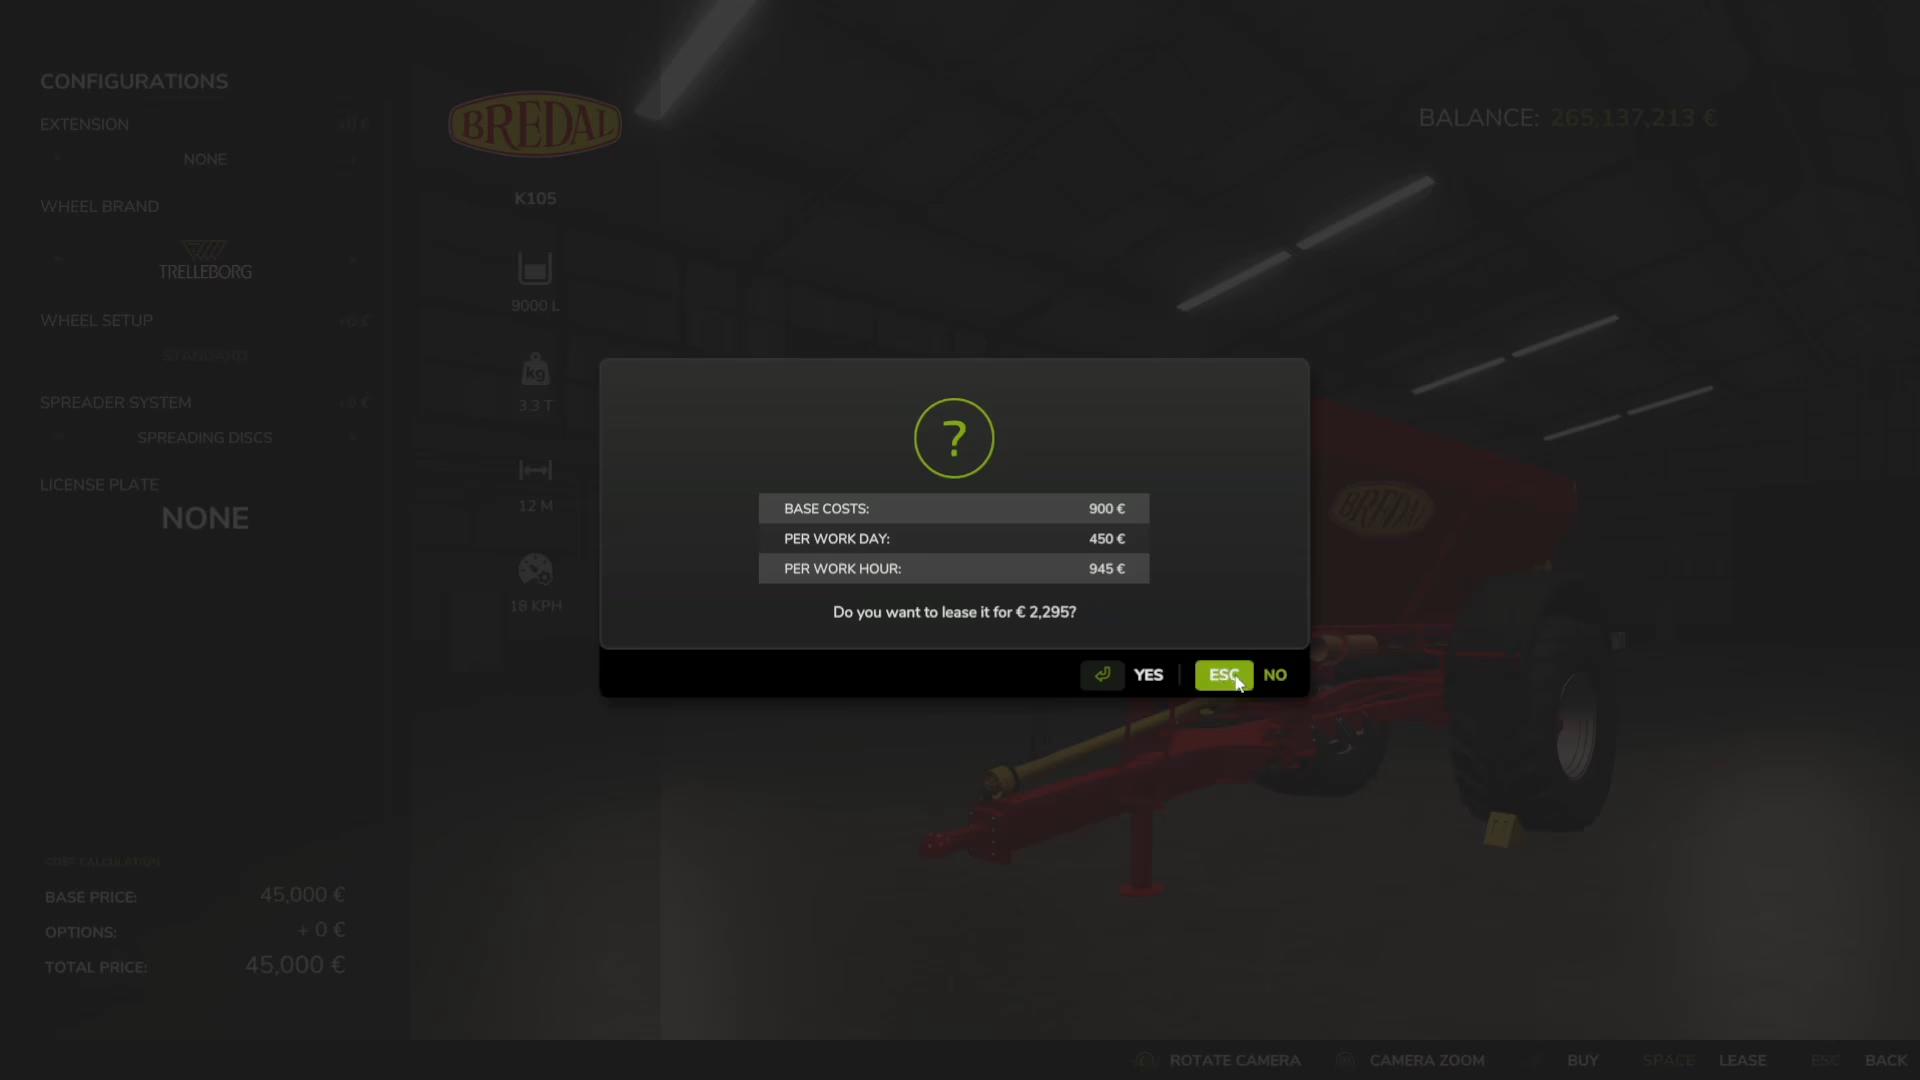
You can either lease the Brädel for 2,000 or buy it outright for 45,000. You’ll also want to purchase or lease a small tractor to operate it. Leasing is a cheaper temporary option if you prefer.
Attaching and Operating the Lime Spreader
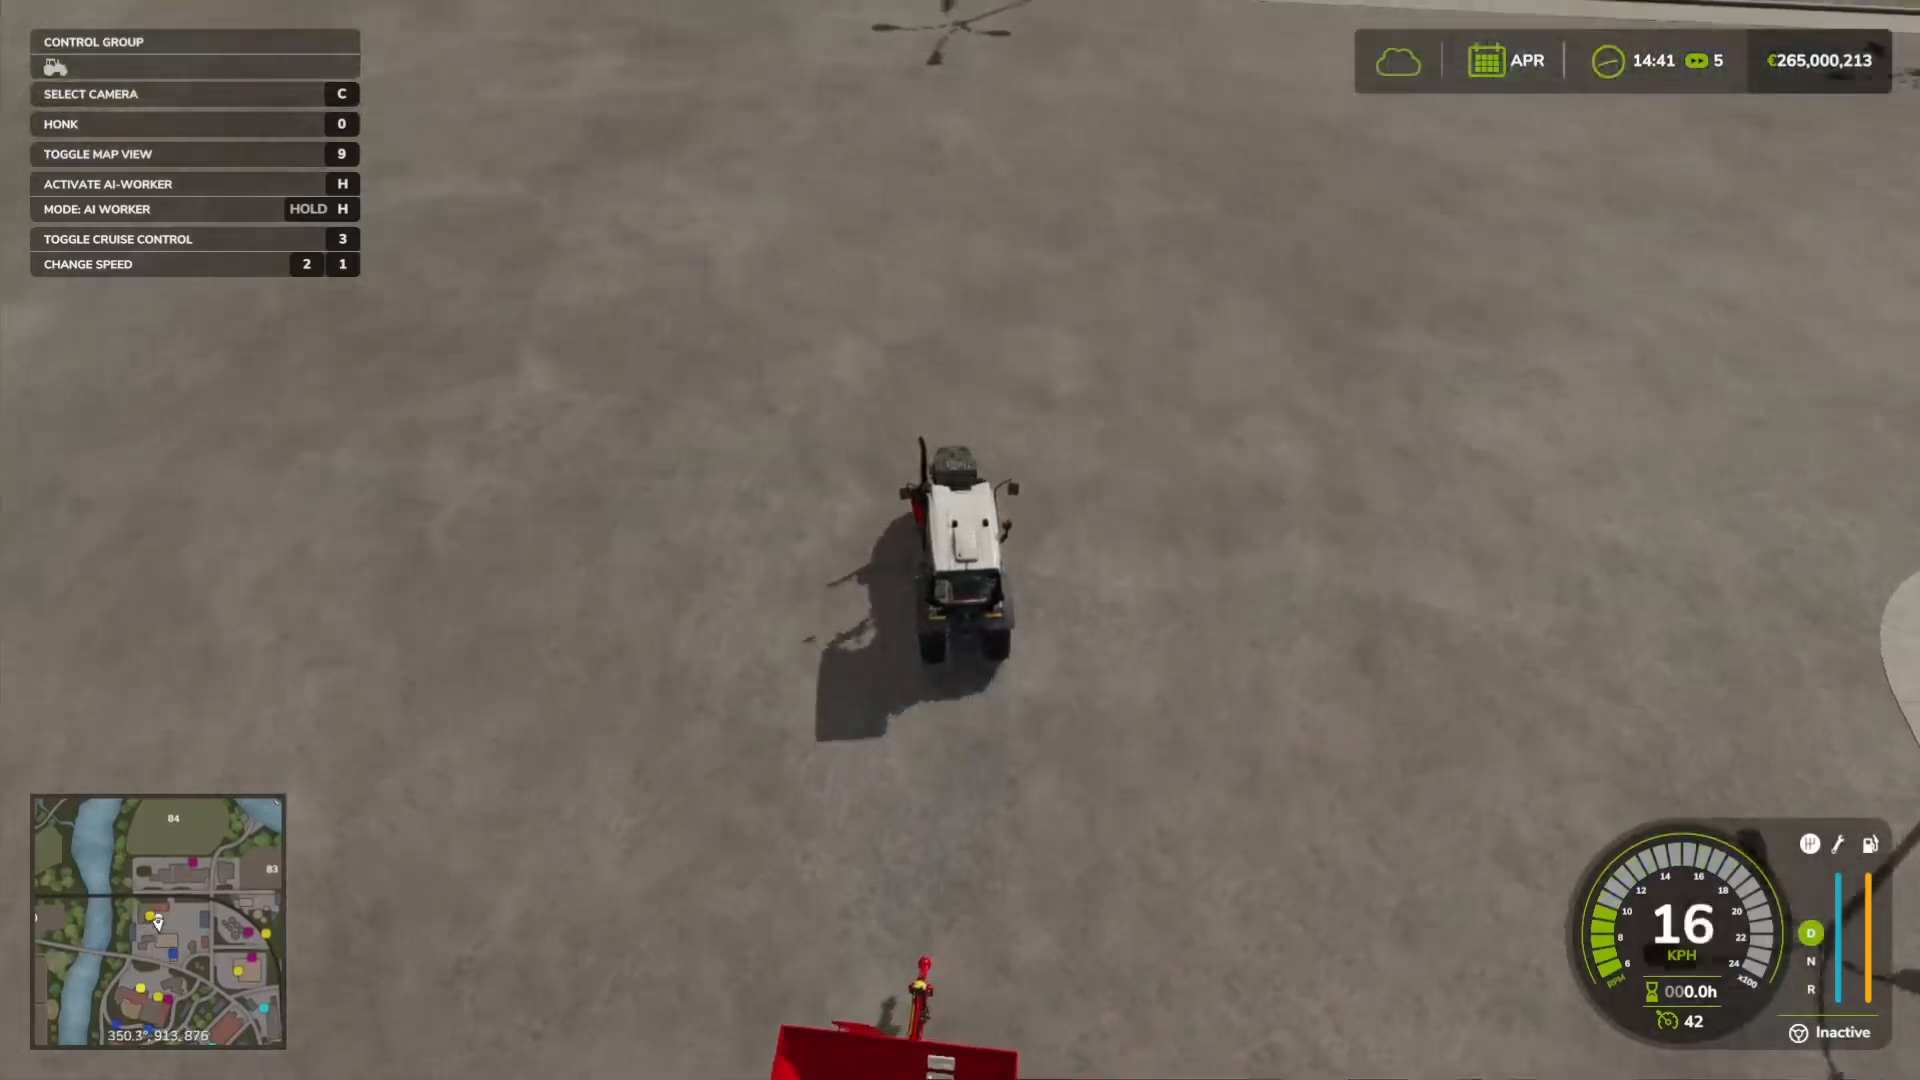
Get in your tractor and drive directly in front of the Brädel lime spreader. Line it up carefully—you’ll know it’s correctly positioned when you see “Attached Tool” displayed at the bottom of your screen. Press Q to attach it.
With the spreader attached, drive near the lime supply. When you’re in range, press R to refill the fertilizer spreader. The refill option will only appear when you’re close enough to the lime. Continue pressing R to fill the spreader completely.
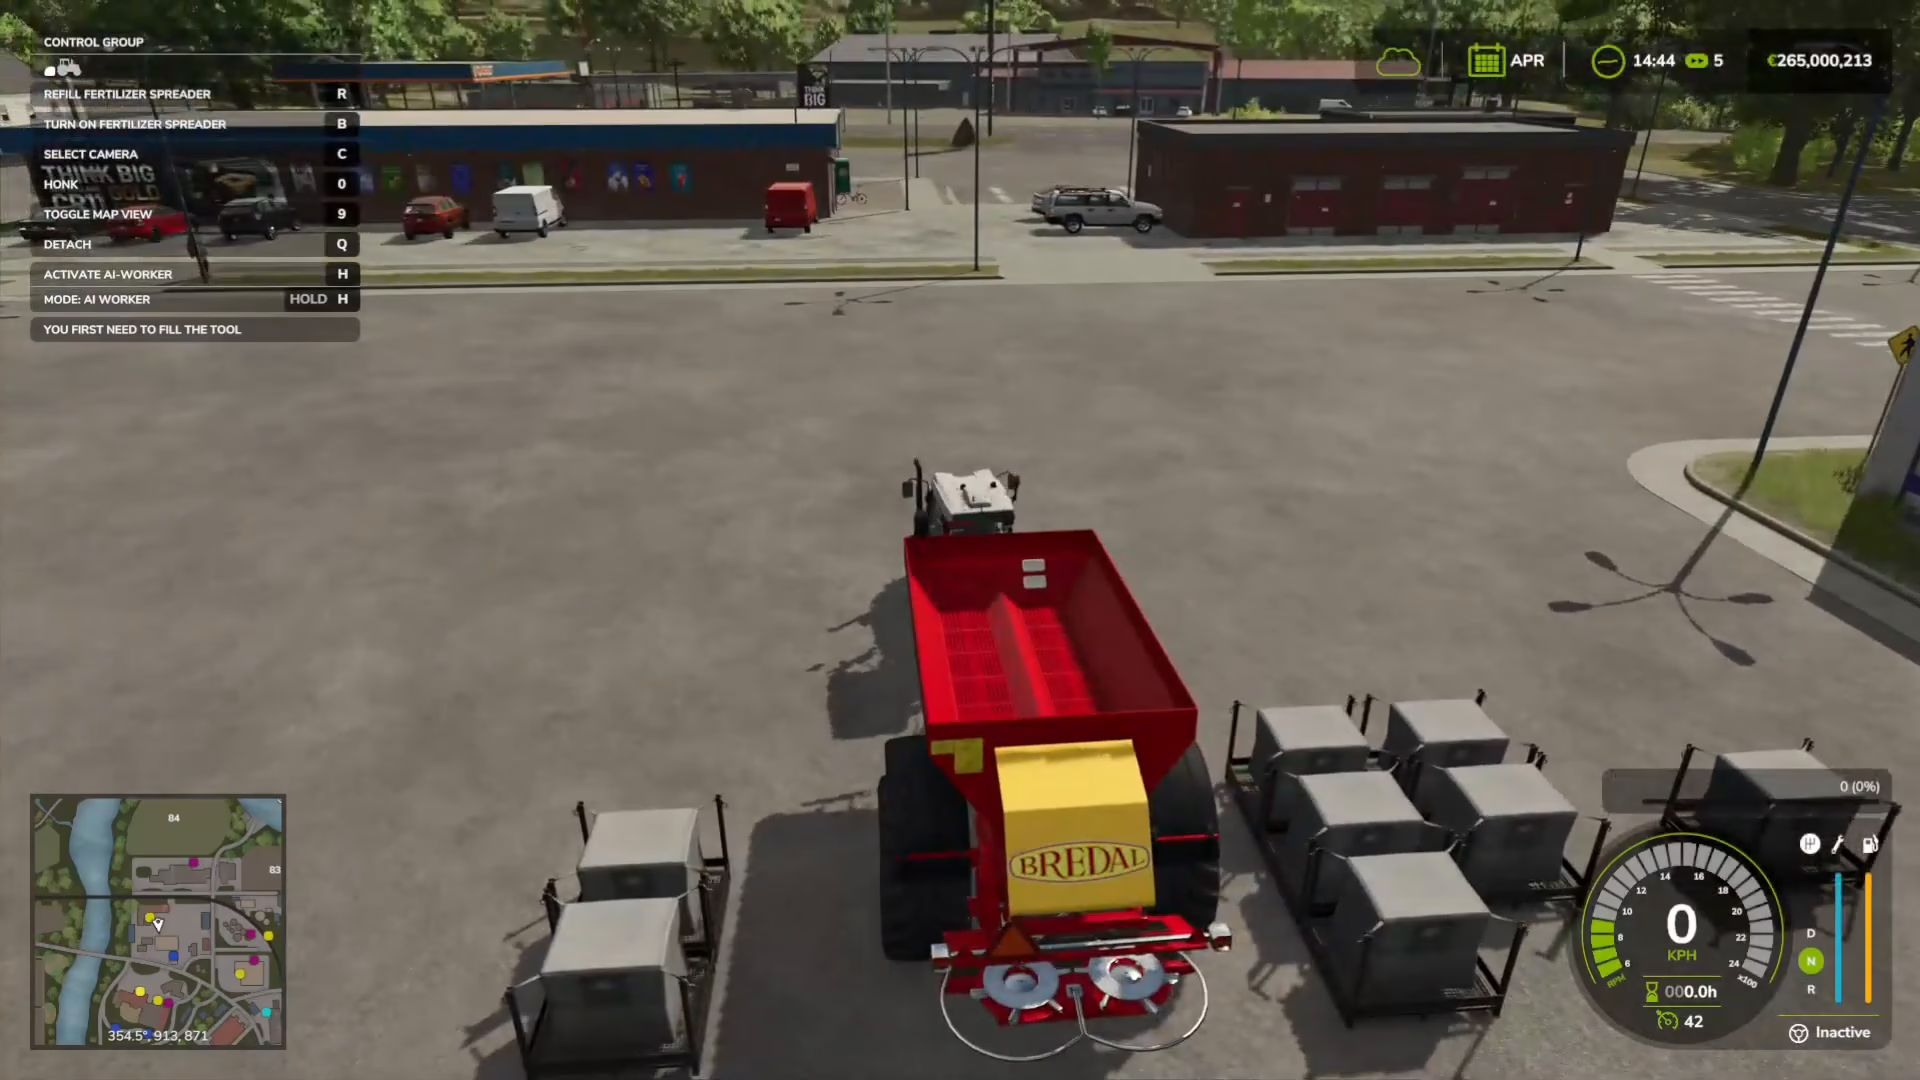
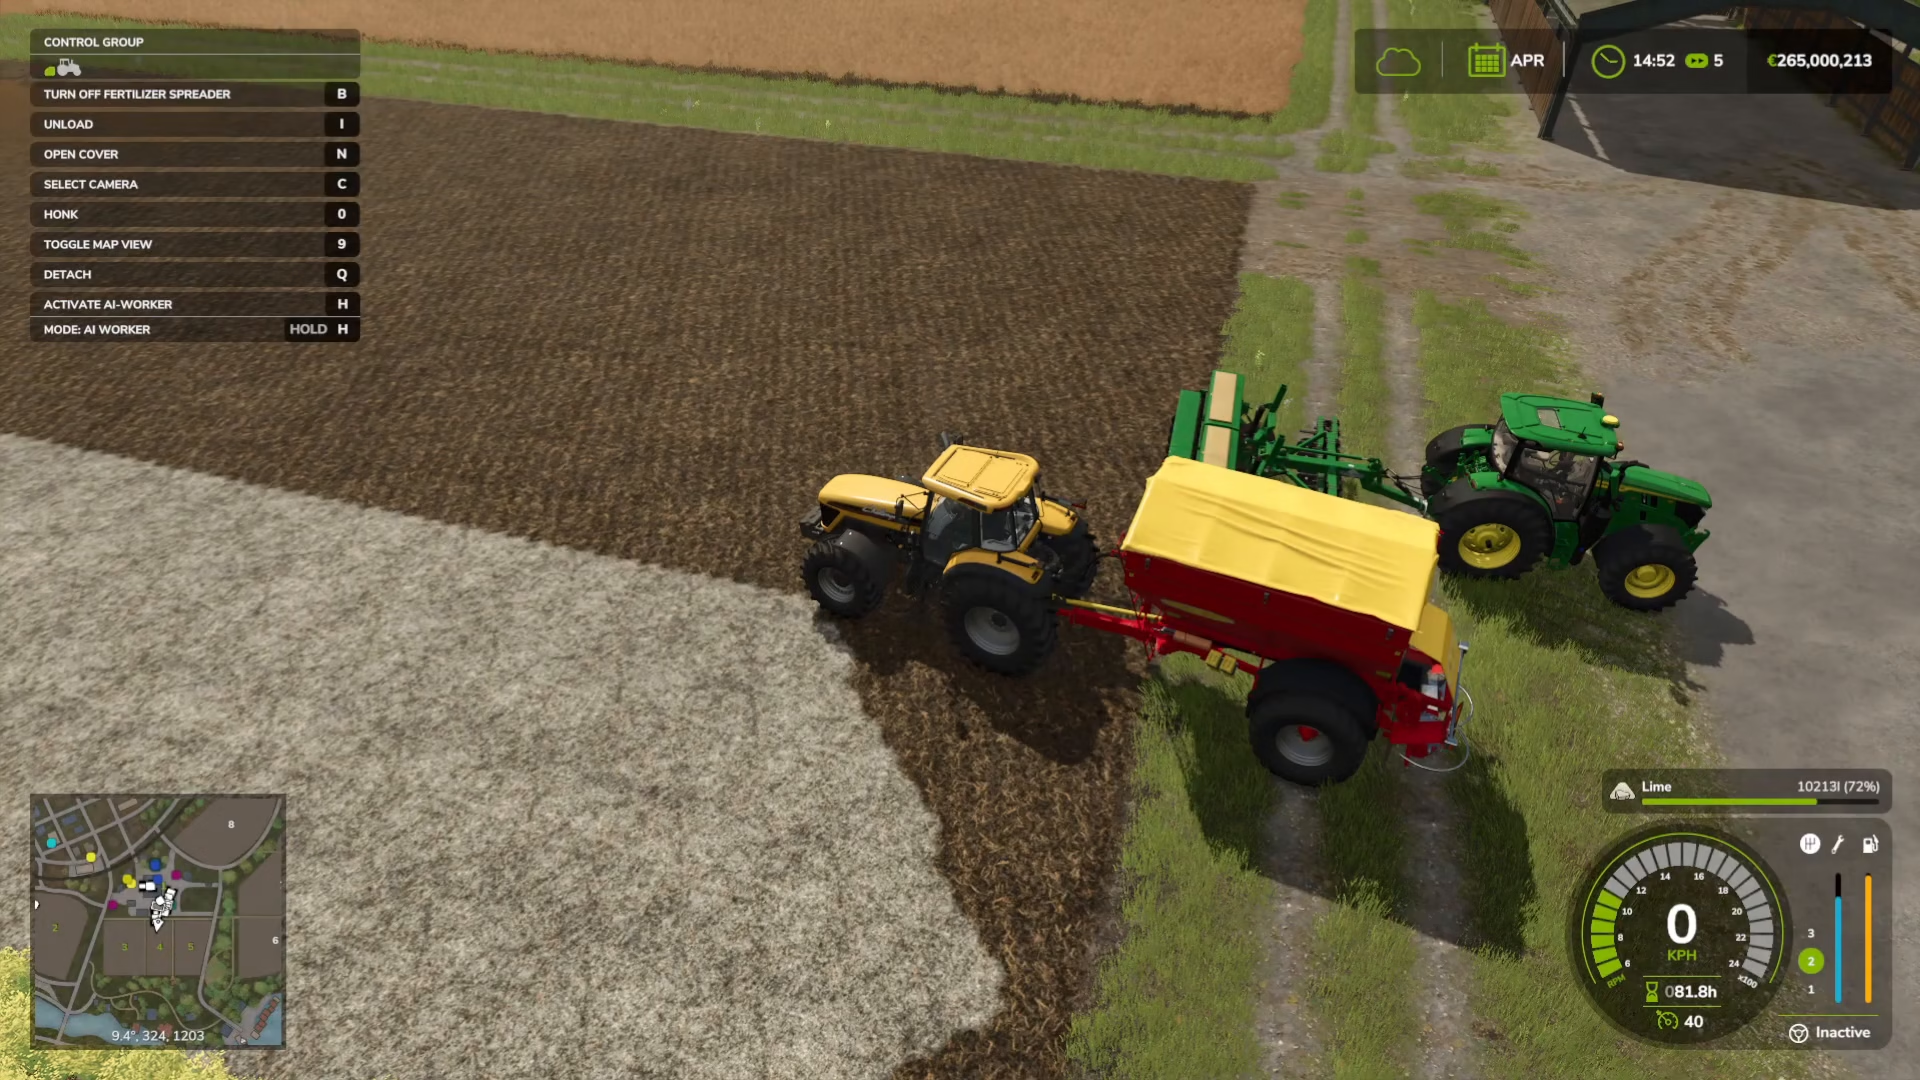
Drive the loaded spreader to your field. Position it over the area you want to lime, then press B to activate the lime sprayer. You’ll see a clear white coating appear on the ground as you spray—the effect is visually obvious.
Step 2: Preparing the Soil with a Cultivator
Before planting, you need to prepare the soil by removing old crop residue. Attach a cultivator to your tractor using the same method as before (line it up and press Q).
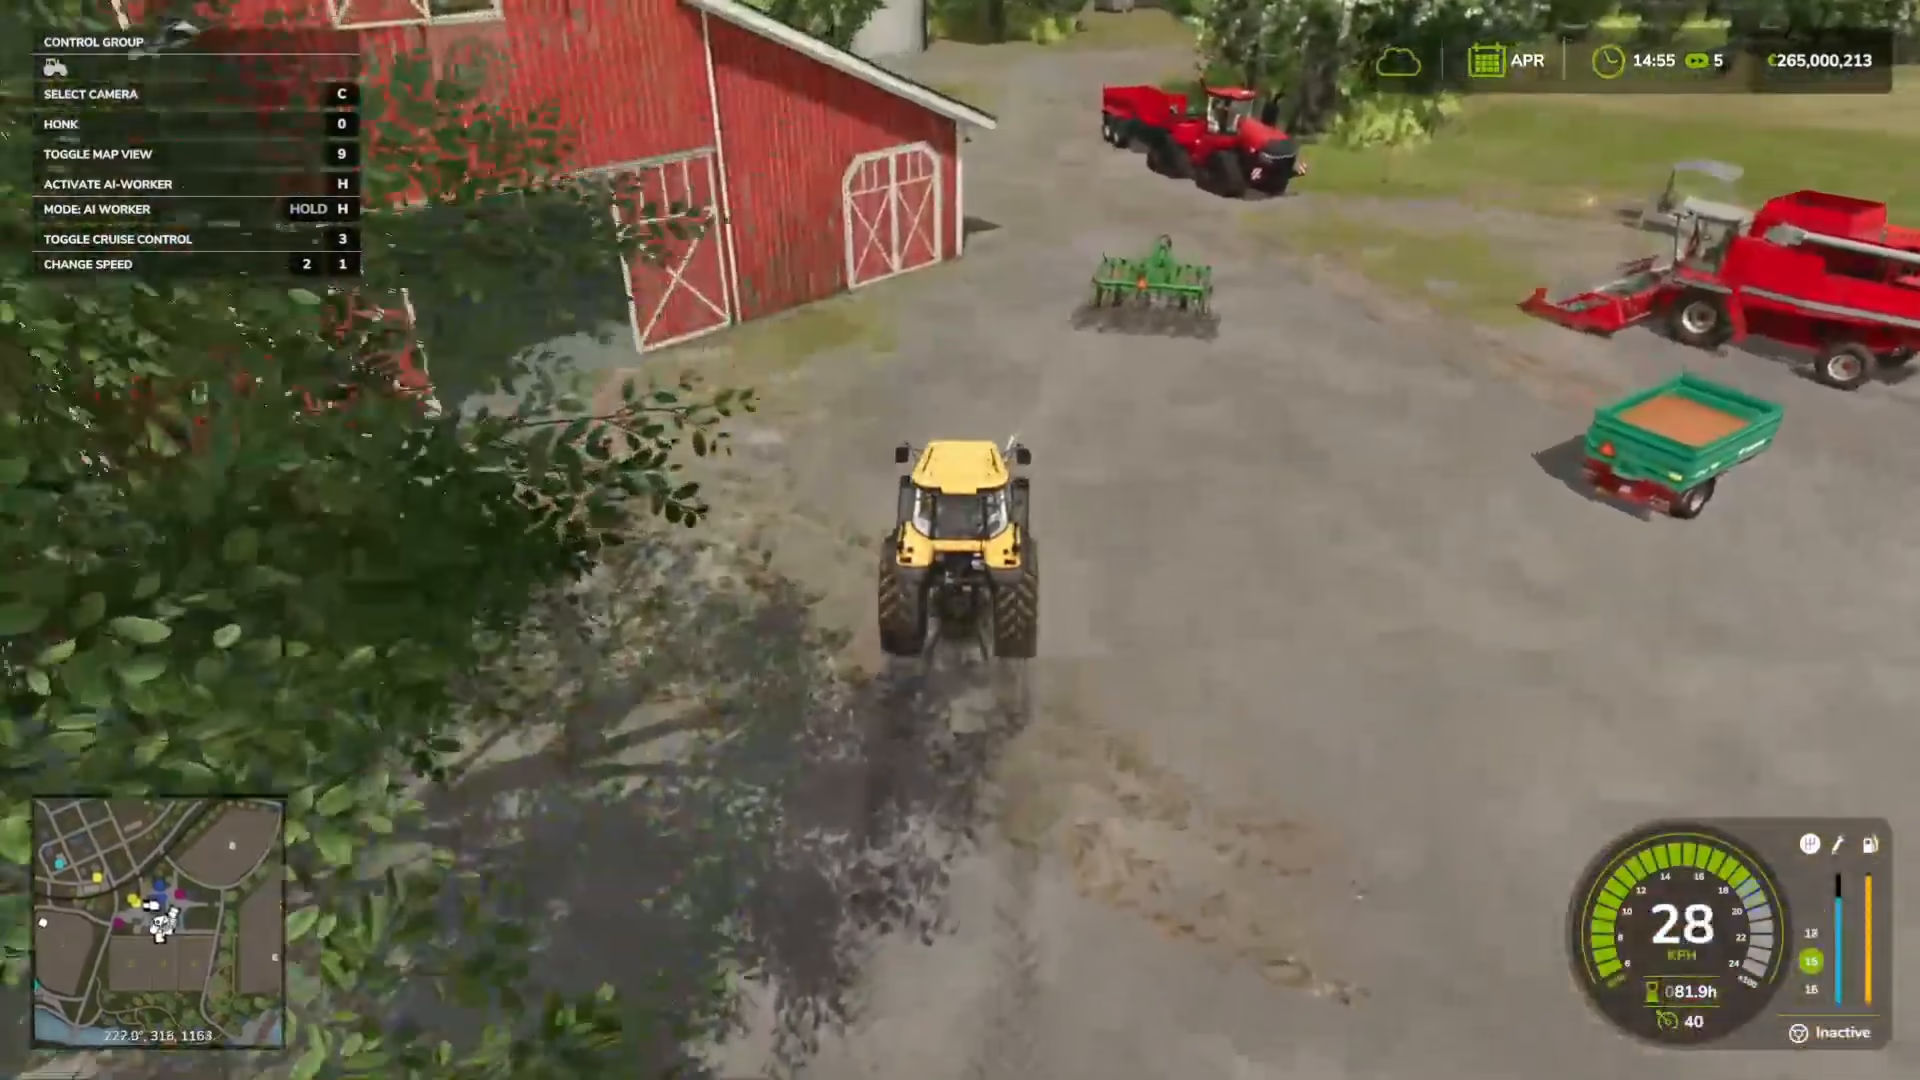
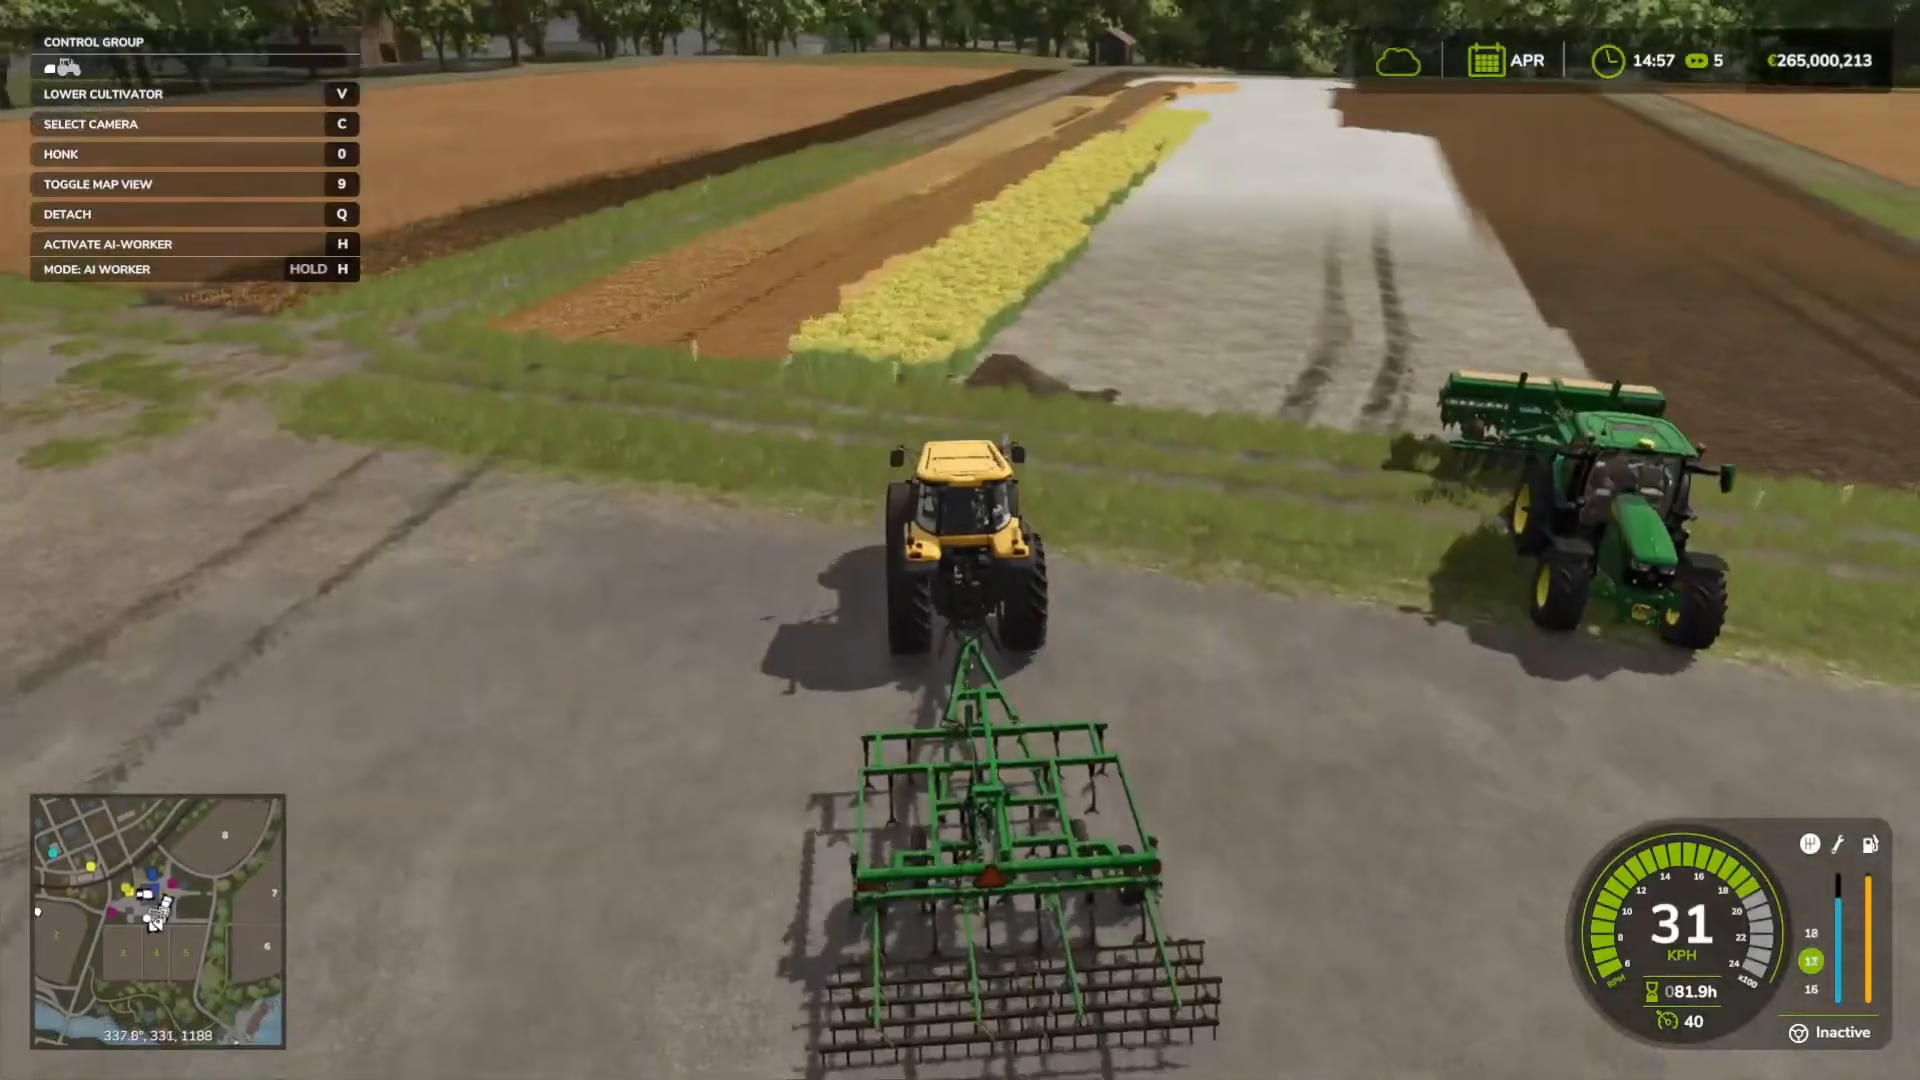
Drive over your field and press V to lower the cultivator close to the ground. You don’t need to turn it on—it will automatically plow the field ready for seeding. Press V again to lift it when you’re done with an area.
Step 3: Seeding Your Crops
Purchasing Seeds
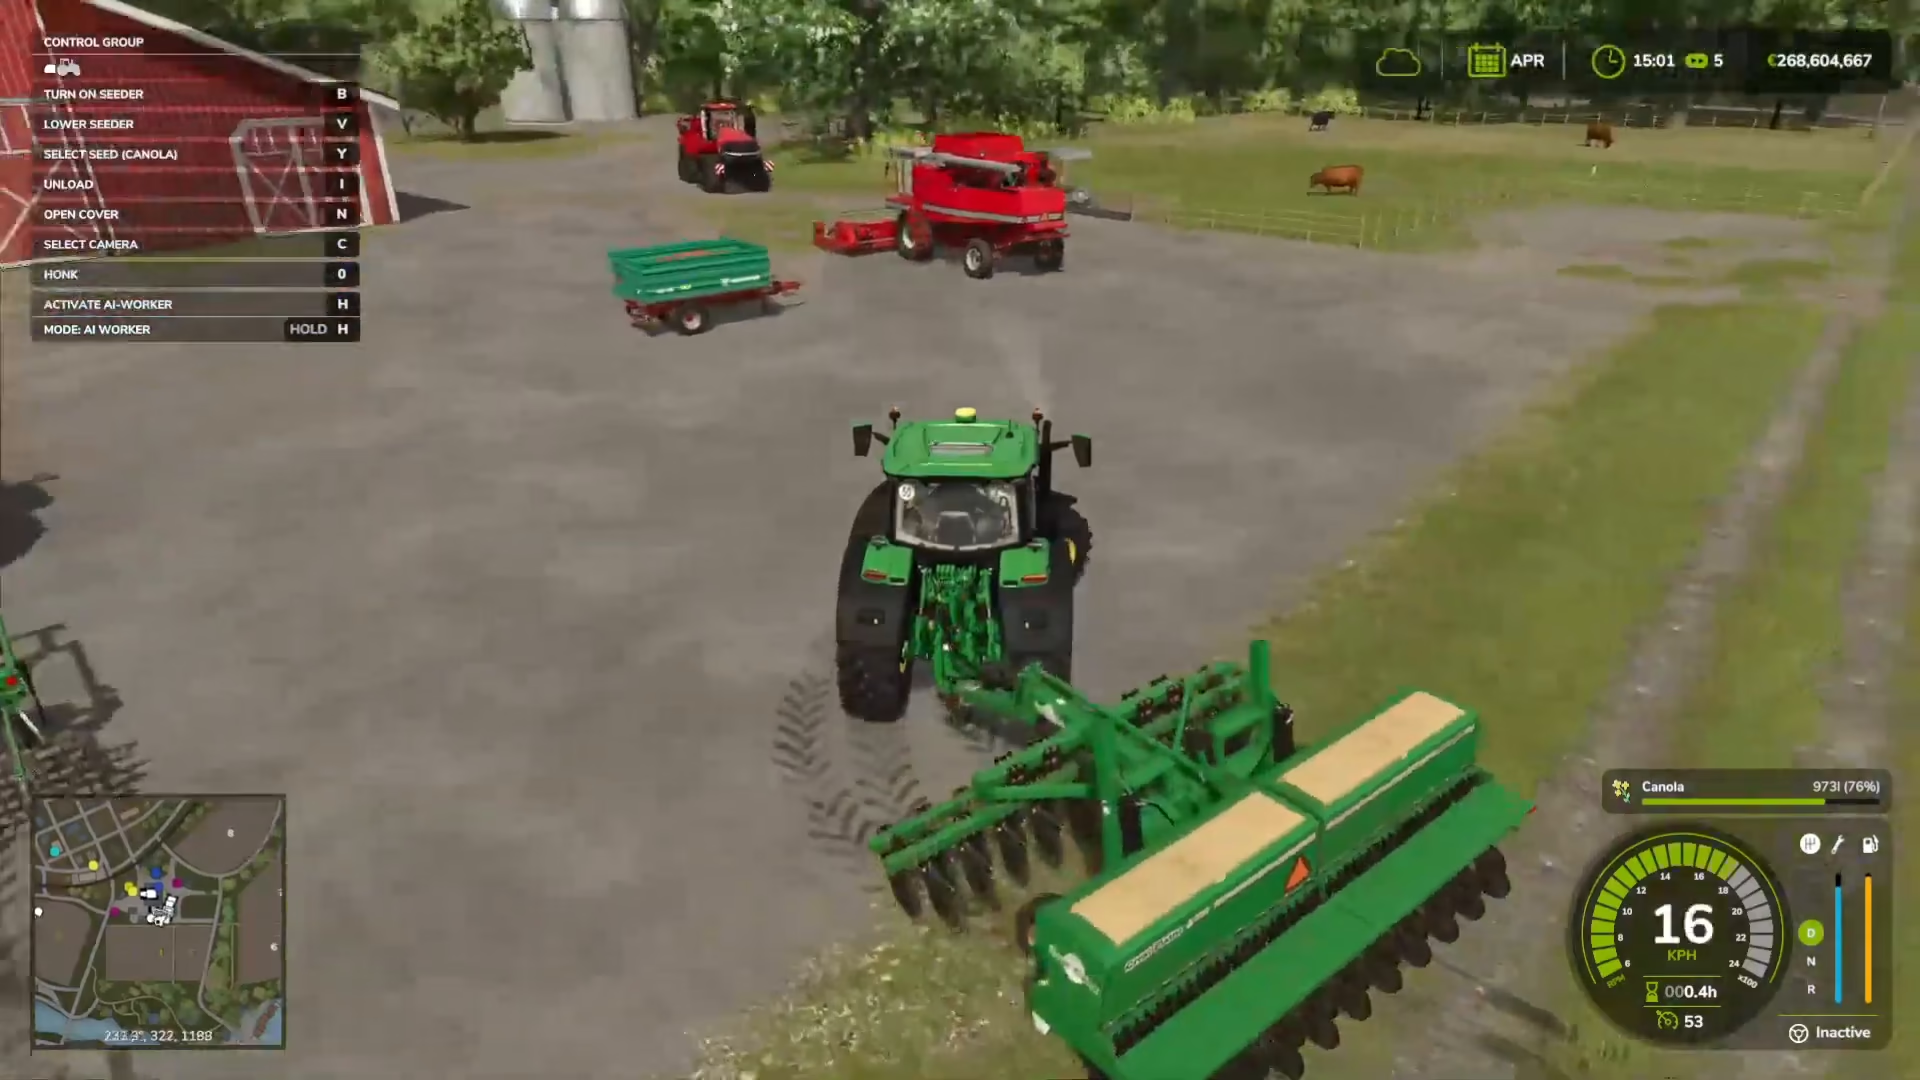
Visit the shop and purchase seeds for your desired grain crop. You can buy seeds for wheat, barley, canola, oats, soybeans, or sorghum.
Operating the Seeder
Attach the seeder to your tractor and line it up with your prepared soil. Near the speedometer, you’ll see the current seed type displayed on the right side of the screen. Press Y to cycle through different available seeds until you’ve selected your desired grain.
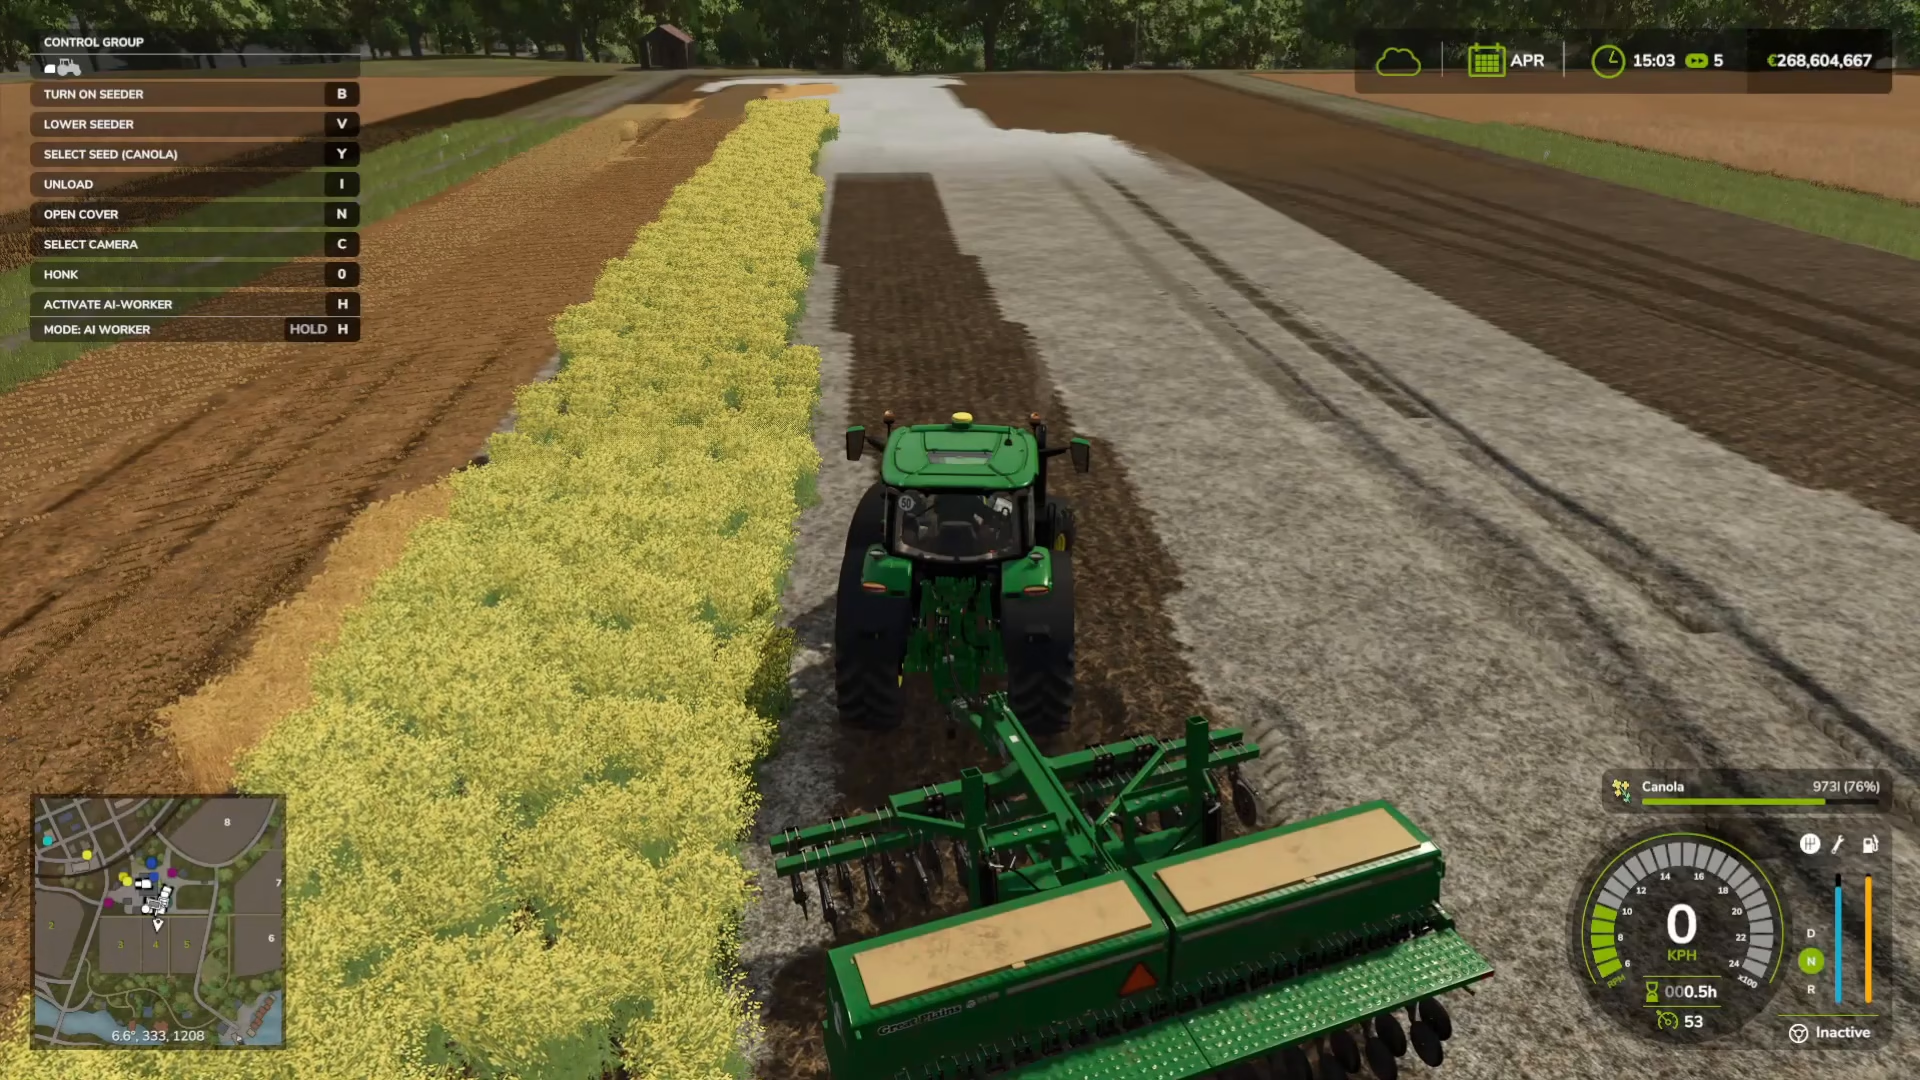
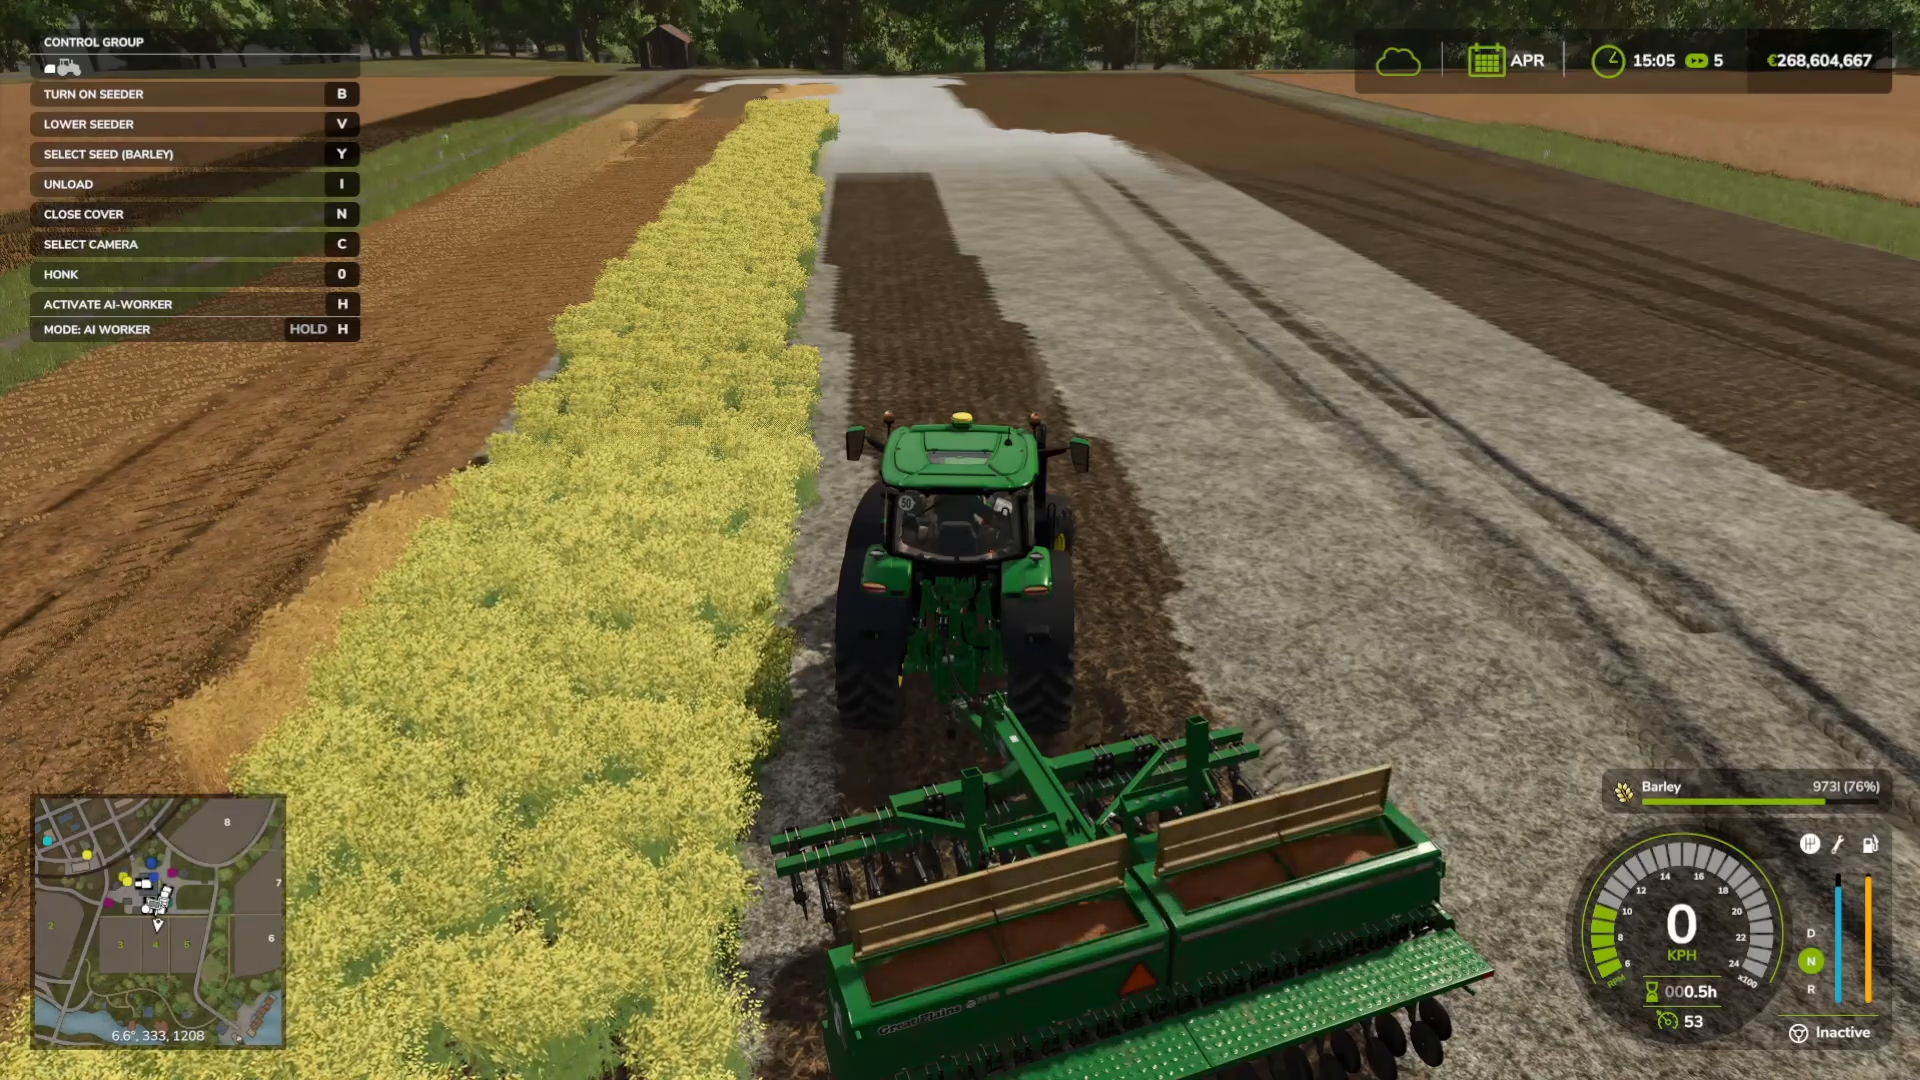
If the seeder has lids that need to be opened, press N to open them. Select your grain type (for this example, we’re using canola), then close the lids. Press V to lower the seeder, then B to activate it and begin planting.
Step 4: Maintenance – Weeding and Fertilizing
Managing Weeds
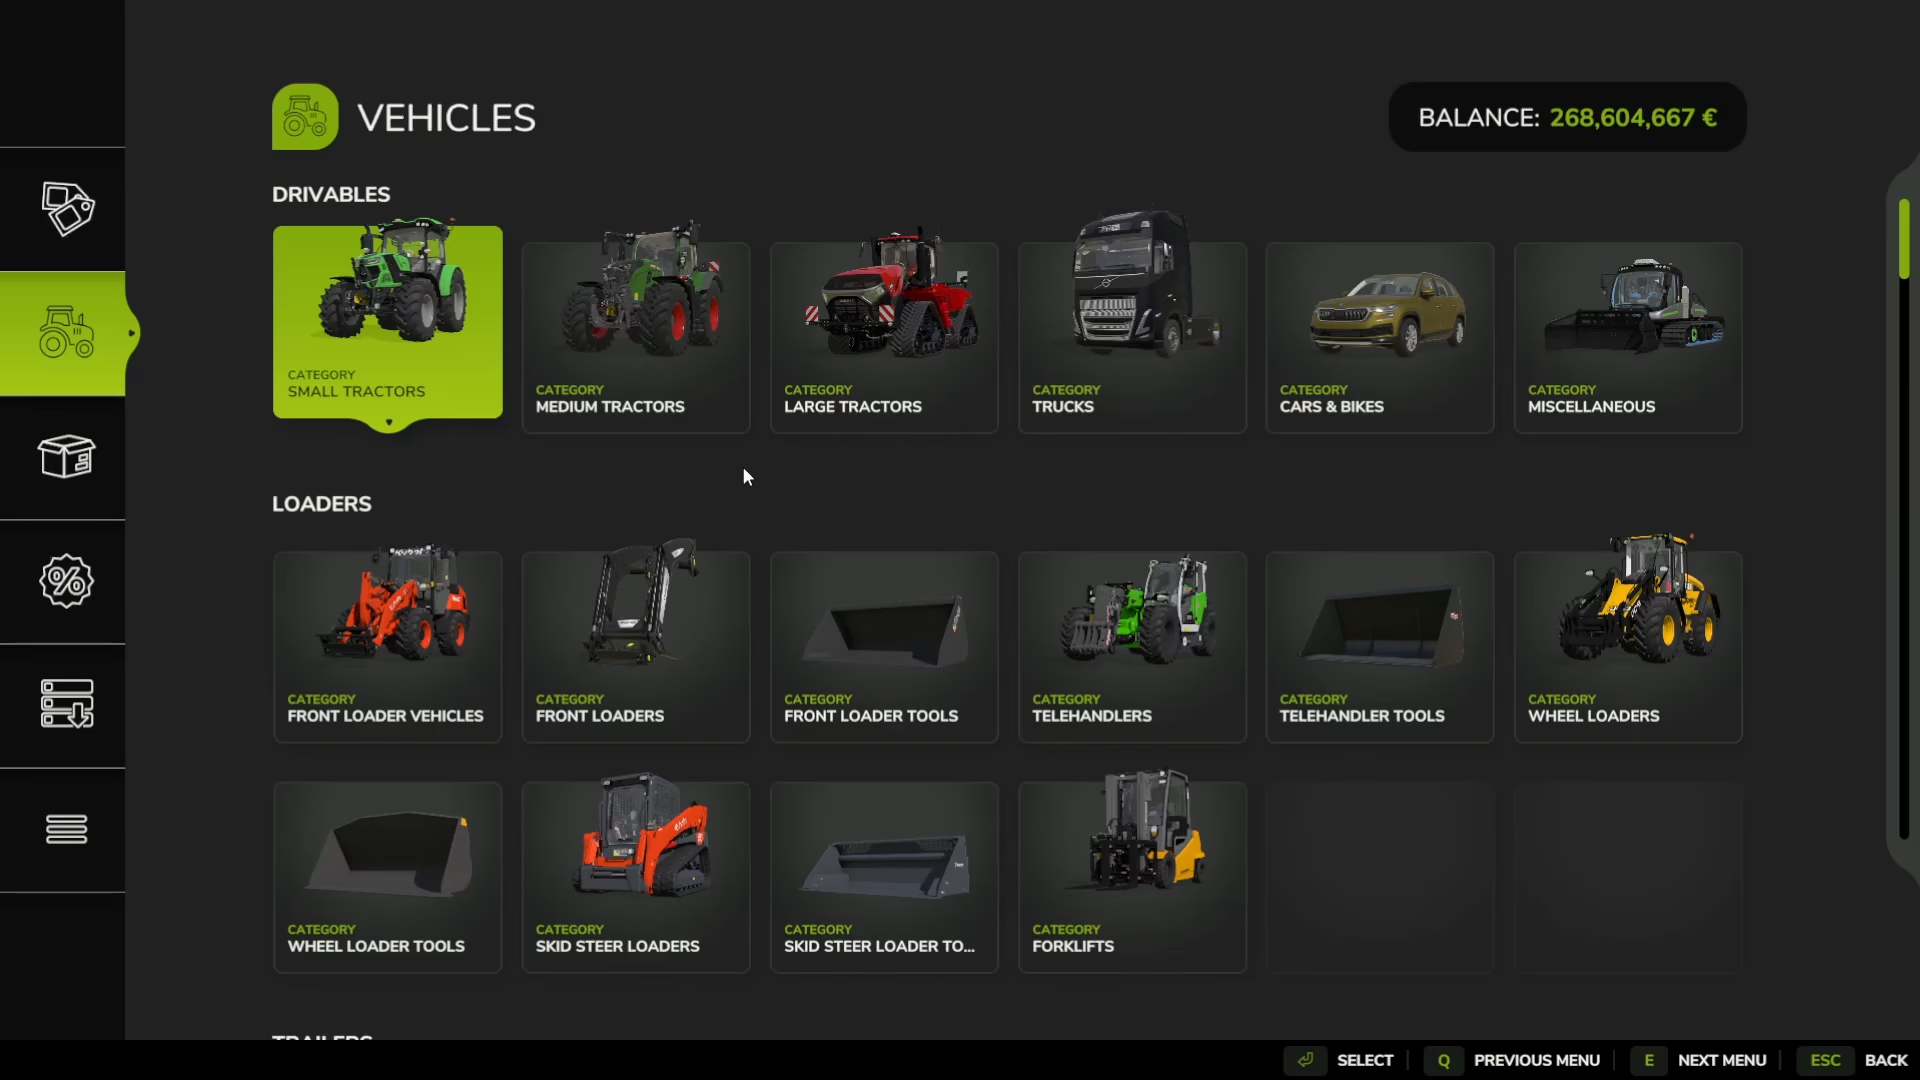
Weeds can damage your crops if left unchecked. Many players disable weeding in their settings unless they want a more challenging experience. If you want to manage weeds, purchase sprayers and herbicides from the shop under Sprayers and Weeders, then in Consumables.
Fertilizing for Maximum Yield
To achieve the biggest yield, ideally fertilize your crops twice during the growing period. You can use a Brädel (which handles both lime and fertilizer) or purchase dedicated fertilizer spreaders. Purchase fertilizer from Consumables, attach the spreader to your tractor, refill it with fertilizer, and spray your fields just as you did with lime.
Checking Soil Composition
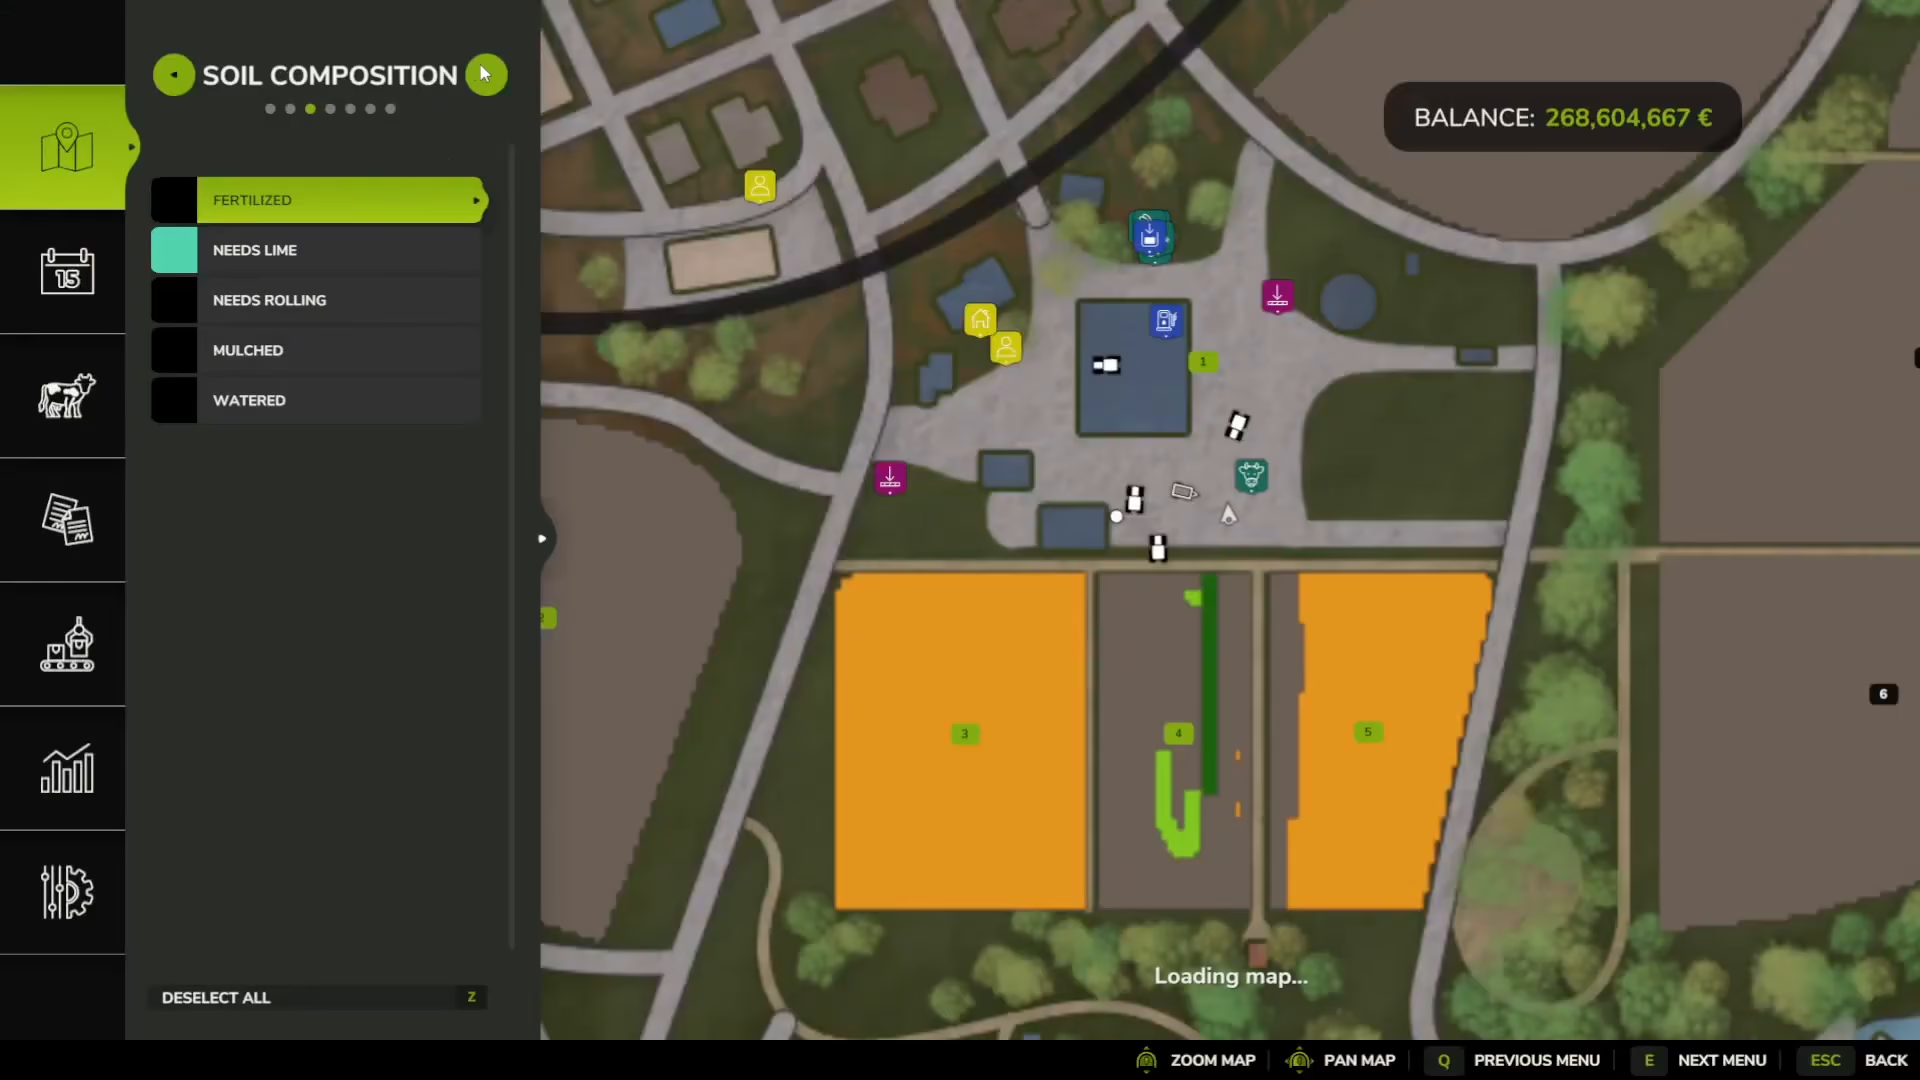
To verify whether your fields need liming or fertilizing, open the map and go to Soil Composition. This view shows you exactly which fields need lime, fertilizer, mulch, or rolling. Generally, you need to relime a field every three harvests.
Step 5: Harvesting Your Grain
When to Harvest
Monitor the map’s growth stages. When your grain reaches “Ready to Harvest” status (shown in orange), it’s time to bring in the combine harvester. For this example, we’re harvesting canola.
Operating the Combine Harvester
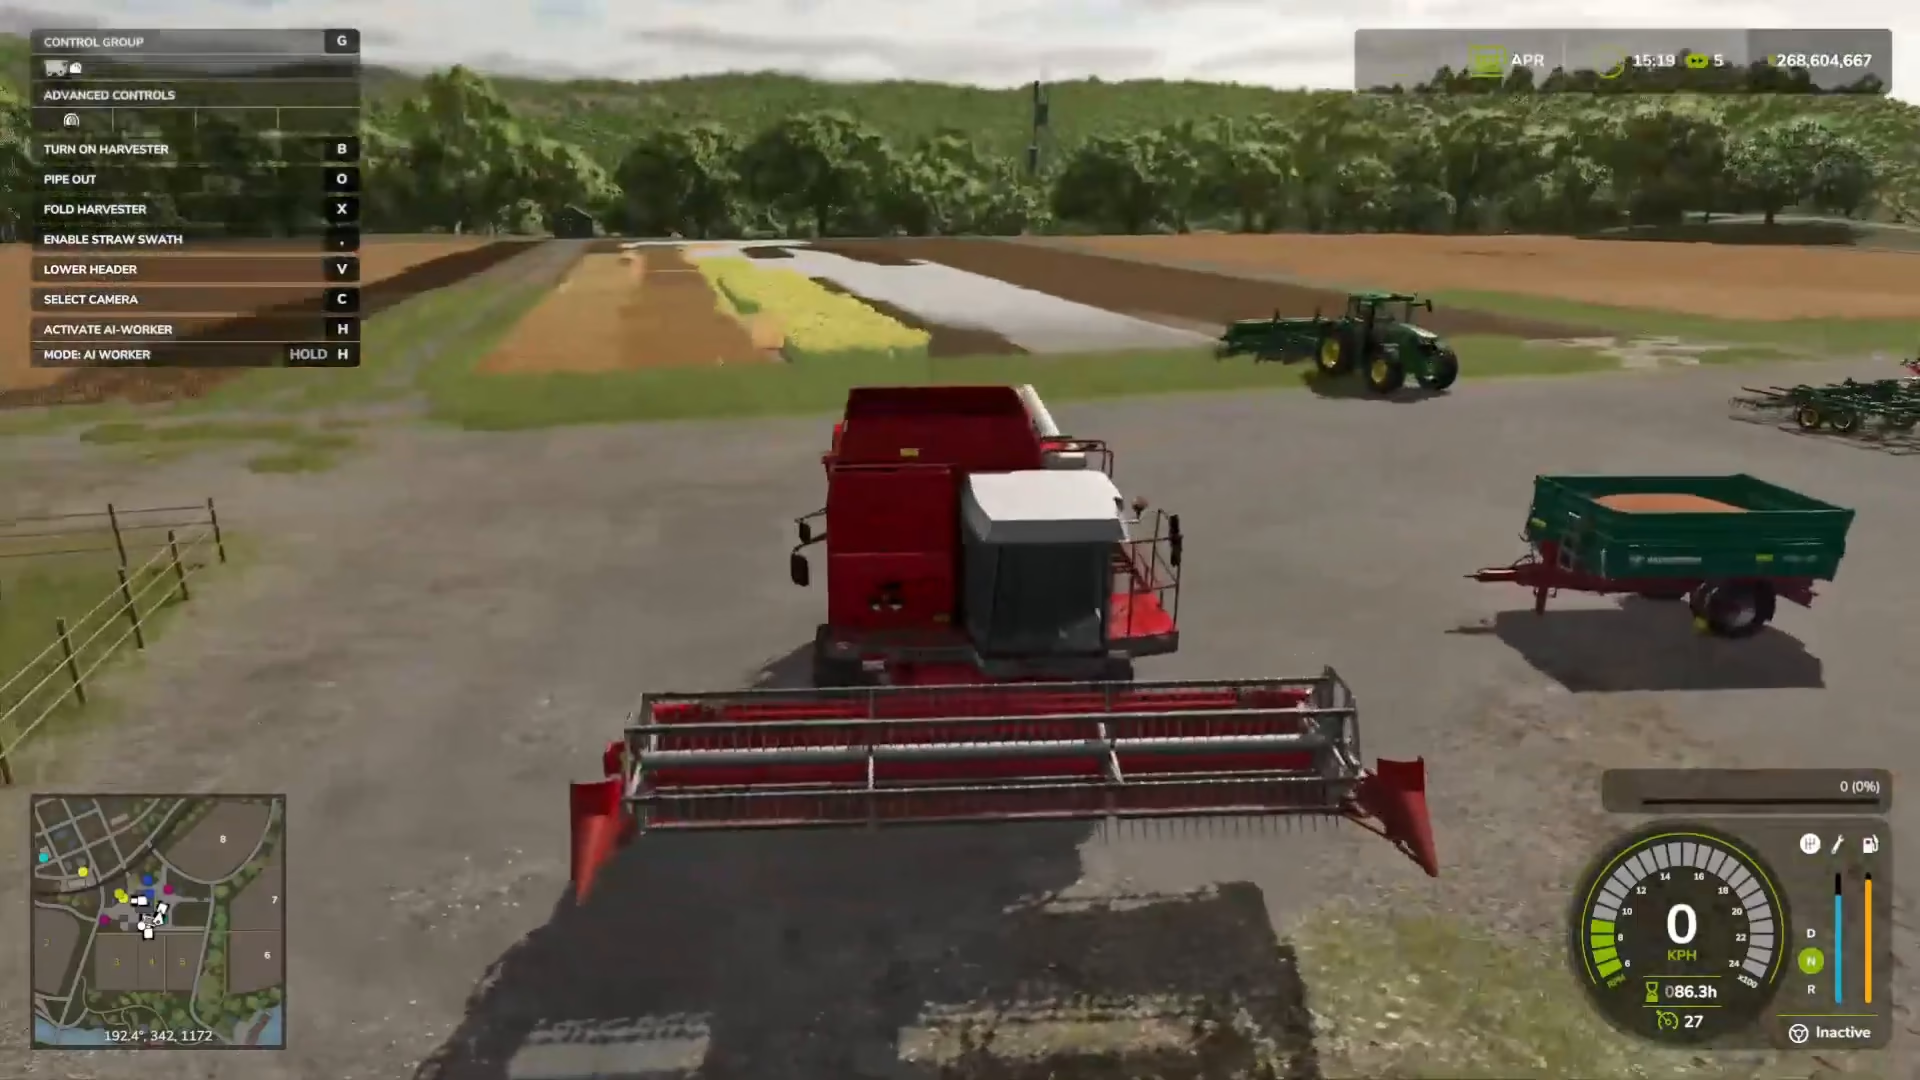
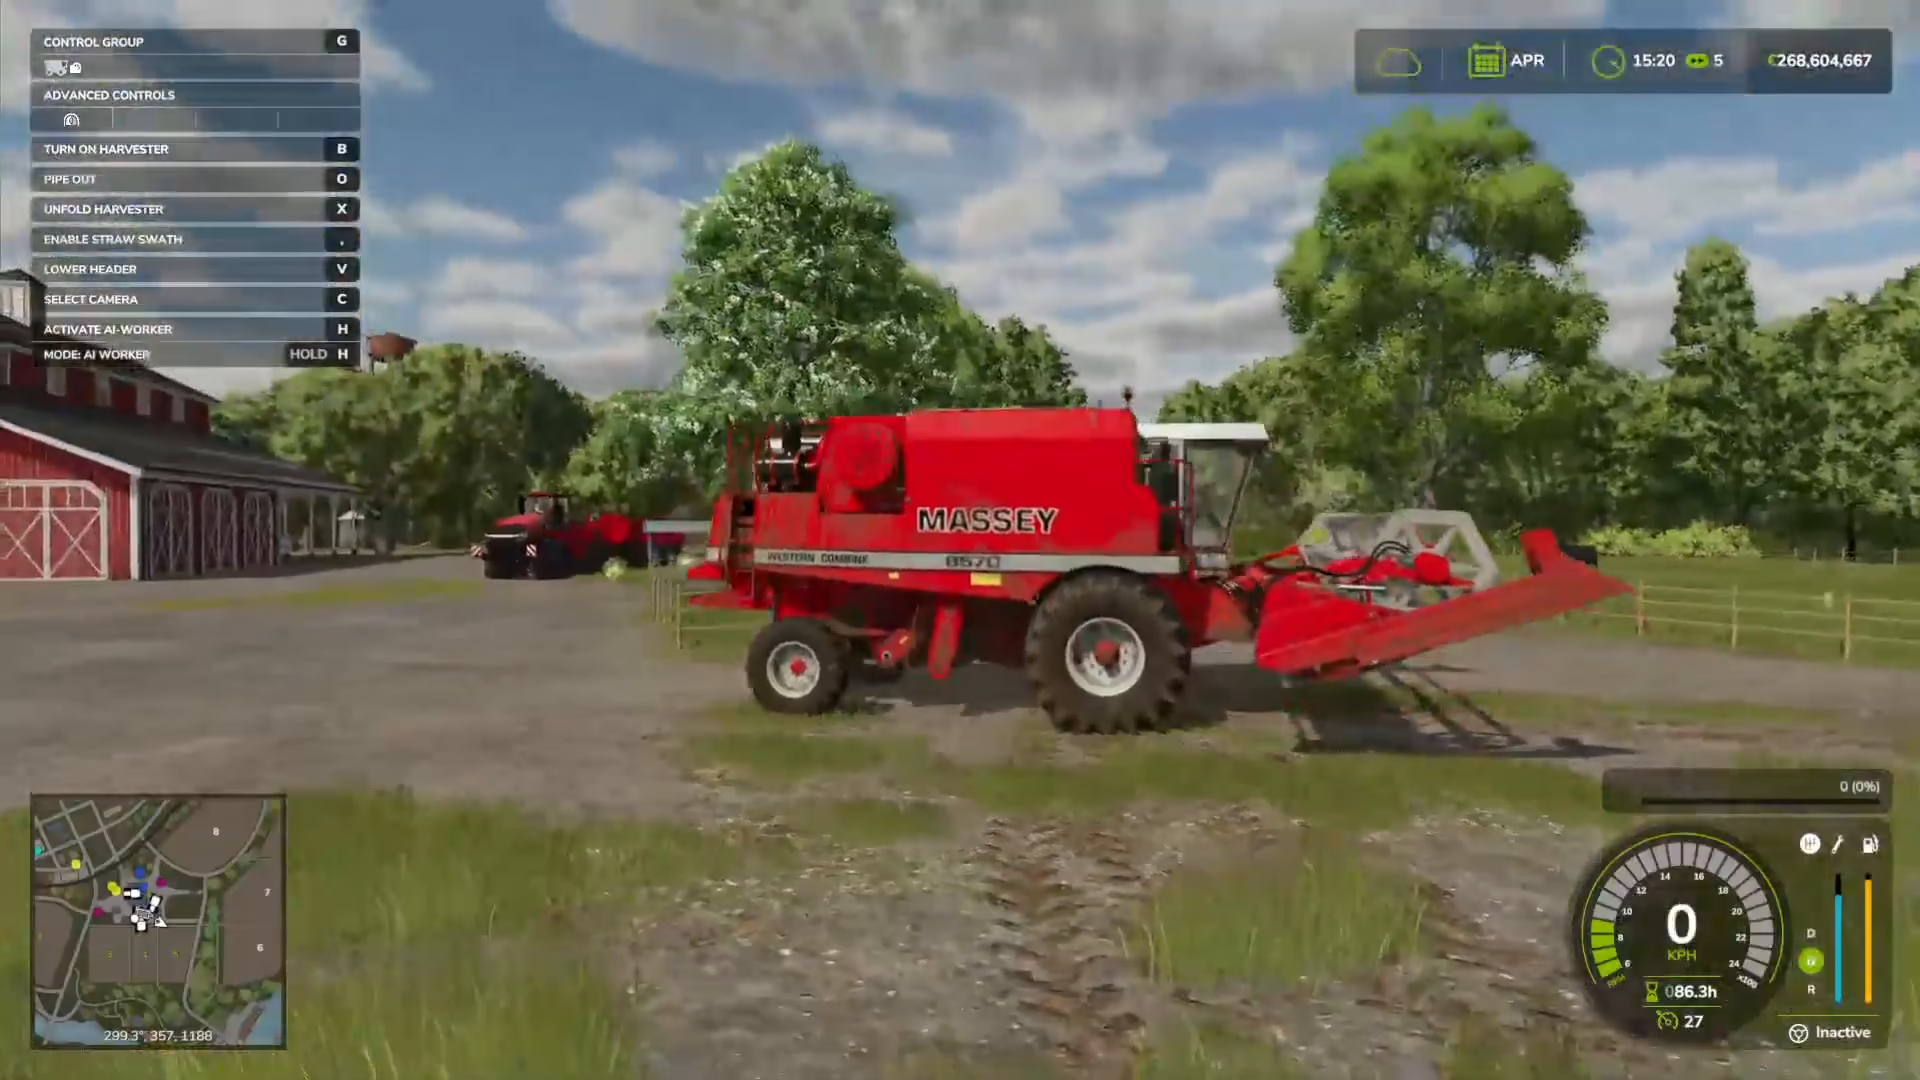
Attach the combine harvester header (the front attachment) to your tractor using the same attachment method. Drive over to your ready-to-harvest field.
Before harvesting, you need to:
Lower the harvester at the front using V
Unfold/open the top of the harvester
Press B to turn on the harvester
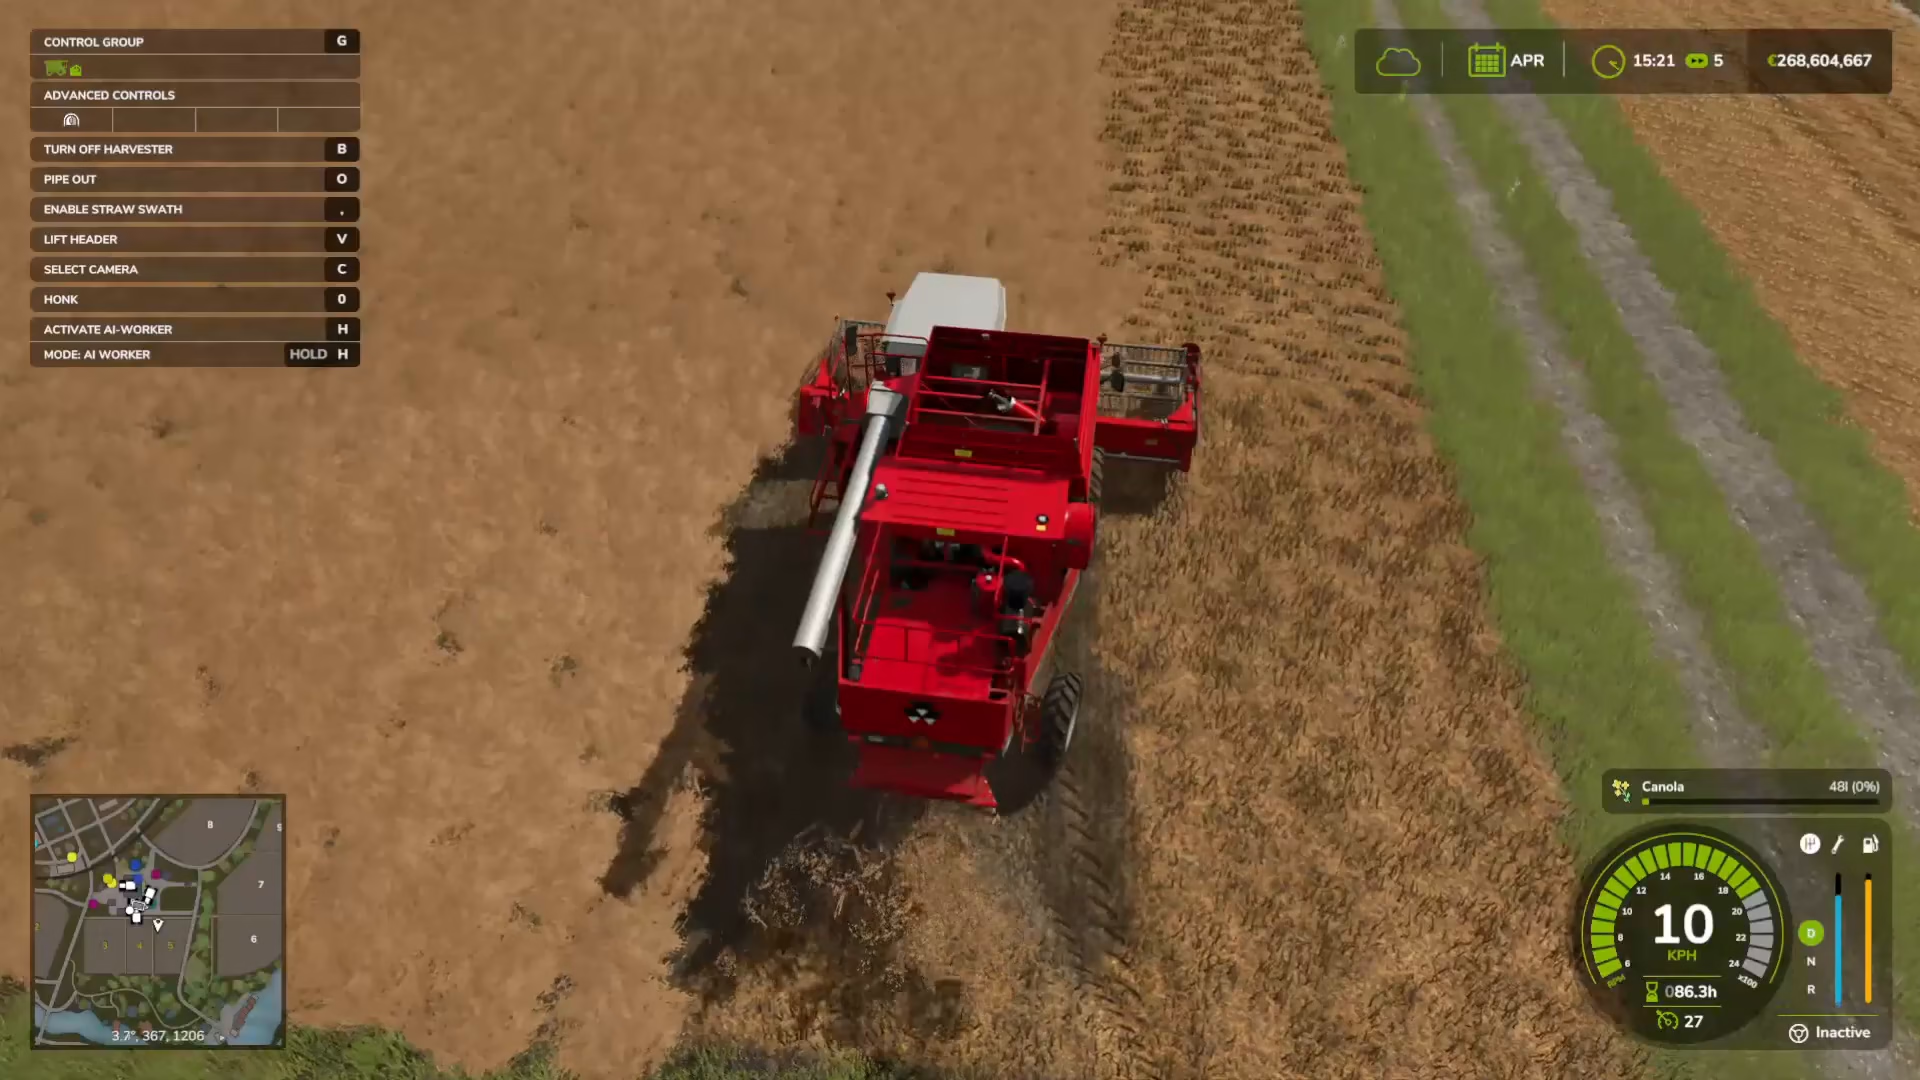
Drive over the ready-to-harvest crops, and you’ll see a small green bar filling up on the right side of your screen. This bar indicates how much grain you’ve collected. Continue harvesting until the combine is full or you’ve covered the area you want to harvest.
Step 6: Storing or Selling Your Grain
Transferring Grain to a Trailer
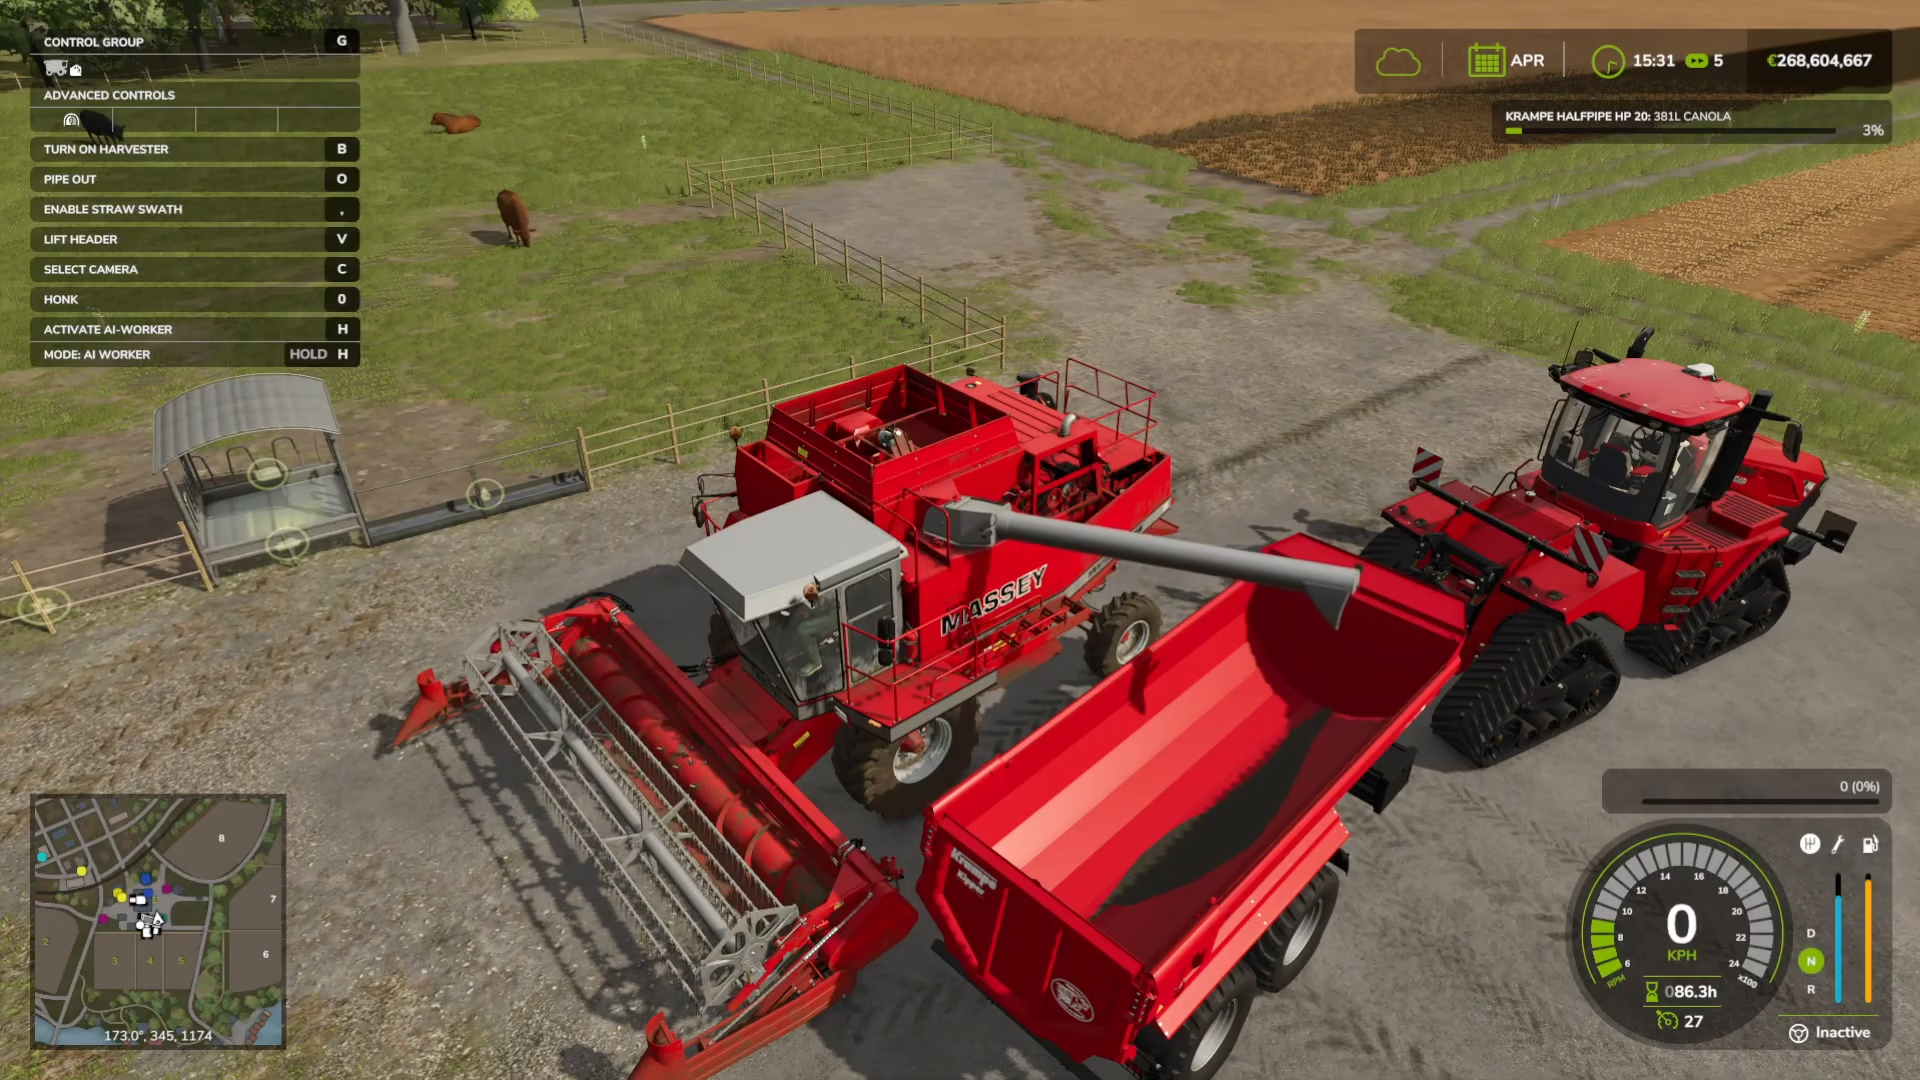
With your combine full of grain, you need to transfer it to a trailer for transport. Position your tractor and trailer alongside your combine harvester. Press O to output the grain pipe, and it will automatically transfer the grain into your trailer.
Once the transfer is complete, fold away the pipe and drive to either a silo to store the grain or a tip point to sell it.
Storage vs. Selling
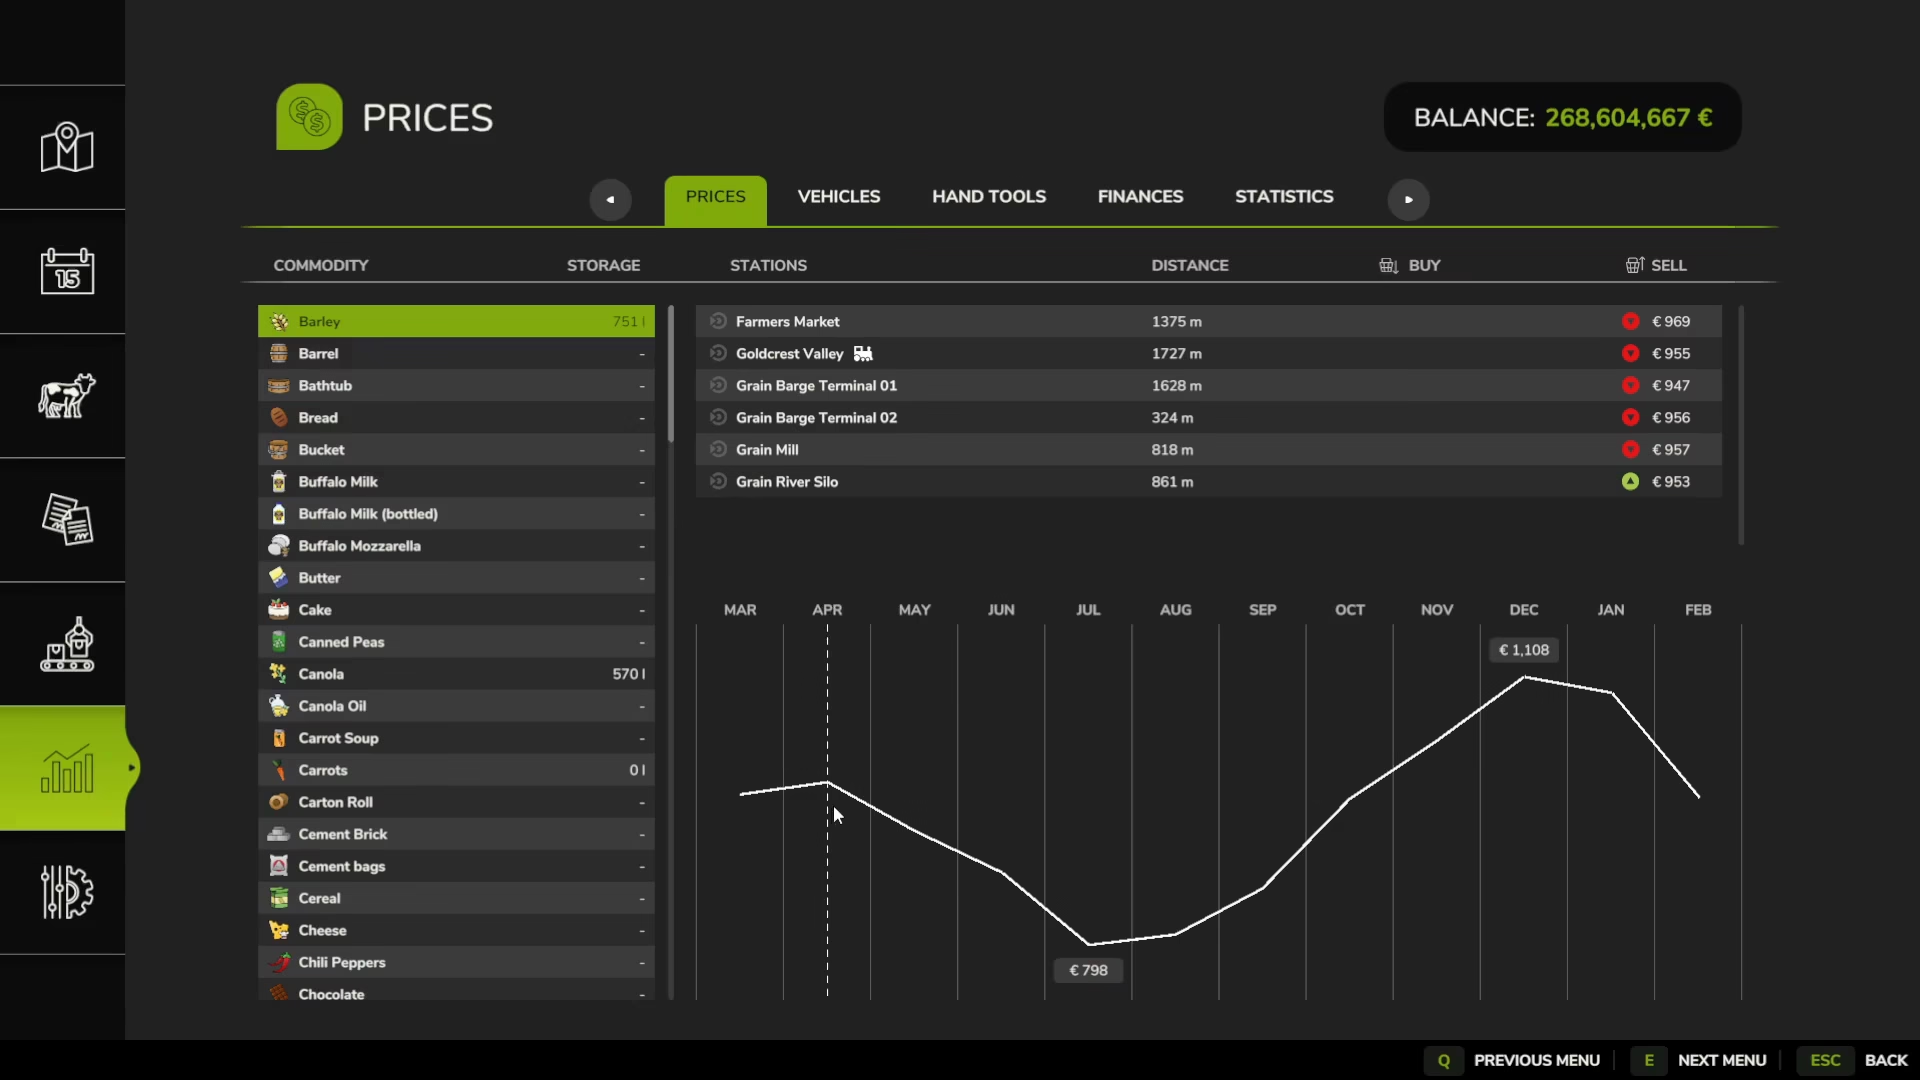
Grain prices fluctuate throughout the year. For example, canola might be priced reasonably in April, worst in July, but excellent in December. Consider storing your grain in a silo if current prices are low, then sell it during a month with higher prices for better profit.
Selling Your Grain
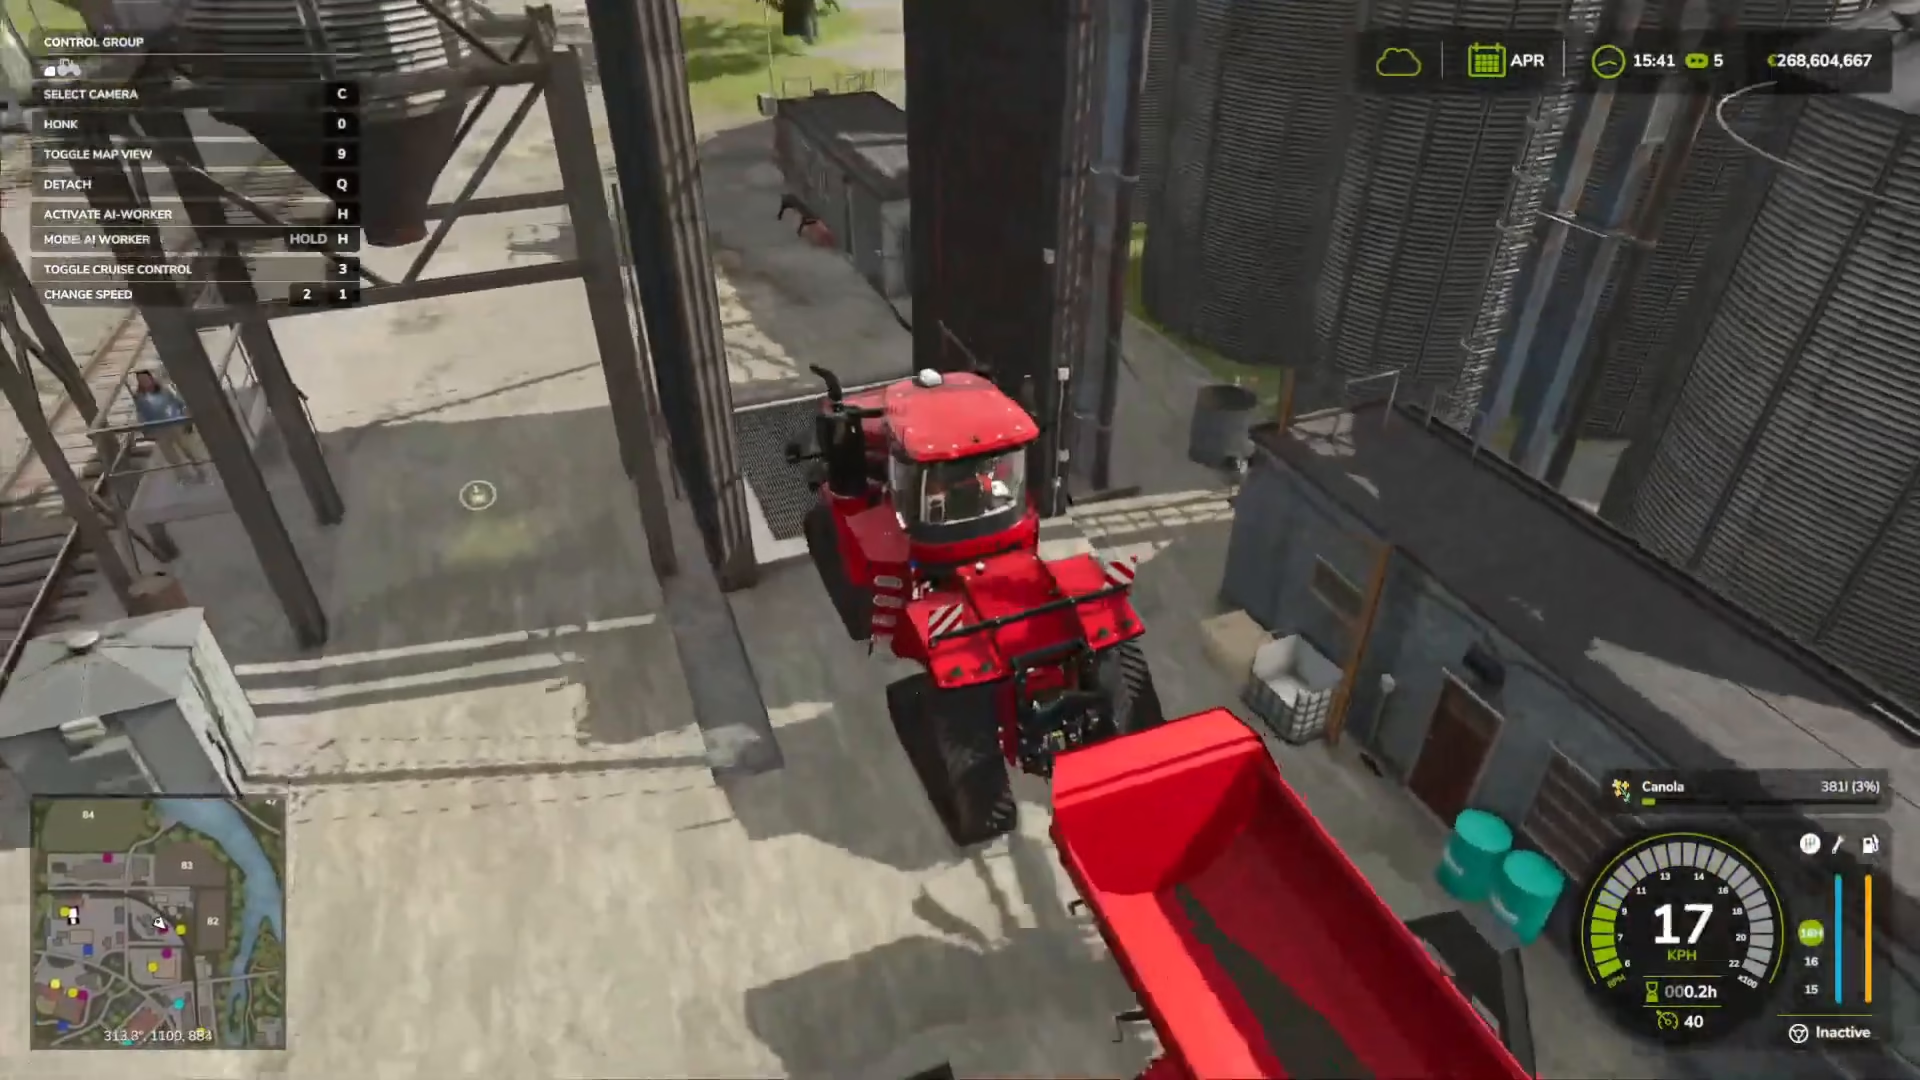
Drive your filled trailer to a tip point in town (visible as a grate on the ground). Position your trailer over the grate until you see a pop-up prompt at the bottom of your screen. Press the indicated key bind to dump your grain and complete the sale.
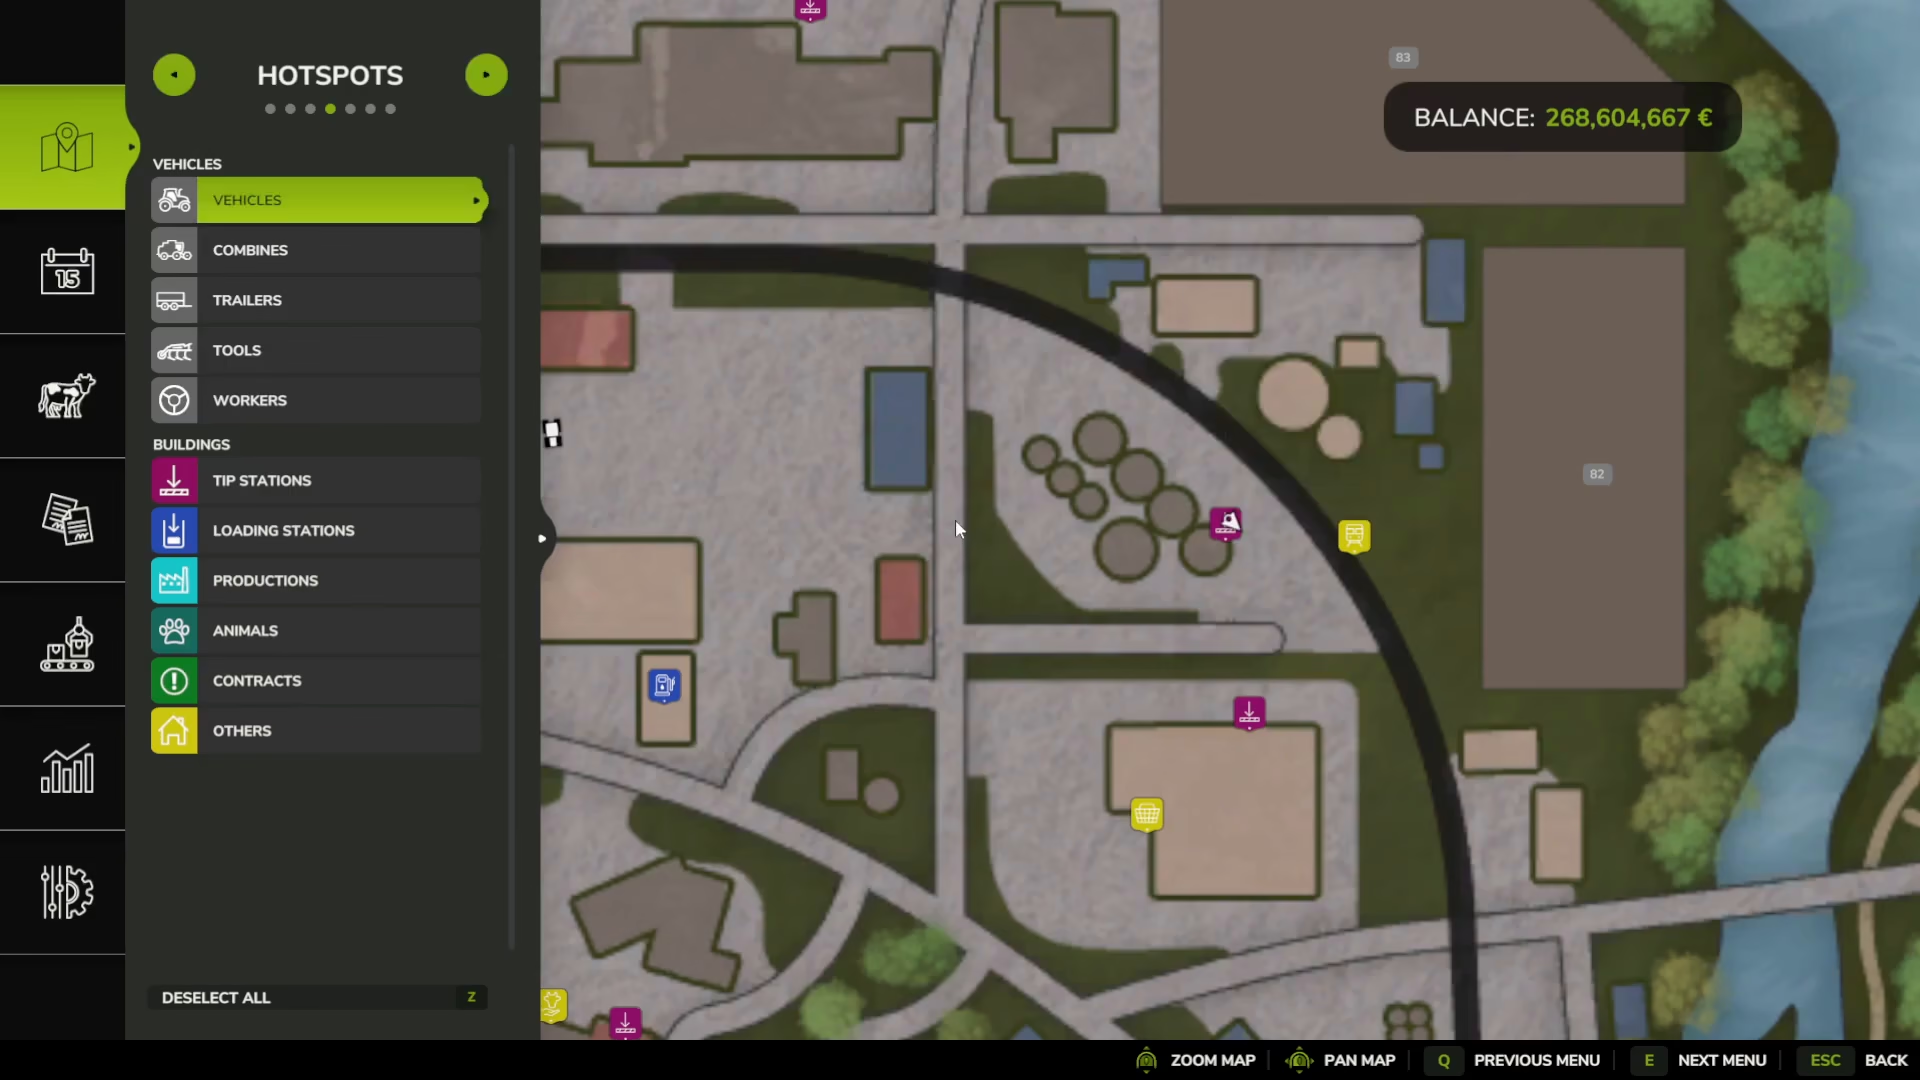
Tip points are marked on your map and typically located near farm areas, silos, and in towns. If you’re unsure where to find one, check your map for the tip point markers.
Additional Tips
Using Keyboard Shortcuts
Several helpful key binds make farming more efficient:
Tab: Cycle through your different vehicles
C: Switch to first-person view for a more immersive experience
V: Lower or raise hydraulic attachments
B: Turn on/off machines
Q: Attach tools to your tractor
Y: Cycle through different seed or crop types
N: Open/close harvester lids
R: Refill spreaders
O: Output grain from combine
Refueling
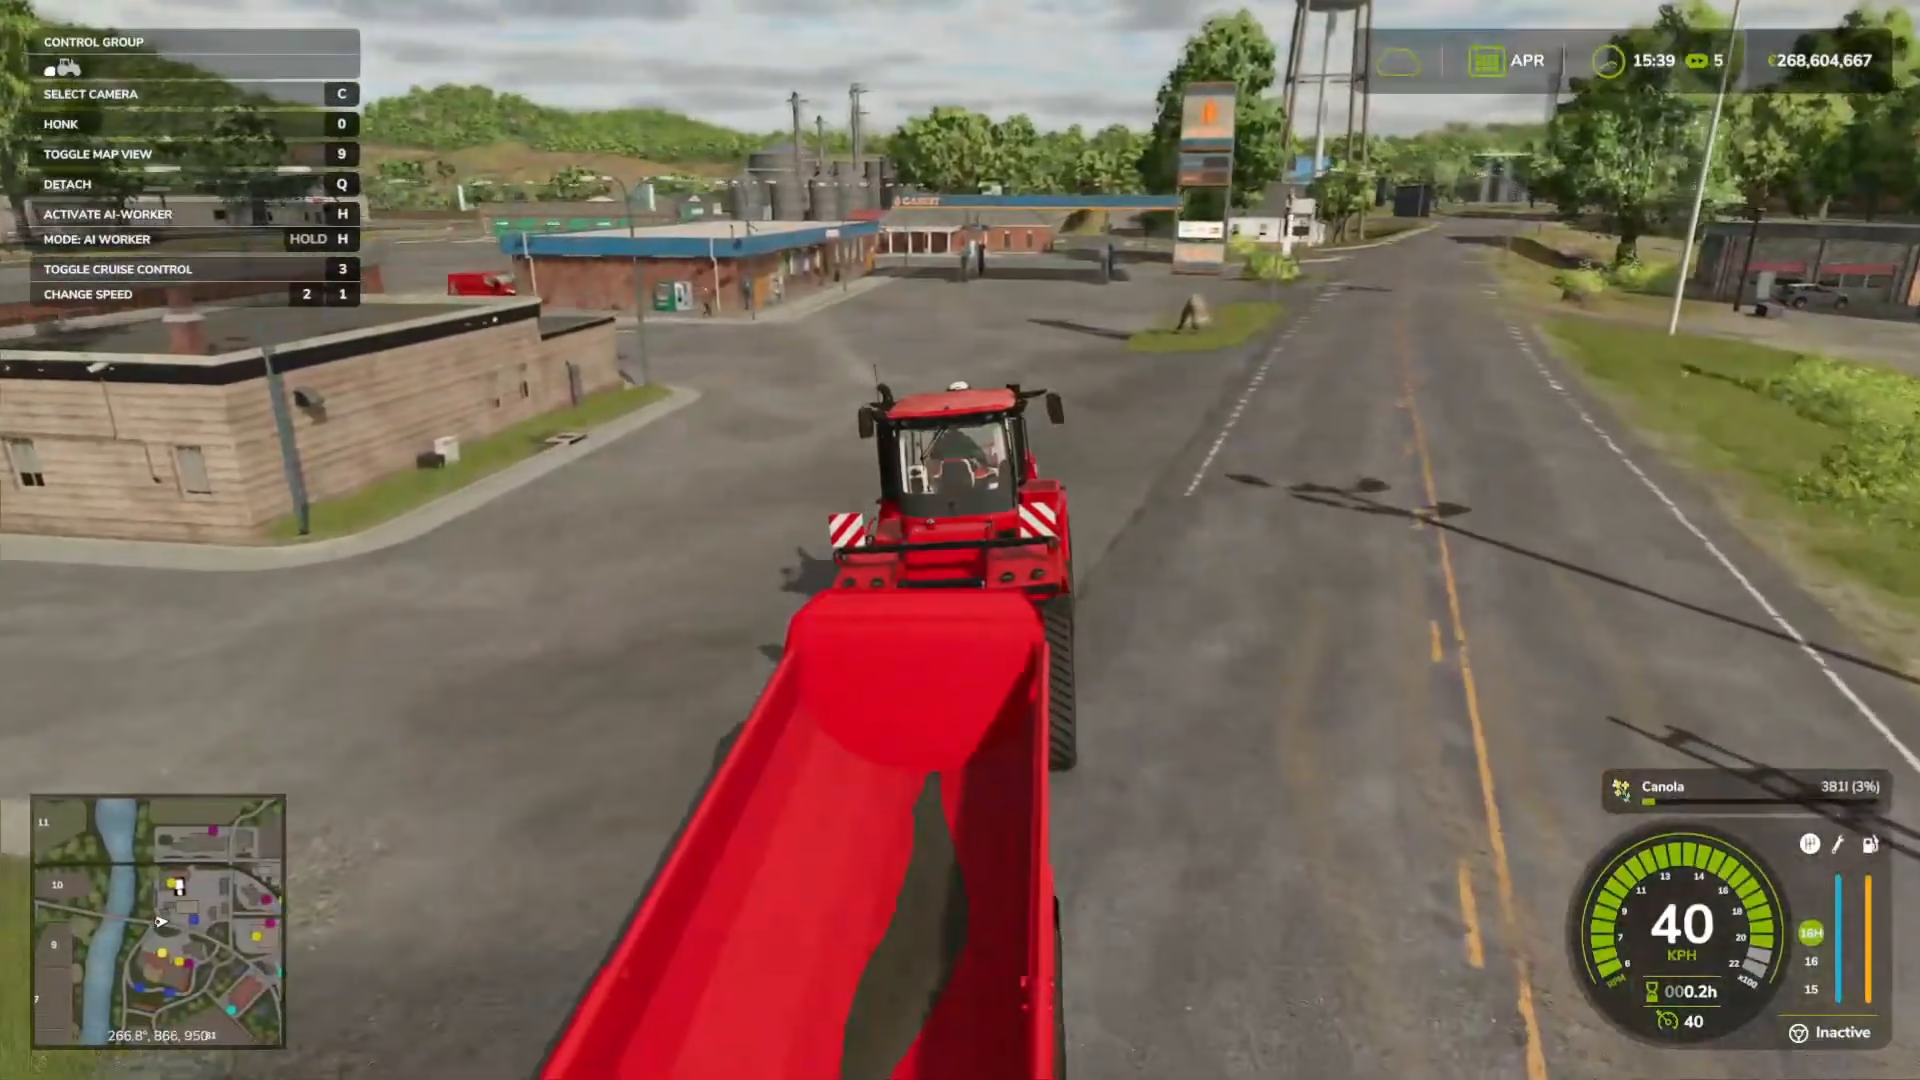
Don’t forget to refuel your vehicles at petrol stations. Simply drive to the station and you’ll see a refuel prompt appear when you’re in range.
Conclusion
You now have a complete understanding of how to grow, maintain, harvest, and sell grains in Farming Simulator 25. The process is the same whether you’re cultivating wheat, barley, canola, oats, soybeans, or sorghum. Remember to lime your soil for better yields, fertilize when needed, manage weeds if enabled, and time your sales for maximum profit. With practice, you’ll develop efficient farming routines and build a prosperous virtual farm.
— Want to Support? —
If you would like to help us continue making these guides – please consider joining our patreon here – https://www.patreon.com/c/JaviHeals
Alternatively – you can join our discord here – https://discord.gg/zD7Gjt6MHF