





How To Put Jetpack On Power Armor In Fallout 4
How To Put Jetpack On Power Armor In Fallout 4
Looking to equip your power armor with a jetpack in Fallout 4? This guide walks you through the process step-by-step, from accessing the crafting menu to installing the jetpack mod on your torso piece. Whether you’re a new player or just haven’t discovered this feature yet, follow along to get airborne in your power armor.
Accessing the Power Armor Crafting Station
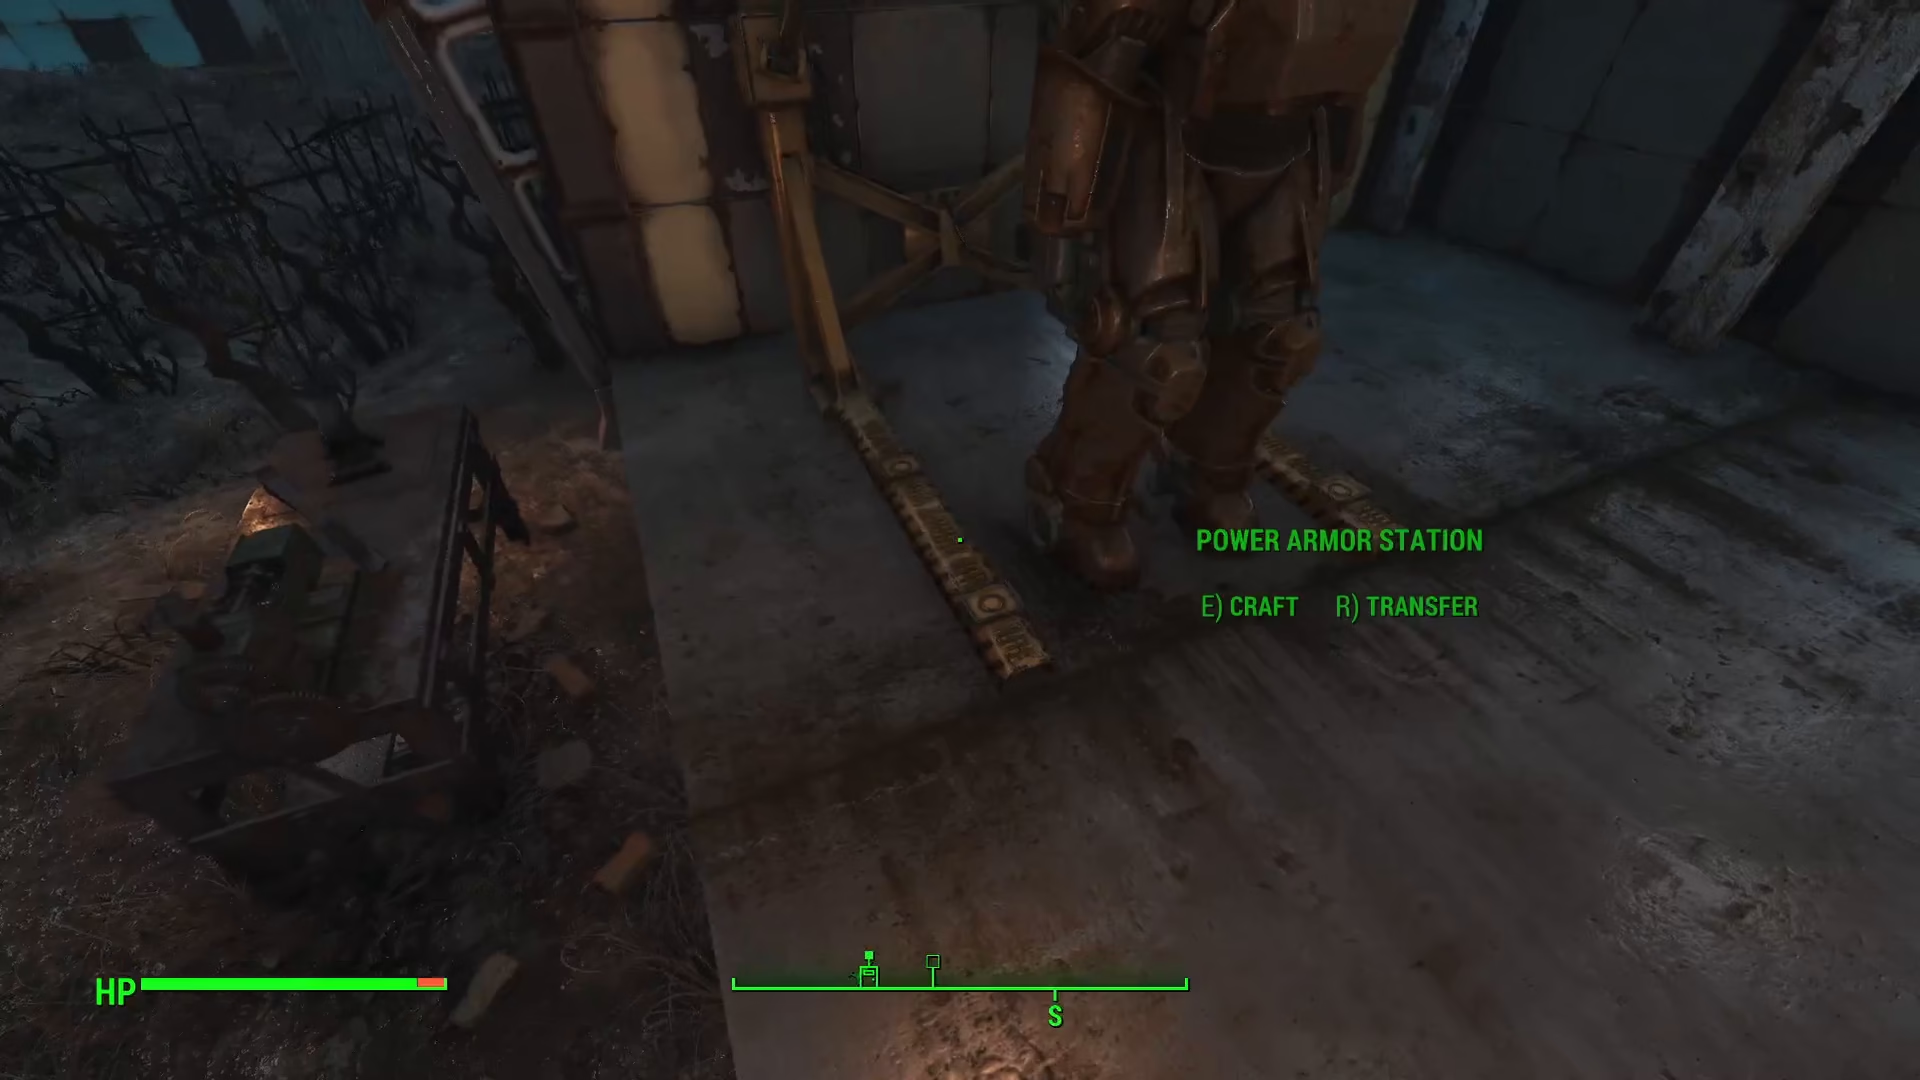
To begin, locate your power armor at the crafting station. Once you’re at the station, press E to enter the crafting menu.
Installing the Jetpack Mod
Select the Torso Piece
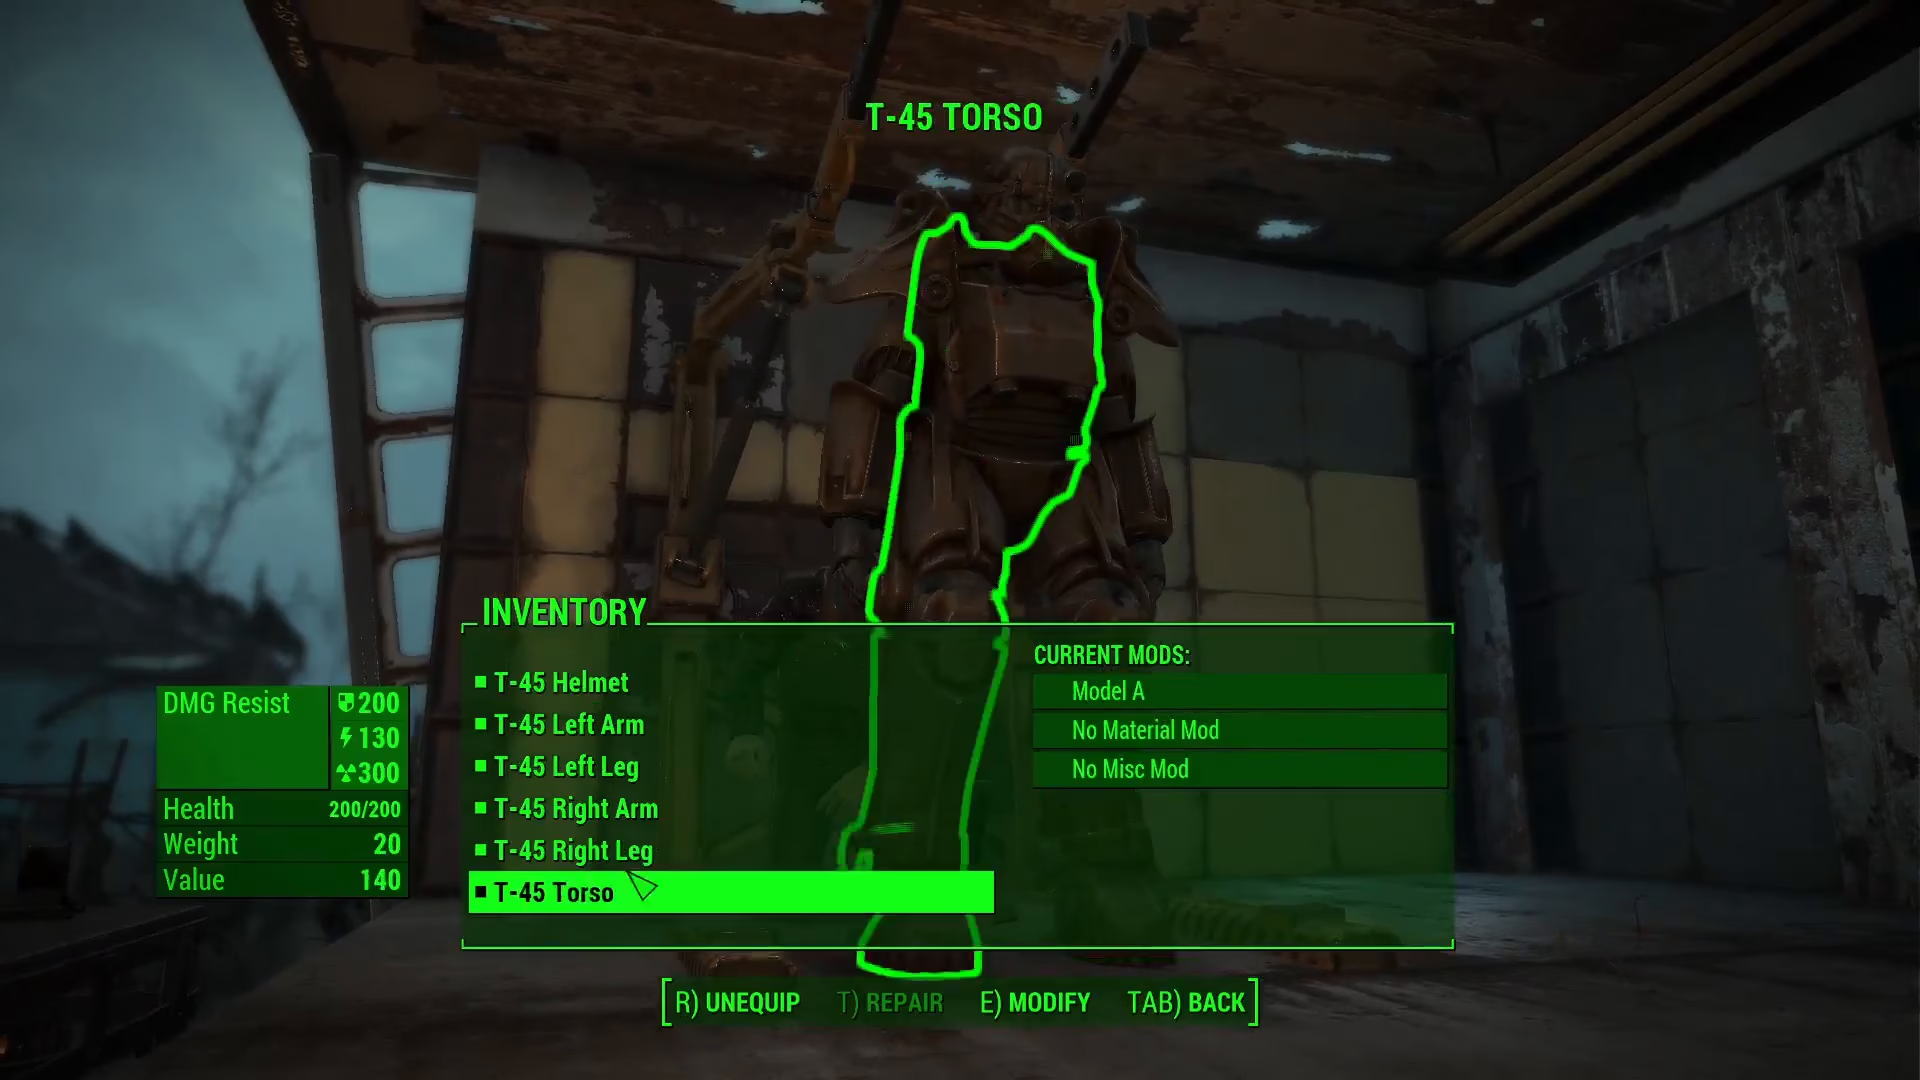
In the crafting menu, you’ll need to select the torso piece of your power armor. This is where the jetpack mod will be installed.
Navigate to Miscellaneous Mods
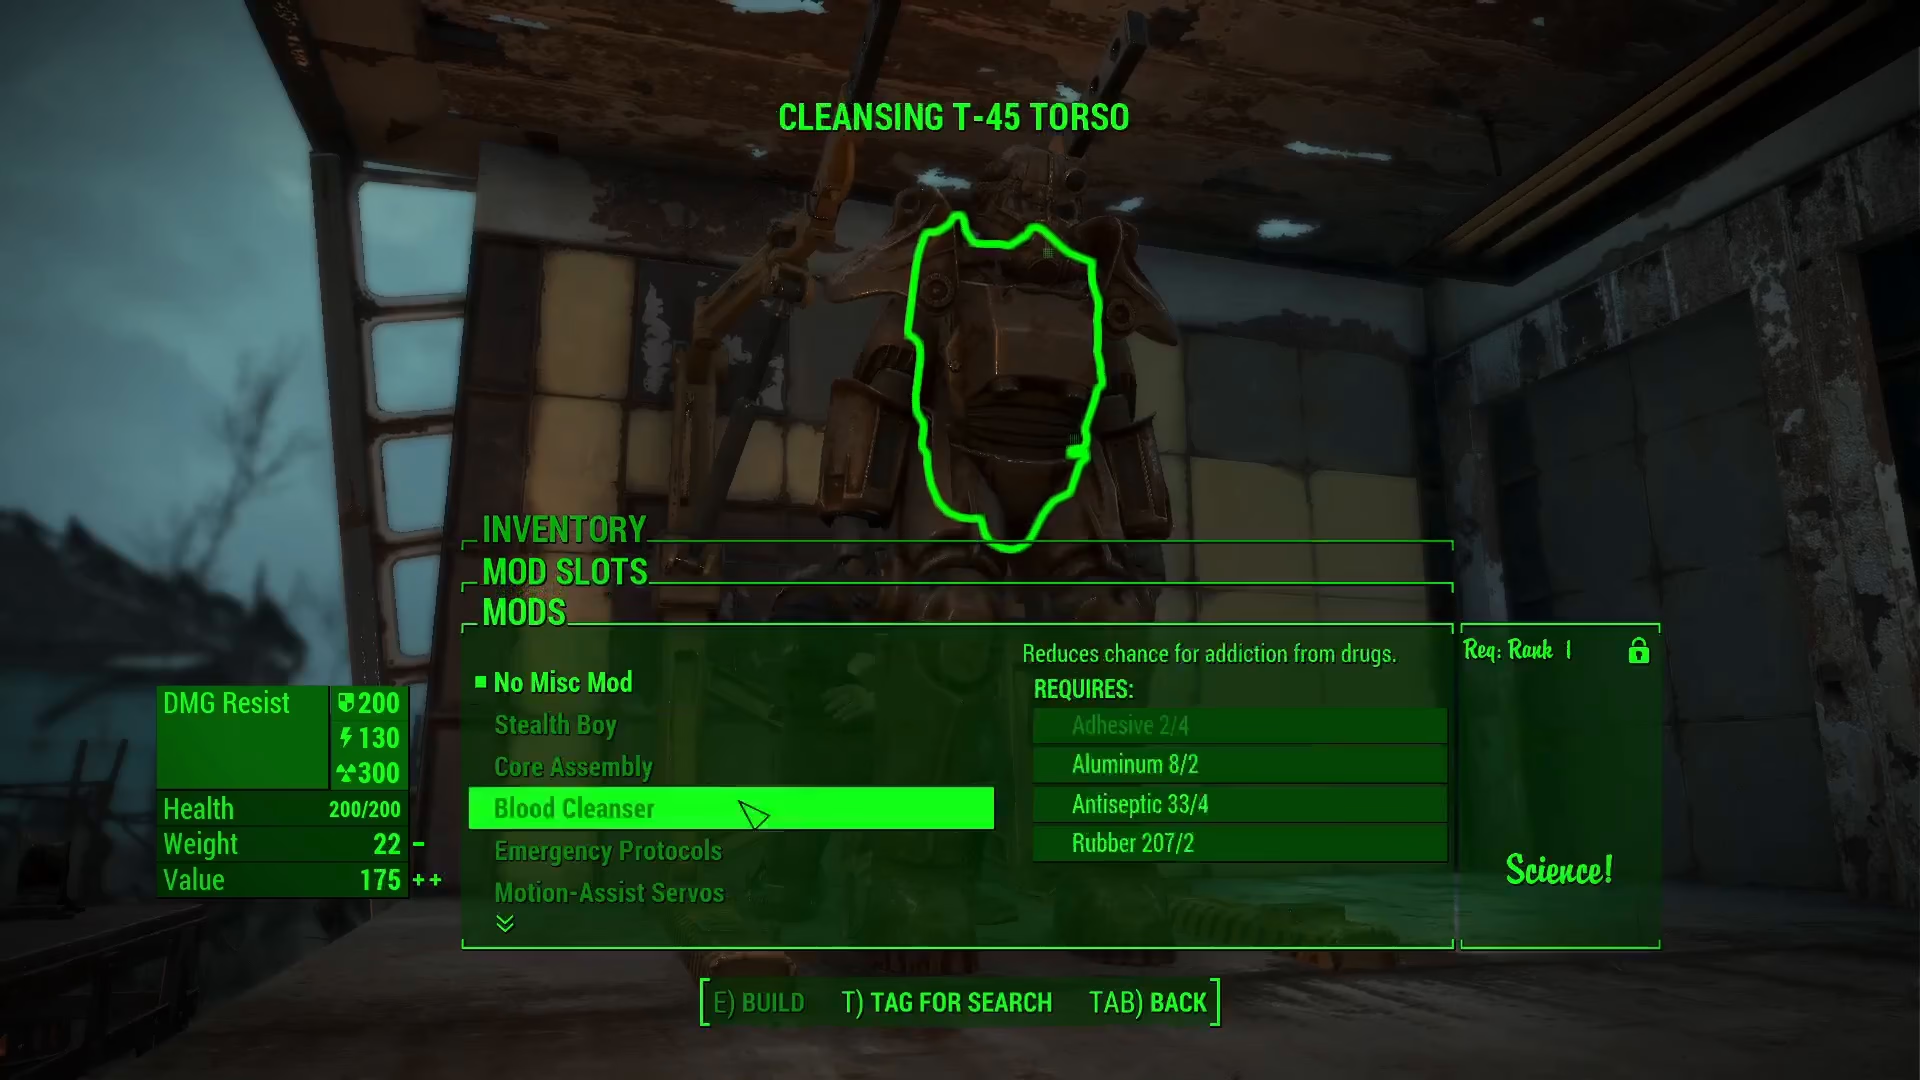
Once you’ve selected the torso piece, navigate to the miscellaneous mod category.
Equip the Jetpack Mod
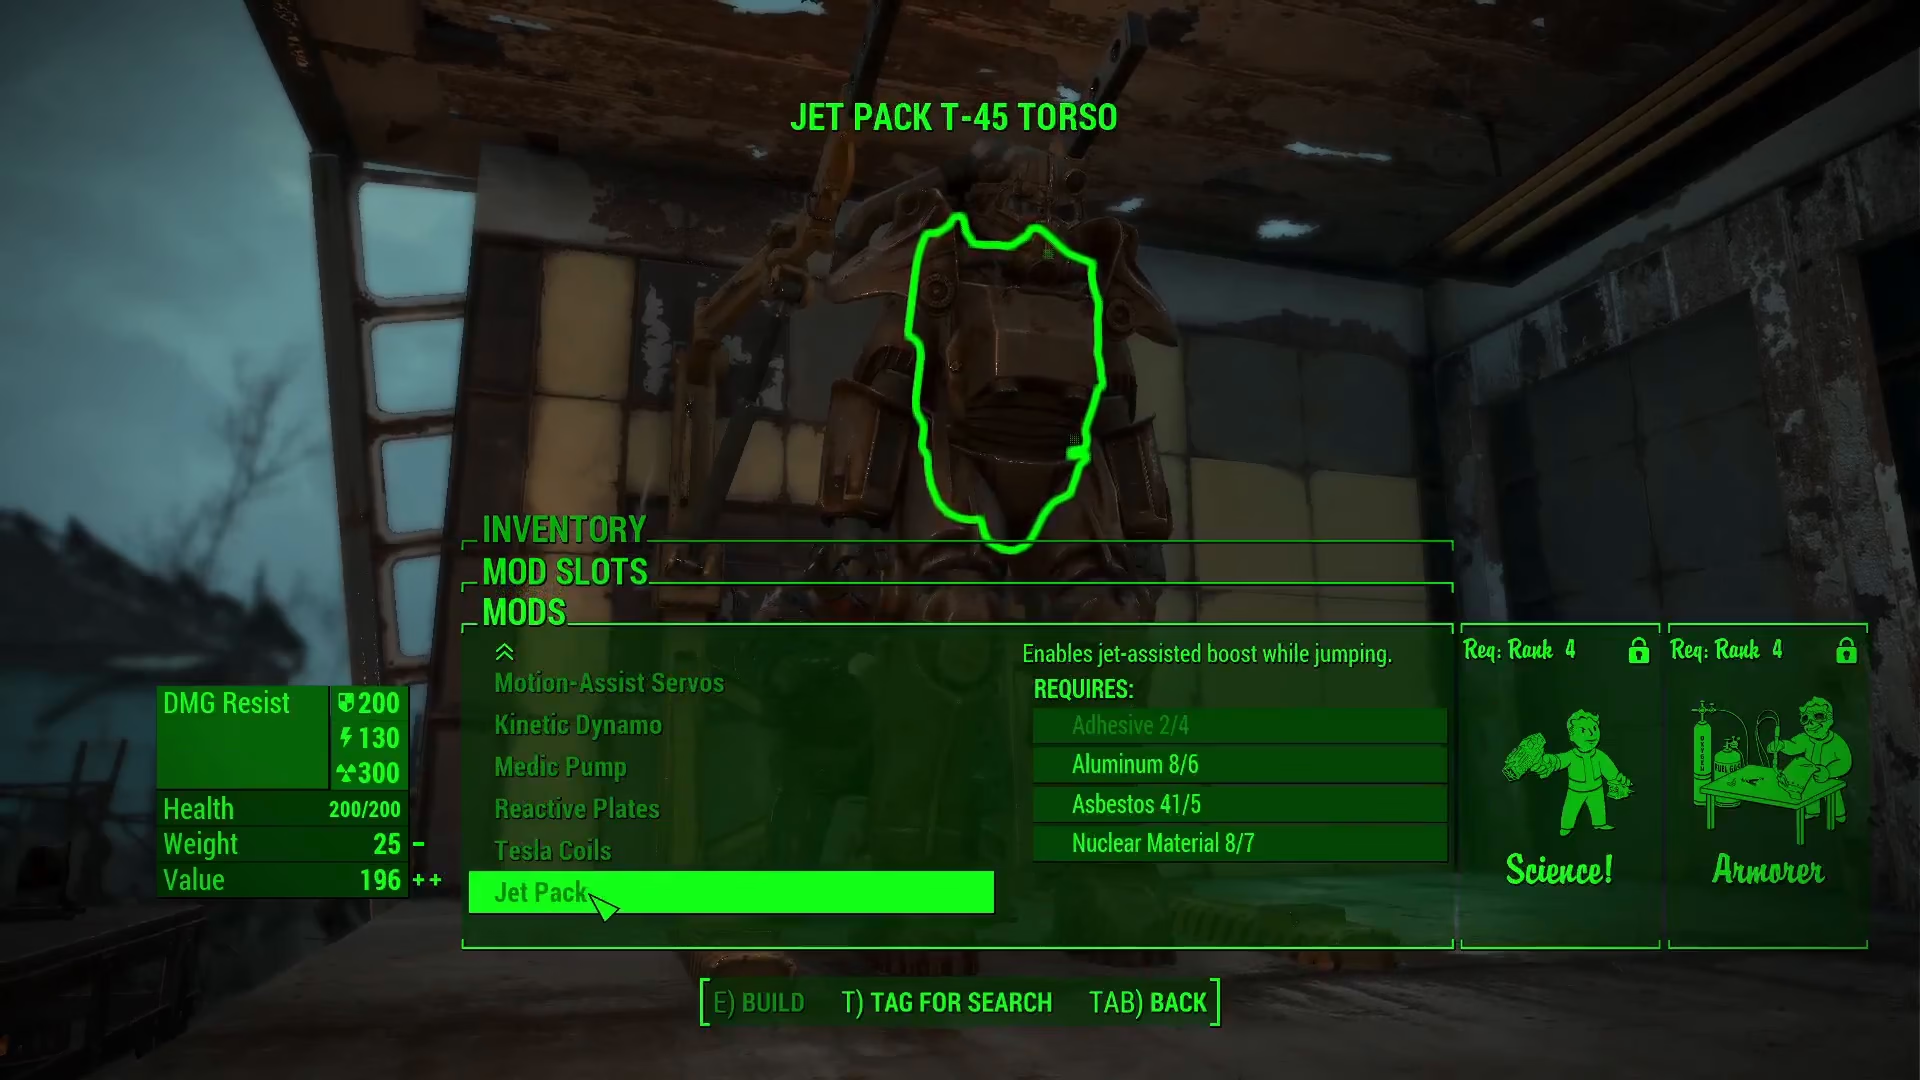
At the very bottom of the miscellaneous mods list, you’ll find the jetpack mod. Select it to install it on your power armor.
Skill Requirements
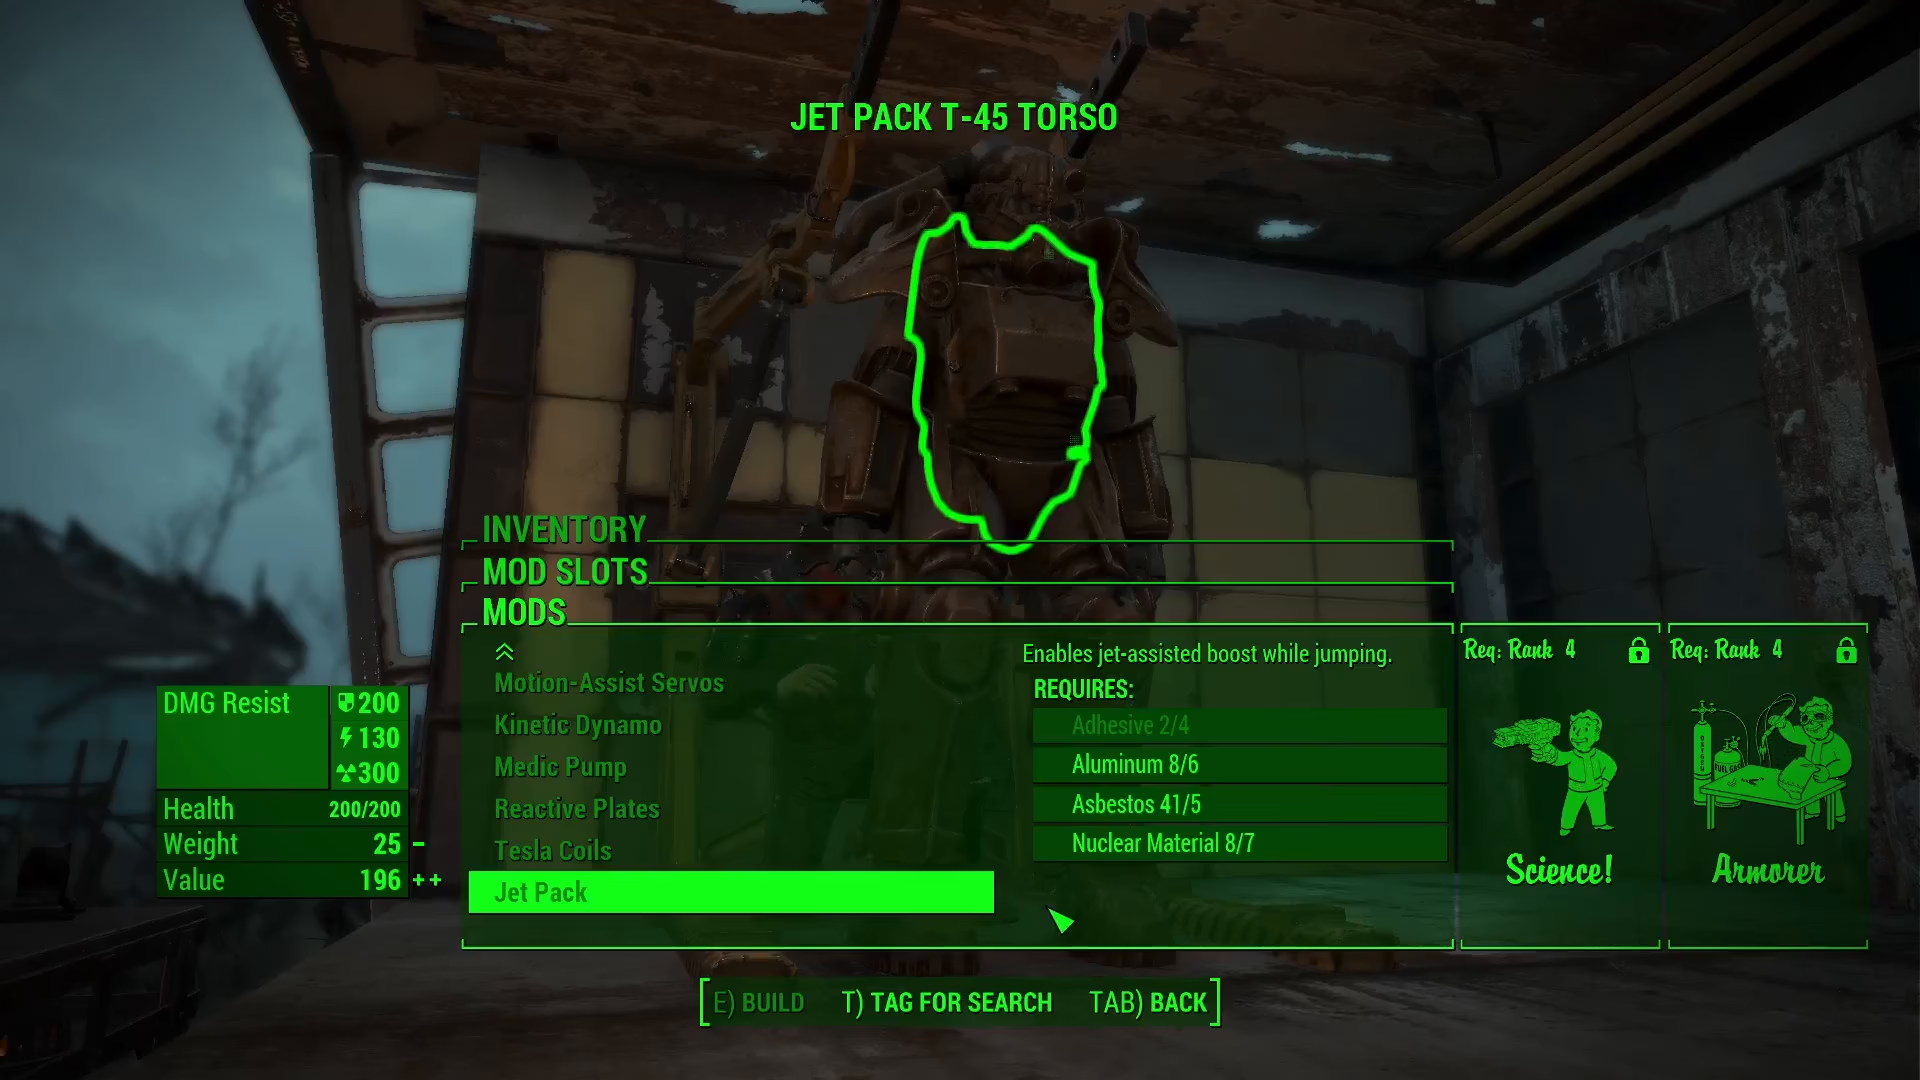
Before you can craft the jetpack mod, you’ll need to meet specific skill requirements. You must max out your rank in both the Science and Armorer perks. Meeting these requirements will allow you to craft the jetpack, though be aware that the material cost will be higher than basic modifications.
Summary
Installing a jetpack on your power armor in Fallout 4 is a straightforward process once you have the necessary perks. Access your power armor at a crafting station, select the torso piece, find the jetpack mod in the miscellaneous category, and install it. With maxed-out Science and Armorer ranks, you’ll be soaring through the Commonwealth in no time.
— Want to Support? —
If you would like to help us continue making these guides – please consider joining our patreon here – https://www.patreon.com/c/JaviHeals Alternatively – you can join our discord here – https://discord.gg/zD7Gjt6MHF