





How To Upgrade The Work Bench in Valheim
How To Upgrade The Work Bench in Valheim
The workbench in Valheim is an essential tool for crafting and improving your equipment. But upgrading it can be confusing if you don’t know what to do. This guide will walk you through the simple process of upgrading your workbench to unlock better crafting capabilities.
Checking Your Workbench Level
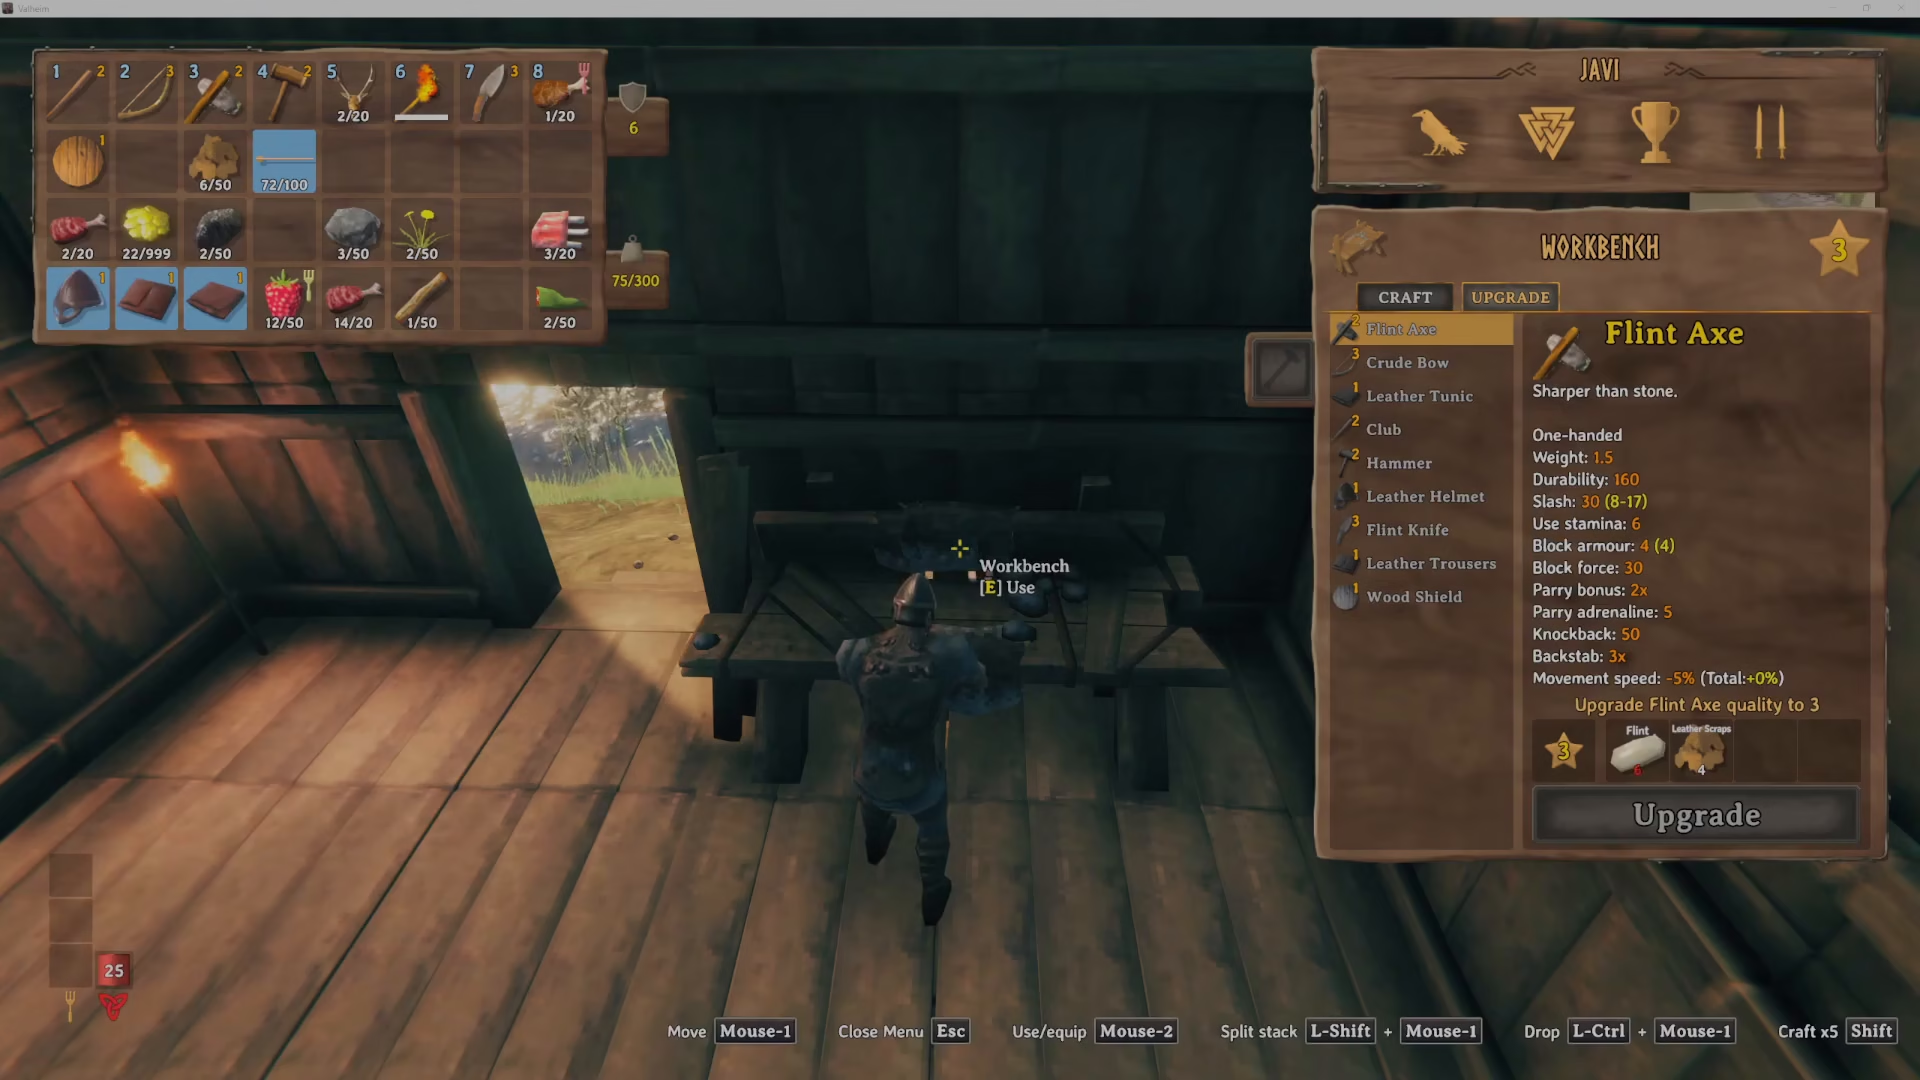
Before you can upgrade your workbench, you need to know what level it currently is. You can easily check this by looking at the star indicator on the right-hand side of your workbench interface. This star will display your current workbench level — for example, a level 3 workbench will show 3 stars.
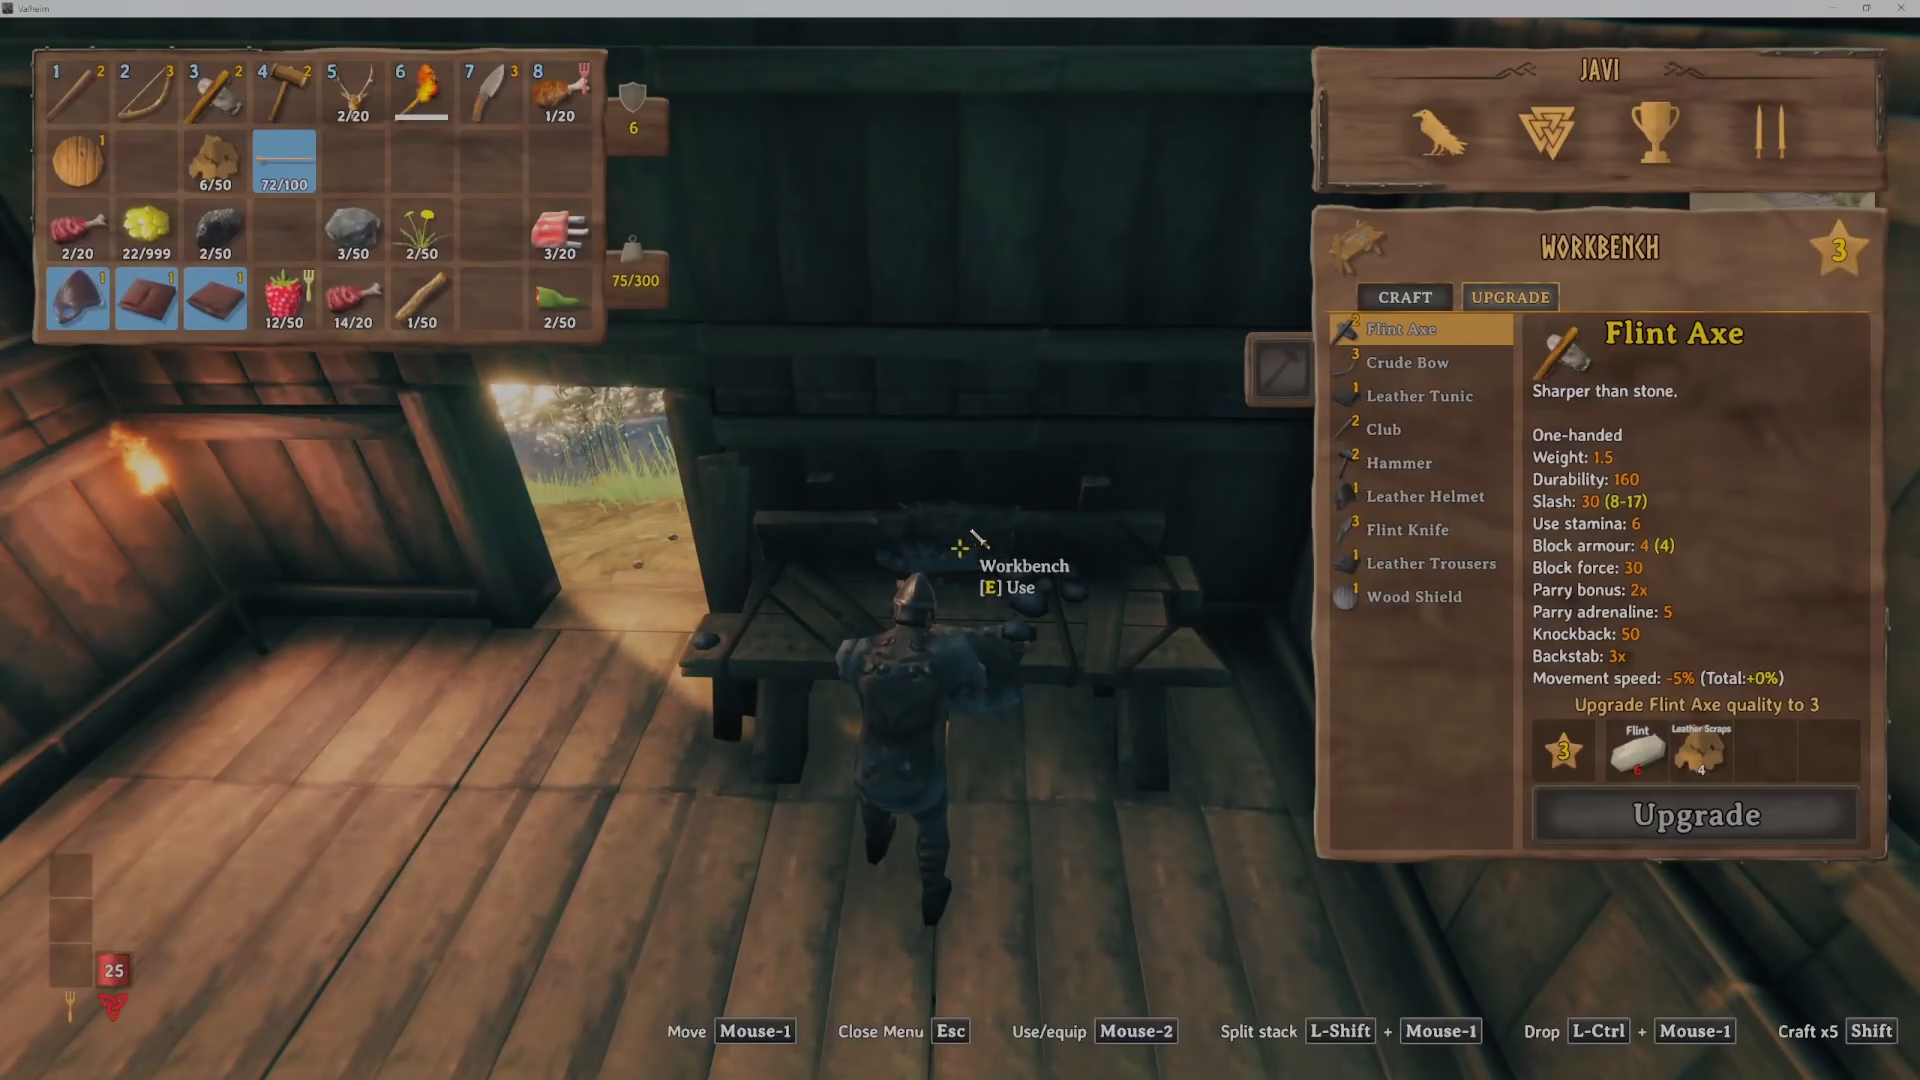
Understanding Workbench Upgrades
To upgrade your workbench, you’ll need to place specific attachment items nearby. To see which items can upgrade your workbench, equip your hammer and right-click to open the crafting menu. Any items that have a star next to them are workbench upgrades.
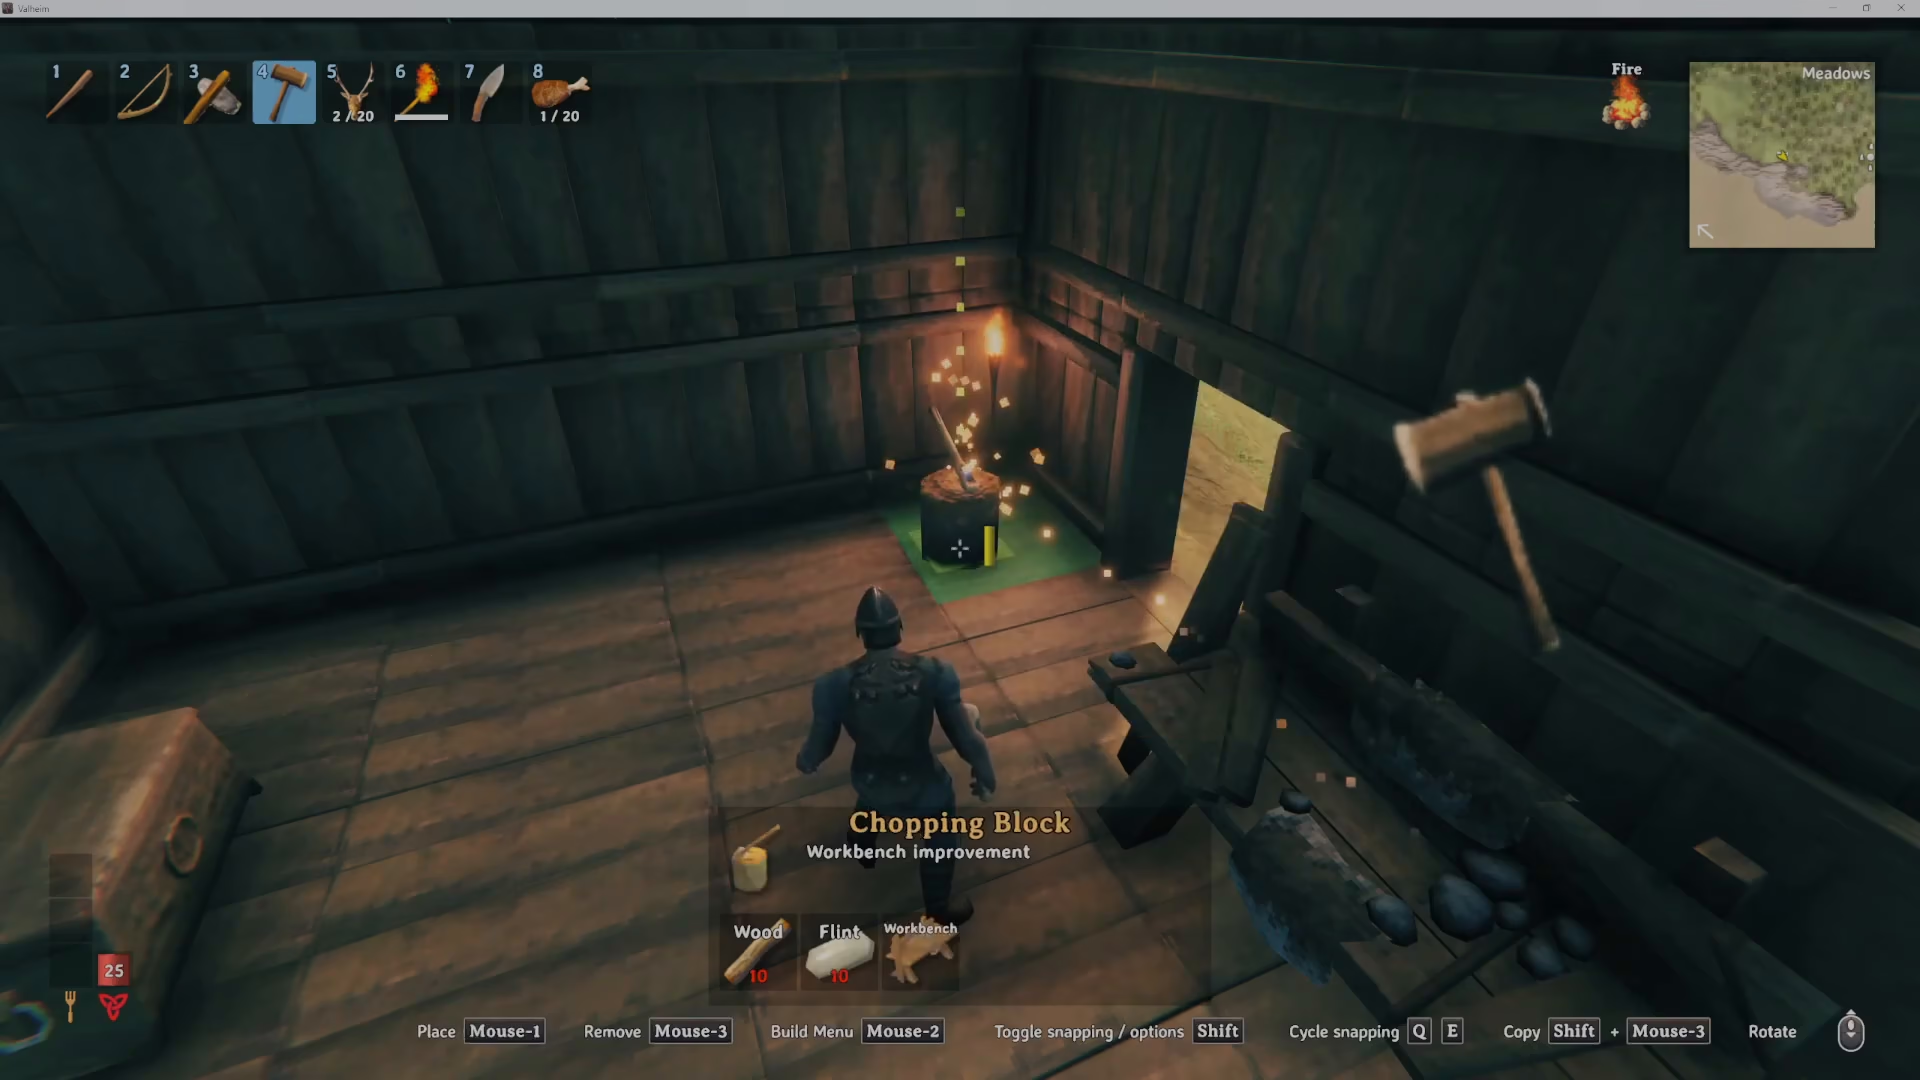
The Chopping Block
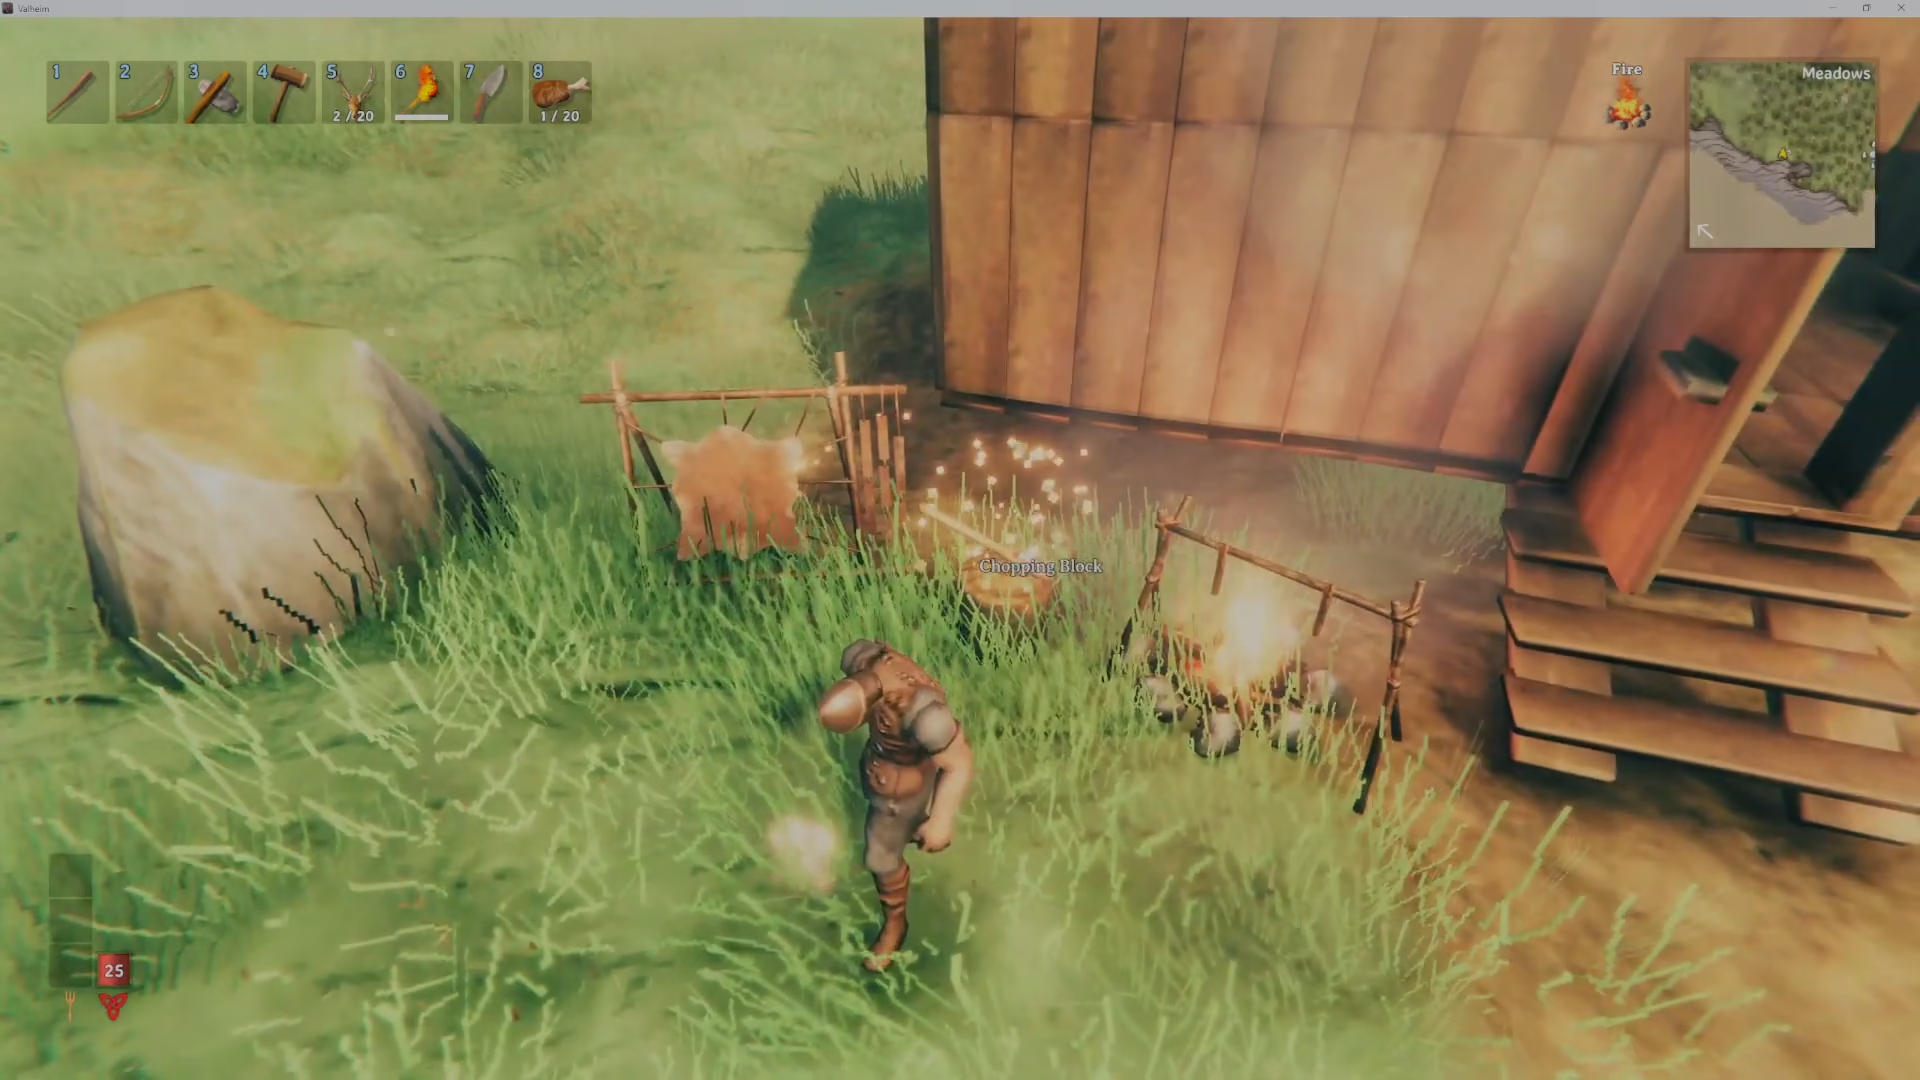
The chopping block is one of the primary workbench upgrades available in Valheim. When you place it down near your workbench, you’ll notice visual indicator dots connecting it to the workbench, showing that it’s properly positioned as an upgrade.
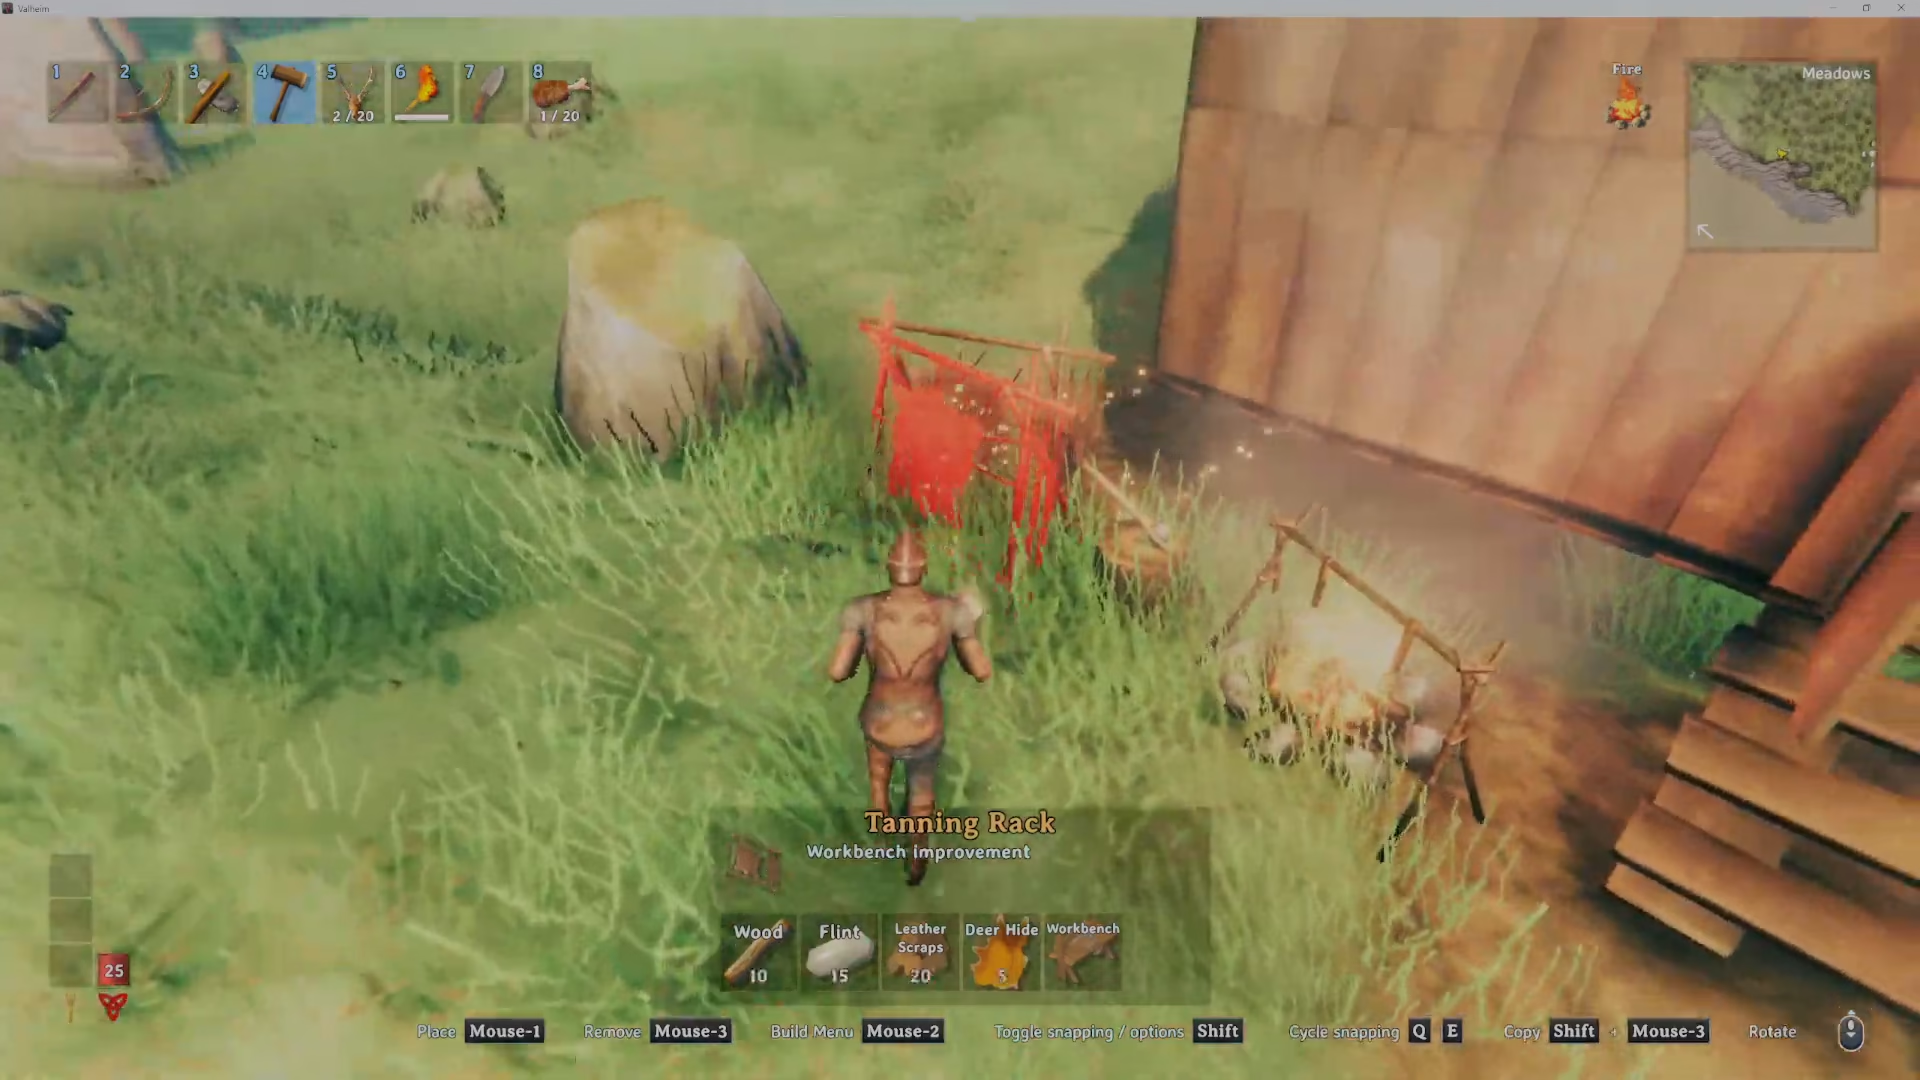
The Tanning Rack
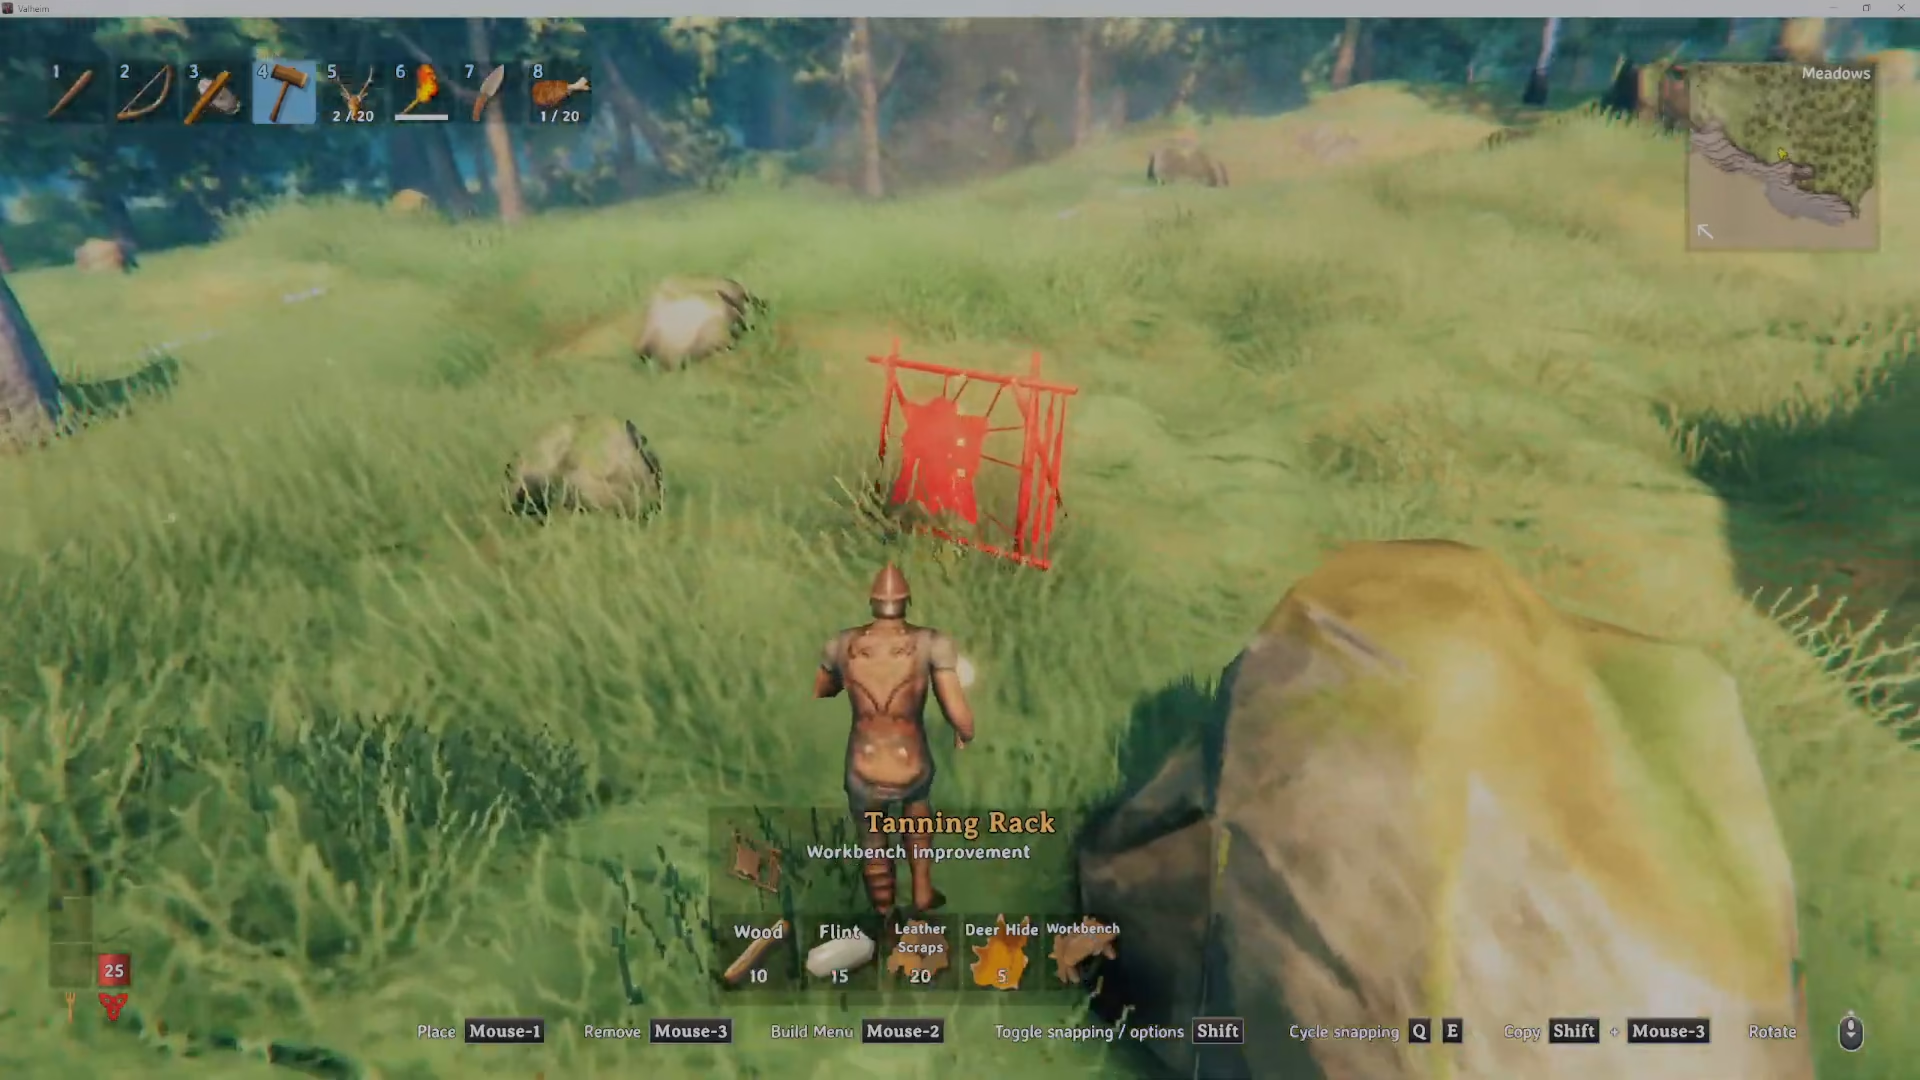
The tanning rack is another essential workbench upgrade that you can unlock by obtaining deer hide. Once placed in the correct location near your workbench, you’ll see the same connecting dots that indicate it’s functioning as an upgrade to your station.
Proper Placement is Key
When placing workbench upgrades, positioning matters. Make sure to place each upgrade item within the workbench’s influence area. You’ll know it’s correctly positioned when you see dots connecting the upgrade item to your workbench — if there are no connecting dots, the item isn’t close enough to function as an upgrade. If the placement is incorrect, simply move it until the connection appears.
Stacking Upgrades for Maximum Benefit
You can add multiple workbench upgrades to increase your workbench level further. In this example, with both the chopping block and tanning rack placed and connected to the workbench, you can see the dots linking all three items together, resulting in a level 3 workbench. Each upgrade you add will increase your workbench level and unlock new crafting recipes.
Conclusion
Upgrading your workbench in Valheim is straightforward once you understand the basics. Simply equip your hammer, check the crafting menu for items with stars, and place them near your existing workbench. Watch for the connecting dots to confirm proper placement, and you’ll be on your way to accessing higher-level crafting recipes. Keep experimenting with different upgrades to find the configuration that best suits your playstyle.
Want to Support?
If you would like to help us continue making these guides – please consider joining our patreon here – https://www.patreon.com/c/JaviHeals
Alternatively – you can join our discord here – https://discord.gg/zD7Gjt6MHF