




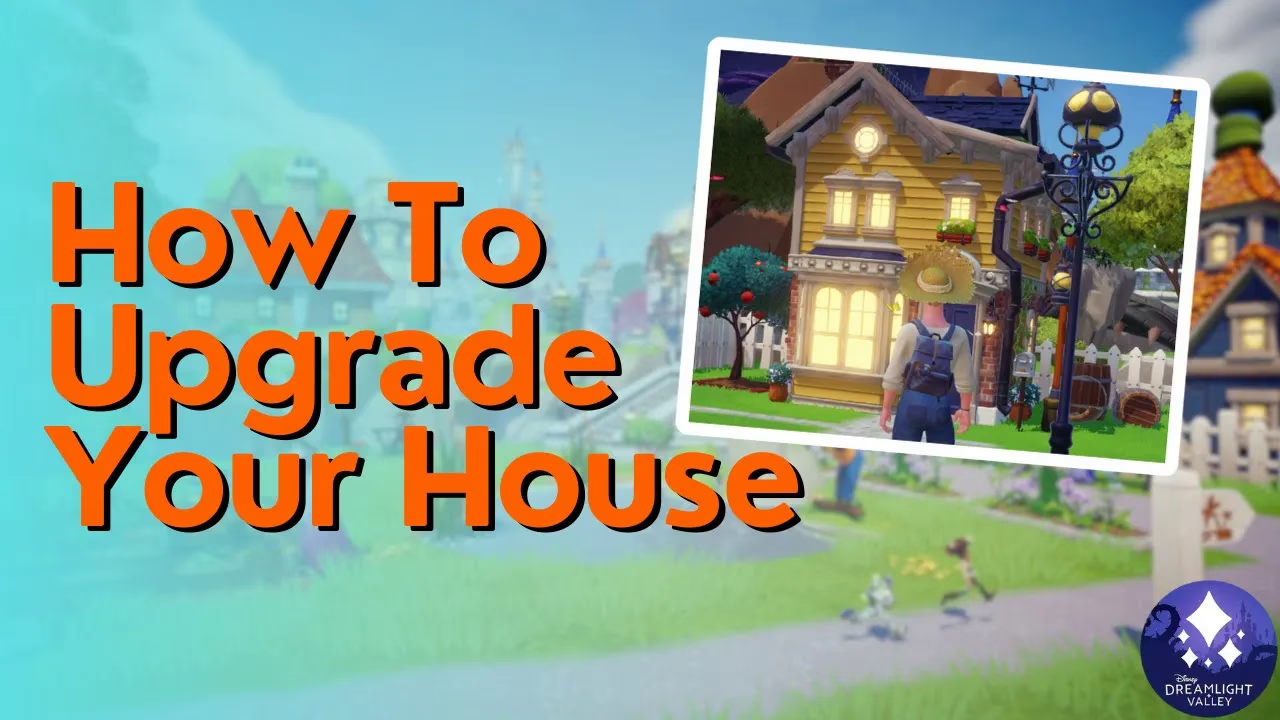
How to Upgrade Your House in Disney Dreamlight Valley
How to Upgrade Your House in Disney Dreamlight Valley
Ready to expand your dream home in Disney Dreamlight Valley? Upgrading your house is one of the most rewarding features in the game, allowing you to add new rooms, floors, and storage space. This guide will walk you through every step of the house upgrade process, from initial quest requirements to maximizing your home’s potential.
Prerequisites: Complete Valley Economics 101
Before you can upgrade your house, you must first complete the Valley Economics 101 quest with Scrooge McDuck. During this quest, you’ll need to:
Sell some gemstones at Goofy’s Stool
Invest money into Scrooge’s store
Once this quest is complete, you’ll unlock access to house upgrades and receive an elevator in your home.
Your First House Upgrade
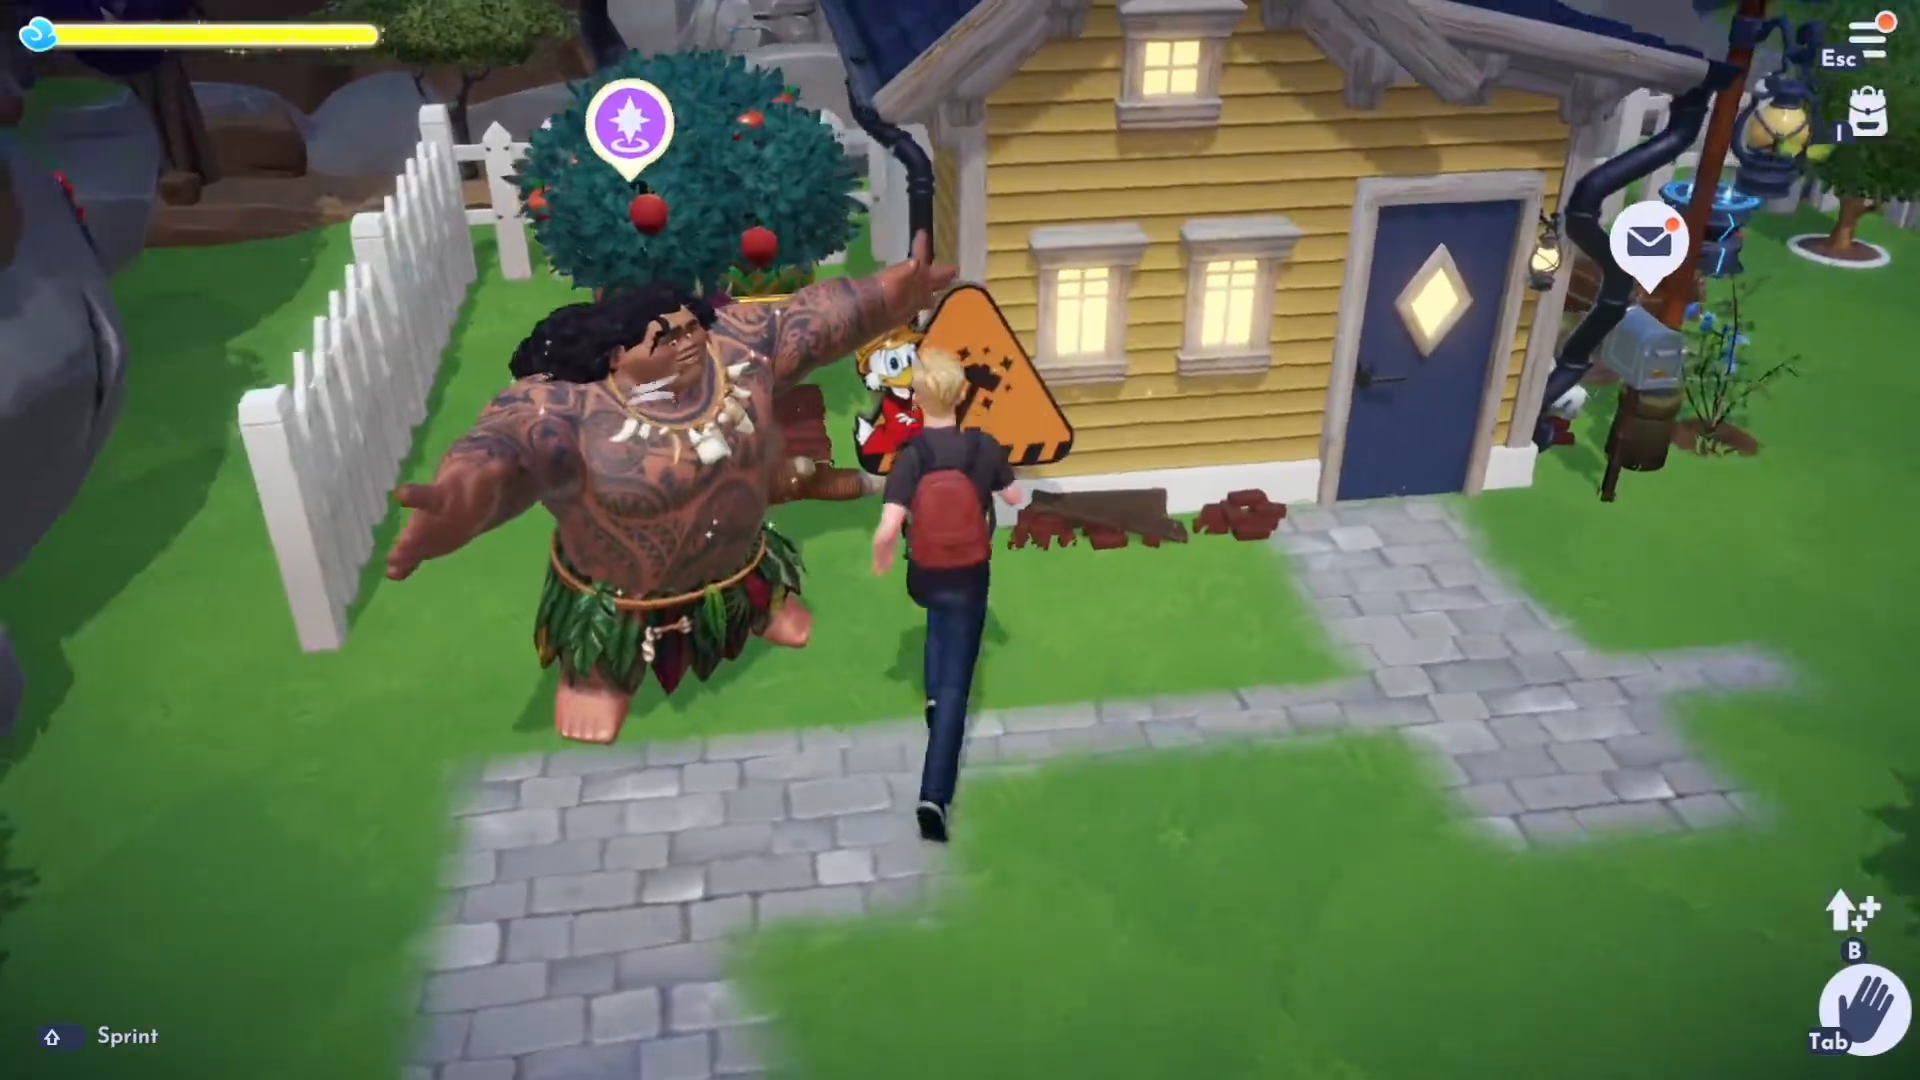
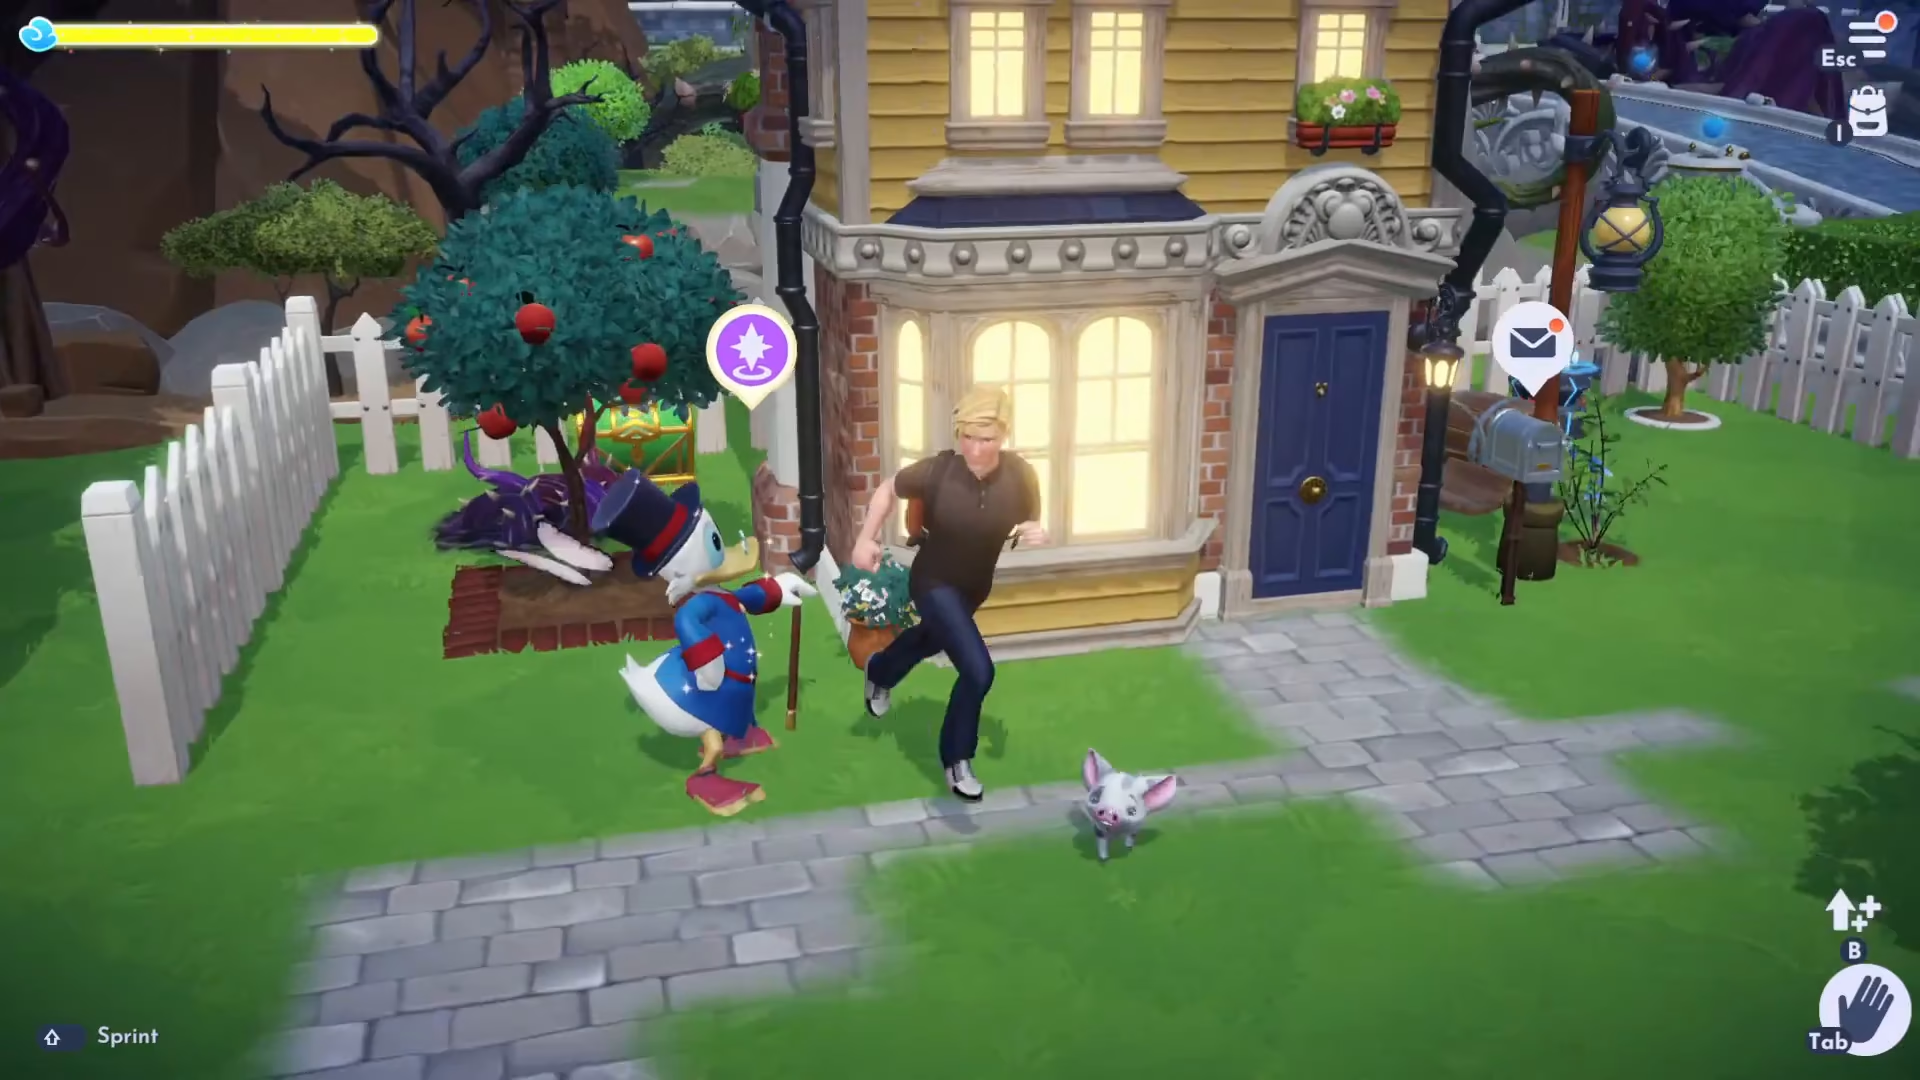
After completing Valley Economics 101, return to your house. You’ll notice an upgrade sign outside your home. Click on it, and you’ll receive a message offering improvements including more storage space, additional rooms, and an upper floor.
Your first upgrade will cost 20,000 gold. Once purchased, your house transforms into a two-story structure with improved aesthetics, including decorative flowers and a more polished appearance.
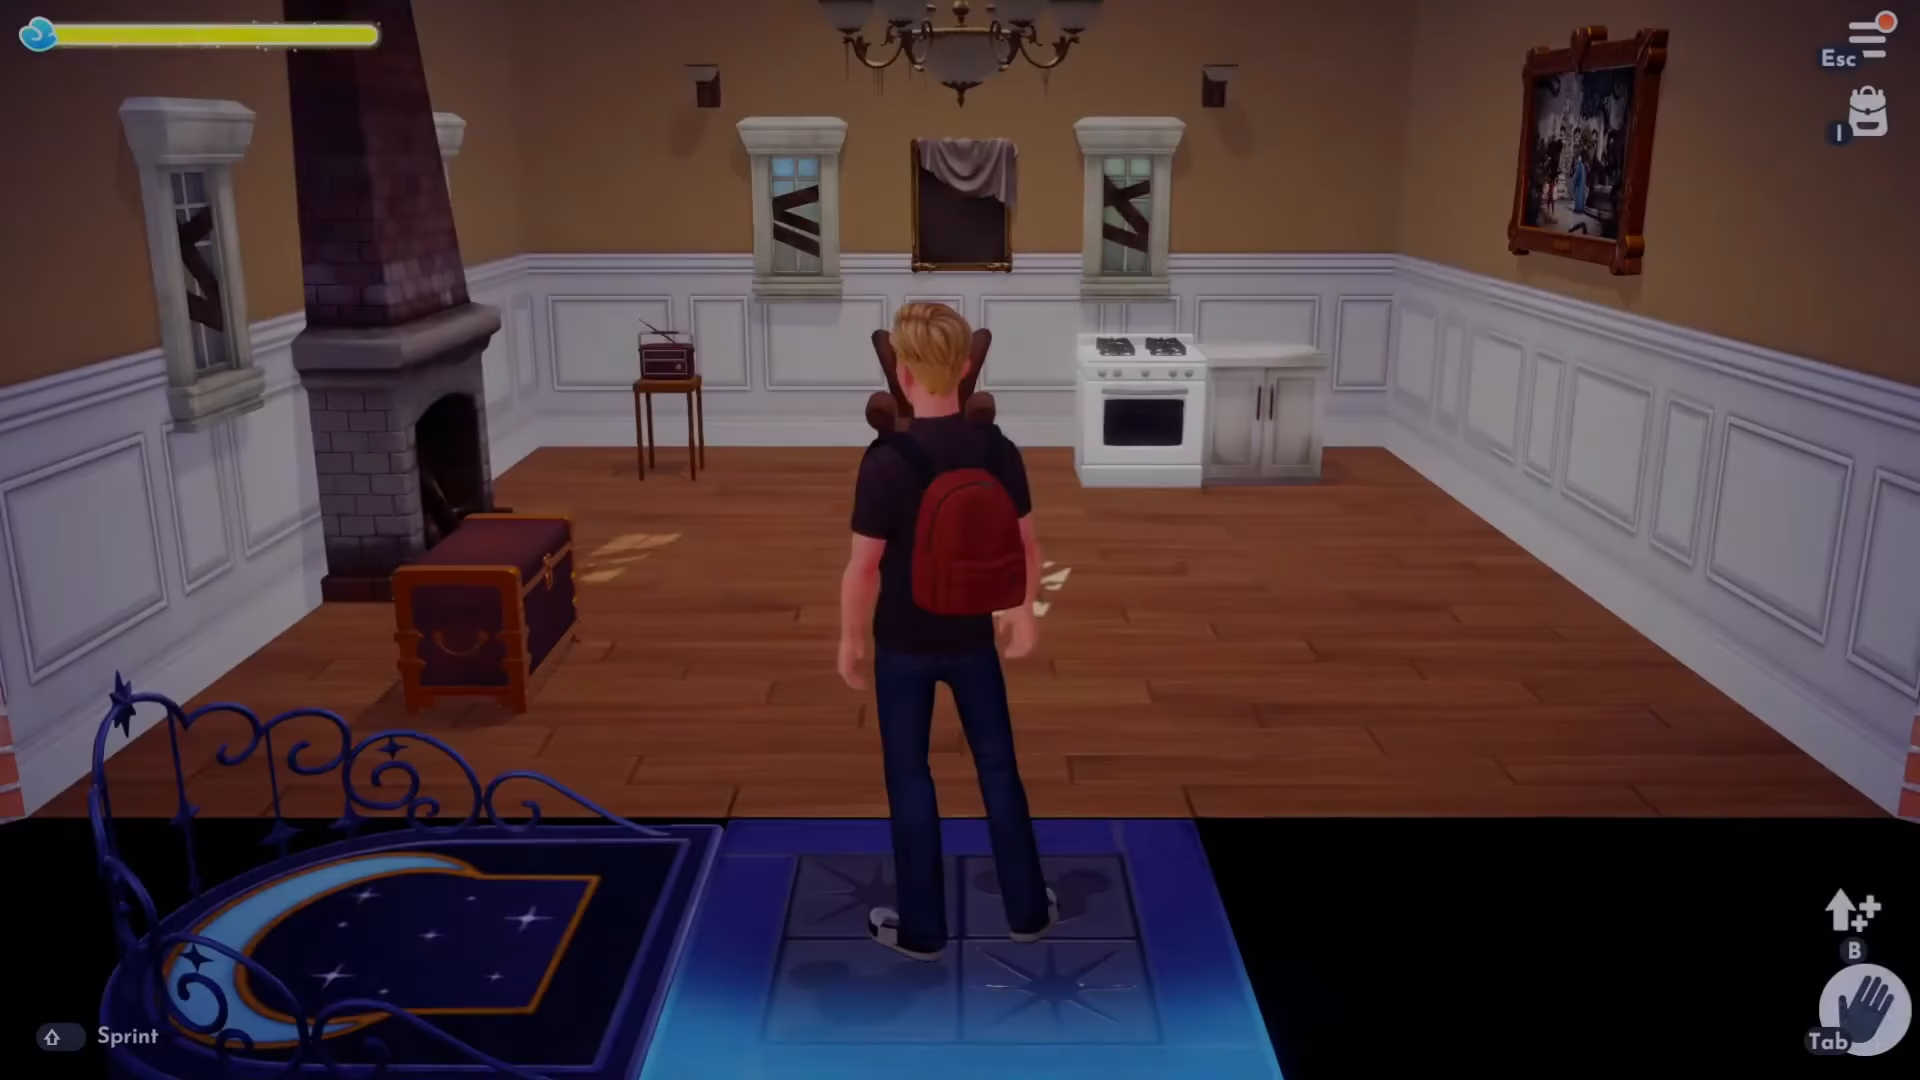
Inside, you’ll notice that each upgrade automatically adds an extra row of storage to your main room.
Expanding the Main Area and Adding Rooms
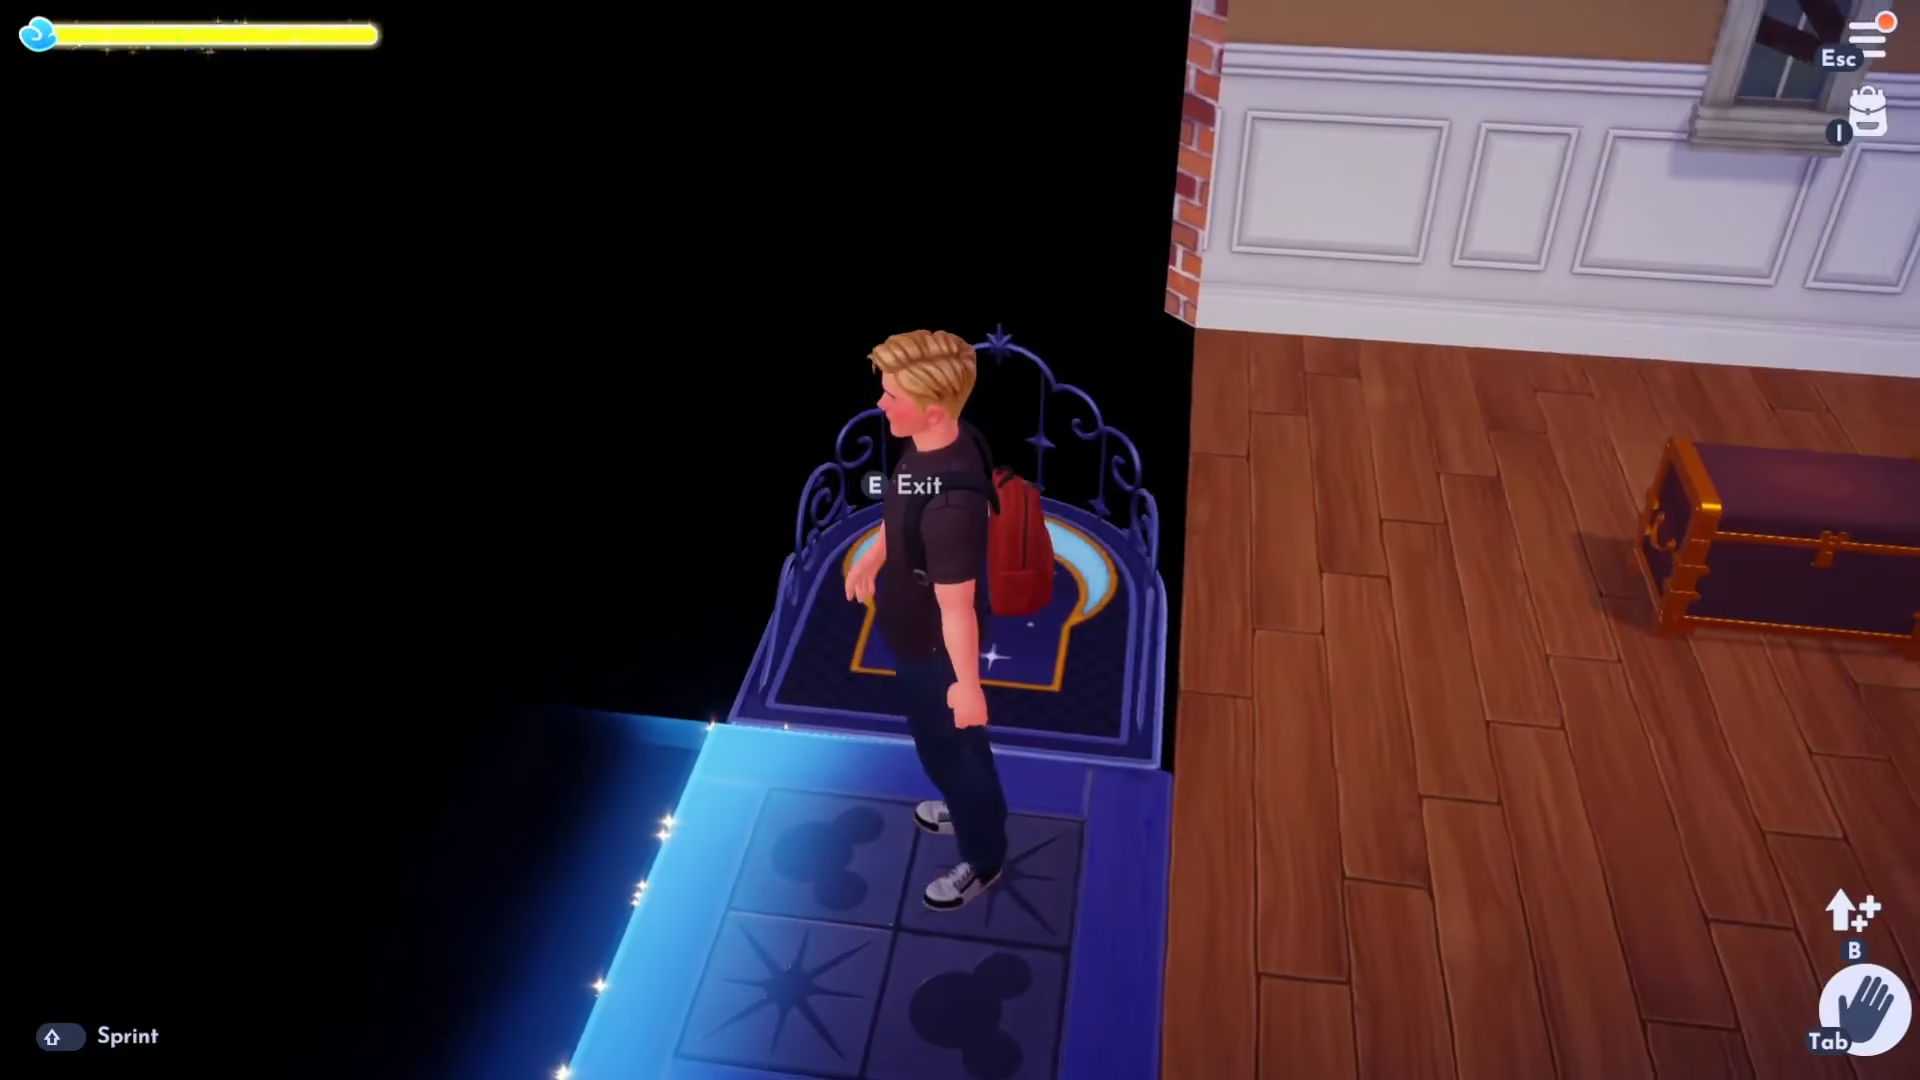
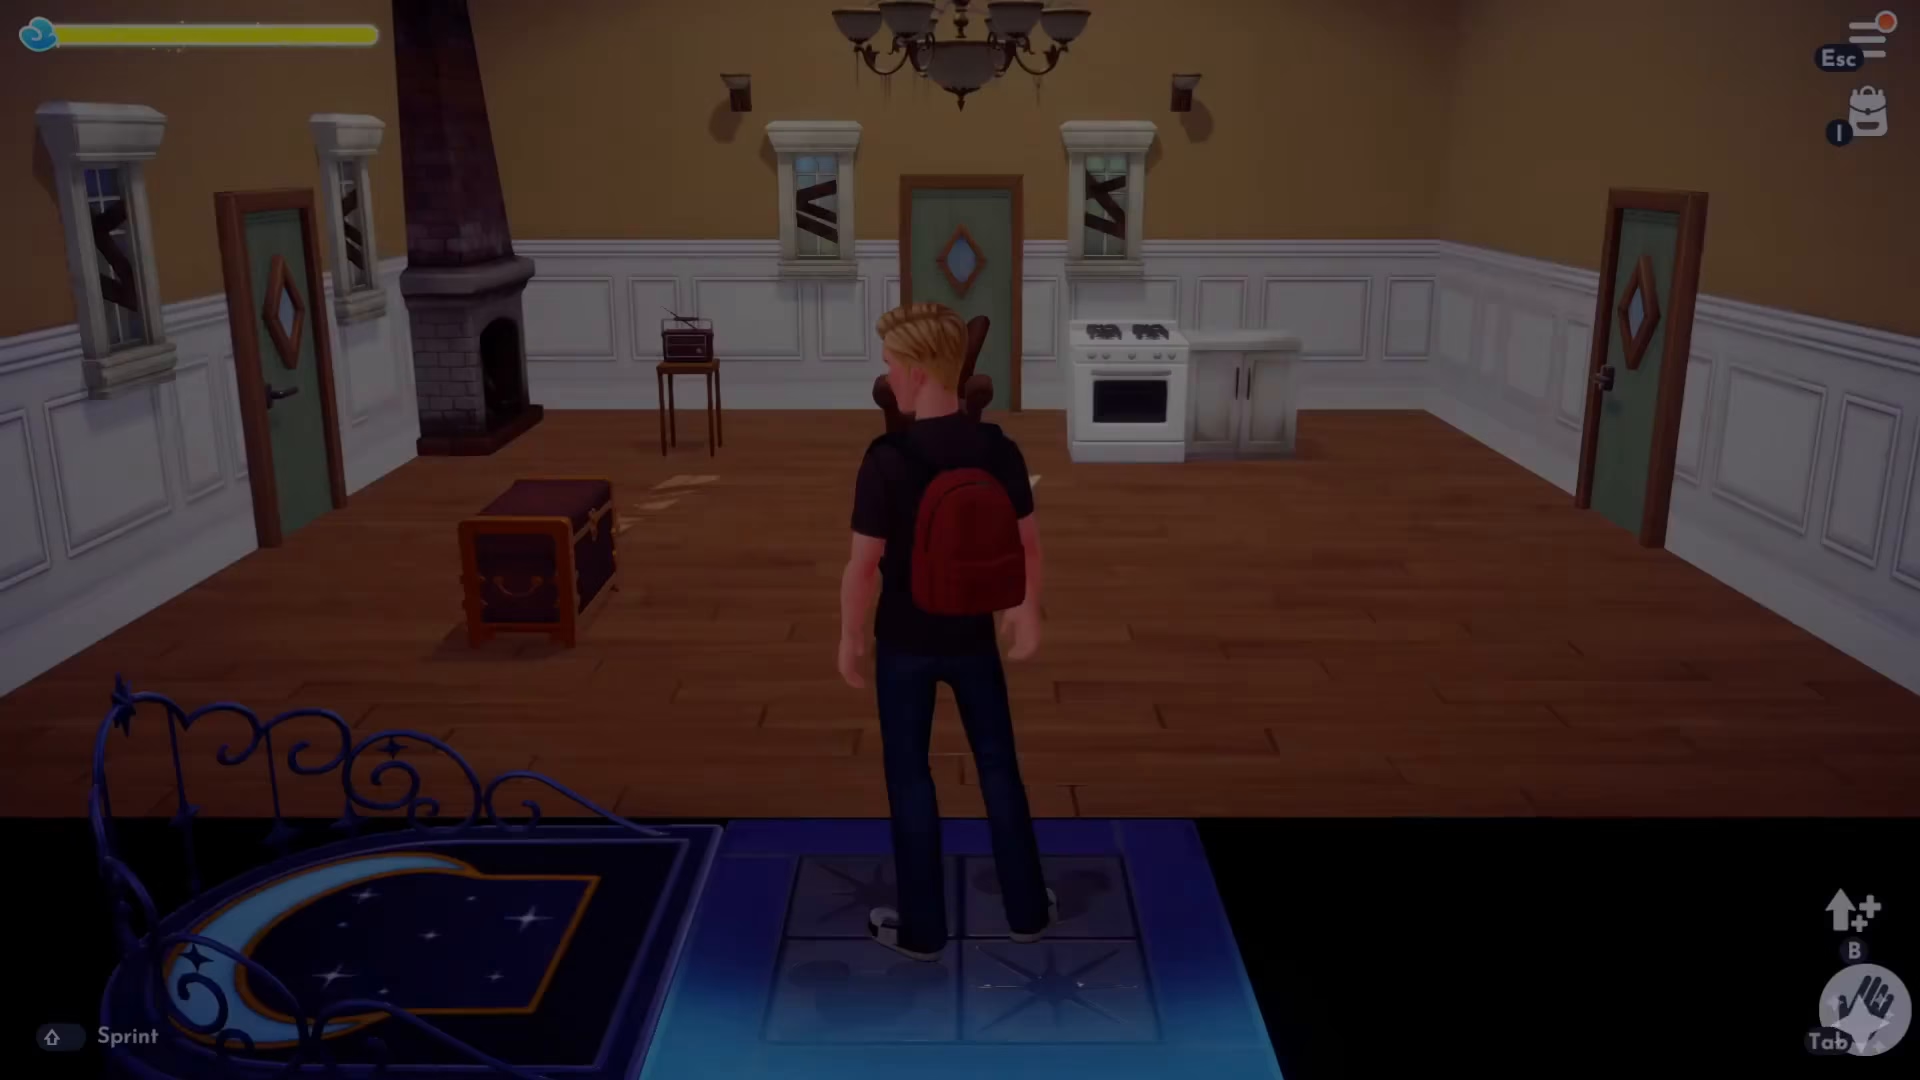
Use the elevator inside your house and select Expand House. From here, you can expand your main floor area for 2,000 gold.
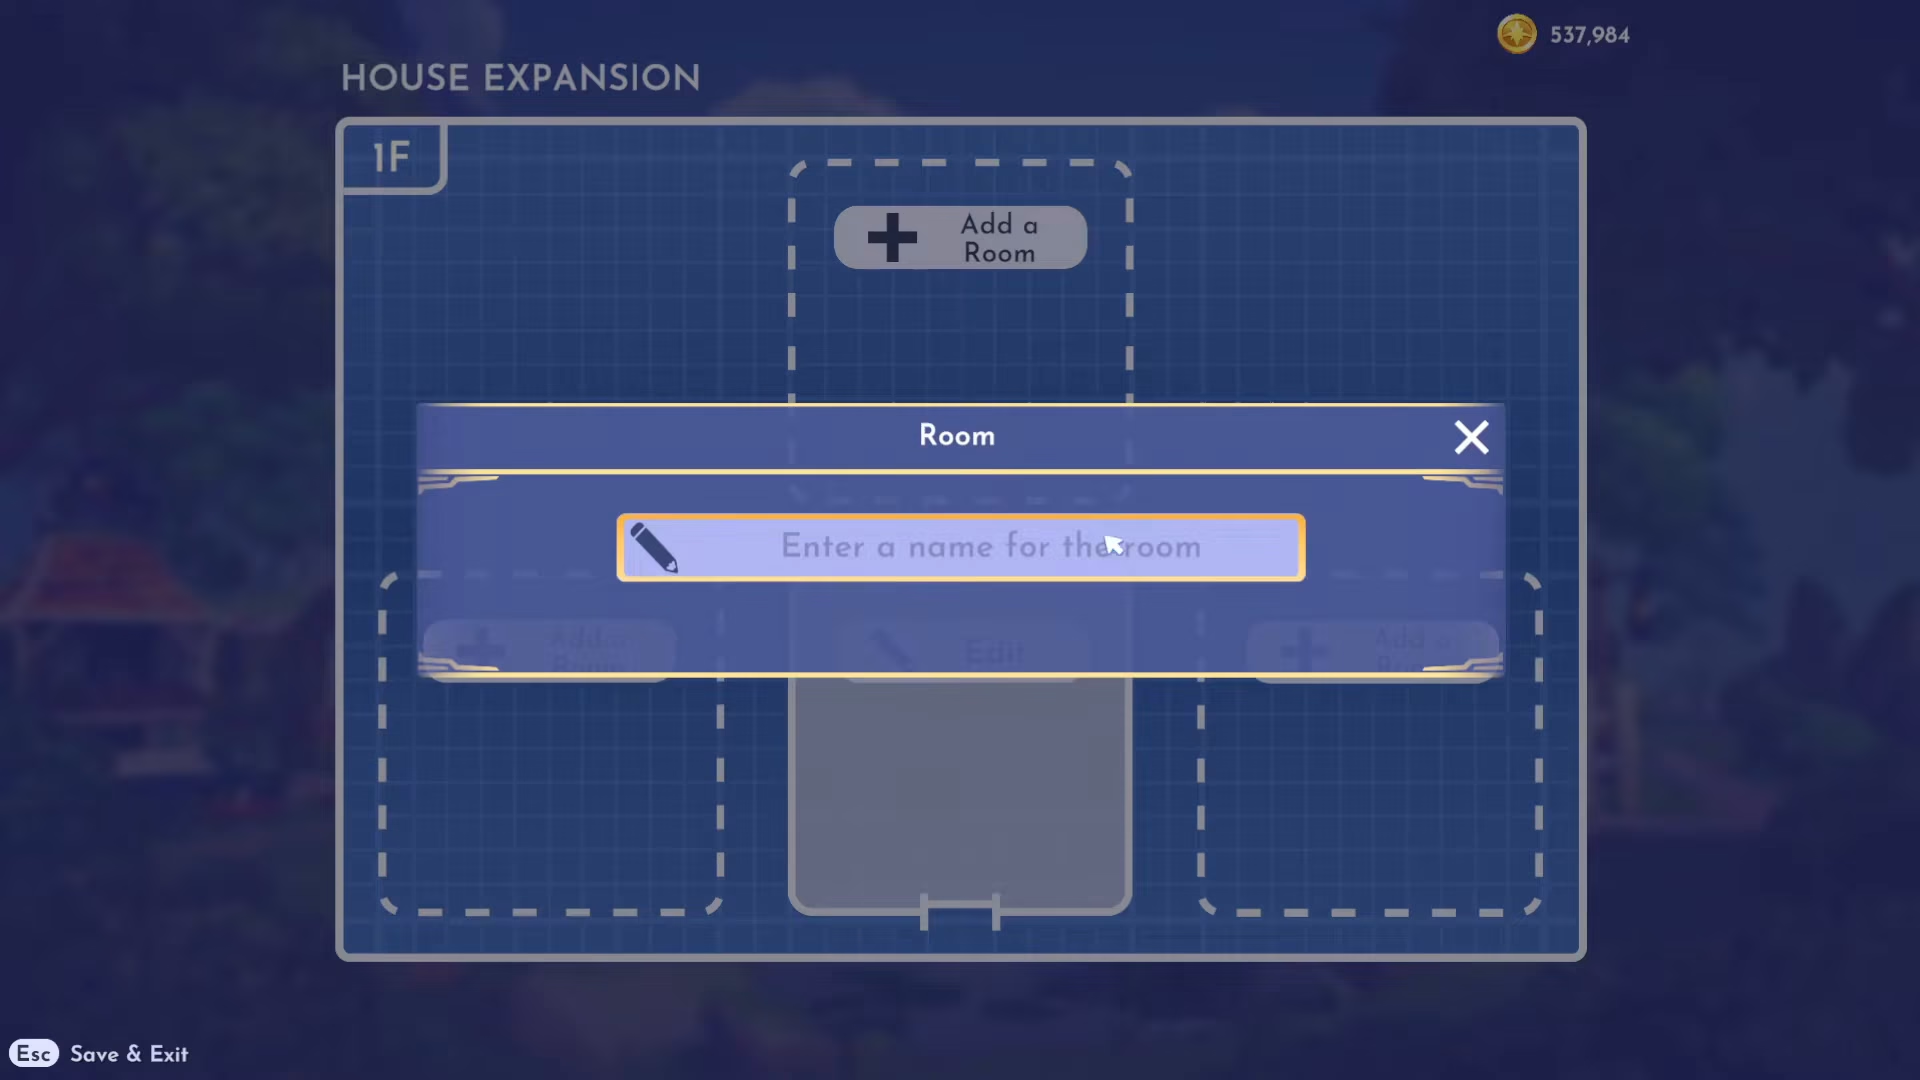
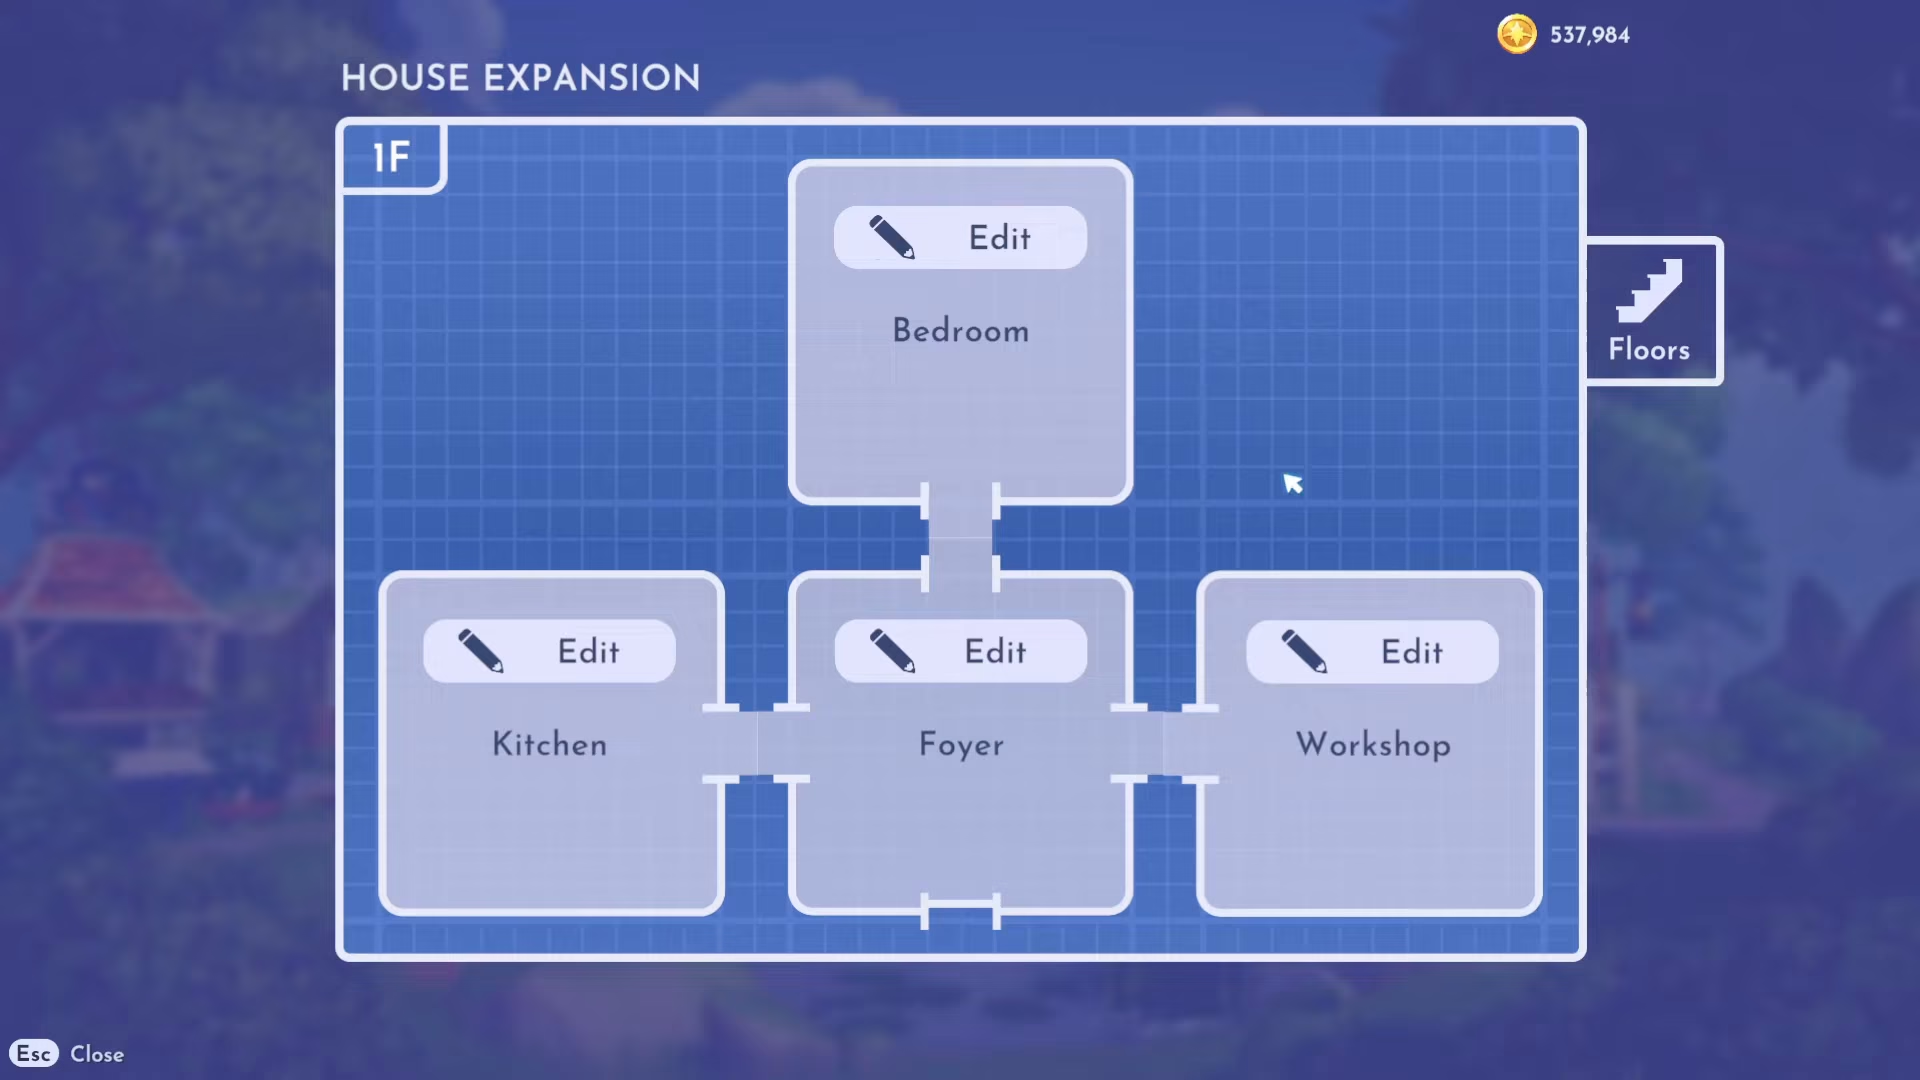
Once expanded, you can add custom rooms. Each room can be named—for example, “Foyer,” “Kitchen,” “Bedroom,” or “Workshop.” Choose from three size options:
6×6 room: 1,000 gold
8×8 room: 2,000 gold
10×10 room: 3,000 gold
Placing Room Doors
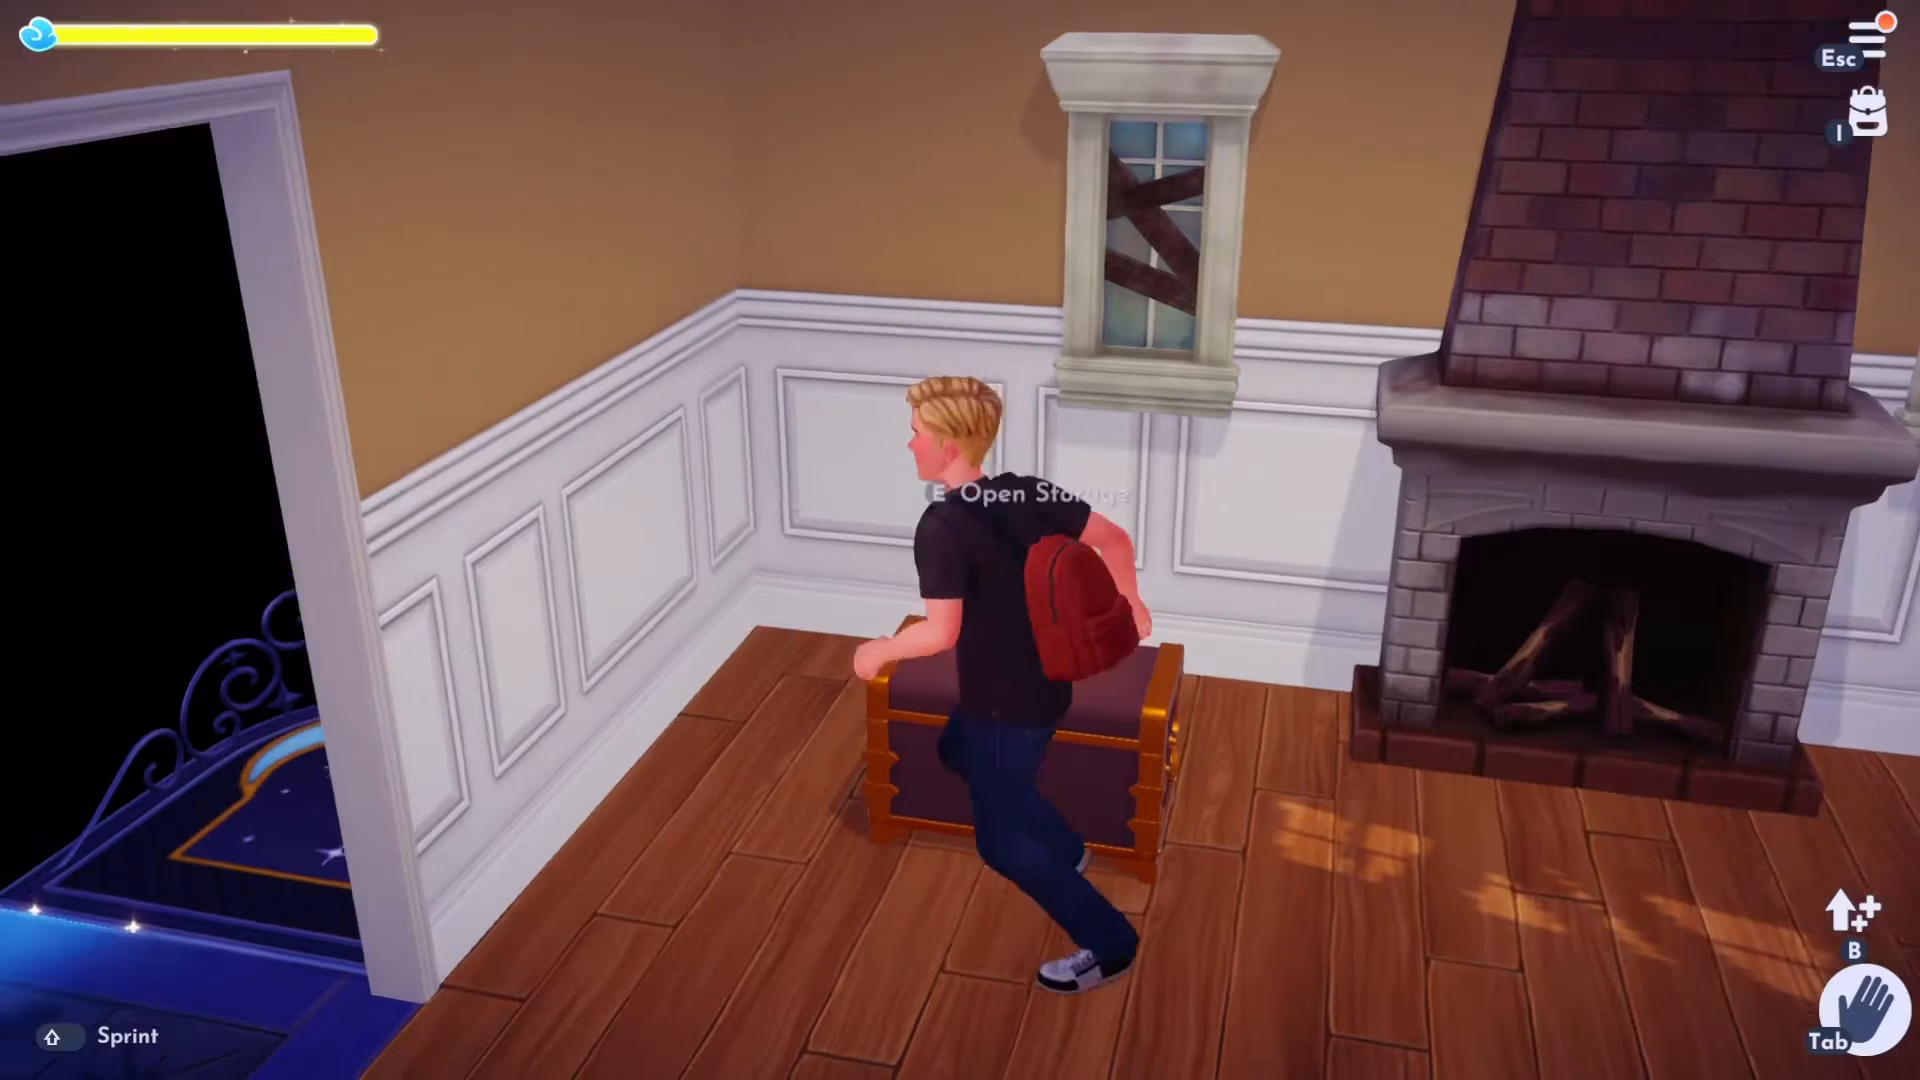
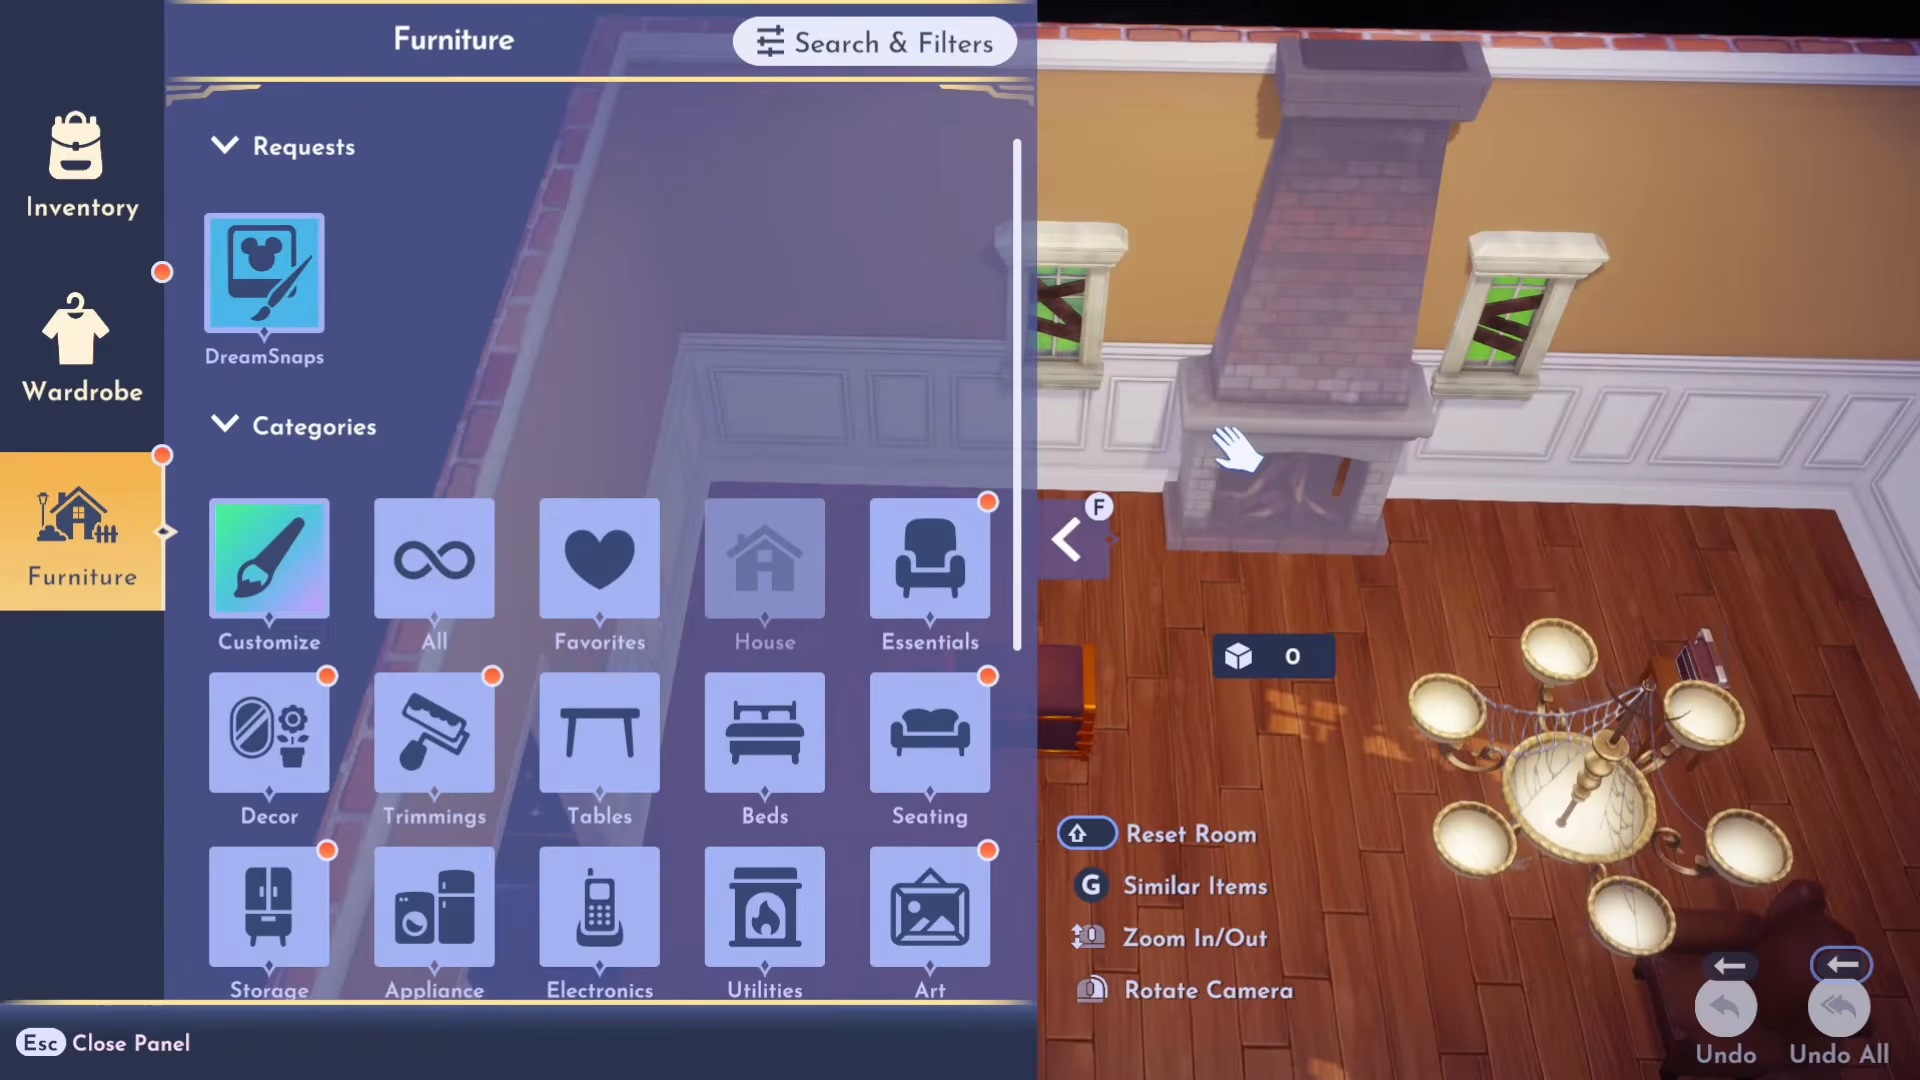
When adding a new room, you’ll need to position the door. You can move existing furniture (like a fireplace) out of the way to make space for the door. The door must be placed on the same wall as the connecting room to function properly.
Adding Multiple Floors
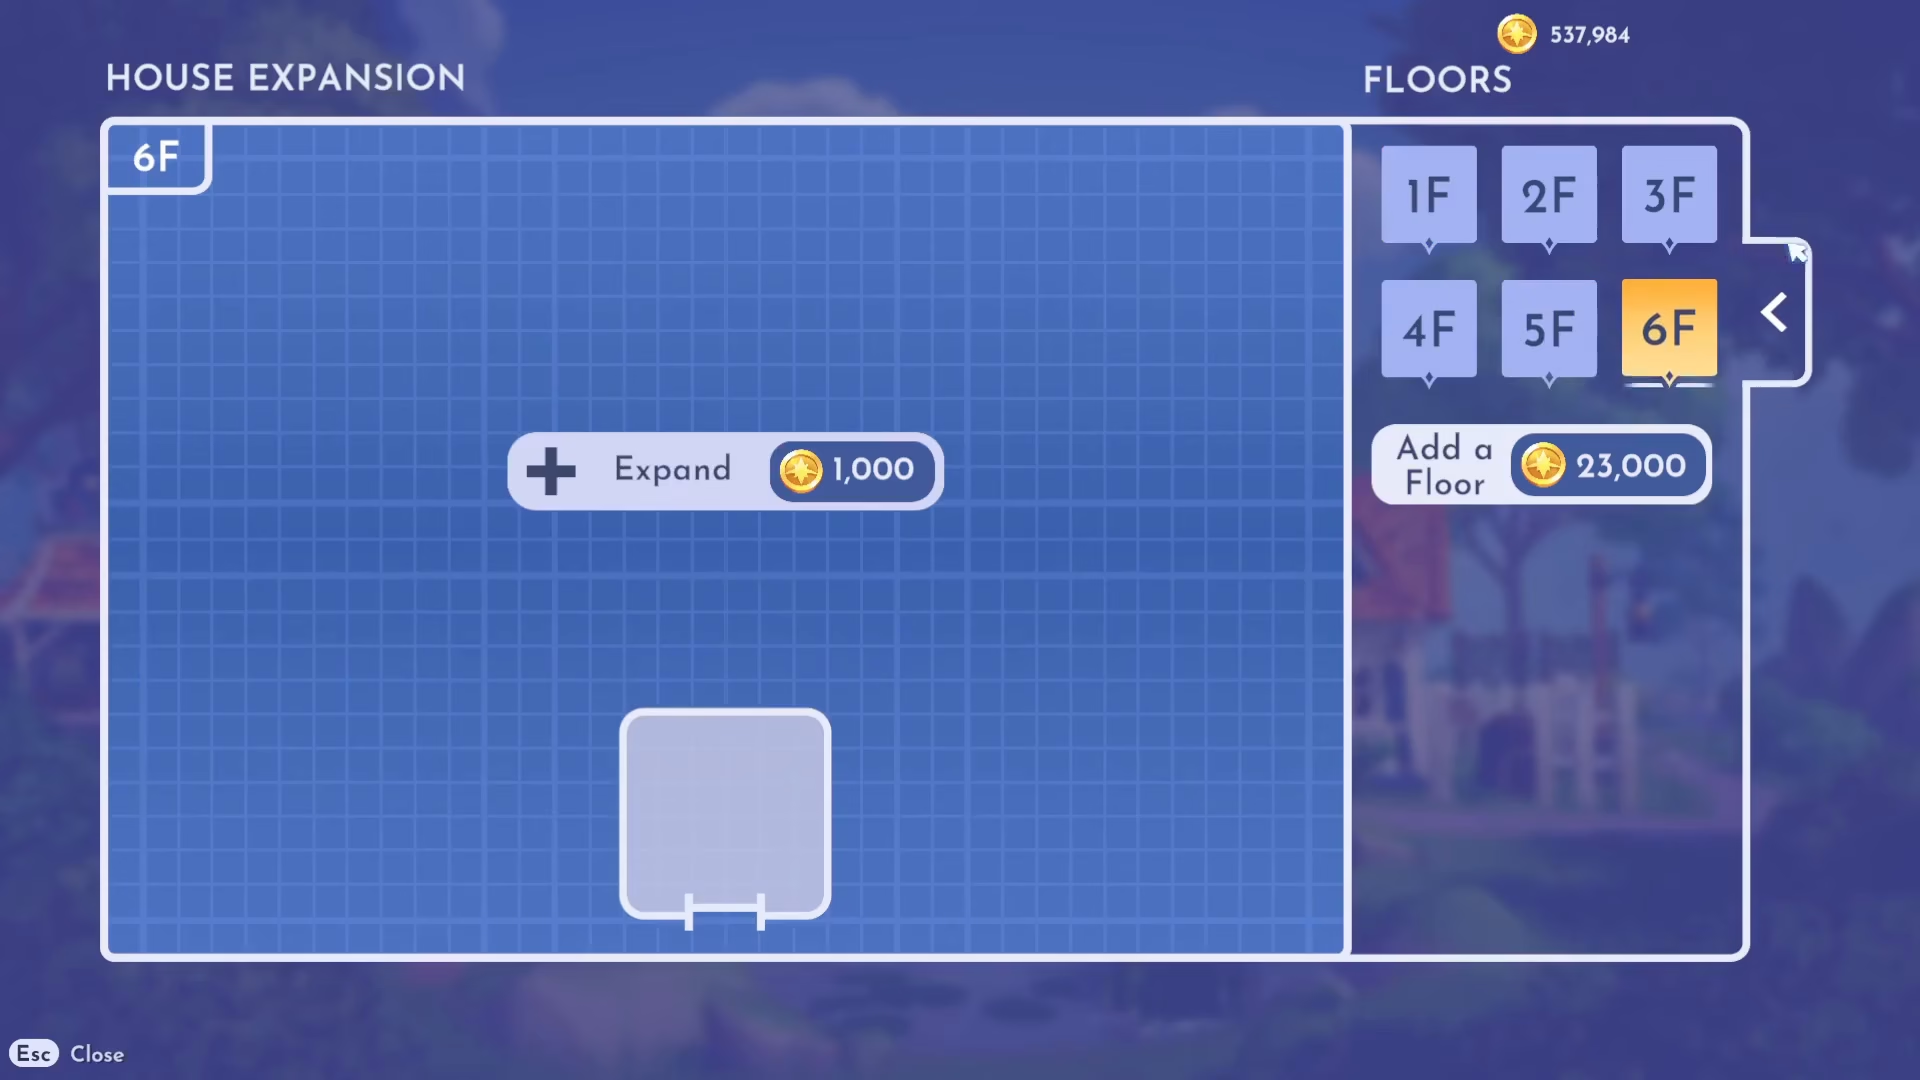
Once you’ve added rooms to your floor, you’ll see a Floors button in the expand menu. Click this to add an additional floor (marked as “2 F” for Floor 2). You can continue expanding each floor, adding more rooms as desired.
To navigate between floors, return to the elevator and select the floor number you wish to visit (1 F, 2 F, etc.).
Major House Upgrades
Beyond adding individual rooms, your house can undergo major exterior upgrades. Exit your home and interact with the upgrade sign outside again. These large upgrades offer significant aesthetic improvements and cost 75,000 gold each.

There are three major upgrade levels available. After the third major upgrade, your house will have reached its maximum exterior appearance level.
Maximizing Your Home’s Potential
After major upgrades are complete, you can continue adding floors via the elevator’s expand menu. You can resize rooms up or down as you wish, and the game allows you to add numerous floors—potentially six or more, though the maximum number hasn’t been officially documented.
With each room addition and floor expansion, your home’s storage capacity increases. By maximizing your house upgrades, you’ll achieve the maximum storage available in your home.
Conclusion
Upgrading your house in Disney Dreamlight Valley is a straightforward process that rewards you with increased storage, new rooms, and a beautiful multi-story home. Start by completing Valley Economics 101, then use your elevator to customize your space with themed rooms across multiple floors. Whether you’re building a cozy cottage or an expansive mansion, the possibilities are nearly endless!
Want to Support?
If you would like to help us continue making these guides – please consider joining our patreon here – https://www.patreon.com/c/JaviHeals
Alternatively – you can join our discord here – https://discord.gg/zD7Gjt6MHF