






How to Use a Mortar in Wardogs
How to Use a Mortar in Wardogs
Mortars are powerful weapons in Wardogs that can deal significant damage to enemies across the map. However, mastering their use requires practice and patience. This guide will walk you through the essential steps to effectively place, aim, and fire mortars in Wardogs.
Getting Started: Placing and Entering the Mortar
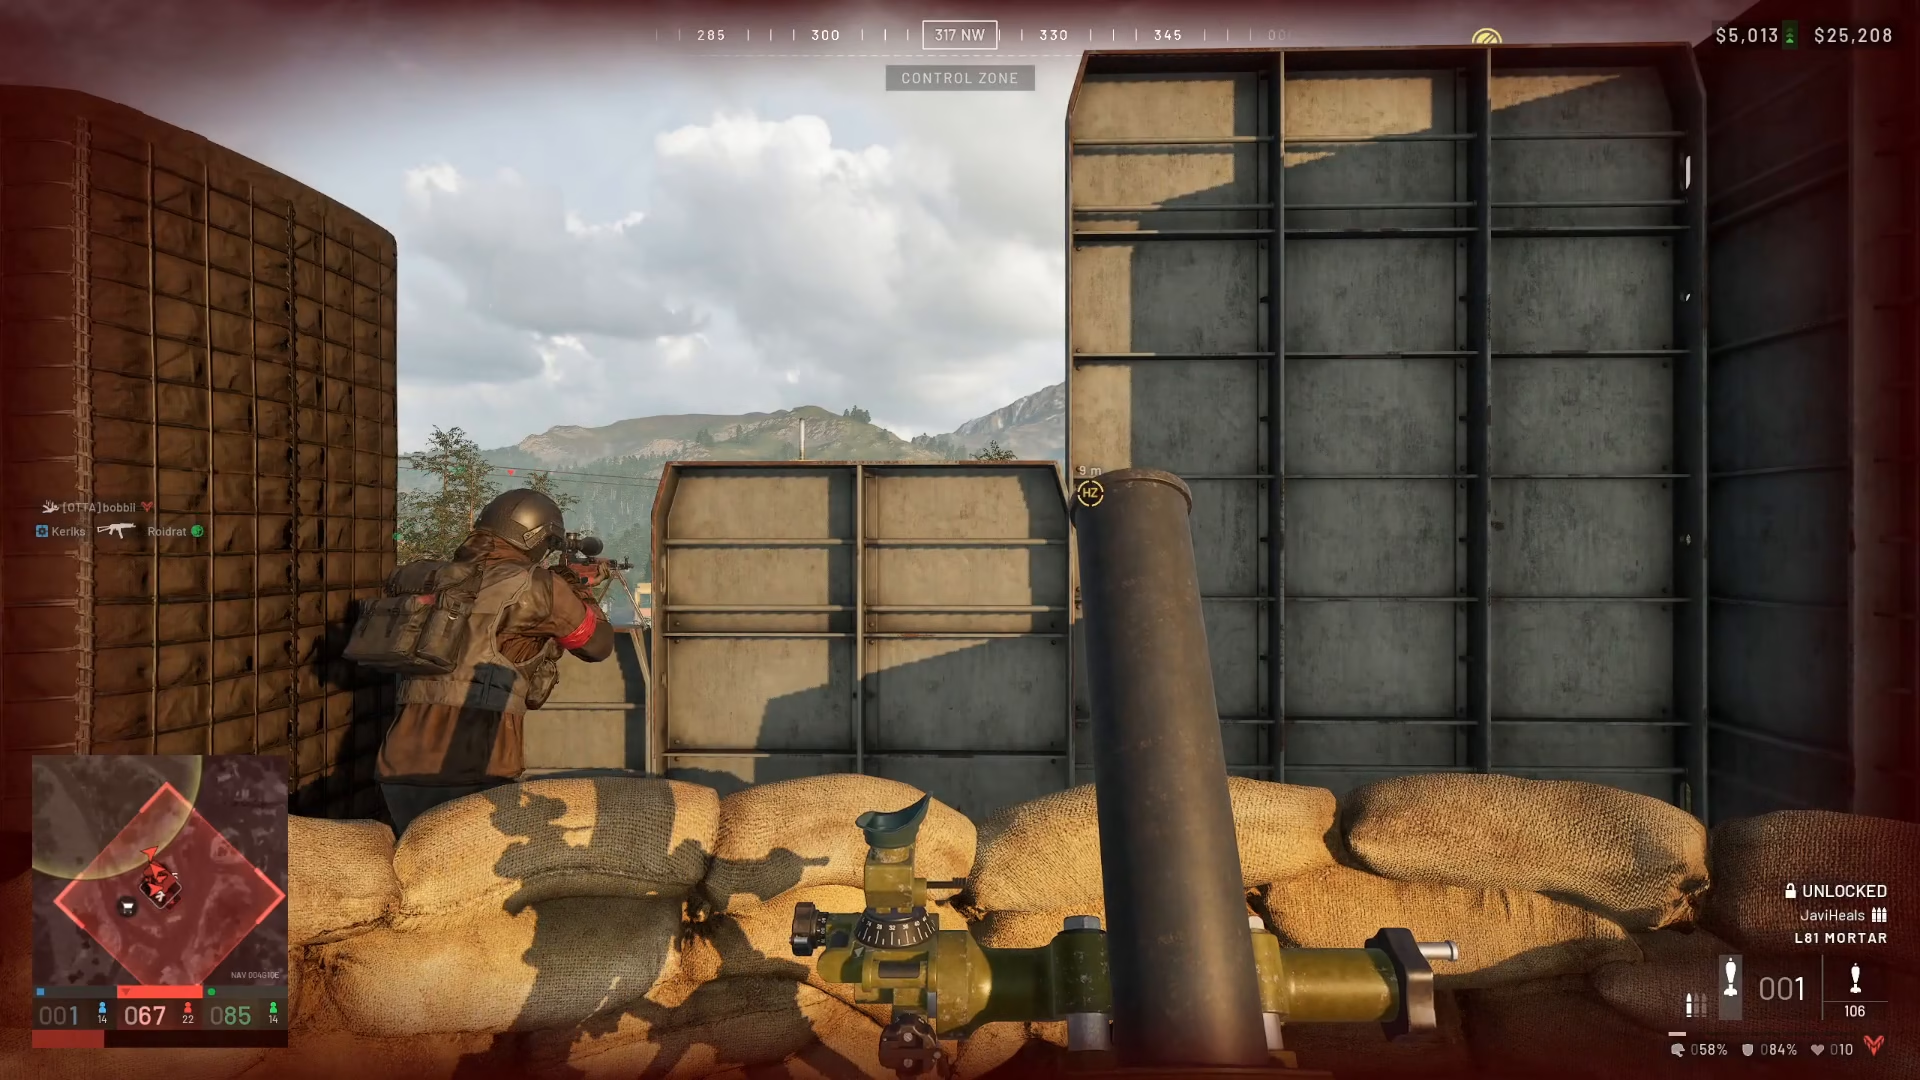
The first step is to place your mortar and enter it. Once you’re inside, you’ll have full control over its direction and range. The mortar’s position can be adjusted forwards and backwards—this adjustment directly determines how far your shots will travel.
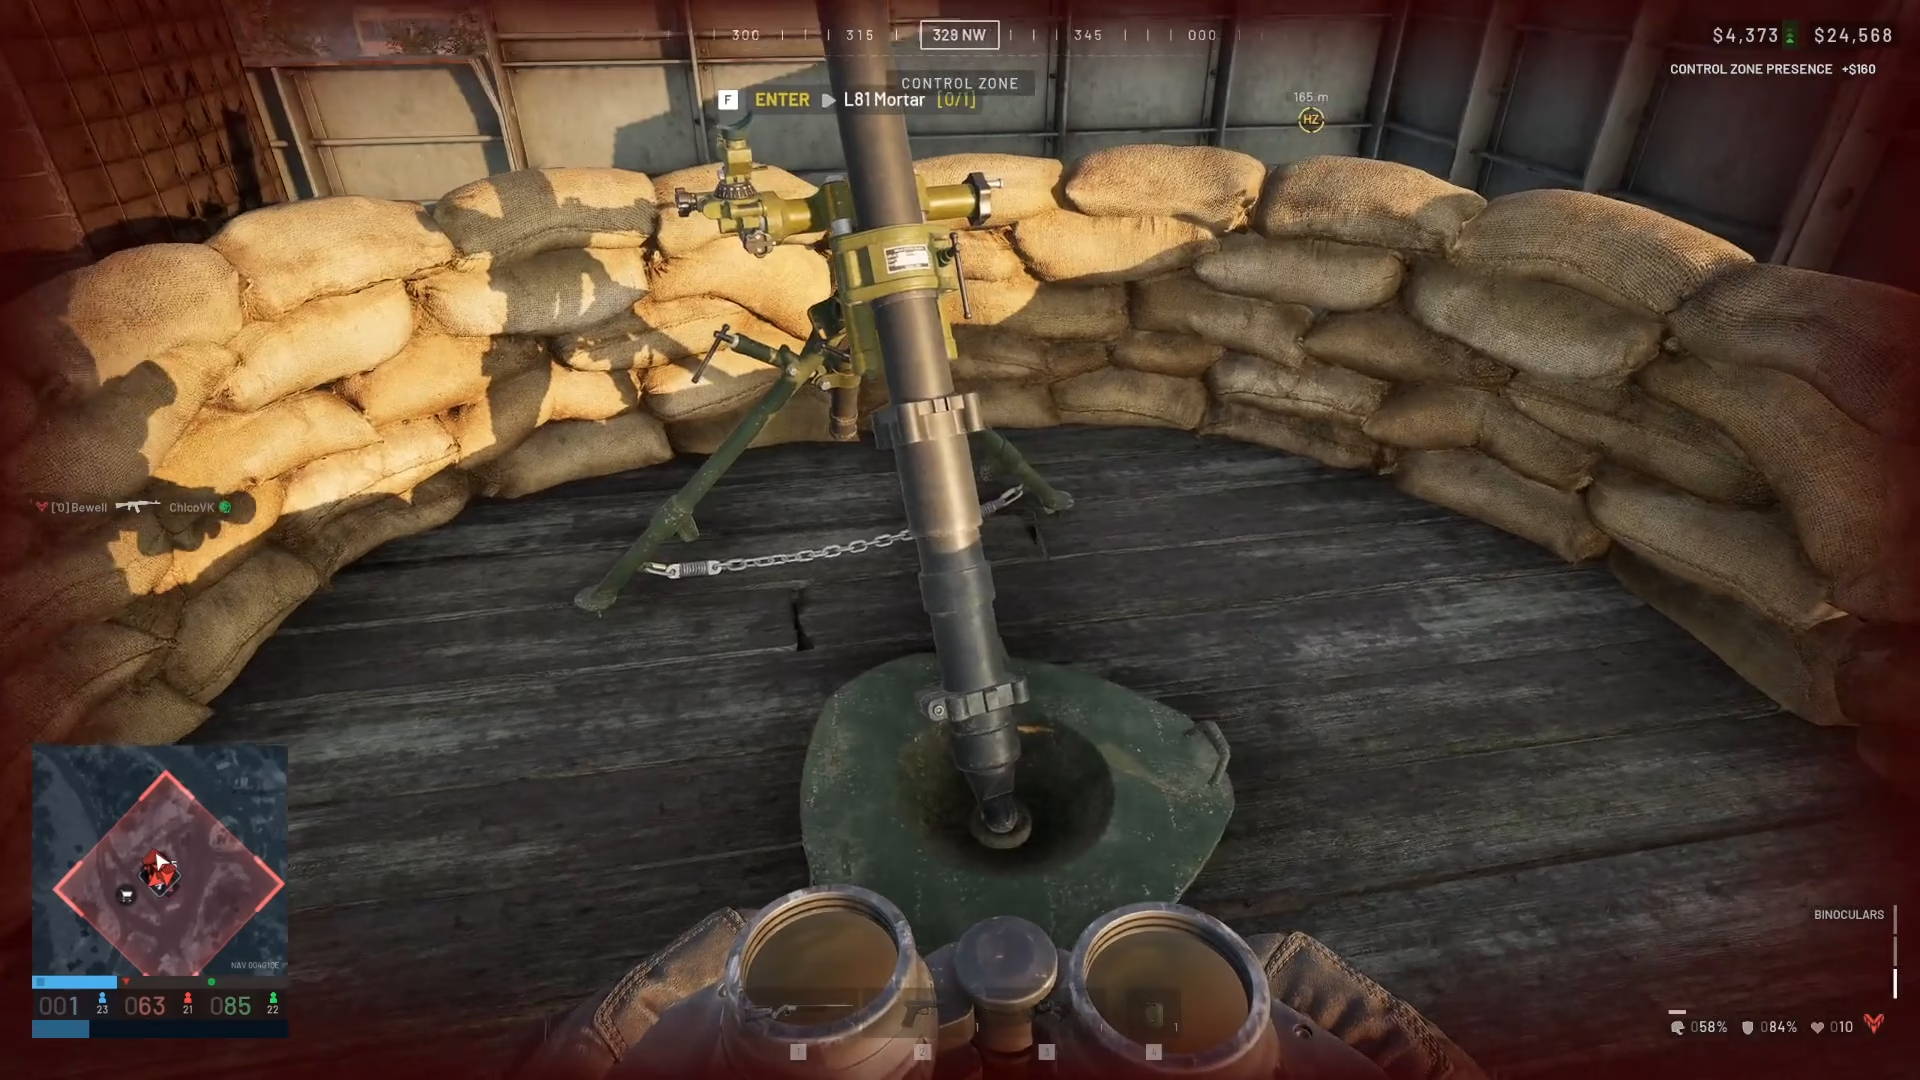
Understanding Range Control
Range control is the foundation of accurate mortar usage. By moving your mortar position forward or backward, you can achieve different distances for your shots. For example, positioning it further back will allow your shots to travel much farther across the map.
To fire your mortar, simply trigger the fire command once you’re satisfied with your positioning. Keep in mind that this is an iterative process—you’ll likely need to test several shots before hitting your target precisely.
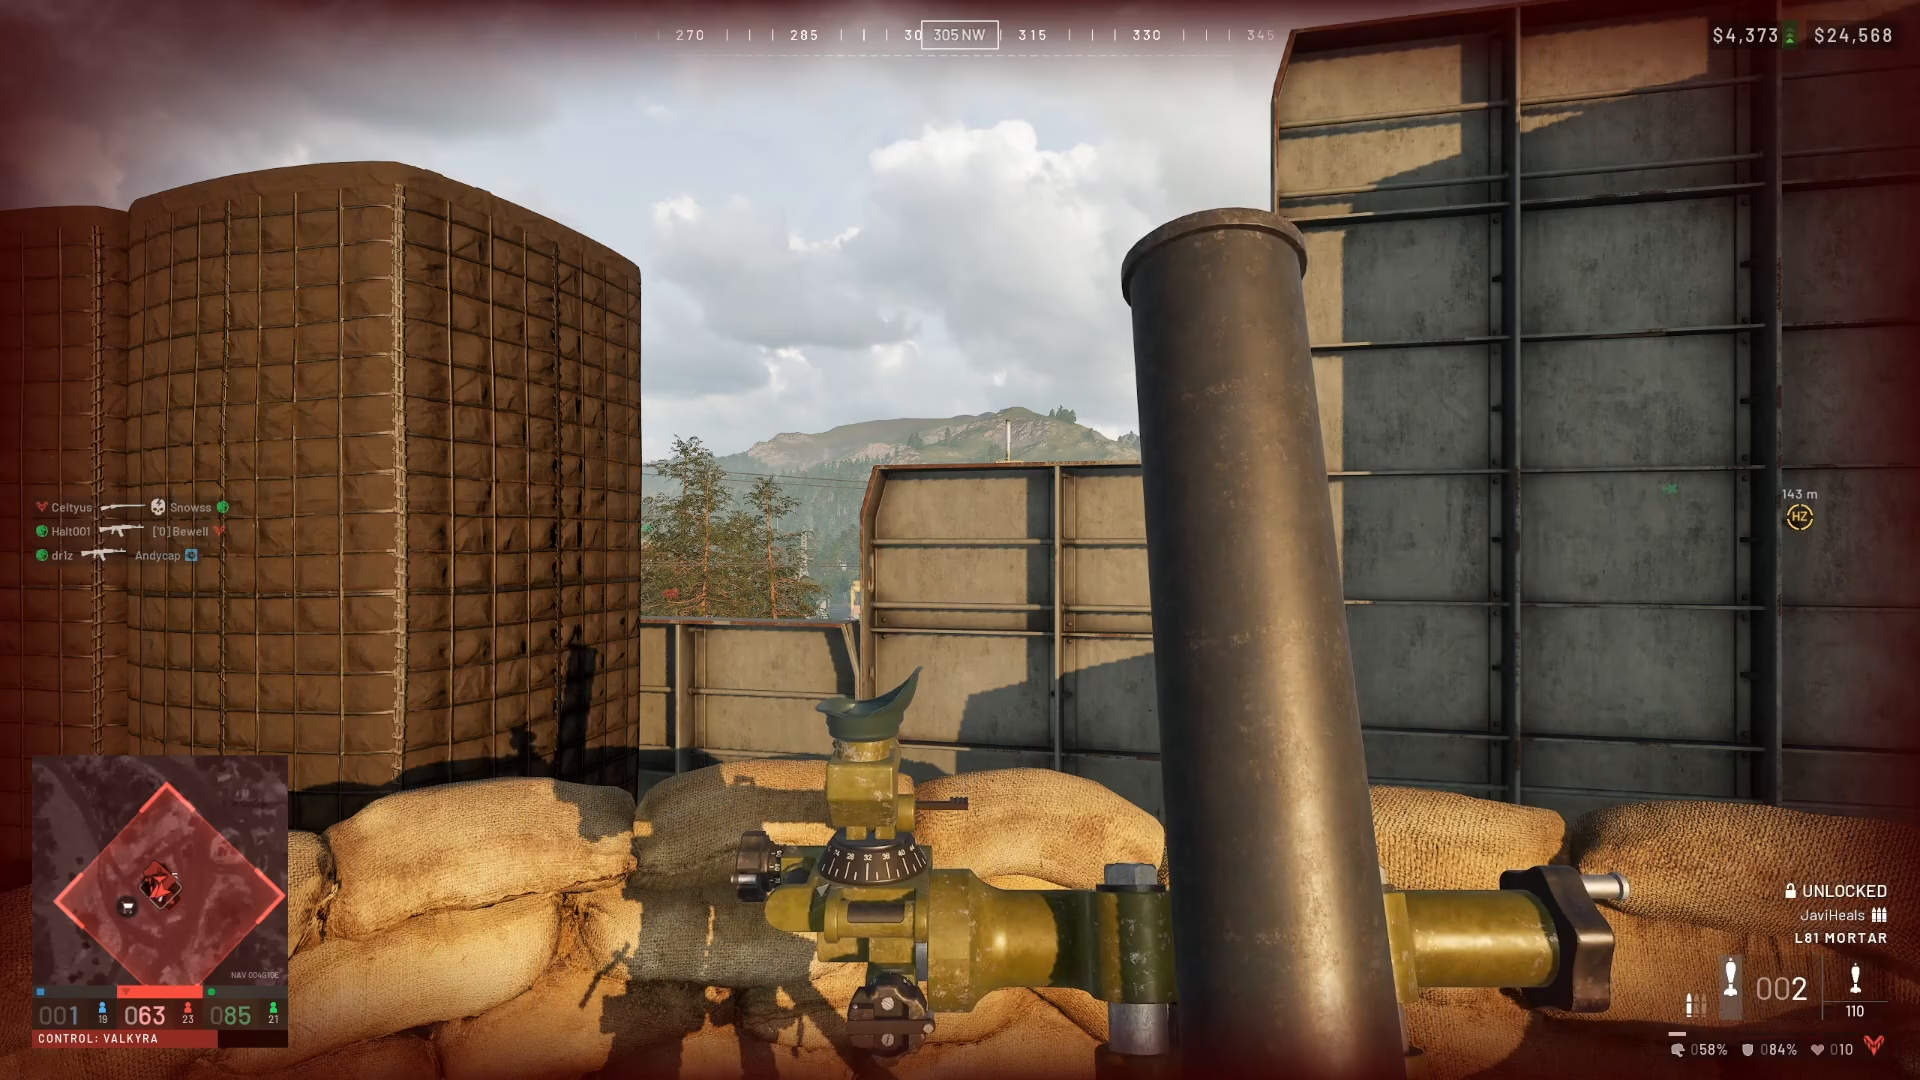
Targeting Specific Locations
When you have a specific target in mind, use visual landmarks to guide your aim. Watch where your mortar rounds land and adjust accordingly. If your first shot lands short of your target, you’ll need to push the mortar position forward to increase range. If you overshoot, pull it back slightly.

Example: Fine-Tuning Your Aim
Suppose you’re targeting an area and your first shot lands in front of it. Lower your mortar’s pitch slightly and fire again. Small adjustments can make a significant difference in where your round impacts.
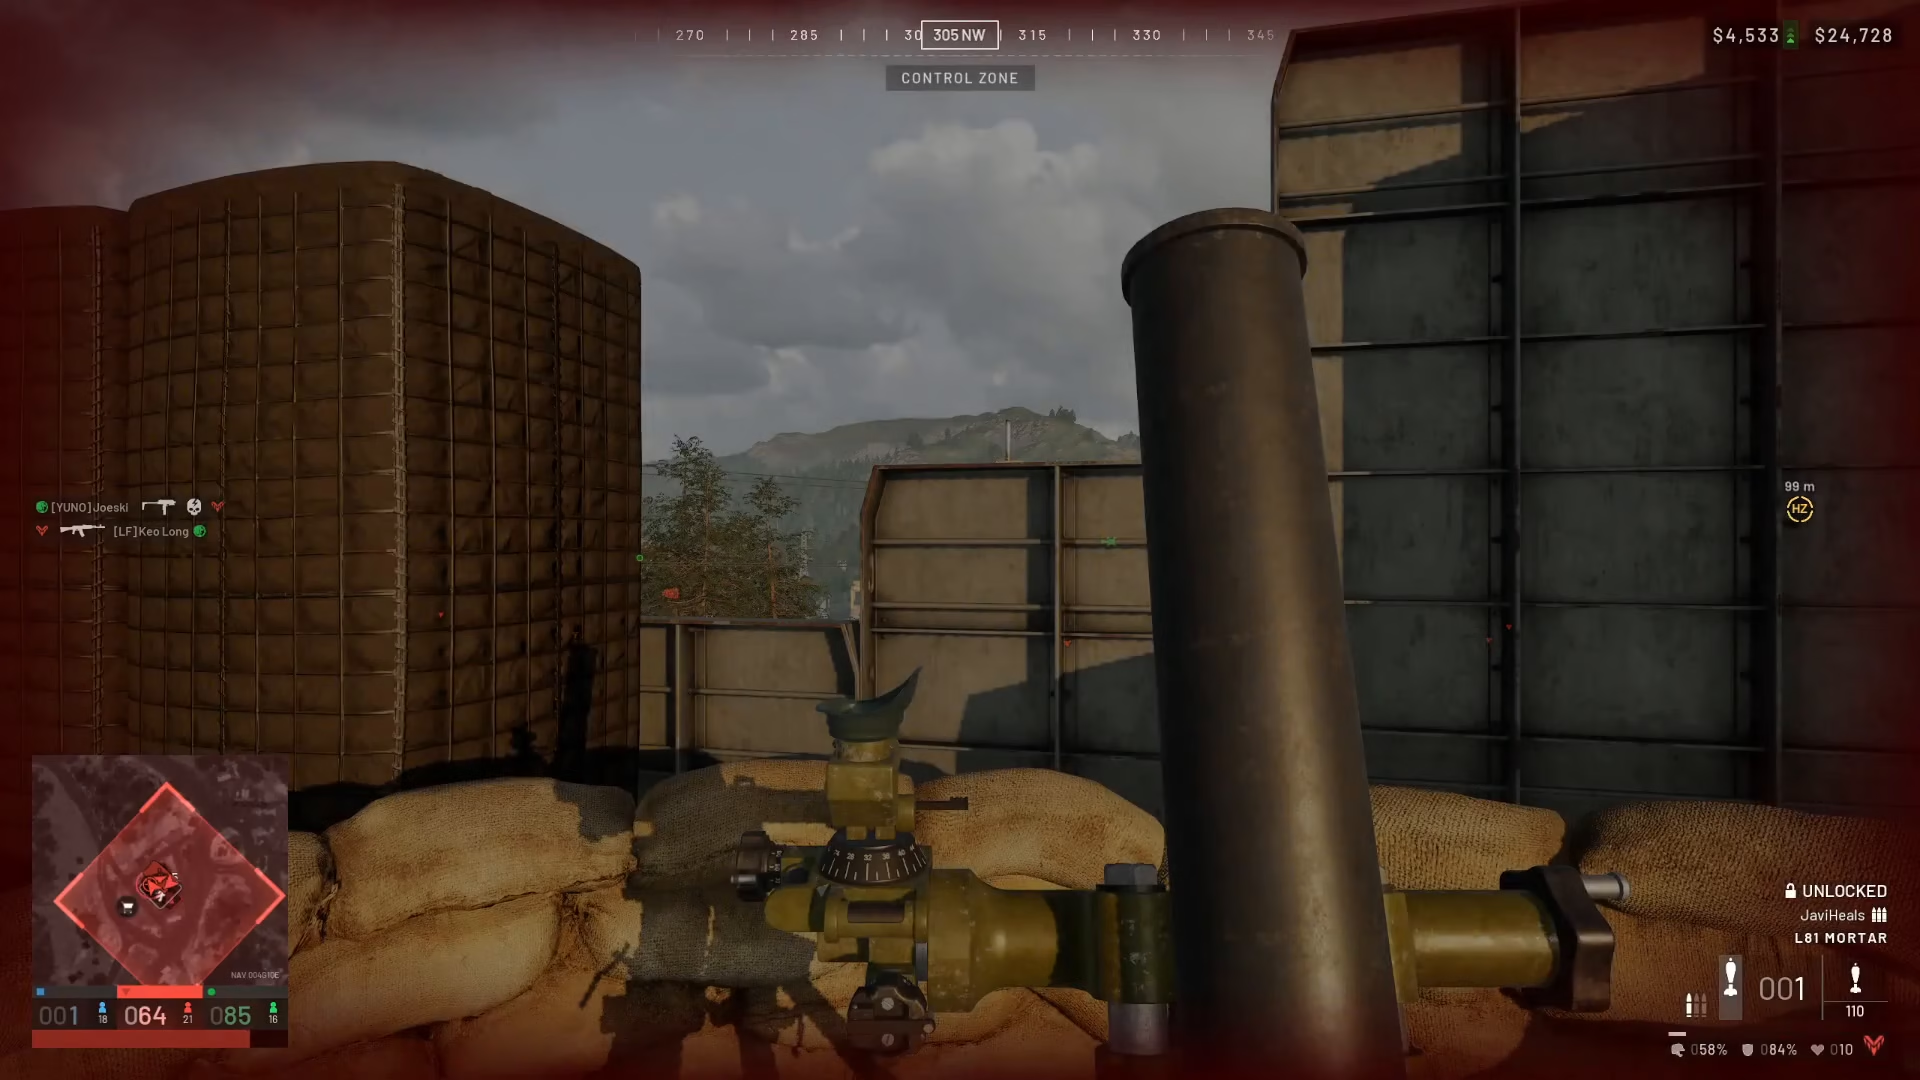
Using the Map for Strategic Positioning
One of the best techniques for improving your mortar accuracy is to reference the map. After each shot, check the map to see exactly where your round landed relative to your current position. This information helps you calculate the precise adjustments needed for future shots. Over time, you’ll develop a better sense of the relationship between your mortar’s angle, position, and where the round will land.

Adjusting Pitch and Horizontal Positioning
Mortars require adjustments on two axes: horizontal (left and right) and vertical (pitch). If you’re tracking a moving target like an enemy helicopter, you’ll need to adjust your horizontal position to the right or left while maintaining a similar pitch. This allows you to lead your target and increase the likelihood of a direct hit.
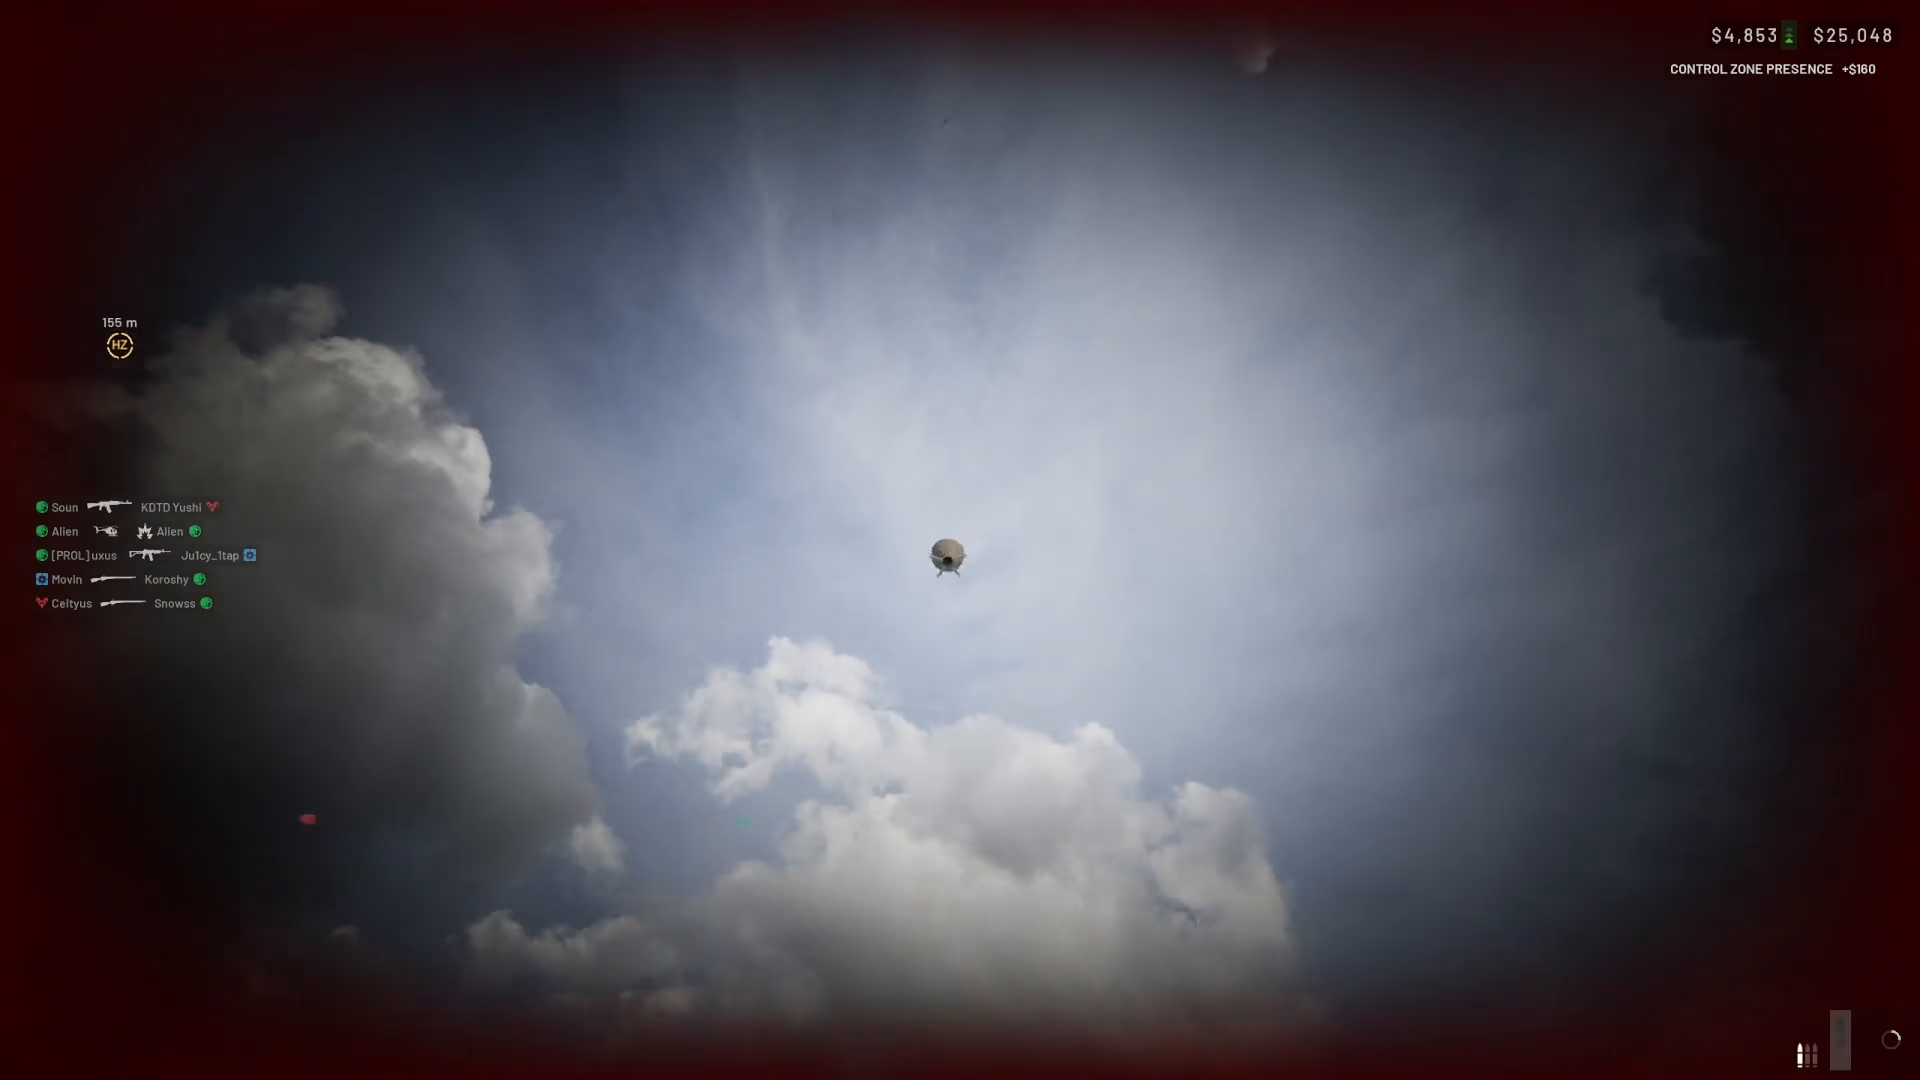
Adjust the mortar’s position to the right to track the helicopter’s movement. Keep your pitch relatively consistent while you make these horizontal corrections.
Practice and Patience
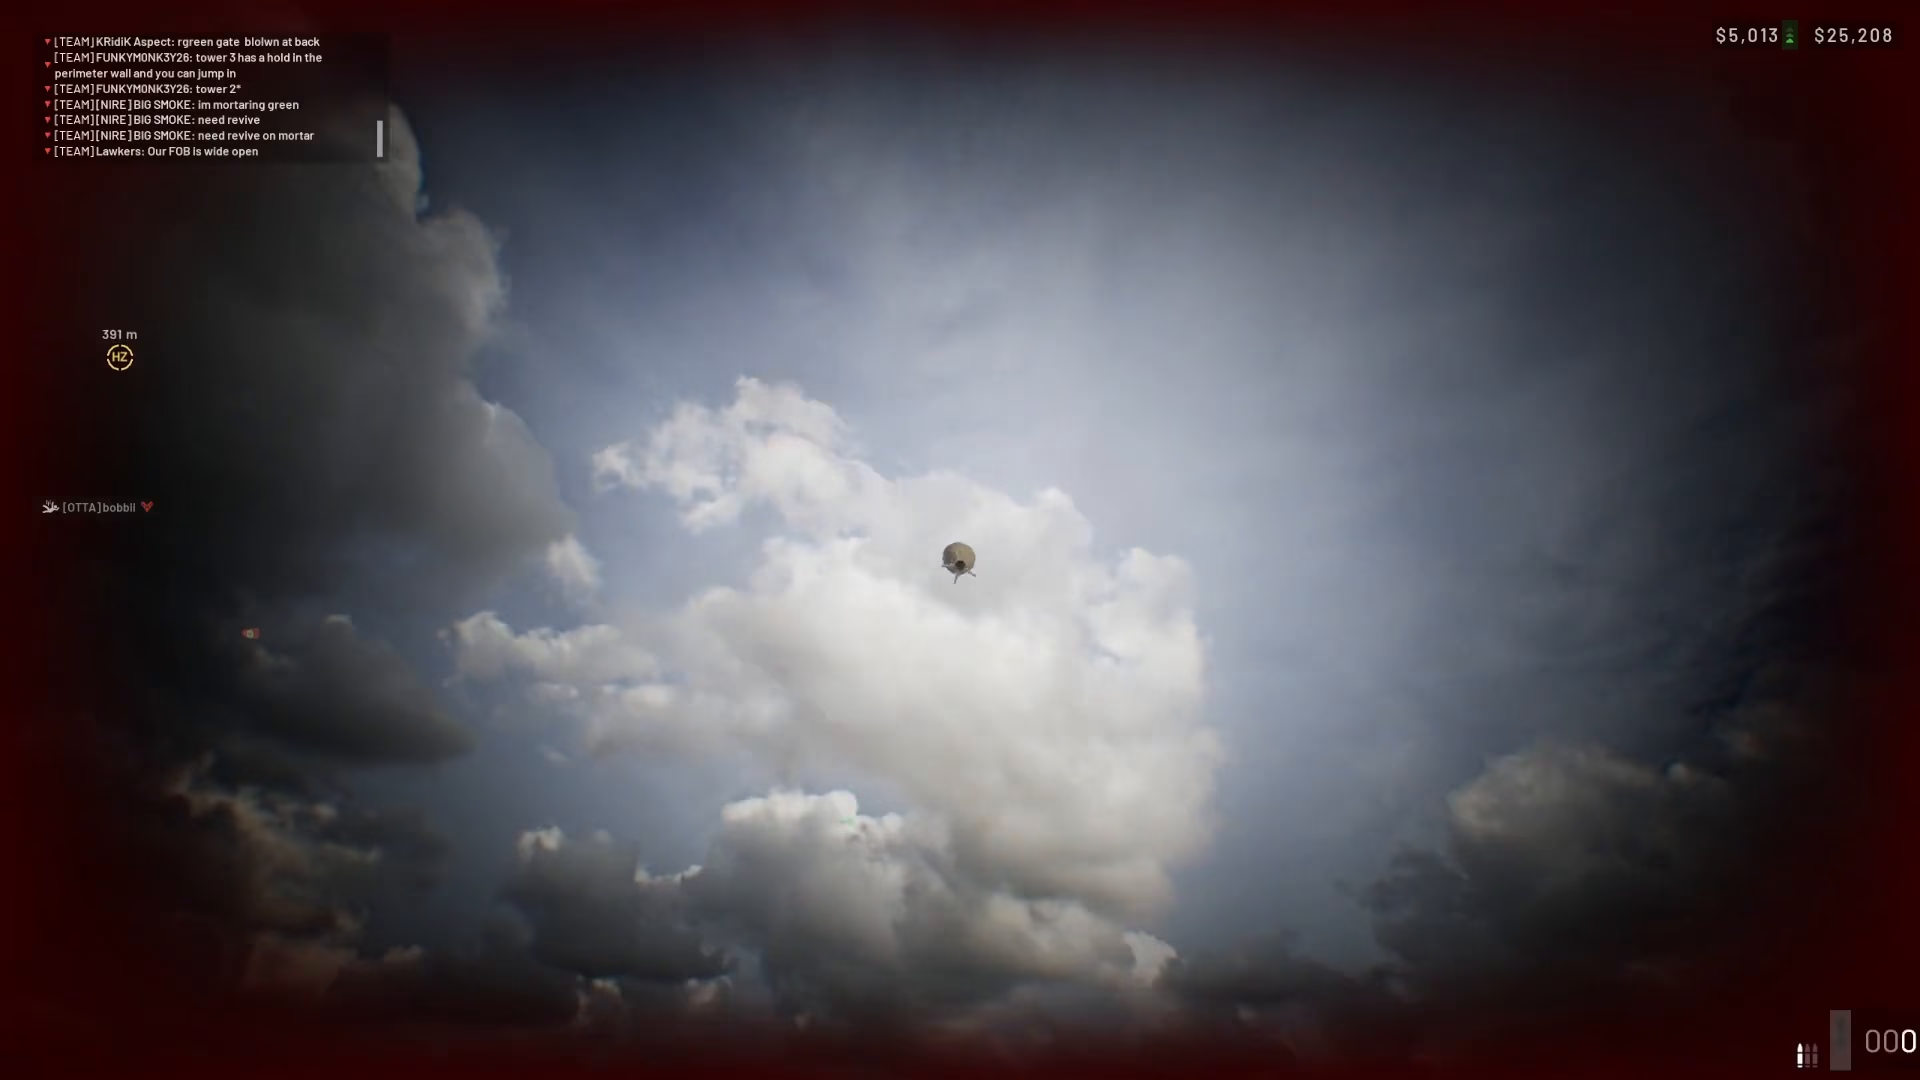
Using a mortar in Wardogs takes considerable practice. Each shot is a learning opportunity—observe where your rounds land, make mental notes of your adjustments, and gradually refine your technique. Over time, you’ll develop an intuitive feel for range and positioning that makes targeting much more efficient.
Summary
Mastering the mortar in Wardogs comes down to understanding three key elements: range control (forward/backward positioning), horizontal adjustments (left/right), and consistent practice. Use the map as a reference tool, make incremental adjustments between shots, and be patient as you learn. With dedication, you’ll become proficient at placing mortar rounds exactly where you need them.
— Want to Support? —
If you would like to help us continue making these guides – please consider joining our patreon here – https://www.patreon.com/c/JaviHeals
Alternatively – you can join our discord here – https://discord.gg/zD7Gjt6MHF