




How to Use Dead Hard in Dead by Daylight
How to Use Dead Hard in Dead by Daylight
Dead Hard is one of the most important survivor perks in Dead by Daylight, especially if you find yourself frequently targeted by the killer. This guide will walk you through everything you need to know about activating Dead Hard, timing it correctly, and making the most of this crucial anti-tunnel perk during your matches.
What is Dead Hard?
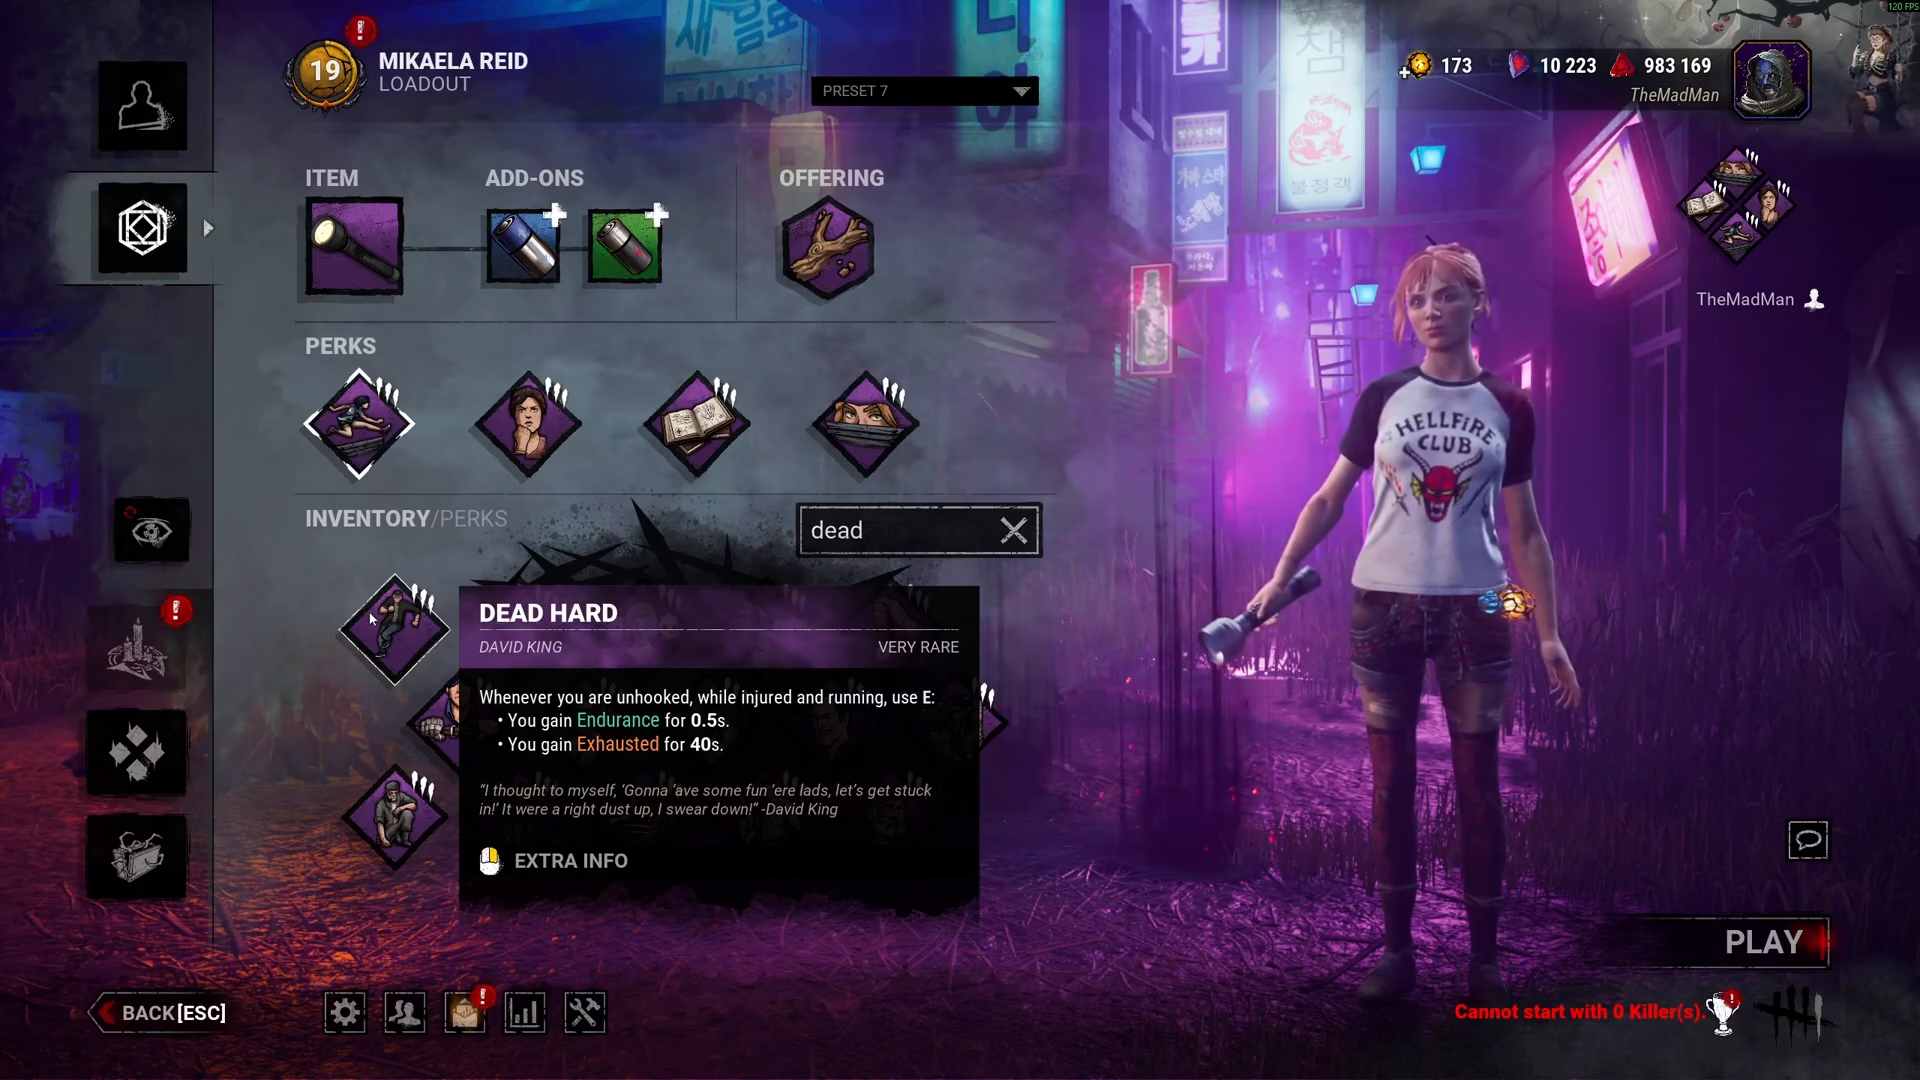
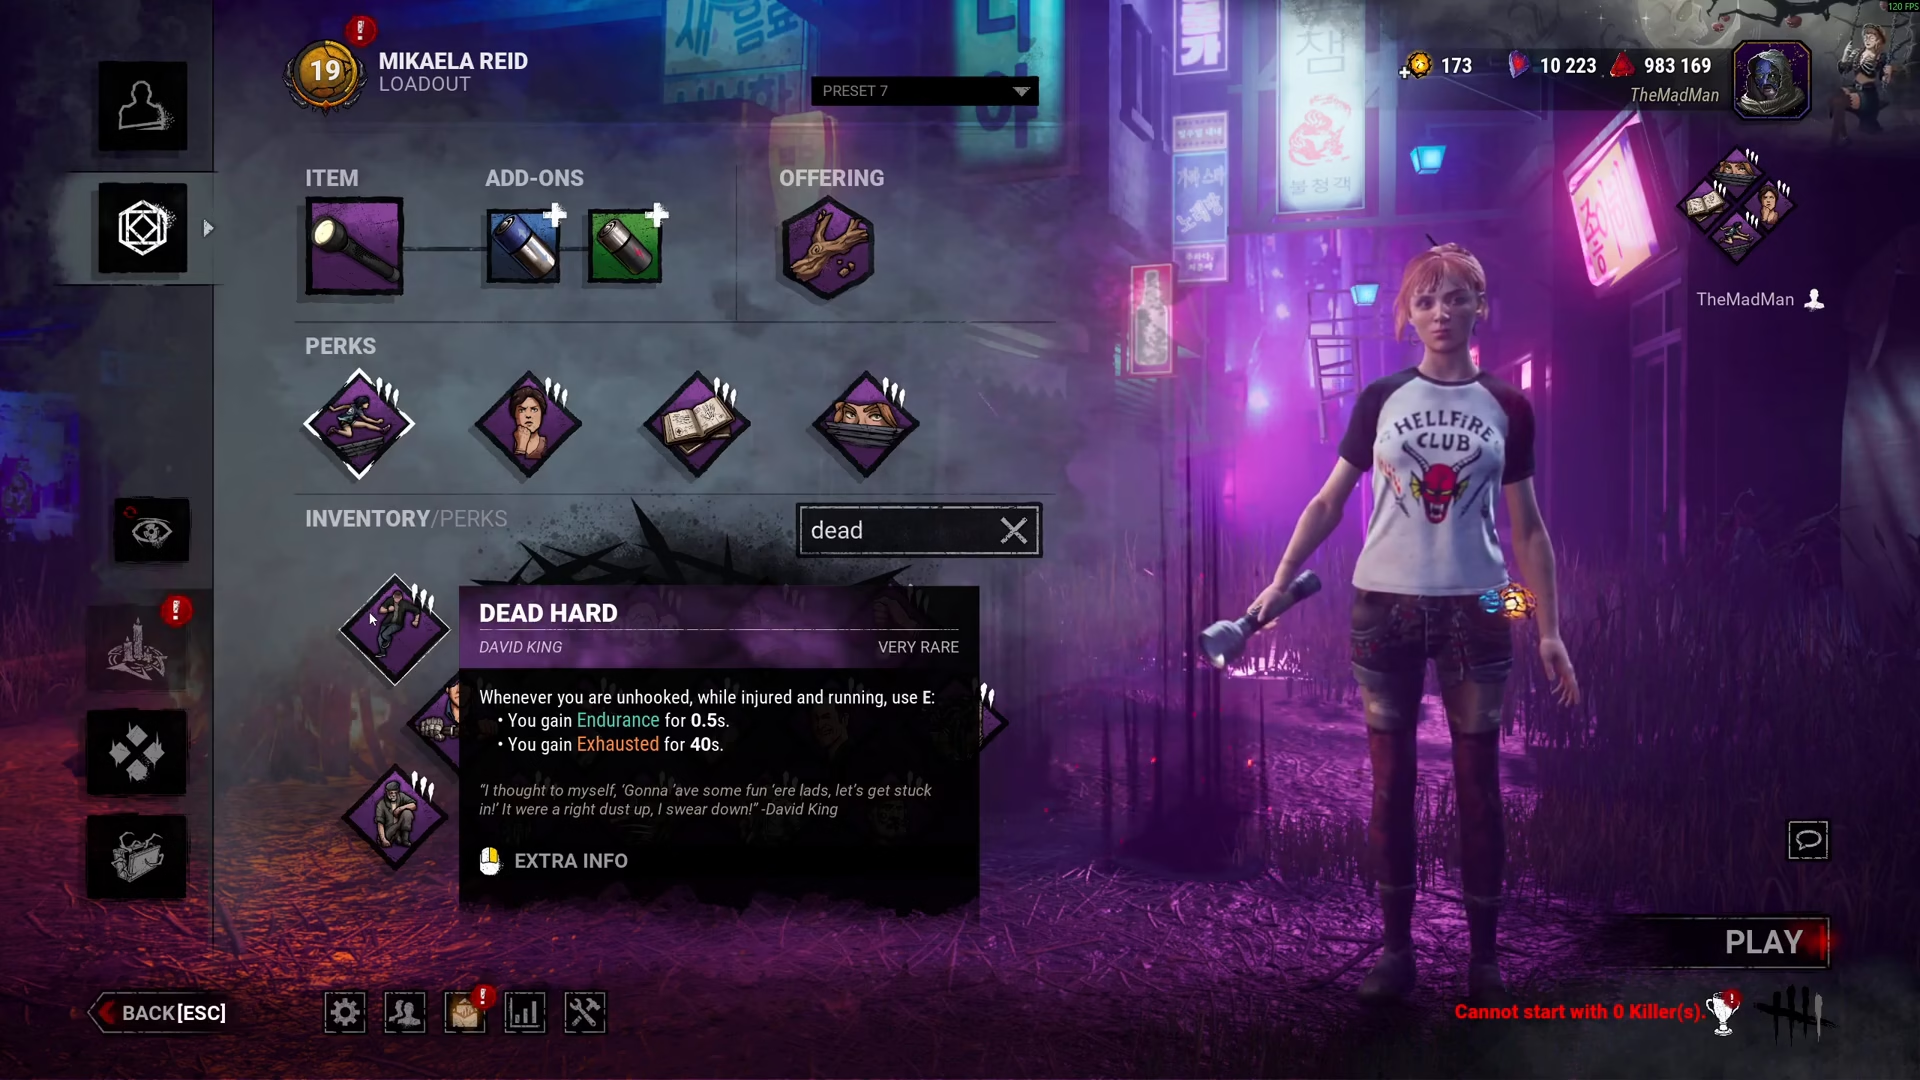
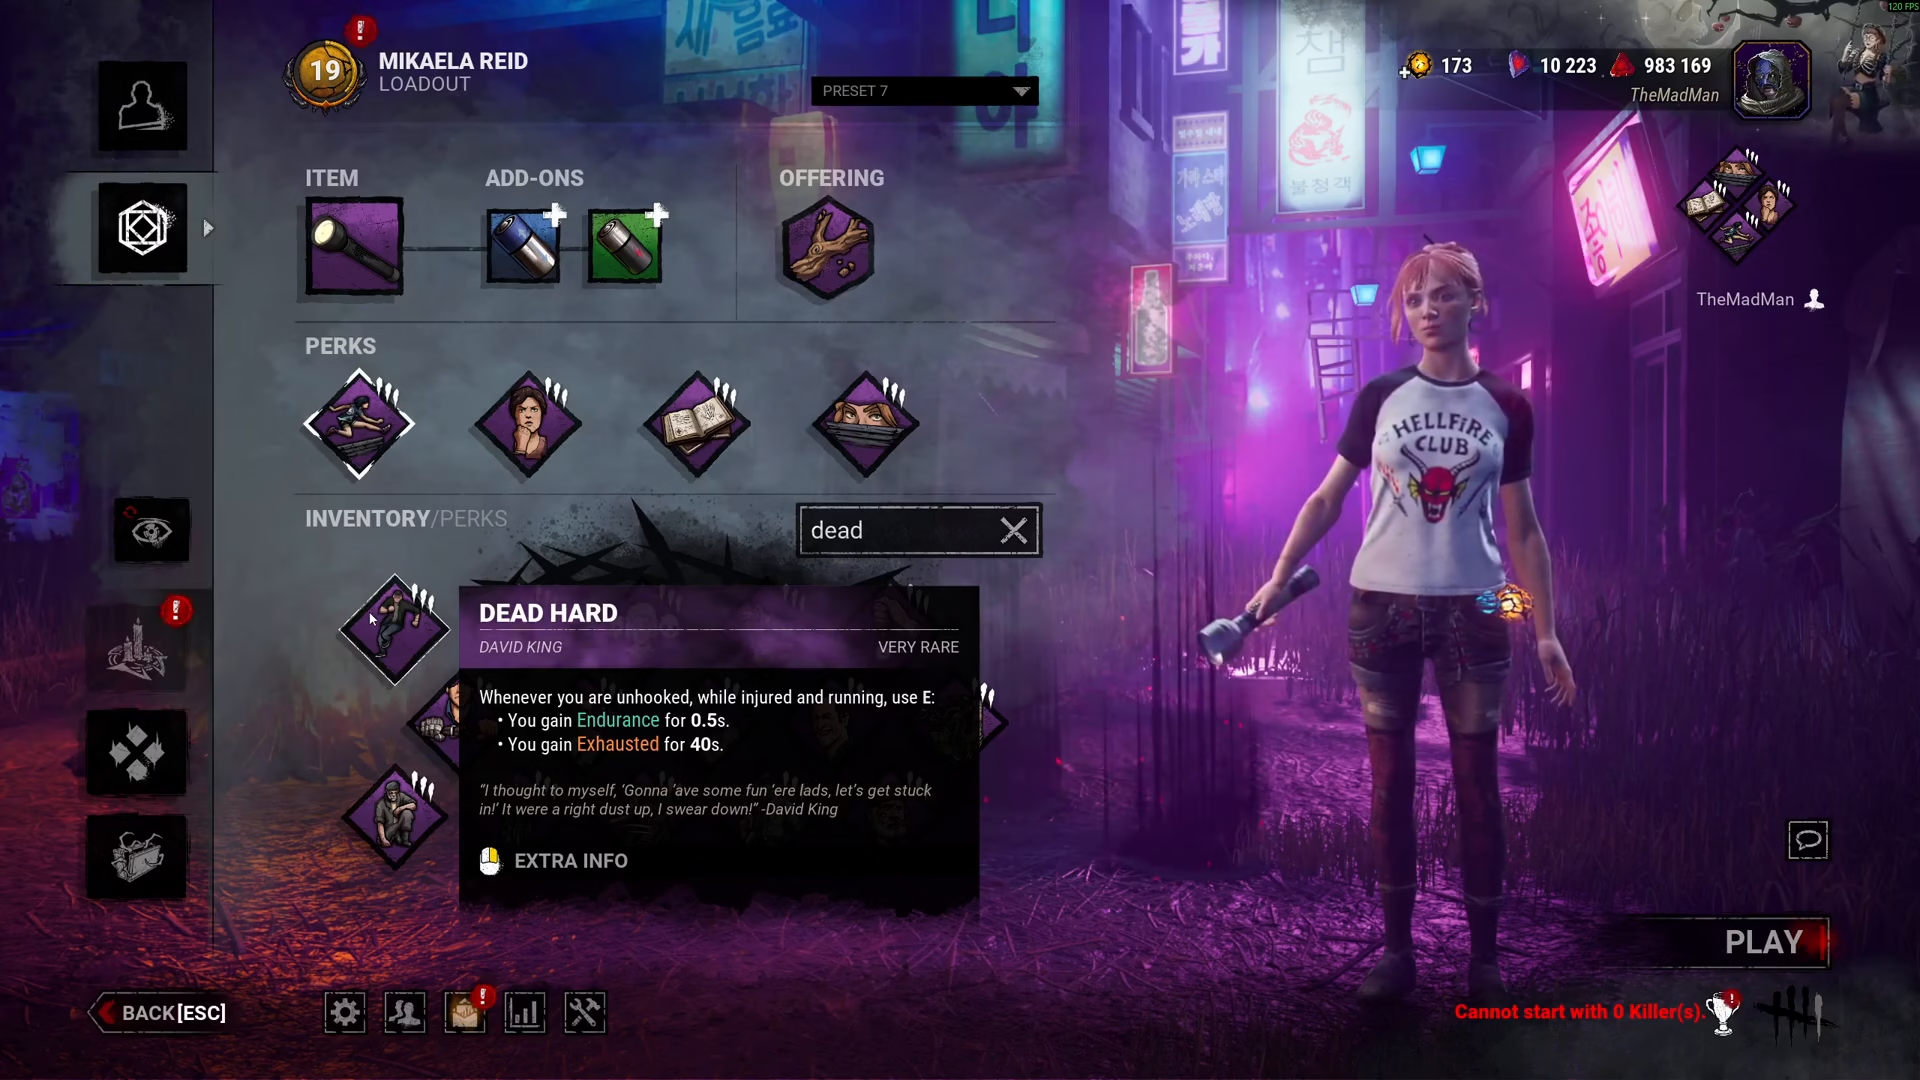
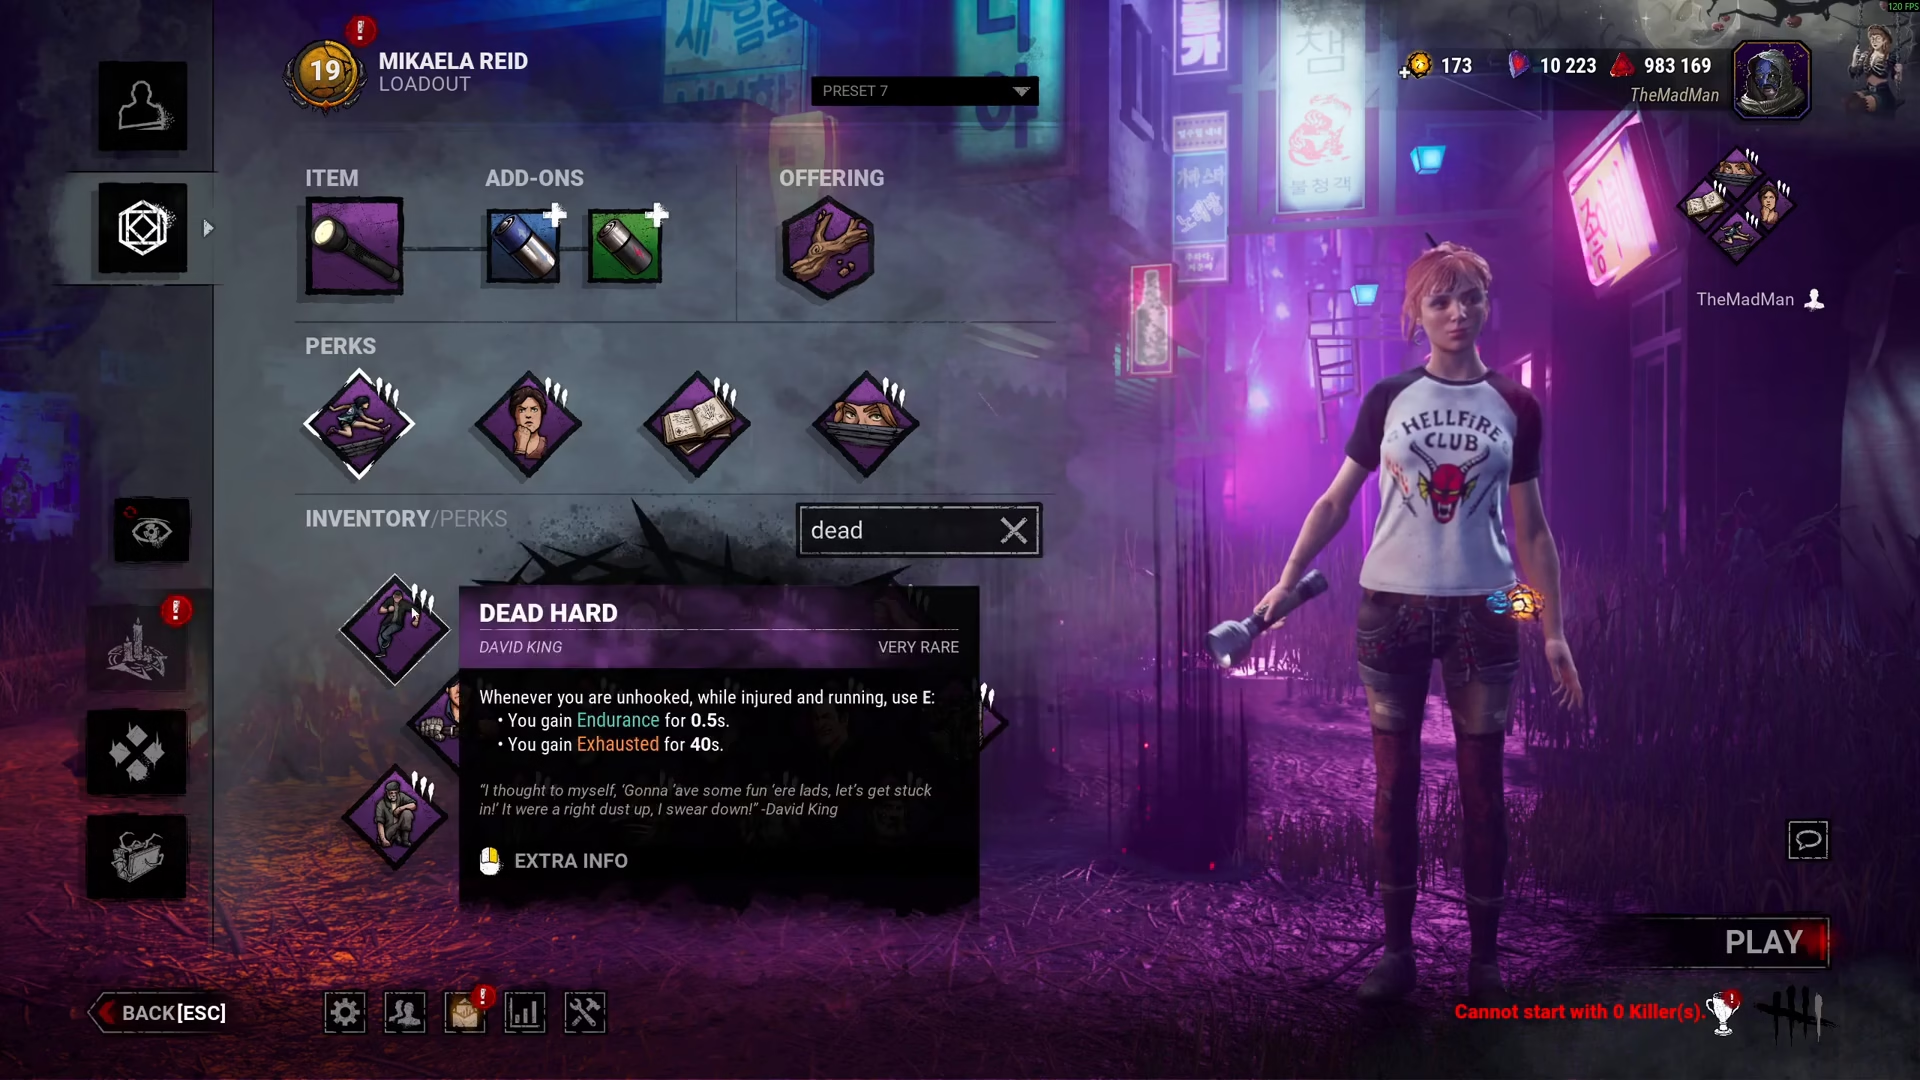
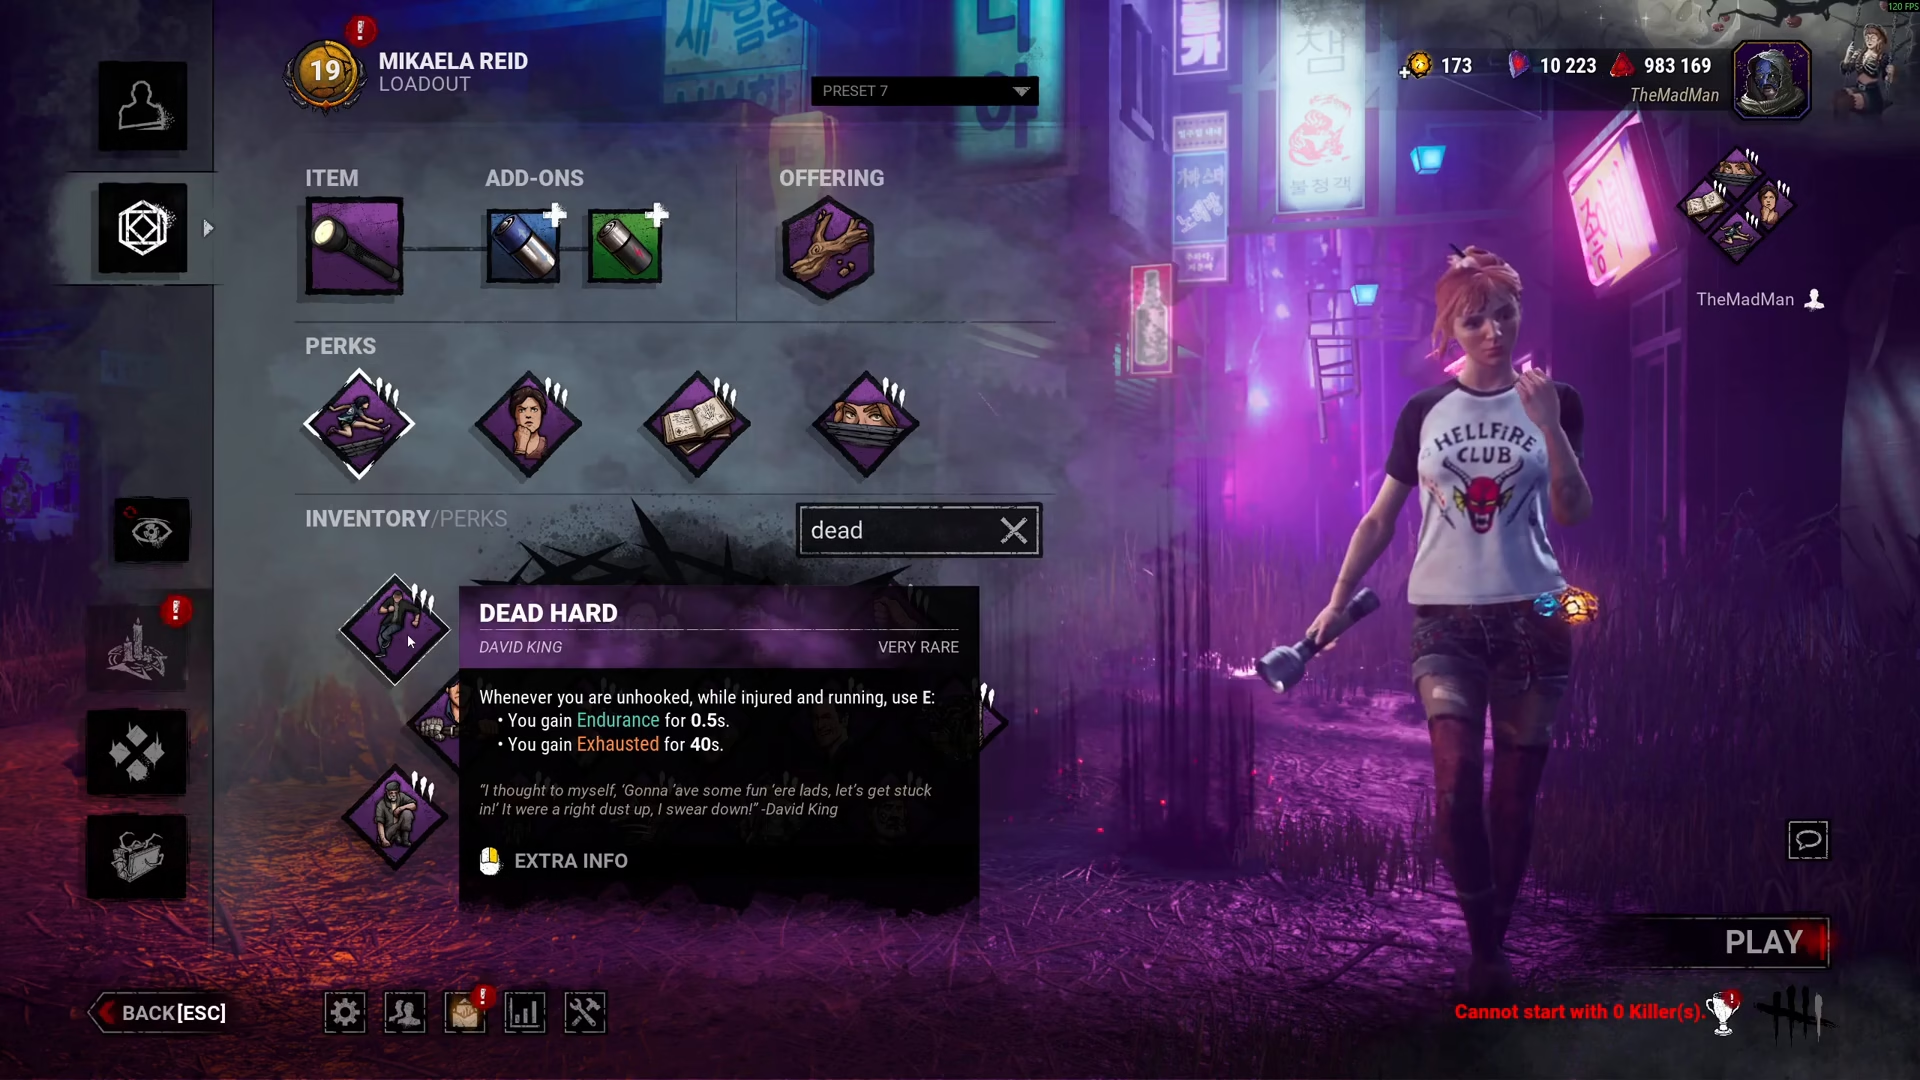
Dead Hard is a survivor perk that provides temporary protection when you need it most. Whenever you are unhooked while injured and running, you can activate it by pressing E (or whatever your interaction key is set to). When activated, you will gain endurance for half a second, followed by an exhaustion cooldown lasting 40 seconds.
The primary benefit of endurance is that it allows you to tank a hit from the killer. This means you can survive an attack that would normally injure or down you, giving you precious time to escape or continue the chase.
How to Activate Dead Hard
Basic Activation
To use Dead Hard, press E (or your configured interaction key) while you are injured and actively running. You will see a prompt appear at the bottom center of your screen when the perk is available for use.
Critical Requirements
One essential requirement for Dead Hard is that you must be injured to activate it. If you have been healed, the activation prompt will not appear, and you won’t be able to use the perk. This is a common mistake survivors make—getting healed and then wondering why they can’t see the Dead Hard prompt.
Timing Your Dead Hard Activation
The key to using Dead Hard effectively is timing. Ideally, you want to activate it just as the killer is about to hit you. Watch the killer’s animation carefully, especially if they are performing a long lunge attack. You can typically see when the animation is about to result in a strike—that’s the perfect moment to press E.
Look behind you frequently during a chase to monitor the killer’s distance and animations. This awareness will help you anticipate when to activate Dead Hard for maximum protection.
Duration and Cooldown
Active Window
After being unhooked, you have a 60-second window to use Dead Hard. During this time, you can activate the perk once. If you’re still in a chase after using it, and you’re unsure if your unhooked endurance protection has expired, you can use Dead Hard again as long as you’re still within that 60-second window and remain injured.
Exhaustion Cooldown
Once you activate Dead Hard, you will enter an exhausted state for 40 seconds. During this period, you cannot use Dead Hard again. You must wait for the exhaustion cooldown to expire before the perk becomes available for another use.
Dead Hard as an Anti-Tunnel Perk
Dead Hard is typically considered an anti-tunnel perk, making it an excellent choice if you feel like you’re being targeted by the killer frequently. If the killer focuses their attention on you immediately after you’re unhooked, Dead Hard gives you the protection you need to survive that pressure and continue in the match.
Summary
Dead Hard is a powerful survivor perk that requires careful timing and strategic use. Remember to stay injured to activate it, watch the killer’s animations closely to time your activation correctly, and use it within your 60-second window after being unhooked. With practice, Dead Hard will become an essential tool in your survivor loadout, especially in matches where you’re being heavily targeted.
— Want to Support? —
If you would like to help us continue making these guides – please consider joining our patreon here – https://www.patreon.com/c/JaviHeals
Alternatively – you can join our discord here – https://discord.gg/zD7Gjt6MHF