How To Use Trails In Frostpunk 2
How To Use Trails In Frostpunk 2
Trails are an essential mechanic in Frostpunk 2 that allow you to connect your colonies to New London and establish supply lines between settlements. This guide will walk you through the process of setting up and optimizing trails, including how to navigate terrain challenges and minimize travel time between locations.
Understanding Trails and Colony Setup
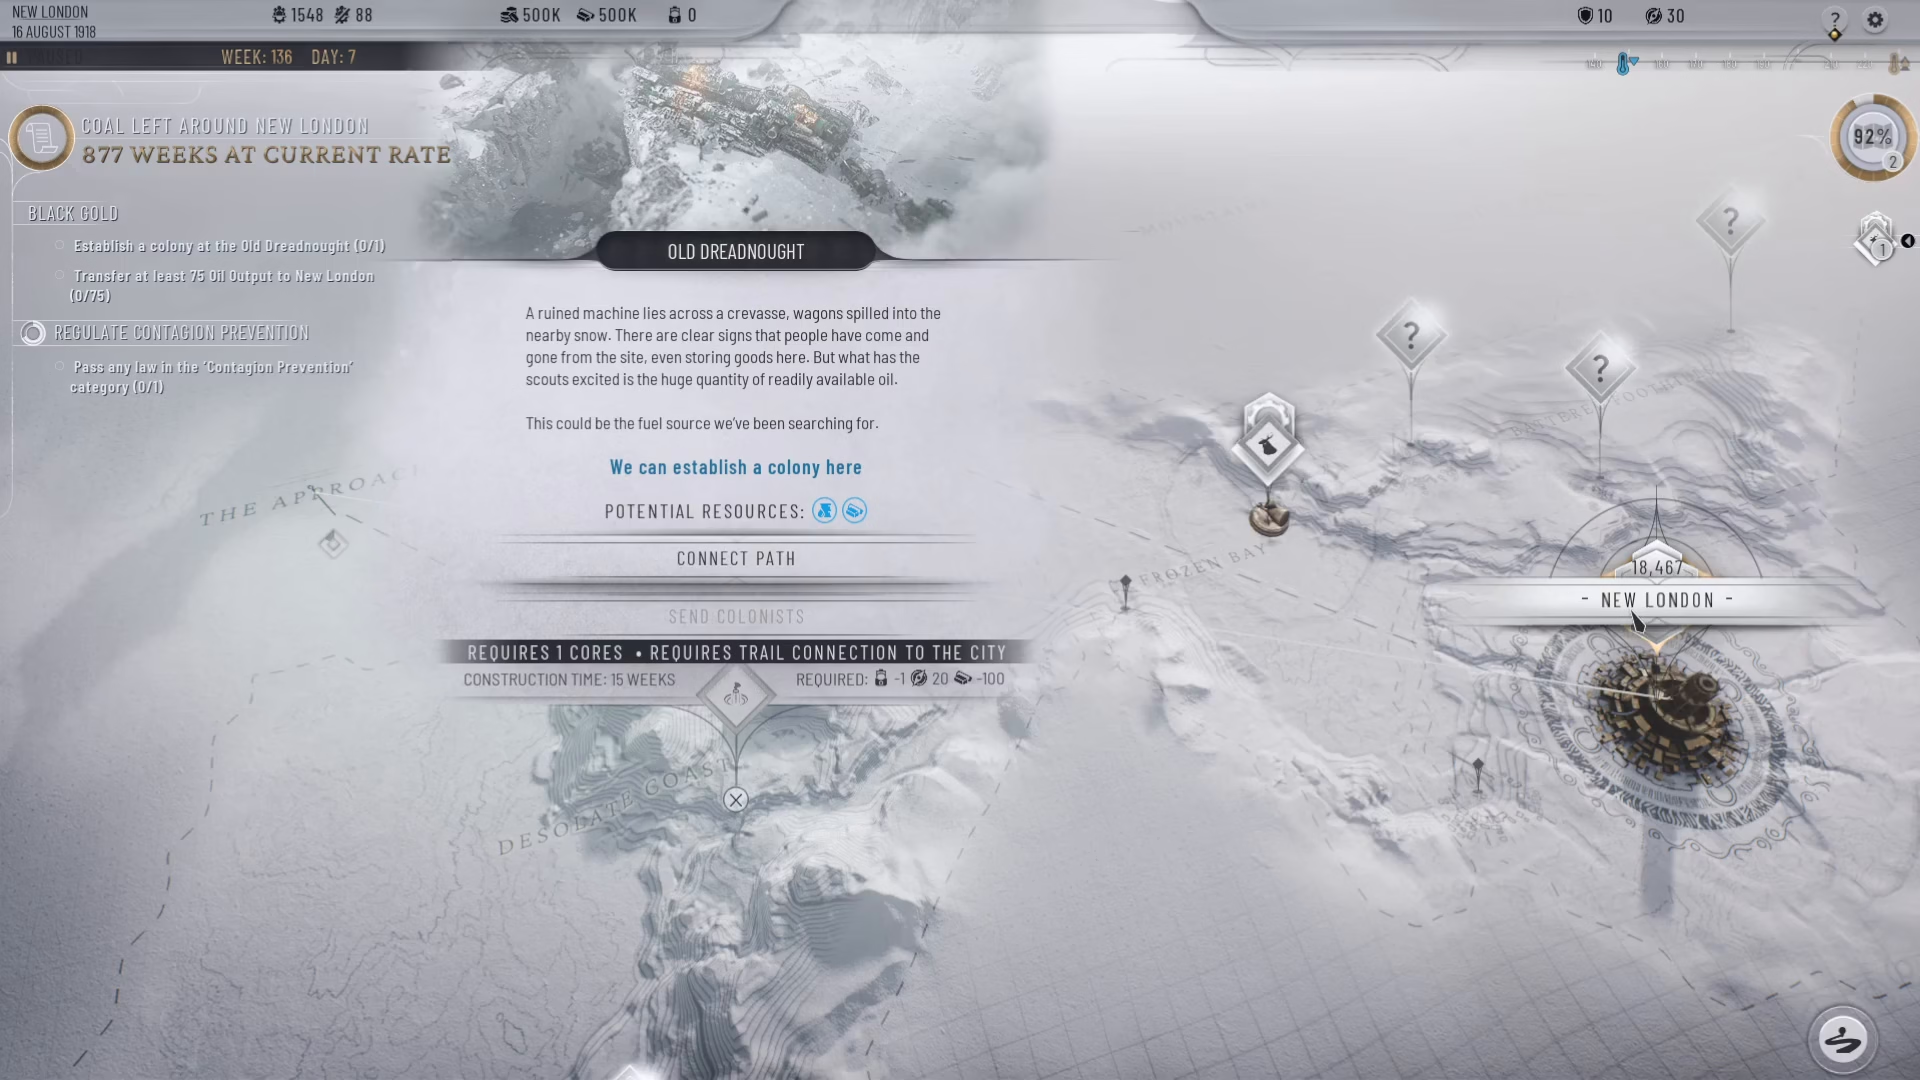
Trails become particularly useful once you’ve discovered new fuel sources like oil in Frostpunk 2. To begin setting up a trail, you’ll establish a colony at a new location—such as the old dreadnought—and then create a connection to New London using the trail system.
Creating Your First Trail
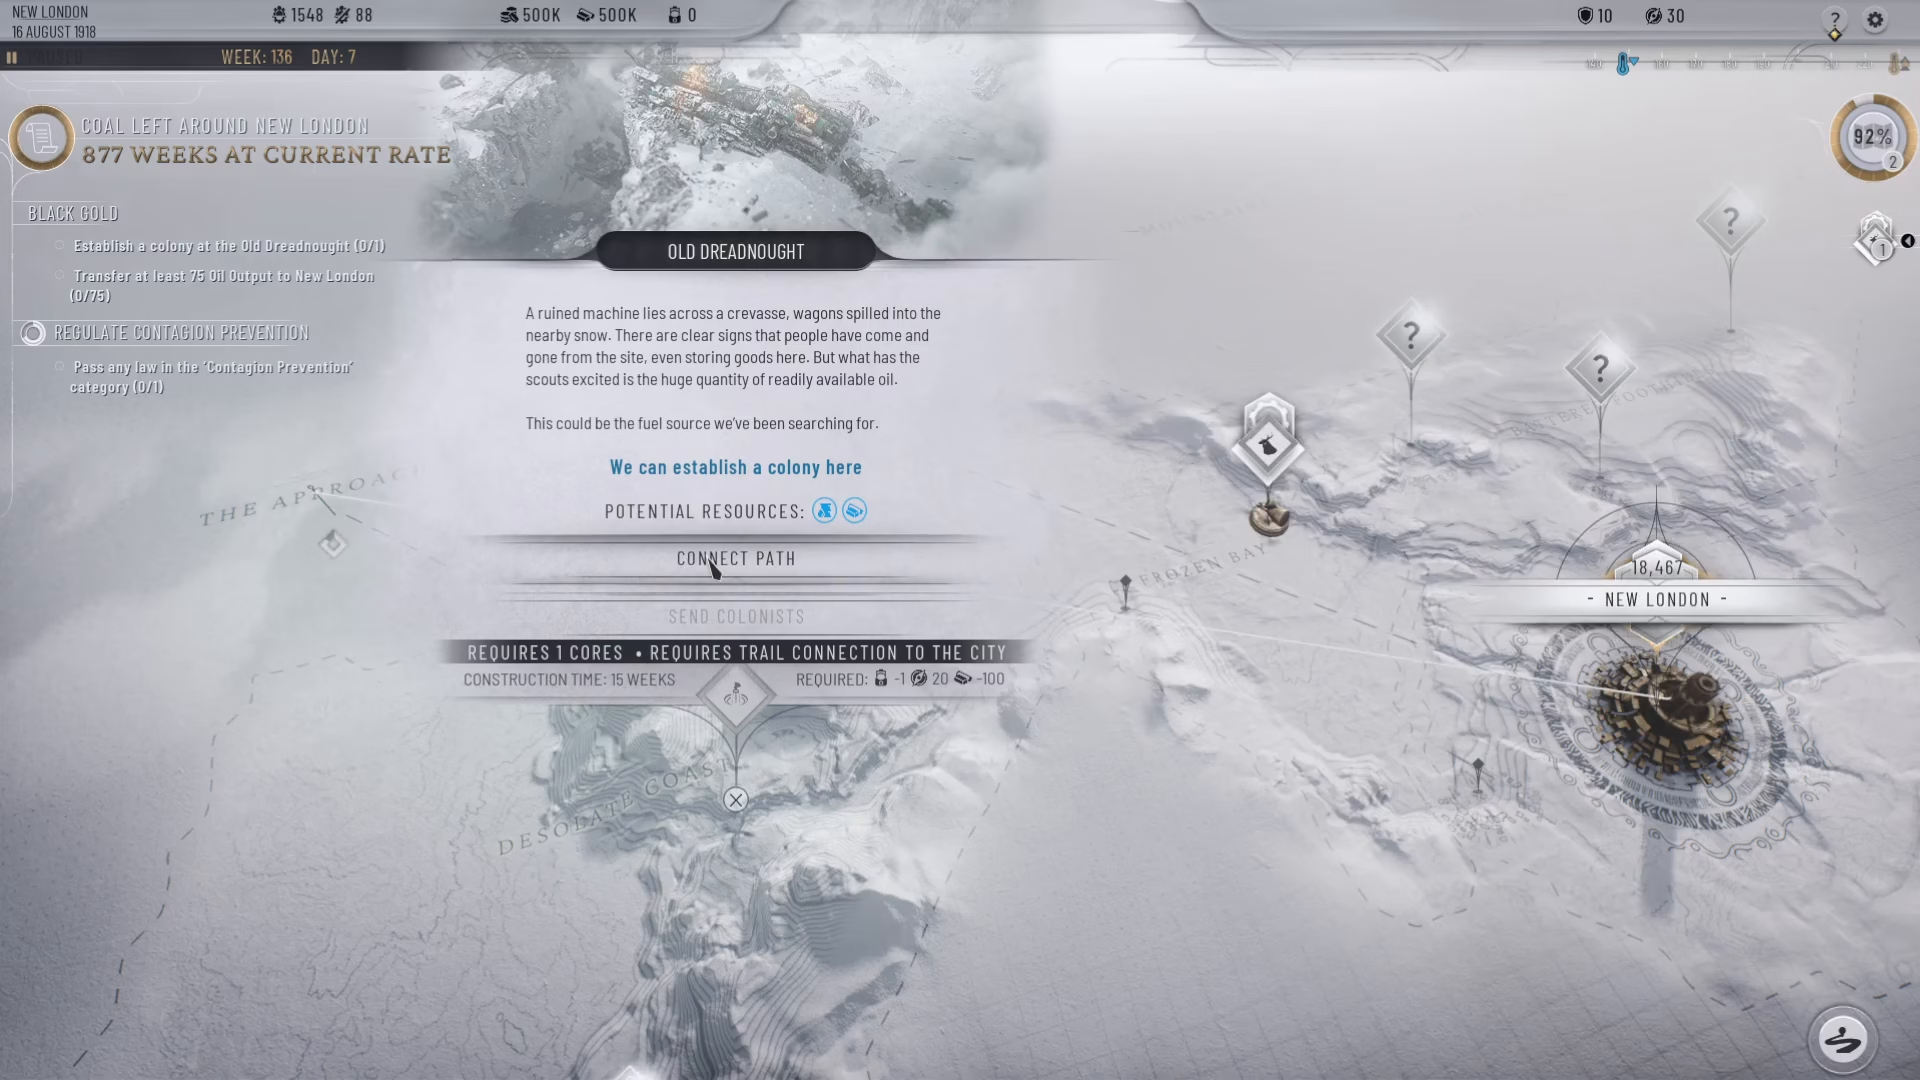
To create a trail, click the “Connect path” button. This will activate the trail-laying mode where you’ll place waypoint hooks to build your route.
Understanding the Grid System
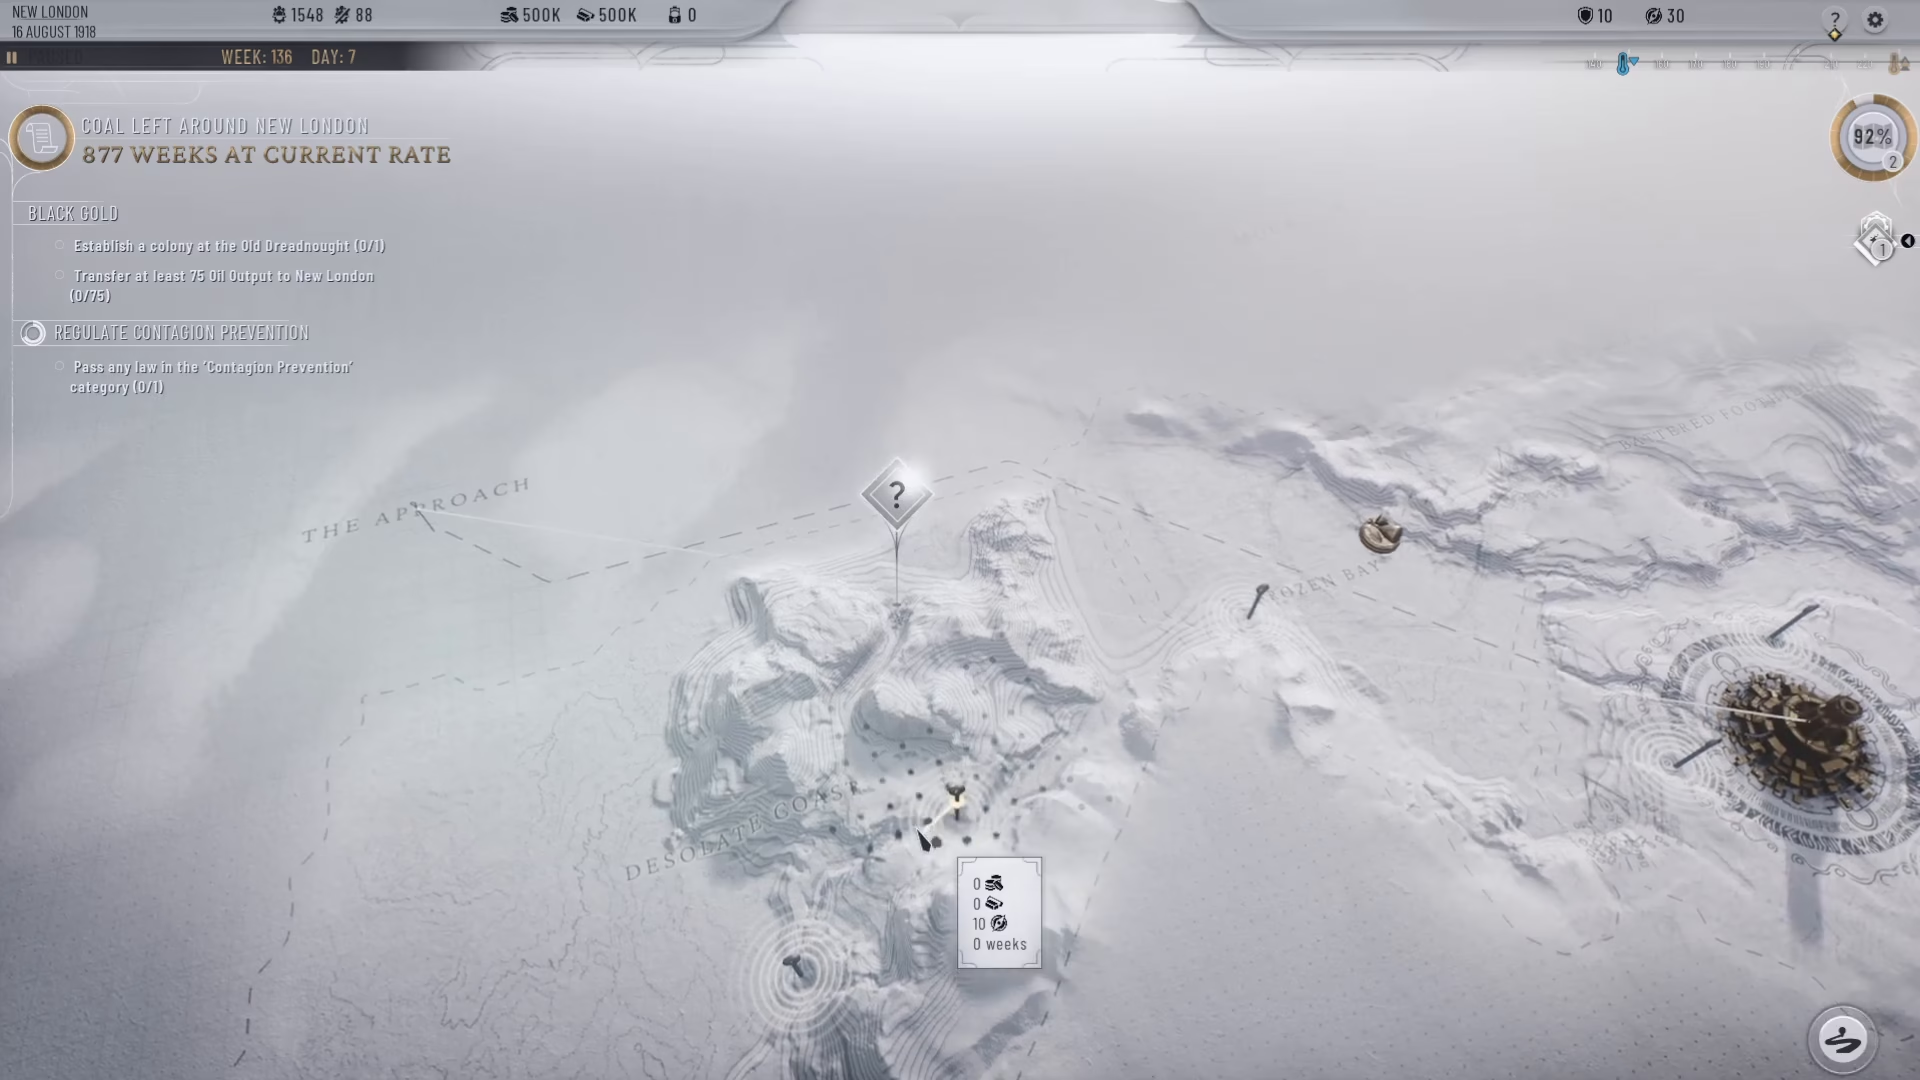
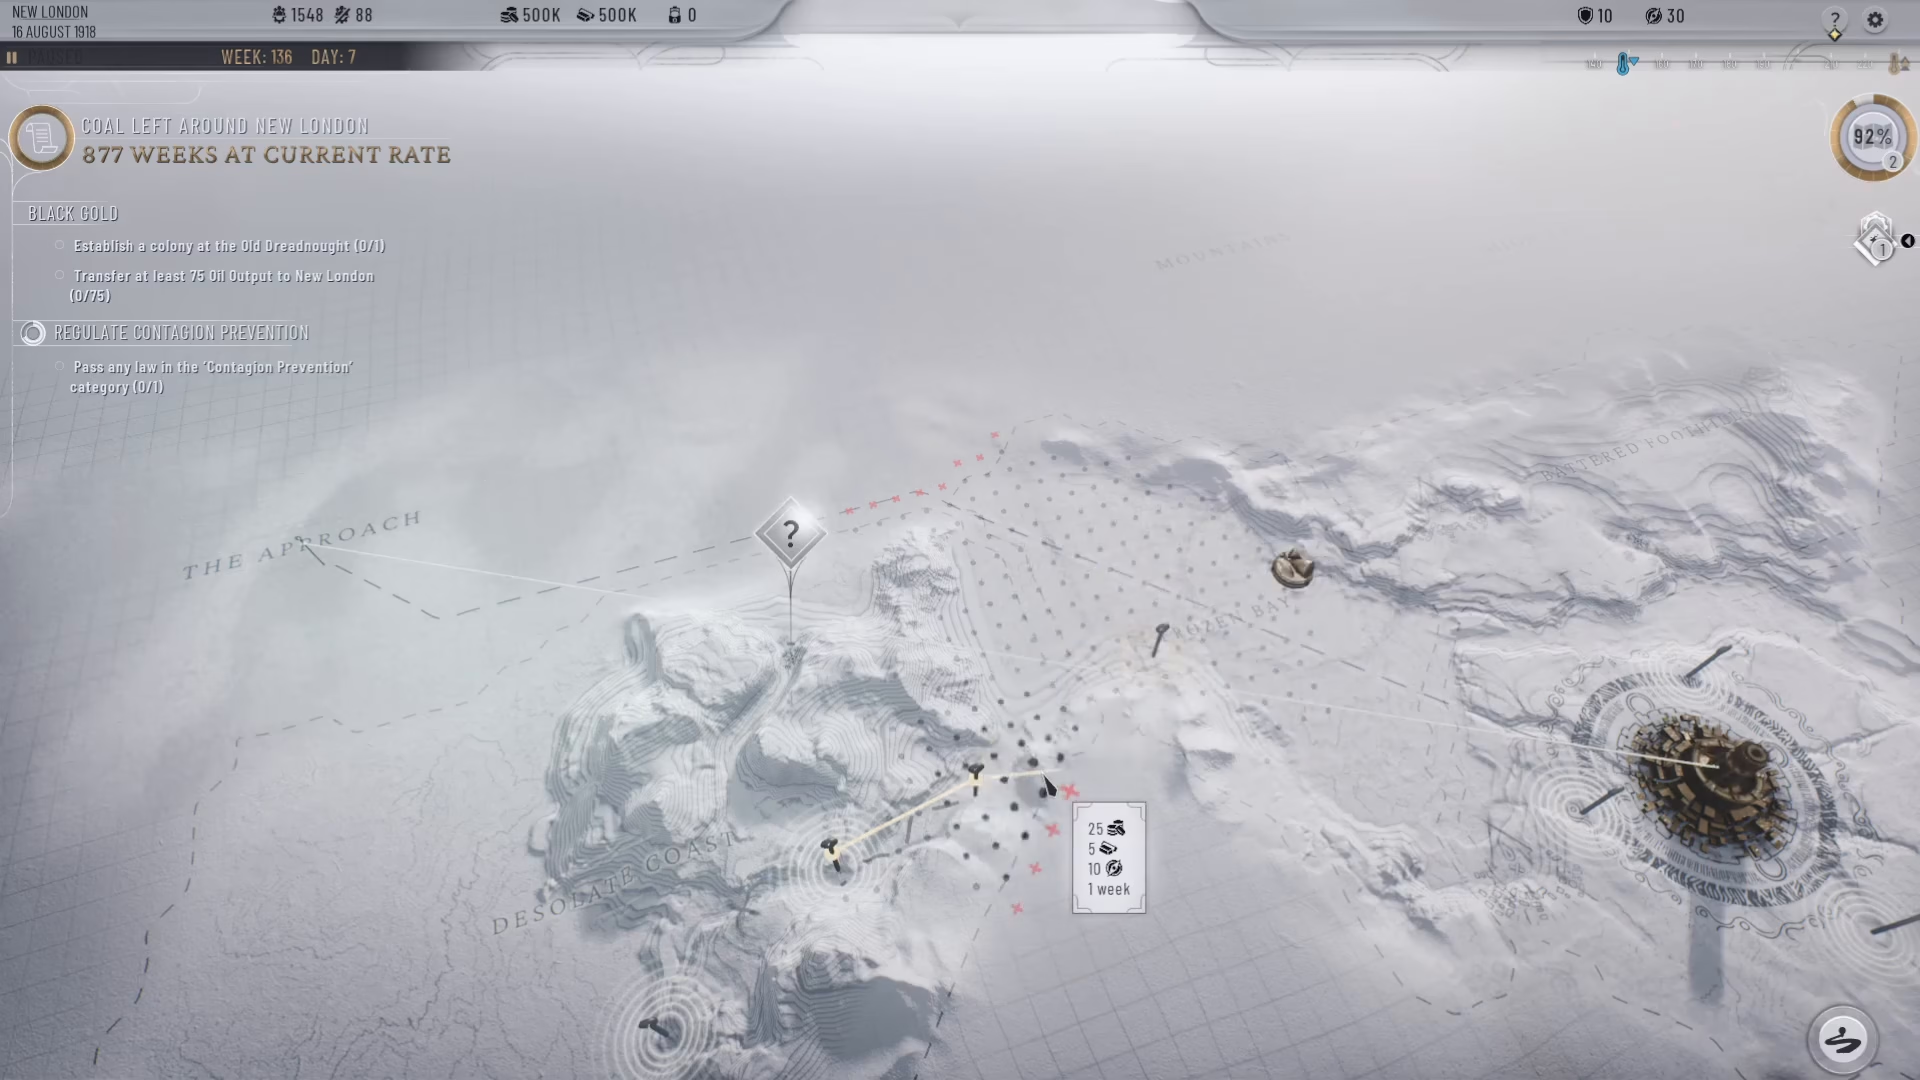
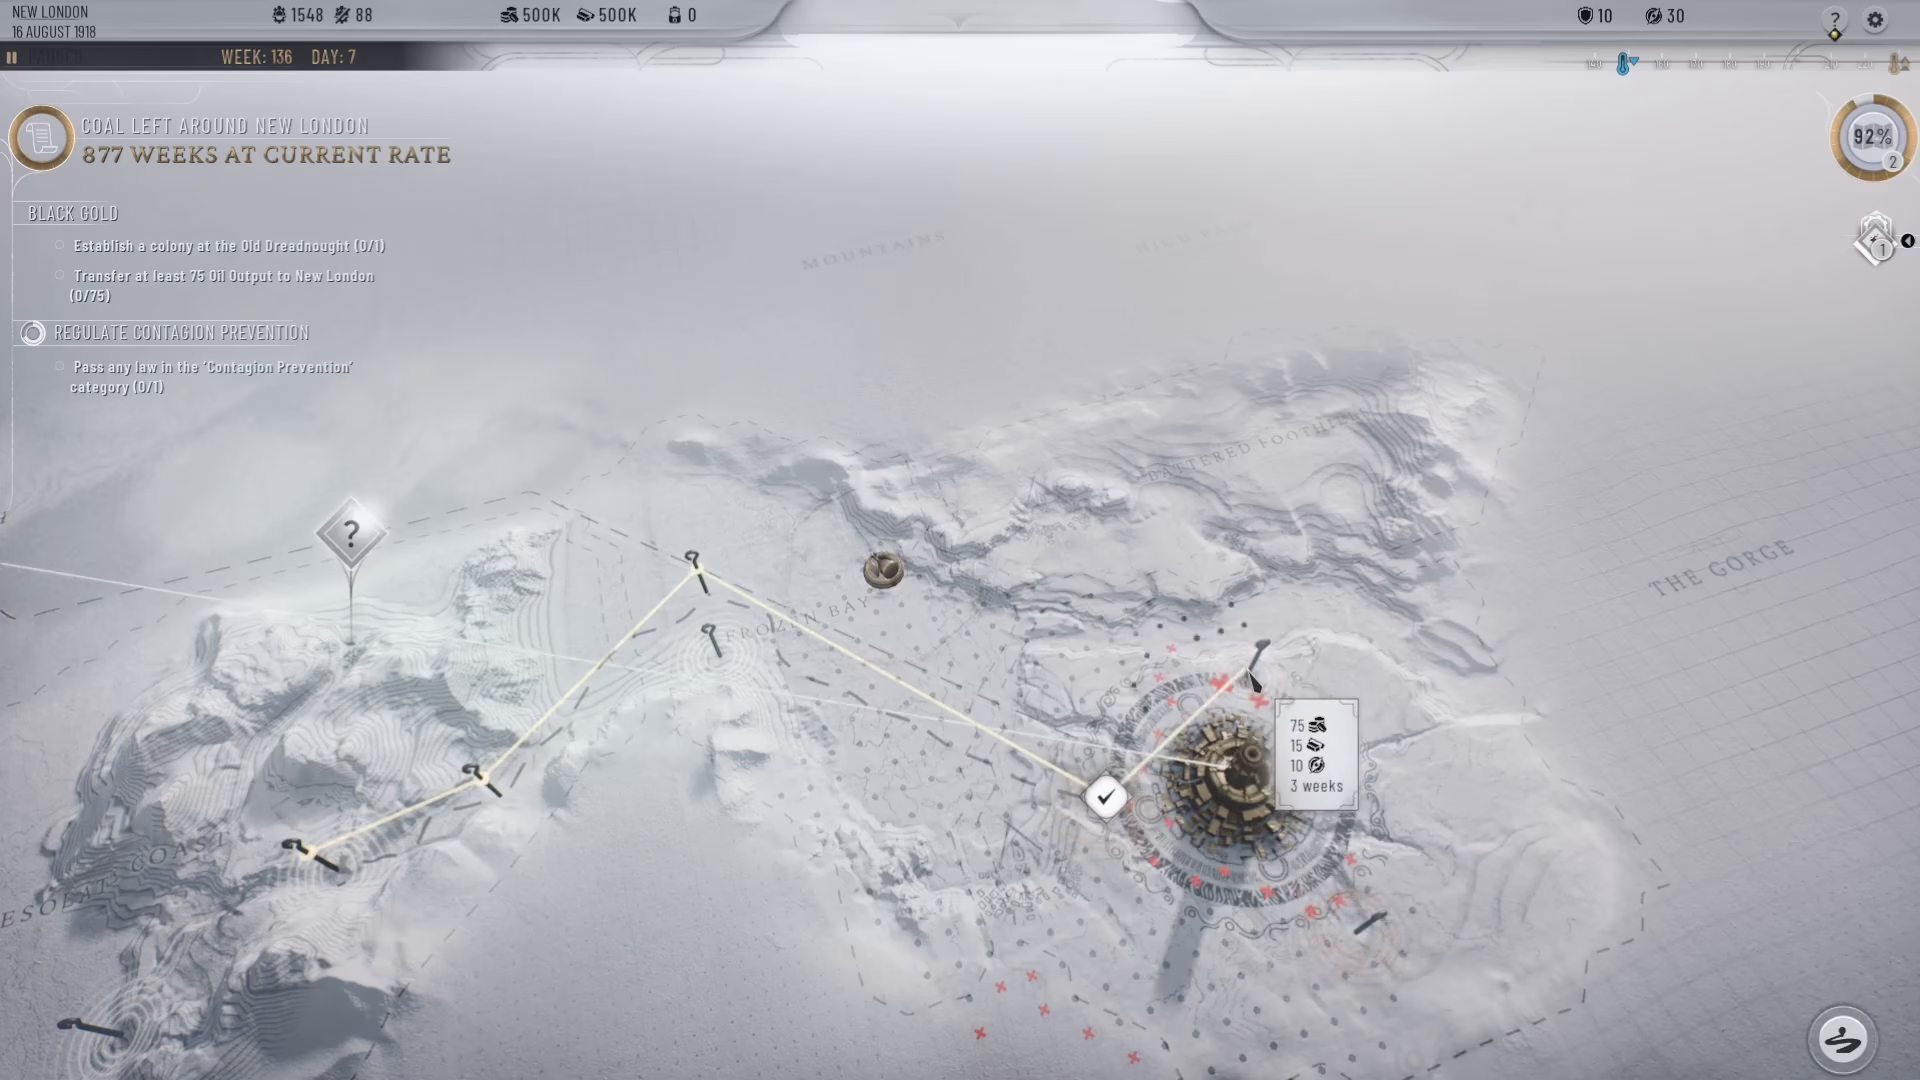
When you activate the connect path function, you’ll notice small black grid dots appearing around your pin. These dots represent the maximum distance you can extend a single trail segment. You cannot click directly to a distant location like New London in one action—instead, you must click on the black dots or within the space they define to extend your trail progressively.
Navigating Terrain and Topography
The terrain and topography of the landscape significantly affect how far you can extend each trail segment. Different areas have varying difficulty levels for traversal, which directly impacts your trail’s efficiency.
Easy vs. Difficult Terrain
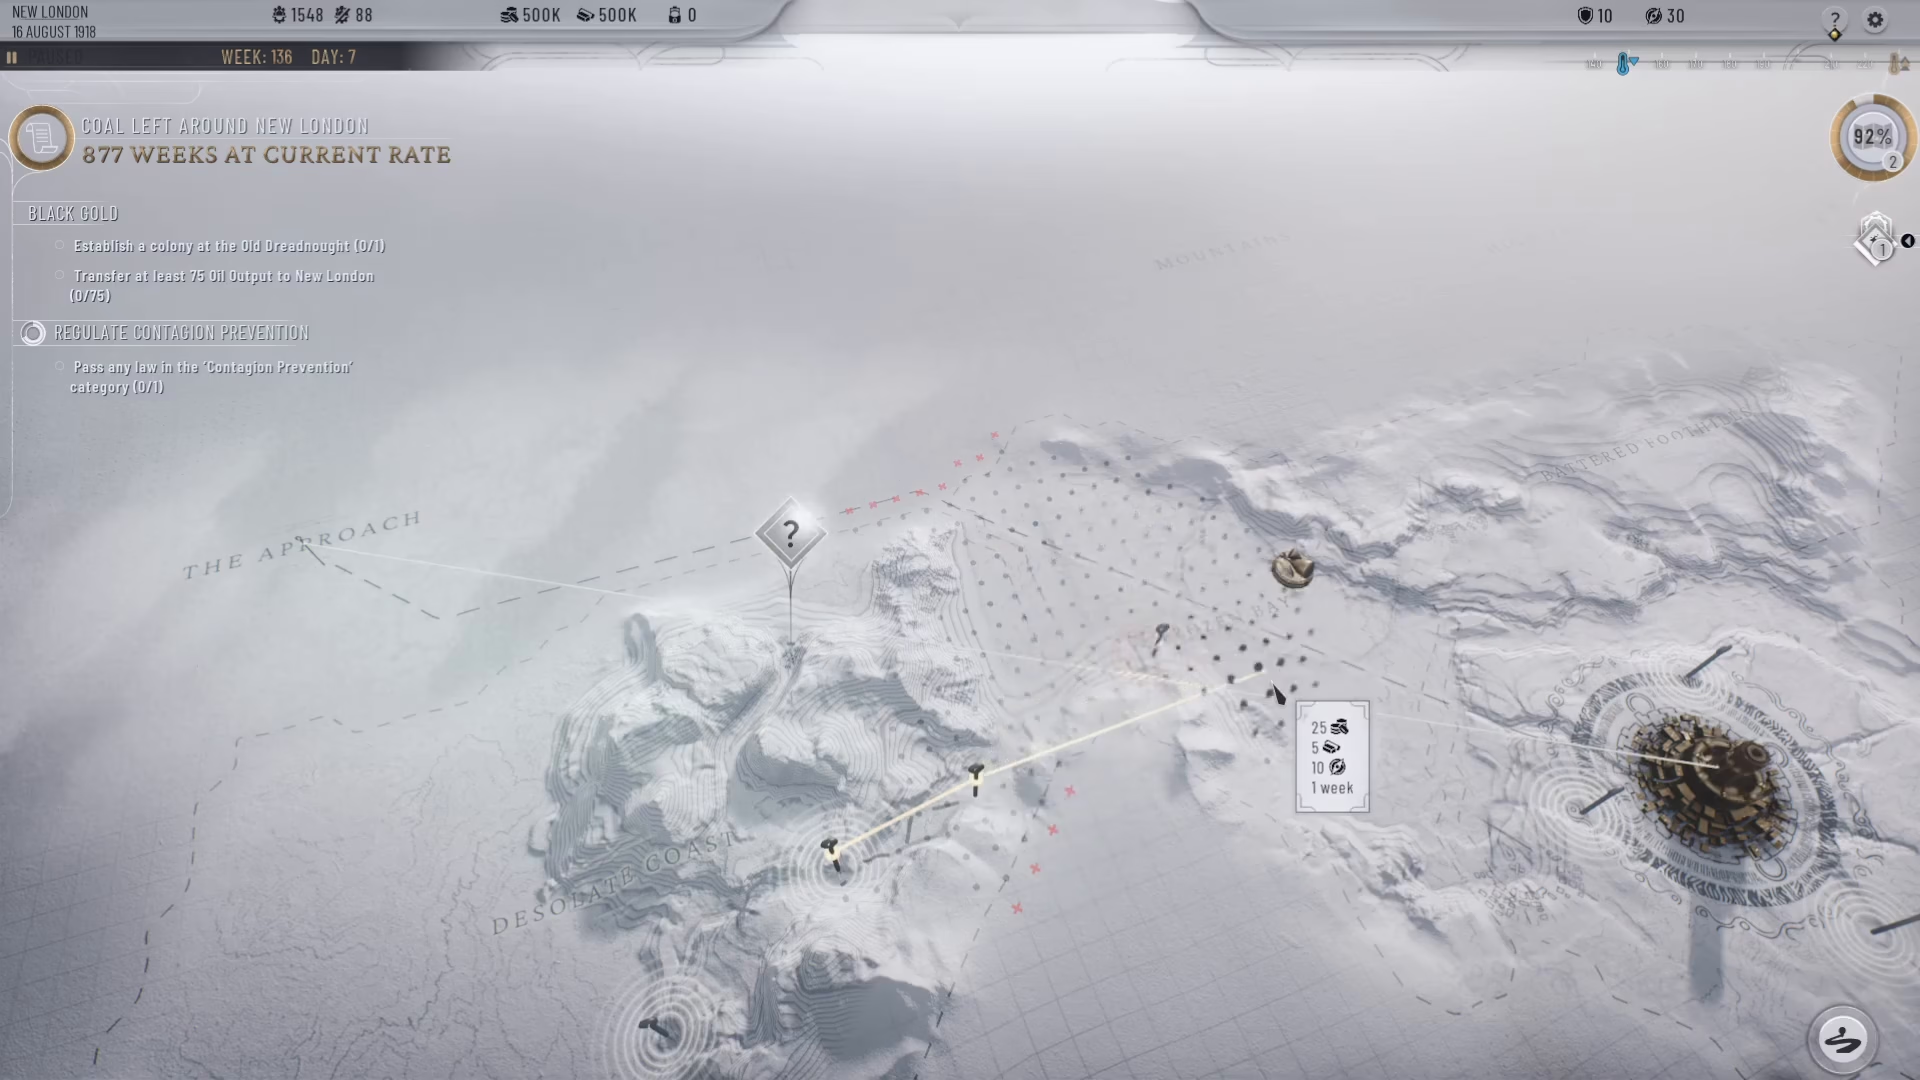
Areas with easier terrain—such as certain flat passages—allow you to extend trail segments much farther. For example, you might be able to extend a trail segment all the way to the Frozen Bay in accessible terrain. Conversely, mountainous areas with difficult terrain severely limit how far each segment can reach, requiring more waypoints to achieve the same distance.
Finding Optimal Routes
When planning your trail, always aim to follow the path of least resistance. Choose routes that traverse low-elevation terrain rather than crossing mountains, even if those paths seem longer on the surface. This approach minimizes the number of waypoints you need and reduces overall travel time.
Minimizing Travel Time With Efficient Pathfinding
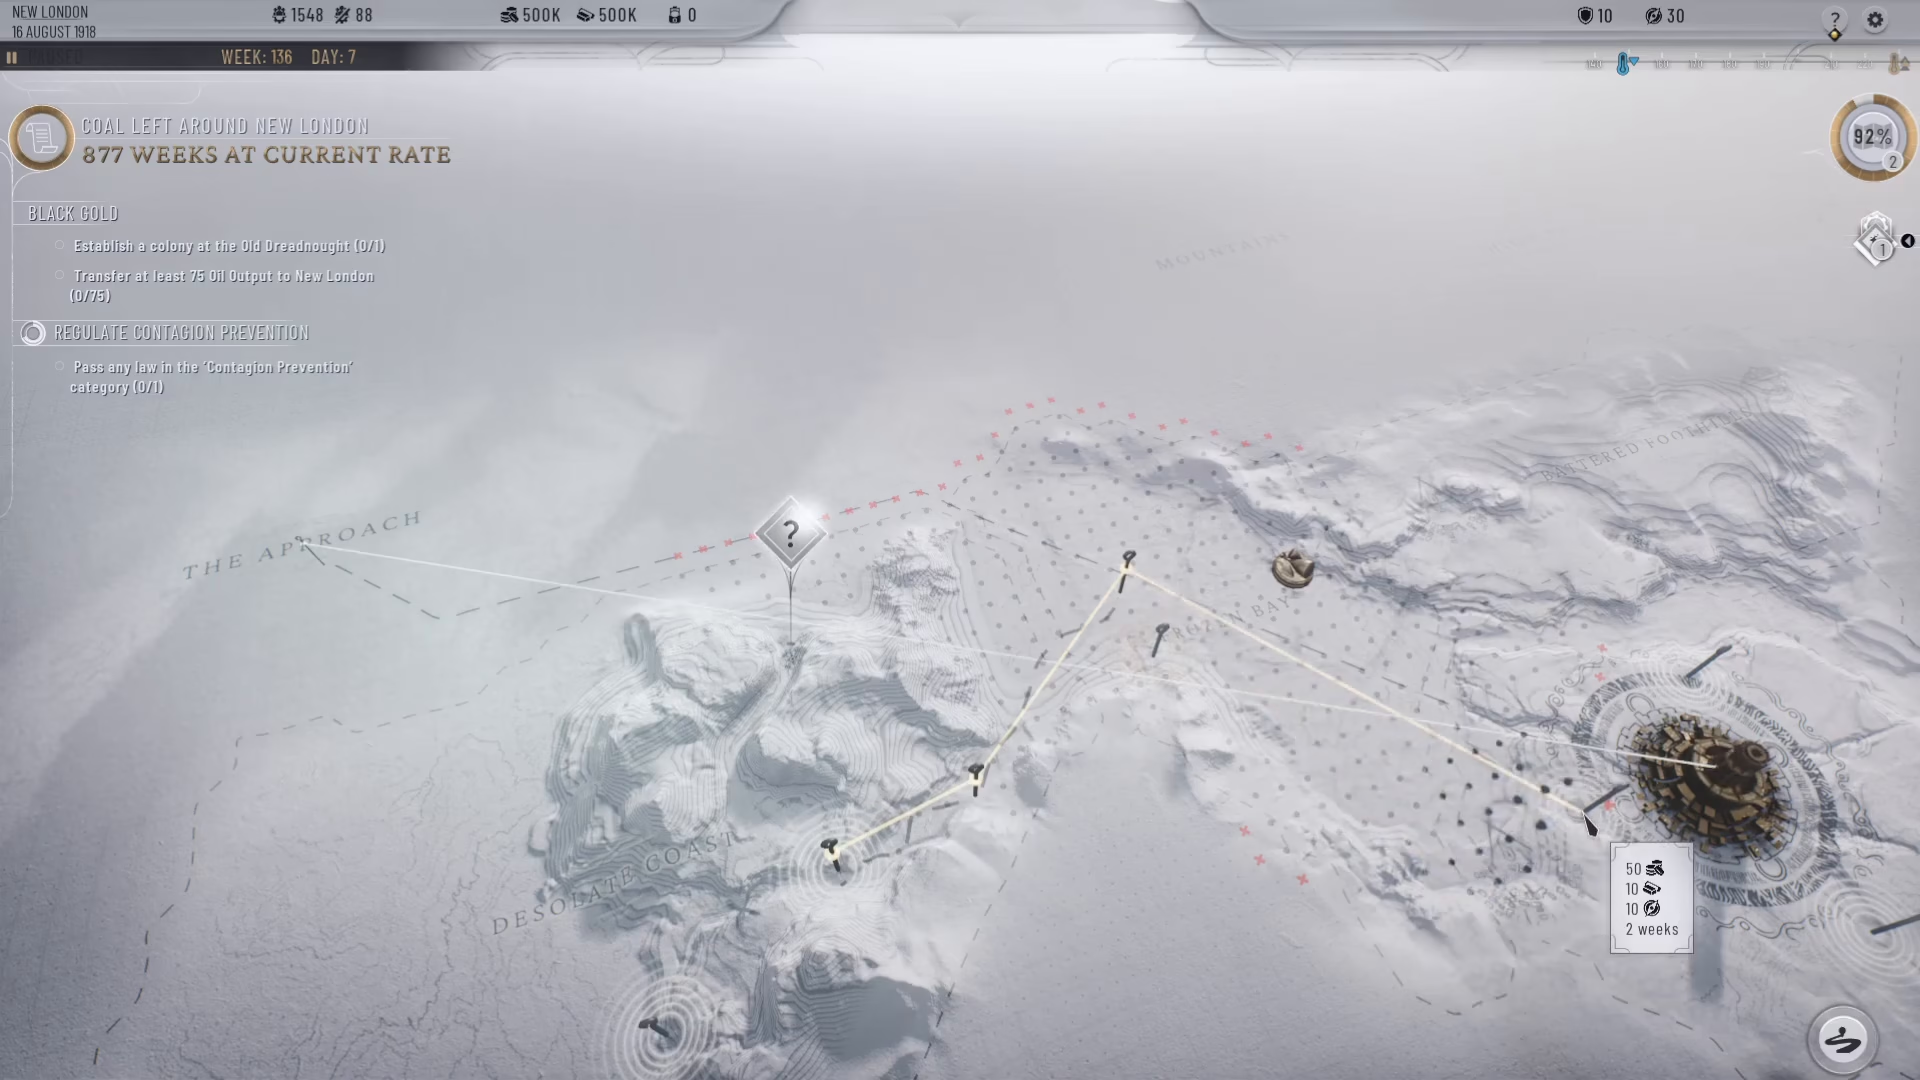
Each waypoint pin you place adds one week to the total travel time between locations. Therefore, efficiency is key to optimizing your supply lines.
The Week-Per-Pin System
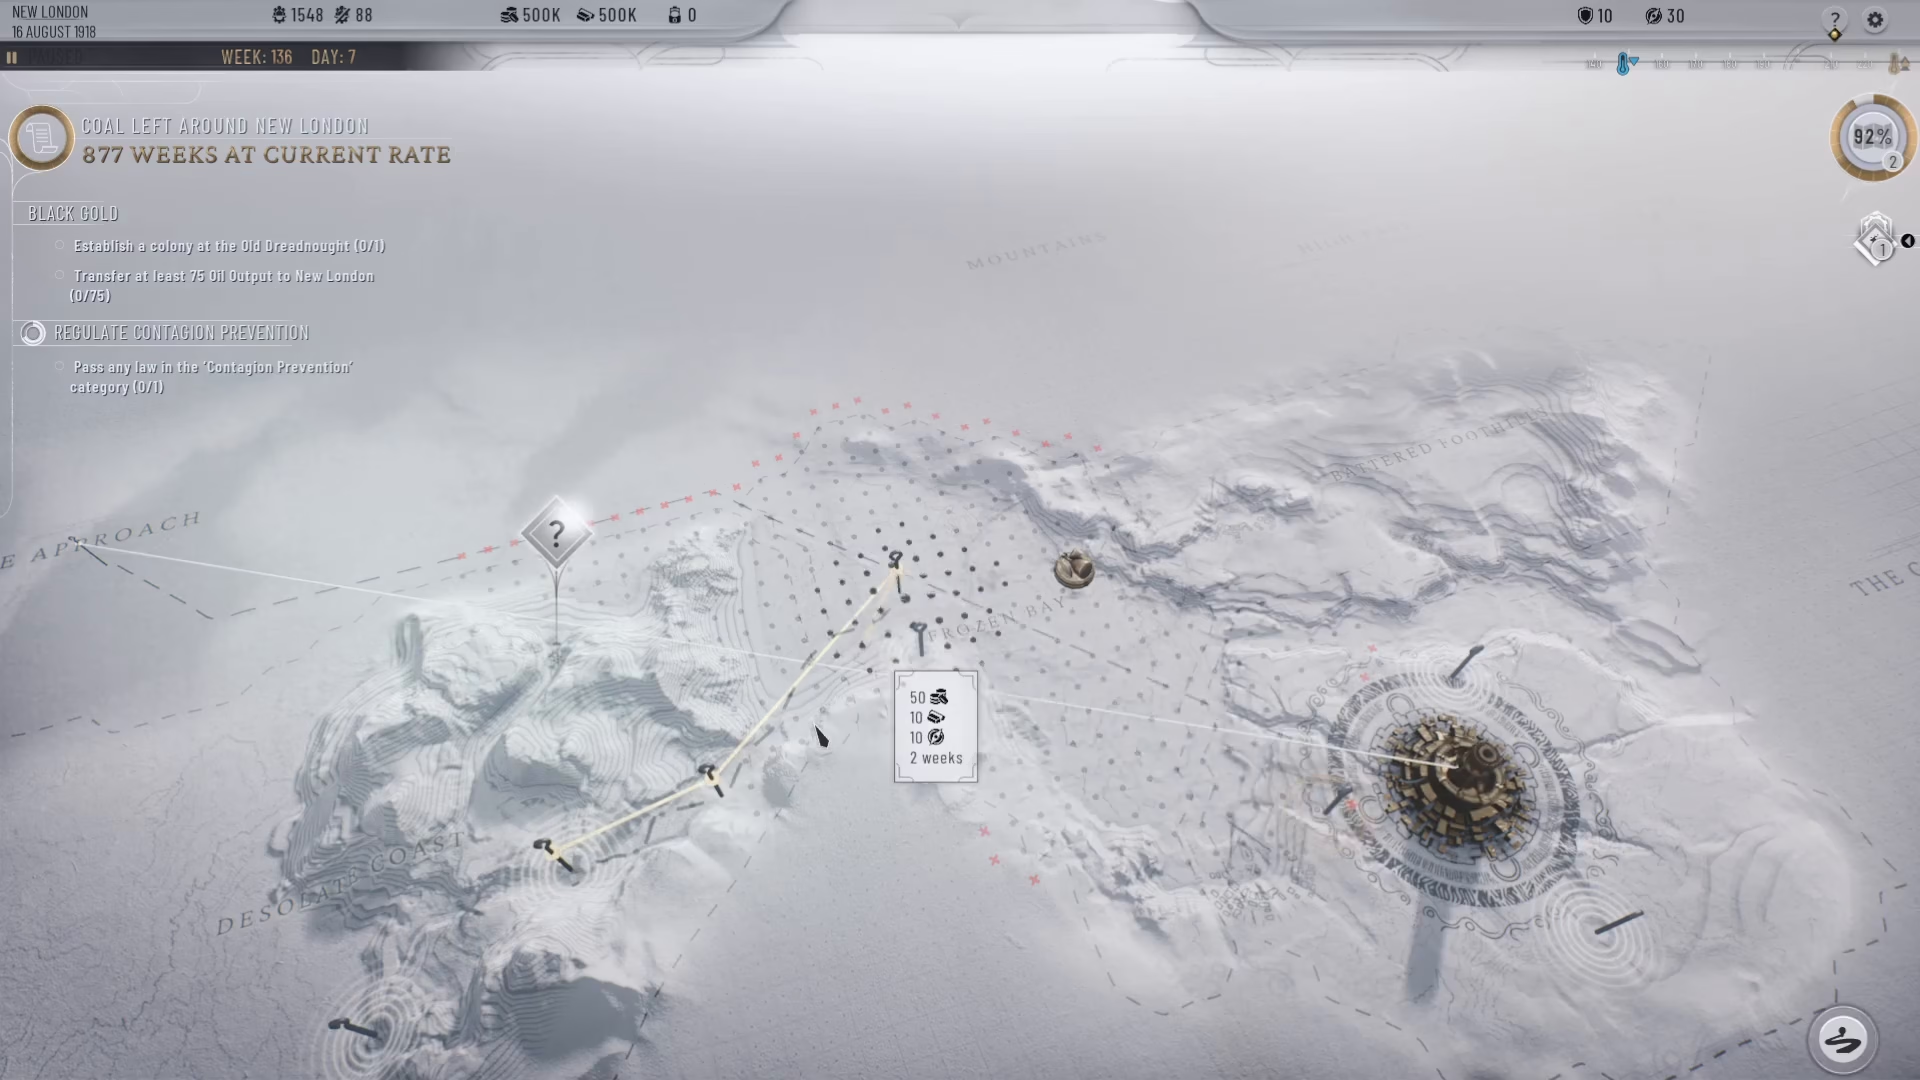
If you place four separate pins to create a trail, that journey will take four weeks to complete. By contrast, planning a route that requires only three pins will cut travel time down to three weeks. This makes waypoint placement a critical strategic consideration.
Strategic Route Planning
The most efficient approach is to extend each trail segment as far as possible while staying on the lowest elevation terrain available. For instance, you might place your first waypoint at a low-elevation point, then extend all the way to another accessible area, and finally place a final waypoint that connects directly to New London. This three-point route will be significantly faster than a four or five-point alternative.
Multiple Logistics Districts
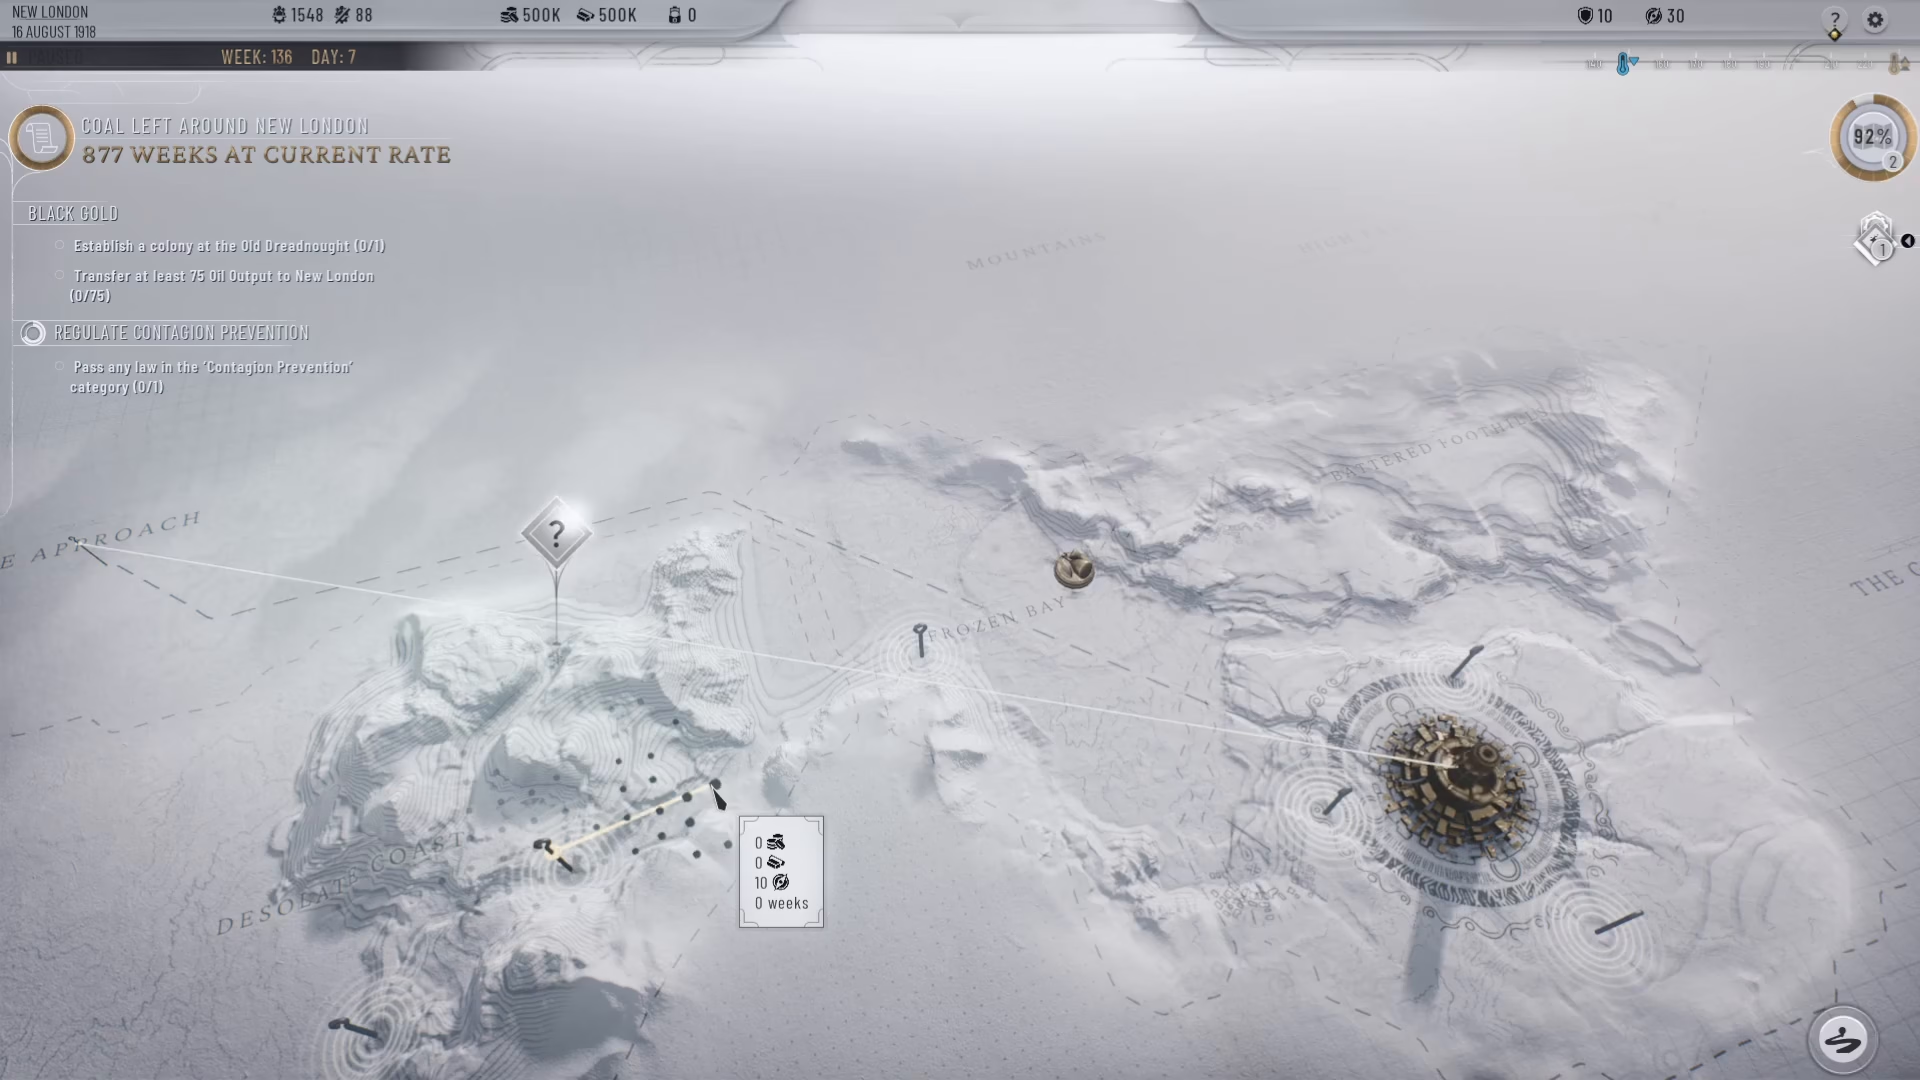
If you have multiple logistics districts established at a location, you’ll see multiple pins displayed on the map—one for each district. These represent separate connection points you can utilize for different supply routes.
Confirming Your Trail Connection
Once you’ve placed all your waypoints and confirmed your route is viable, you’ll notice certain segments glow slightly, indicating they’re valid connection points. After you’ve finalized your route, simply click the tick button to confirm and activate the trail connection.
Conclusion
Mastering trail creation in Frostpunk 2 is essential for efficient colony management and resource distribution. By understanding the grid system, recognizing terrain difficulties, and planning routes that minimize waypoints, you can establish fast and reliable connections between your settlements and New London. Remember to always prioritize low-elevation routes and extend each segment as far as possible to keep travel times short and your colonies thriving.
Want to Support?
If you would like to help us continue making these guides – please consider joining our patreon here – https://www.patreon.com/c/JaviHeals
Alternatively – you can join our discord here – https://discord.gg/zD7Gjt6MHF