







Prologue Challenge 4 Guide in Halloween The Game
Prologue Challenge 4 Guide in Halloween The Game
Prologue Challenge 4 in Halloween The Game requires careful navigation through the woods and strategic elimination of enemies. This guide will walk you through the exact route, stealth mechanics, and techniques needed to complete this challenge successfully.
Initial Approach Through the Woods
When you change to Challenge 4, you’ll start in the woods. You’ll notice a guy with a torch on the bridge ahead of you. Rather than engaging him directly, your goal is to head down through the woods in the opposite direction. Don’t be alarmed by any alarm sounds going off—they shouldn’t affect your progress at this stage.
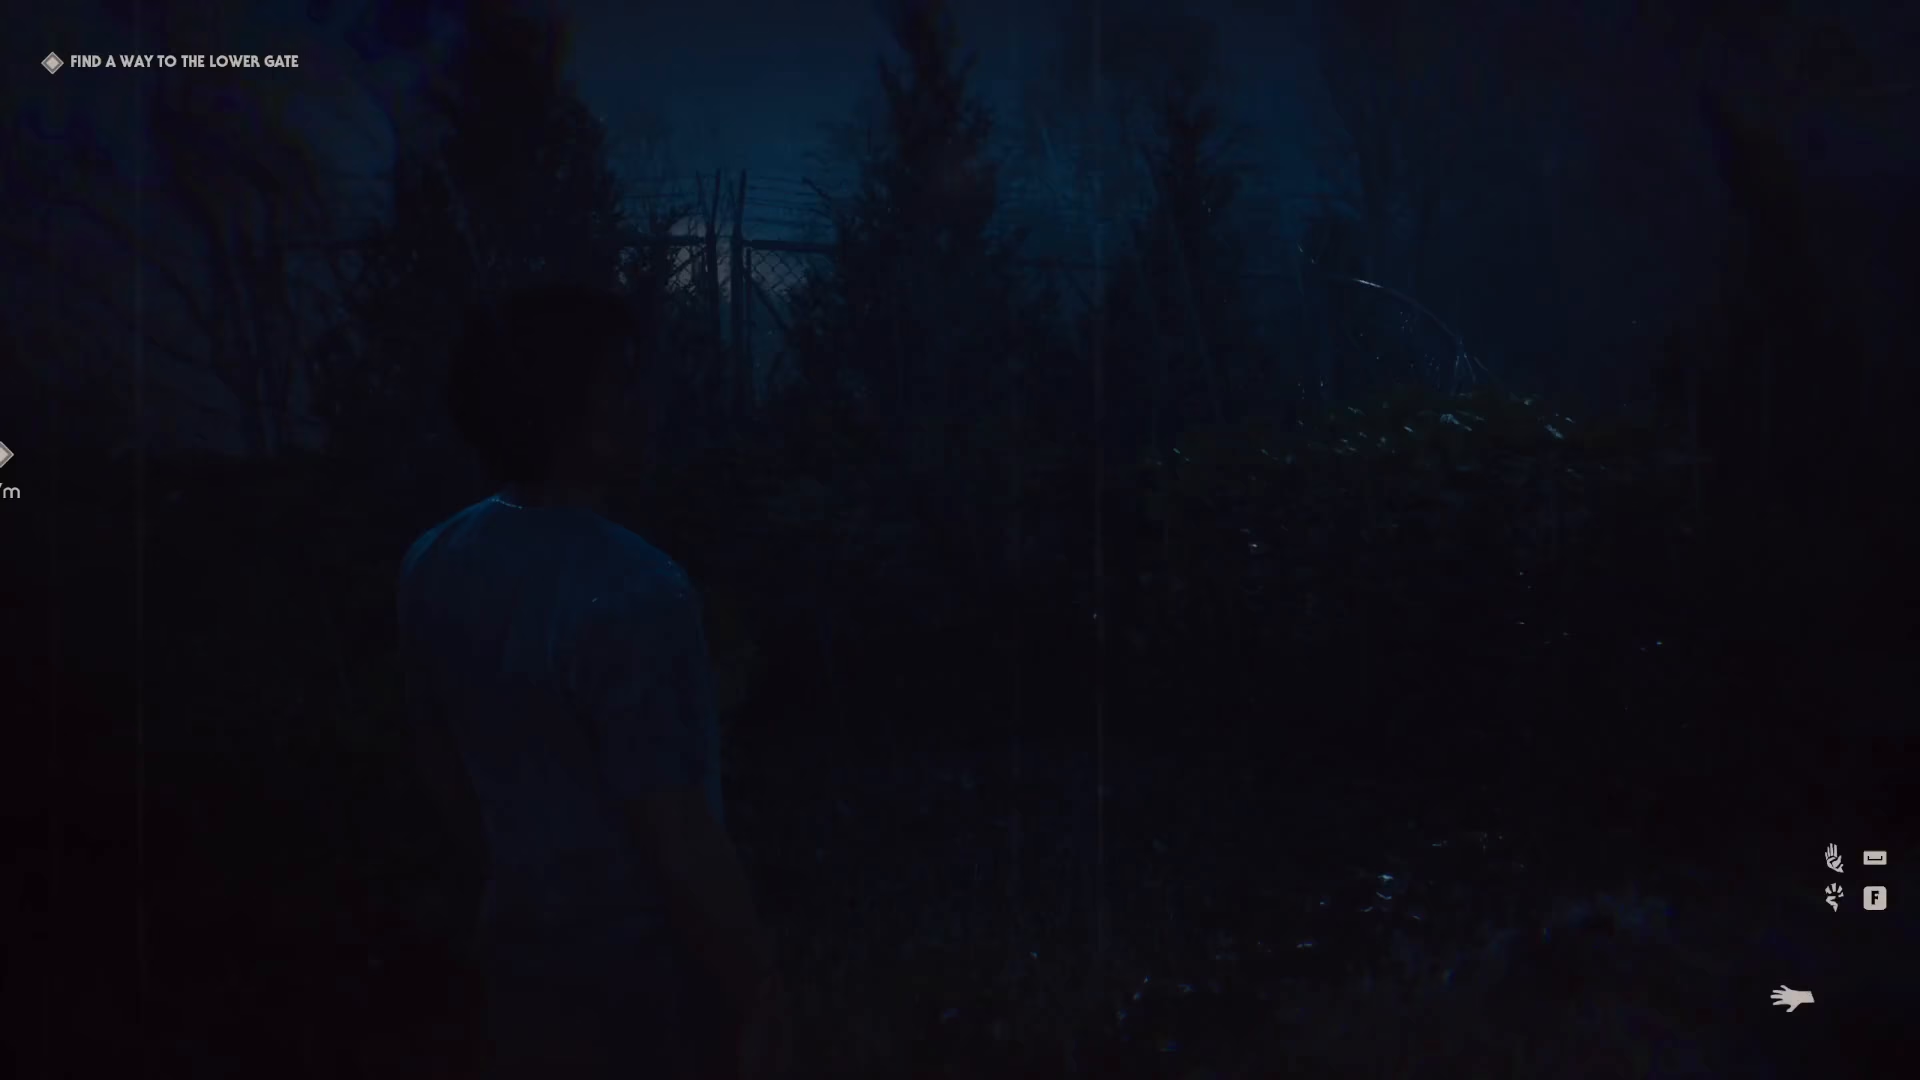
Once you’re down in the woods, turn right and continue moving carefully through the area. At this point, you can eliminate any enemies blocking your path if needed using the sequence: 2, 1, 3, 4.

Avoiding the Main Road
A critical part of this challenge is knowing which route to take. You don’t want to go out to the main road as this will draw unnecessary attention. Instead, cut through the bushes on your right side. This alternate path takes you out to the side road and keeps you safer from detection.
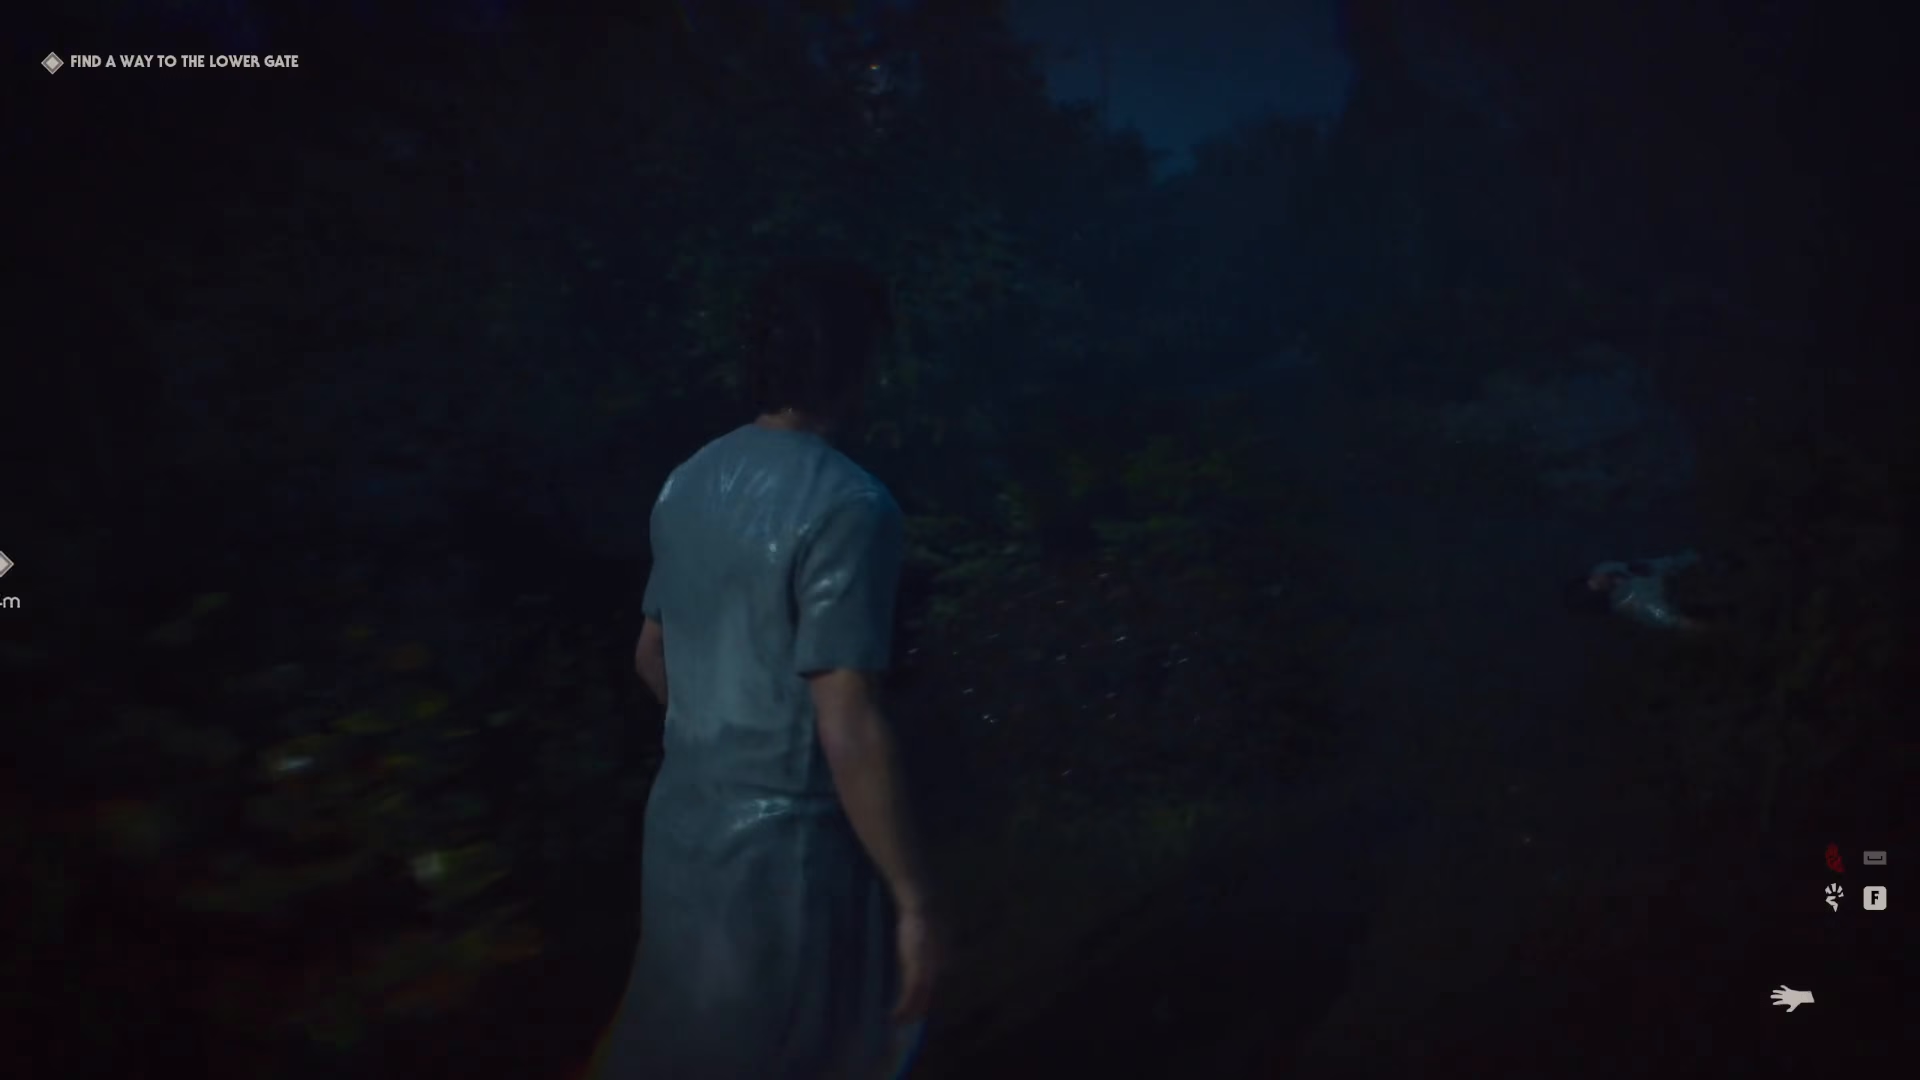
Once on the side road, be very stealthy. You need to avoid scaring away the guy on the bridge, as he’s important for completing the challenge more easily. Moving quietly and deliberately at this stage is essential.
Heading Toward the Institute
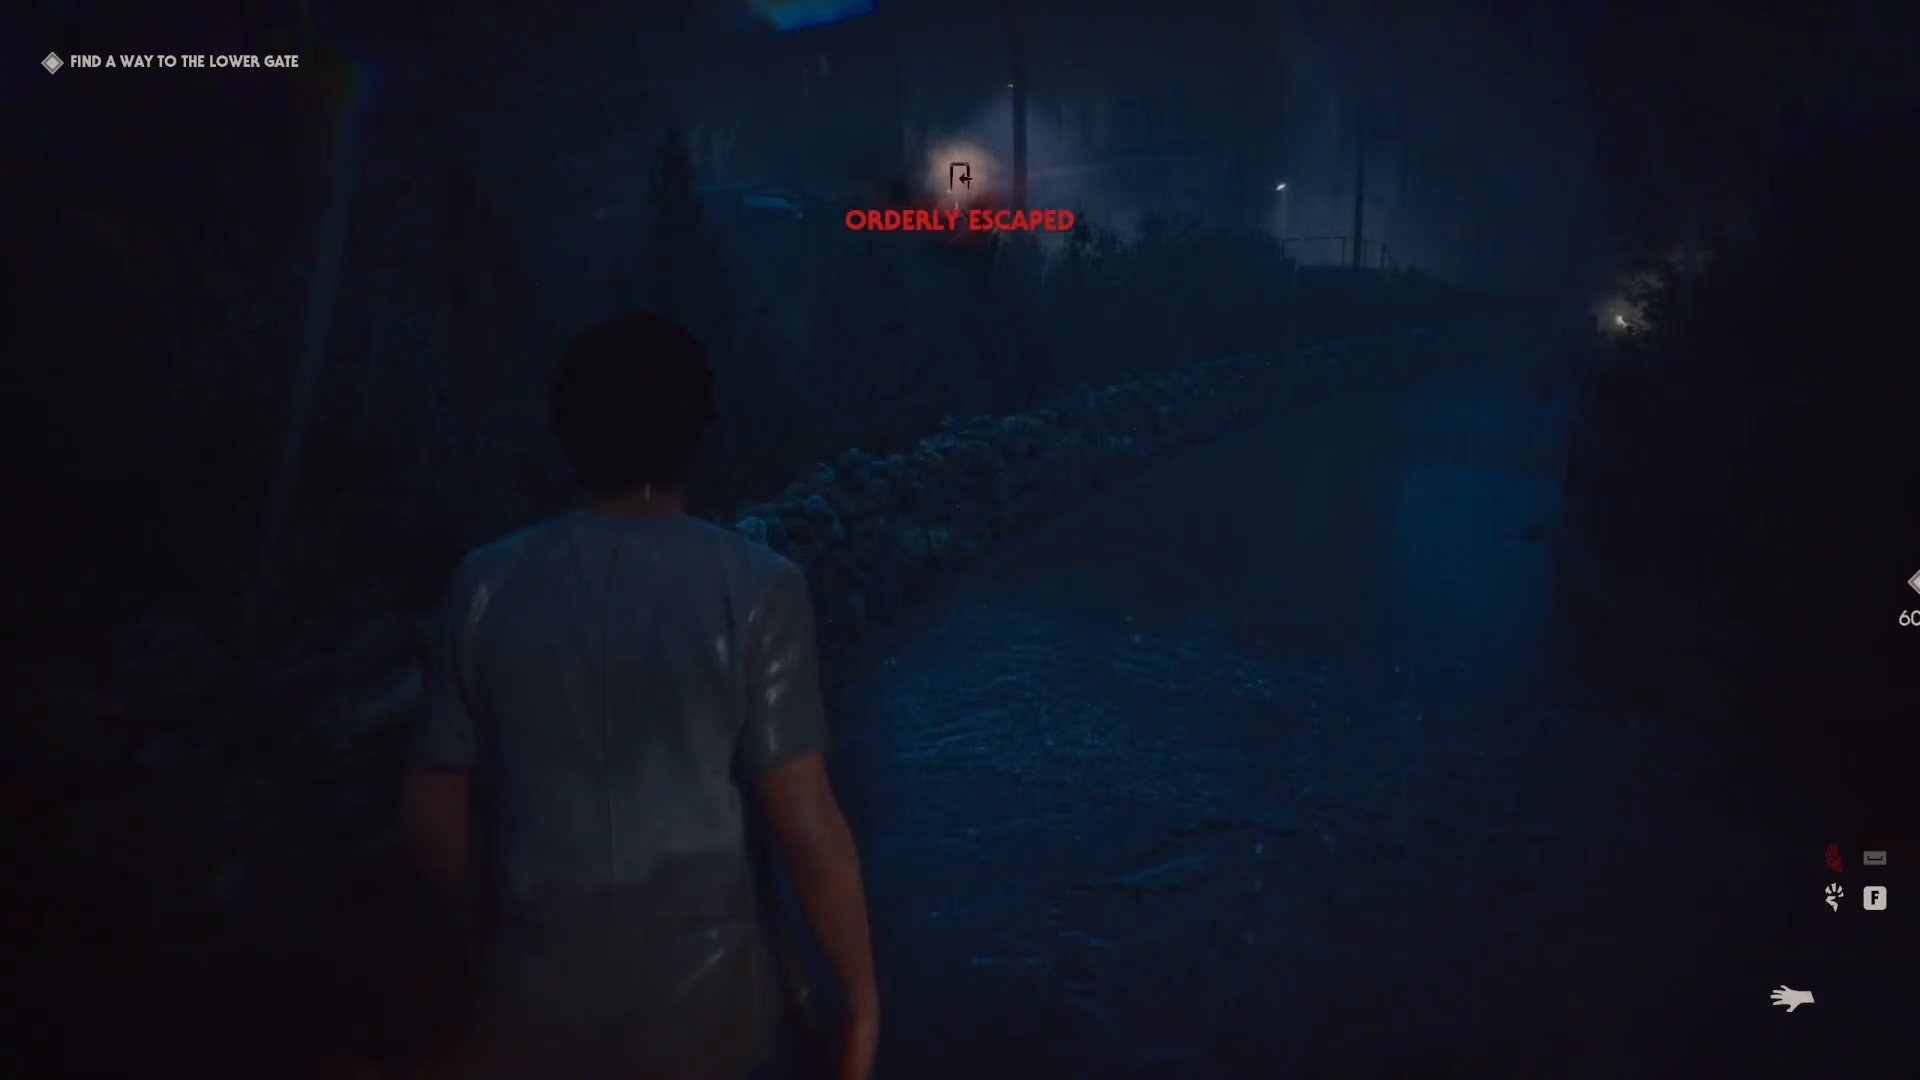
From the side road, head back up the hill using the left-hand road. This path leads toward the Institute. As you round the corner, you’ll encounter an orderly with a torch and a patient. This orderly is your target for this challenge.

Isolating Your Target
The key to success here is isolating your target. You want to confront the orderly when he’s alone, without the patient. This is why you take the long route around the area—if multiple people are present, you risk being blinded, which results in a game over. Taking your time to navigate around ensures you get the orderly by himself.
Eliminating the Target
Once you’ve isolated the orderly, get close and grab him using your Stark ability. You’ll notice a skull icon appear at the bridge, indicating your target is ready for elimination.
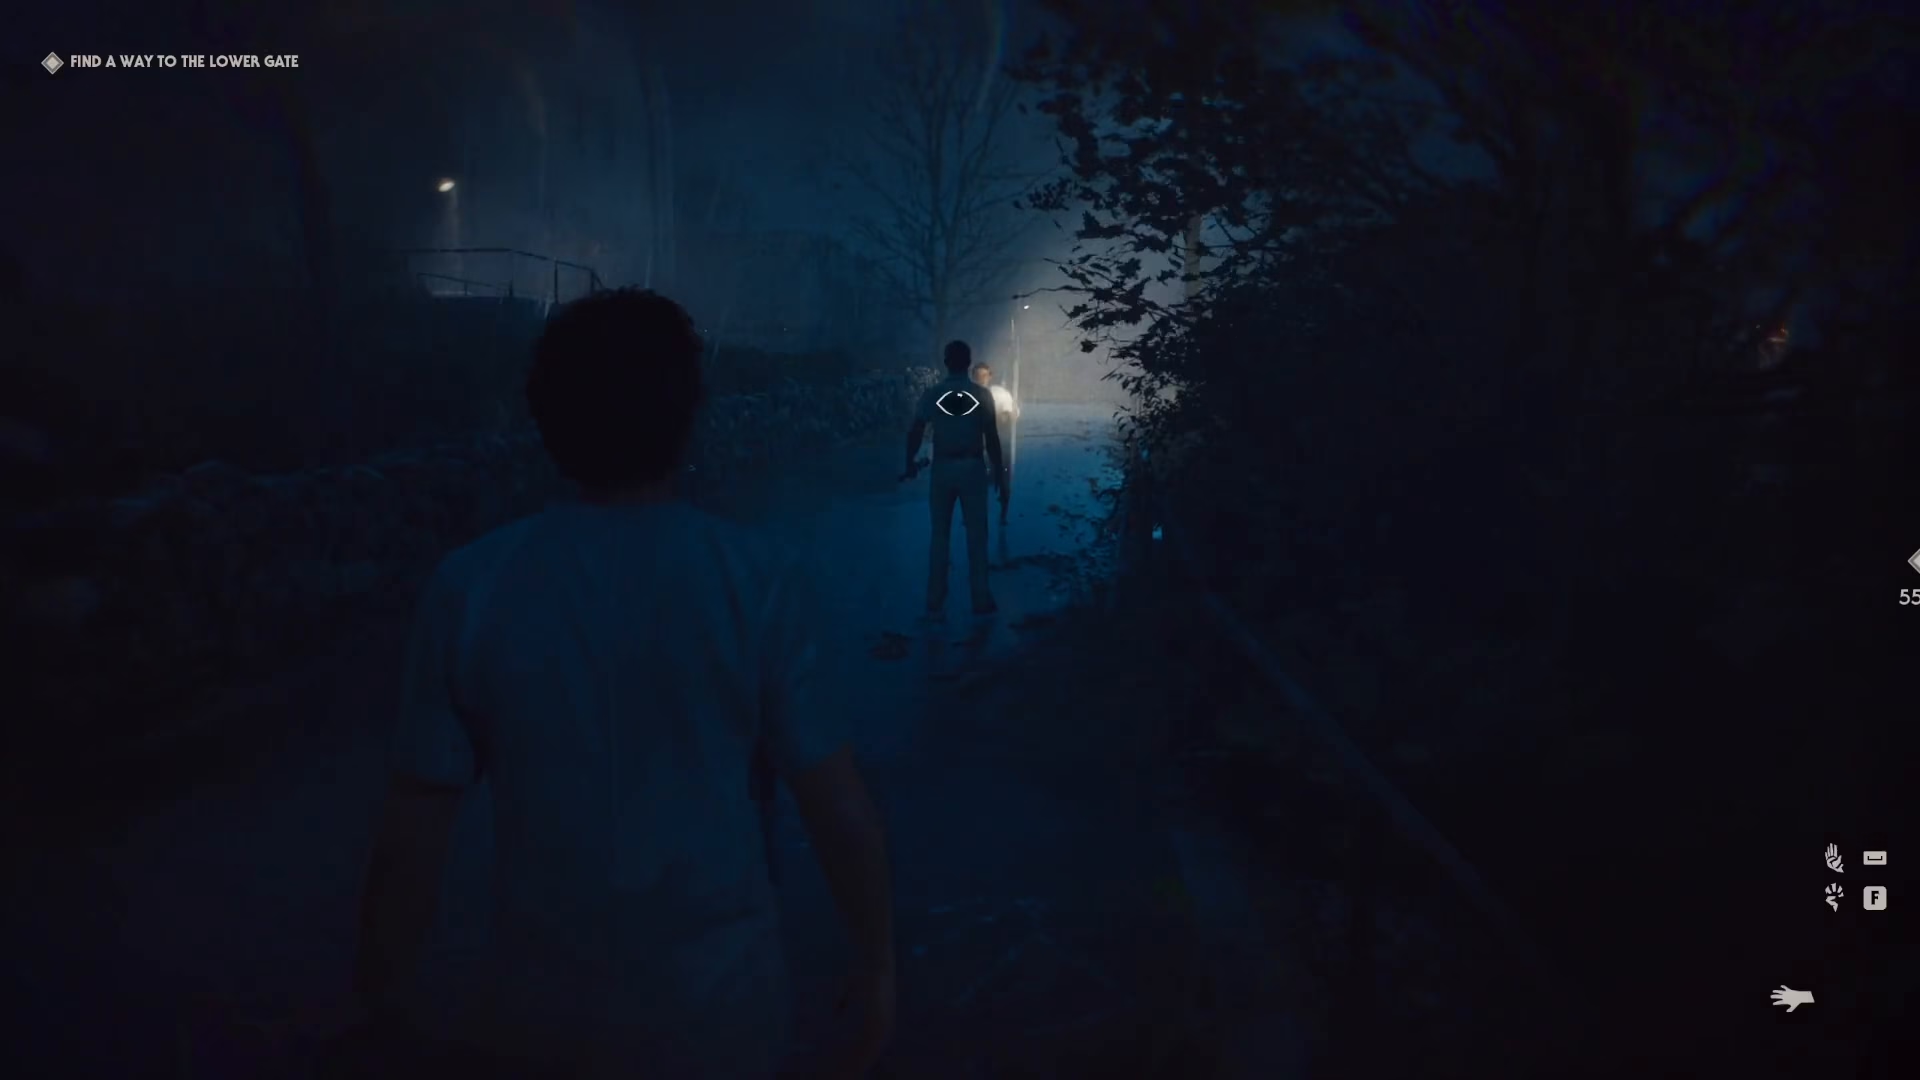
Make sure the orderly doesn’t run away during this process. If he escapes, you’ll need to pursue him. However, there’s an alternative location available—you can also perform the elimination on the stairs nearby if you miss your first opportunity.
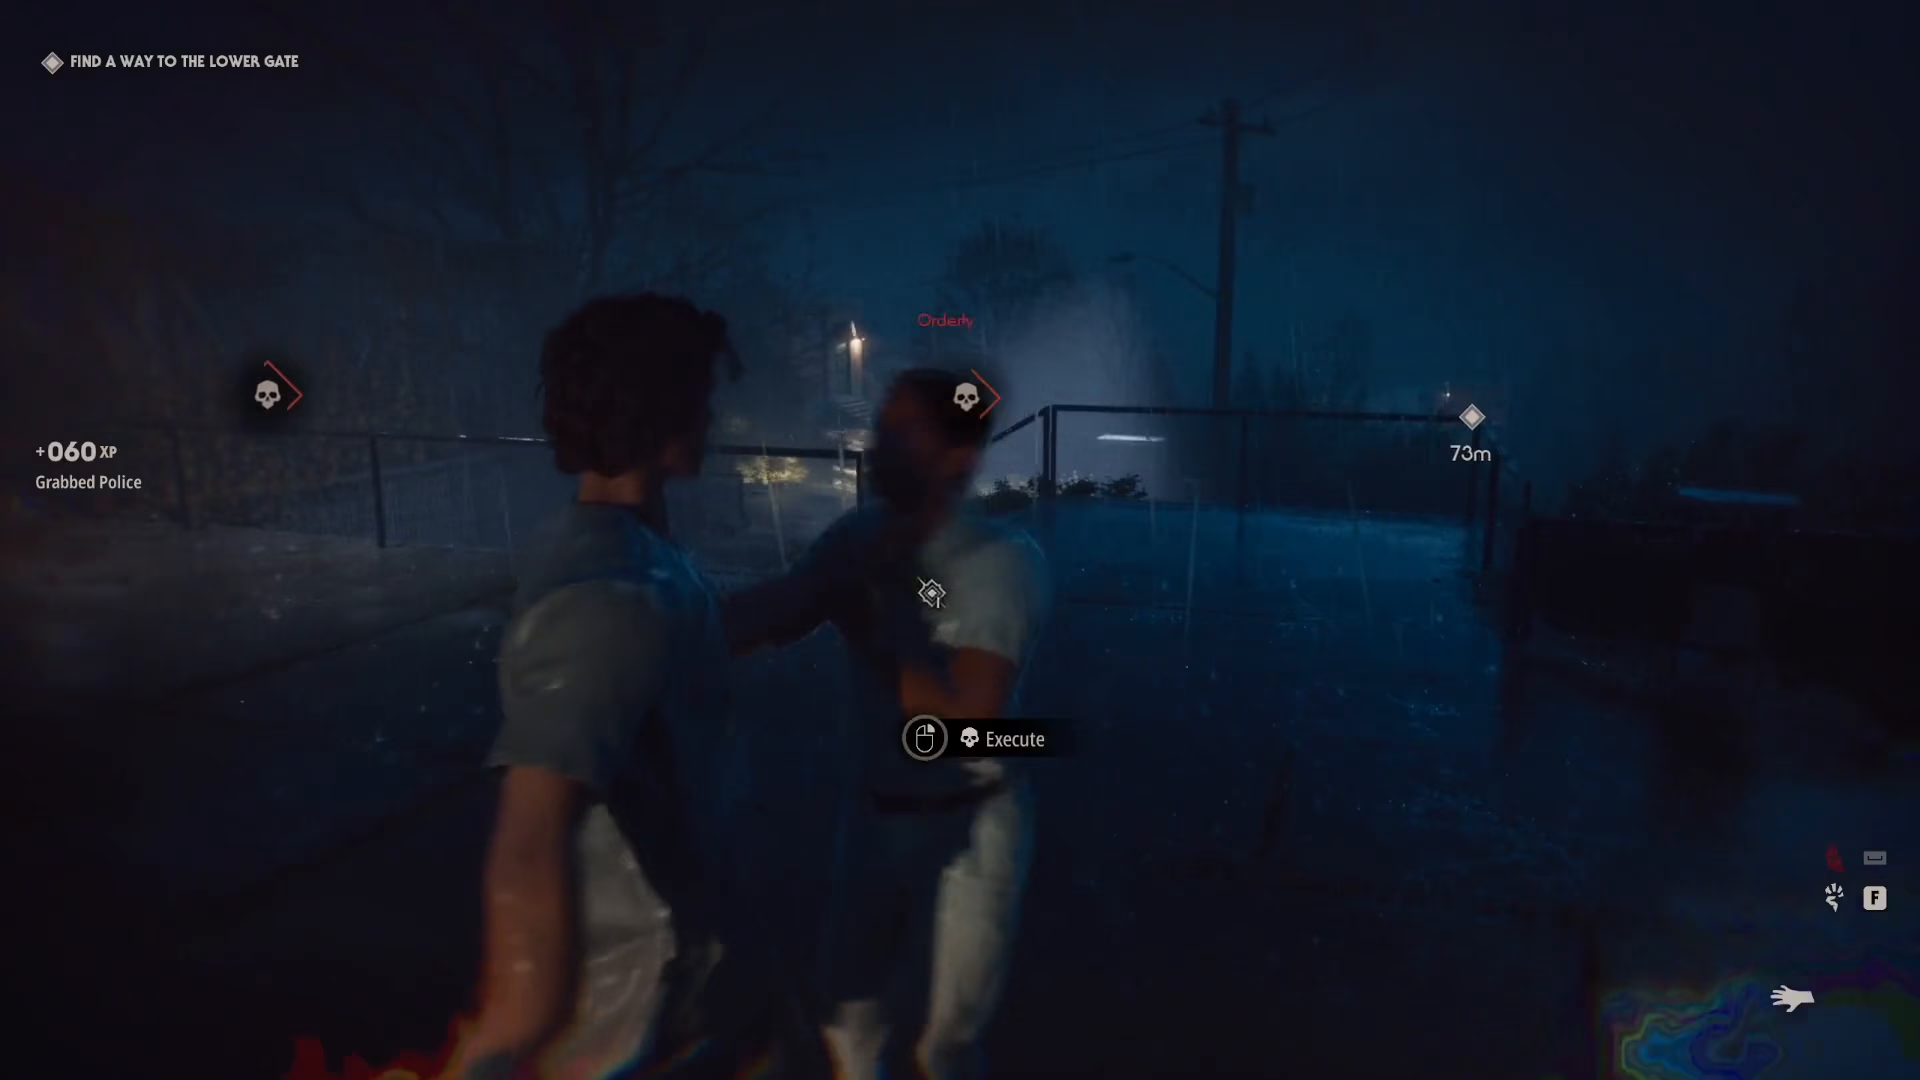
Final Elimination
To complete the challenge, press the F key to toss the orderly. This will eliminate him and complete Challenge 4. Interestingly, you can perform this elimination on the upper stairs as well, giving you flexibility if you don’t succeed on your first attempt.
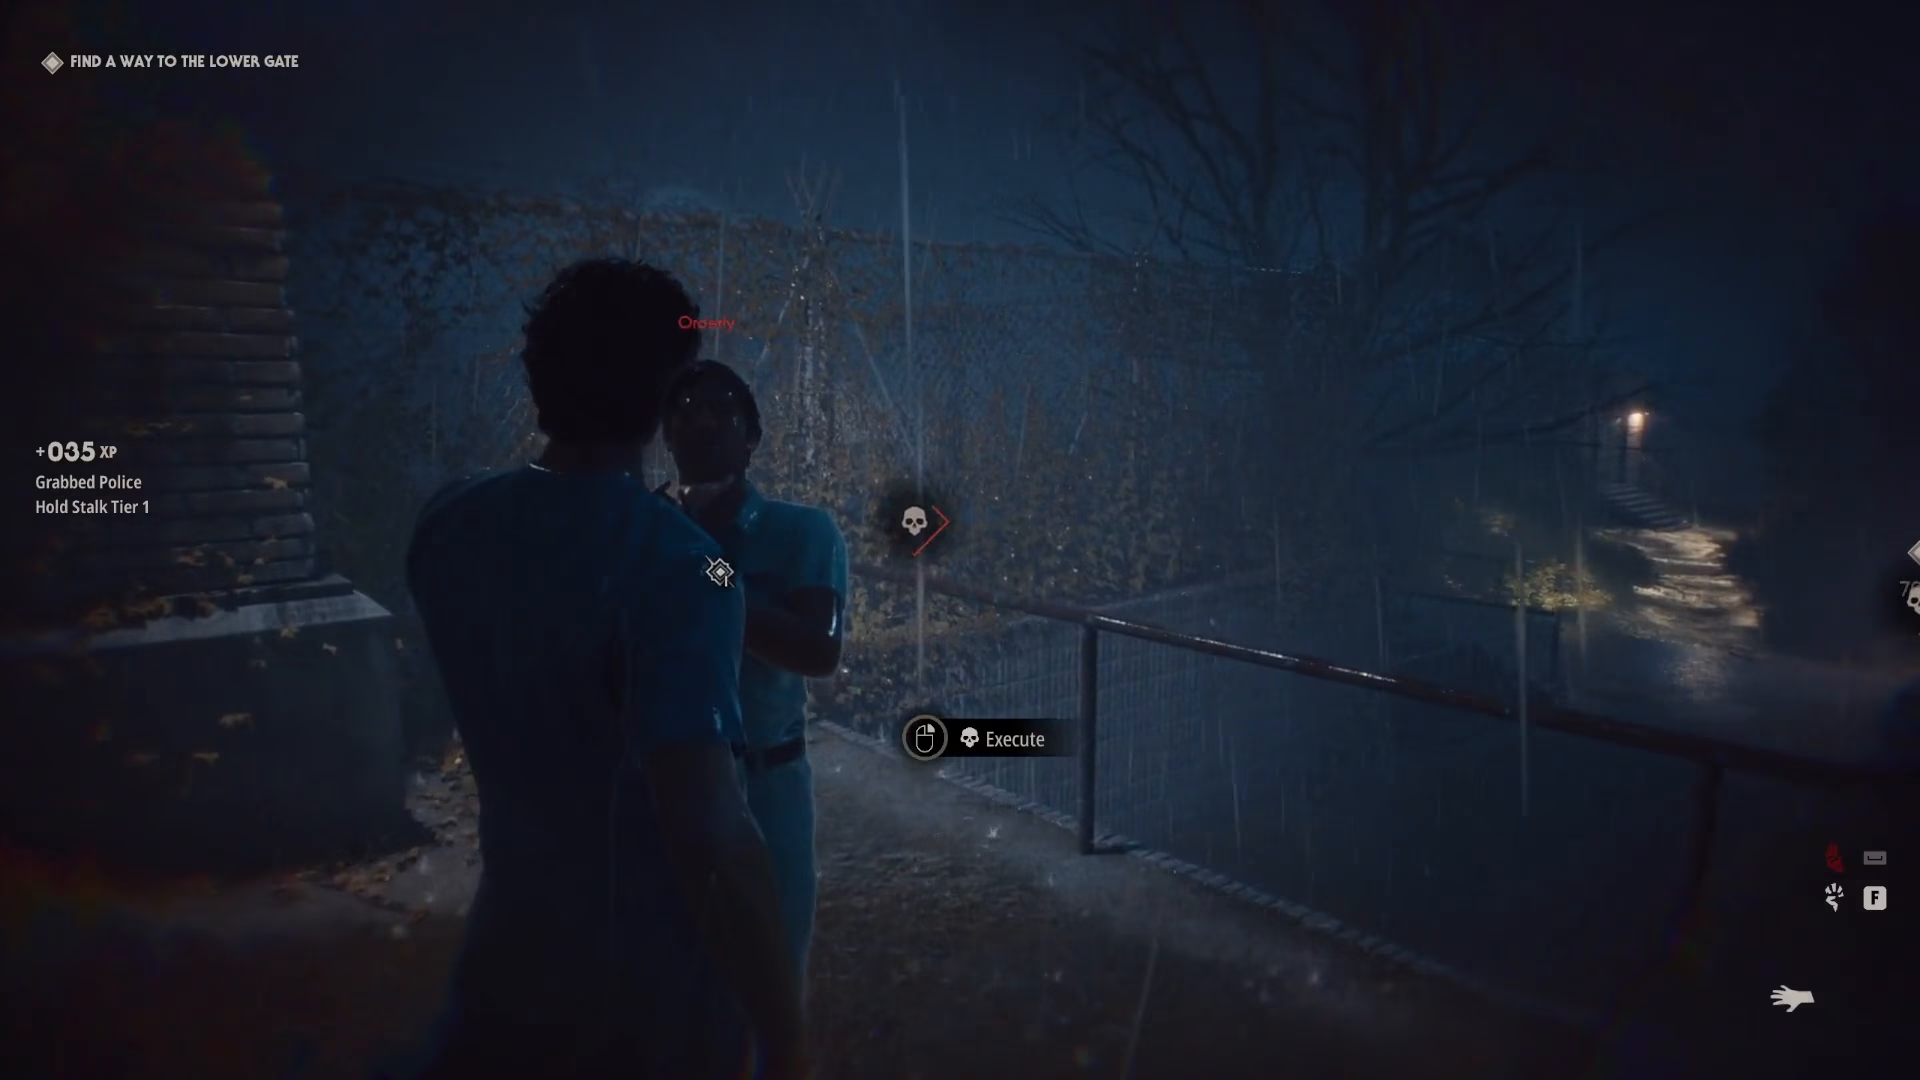
Challenge Complete
Once you’ve successfully tossed the orderly using the F key, Challenge 4 is complete. This challenge teaches important lessons about stealth, route planning, and target isolation. Remember that multiple elimination locations are available, so don’t be discouraged if you need to restart—there’s always another opportunity to succeed.
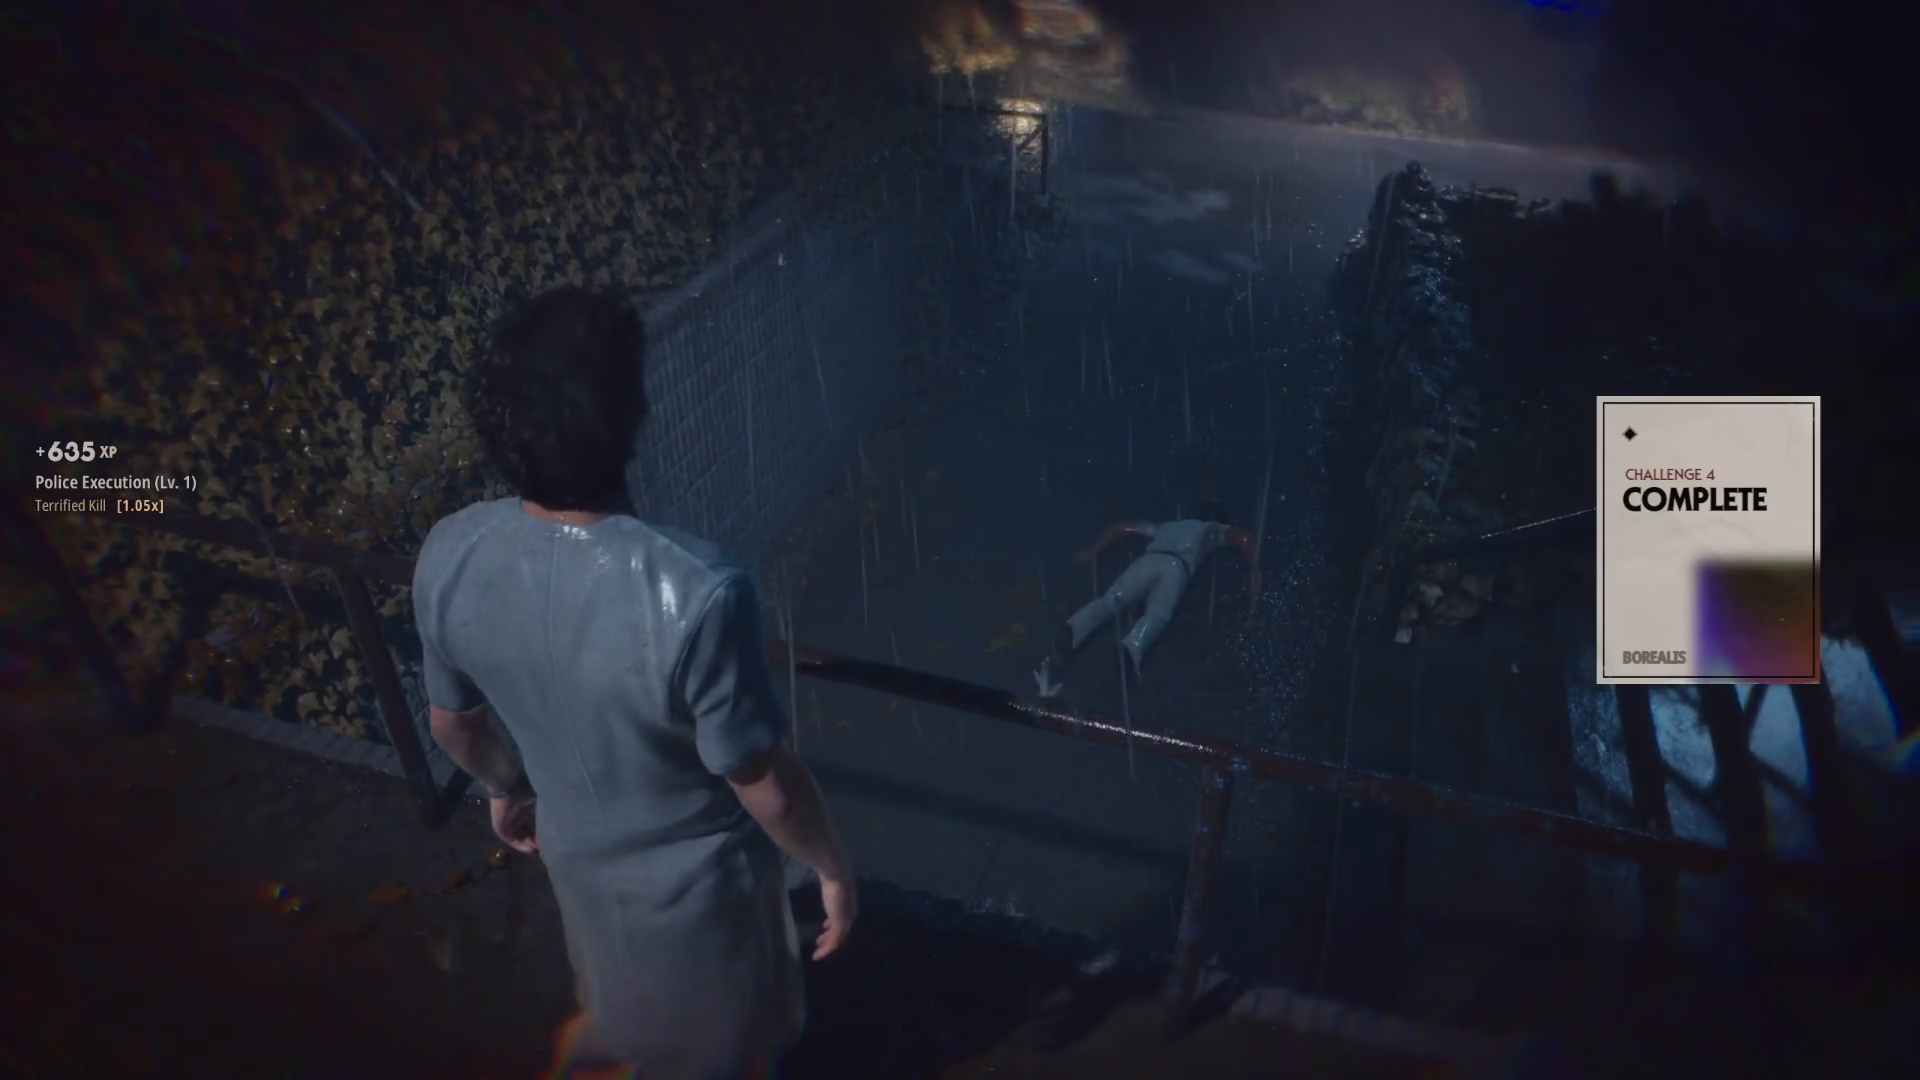
Want to Support?
If you would like to help us continue making these guides – please consider joining our patreon here – https://www.patreon.com/c/JaviHeals Alternatively – you can join our discord here – https://discord.gg/zD7Gjt6MHF