







Prologue Challenge 5 Guide in Halloween The Game
Prologue Challenge 5 Guide – Halloween The Game
Challenge 5 is widely considered the hardest challenge in the Prologue of Halloween The Game. This guide will walk you through the entire level step-by-step, from the initial descent to the final escape at the car. Success requires careful timing, patient observation of enemy patterns, and strategic use of cover and hiding spots.
Initial Approach and Triggering the Enemies
As soon as the level starts, make your way down cautiously, but do not approach the main character immediately. Wait for him to exit toward the road.
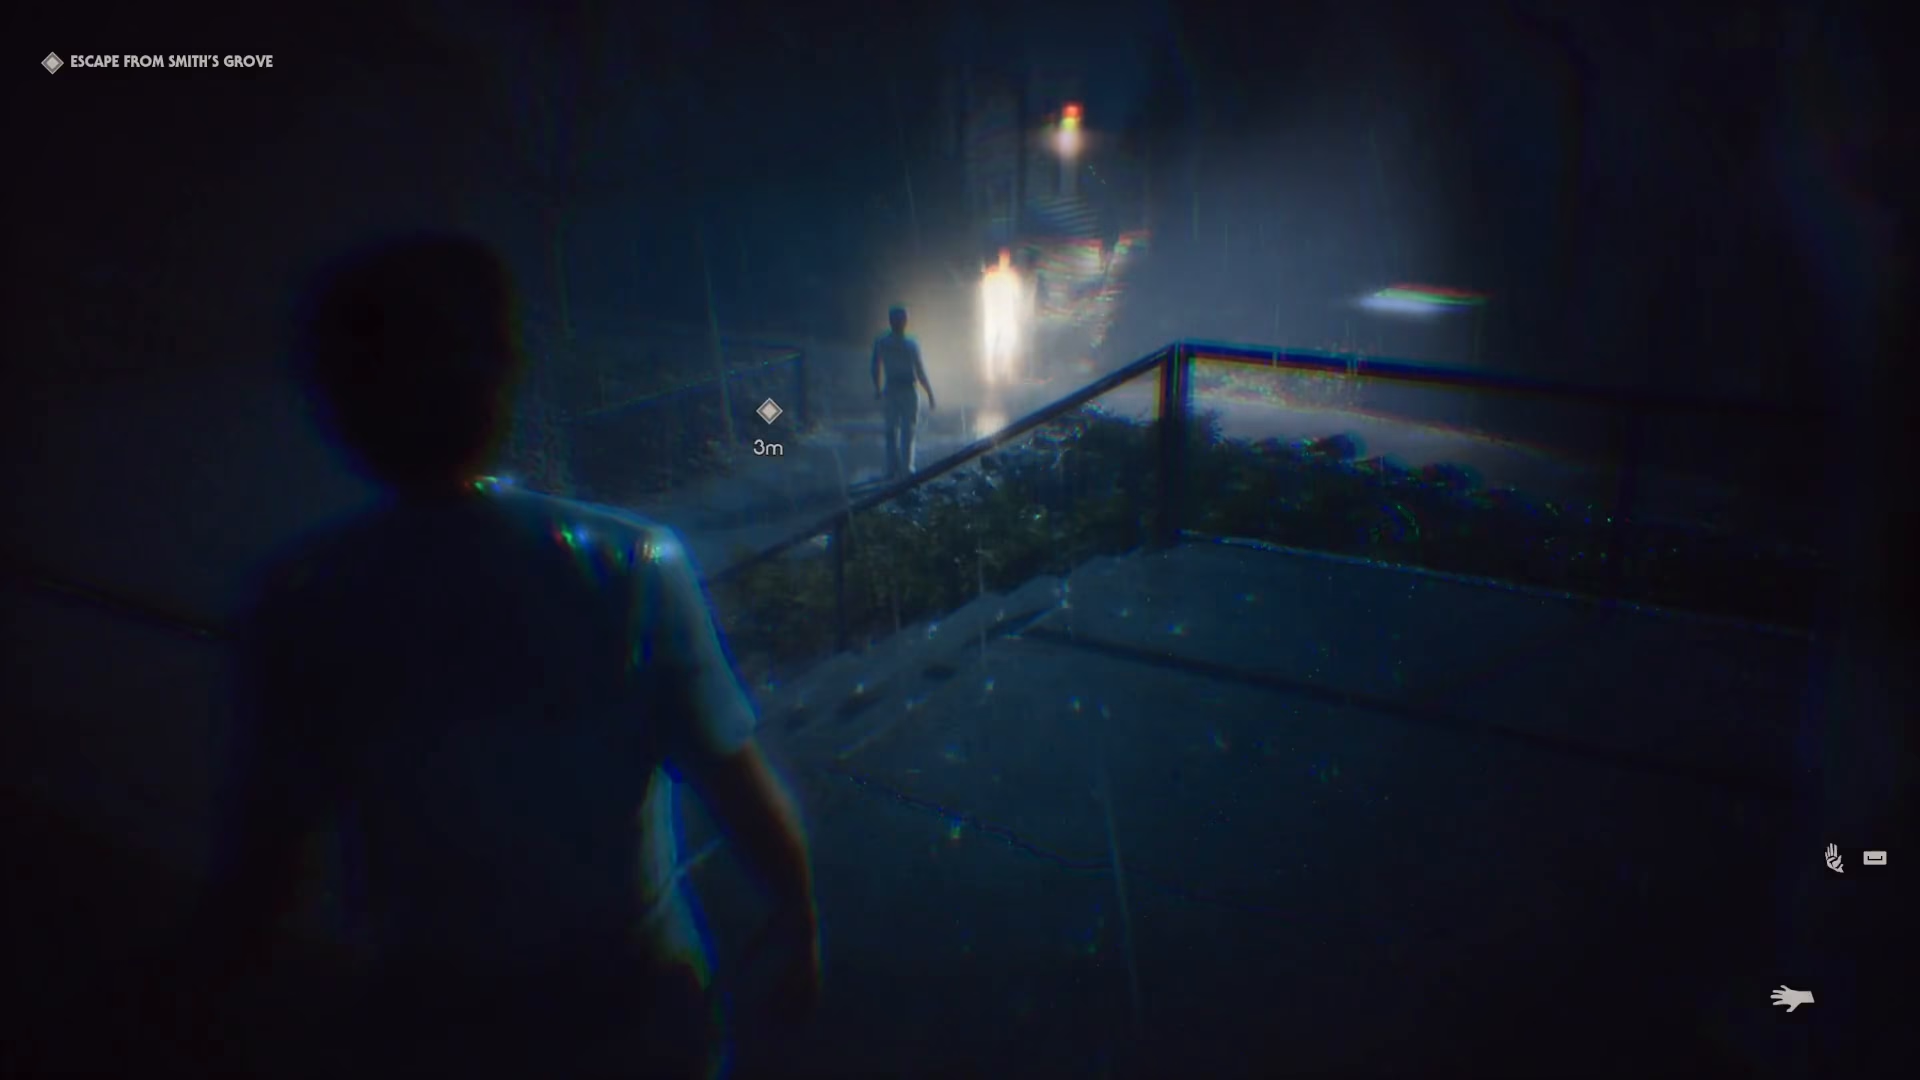
Very slowly approach the corner of your position. You’ll spot a light source coming down the road—this is a key visual indicator that enemies are on the move.
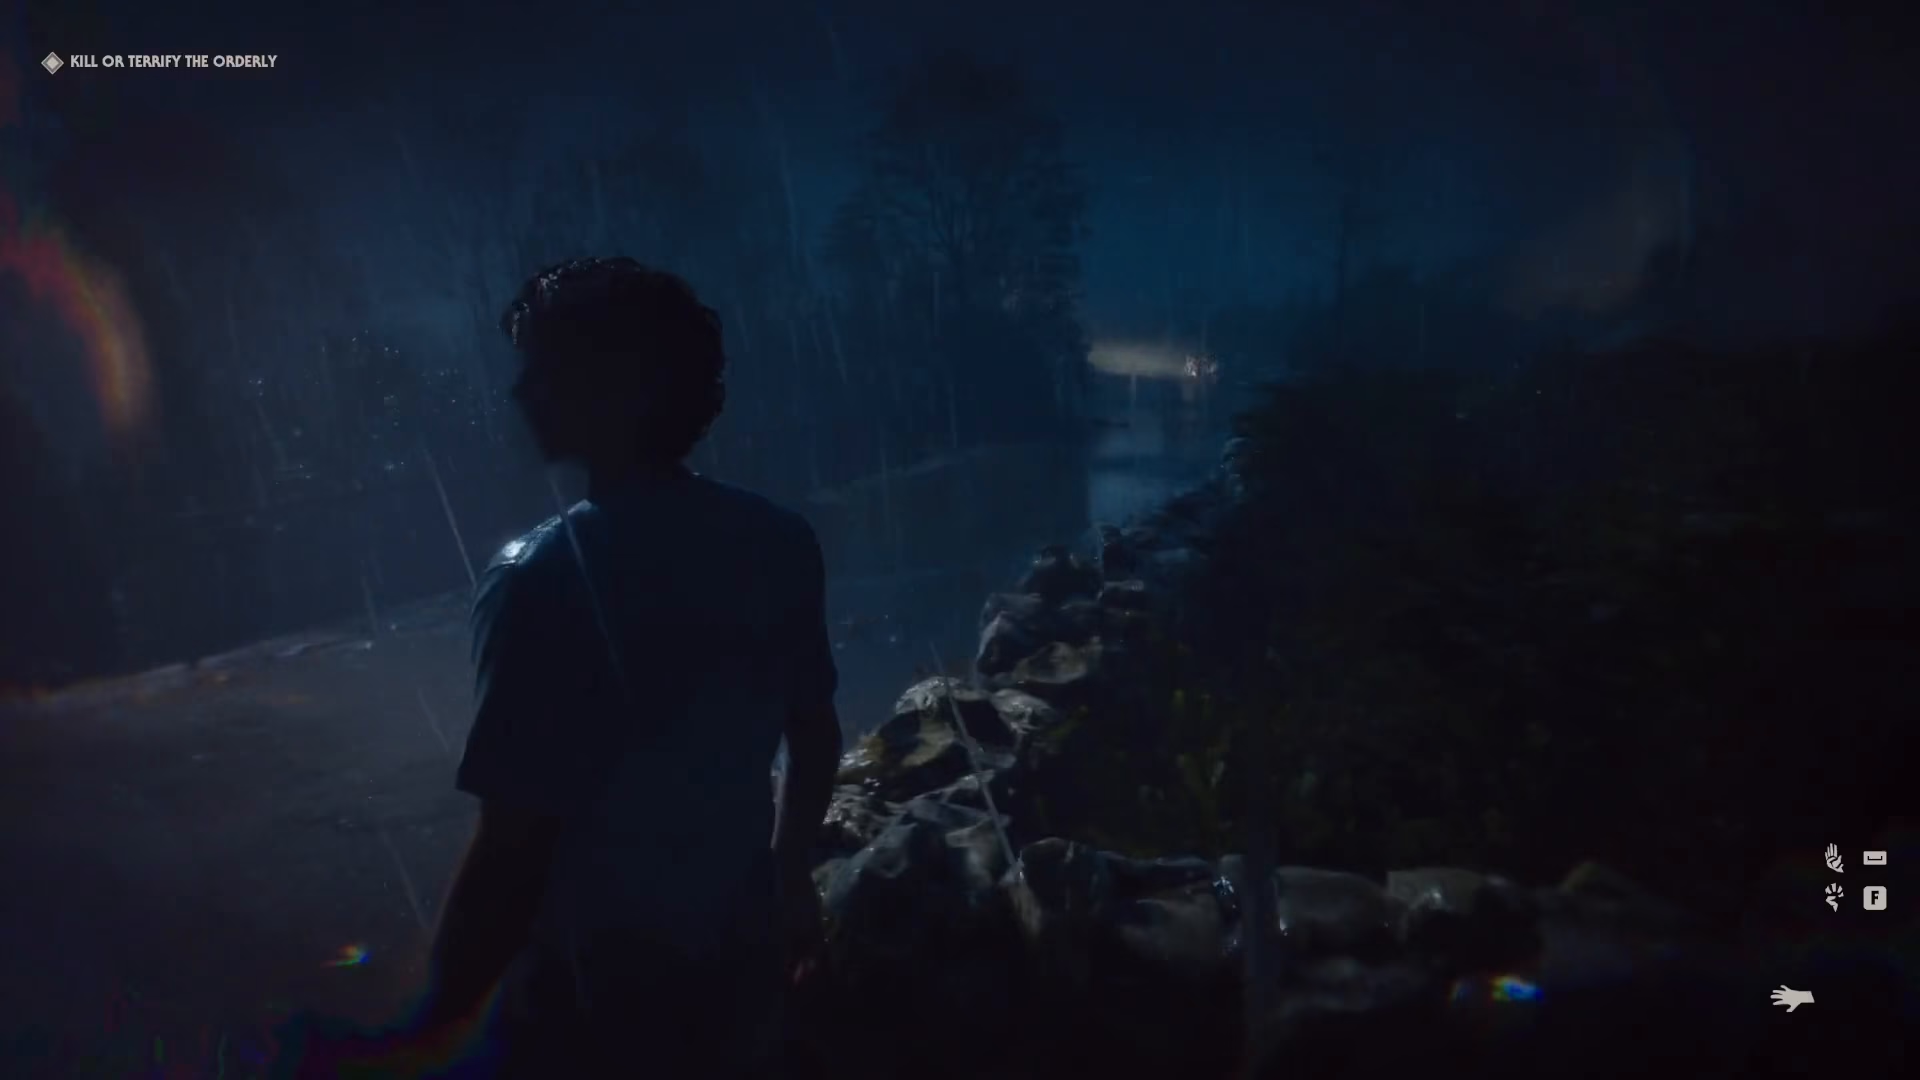
Moving down to the road triggers the enemies to approach. Once you’ve triggered them, head back up and prepare to sprint to your first hiding spot behind the ambulance.
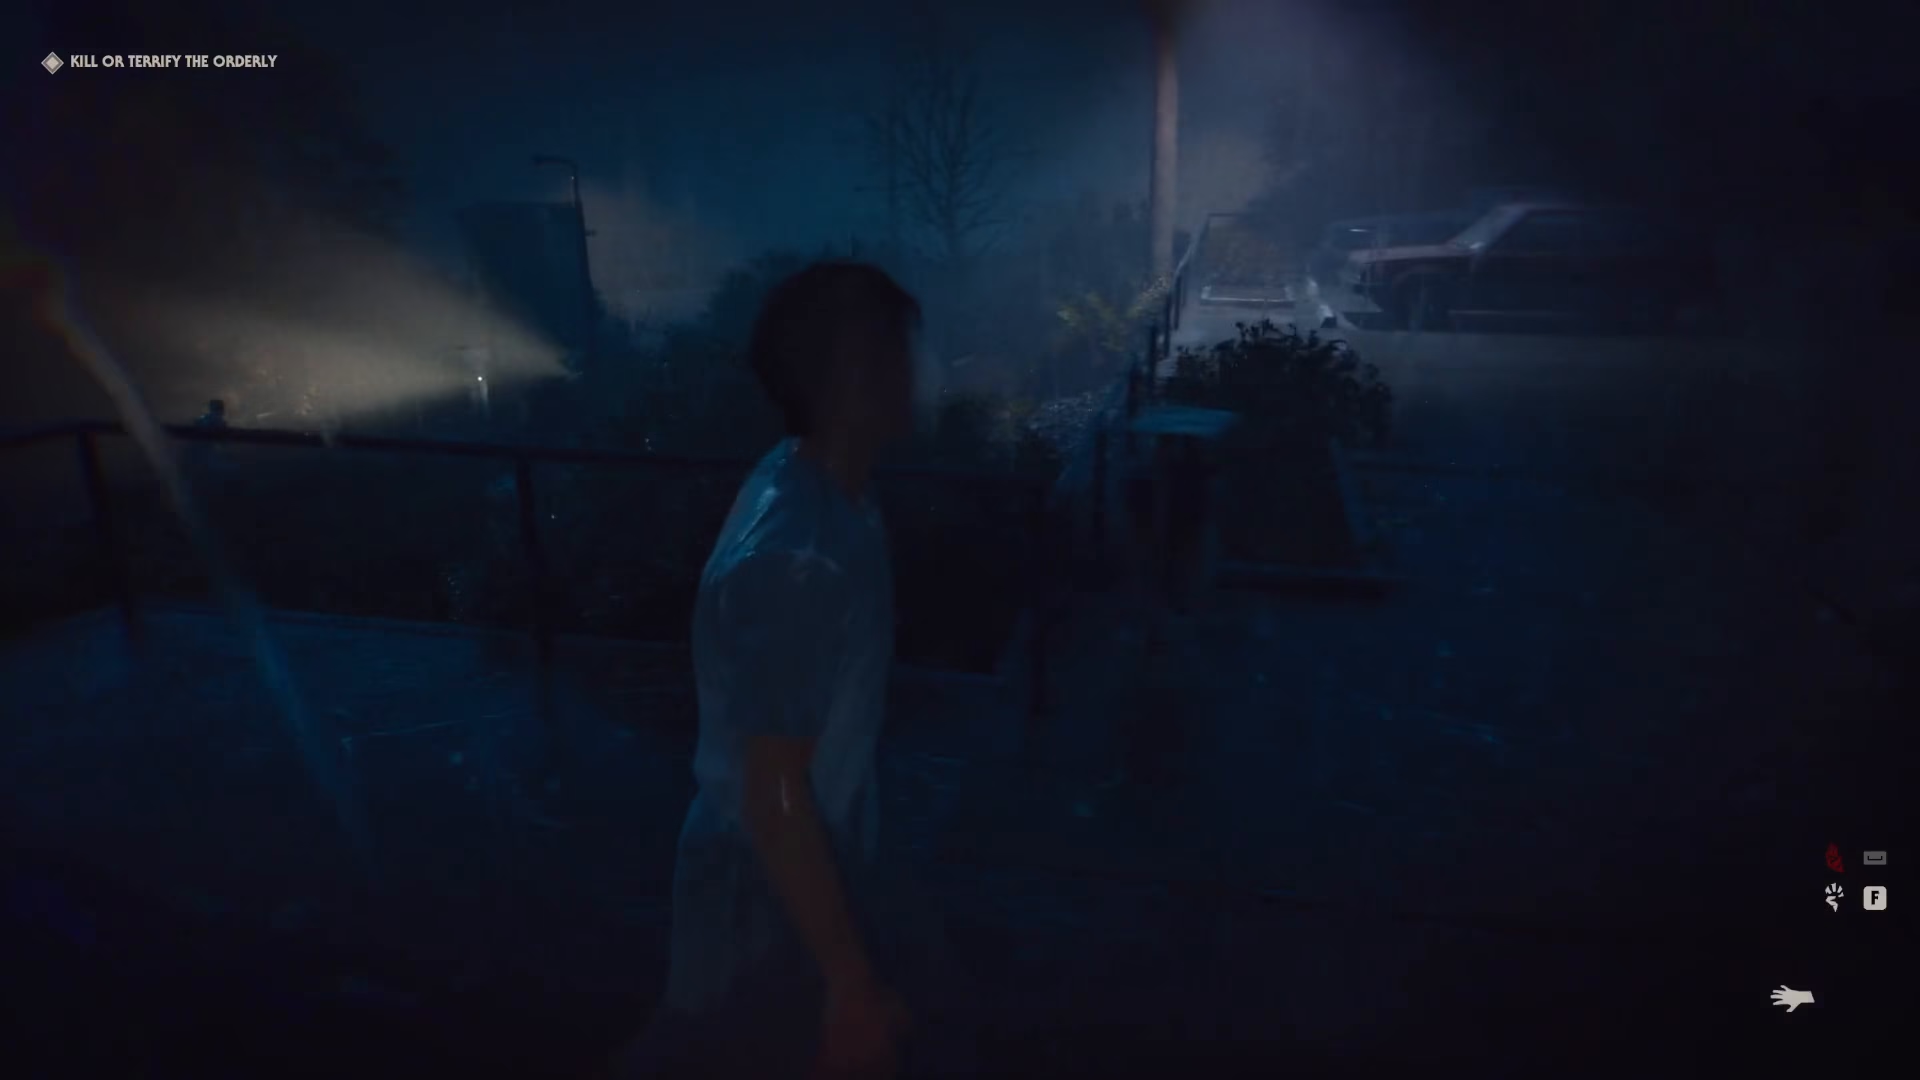
First Hiding Spot – Behind the Ambulance
Sprint to hide behind the ambulance. A character who is not an orderly will run away—don’t worry about him.
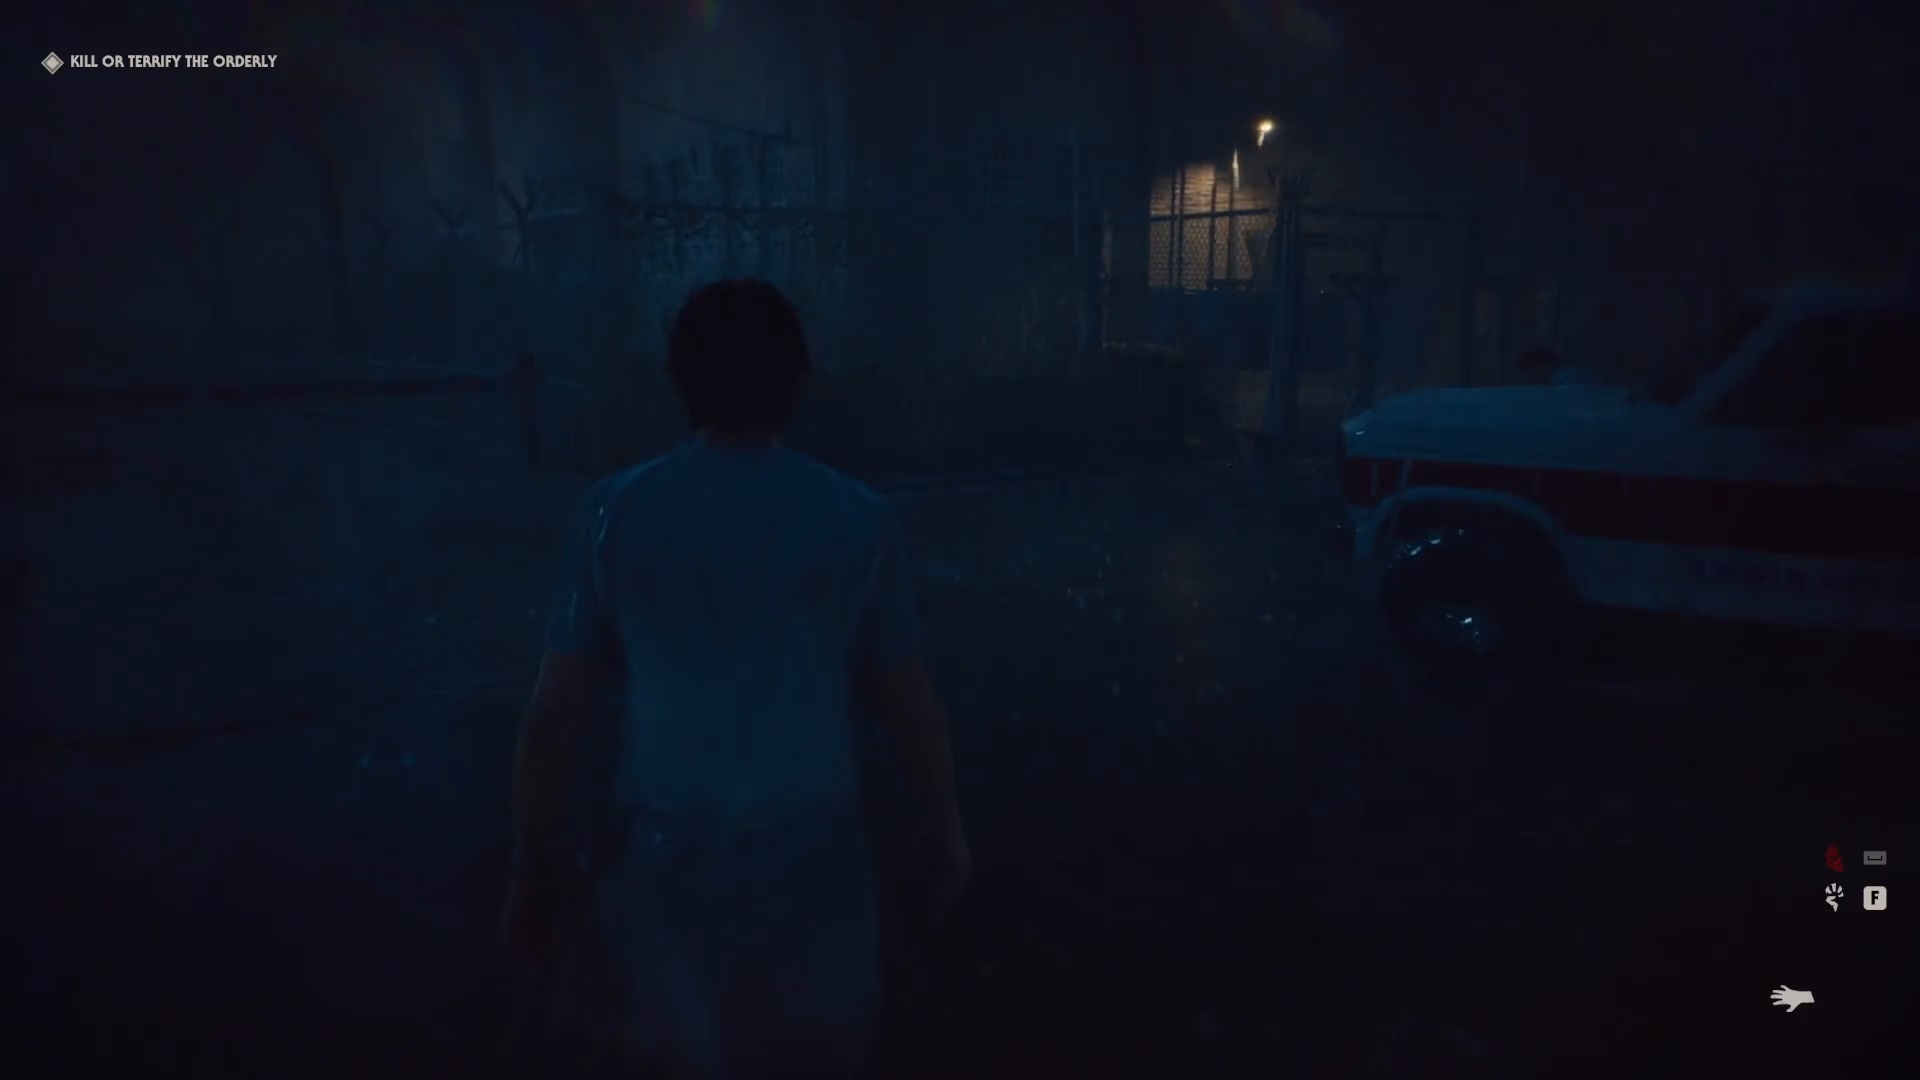
Wait at this position because one of the enemies will come up the stairs past you. This is crucial: you need this enemy to pass because you’ll be using their current position as a hiding spot in just a moment.
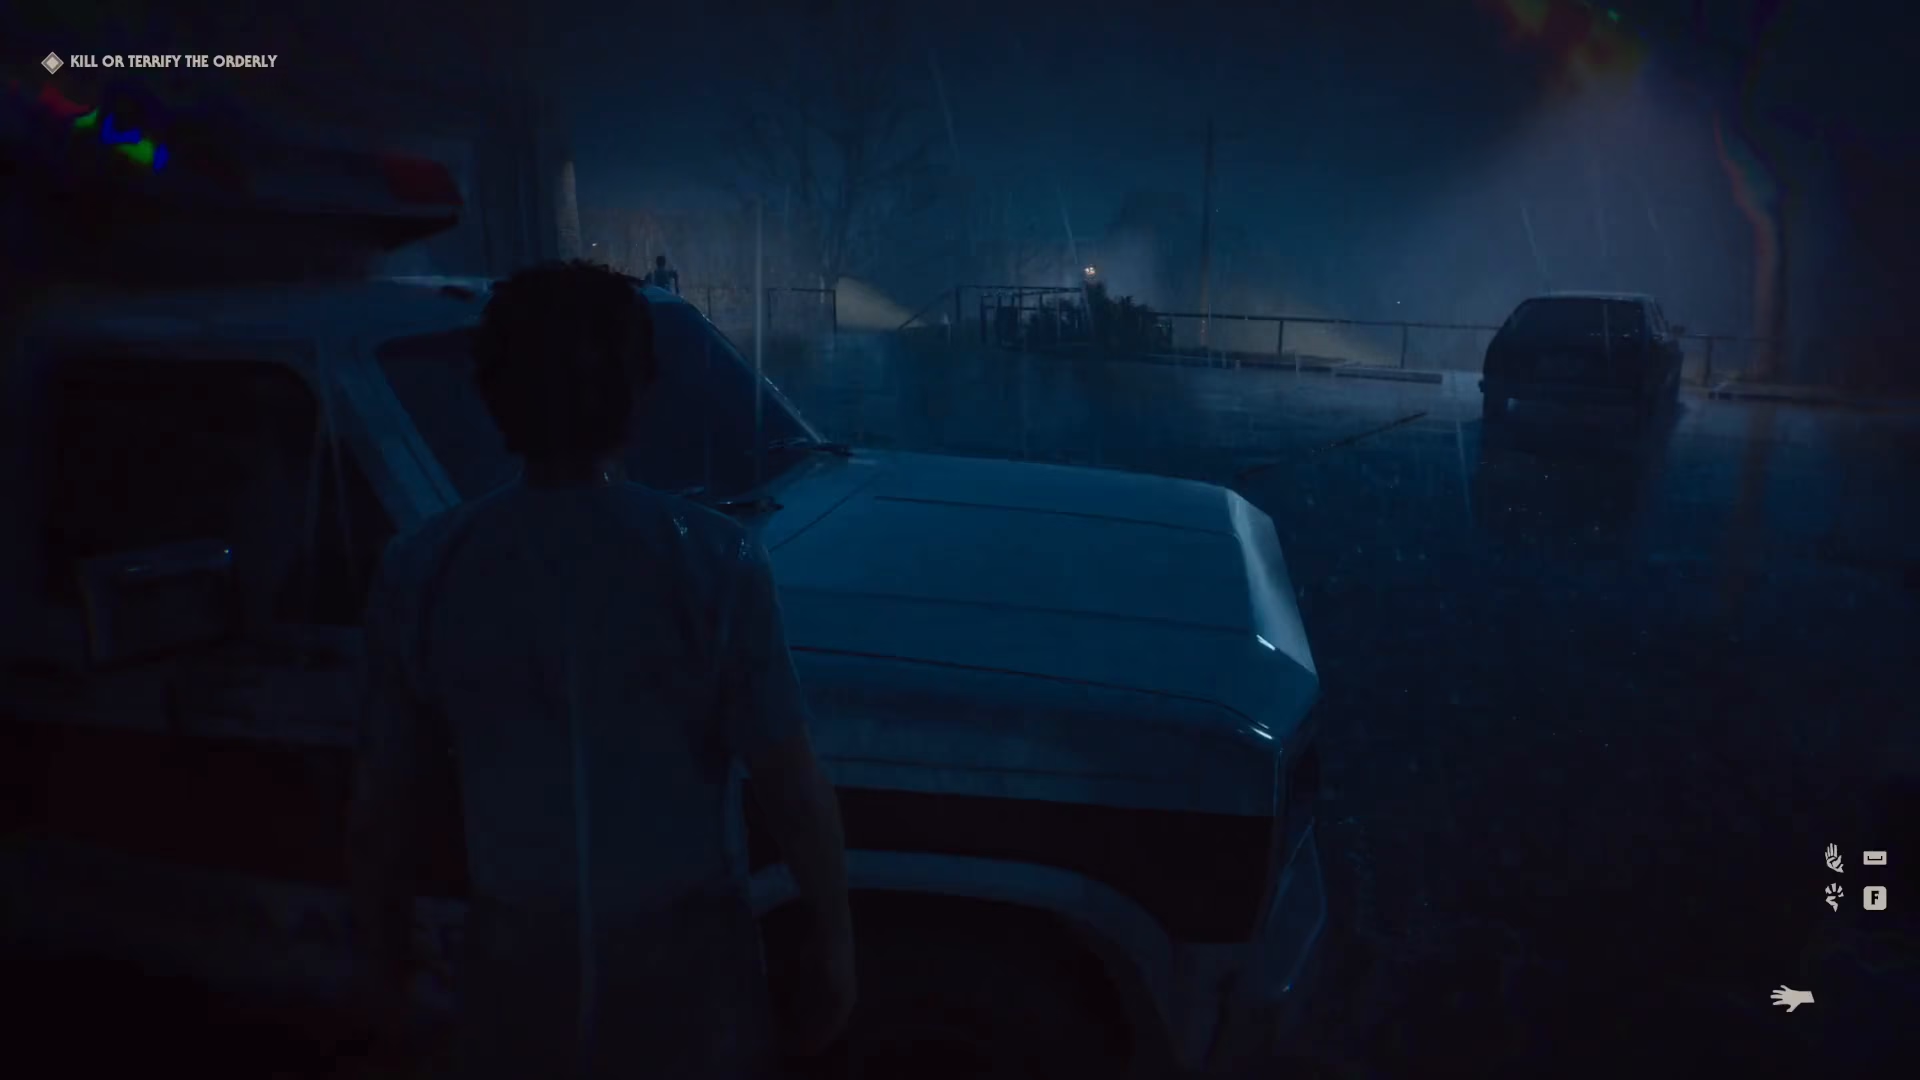
Watch as the enemy comes up the stairs, moving past your position and taking an inmate with them. Once they’re definitely gone, you can proceed.
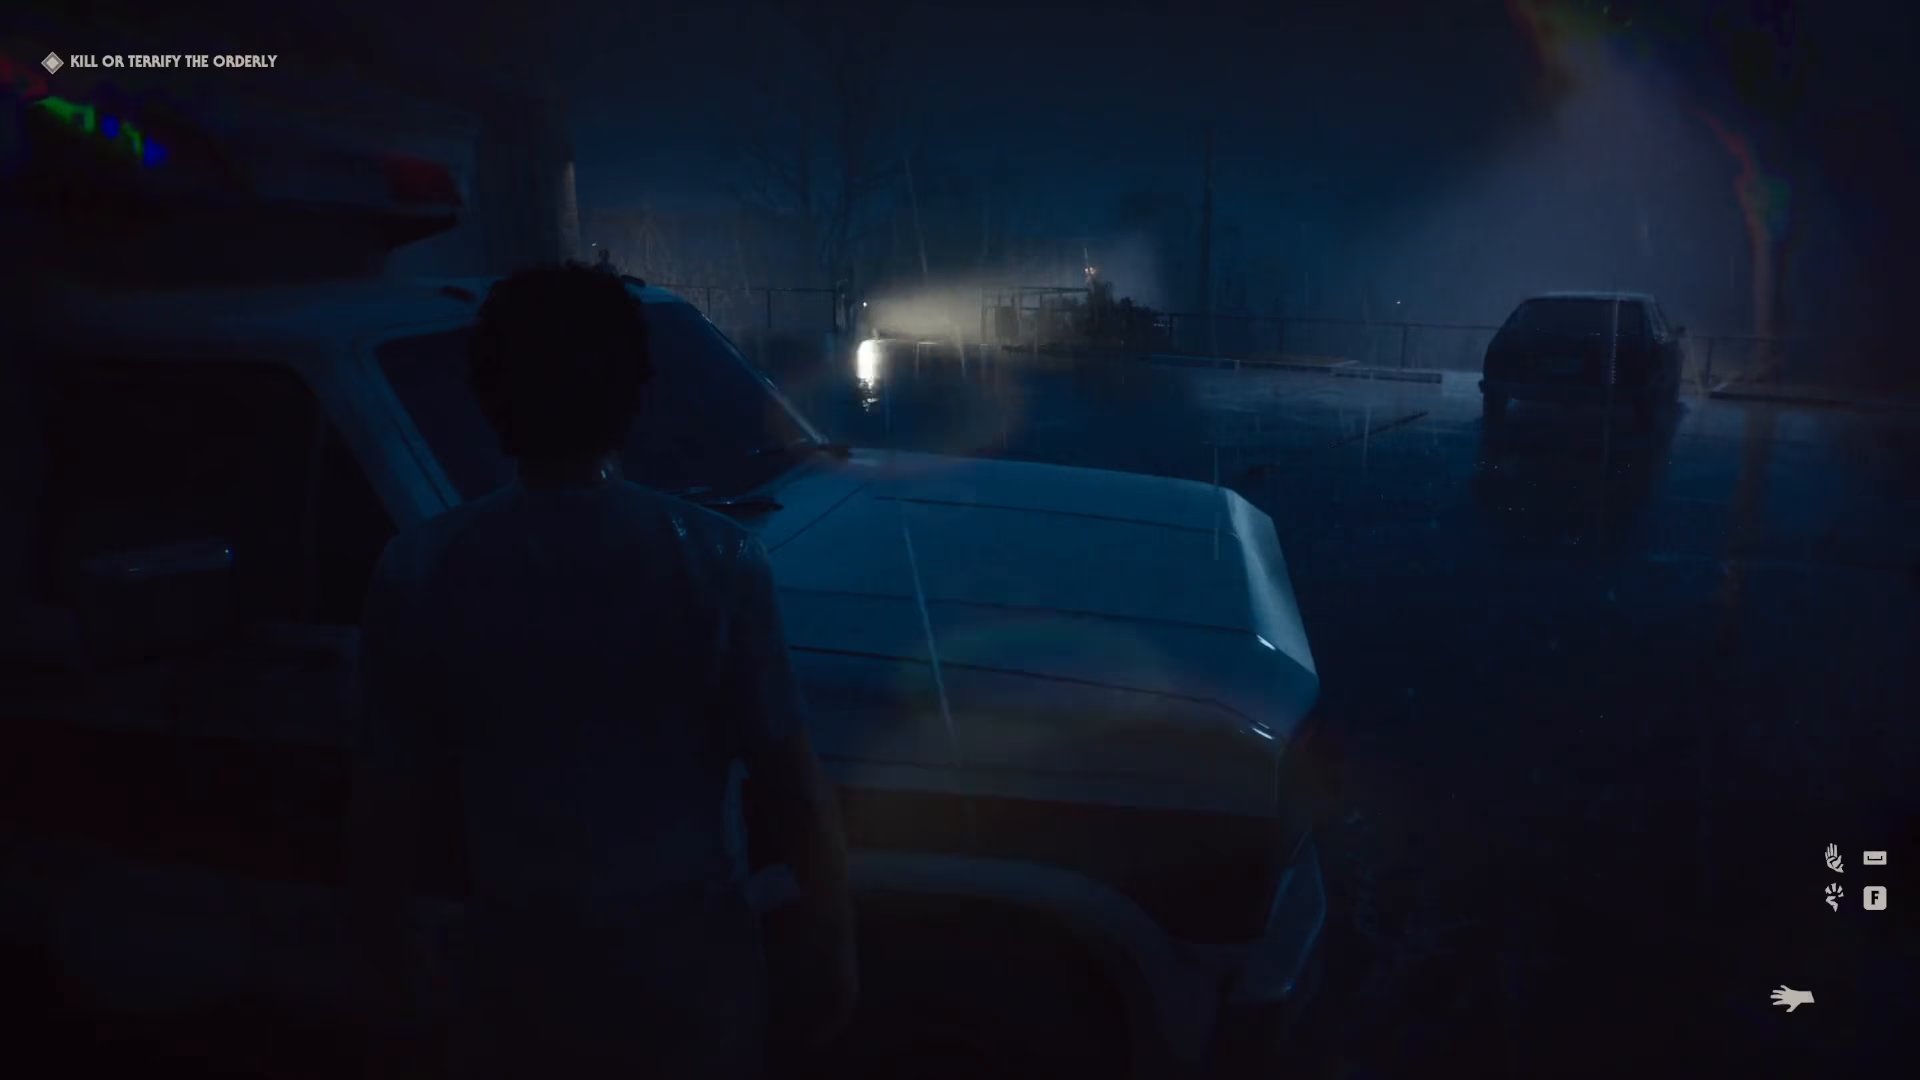
The Hardest Part – Navigating Past the Road Guard
This is the most difficult section of Challenge 5. Come back down from the ambulance and prepare for the trickiest maneuver of the entire challenge.
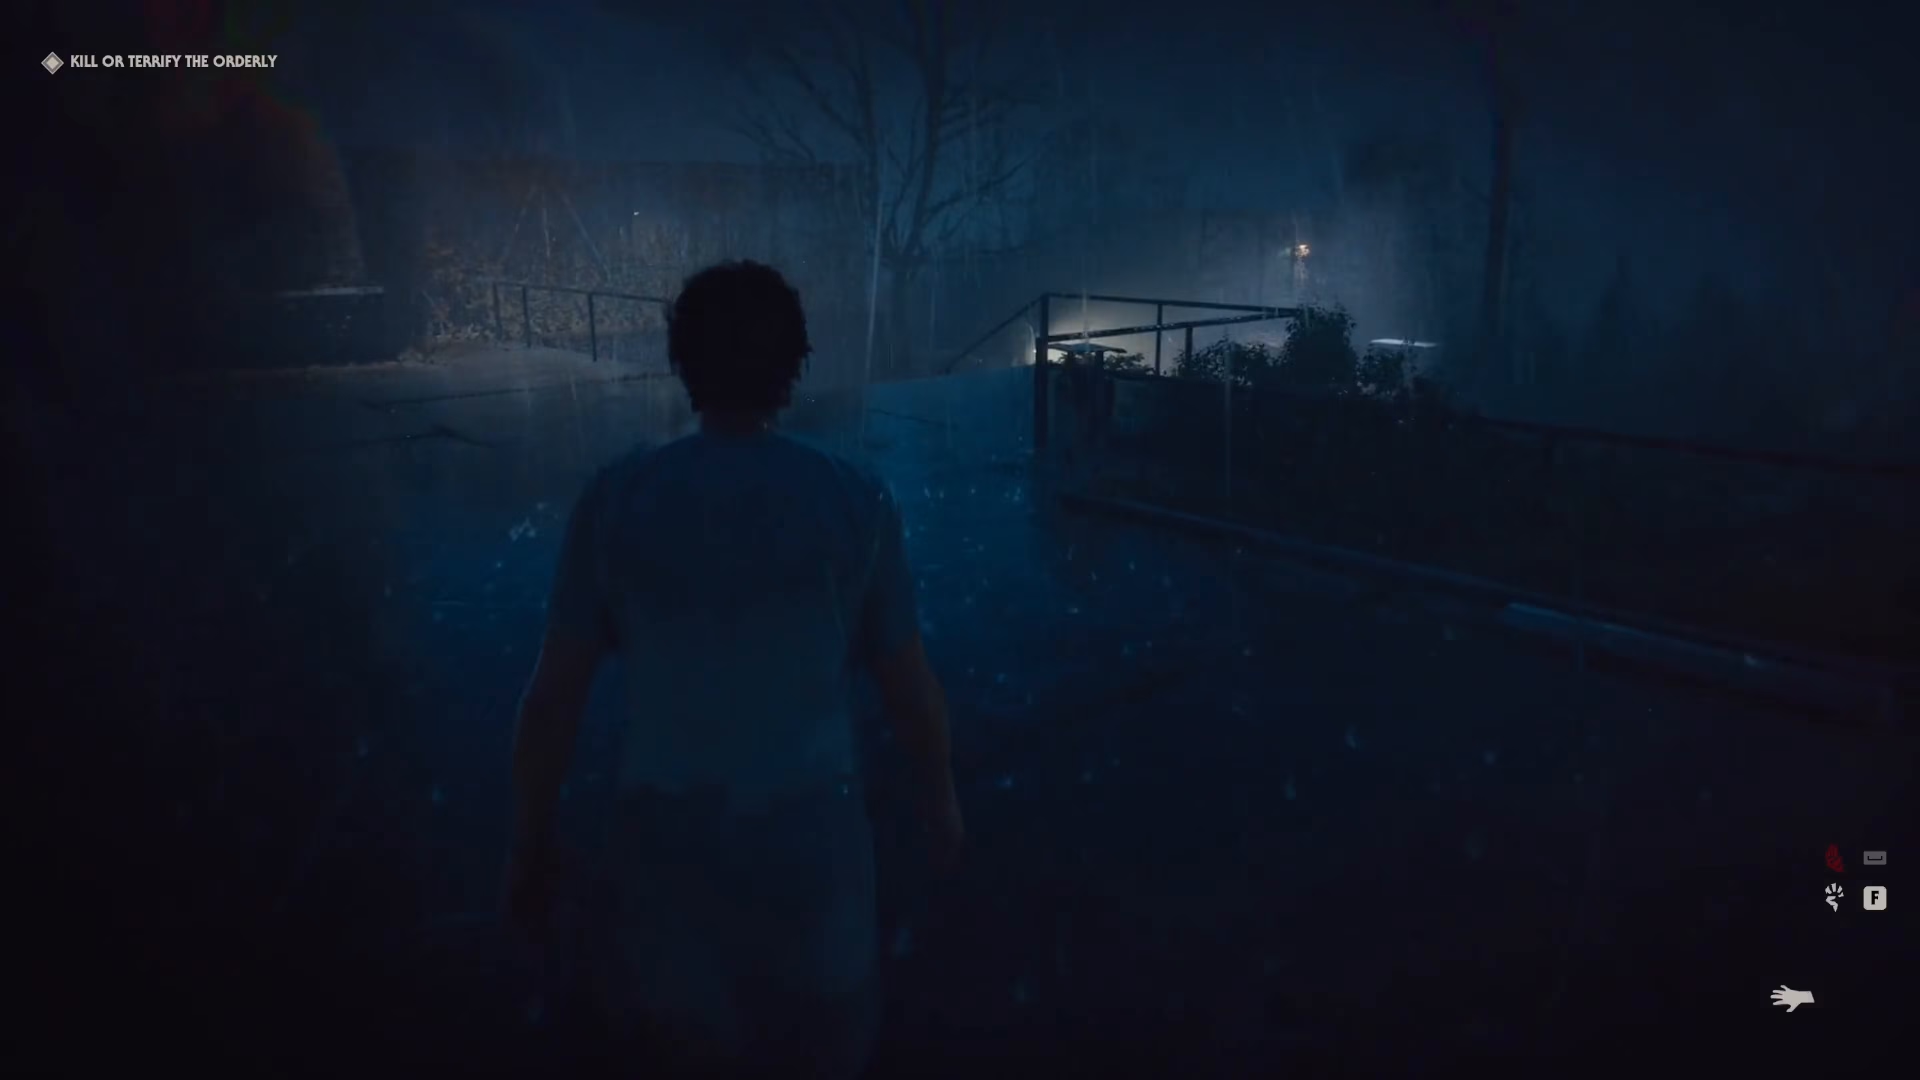
You’ll notice an enemy on the left-hand side of the road. This is the optimal position for you to slip past. However, a second enemy is also approaching up the stairs.
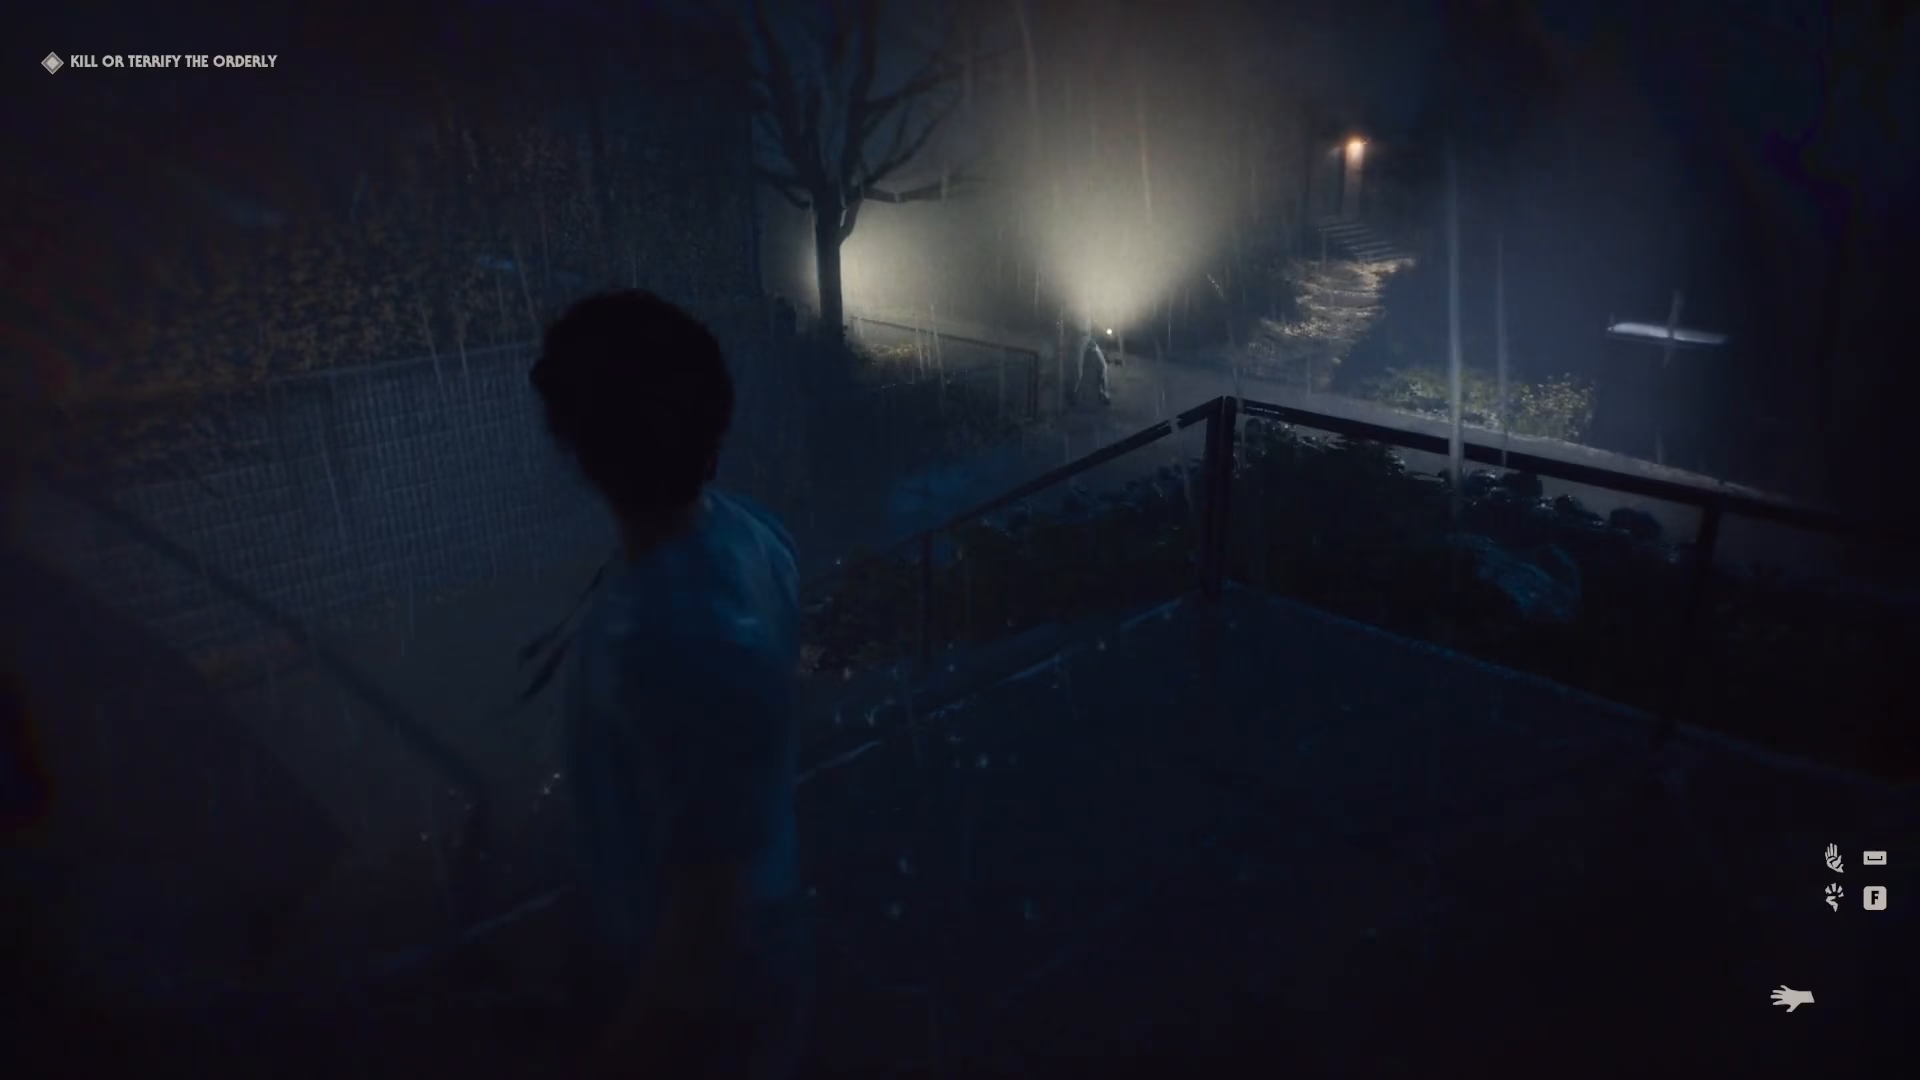
Return behind the ambulance and wait for both enemies to pass. There are definitely two enemies to account for.
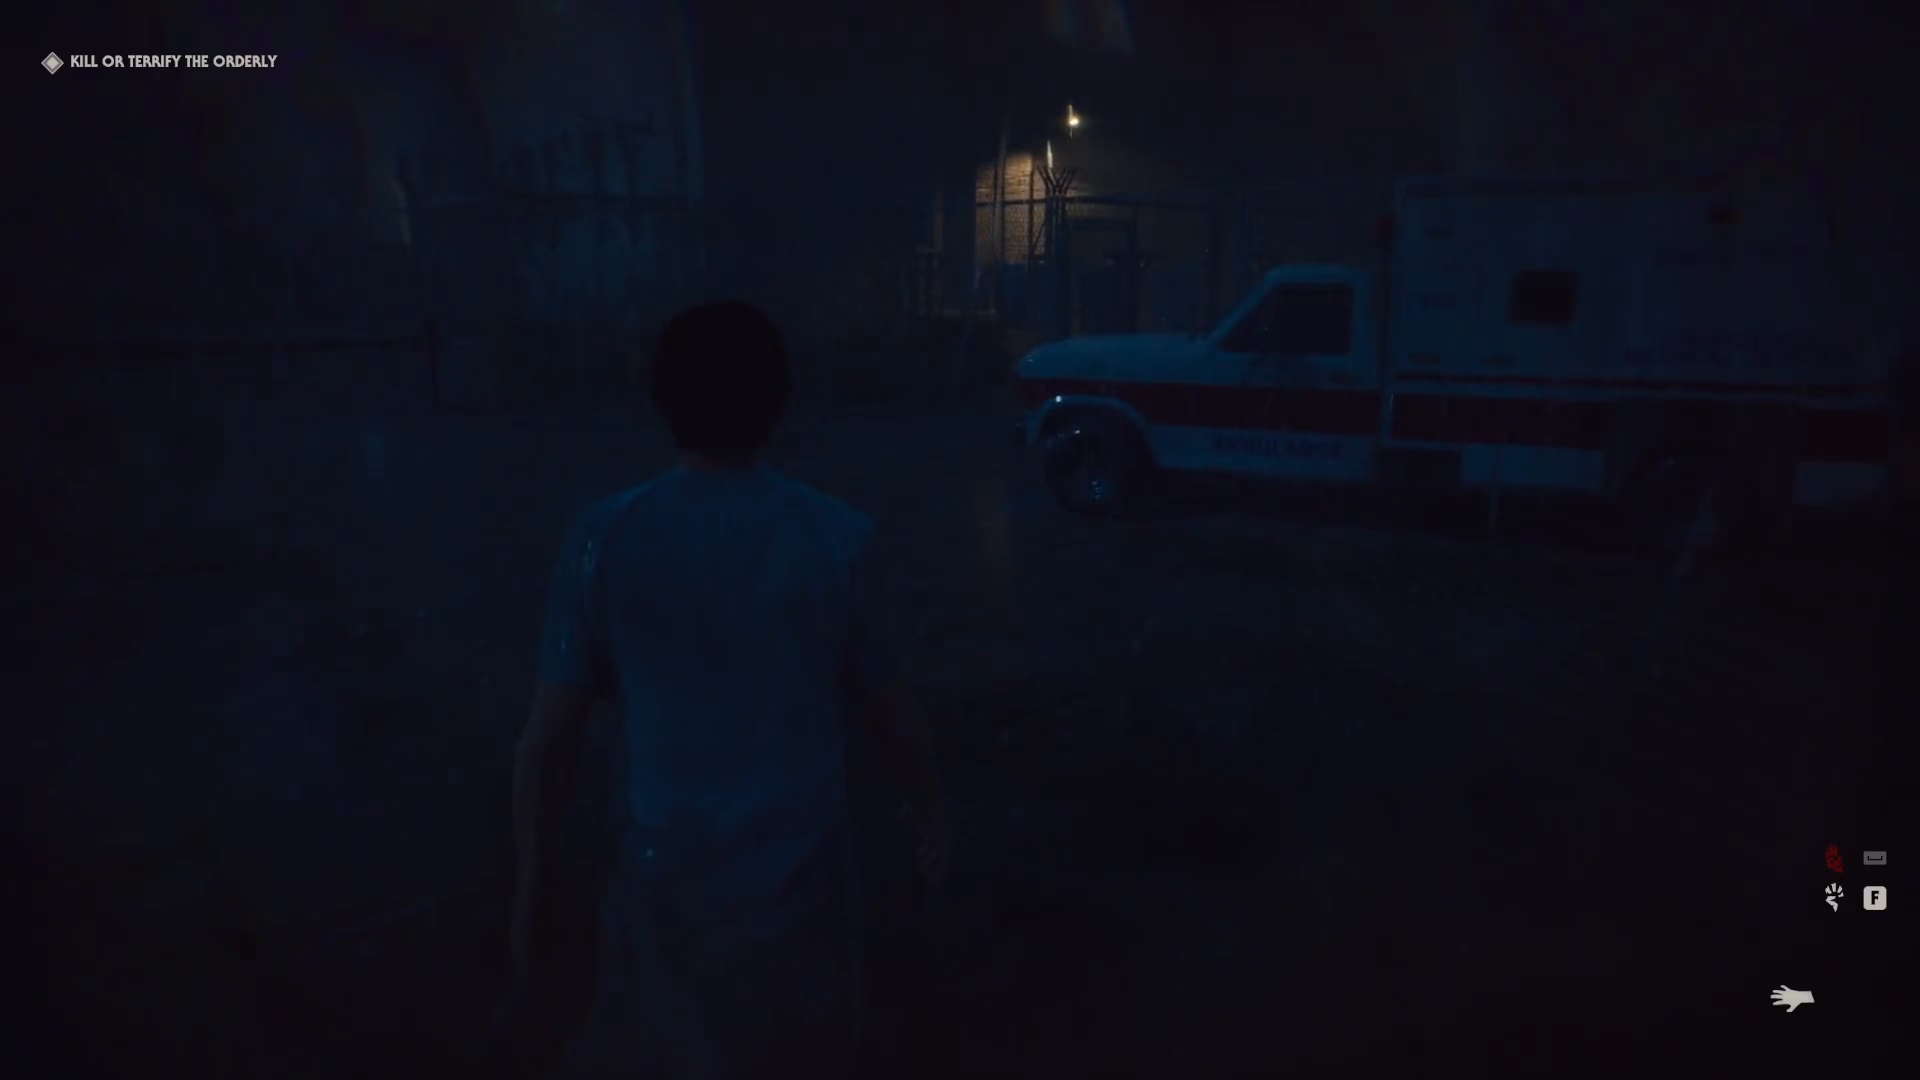
Critical Timing – The Road Guard’s Lamp Position
The hardest aspect of this challenge is managing the road guard’s position and lamp direction. You want the enemy to be positioned on the very left-hand side of the road, looking to the left. If the lamp isn’t pointing left, the guard’s torch will sweep across other areas and expose you.
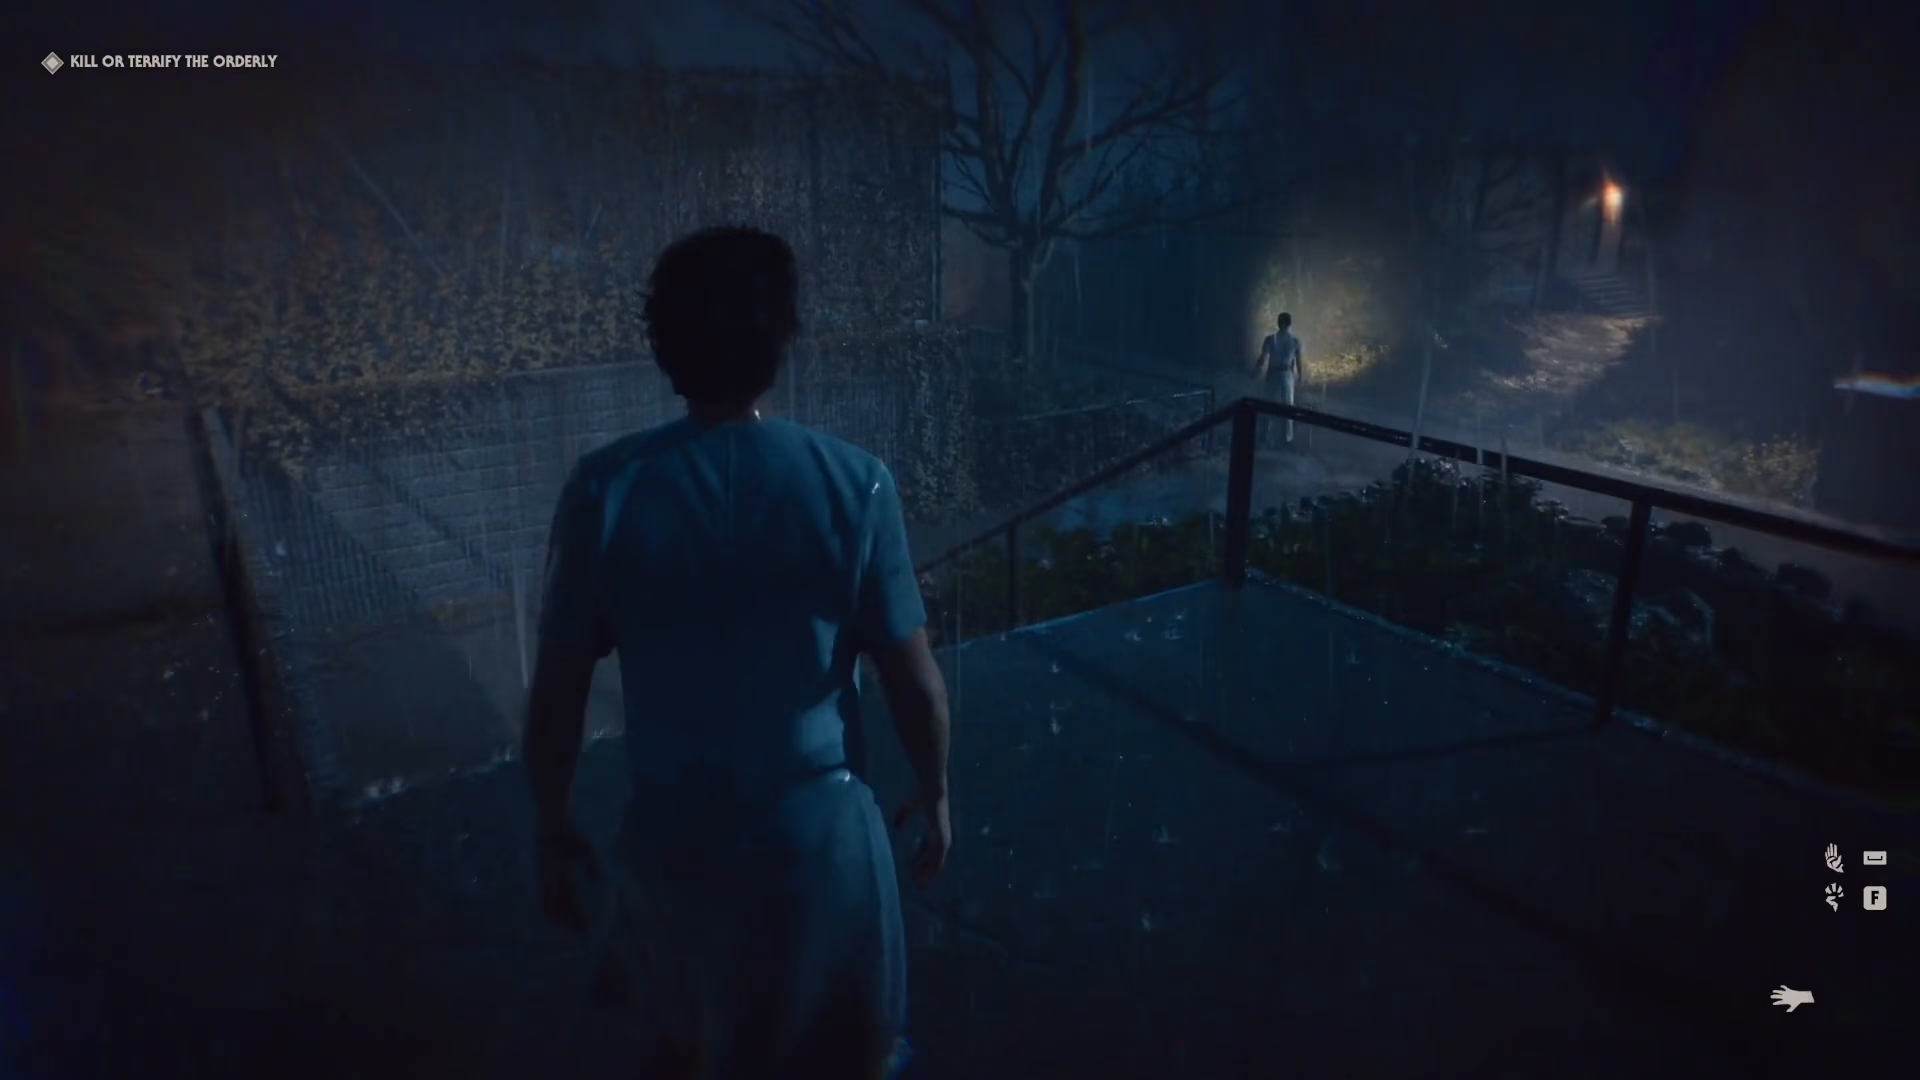
The enemy moves from the middle of the road to the right and then to the left, taking a few steps each time. Be patient and wait for the guard to settle on the left side before attempting to pass.
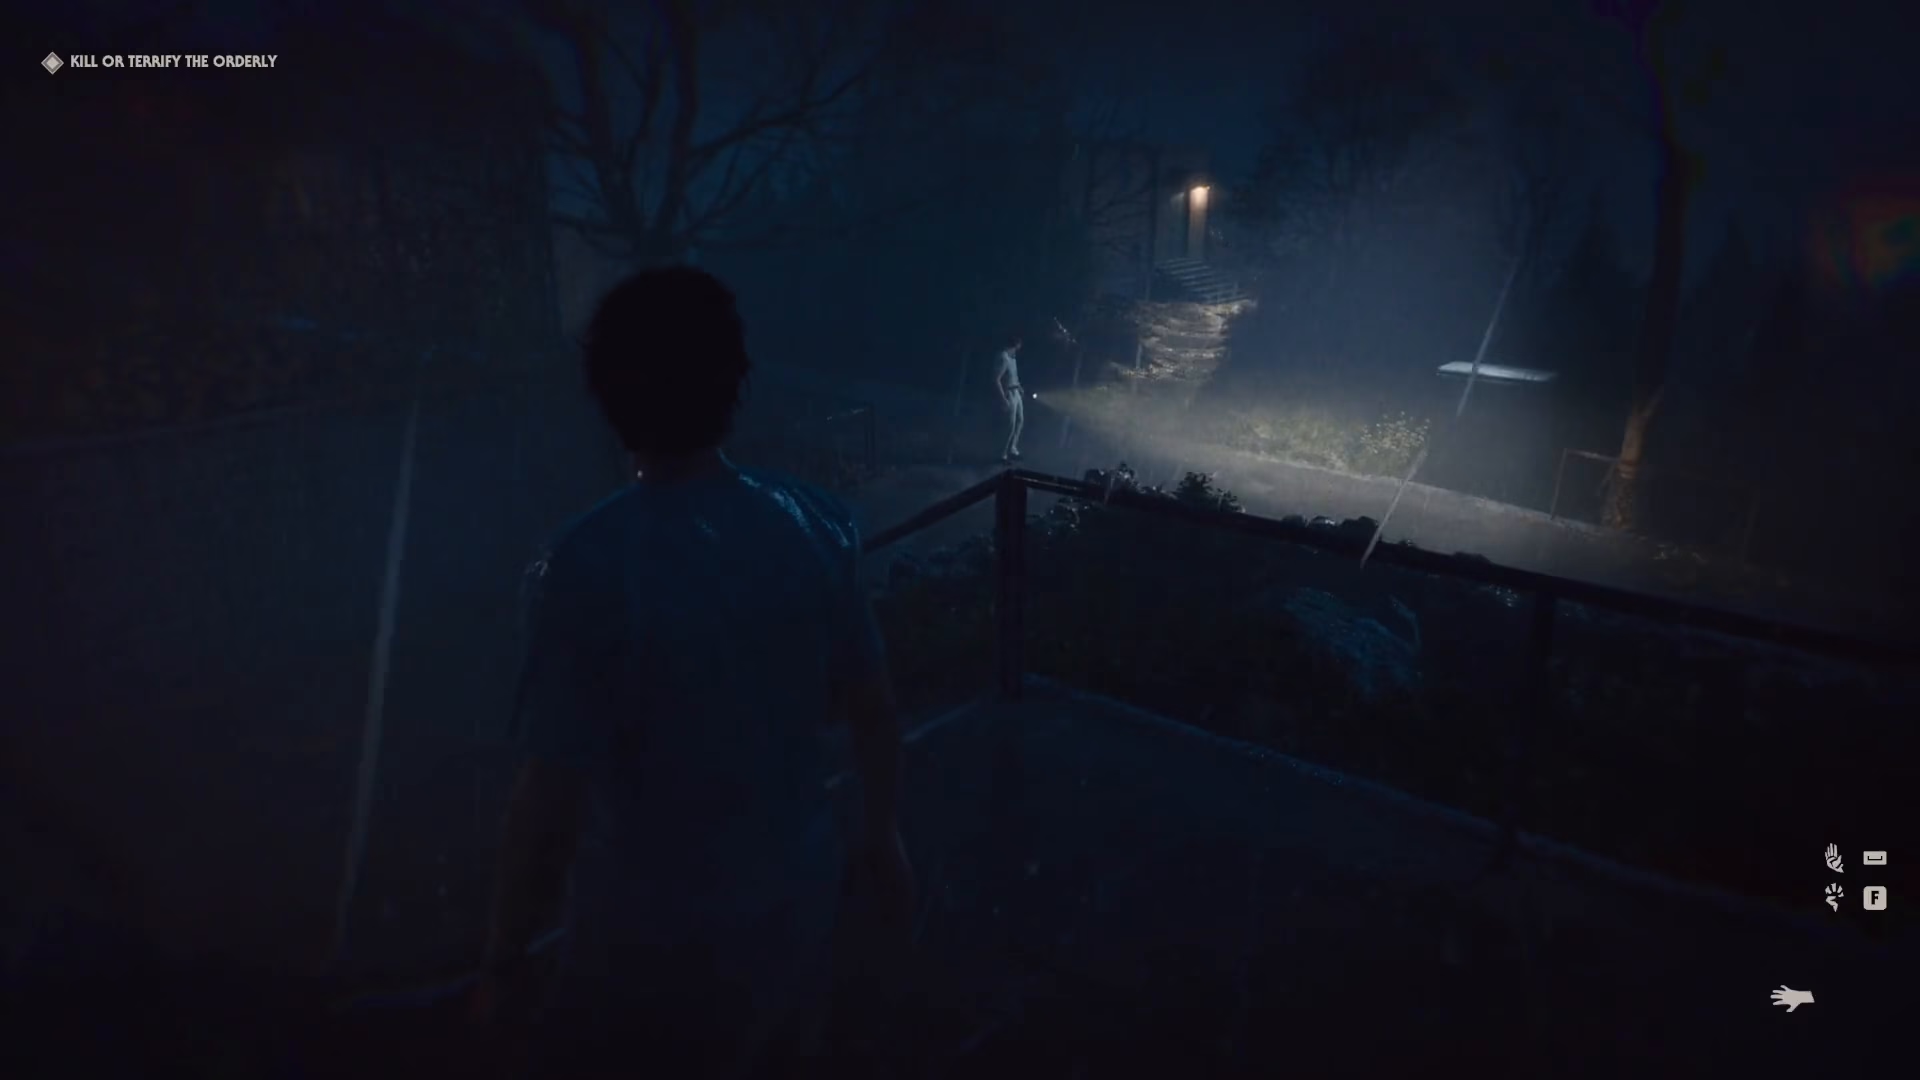
Important: Do not run when passing this guard. Running will trigger detection. Wait until the enemy isn’t looking, then calmly come down to the road.
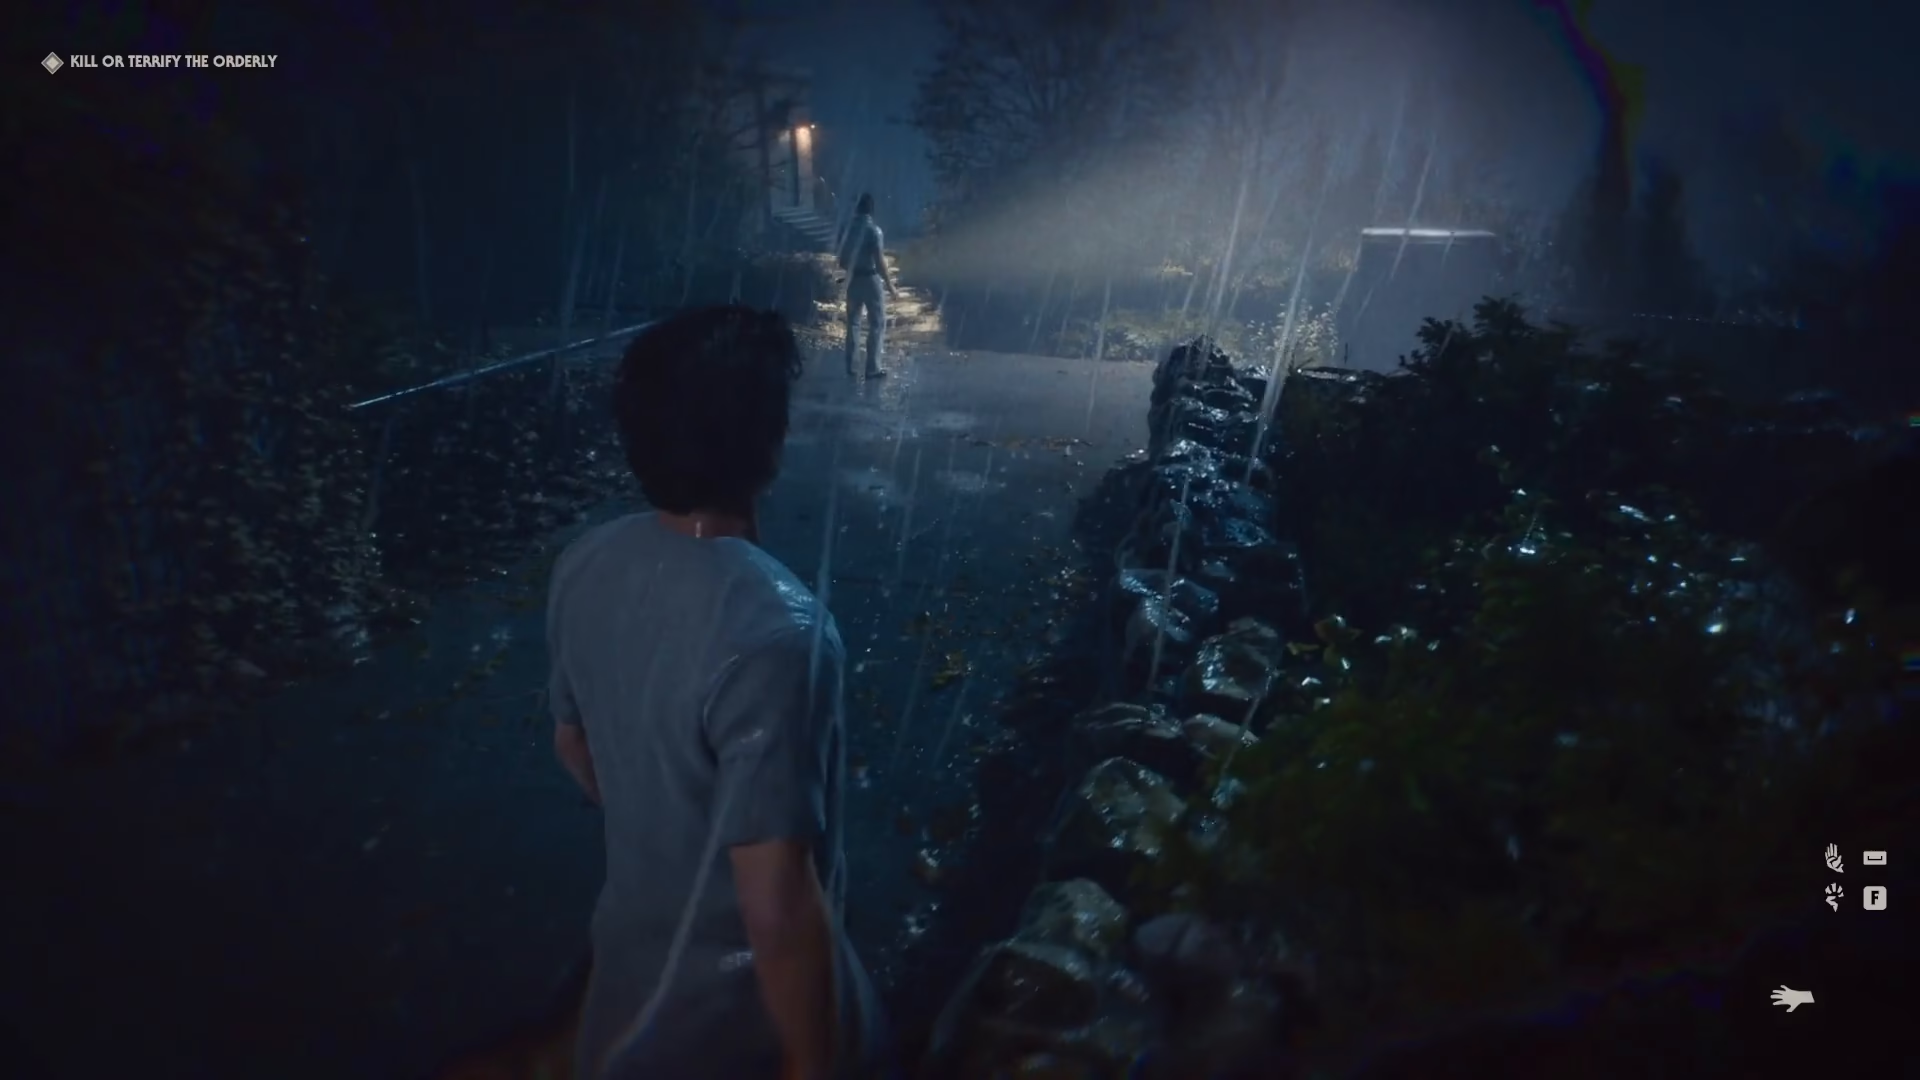
Once you’ve safely positioned yourself, you can then sprint into the woods. Avoid running before you’ve cleared the guard’s line of sight.
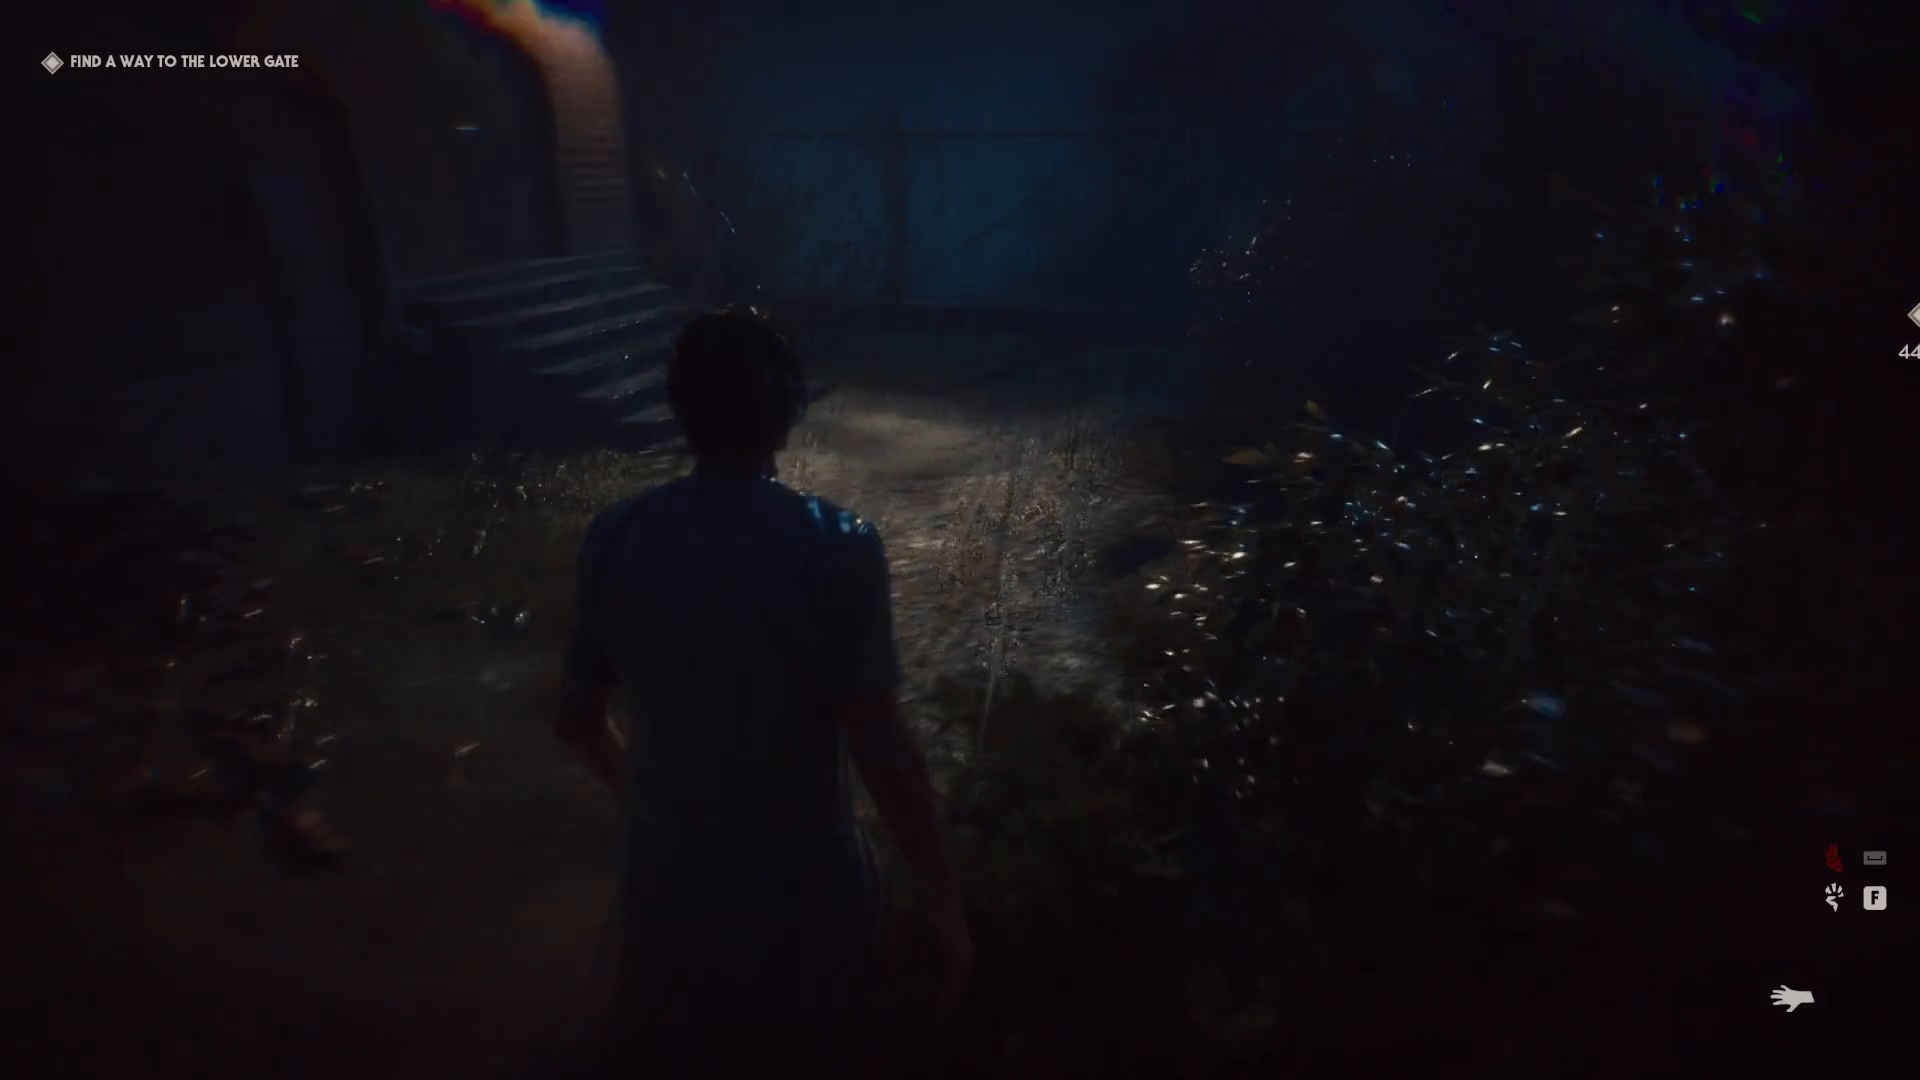
Moving Through the Woods
Sprint into the woods and proceed straight down. Don’t worry—that character you see is not an orderly, so you’re safe to continue.
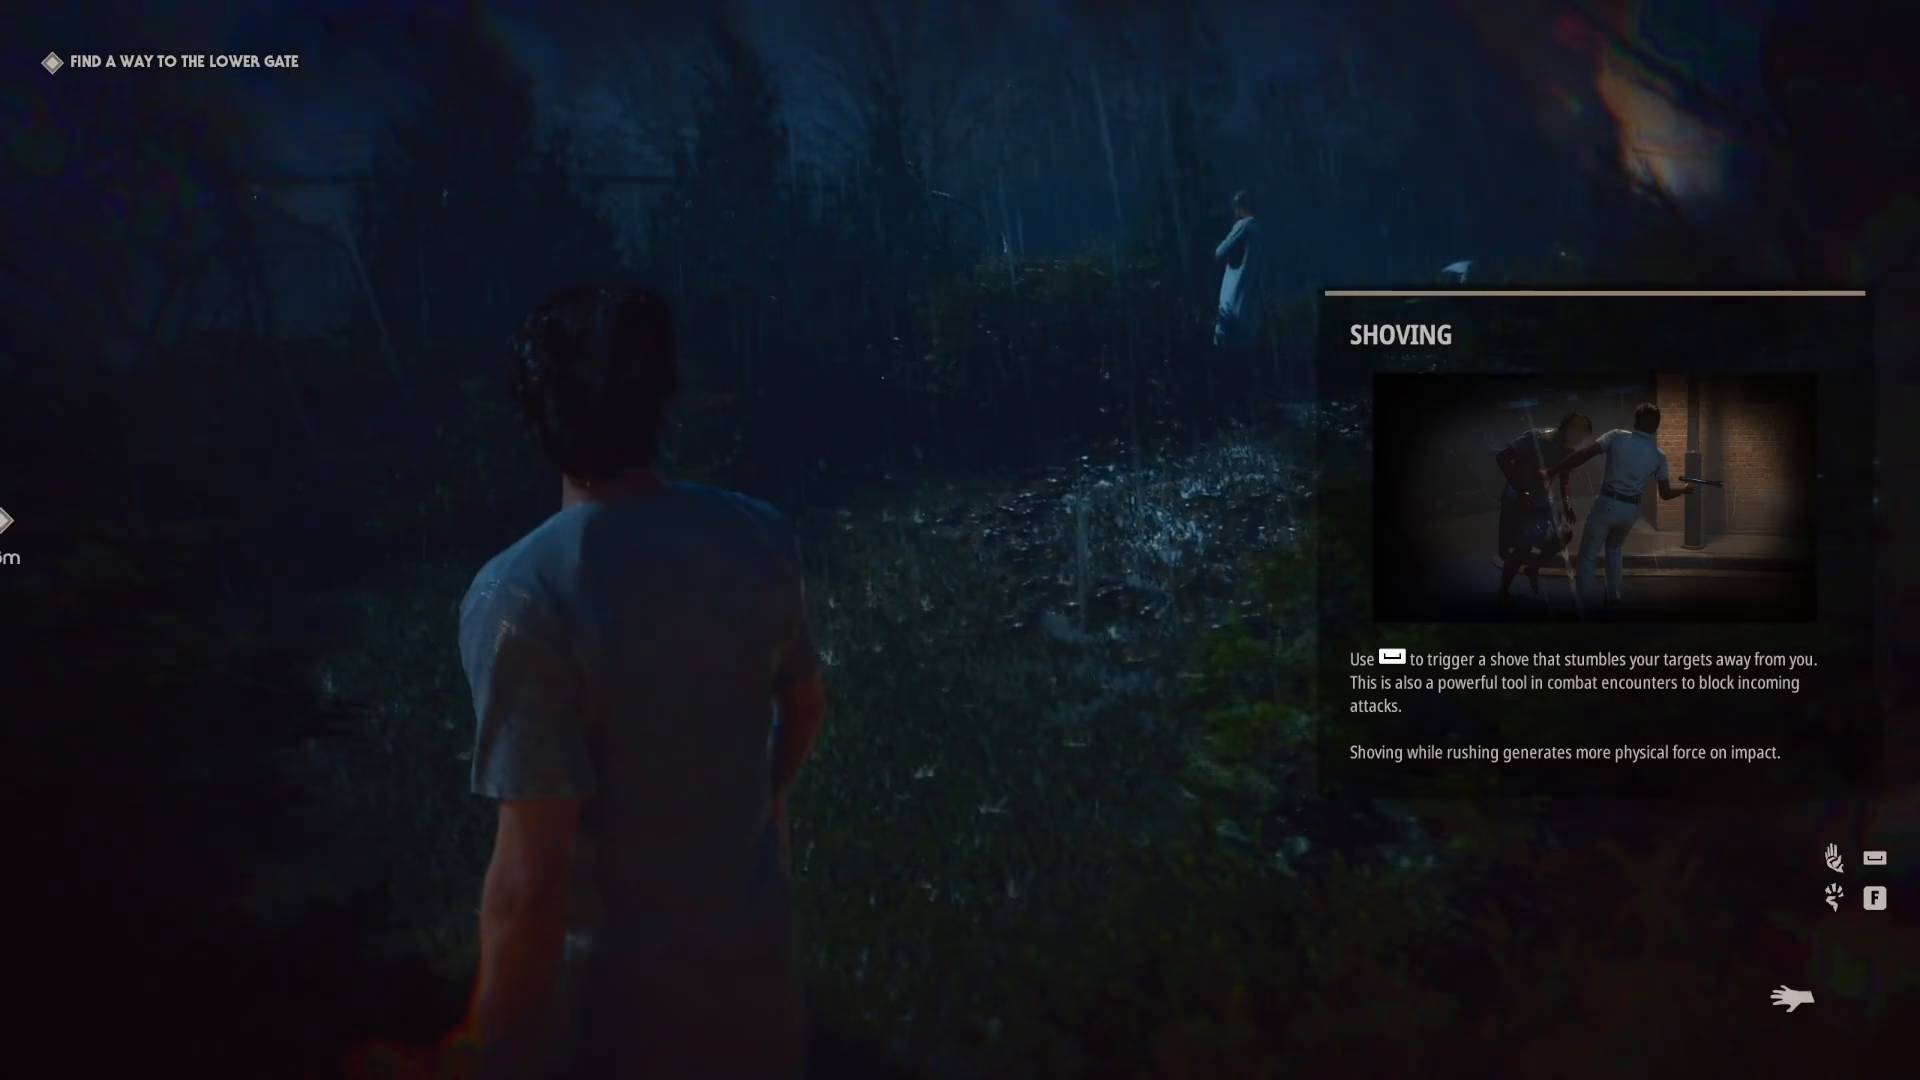
Continue all the way to the end of the woods. Be aware that an enemy will be coming through the woods from above, and another will be descending from the opposite direction.
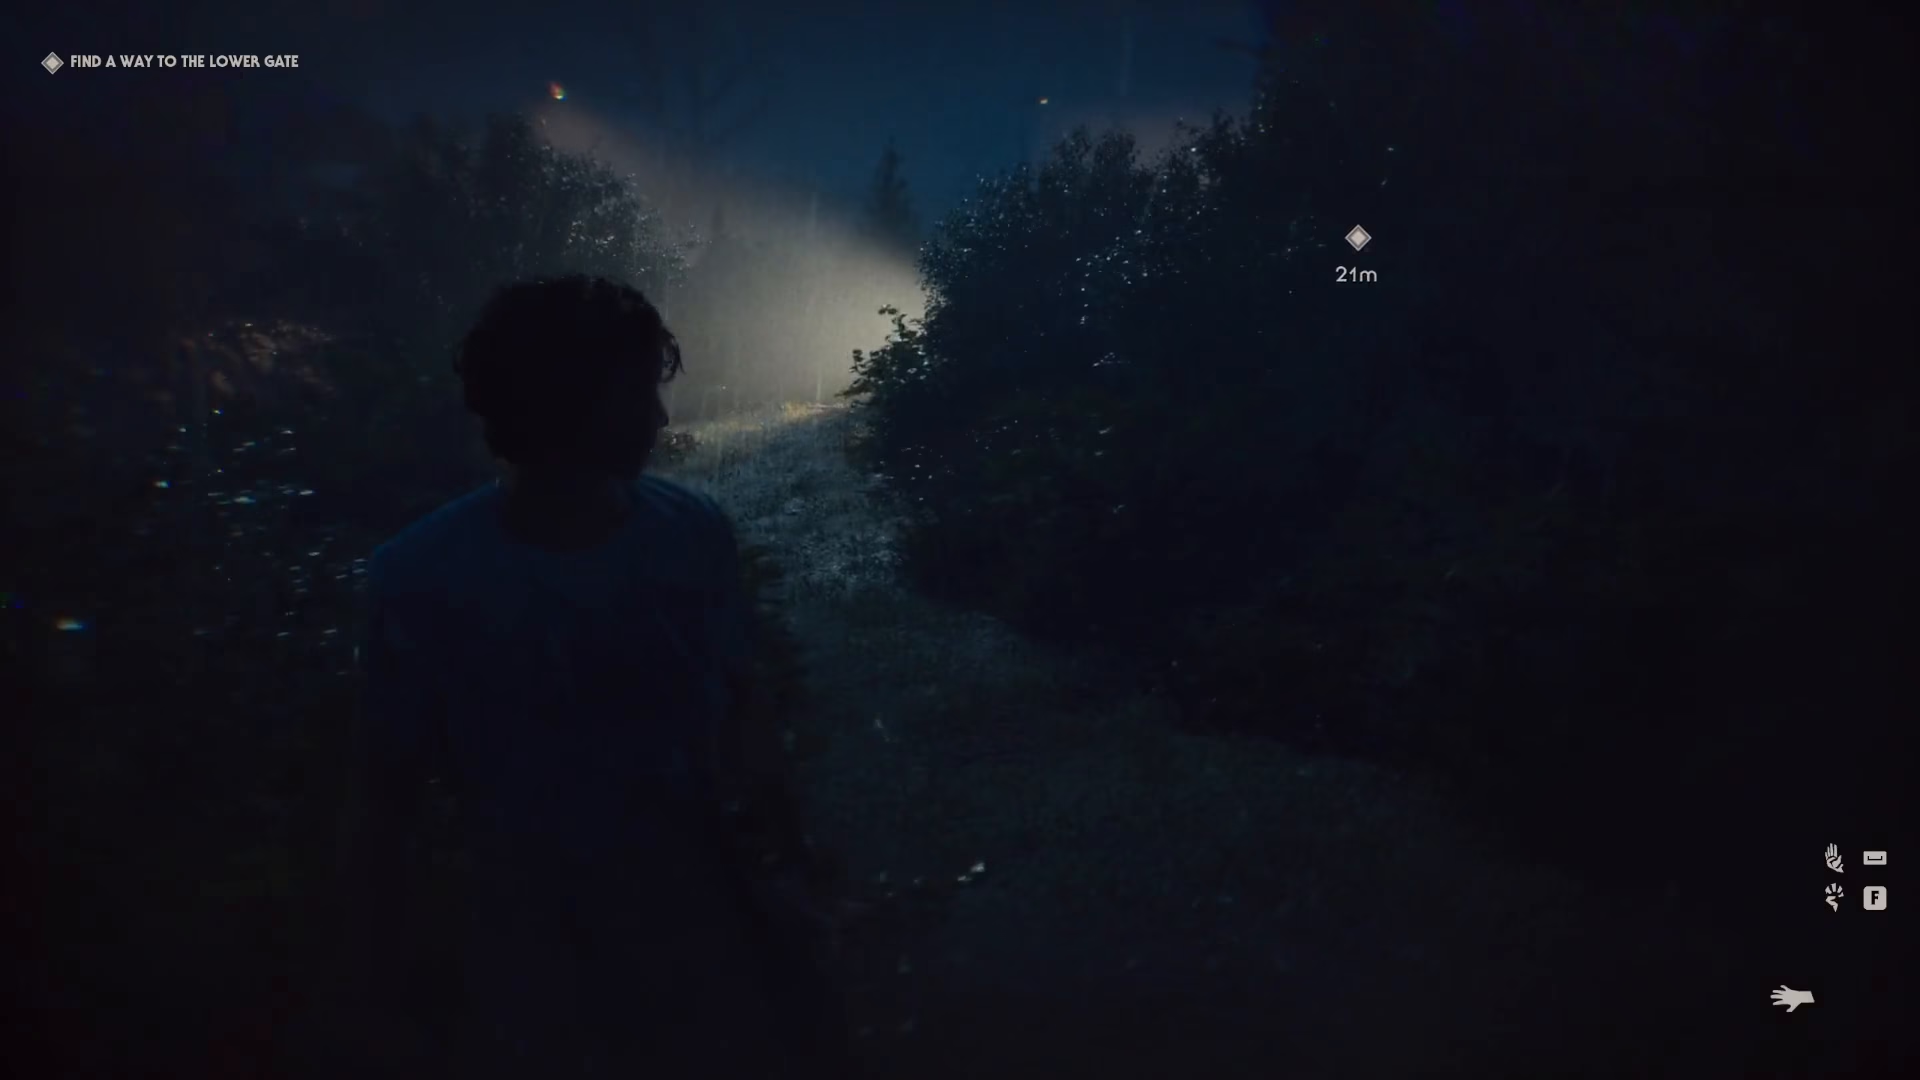
Don’t worry if an alarm goes off—this is completely normal and won’t affect your progress. You can observe the enemies running back up the path and another coming down the trail.
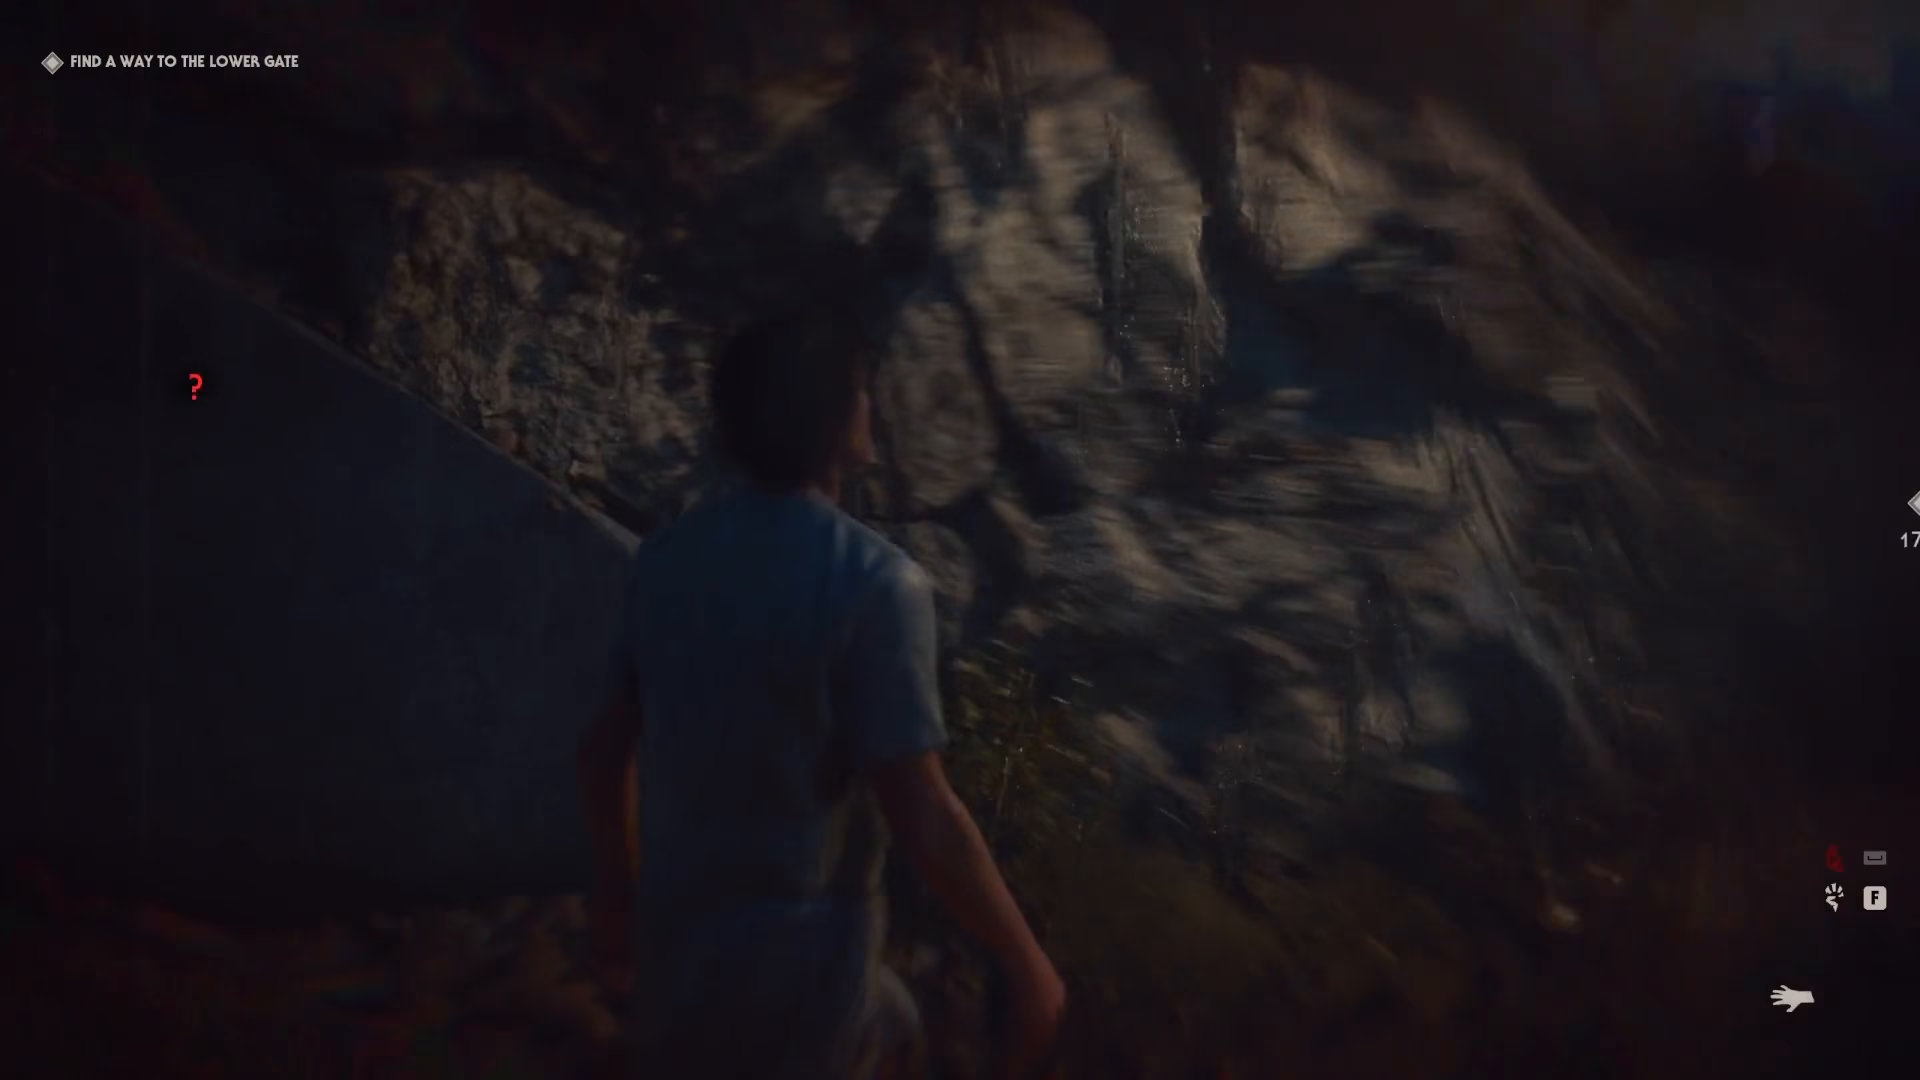
Navigating the Road to the Power Station
Come around through the woods. You cannot loop through the woods at this point because all the enemies have moved up to the upper path. Be very careful on the road ahead.
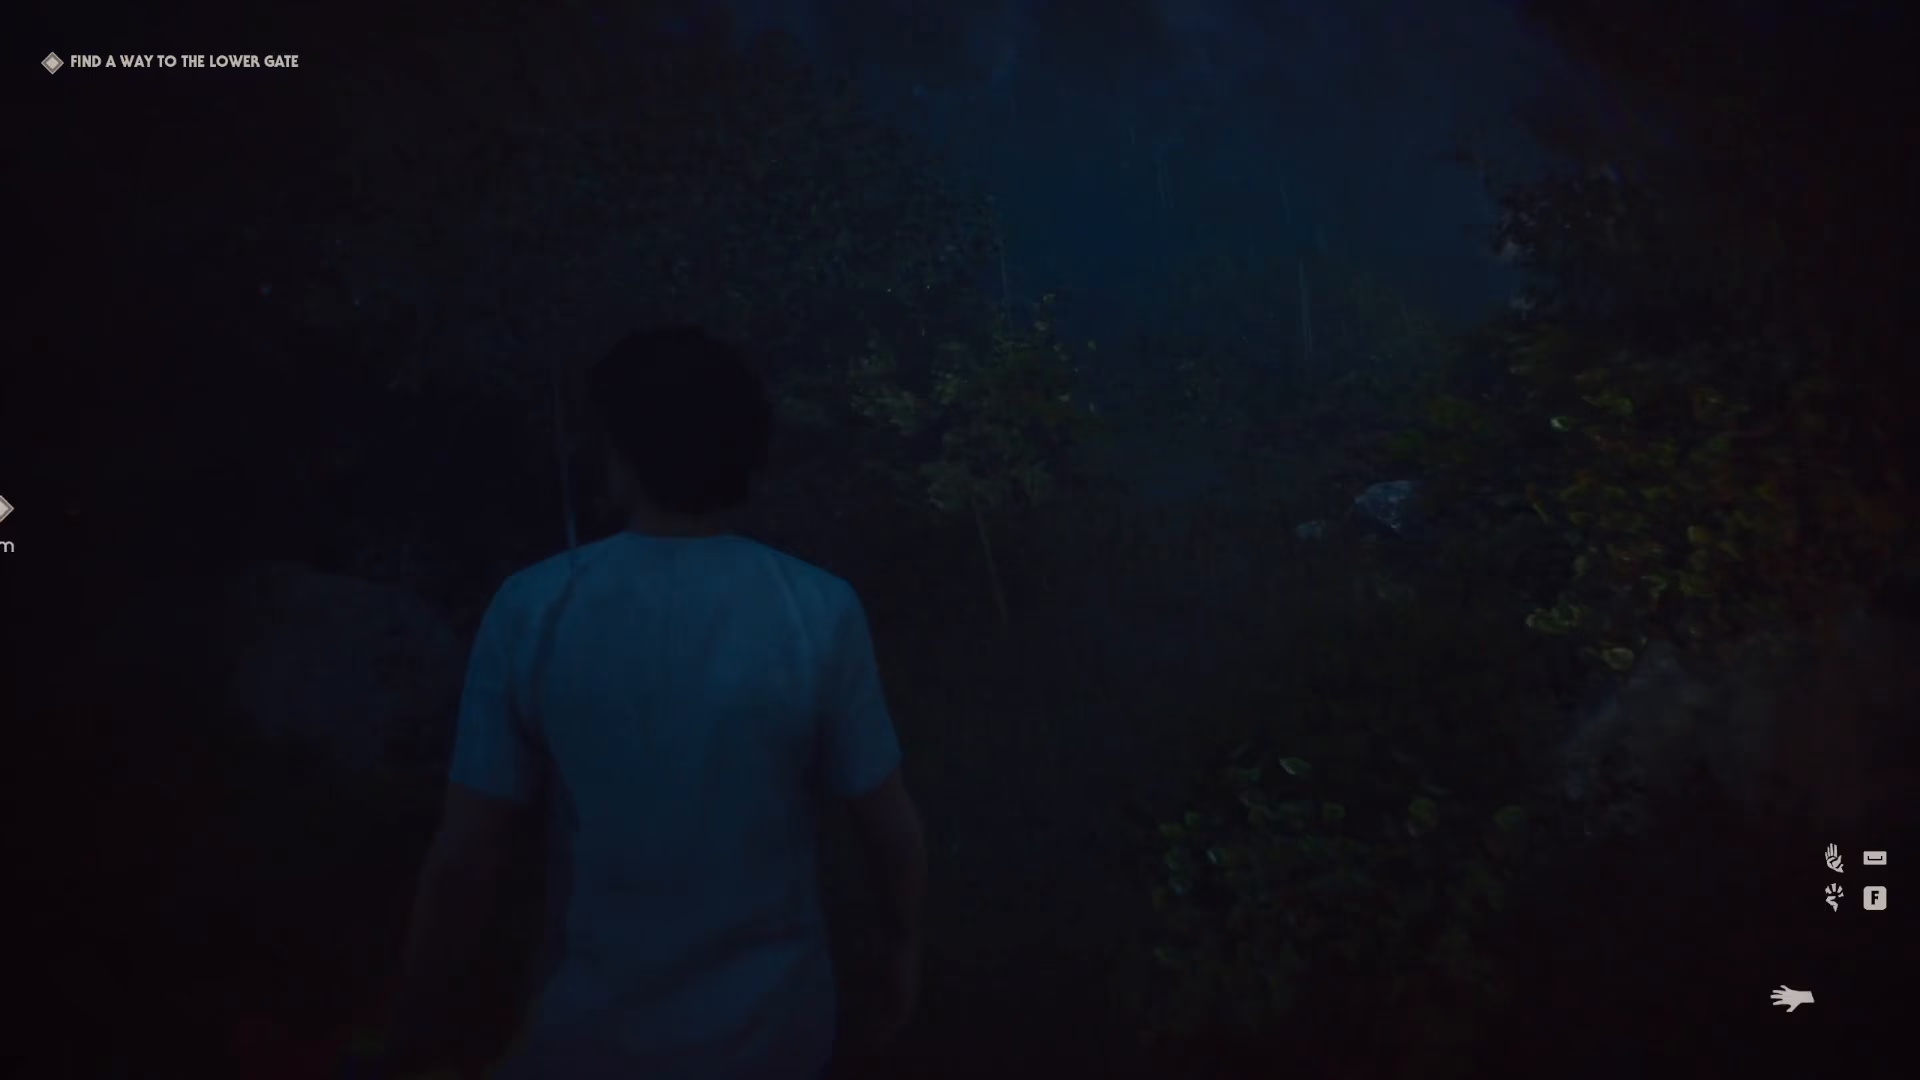
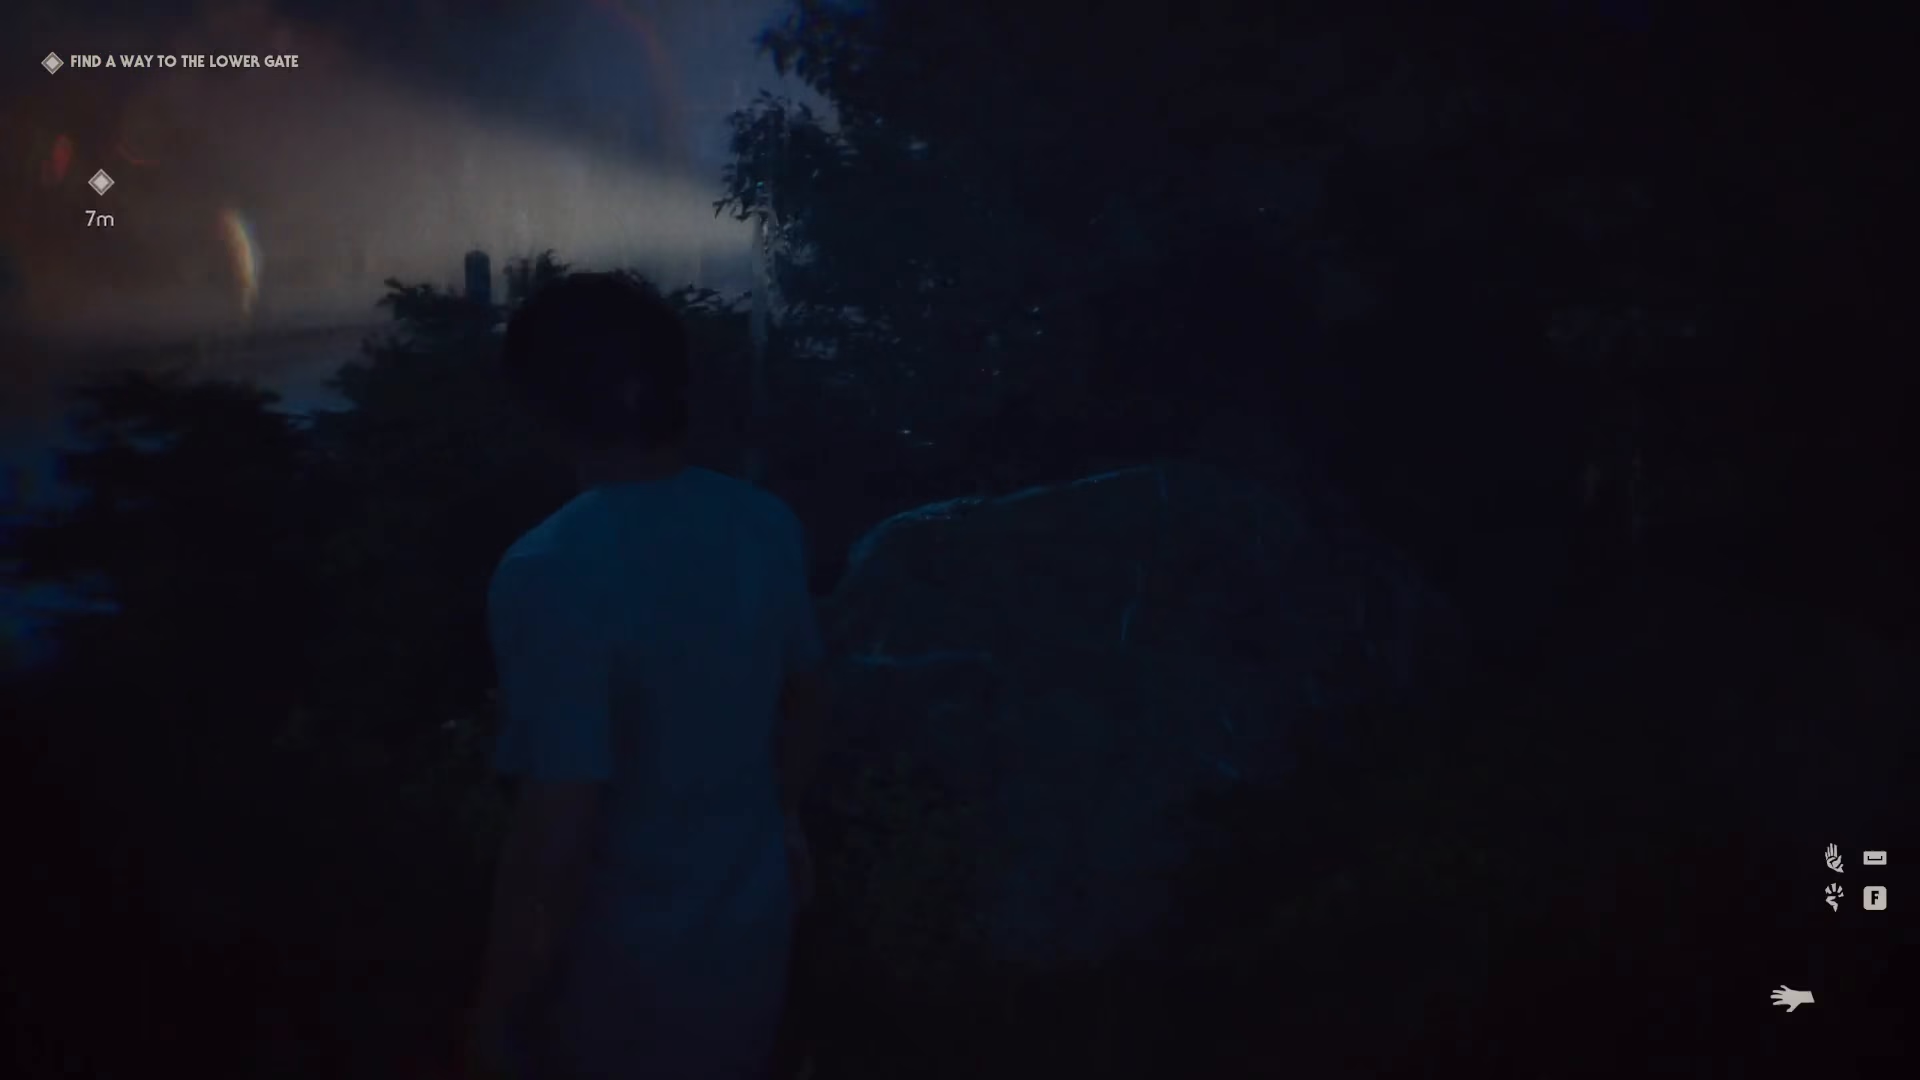
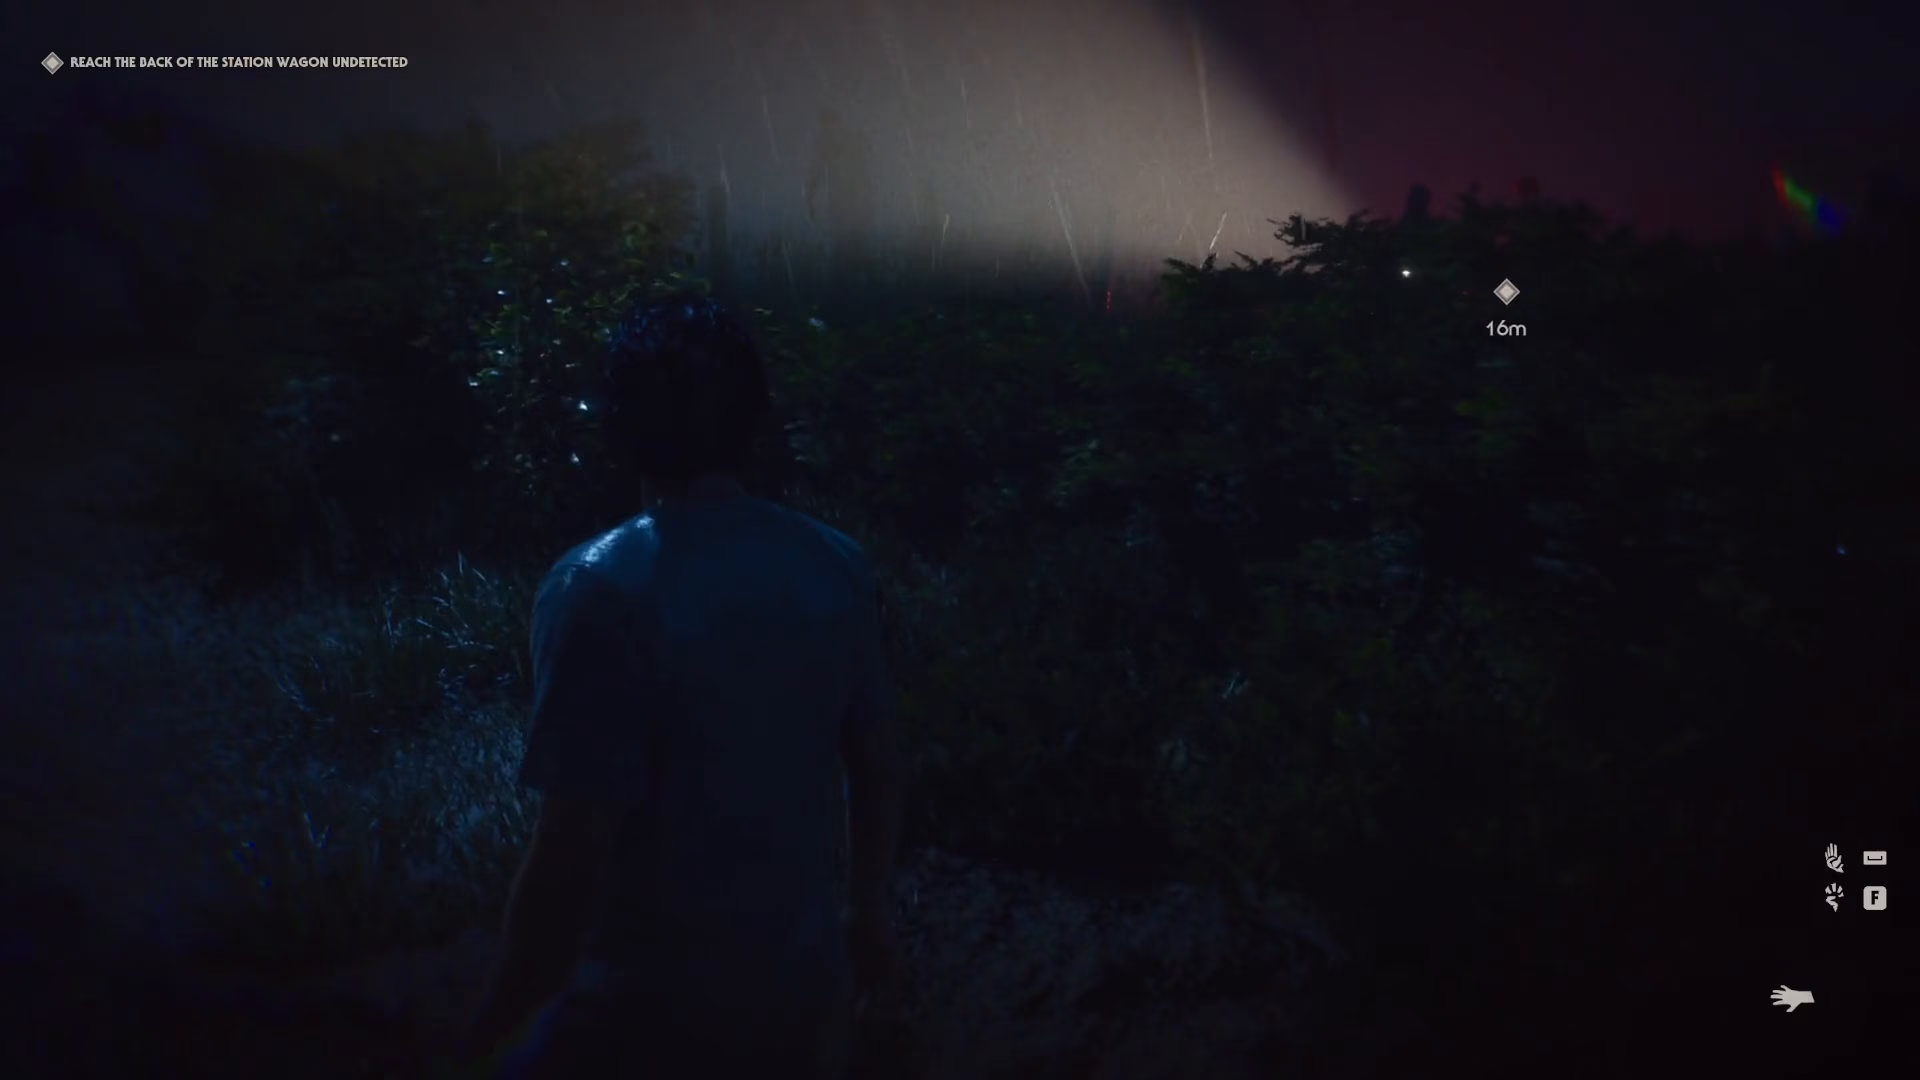
There is an enemy on the road right now who will loop back down and up the path. Wait for this enemy to look at the power station and then travel all the way back up the path. Only then should you proceed down to the power station.
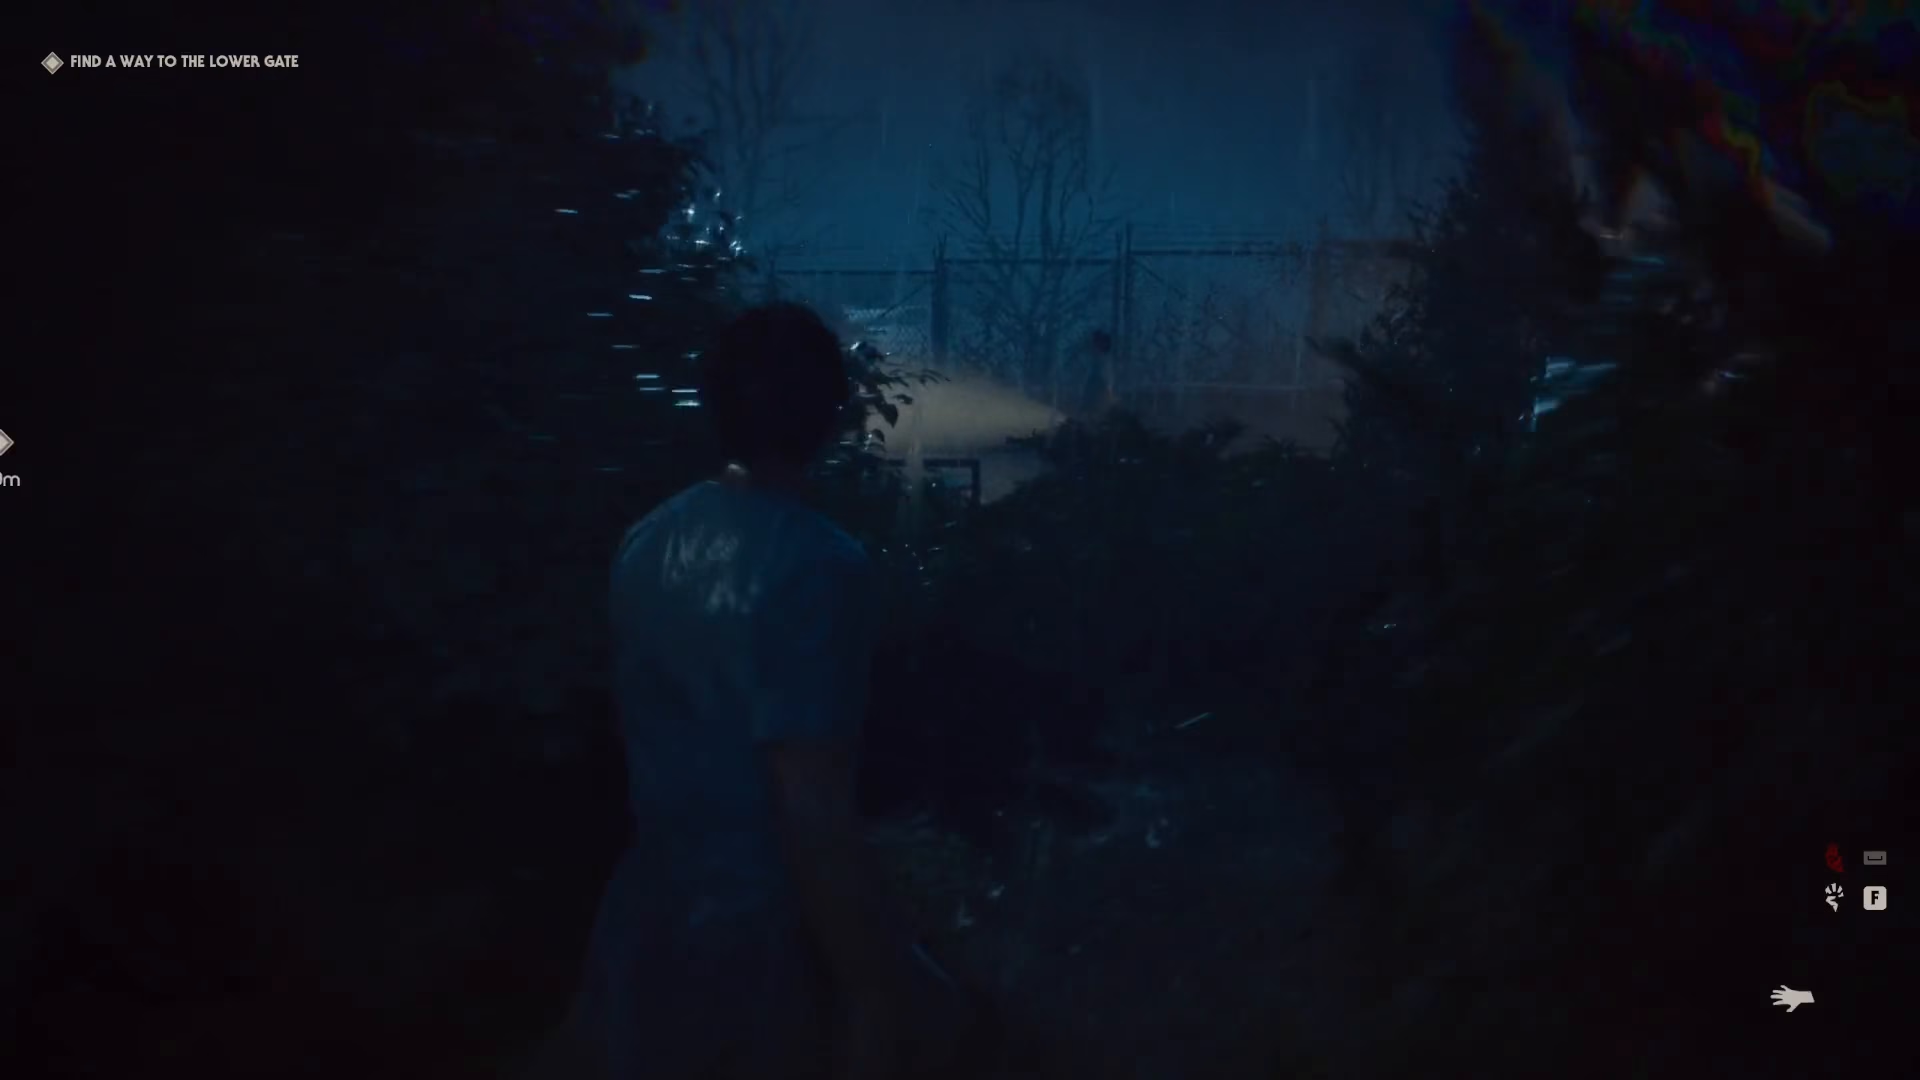
Make sure you move into the bushes for additional cover. There are multiple enemies in this area—one is visible by the street lamp, another has a torch somewhere nearby, and a third enemy travels in this direction as well.
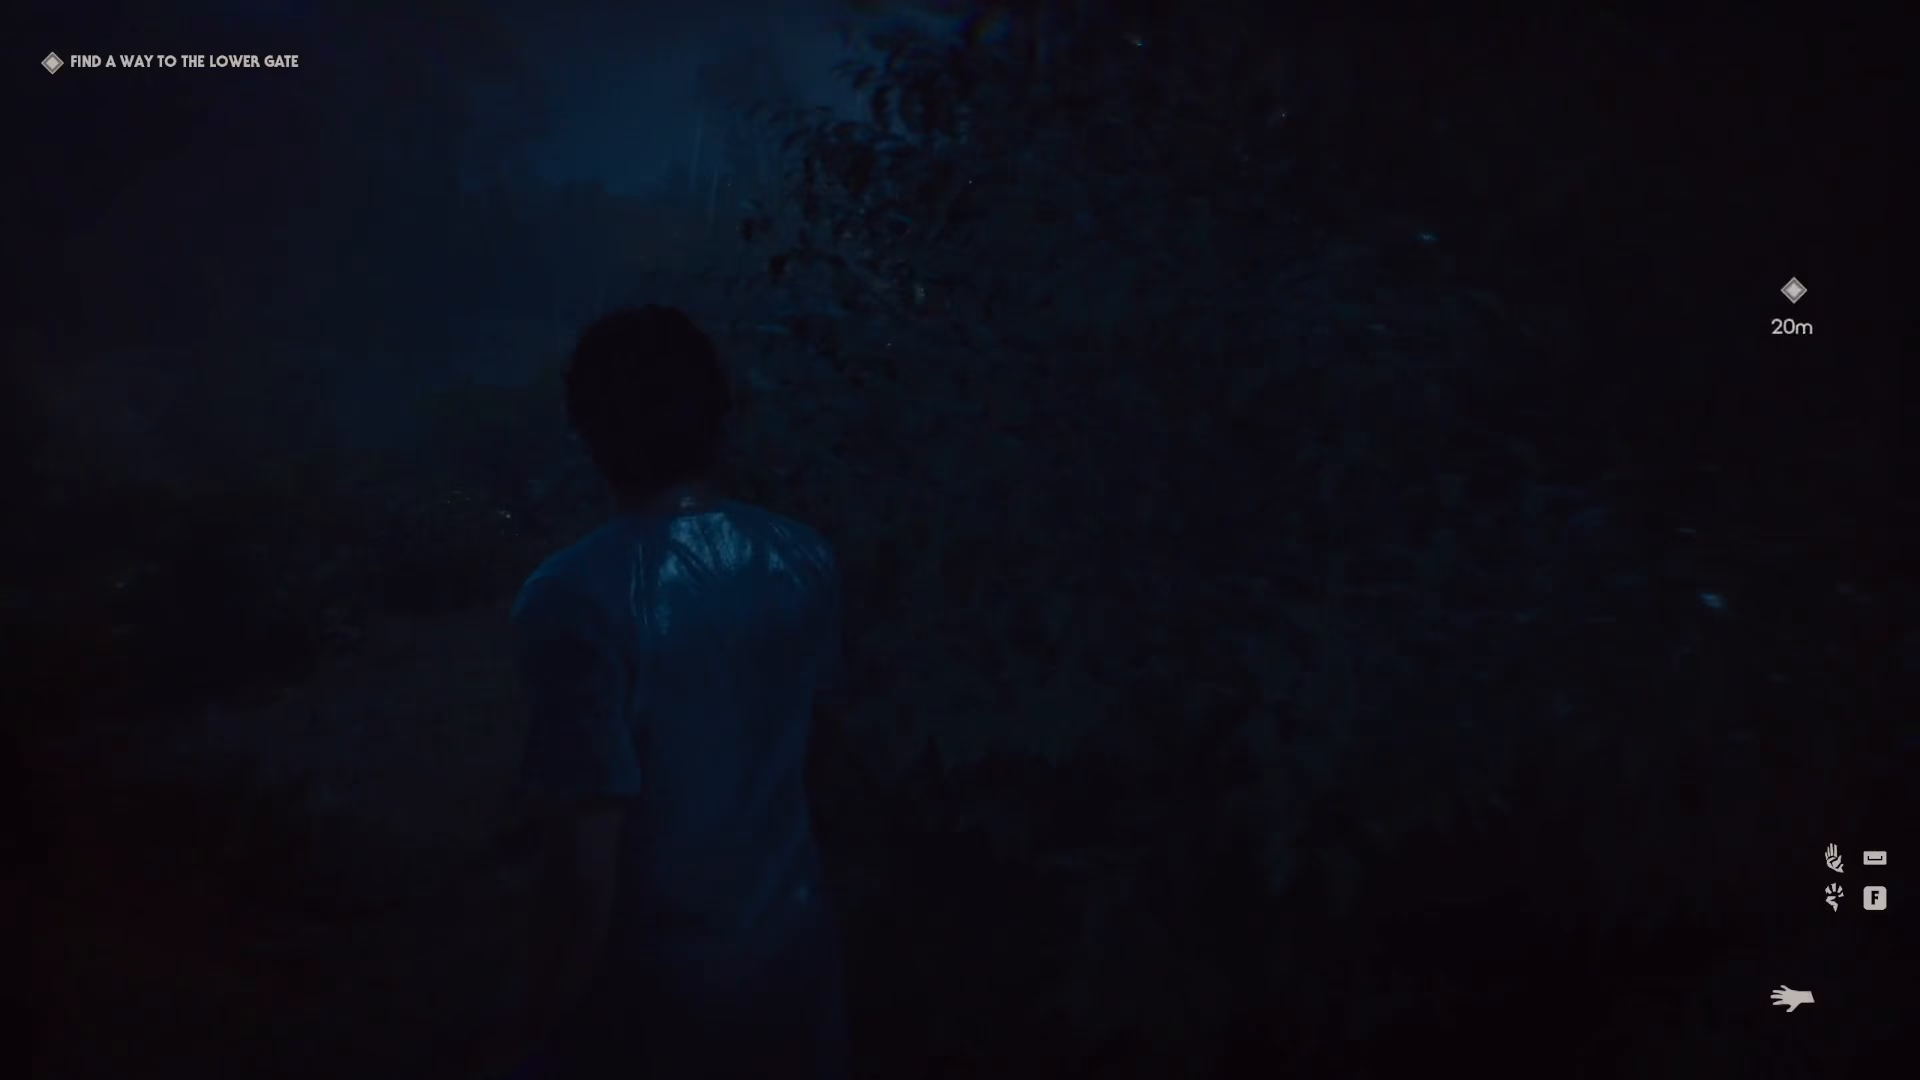
Alternative Route Consideration
You might find it better to approach from a different angle. Wait for the nearest enemy to move into the background before making your move.
Disabling the Power and Escaping
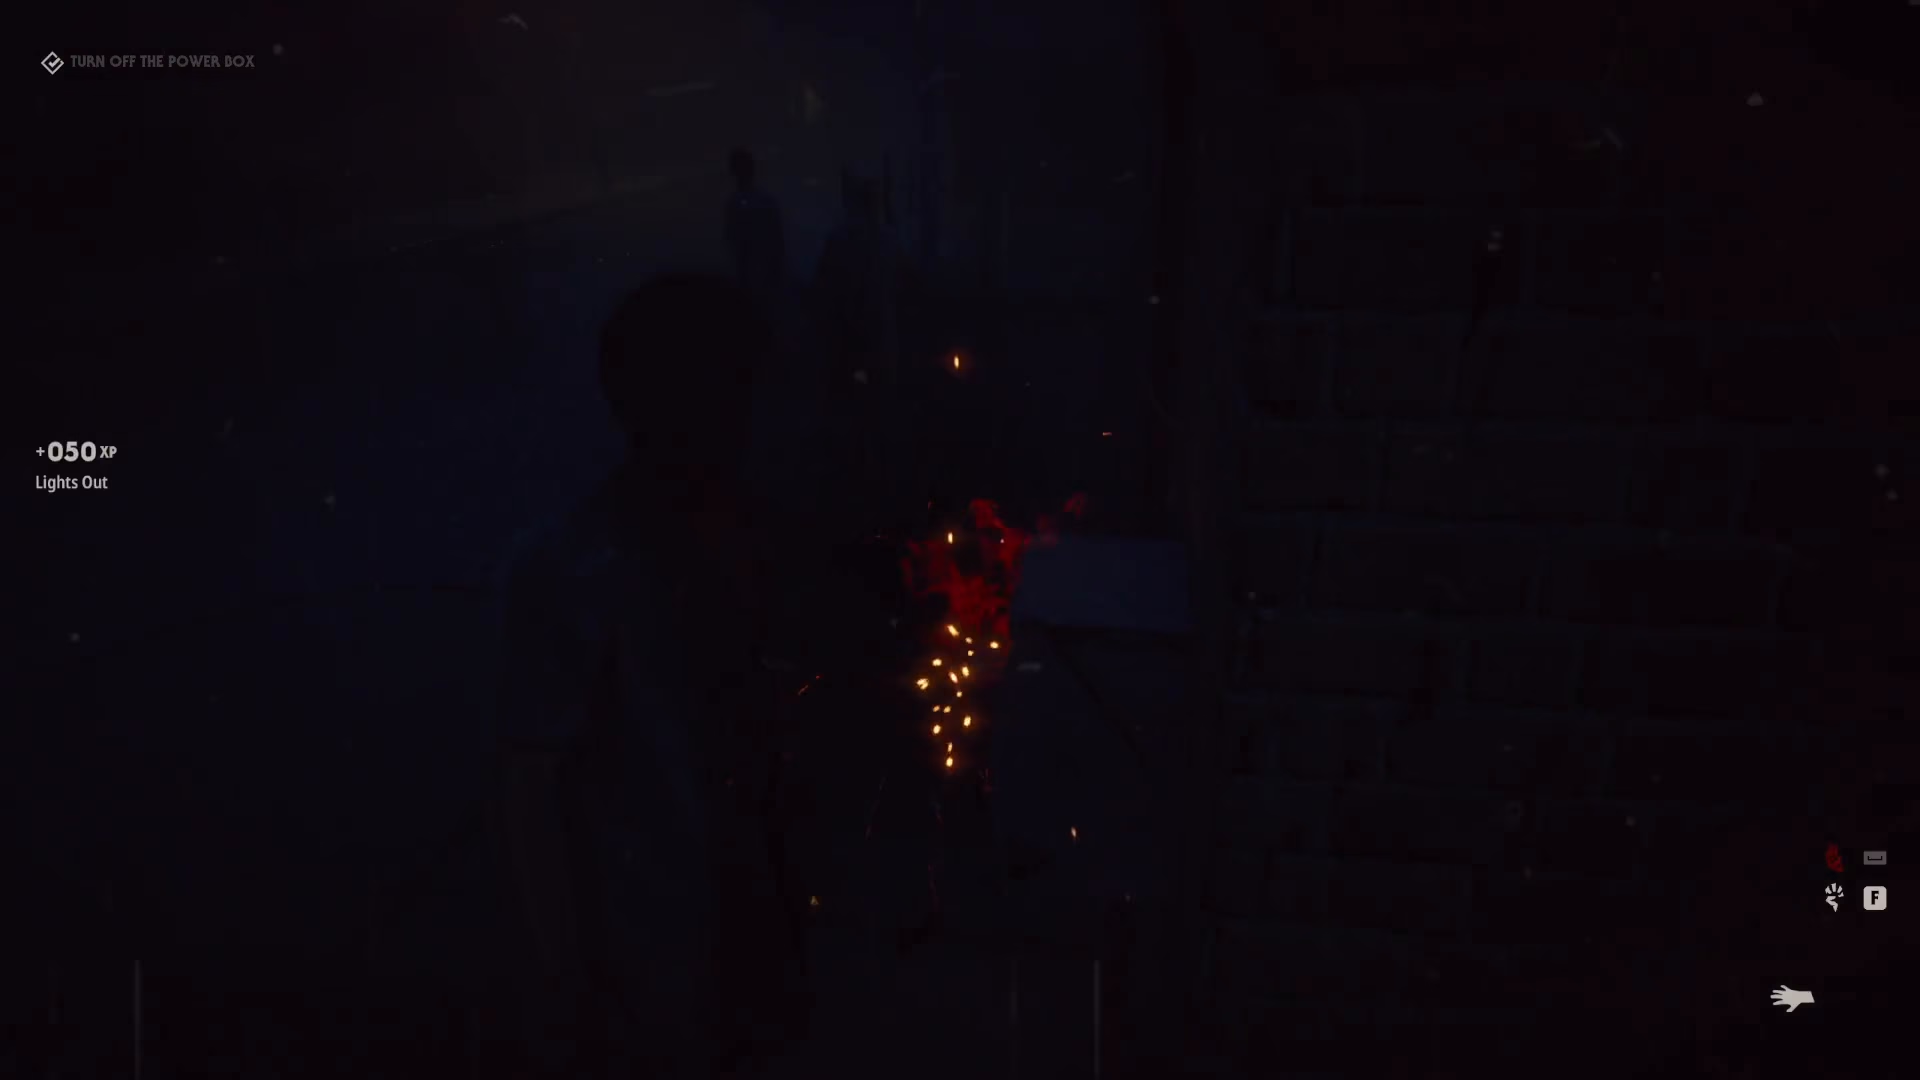
Once the path is clear, move quickly. Toggle the power at the power station as soon as possible.
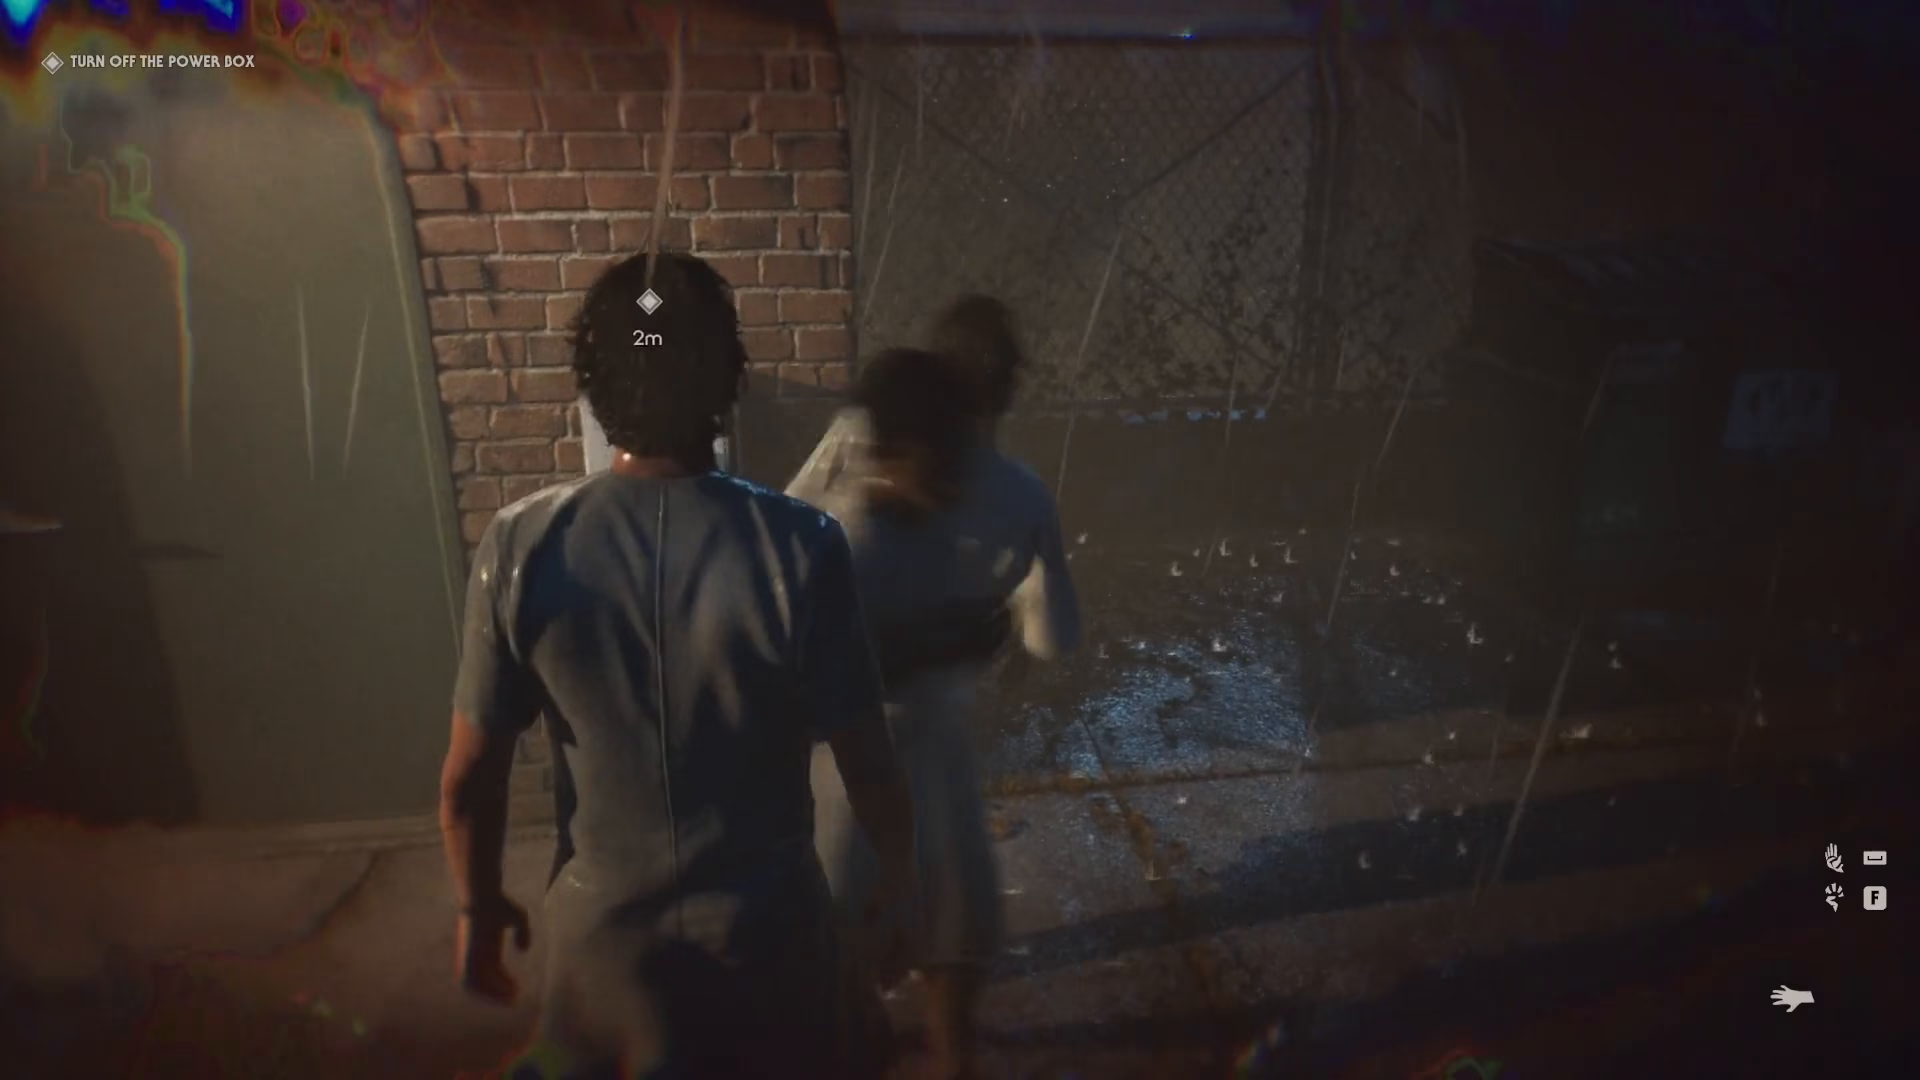
Immediately after toggling the power, sprint straight to the fence and open the prior (gate). If you’ve successfully passed the first road guard, you’re essentially done—the rest is straightforward.
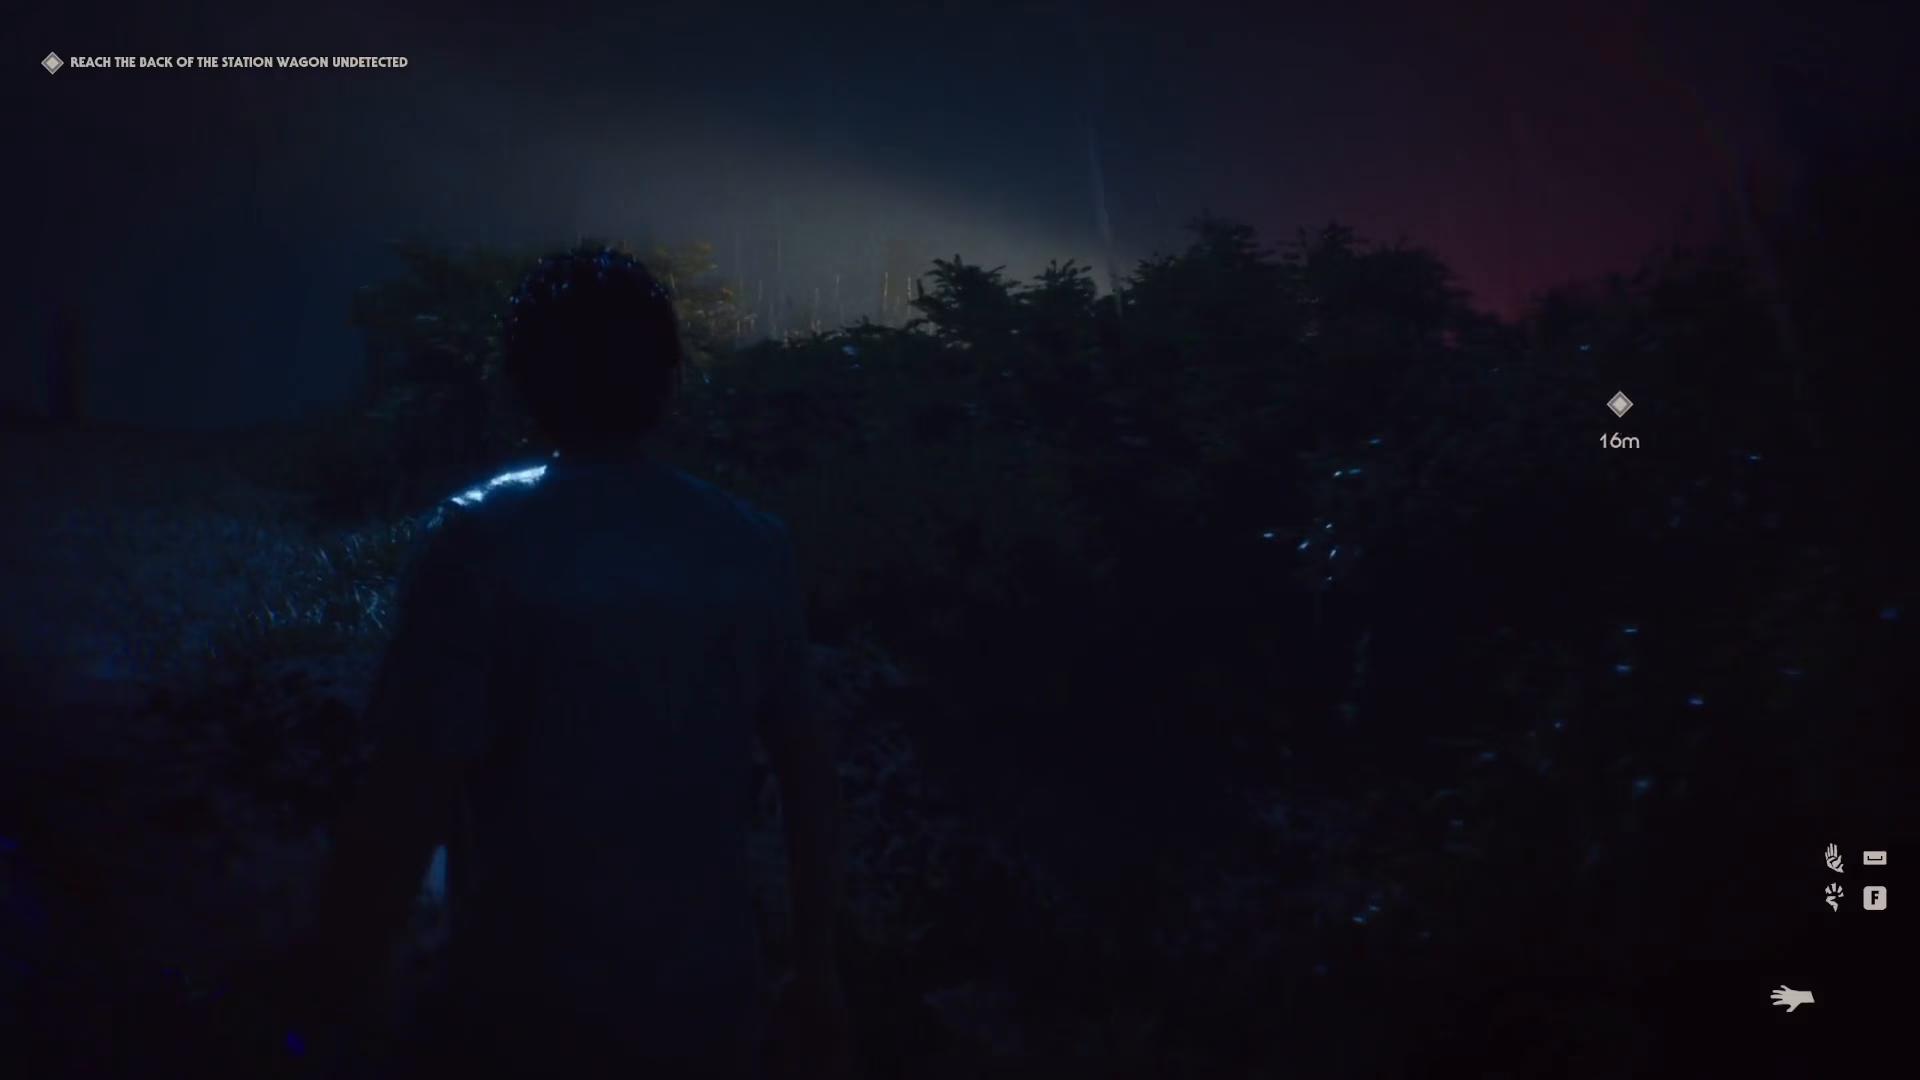
Sprint down the path, take a right, and head up the path a bit further. Be cautious—there is a torch in this area, but you can wait for the enemy to run off before emerging onto the road.
Final Stretch to the Car
As the enemy is running off, you can safely come out into the road, proceed to the car, and complete Challenge 5.
Summary
Challenge 5 is demanding but completable with patience and precision. The key mechanics are: waiting for enemies to position themselves favorably, never running when in direct line of sight, using natural cover like ambulances and bushes, and timing your movements around enemy patrol patterns. The most critical section is passing the road guard—ensure they’re looking left before attempting to pass. Once you’ve cleared that obstacle, the remainder of the challenge flows much more smoothly. Practice makes perfect, and with each attempt, you’ll better understand enemy movement patterns and timing windows.
Want to Support?
If you would like to help us continue making these guides – please consider joining our patreon here – https://www.patreon.com/c/JaviHeals
Alternatively – you can join our discord here – https://discord.gg/zD7Gjt6MHF