The Mistress of All EvIL Quest Guide In Disney Dreamlight Valley
The Mistress of All Evil Quest Guide | Disney Dreamlight Valley
This comprehensive guide will walk you through completing the Mistress of All Evil quest in Disney Dreamlight Valley. This quest automatically unlocks once you gain access to the Beanstalk Marshes. Follow along as we navigate Maleficent’s castle, solve puzzles, retrieve key items, and complete all objectives to finish this challenging questline.
Quest Overview and Initial Setup
The Mistress of All Evil quest becomes available automatically once you unlock the Beanstalk Marshes. Your main objective is to explore the Beanstalk Marshes around Maleficent’s castle and complete several tasks within the castle itself.
Entering Maleficent’s Castle
Start by exploring the Beanstalk Marshes and removing any inkeys you encounter. Walk directly toward the large castle and the Beanstalk structure. Approach the castle entrance to trigger a cutscene.

Once the cutscene concludes and you’re inside the castle, continue removing inkeys as you progress. Approach and talk to Maleficent to advance the quest.
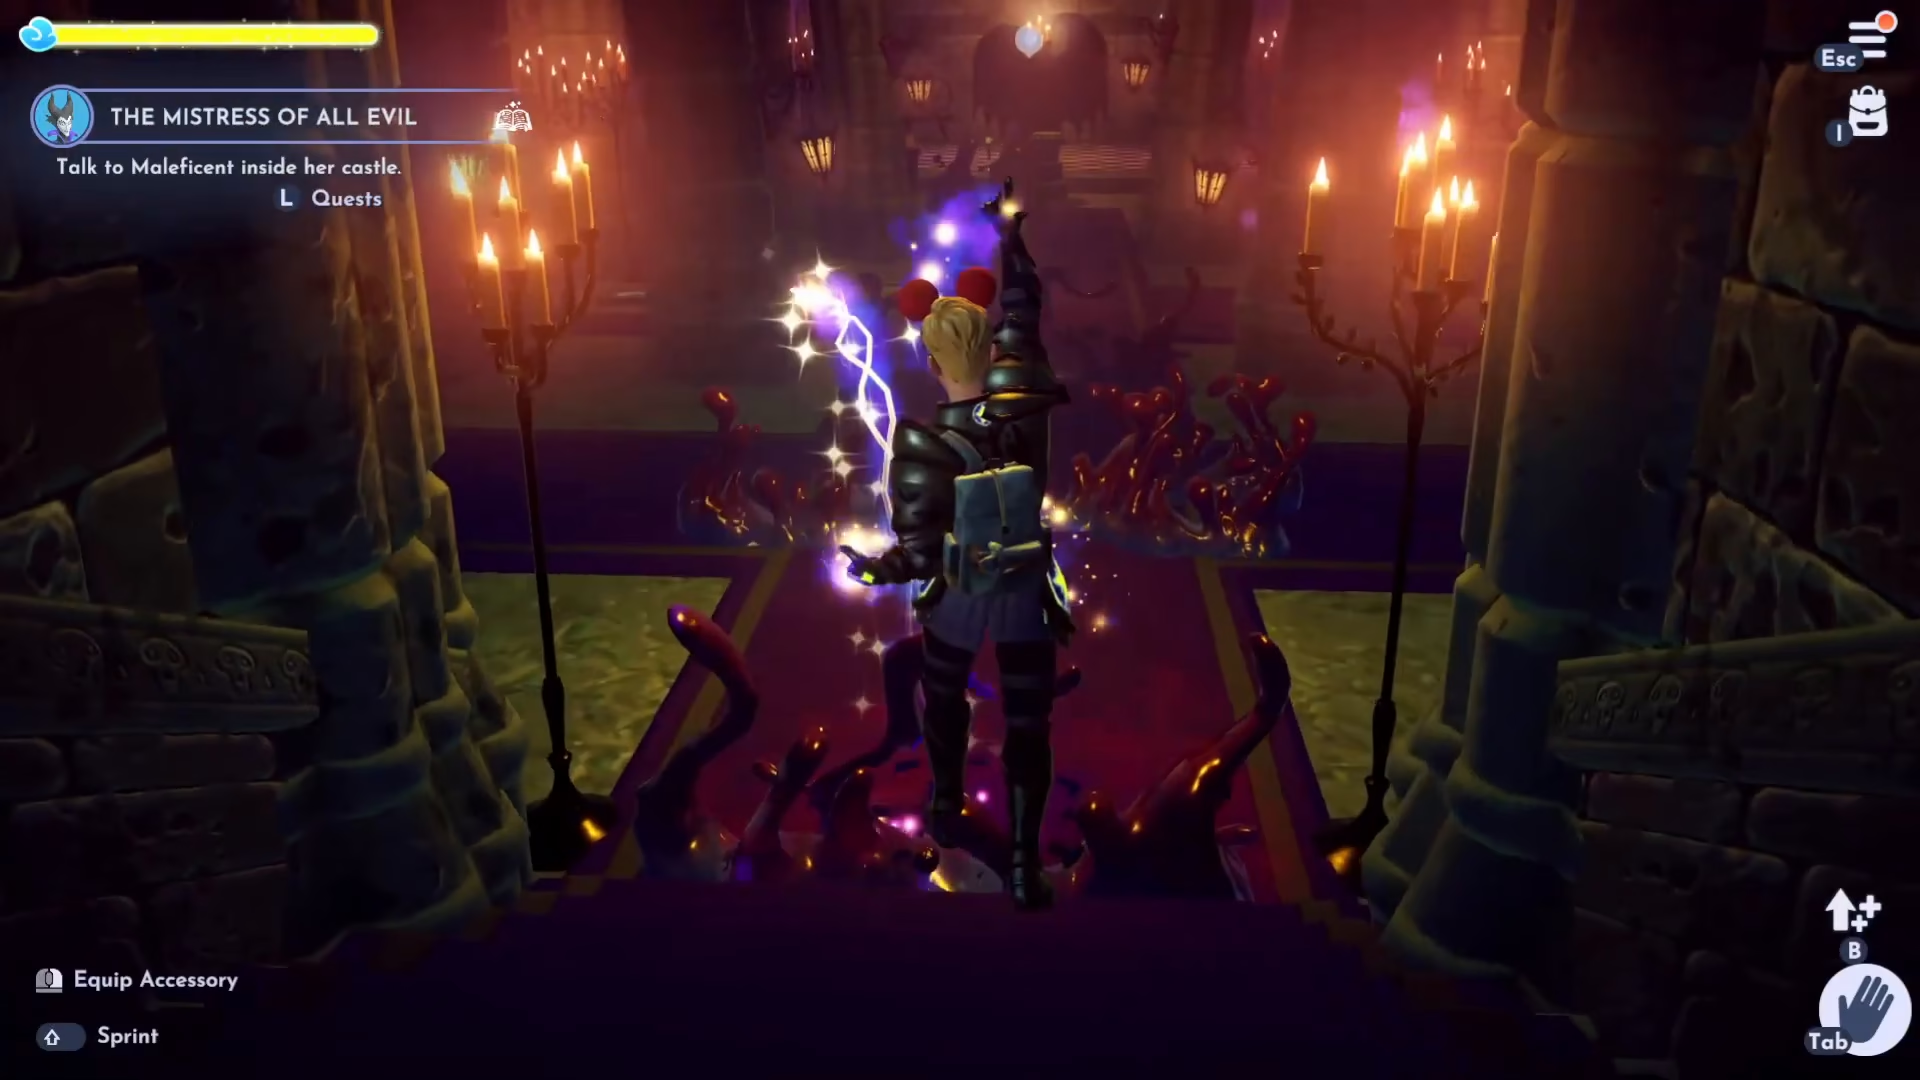
Finding Maleficent’s Spinning Wheel
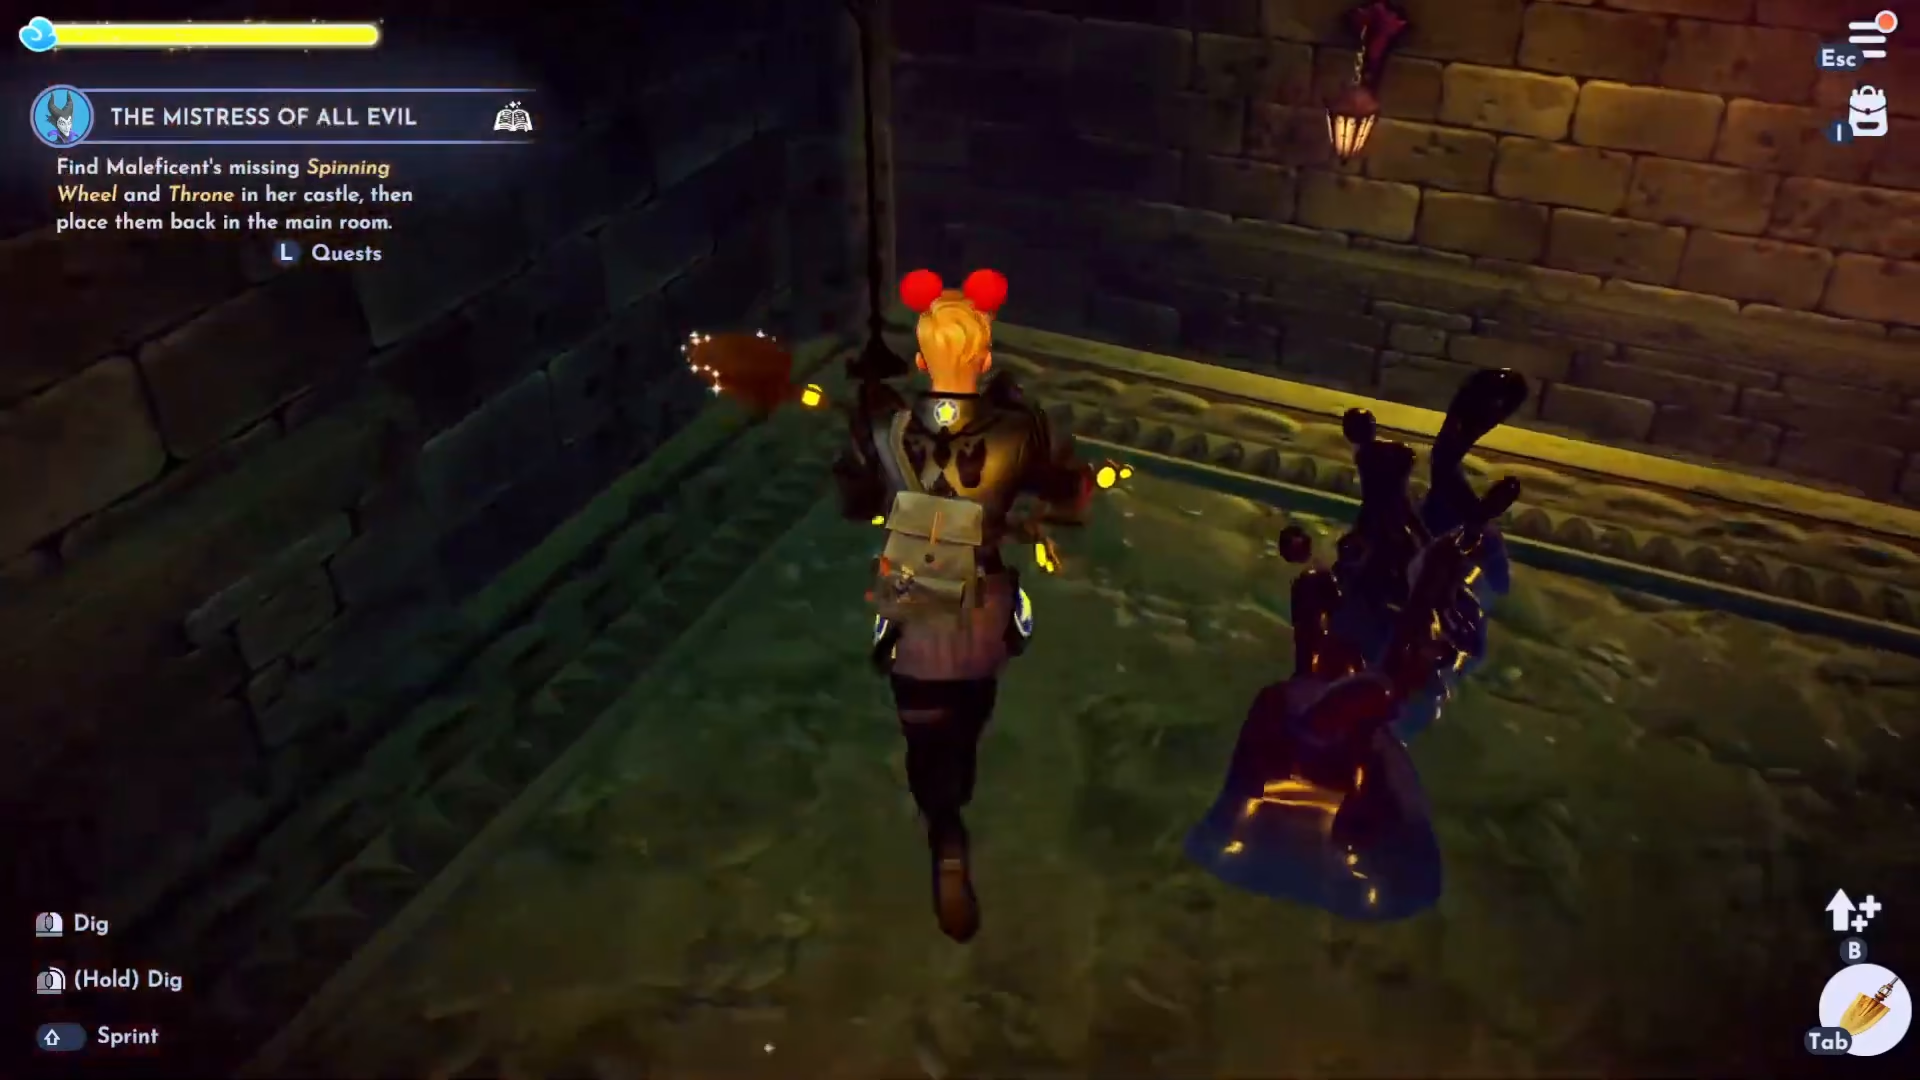
Your next objective is to locate Maleficent’s missing spinning wheel and retrieve it. You’ll notice two stone structures on the left-hand side of the main room—these can be removed with a shovel.
Left Staircase Route
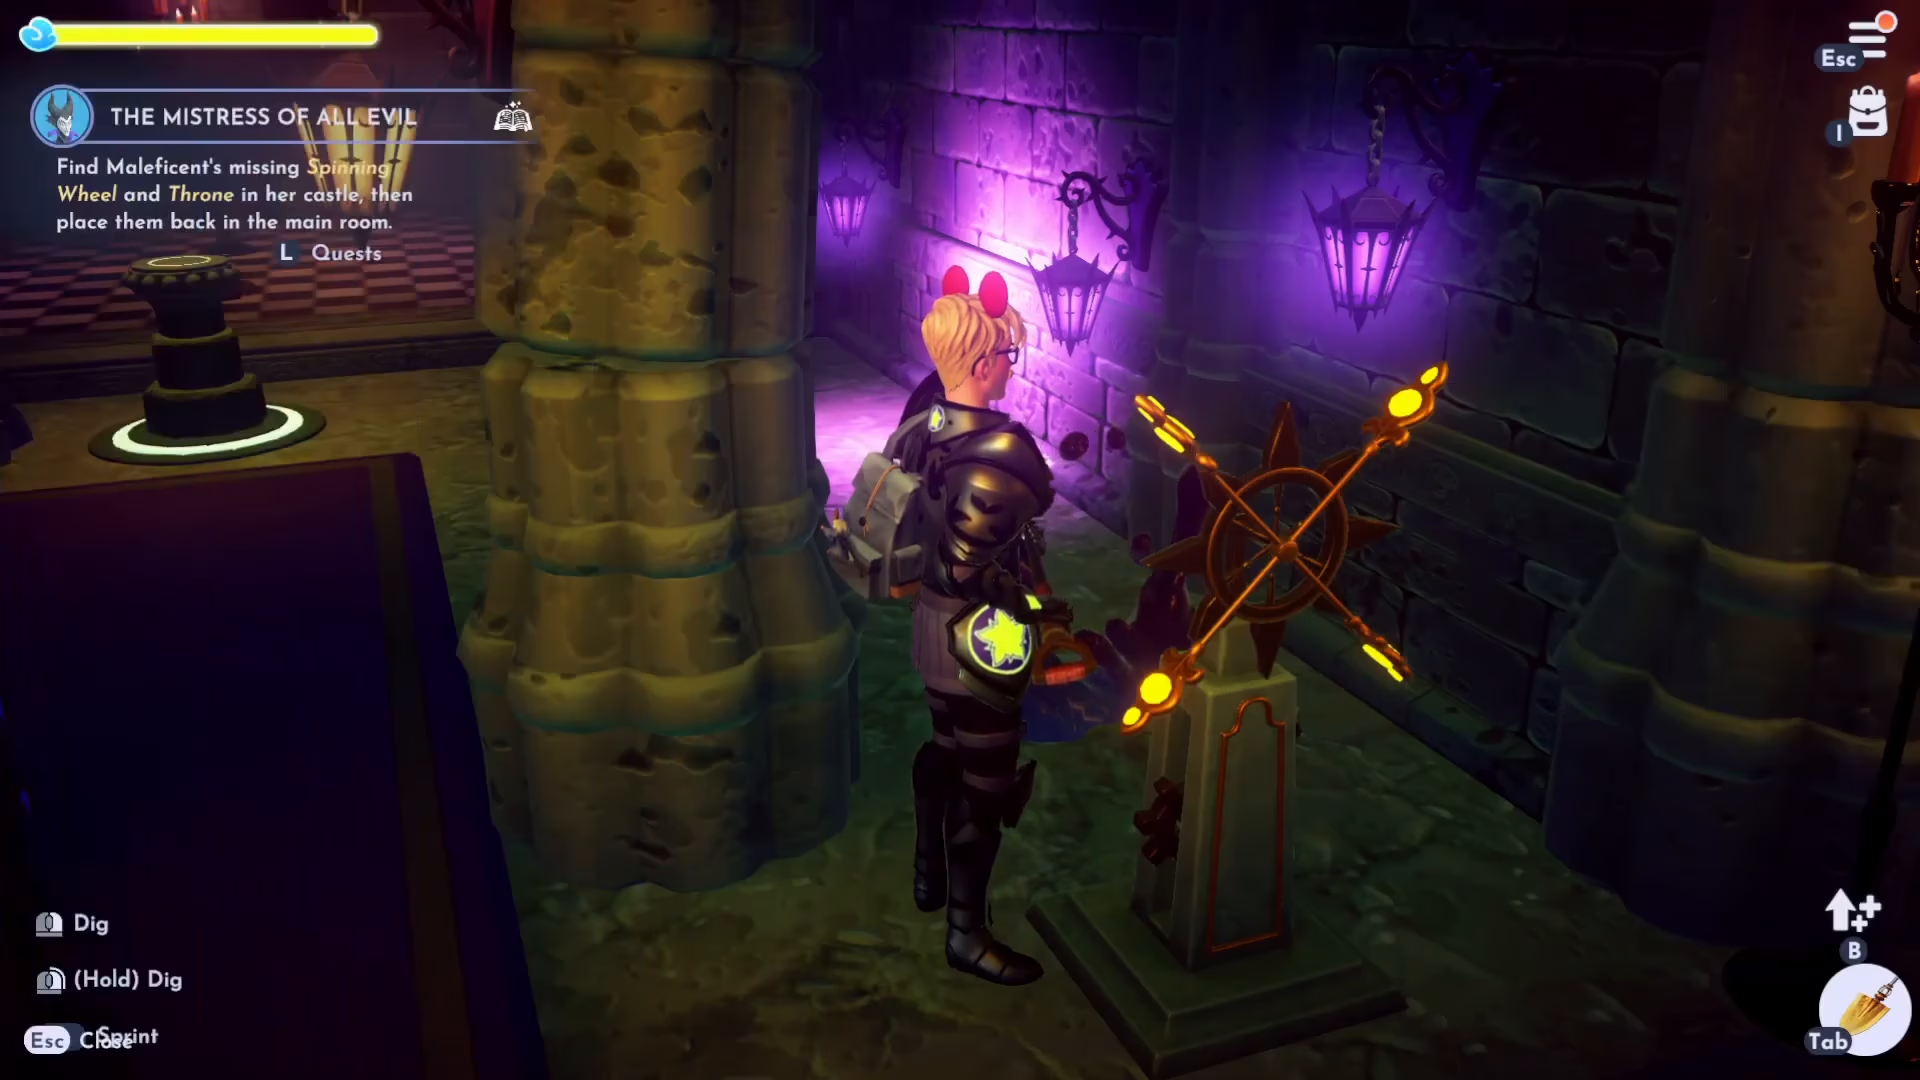
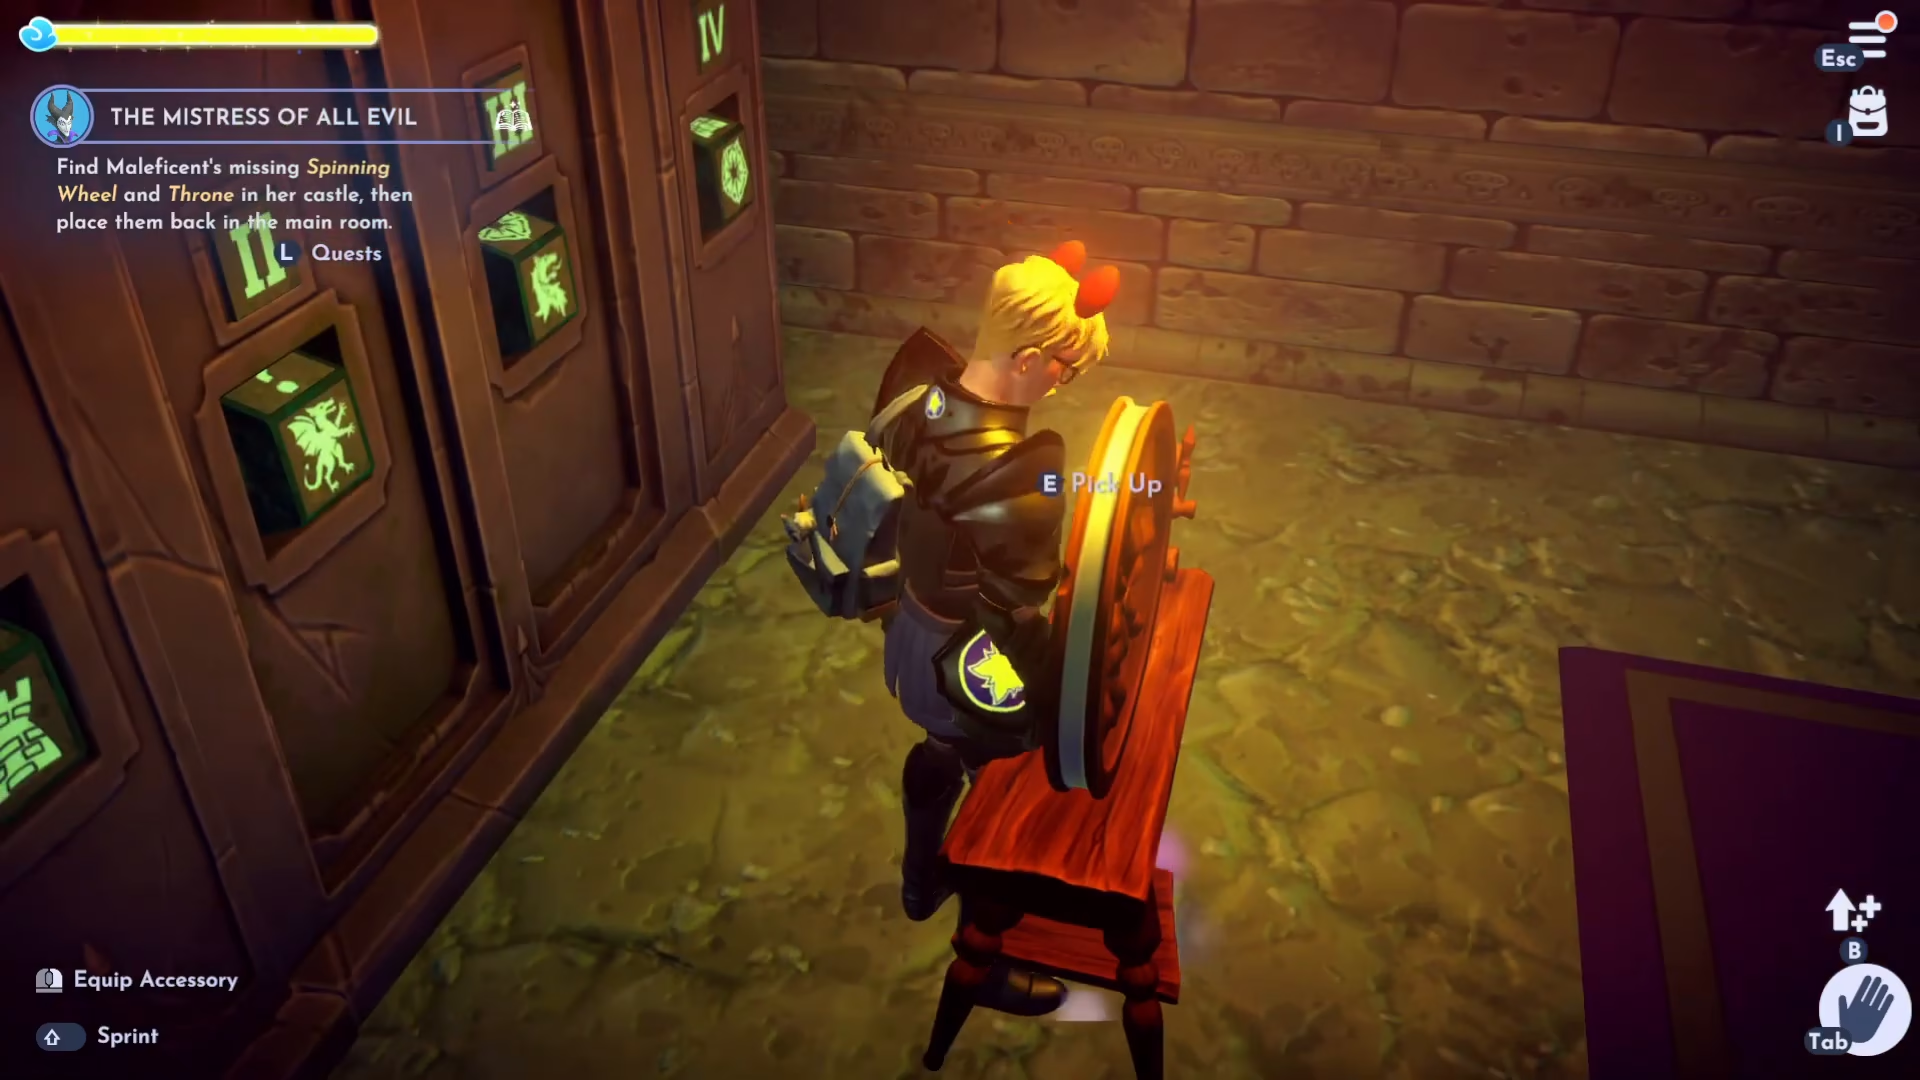
From the entrance, head left up the stairs. Remove any inkeys blocking your path and pick up the spinning wheel you’ll find there. This wheel is essential for opening the door on the right-hand side of the main room.
Interact with the wheel slot and place the wheel to unlock the right-hand door.
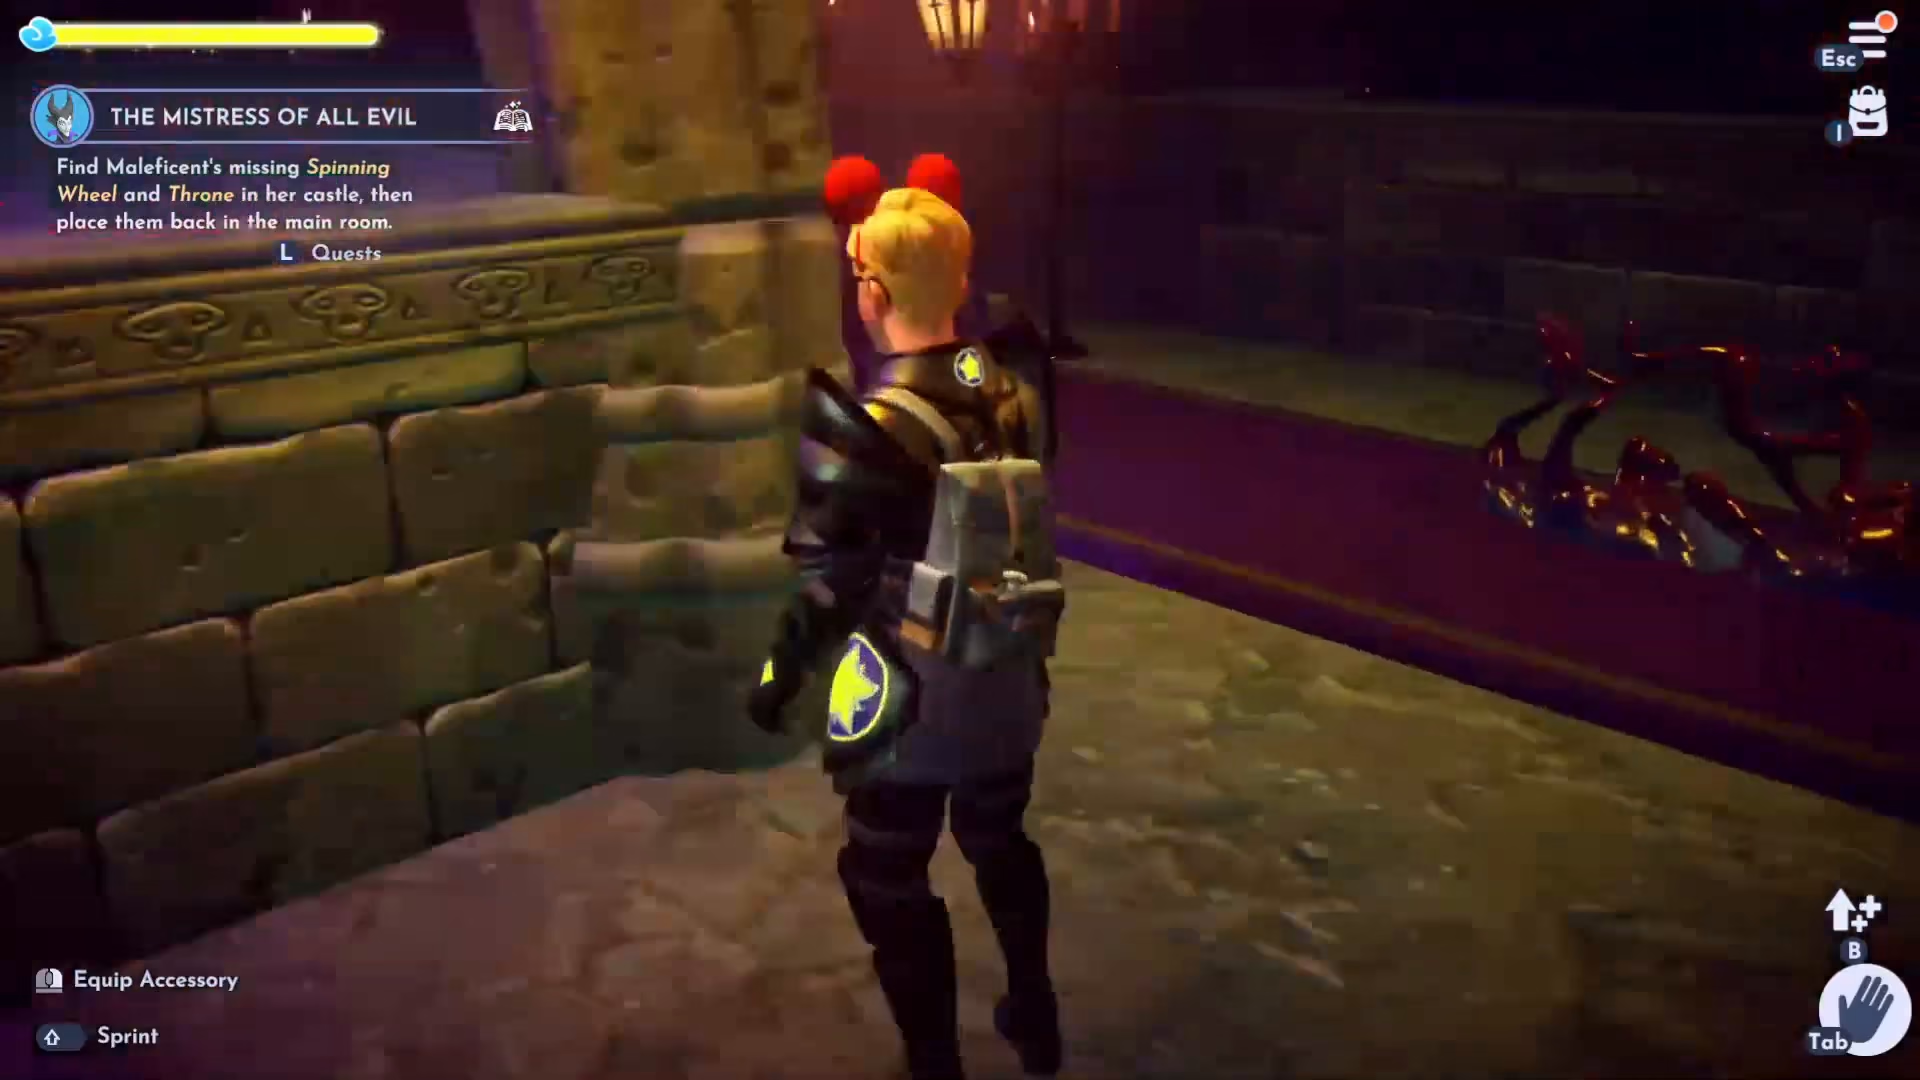
The Icon Puzzle Room
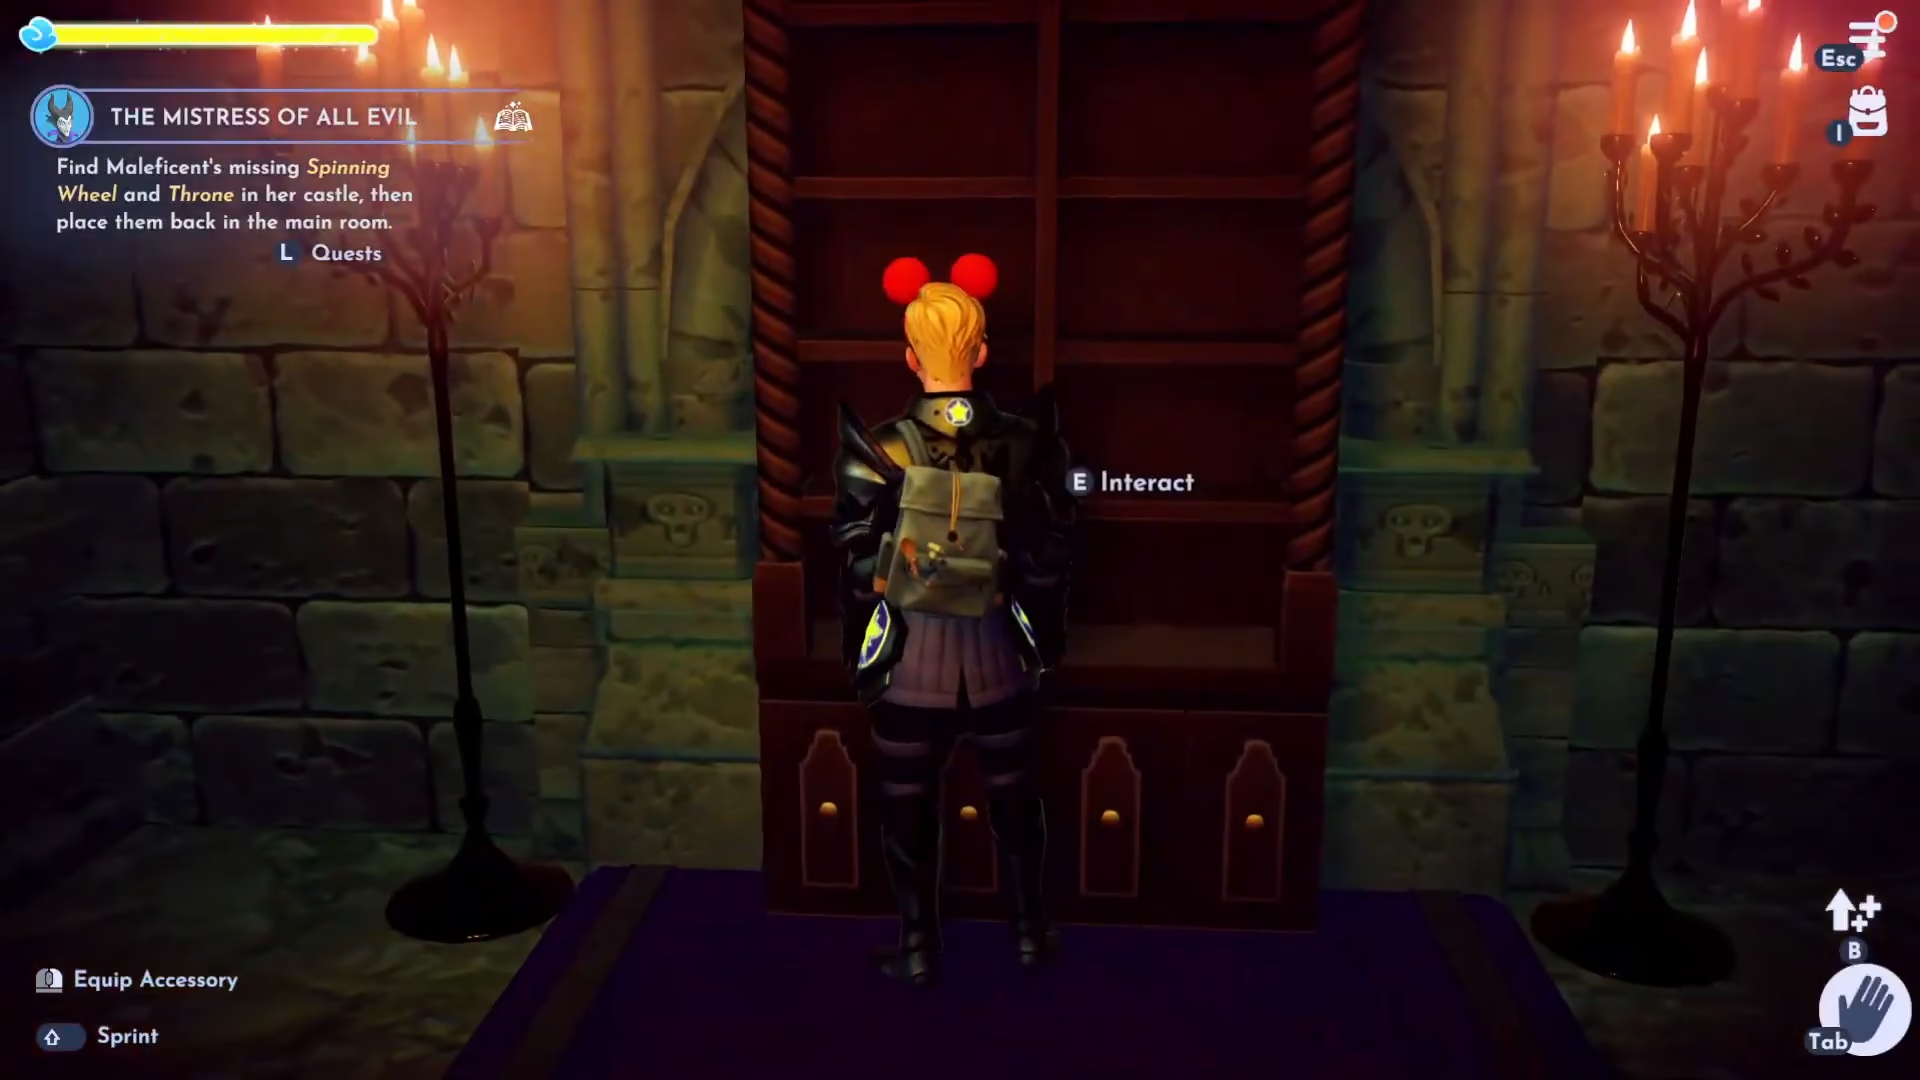
Go through the right-hand corridor and enter the room ahead. Turn right to find a bookshelf that you can interact with and move out of the way. Behind these movable bookshelves, you’ll discover icon symbols that are crucial for solving the quest puzzle.
Identifying the Icons
As you move each bookshelf, note down the symbols and their positions:
Number Four: Flower icon
Number Three: Wolf icon
Number Two: Dragon icon
Number One: Castle icon
Lowering the Chandelier
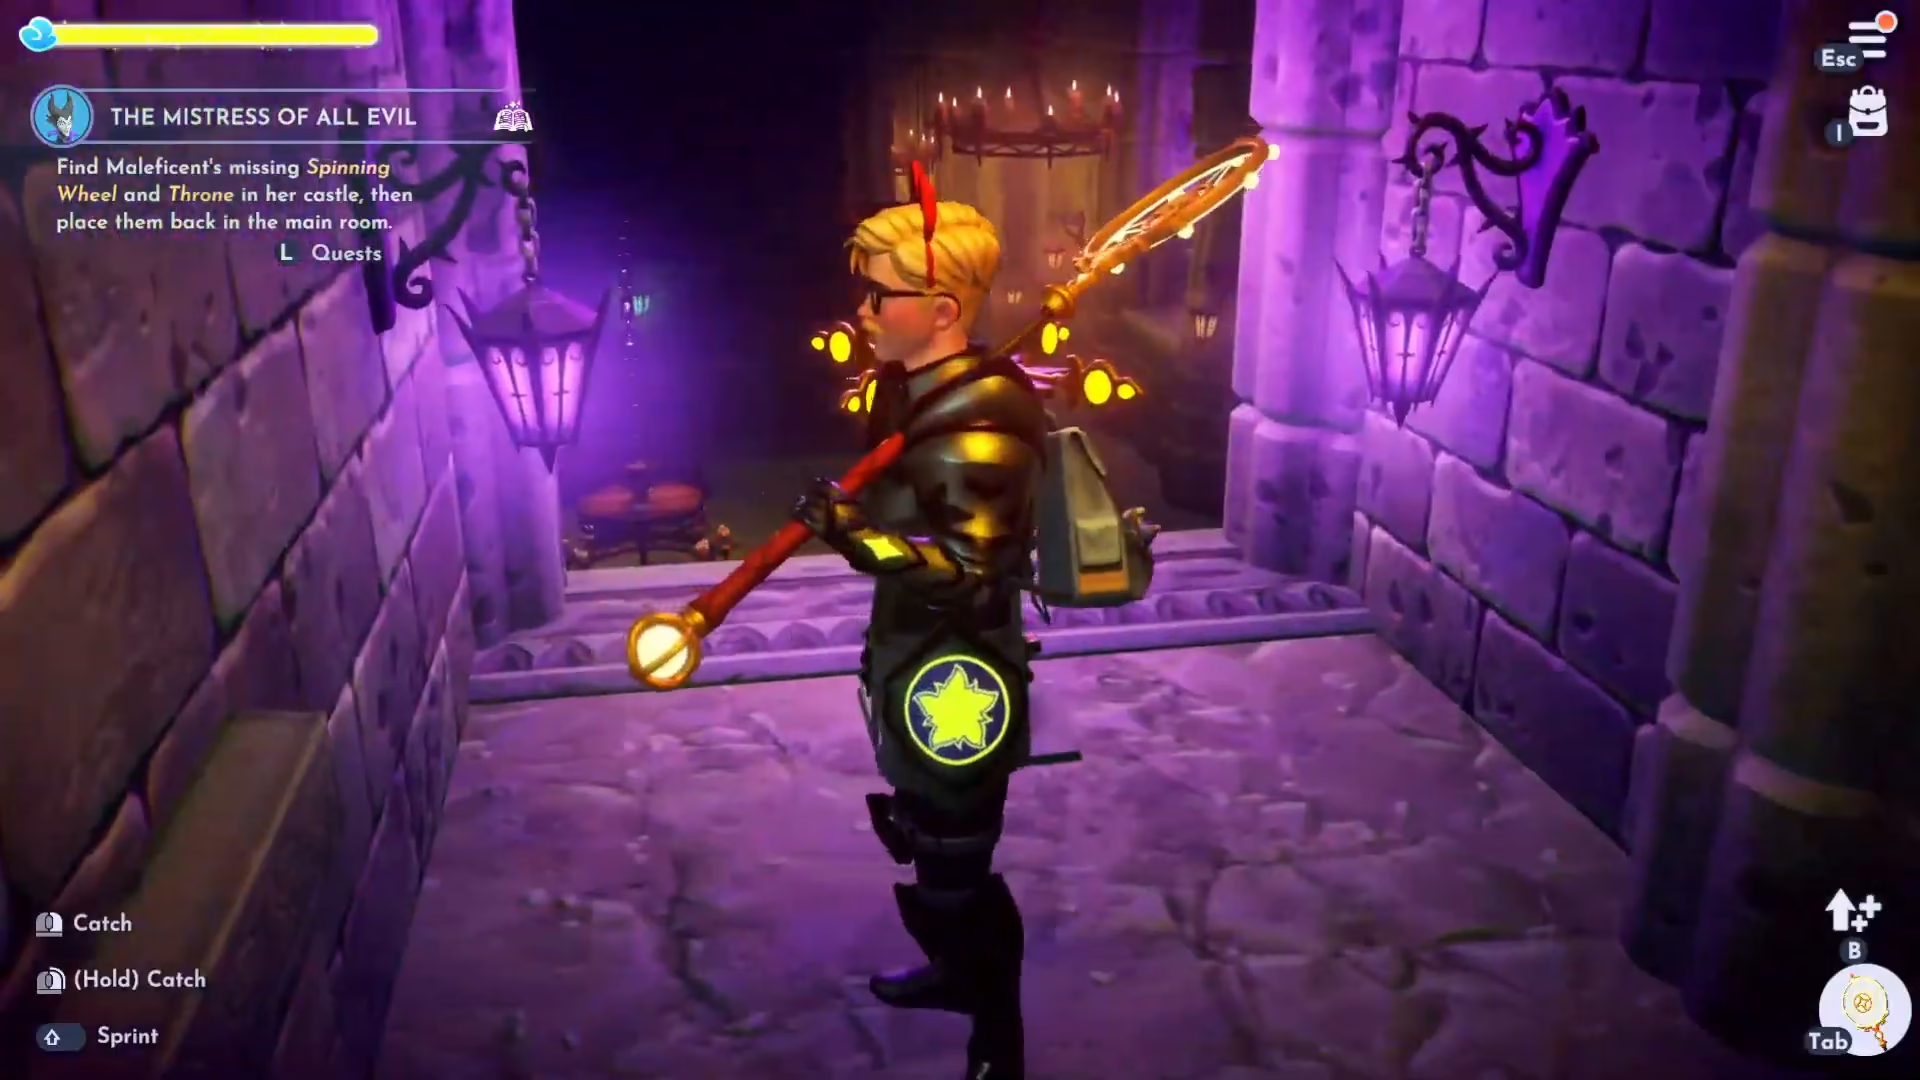
Head upstairs in this room and turn the wheel mechanism you’ll find there. This action lowers the chandelier, revealing additional icons and helping you complete the full picture of the puzzle.
After lowering the chandelier and discovering all the icon positions, you can now pick up the spinning wheel and return to the main room.
The Main Room Pedestal and Left Door Puzzle
Return to the main room and interact with the central pedestal. Place the spinning wheel on it.
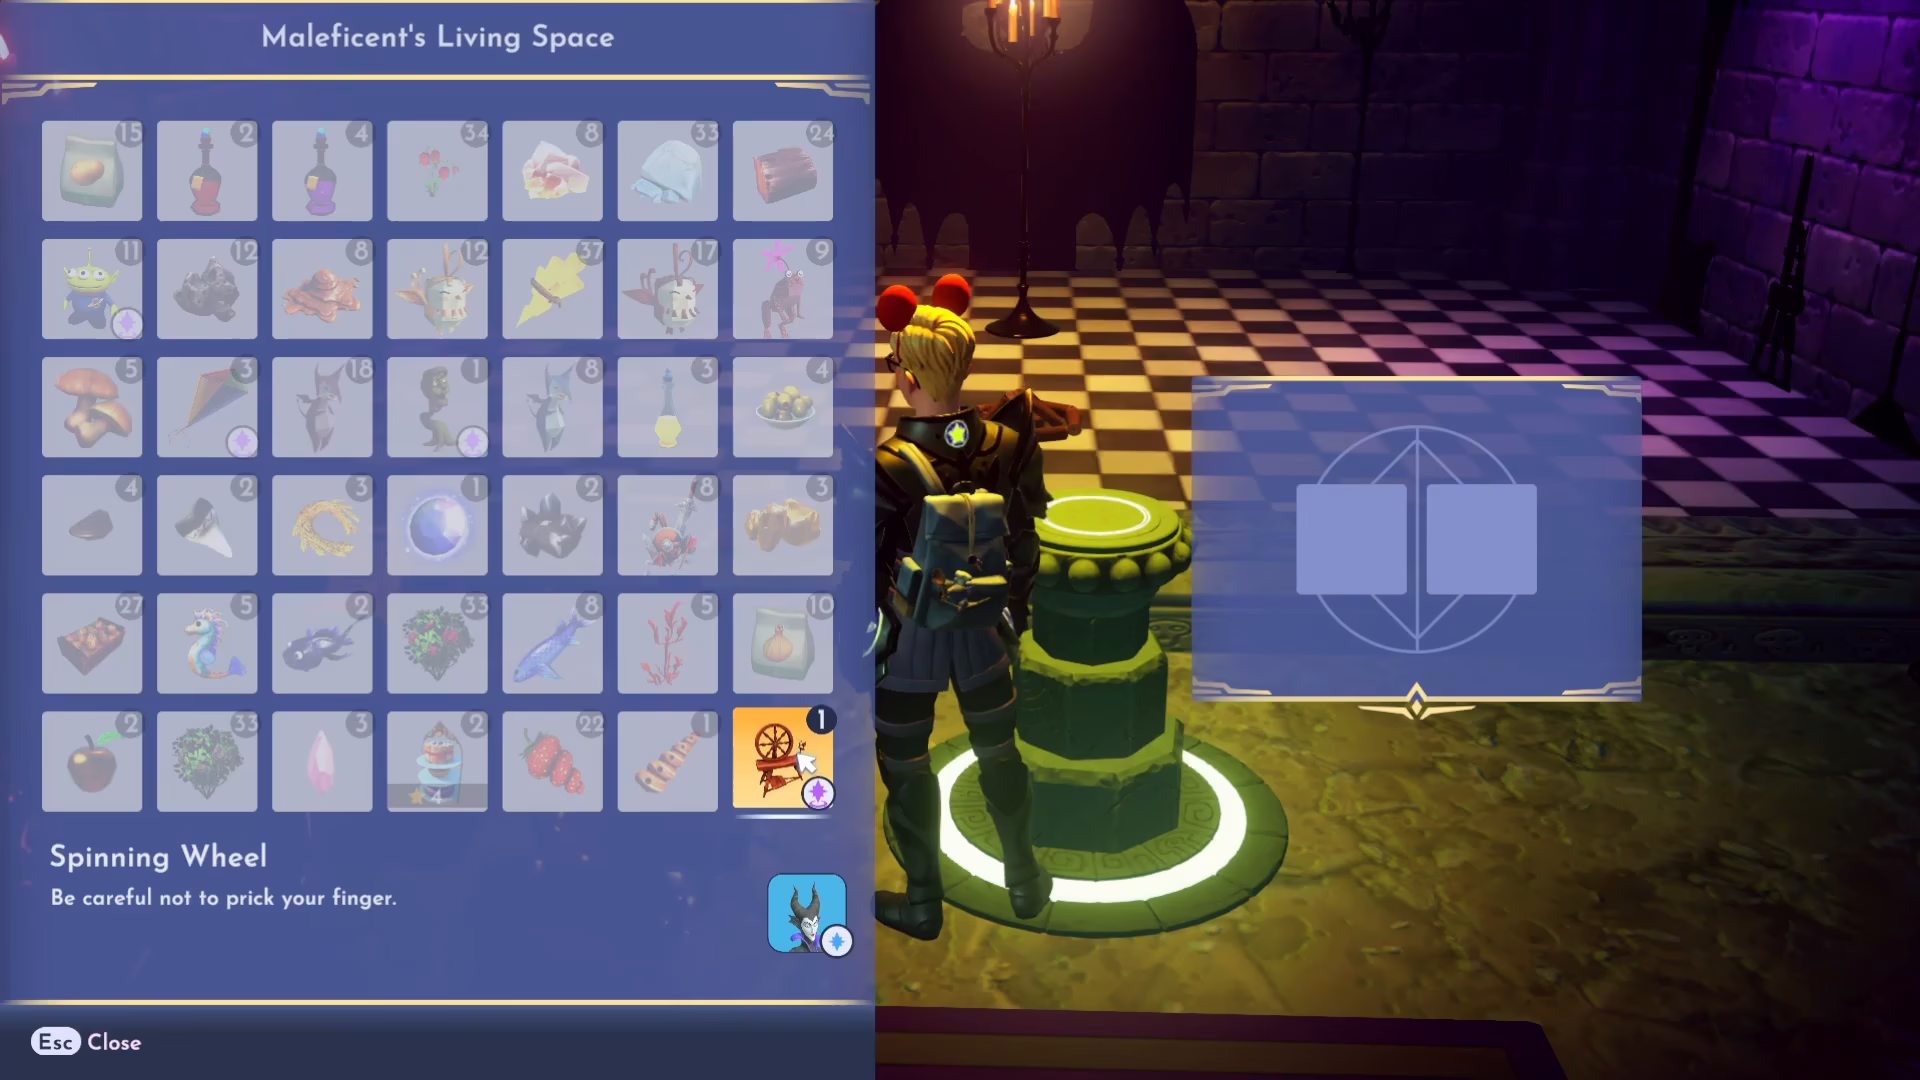
Now you need to solve the puzzle for the left-hand side door. Head up the left staircase from the entrance. You’ll see two icon symbols—one is a castle and one is a dragon (the dragon appears upside down). The top symbol is the dragon, and the bottom is the castle.
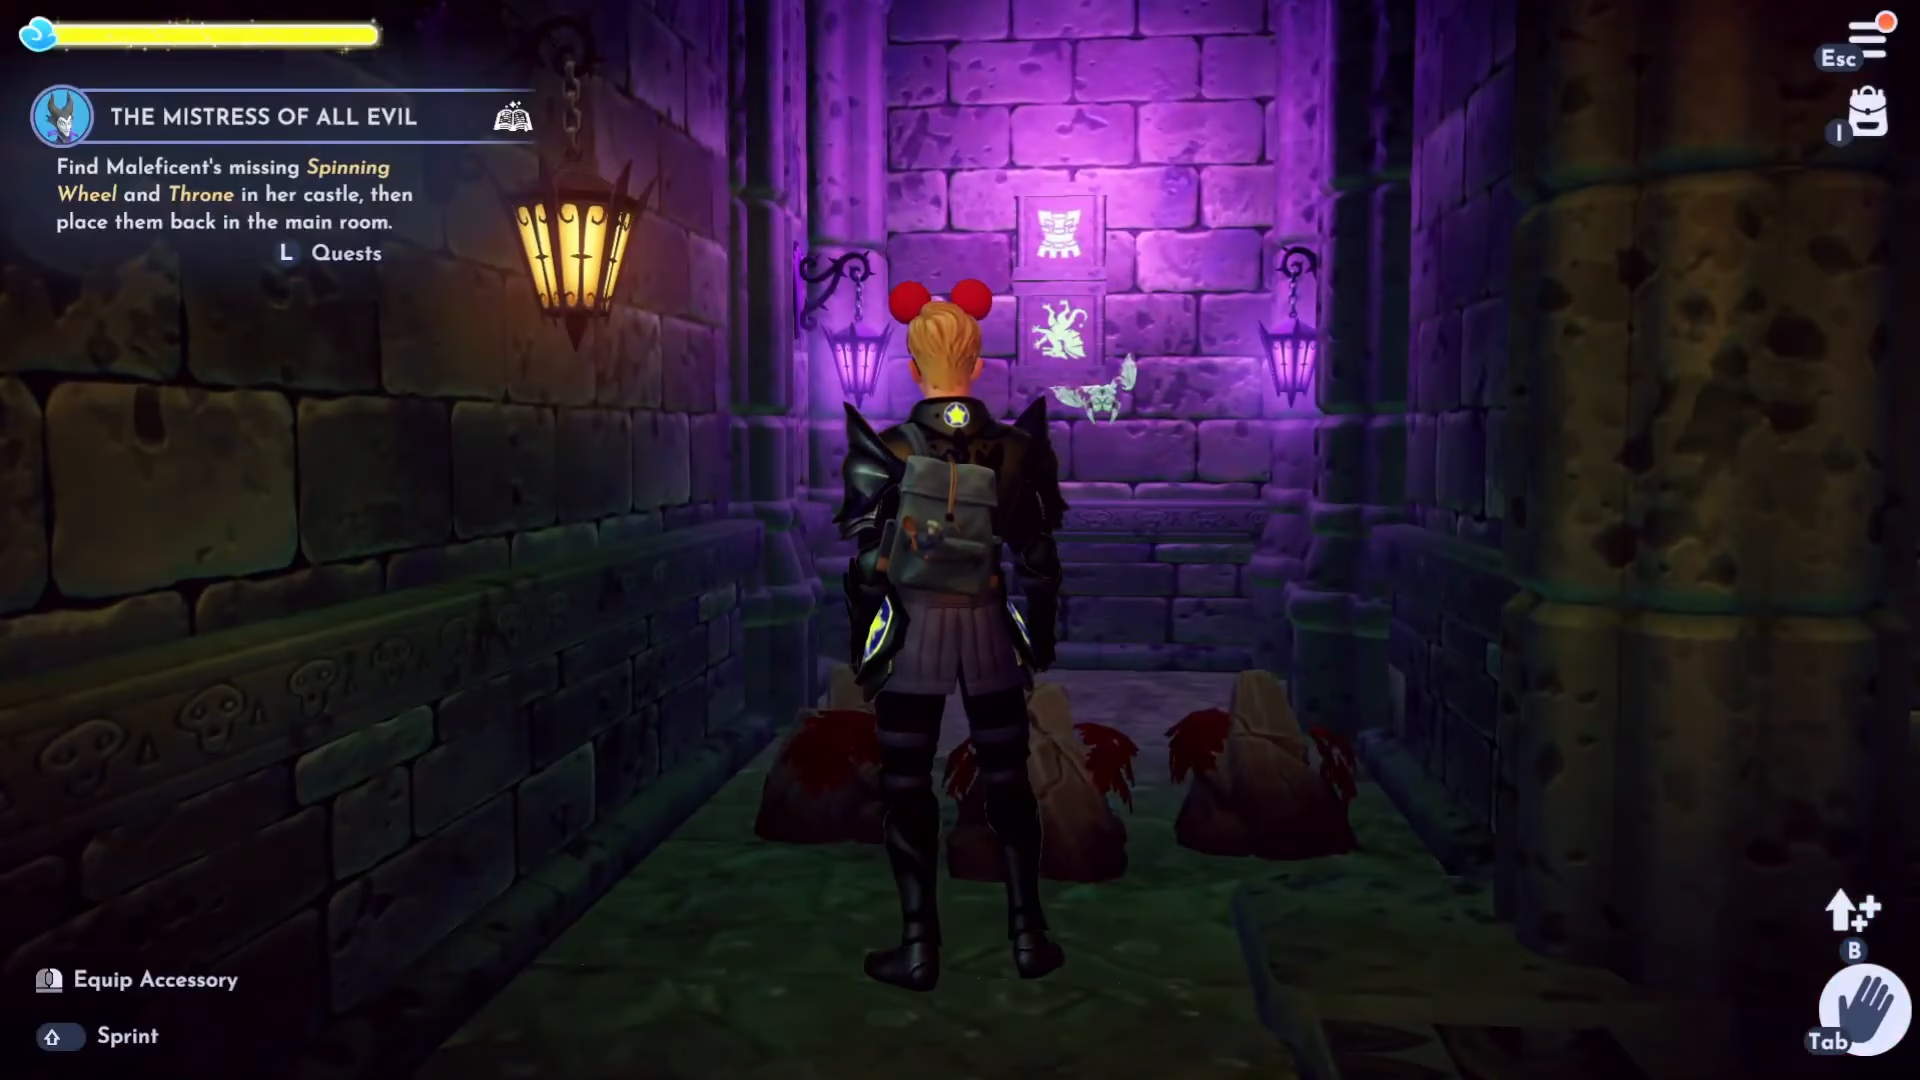
Once you’ve correctly identified and set these symbols, the left-hand door will open.
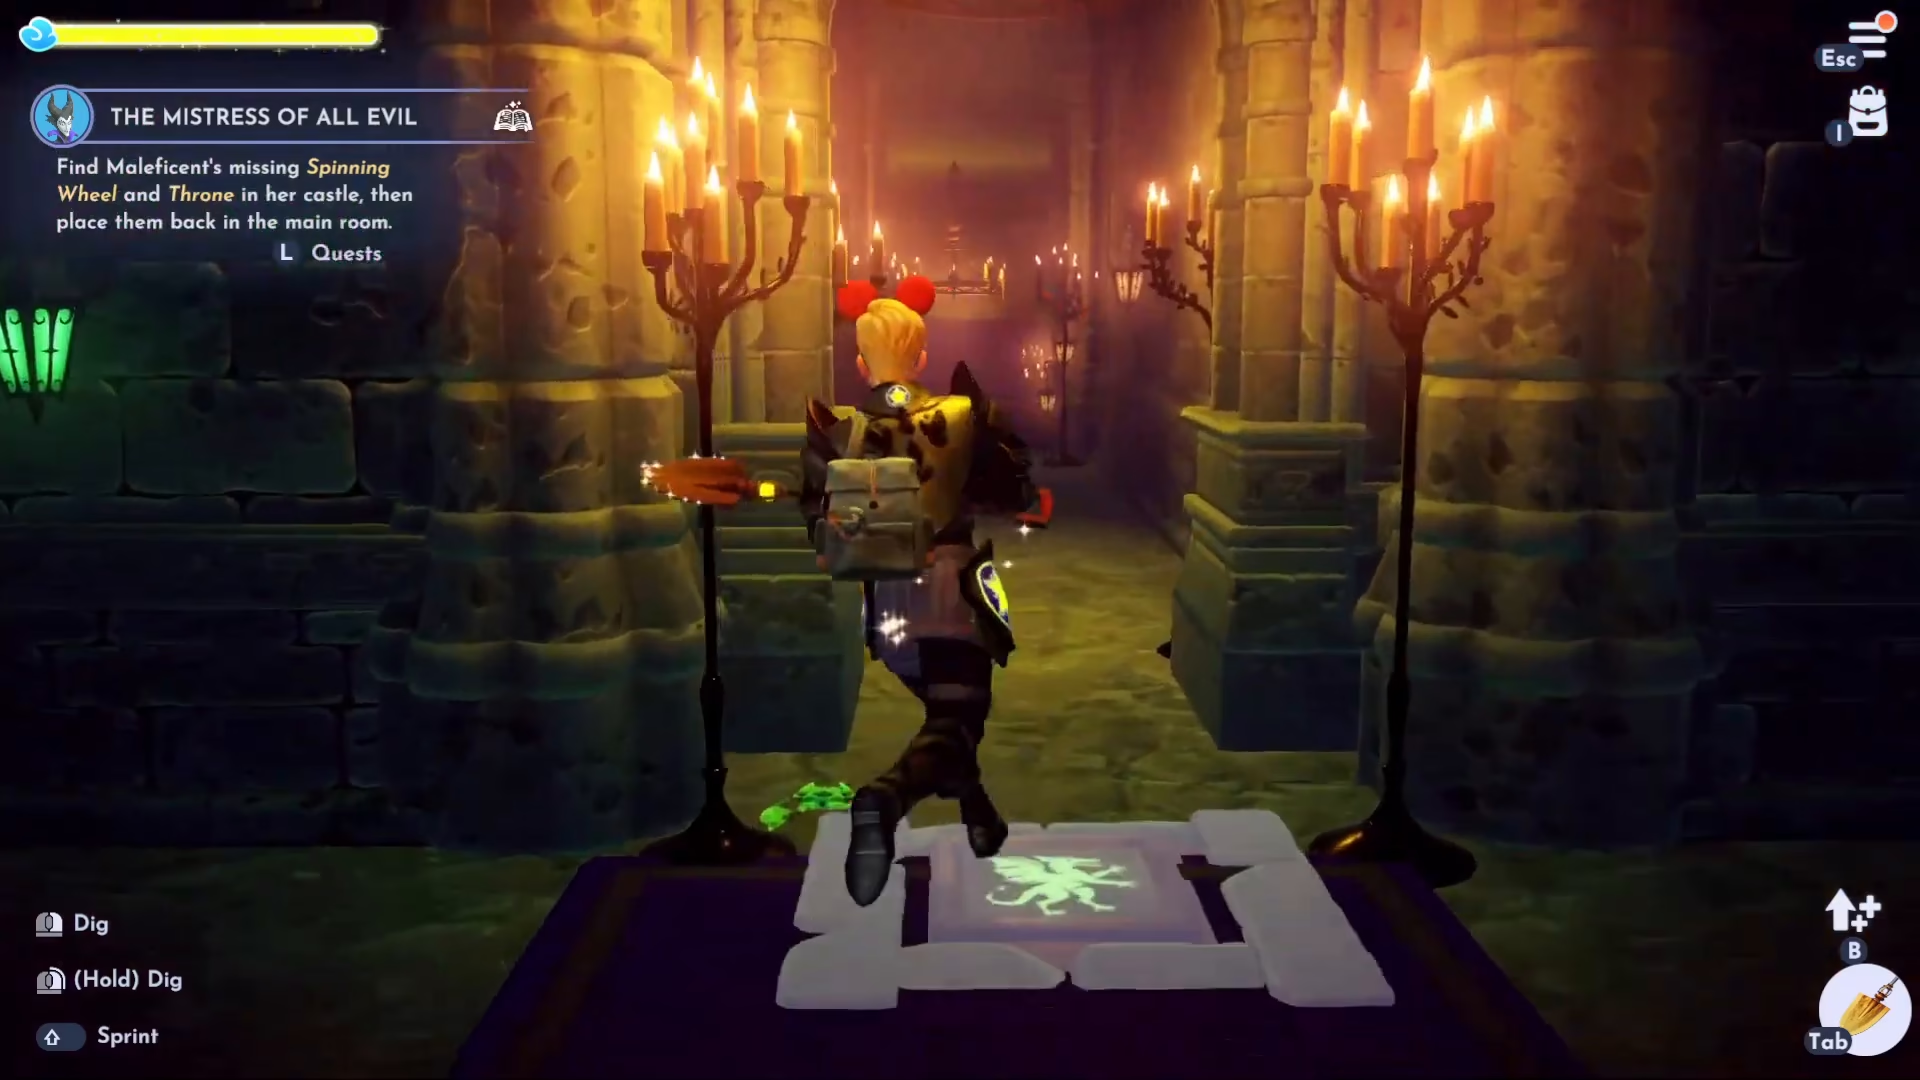
The Nine-Icon Chart Puzzle
Pass through the left door and remove any remaining inkeys. You’ll encounter a chart displaying nine positions for icons. Use the information you gathered earlier from the bookshelf room to complete this puzzle:
Top Left: Castle
Bottom Right: Dragon
Middle Left: Dragon
Middle Middle: Castle
Middle Right: Castle
Bottom Left: Dragon
Top Right: Dragon
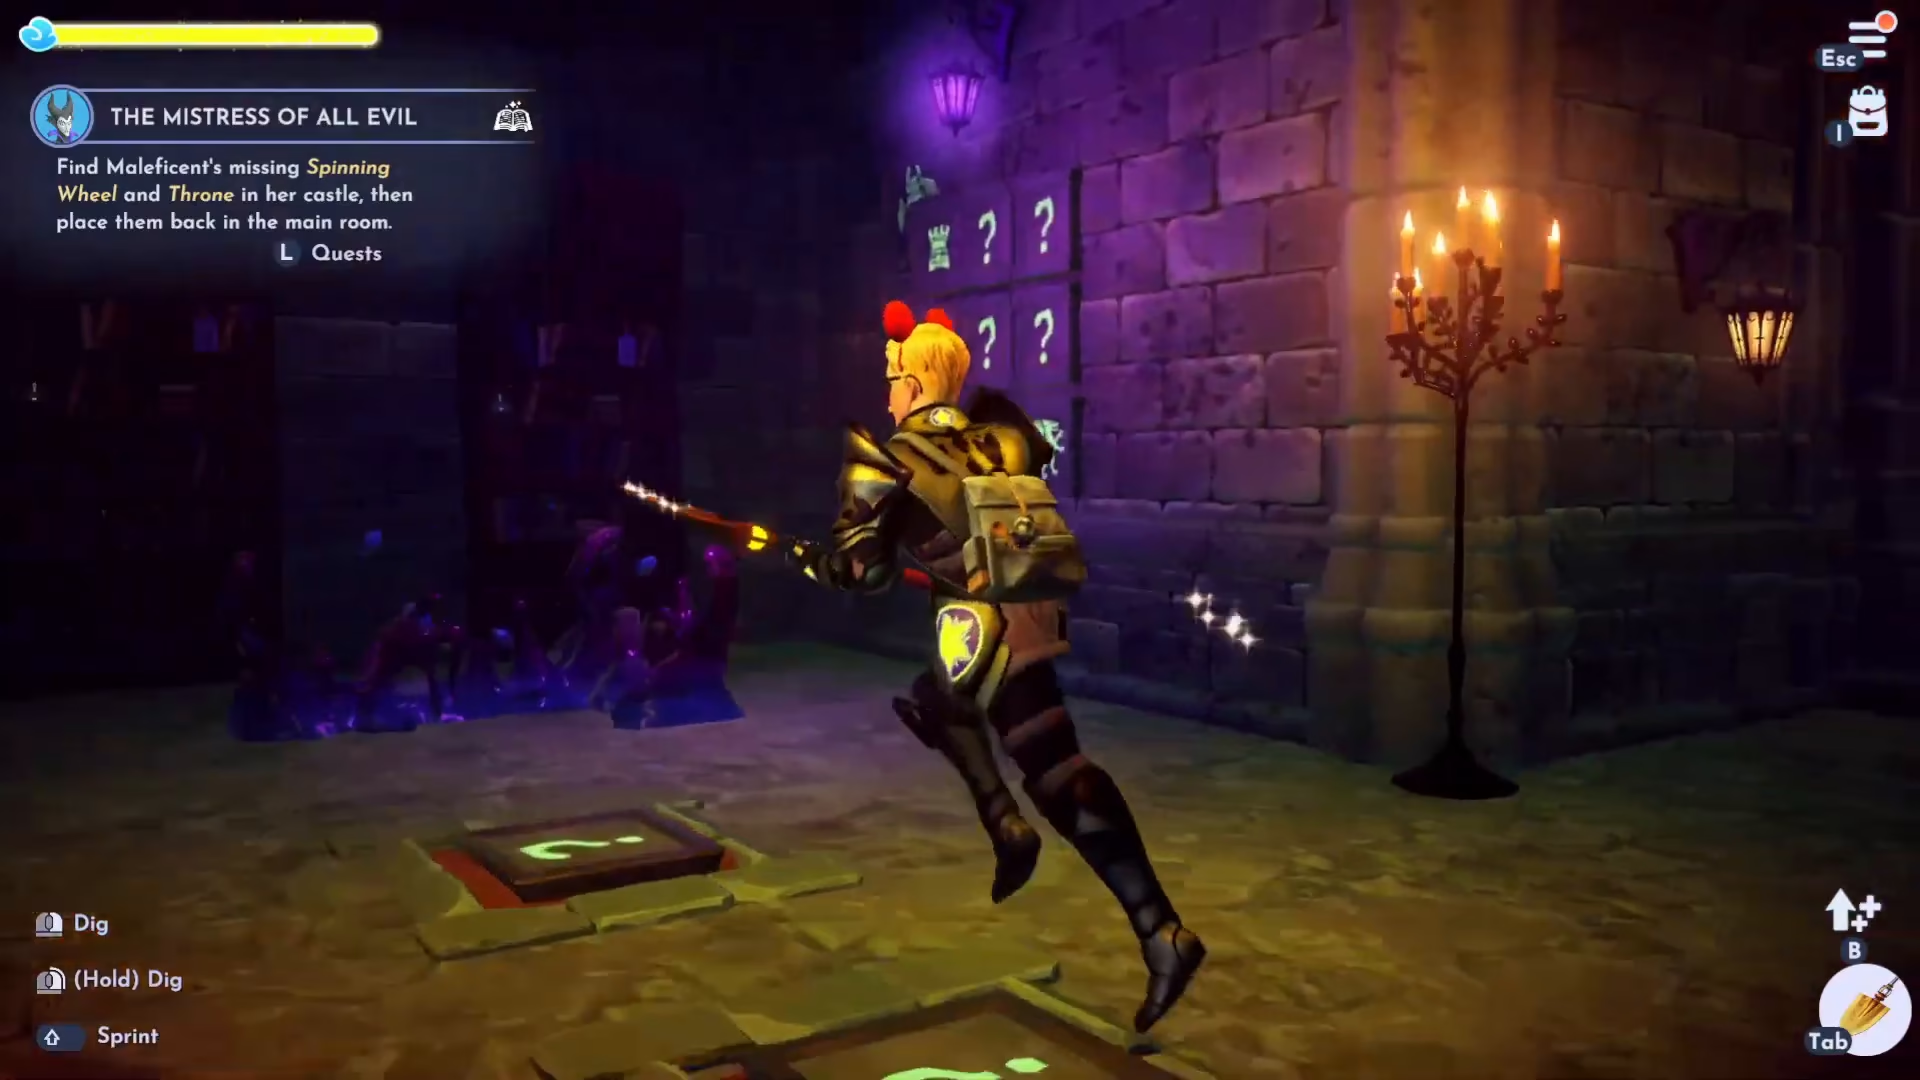
Move the bookshelves to view and verify each icon position as you work through the puzzle.
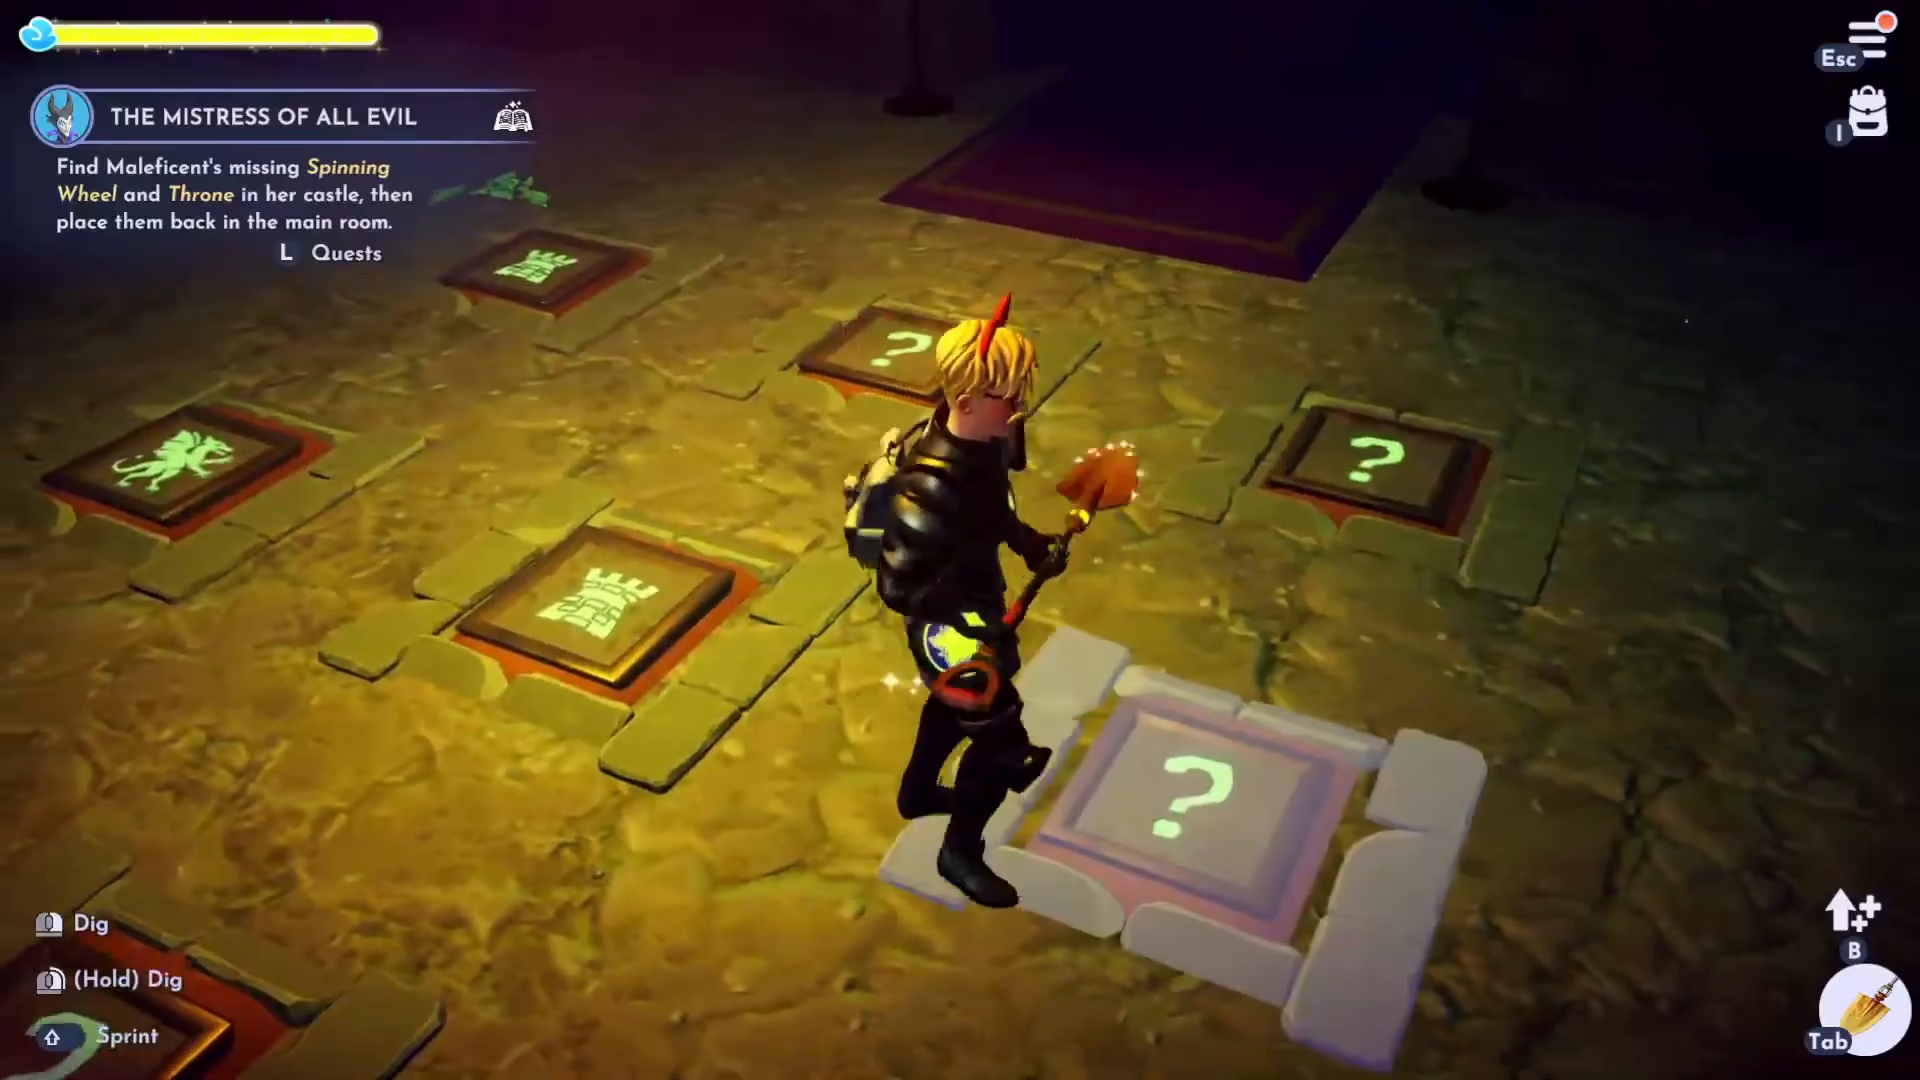
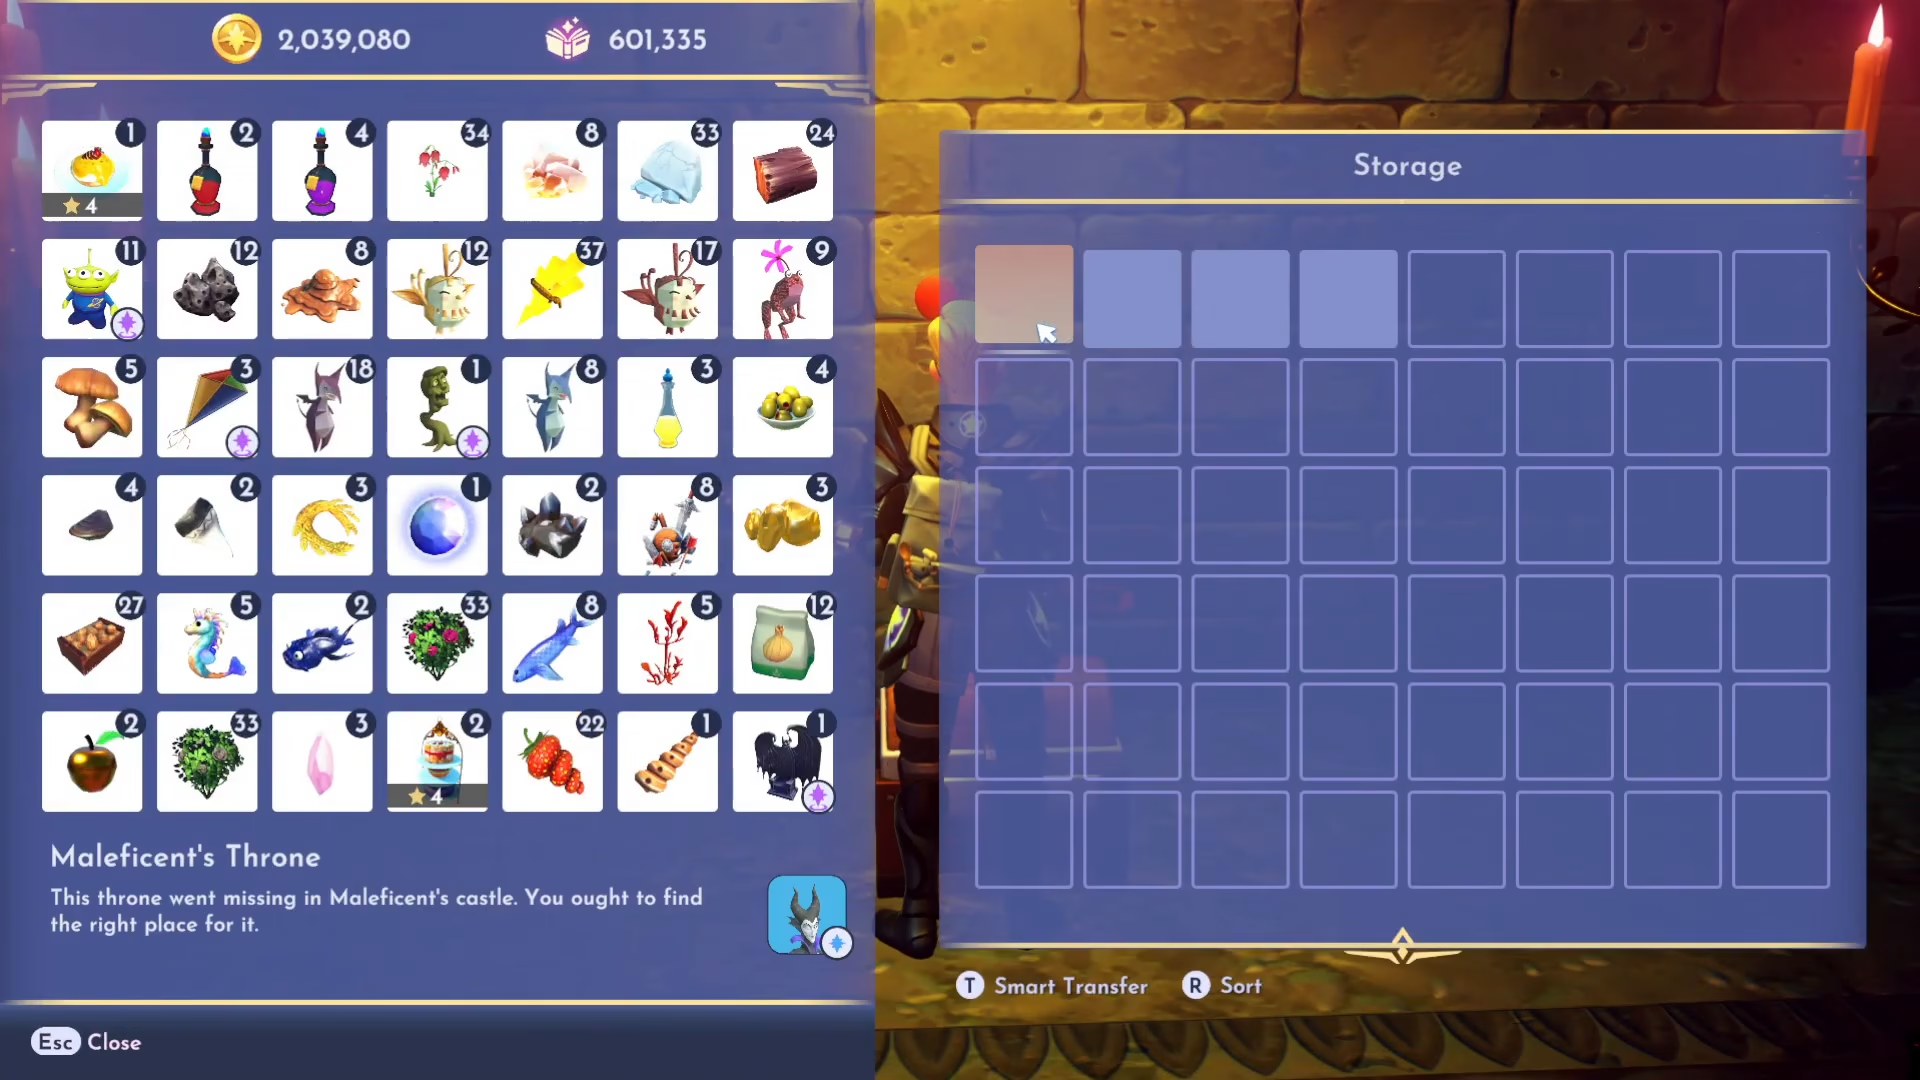
Once solved, you’ll obtain the throne. Return to the main room.
Furniture Placement and Shadow Matching
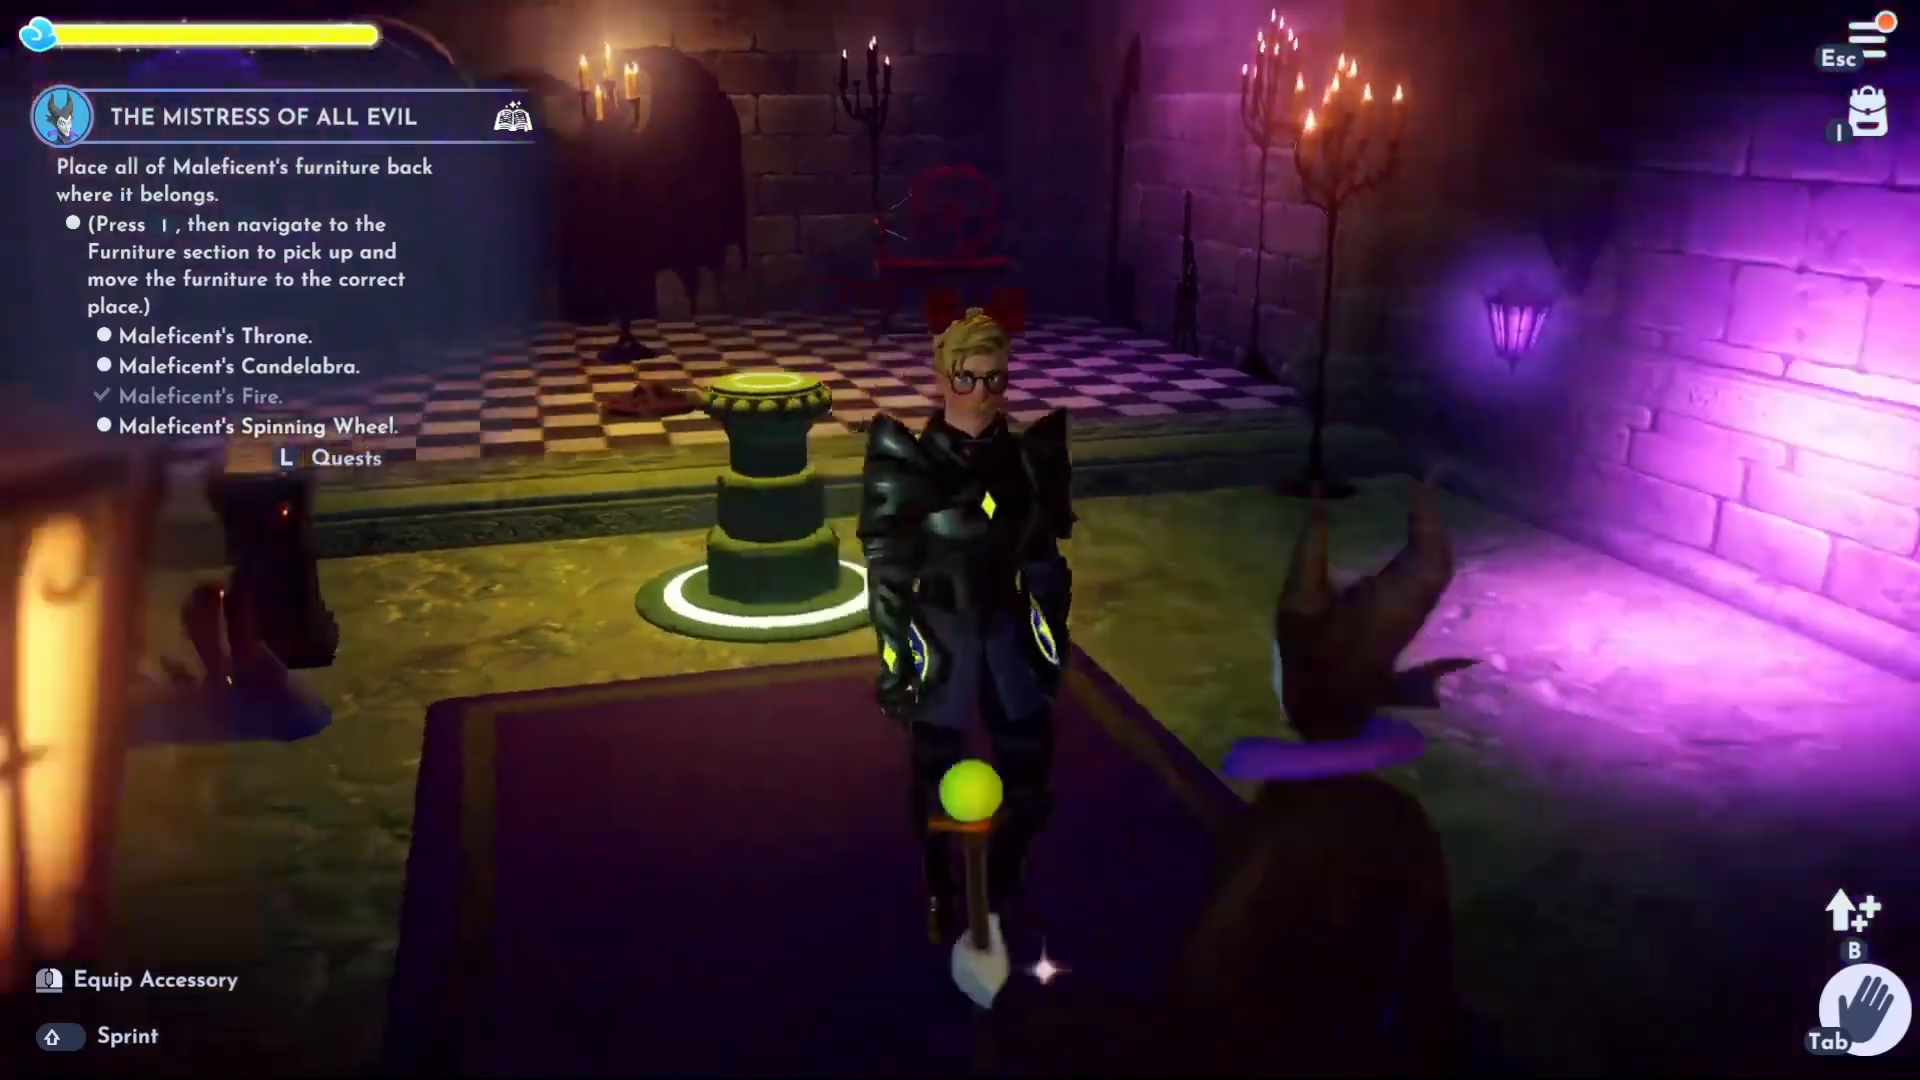
Back in the main room, interact with the pedestal and place the throne. Now you need to arrange furniture pieces to match their shadows on the floor. Press the inventory button (I) and select furniture placement mode.
Correct Furniture Positions
Match each furniture item with its corresponding shadow outline:
Throne: Position it to align with the main shadow outline
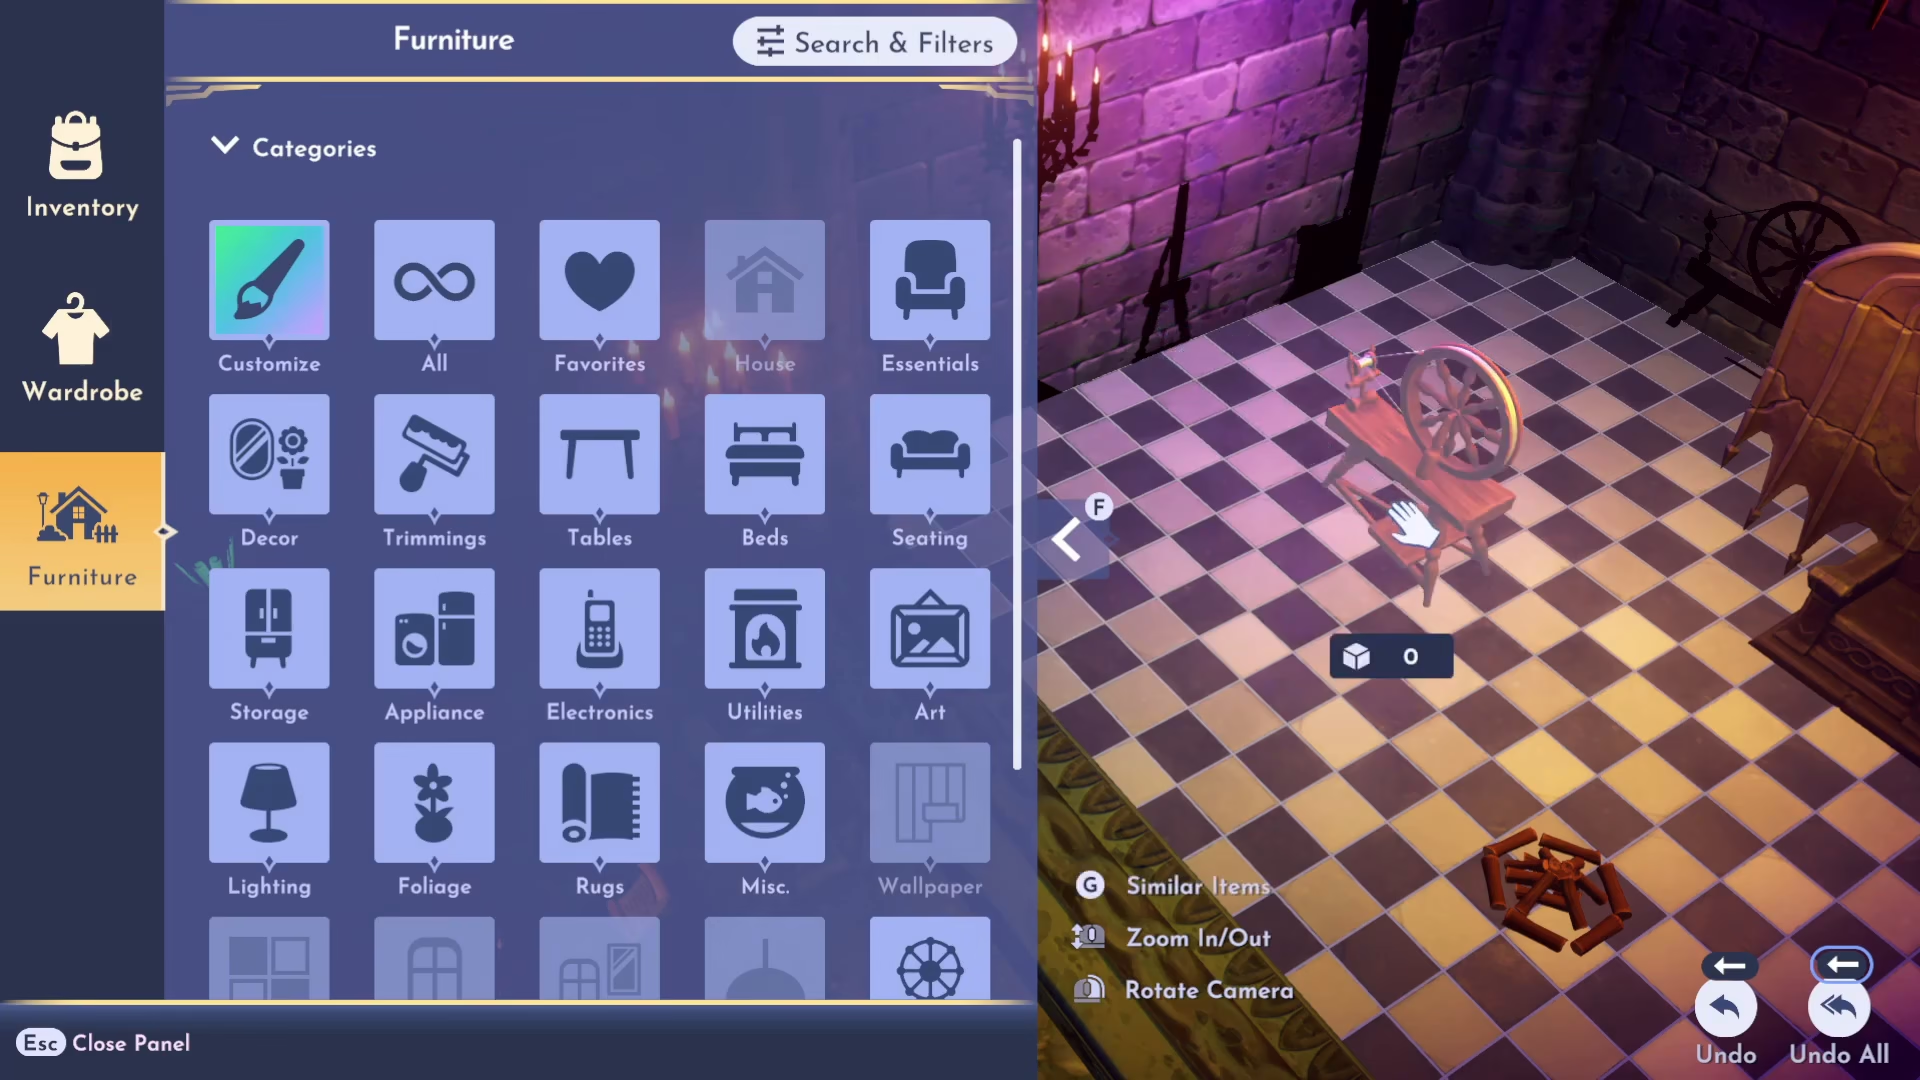
Spinning Wheel: Place it where the wheel shadow appears
Candelabra: Position forward to match both the front and side shadows
Campfire: Keep in its current location
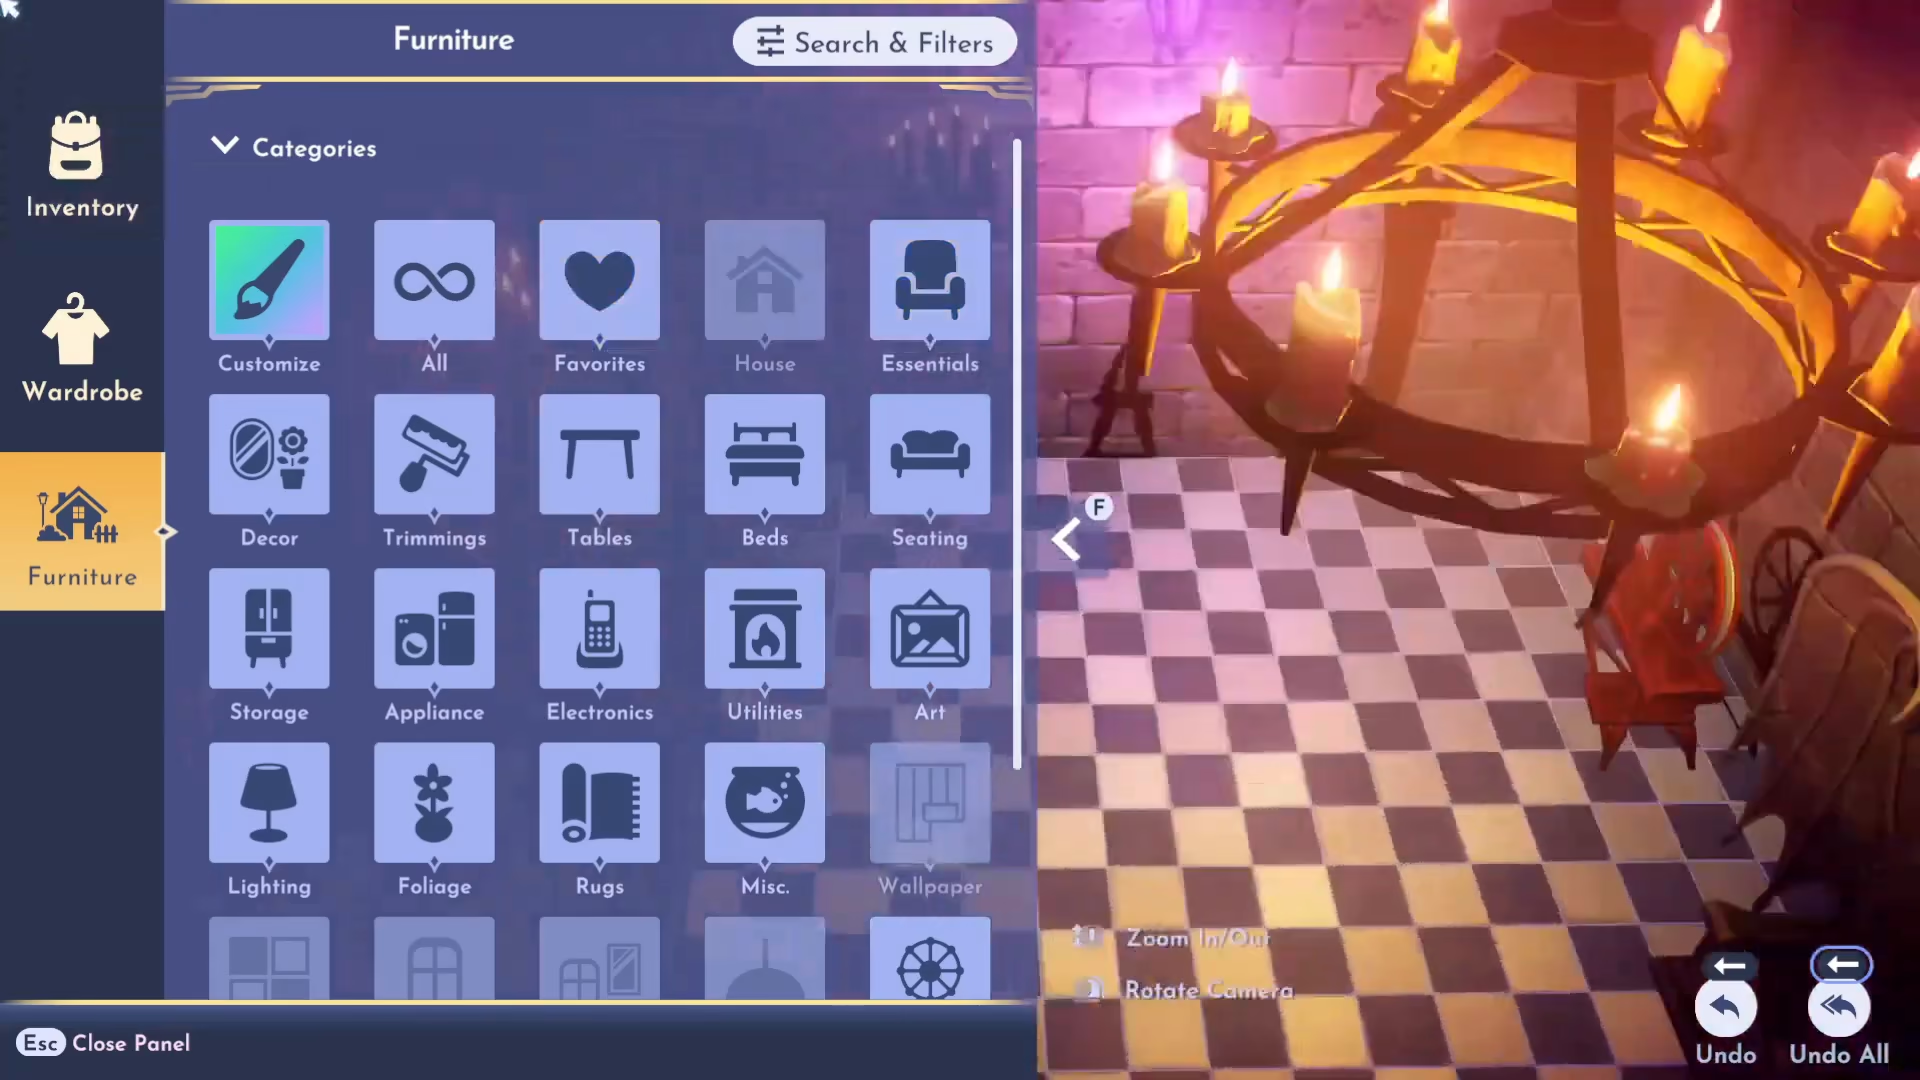
Pay close attention to the shadow outlines on the floor. Each piece has multiple shadow points—front, back, and sides—that must align perfectly. Adjust each item carefully until all shadows match.
Final Challenges
Maleficent’s Throne Room Portal
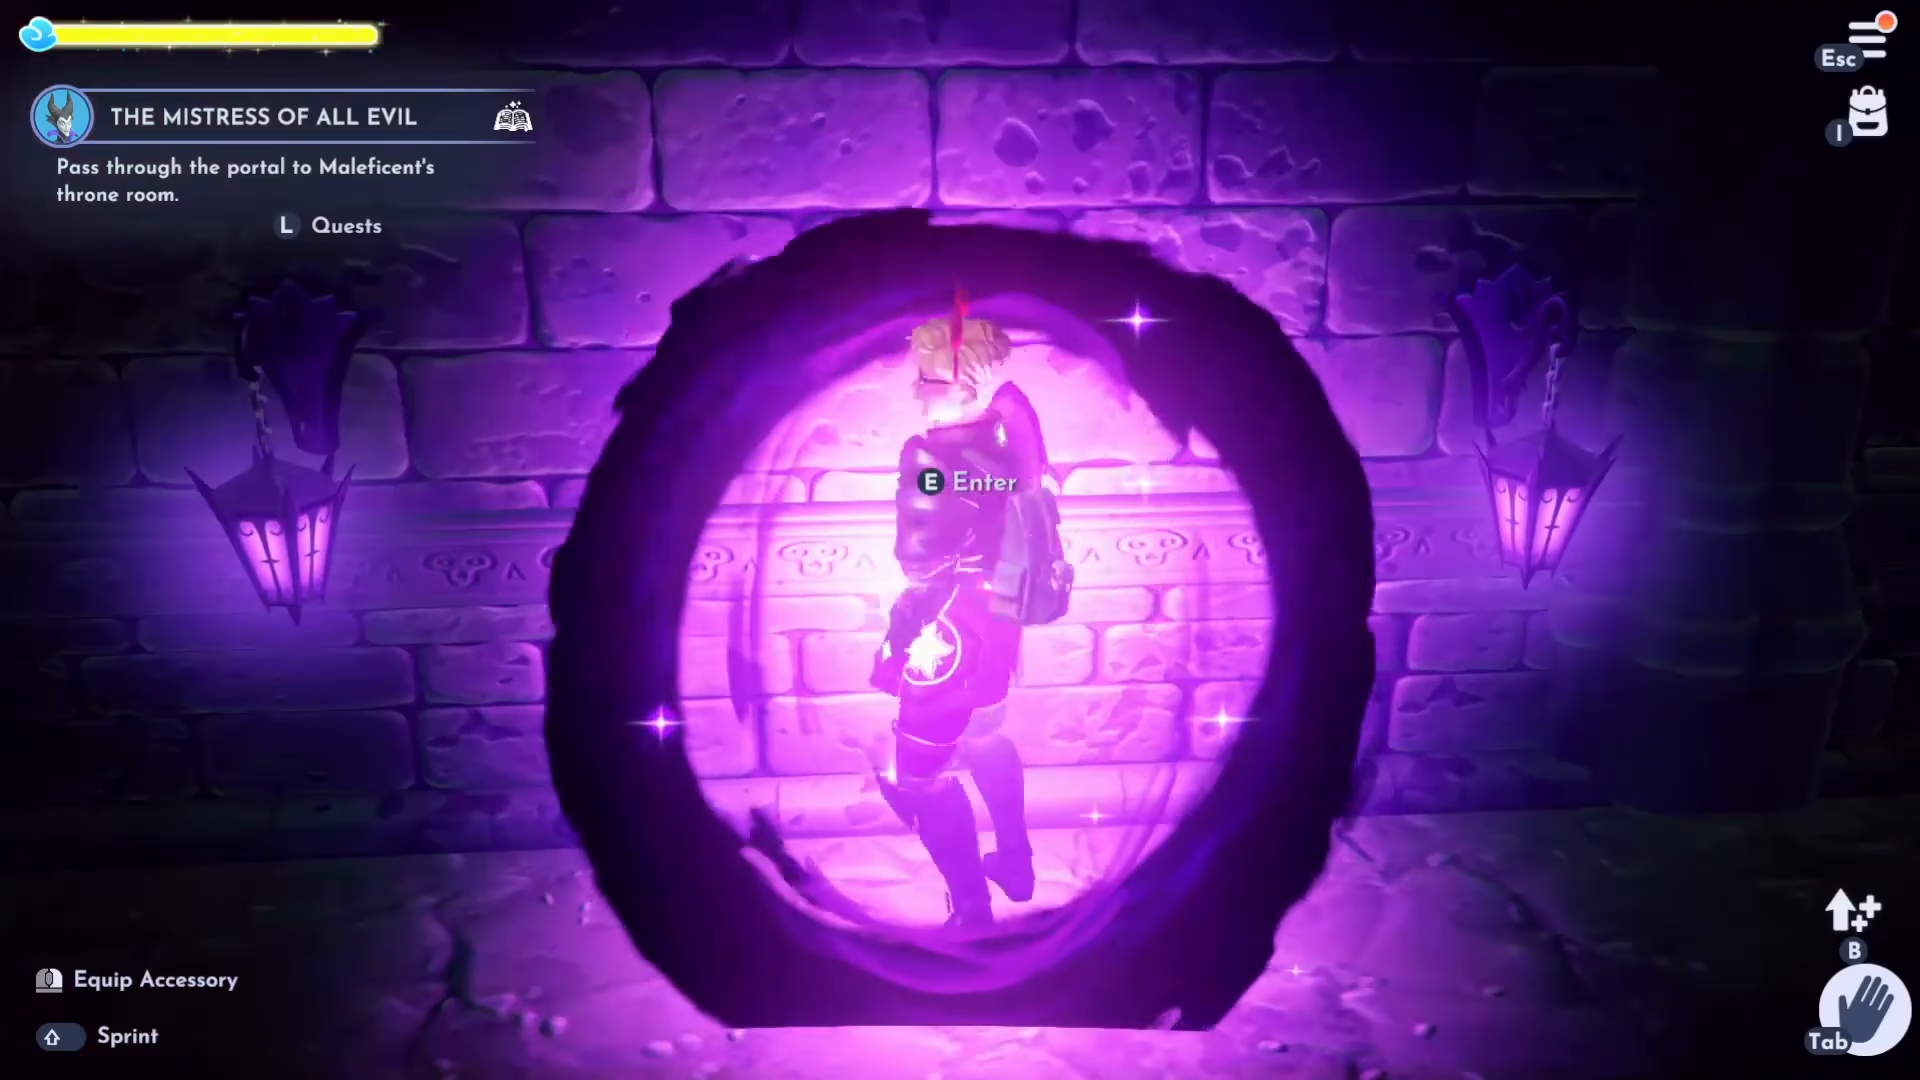
Once all furniture is correctly placed, pass through the portal to reach Maleficent’s throne room.
Catching Maleficent’s Pets
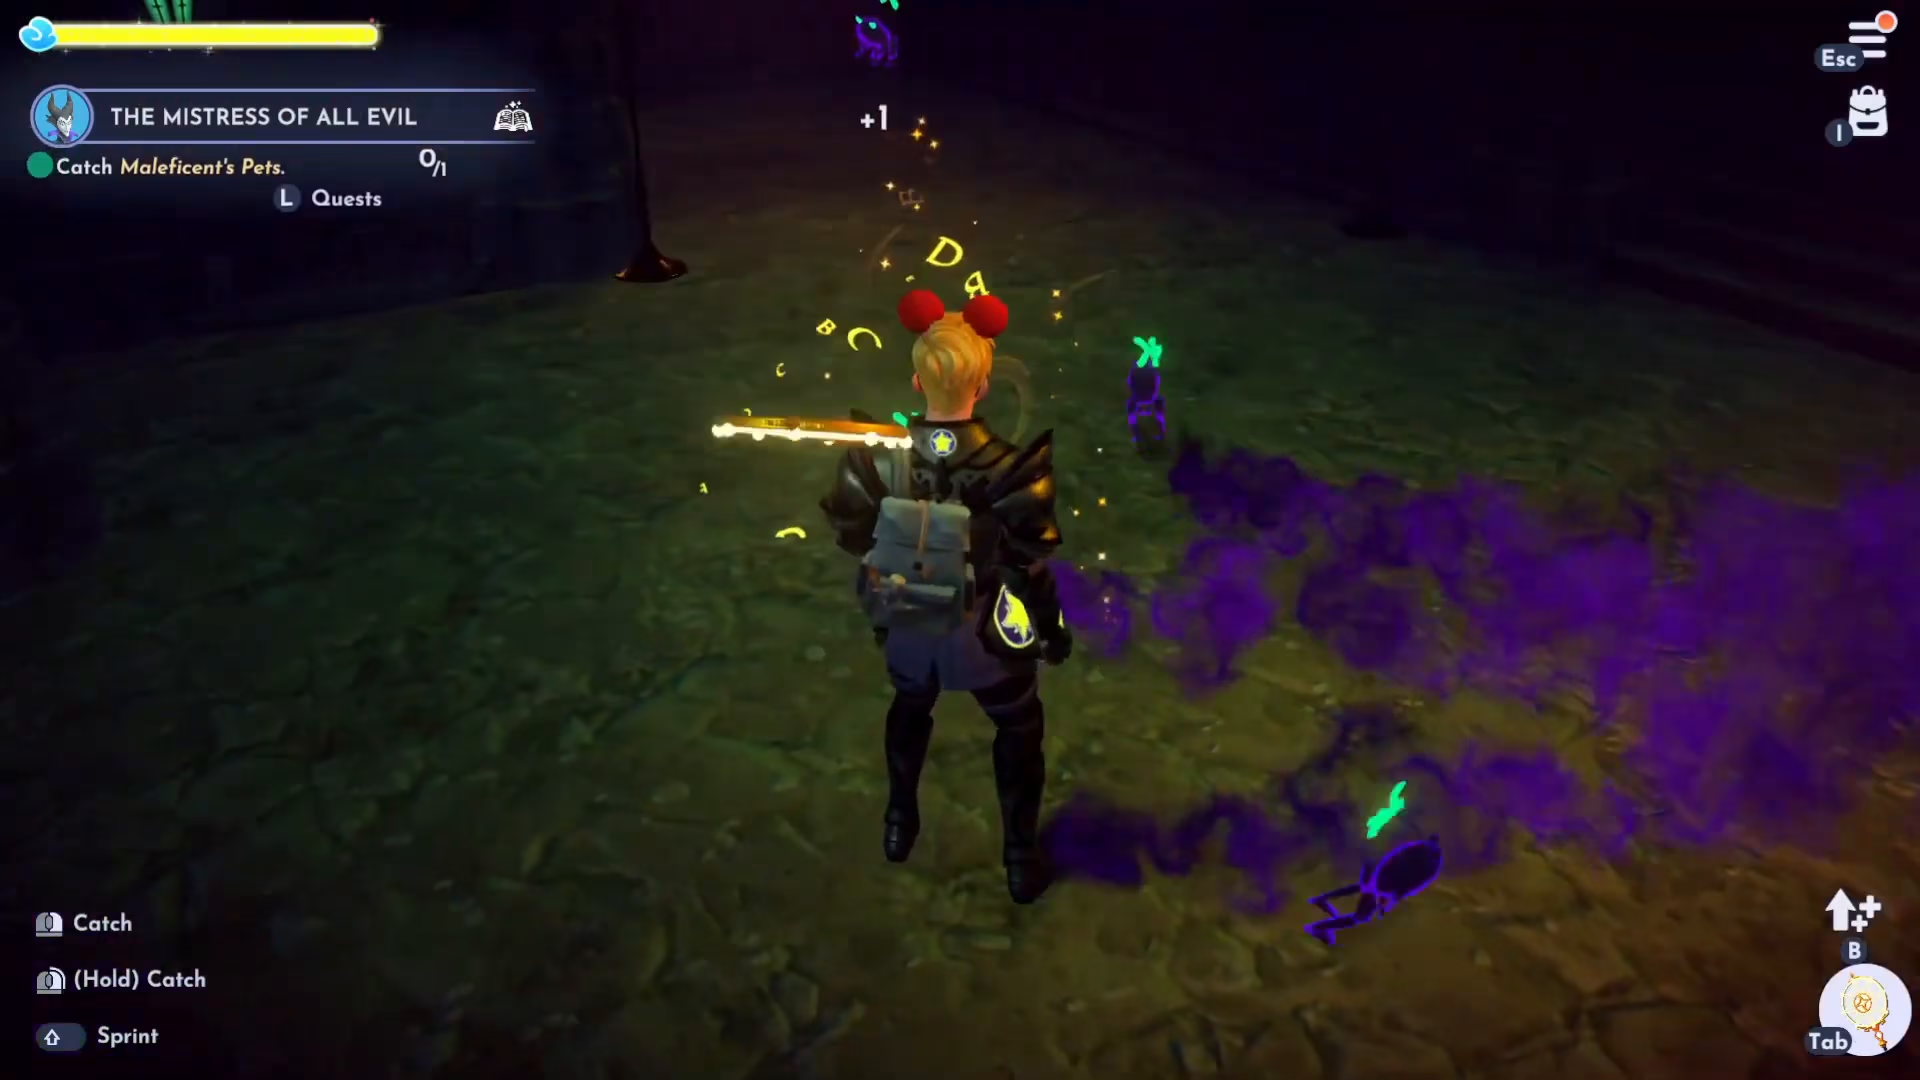
You now must catch Maleficent’s two mischievous pets using your net. These creatures move quickly, so keep moving and repeatedly throw your net. Continue chasing and catching until both pets are secured.
Complete the Quest
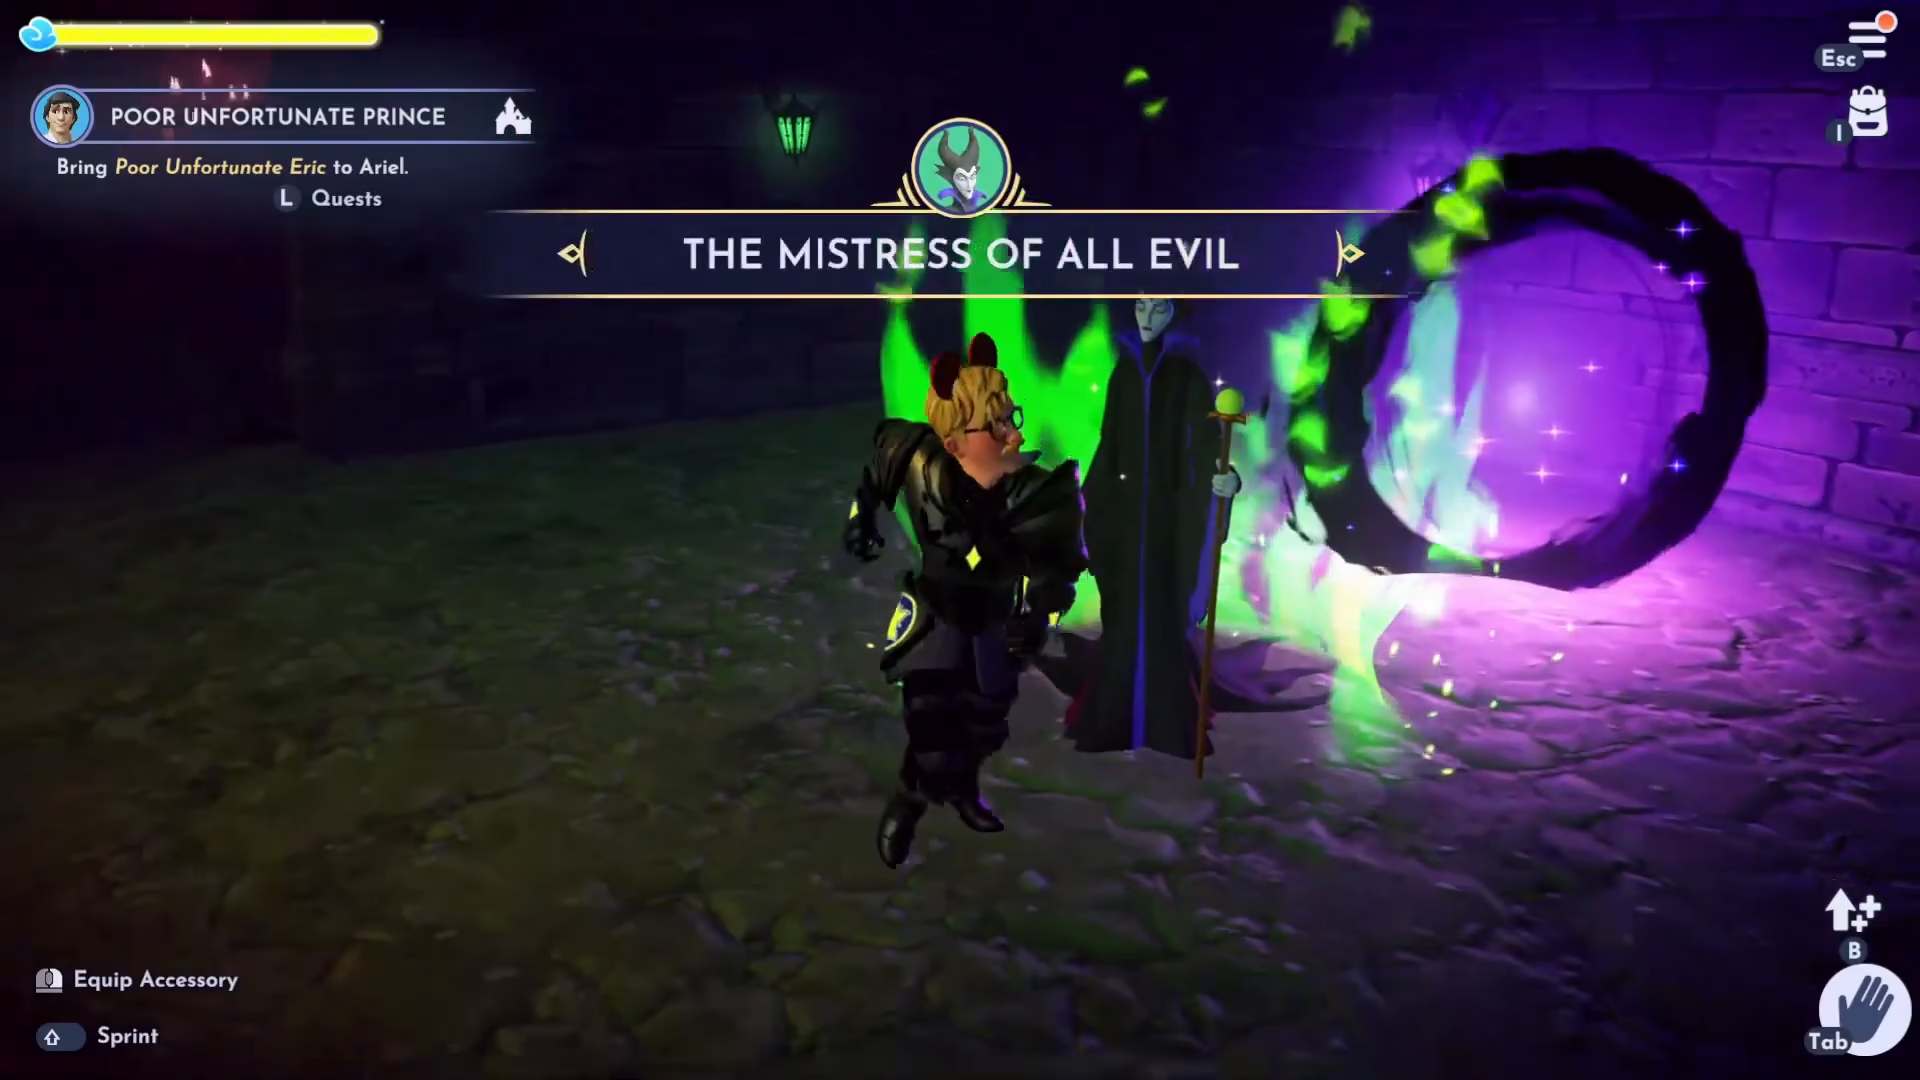
After catching both pets, speak with Maleficent to complete the quest. Congratulations on finishing the Mistress of All Evil quest!
Summary
The Mistress of All Evil is a multi-stage quest requiring exploration, puzzle-solving, and quick reflexes. You’ll navigate Maleficent’s castle, identify hidden icons, solve symbol puzzles, arrange furniture using shadow matching, and catch speedy pets. By following this guide step-by-step, you’ll successfully complete all objectives and finish this challenging quest in Disney Dreamlight Valley.
Want to Support?
If you would like to help us continue making these guides – please consider joining our patreon here – https://www.patreon.com/c/JaviHeals
Alternatively – you can join our discord here – https://discord.gg/zD7Gjt6MHF