Olives Complete Guide How To Grow, Harvest & Sell Olives In Farming Simulator 25
Olives Complete Guide: How To Grow, Harvest & Sell Olives In Farming Simulator 25
This comprehensive guide will walk you through every step of cultivating olives in Farming Simulator 25. From preparing your soil to harvesting and selling your crop, we’ll cover everything you need to know to grow a beautiful olive harvest. Whether you’re a beginner or looking to optimize your farming operation, this tutorial includes all the essential details to succeed with olive farming.
How to Buy and Place Olive Trees
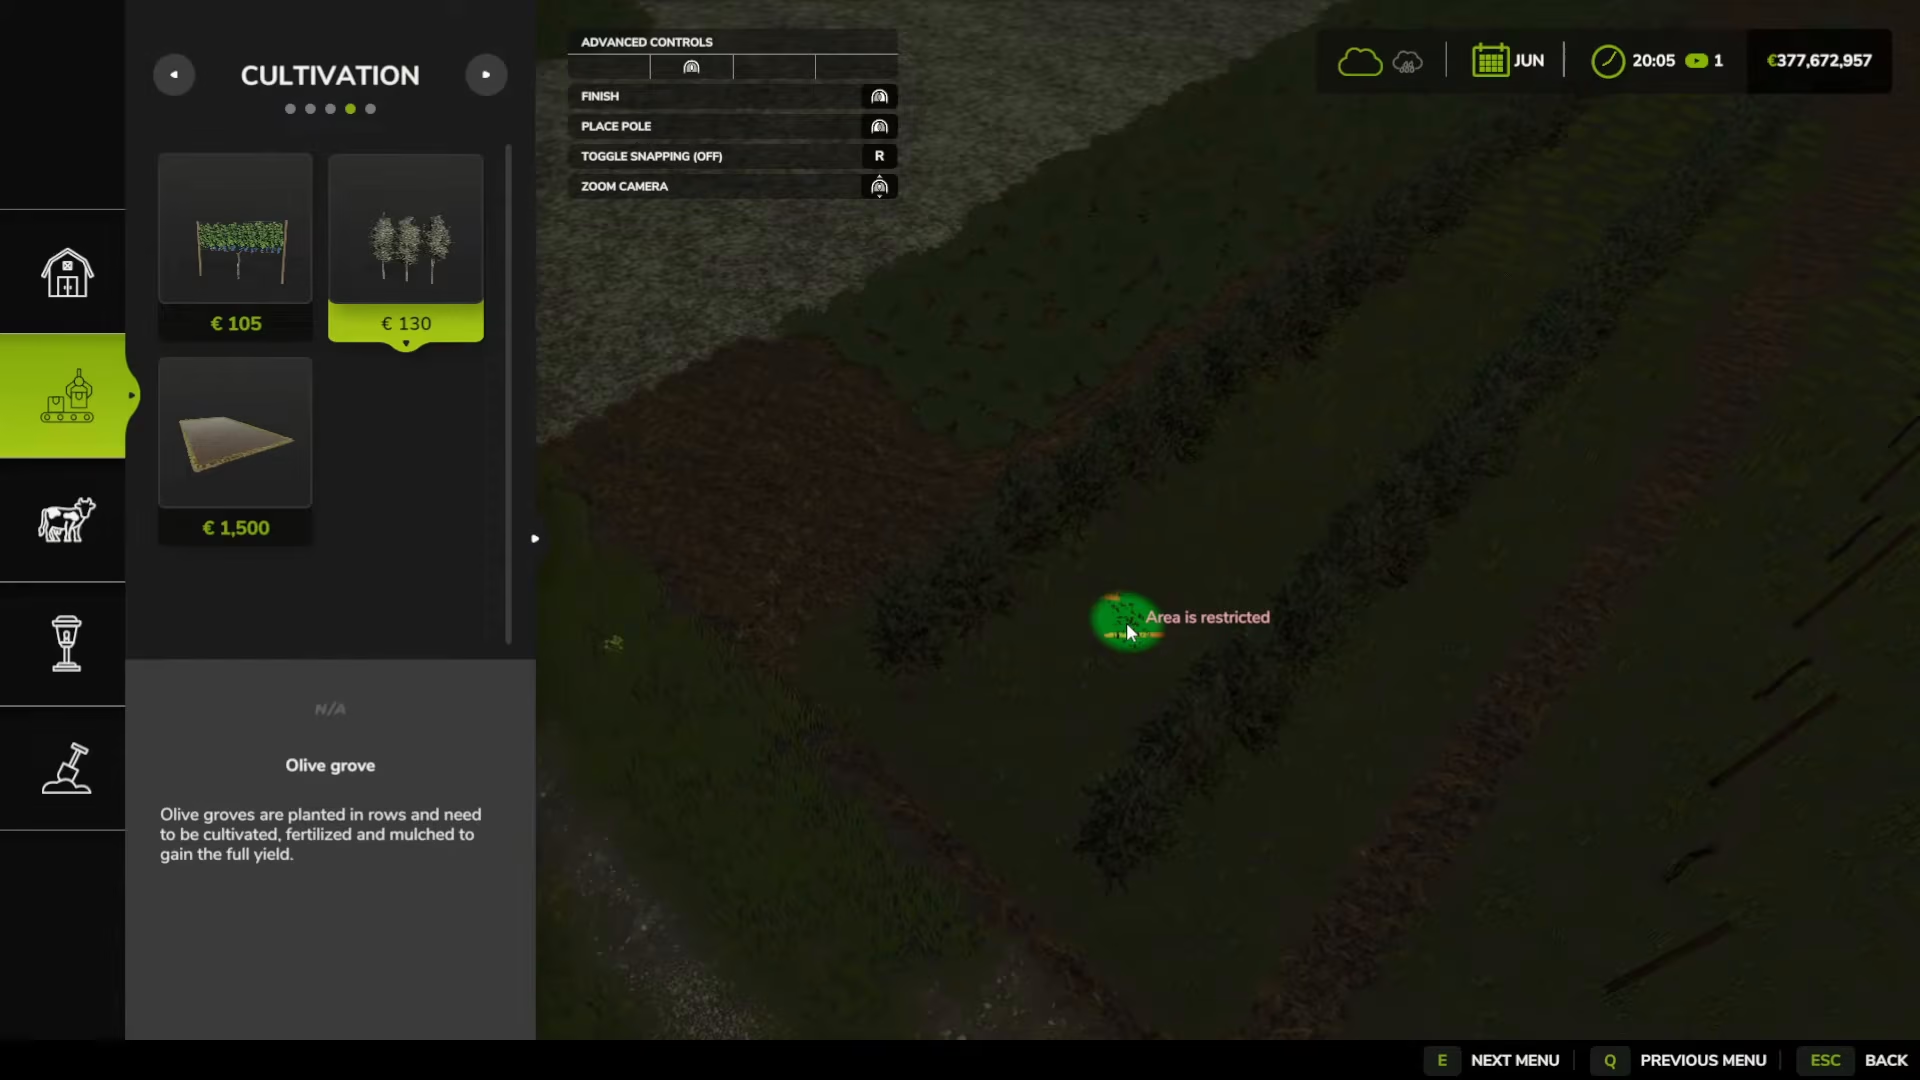
To start your olive farming journey, you’ll need to purchase olive trees. On PC, press Shift+P (Shift for Papa) to access the build menu. Navigate to the second option labeled “Factories” and then select “Cultivation” (the fourth dot along). You’ll find the olive grove option listed here.
Once you’ve selected olive trees, click wherever you want to place them. The game will create rows automatically. Note that olive trees grow in rows, similar to grape vines. As you place the trees, the game will automatically add grass on either side of them. You can continue placing trees by clicking, and the placement will snap to the correct distance for proper spacing—this makes the process quick and efficient.
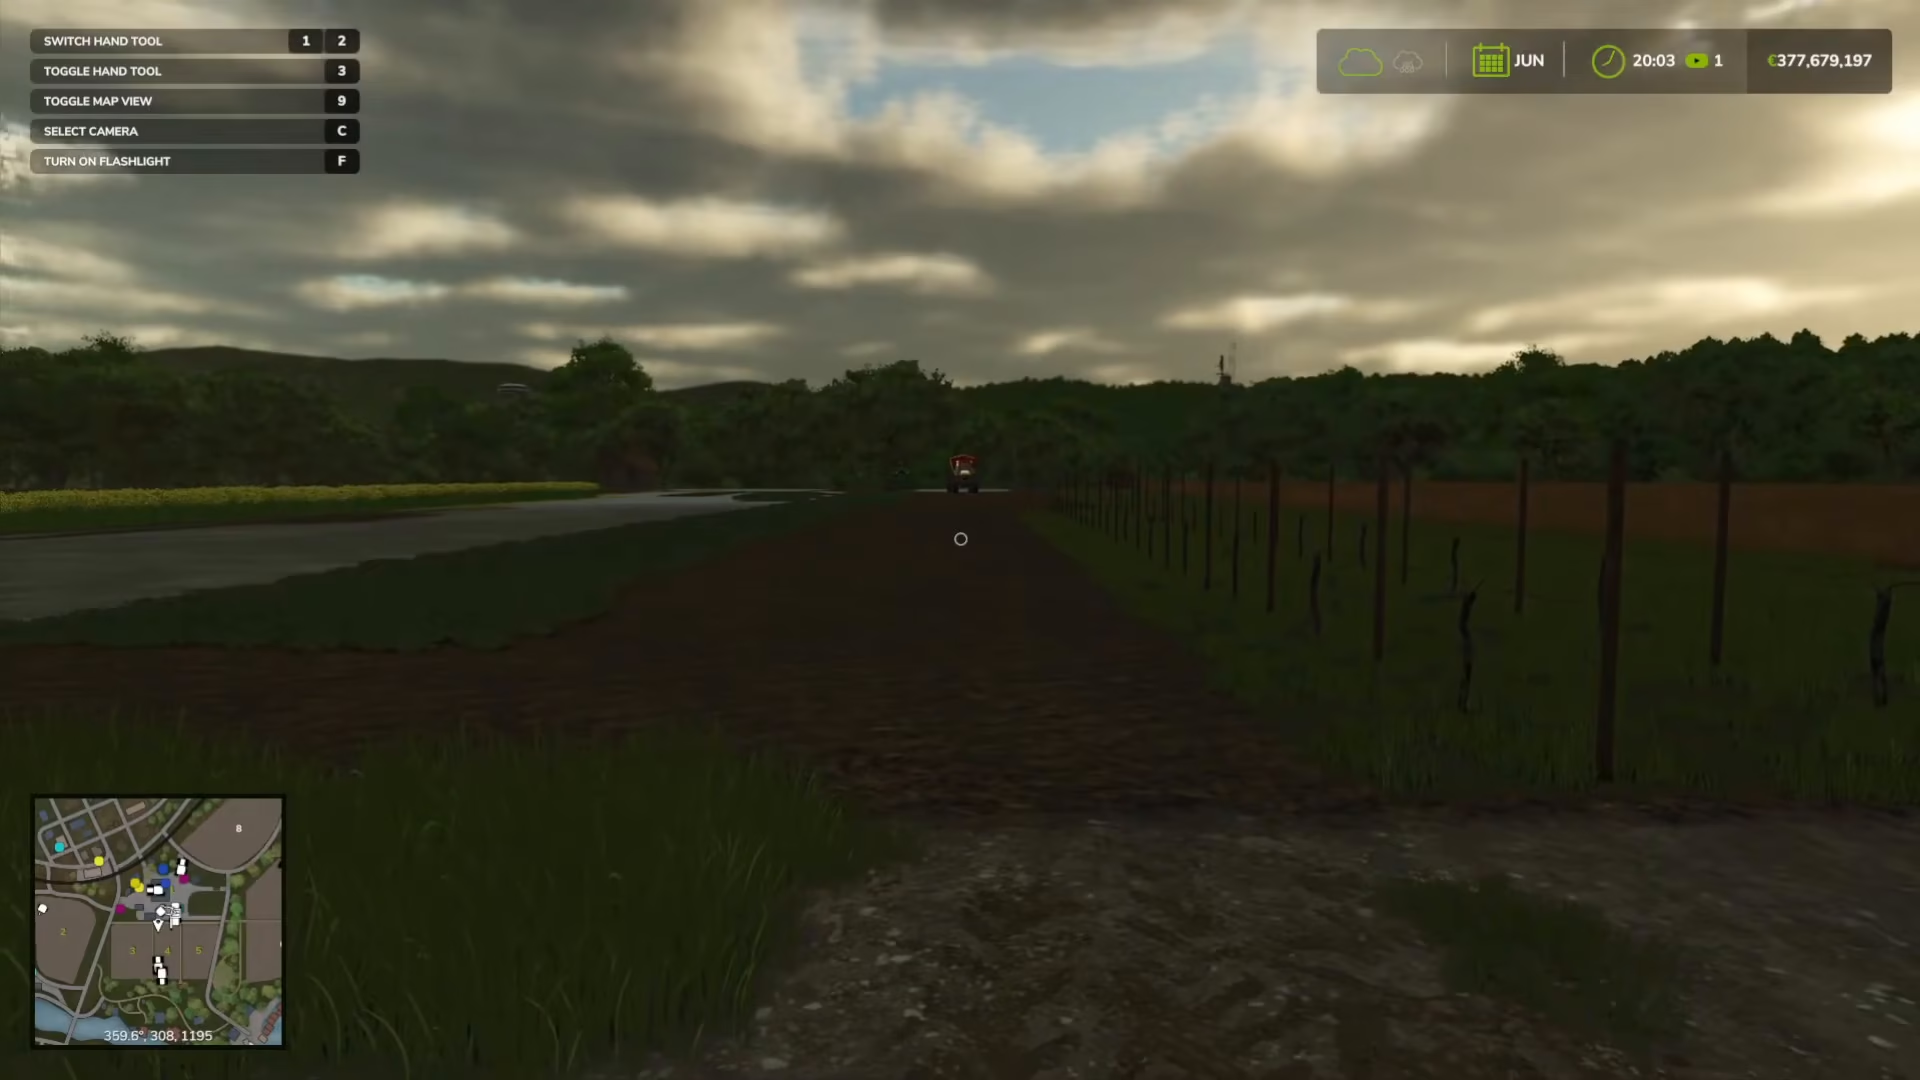
Unlike crops such as vegetables, oats, or grain, you will not need to purchase seeds for olives since you’ve already planted the trees themselves.
Preparing the Soil for Olives
Before your olives can grow, you’ll need to prepare the soil properly. This guide assumes you already know how to connect machinery to your tractor using Q and know how to lower and activate machines using B on PC.
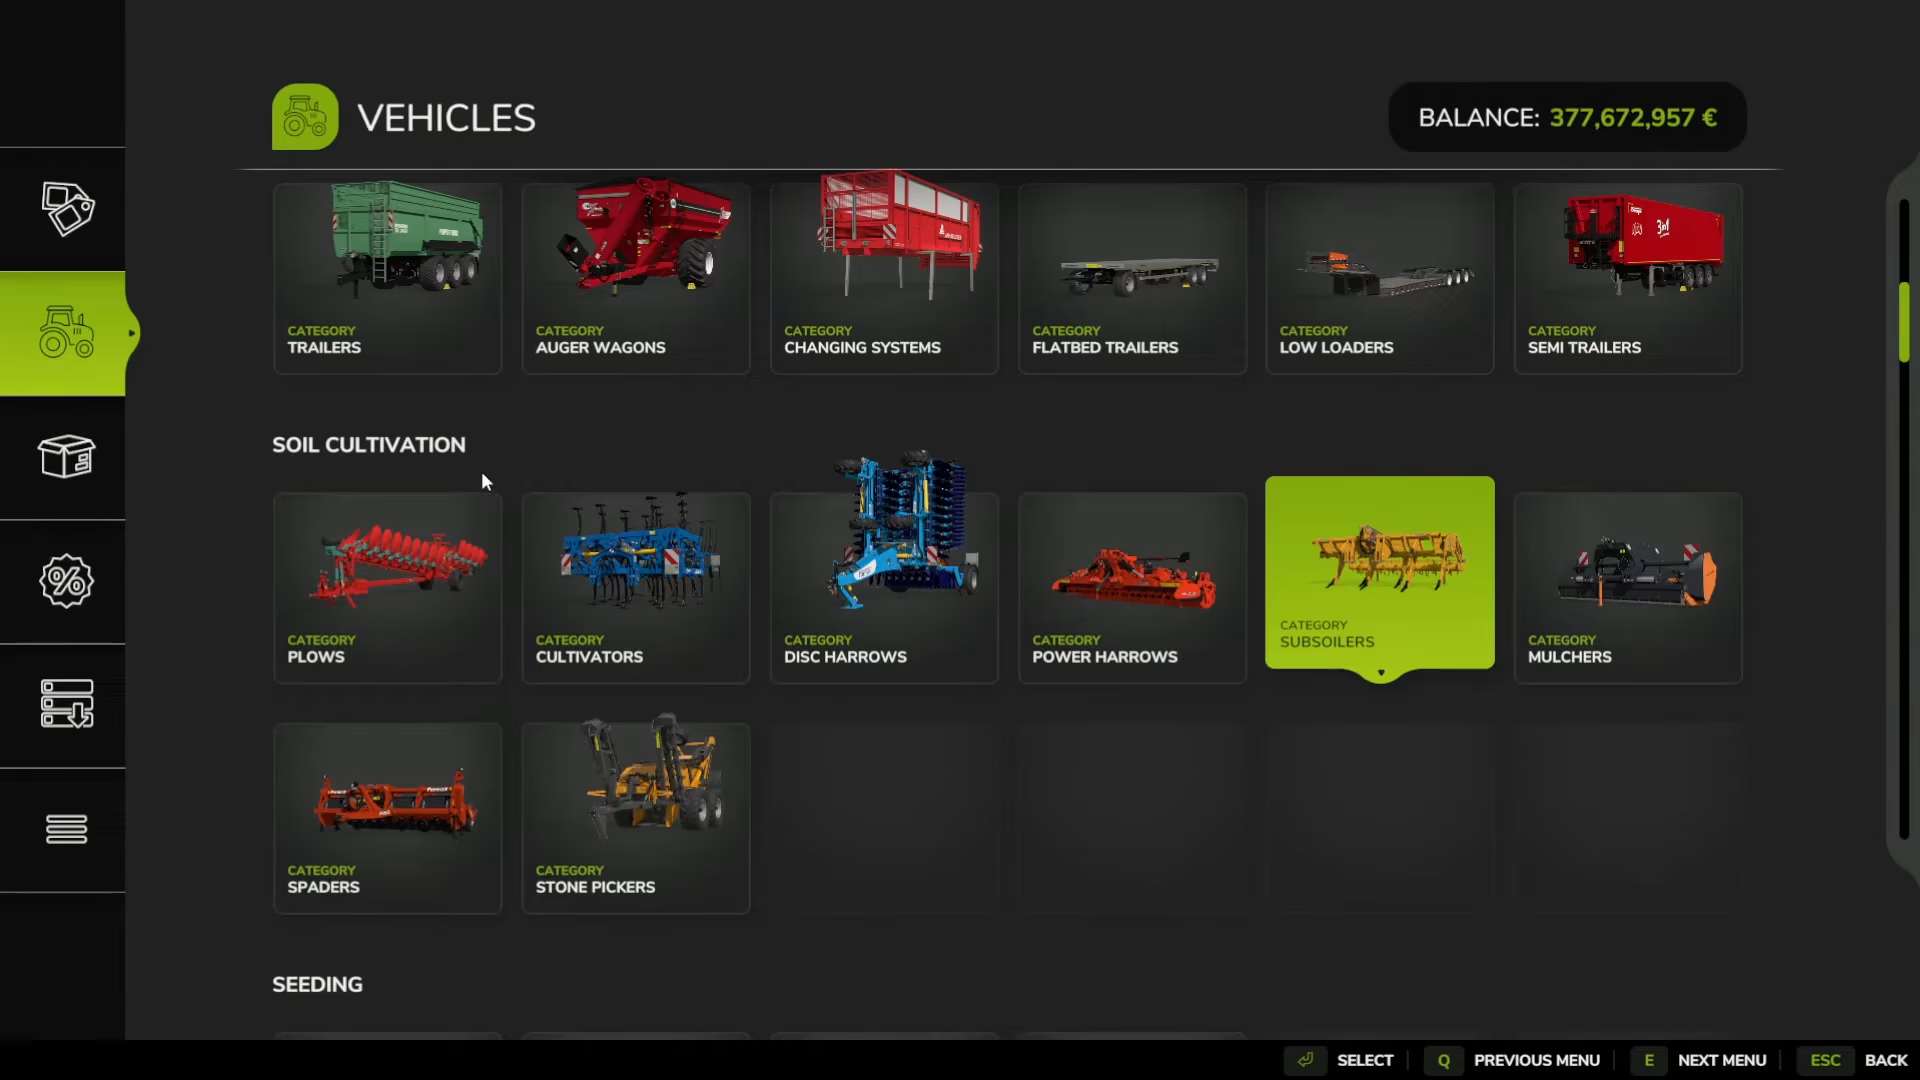
The first step is to remove any crop debris from previous harvests and the grass growing between the olive rows. To do this, you’ll need a mulcher from the soil cultivation section of the shop. The mulcher description specifically states it suits perfectly for grape and olive farming. Run the mulcher between your olive groves to clear away all crop stubble and grass.
After mulching, the next step is to use a subsoiler, also found in the soil cultivation category. Subsoilers are specifically designed for grape and olive farming. Run the subsoiler through your grove to complete the soil preparation.
Fertilizing Your Olive Grove
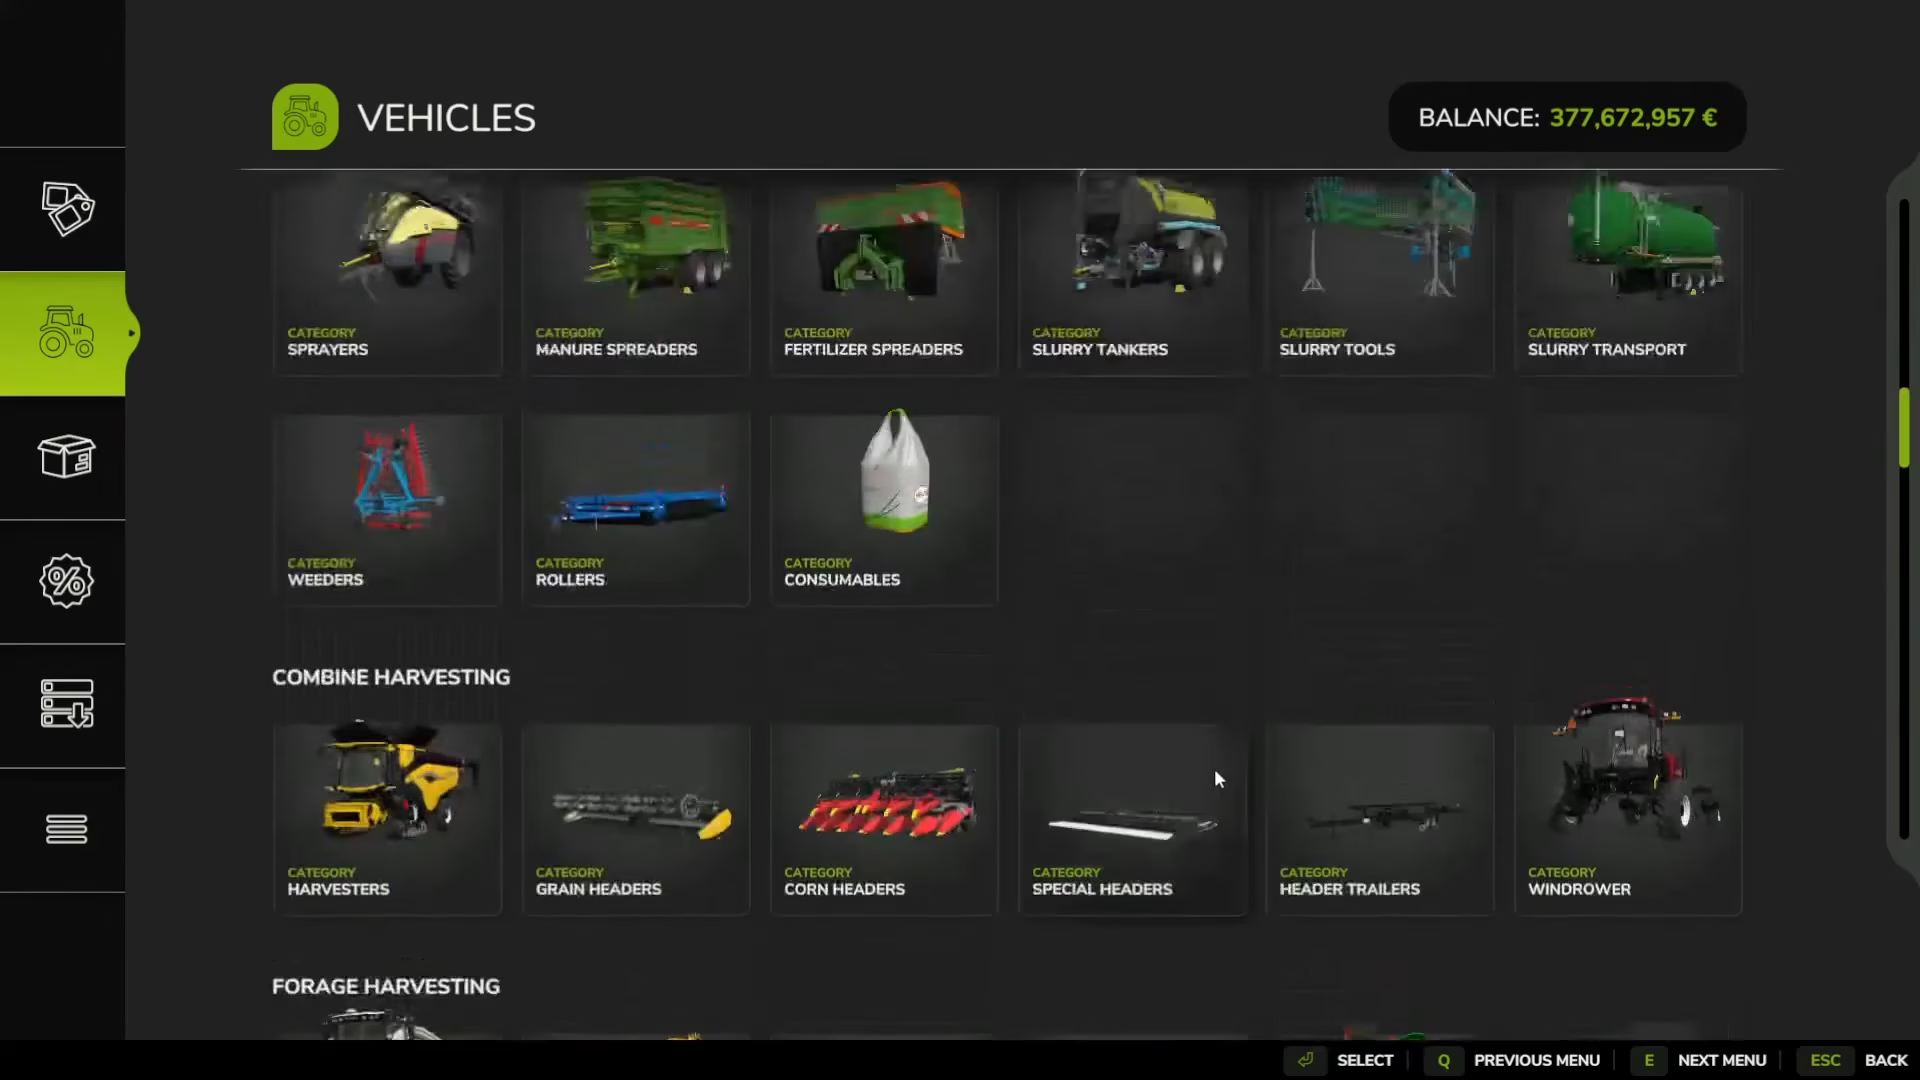
Once your soil is prepared, you can begin fertilizing your trees. Unlike grain crops that require solid fertilizer, olives require liquid fertilizer applied with a sprayer. Look for sprayers in the sprayers category that have a bottle icon with a leaf on it—this indicates they dispense liquid fertilizer.
To refill your sprayer with liquid fertilizer, purchase the fertilizer from the shop. It will appear in the car park, where you can reverse your sprayer up to it. A key bind will appear on the top left saying “refill sprayer”—simply click it to add the fertilizer.
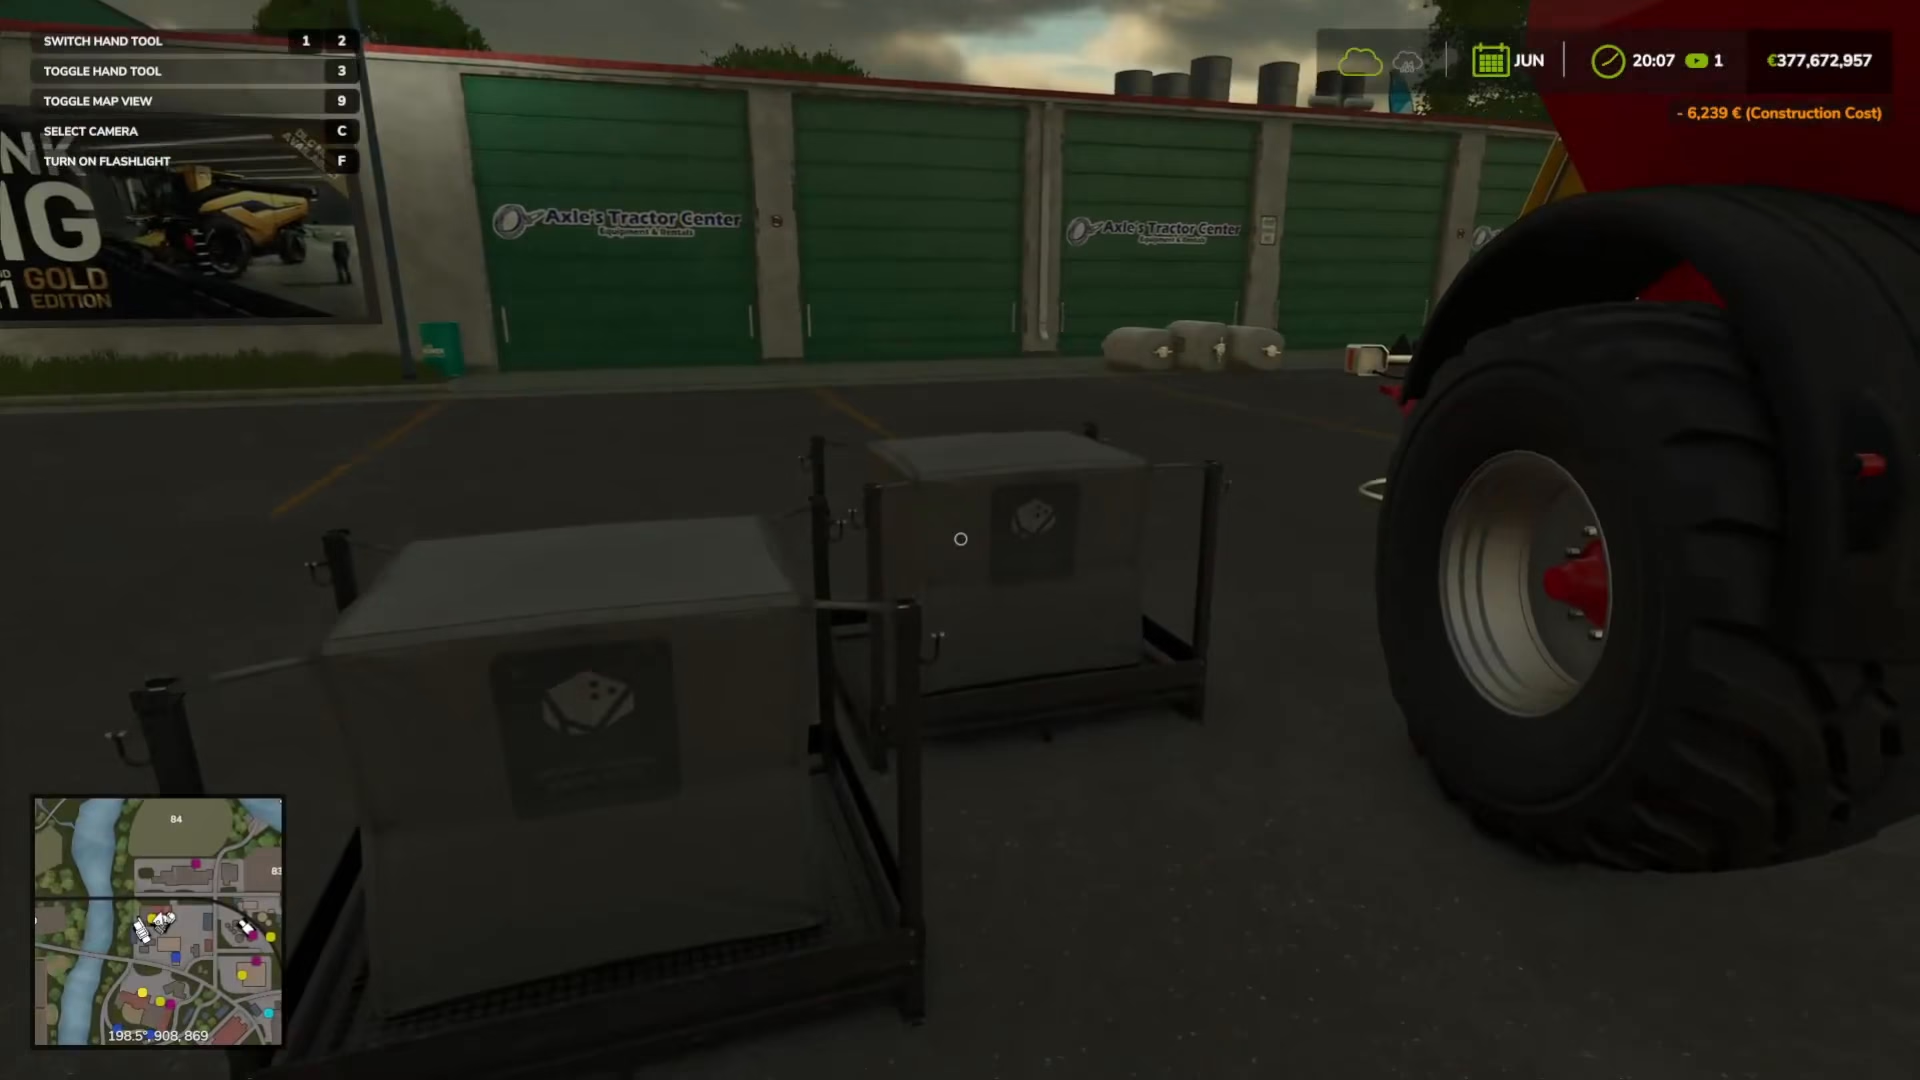
Some sprayers allow you to apply two coats of fertilizer in one pass, which is convenient since it means you won’t need to return at different growth stages of your grove.
Monitoring Olive Growth Stages
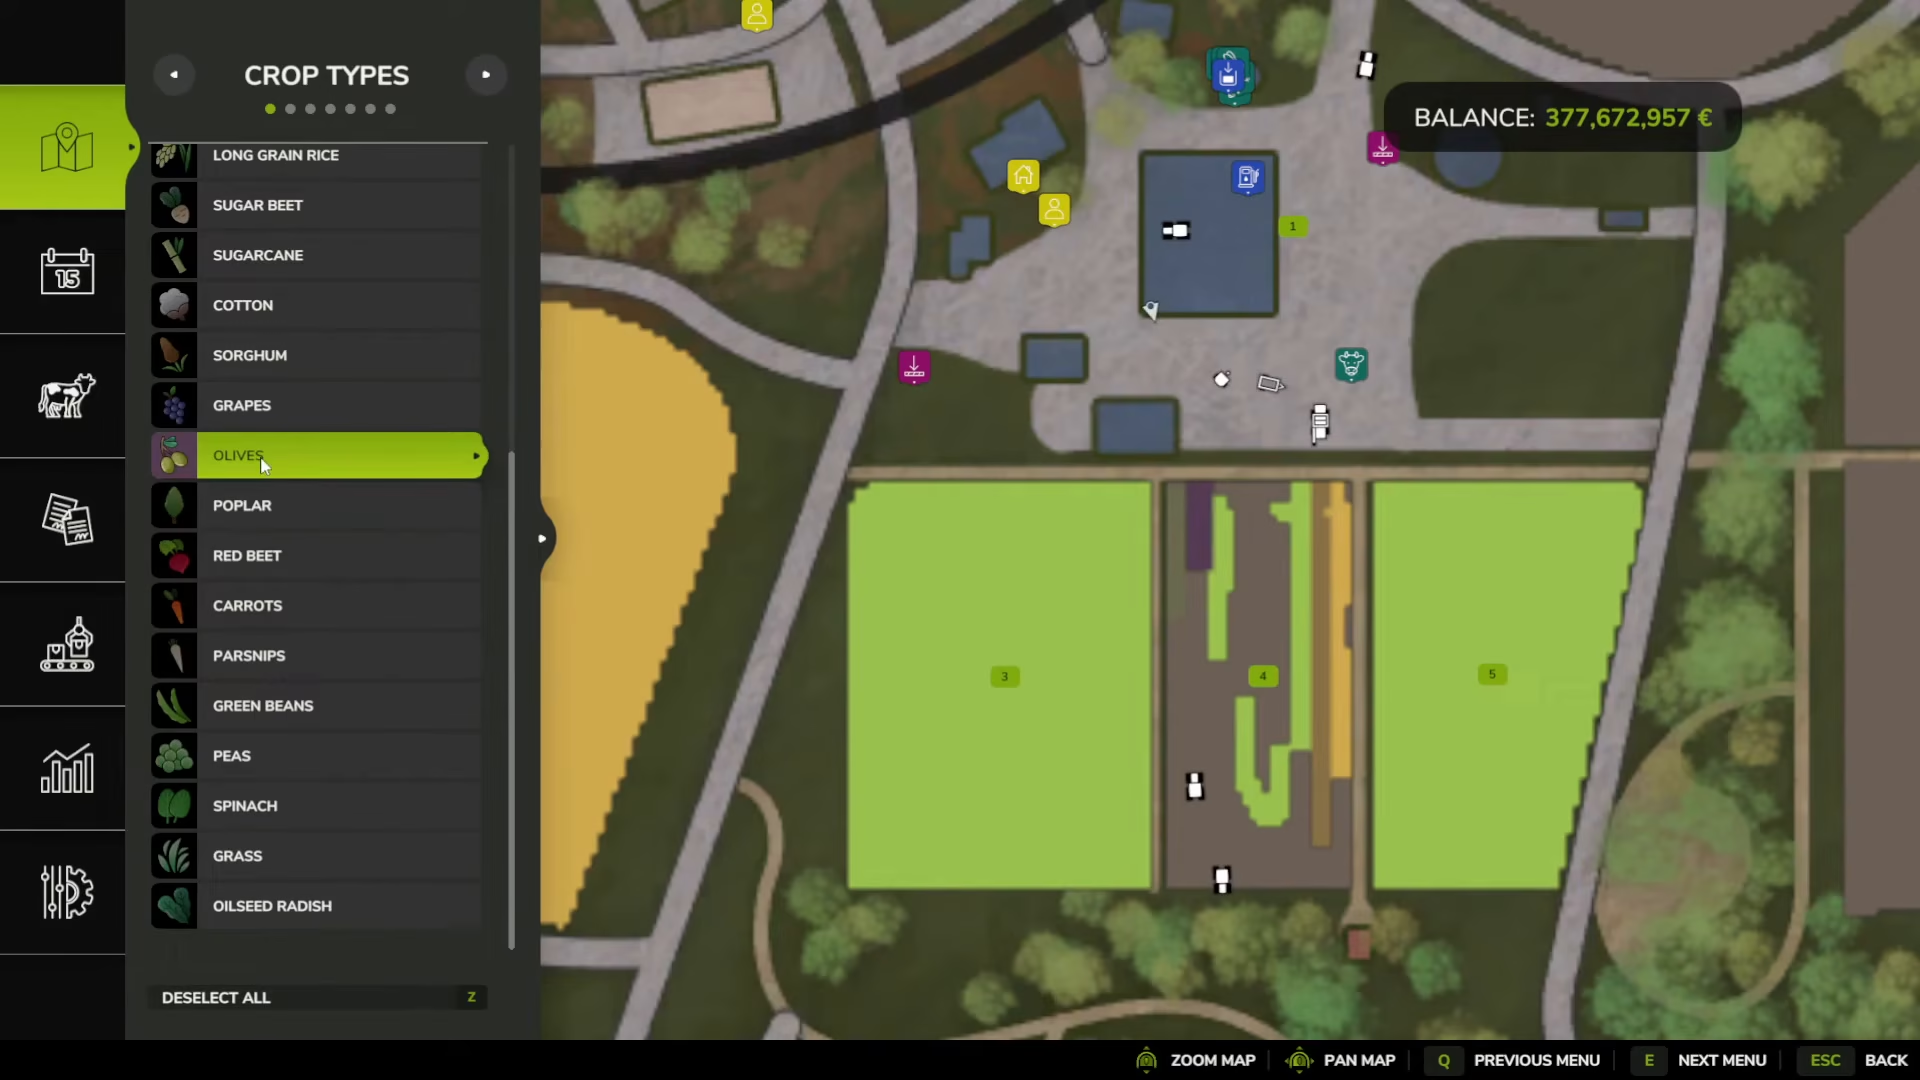
To check how far along your olives are in their growth cycle, navigate to the crop types section on your map. Toggle olives to display them, and then toggle “growing” to see the growth stages. The lightest green indicates freshly growing olives, while darker green shows olives that are nearly ready to harvest.
Harvesting Olives
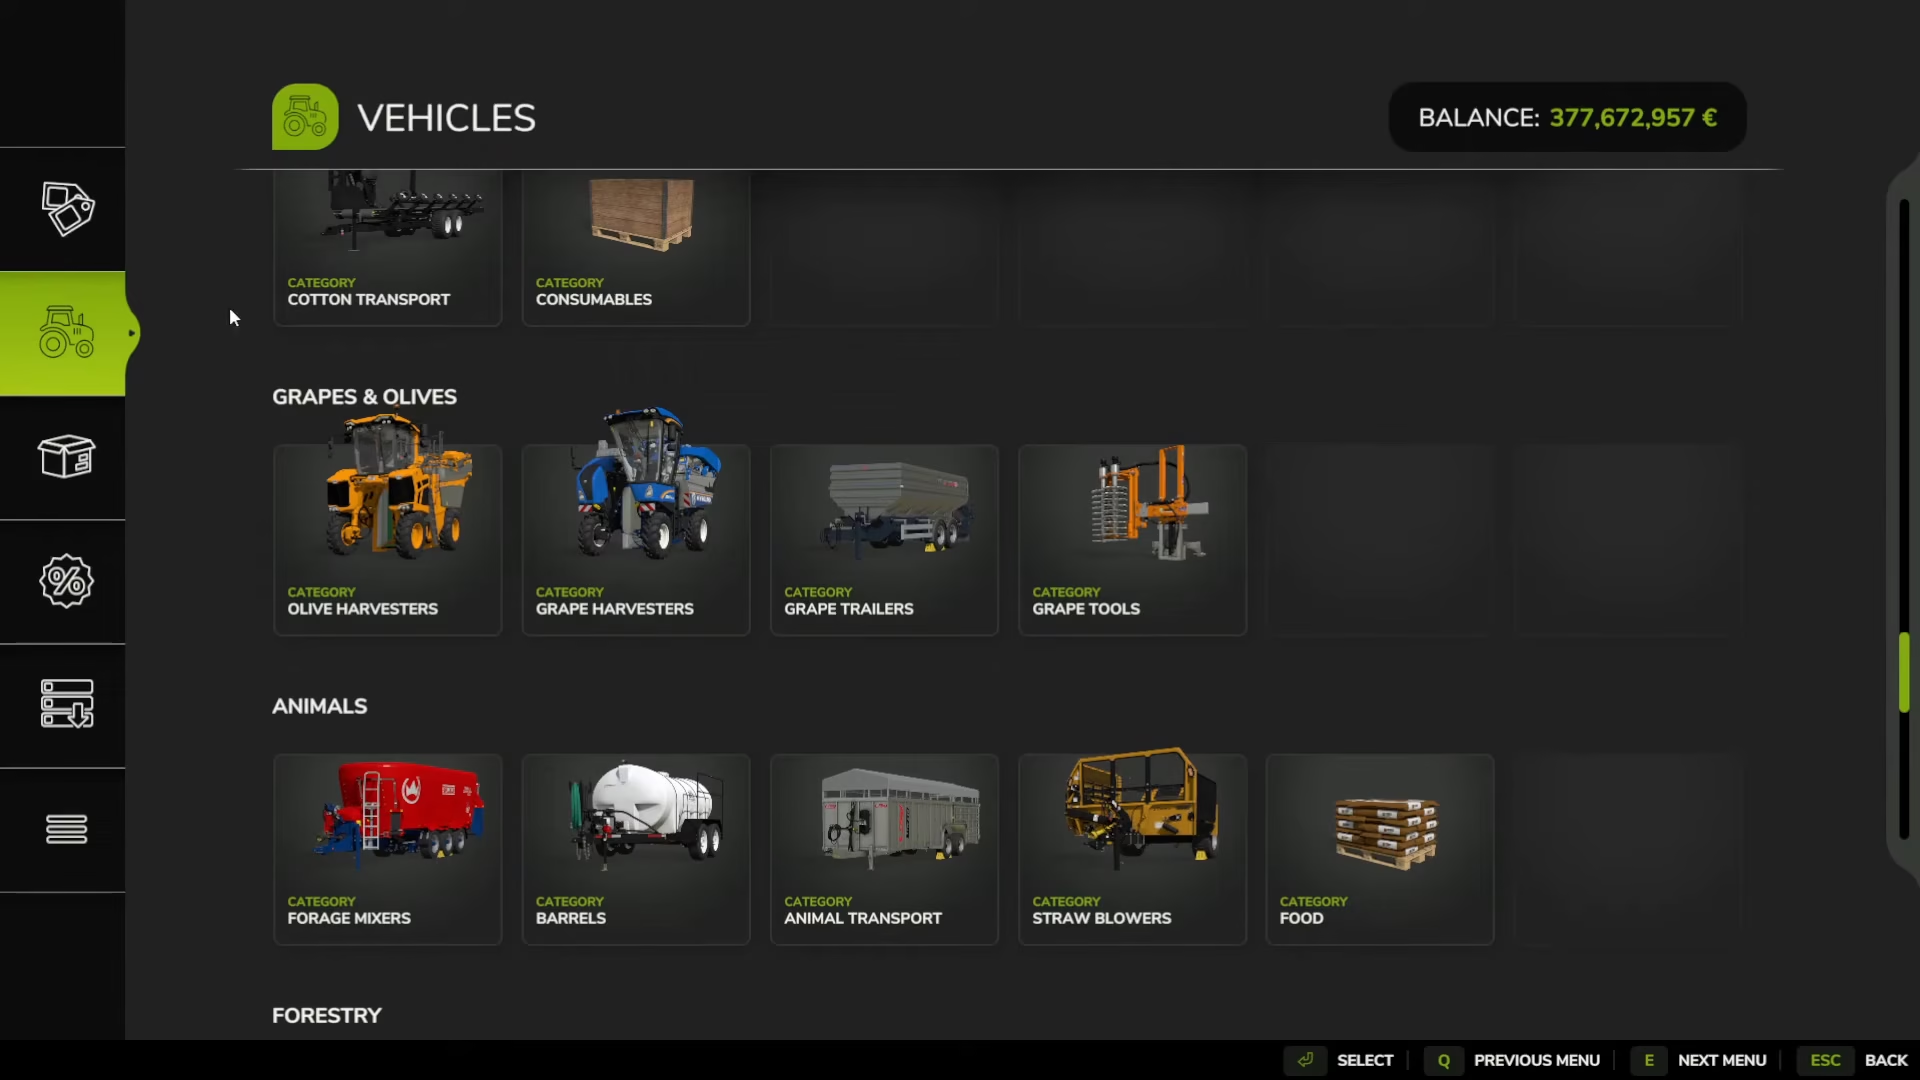
When your olives have fully matured, it’s time to harvest. Go to the store and find the grapes and olives section to locate olive harvesters. If you’re also farming grapes, you can purchase a Gregois harvester that handles both crops. However, for olives specifically, the Braud 990 olive harvester is an excellent dedicated choice.
An important difference from grain harvesting is that the olive harvester outputs olives at the back of the machine into your trailer, not from the side. Once your harvester is full, reverse it up to your trailer and dump the olives into it. You can then either sell the olives immediately or store them for later sale.
Determining When to Sell Your Olives
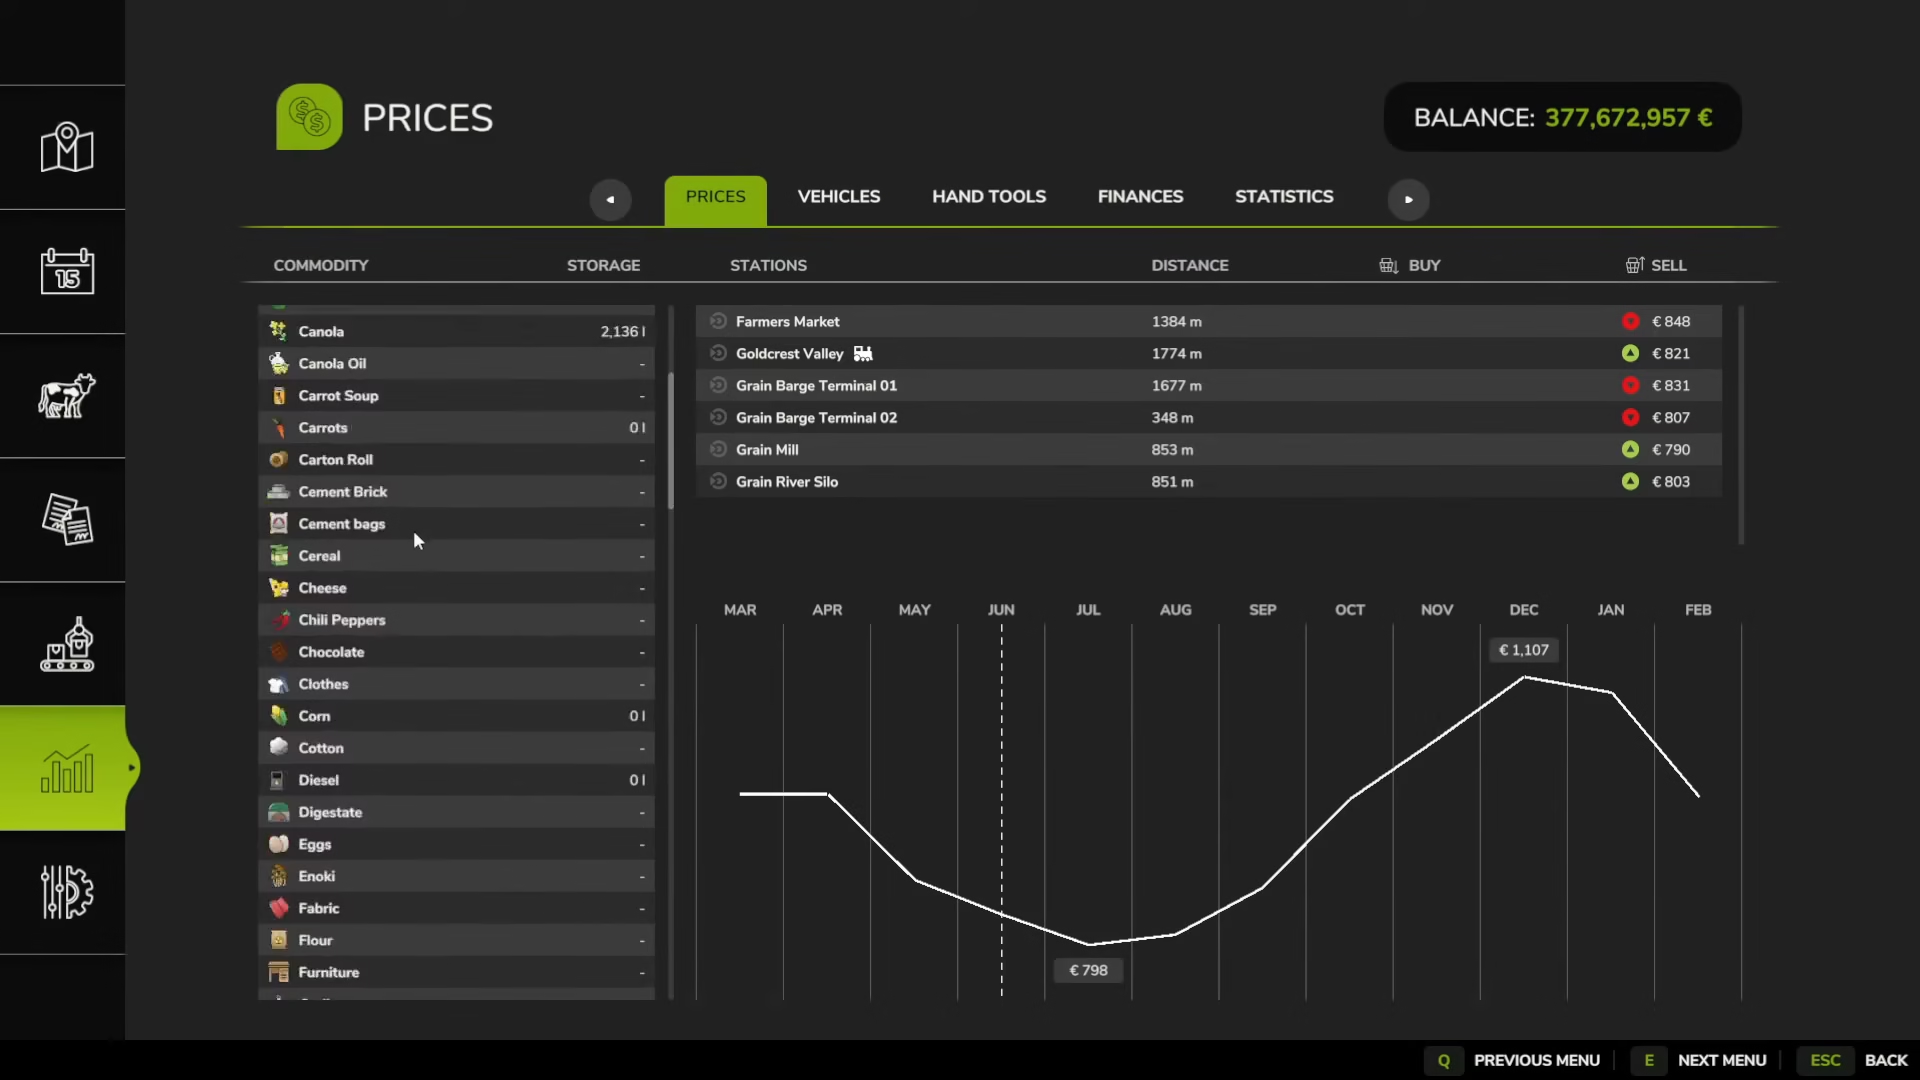
Olive prices fluctuate throughout the year. To check current prices and plan your sales, navigate to the statistics section and look at the prices tab. You’ll find that olives sell for significantly higher prices in May compared to November. This means you may want to store your olives in a silo and wait for the best market price before selling.
Storing and Selling Your Olives
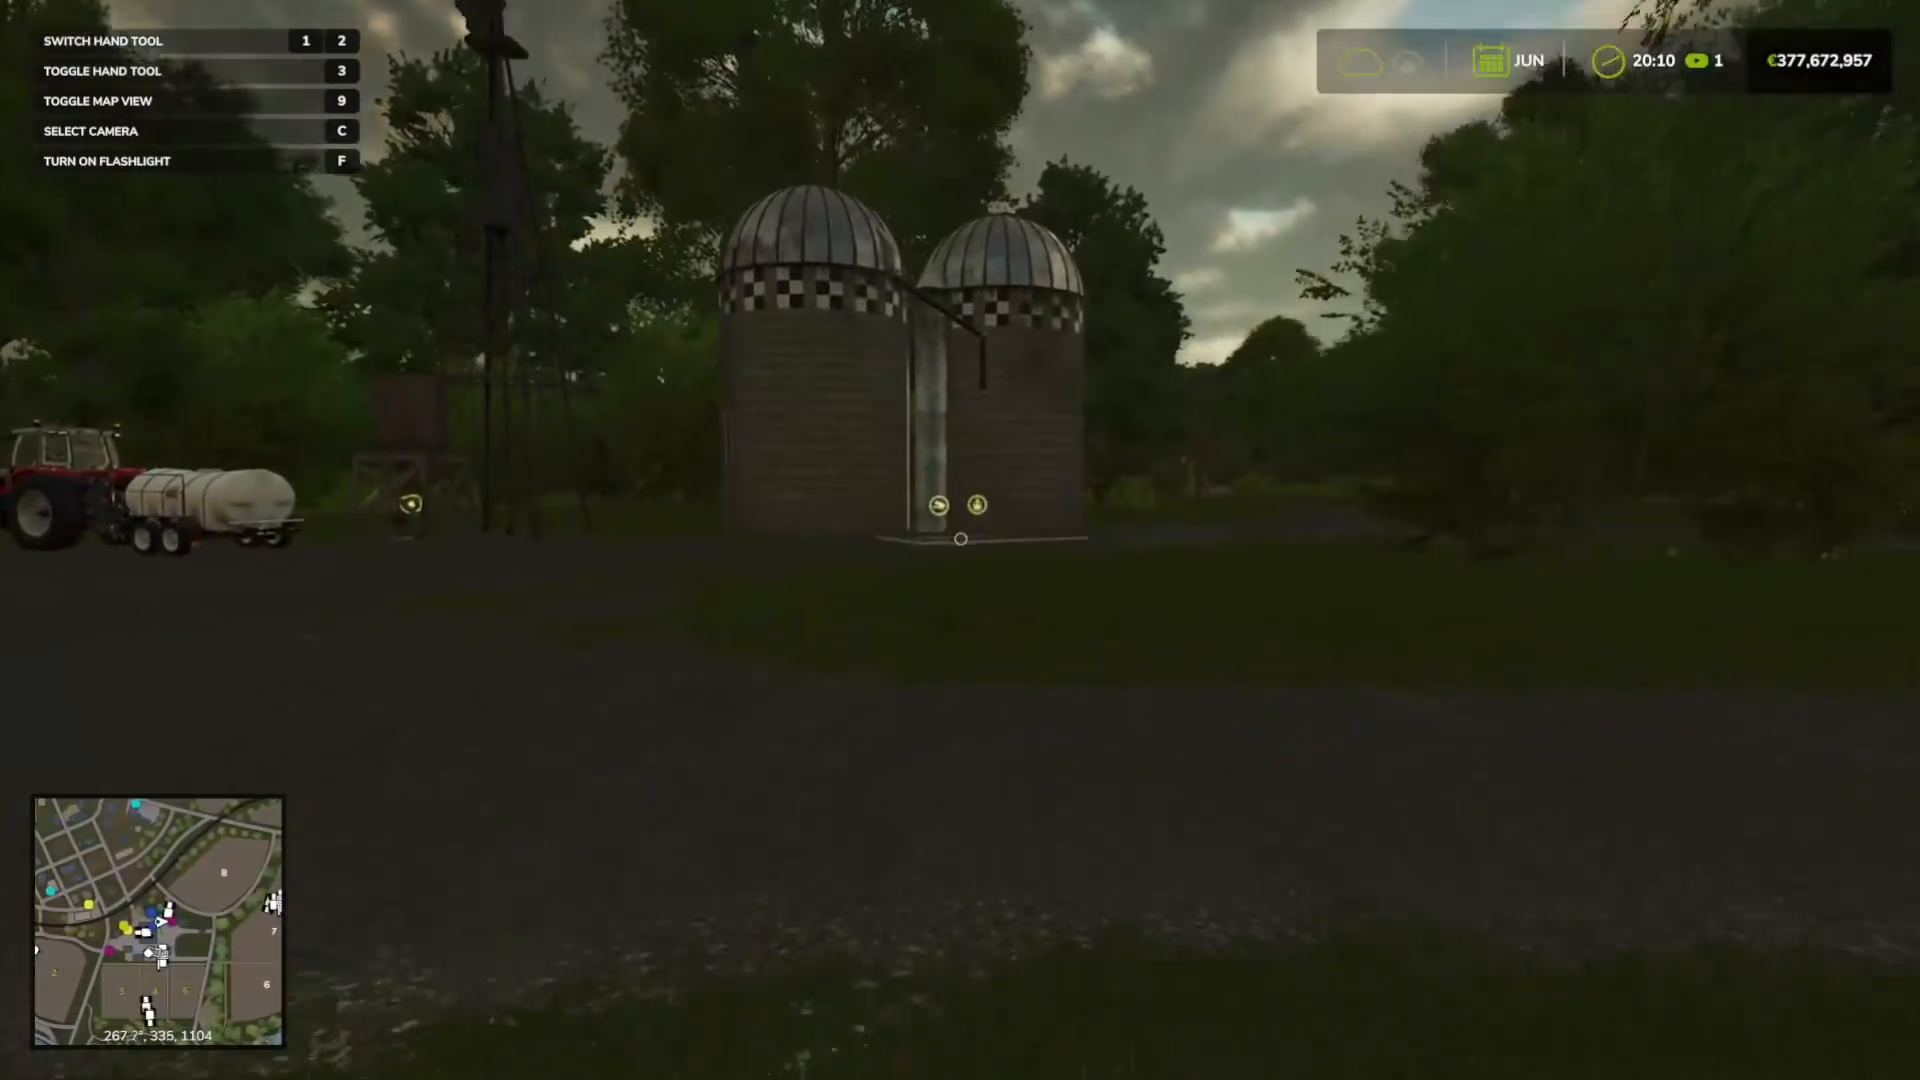
If you decide to store your olives for later, look for the silo on your farm. Reverse your trailer over the silo grates, and a key bind will appear prompting you to empty the trailer. Your olives will be stored until you’re ready to sell.
To find selling points for your olives, check your map for tipping points such as small farmers, kiosks, and similar facilities. Navigate to the statistics section and check the prices tab to see which selling points currently offer the best price for your olive yield. Once you’ve identified the best location, drive your trailer there and dump your olives.
Summary
You now have everything you need to successfully grow, harvest, and sell olives in Farming Simulator 25. Start by placing your olive trees, prepare your soil with a mulcher and subsoiler, fertilize with liquid fertilizer using a sprayer, monitor growth stages, harvest with an olive harvester, and sell your crop at the best market price. With patience and proper timing, your olive farming operation will be thriving in no time.
Want to Support?
If you would like to help us continue making these guides – please consider joining our patreon here – https://www.patreon.com/c/JaviHeals
Alternatively – you can join our discord here – https://discord.gg/zD7Gjt6MHF