




Escape Claws Quest Guide in Disney Dreamlight Valley
Escape Clause Quest Guide – Disney Dreamlight Valley
Welcome to this comprehensive guide for the Escape Clause quest in Disney Dreamlight Valley. This is the first quest you’ll encounter in the Monsters, Inc. realm, located at the very top of the Disney Dreamlight Valley castle. In this guide, we’ll walk you through every step needed to complete this quest, from disguising yourself as an employee to rescuing Mike Wazowski from the human world.
Entering the Monsters, Inc. Realm
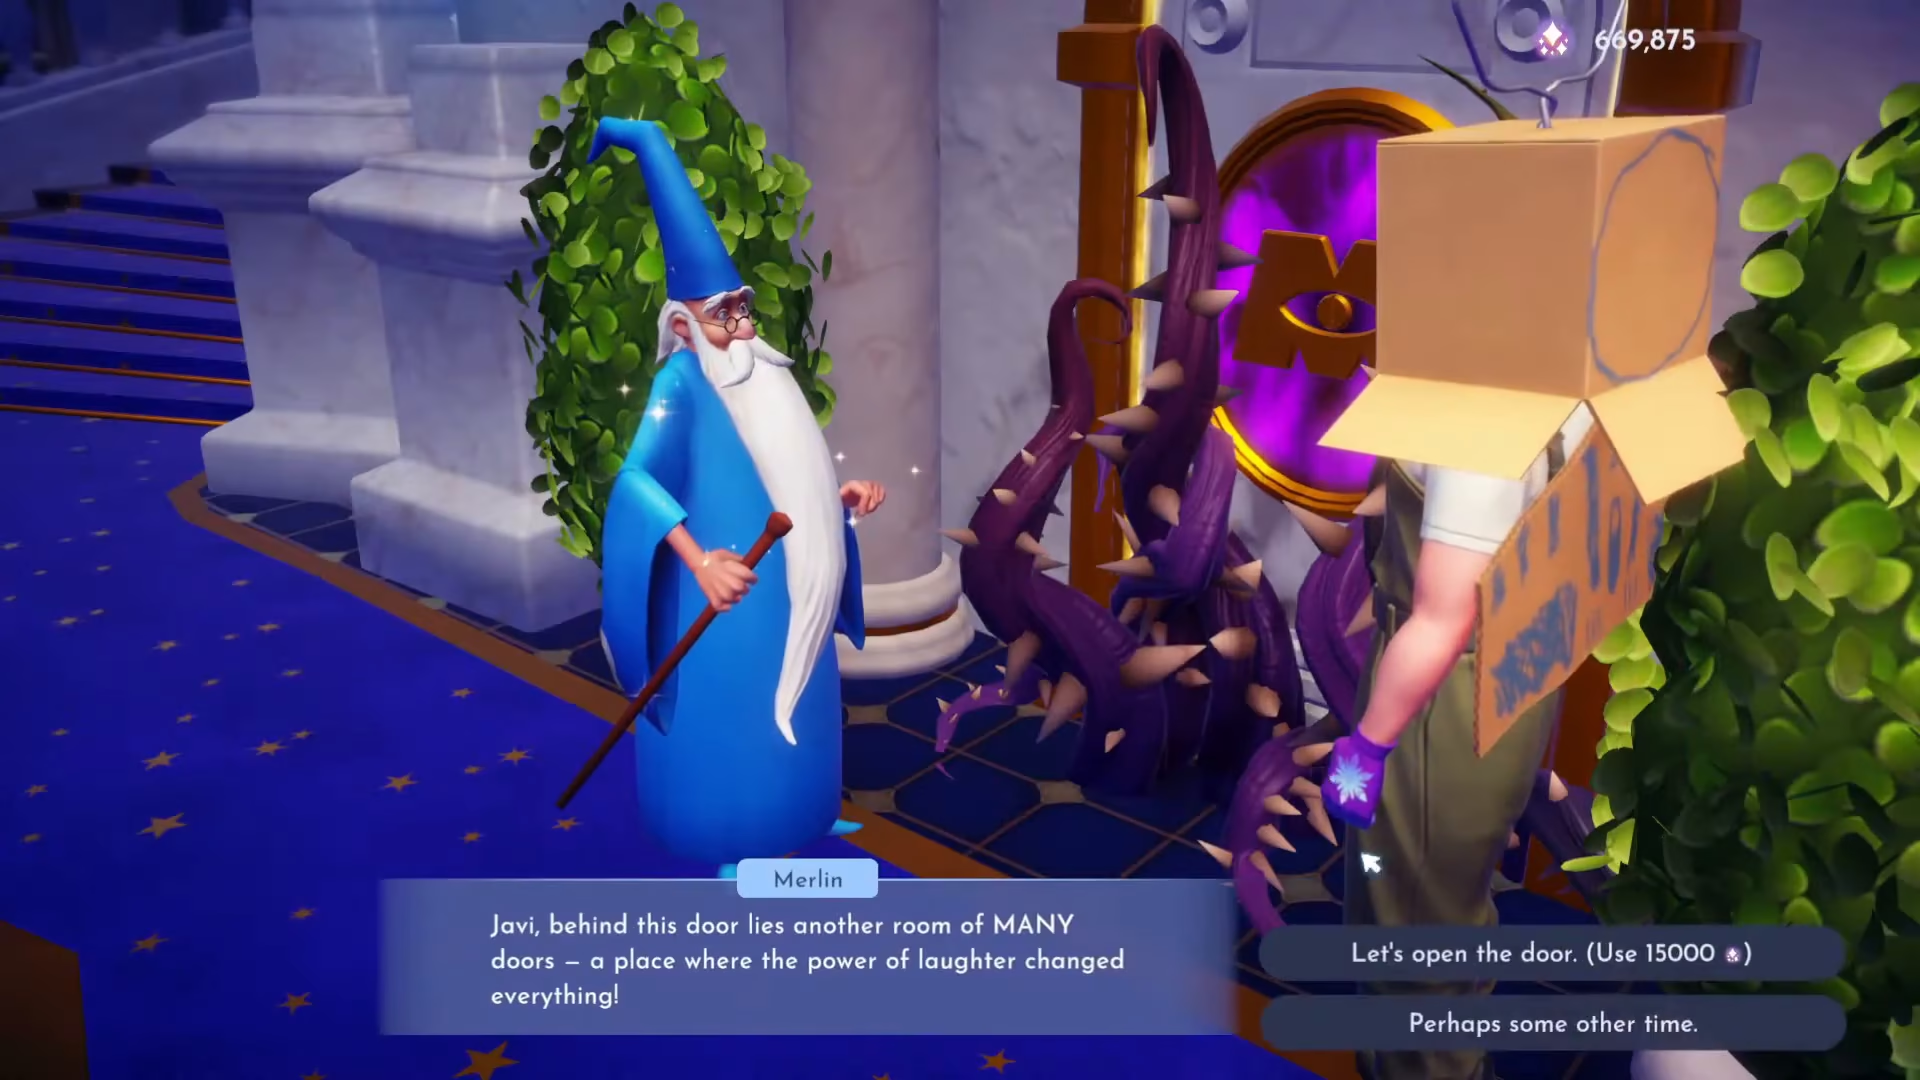
Begin by unlocking the door to the Monsters, Inc. realm at the top of the castle. Once you enter, you’ll be greeted by a door that requires you to be an employee to proceed. This is where your adventure truly begins.
Getting Your Employee Disguise
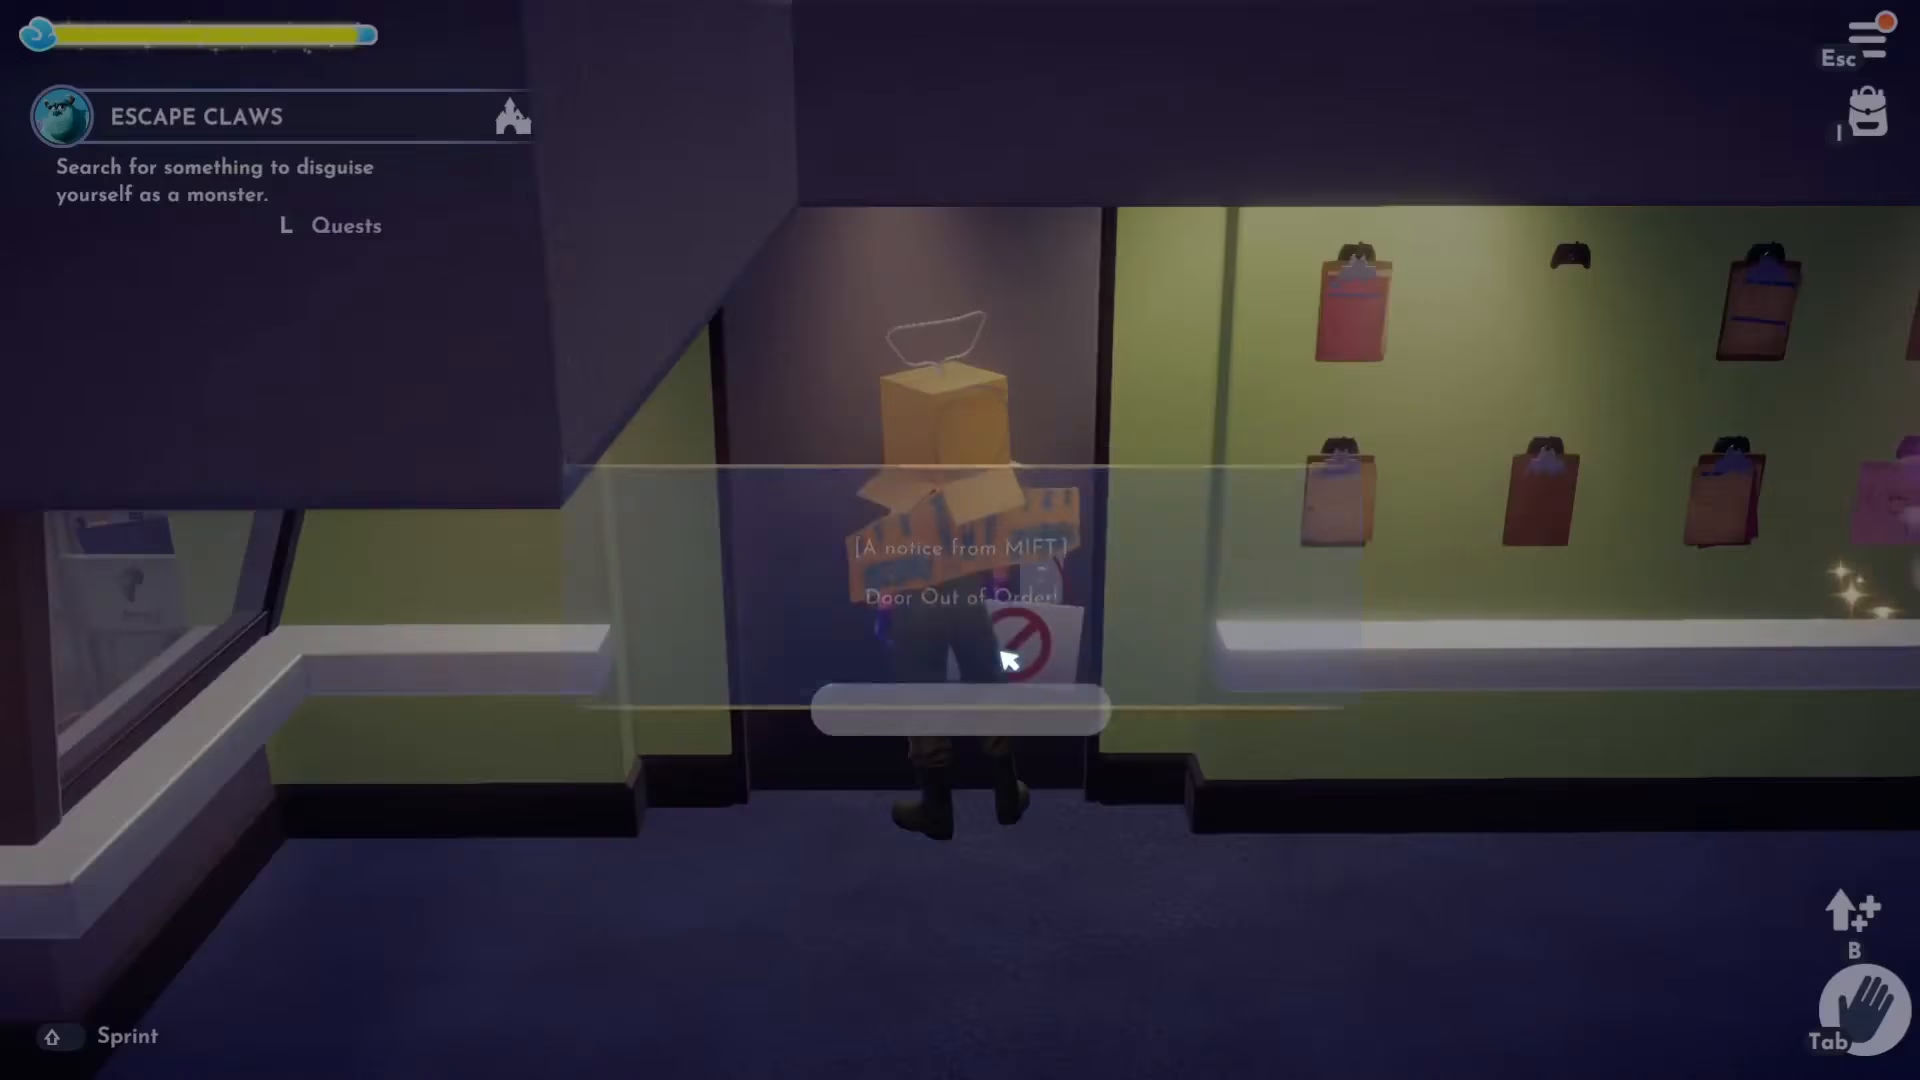
To bypass the employee-only door, you’ll need to disguise yourself. Look for a storage closet in the area where you can collect a disguise. Open the storage closet and add the items to your inventory.
Equipping Your Disguise
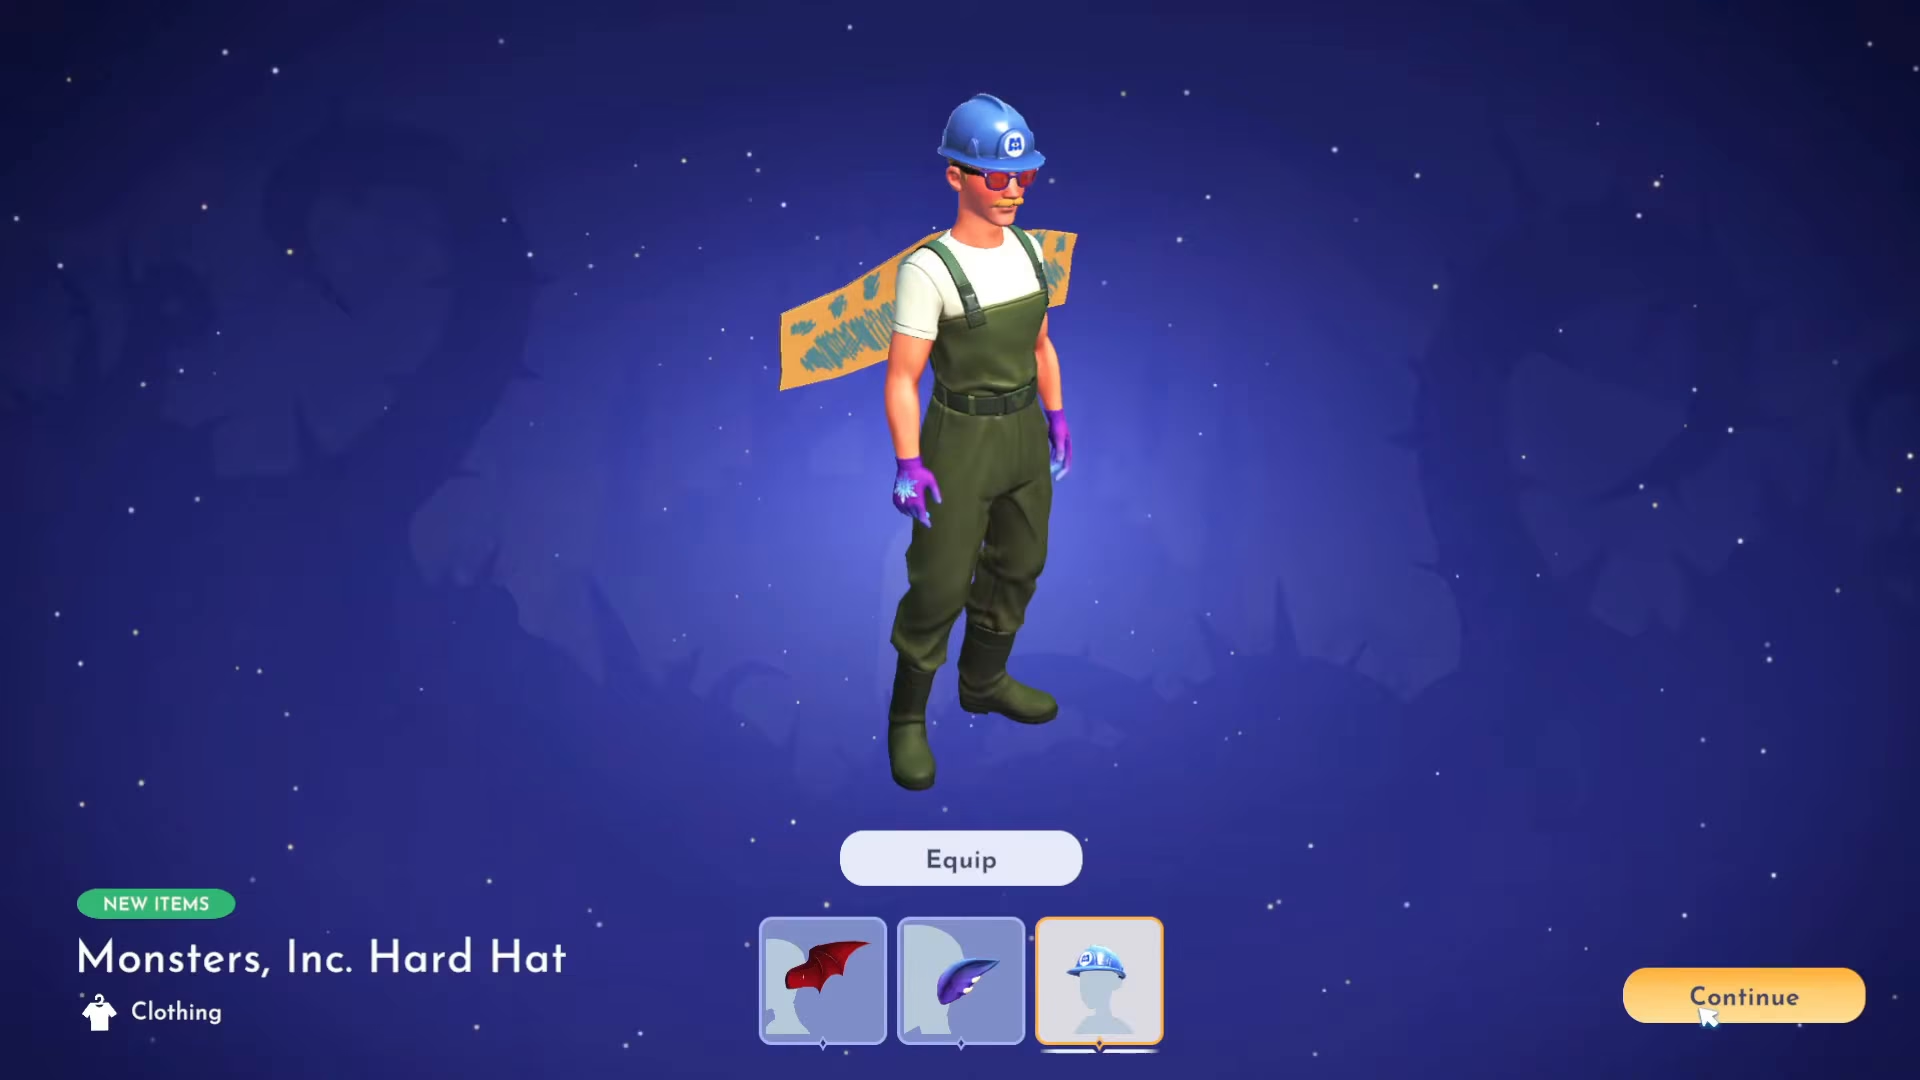
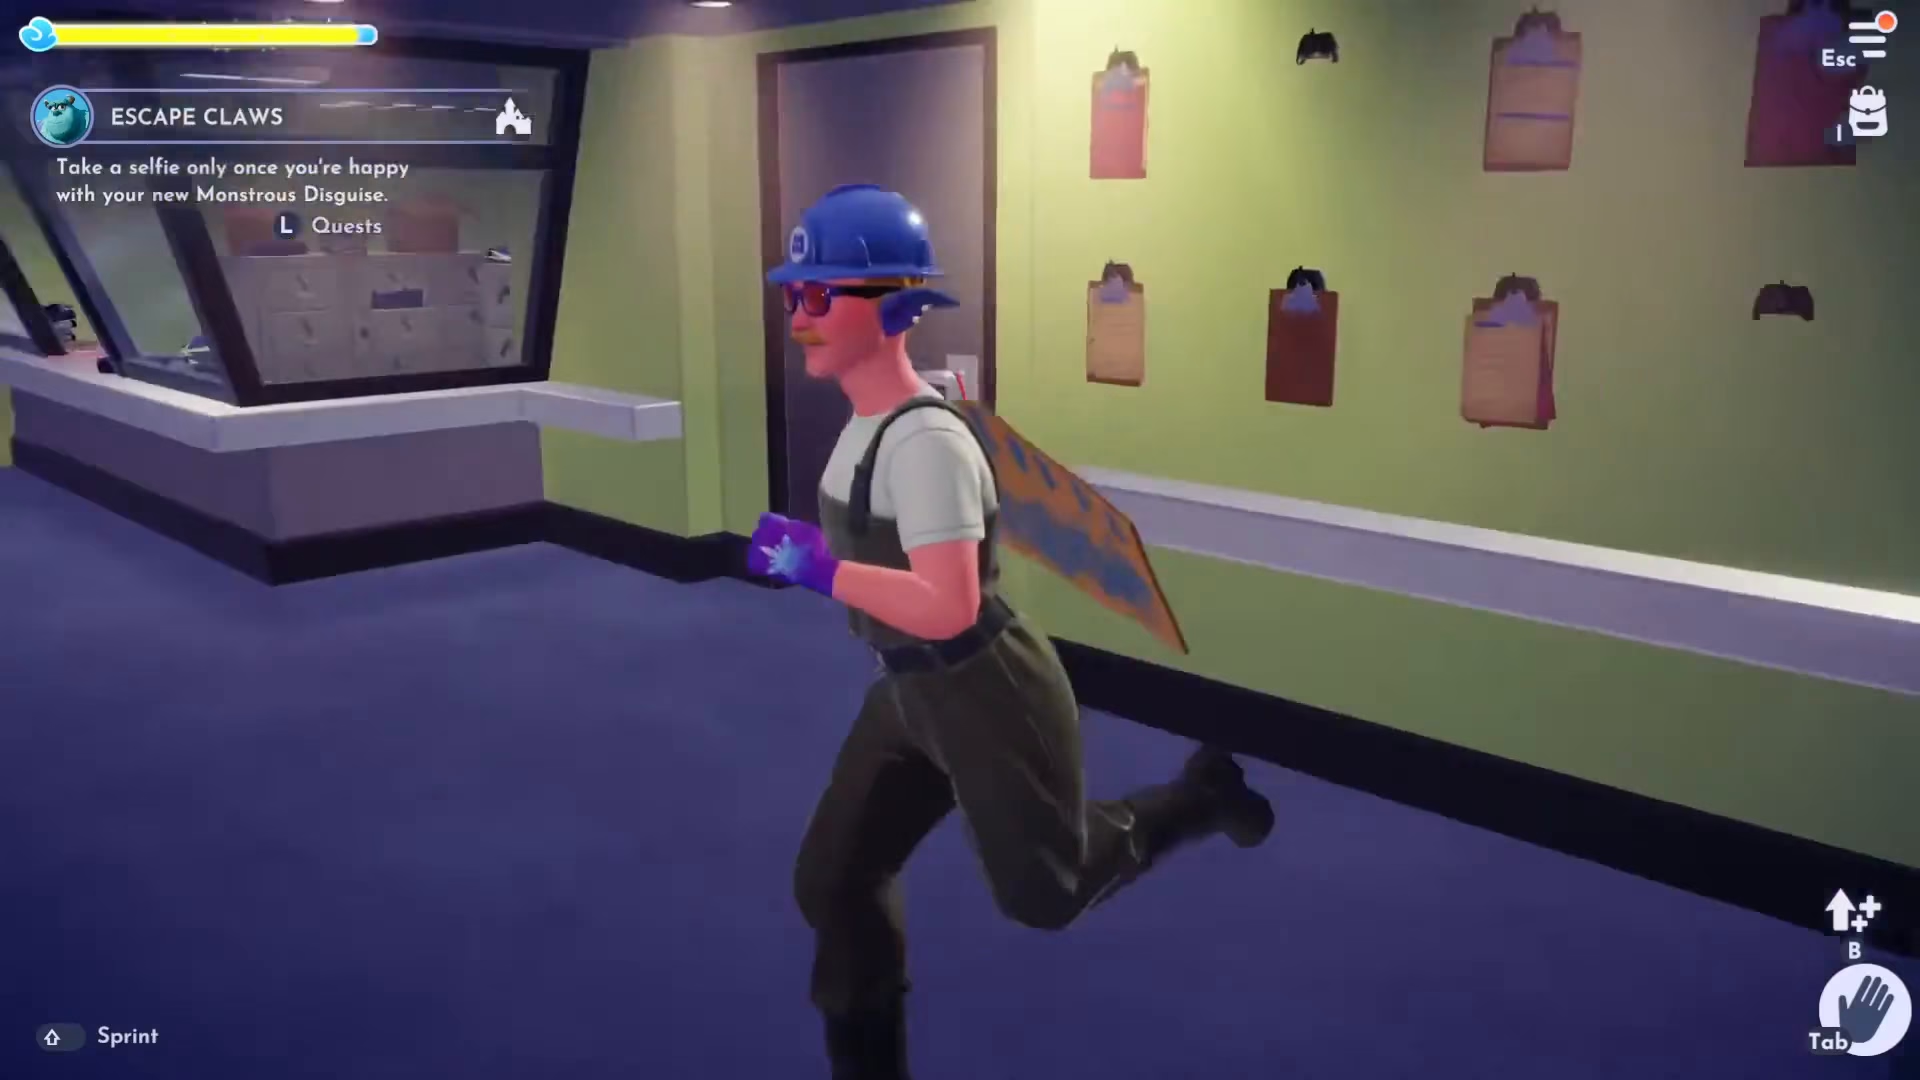
You’ll receive Monster Ears and a Monster Hat from the storage closet. Equip both items to complete your employee disguise, then press continue.
Collecting Memory Notes
While you’re gathering your disguise, don’t miss the Wasowski Paperwork memory note on the wall. These memory items are collectibles that enhance your gameplay experience.
Taking a Selfie and Unlocking the Door
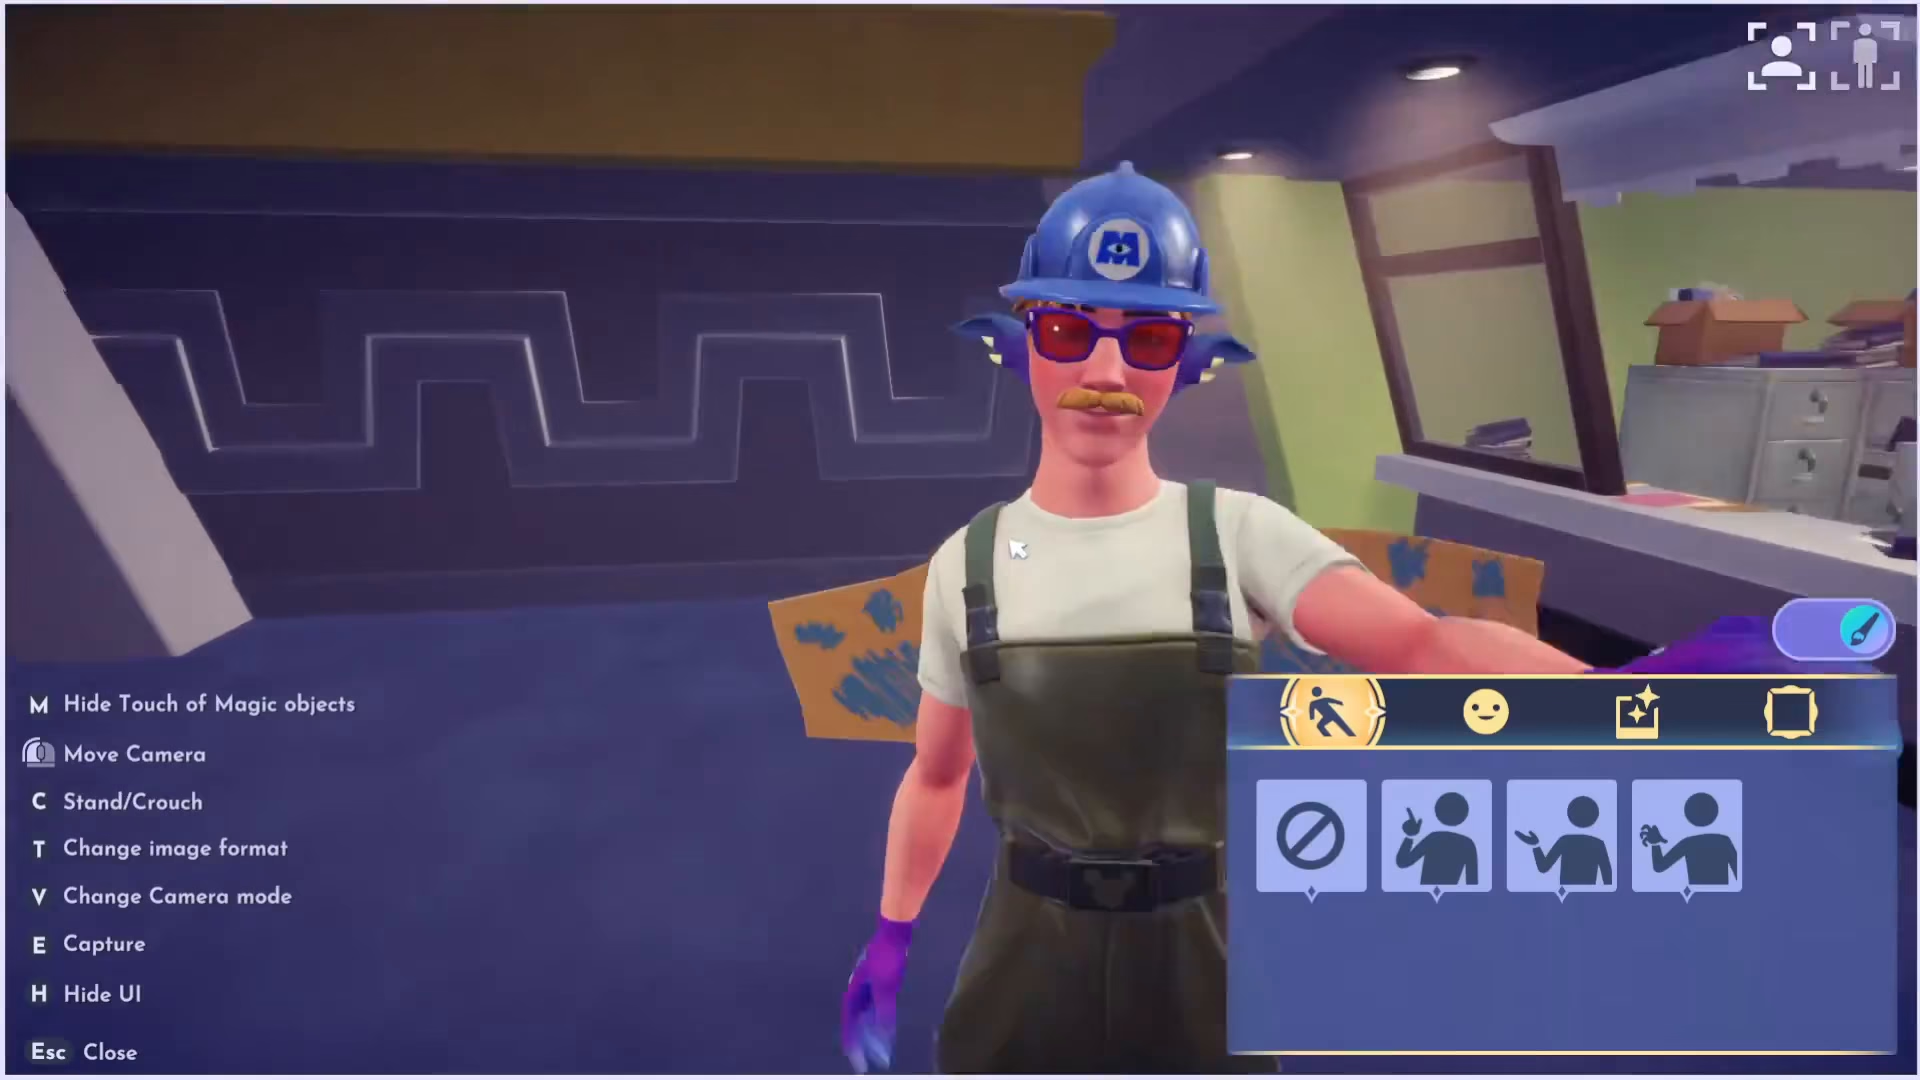
With your disguise equipped, take a selfie to confirm your new appearance. After the selfie is taken, you’ll be able to unlock the employee-only door and proceed into the Monsters, Inc. facility.
Beginning Your Internship
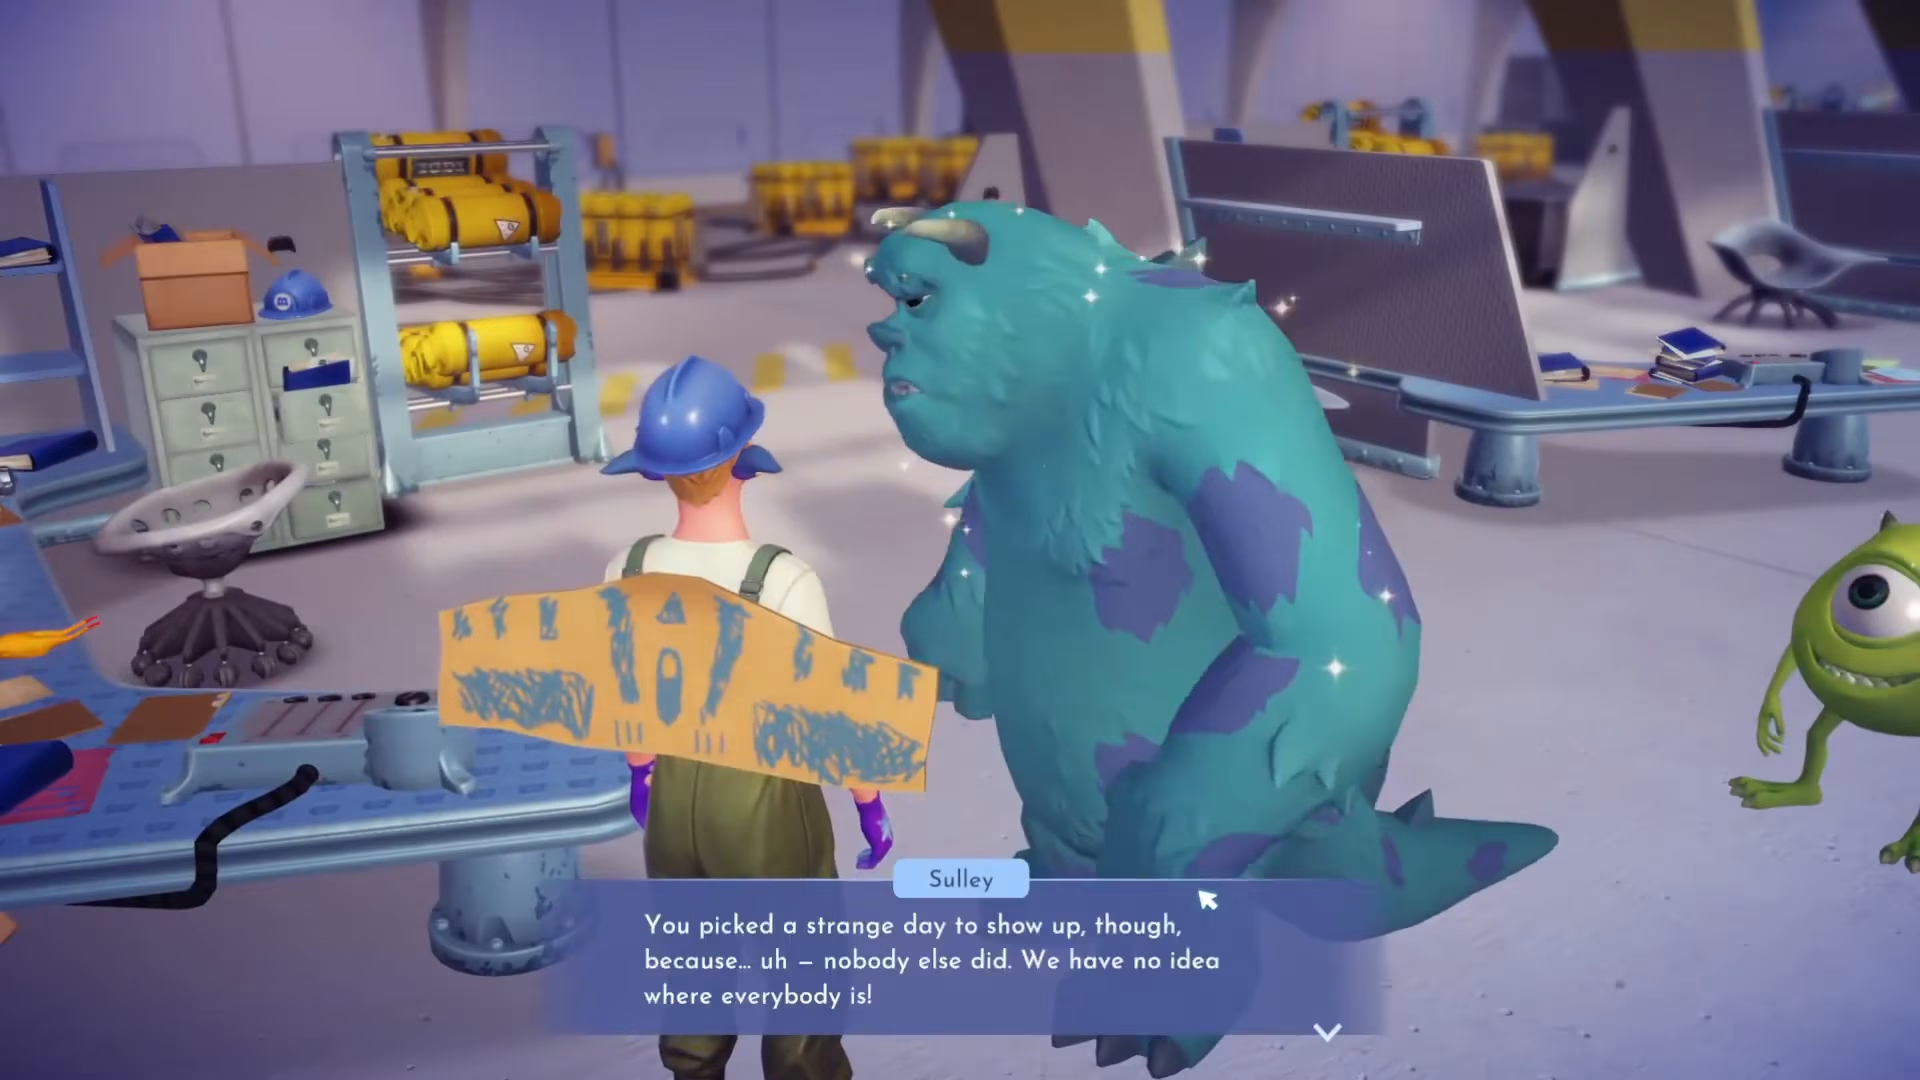
Once inside, speak with Sally to begin your internship at Monsters, Inc. University. She’ll assign you your first tasks: cleaning up slug slime puddles and party trash throughout the facility.
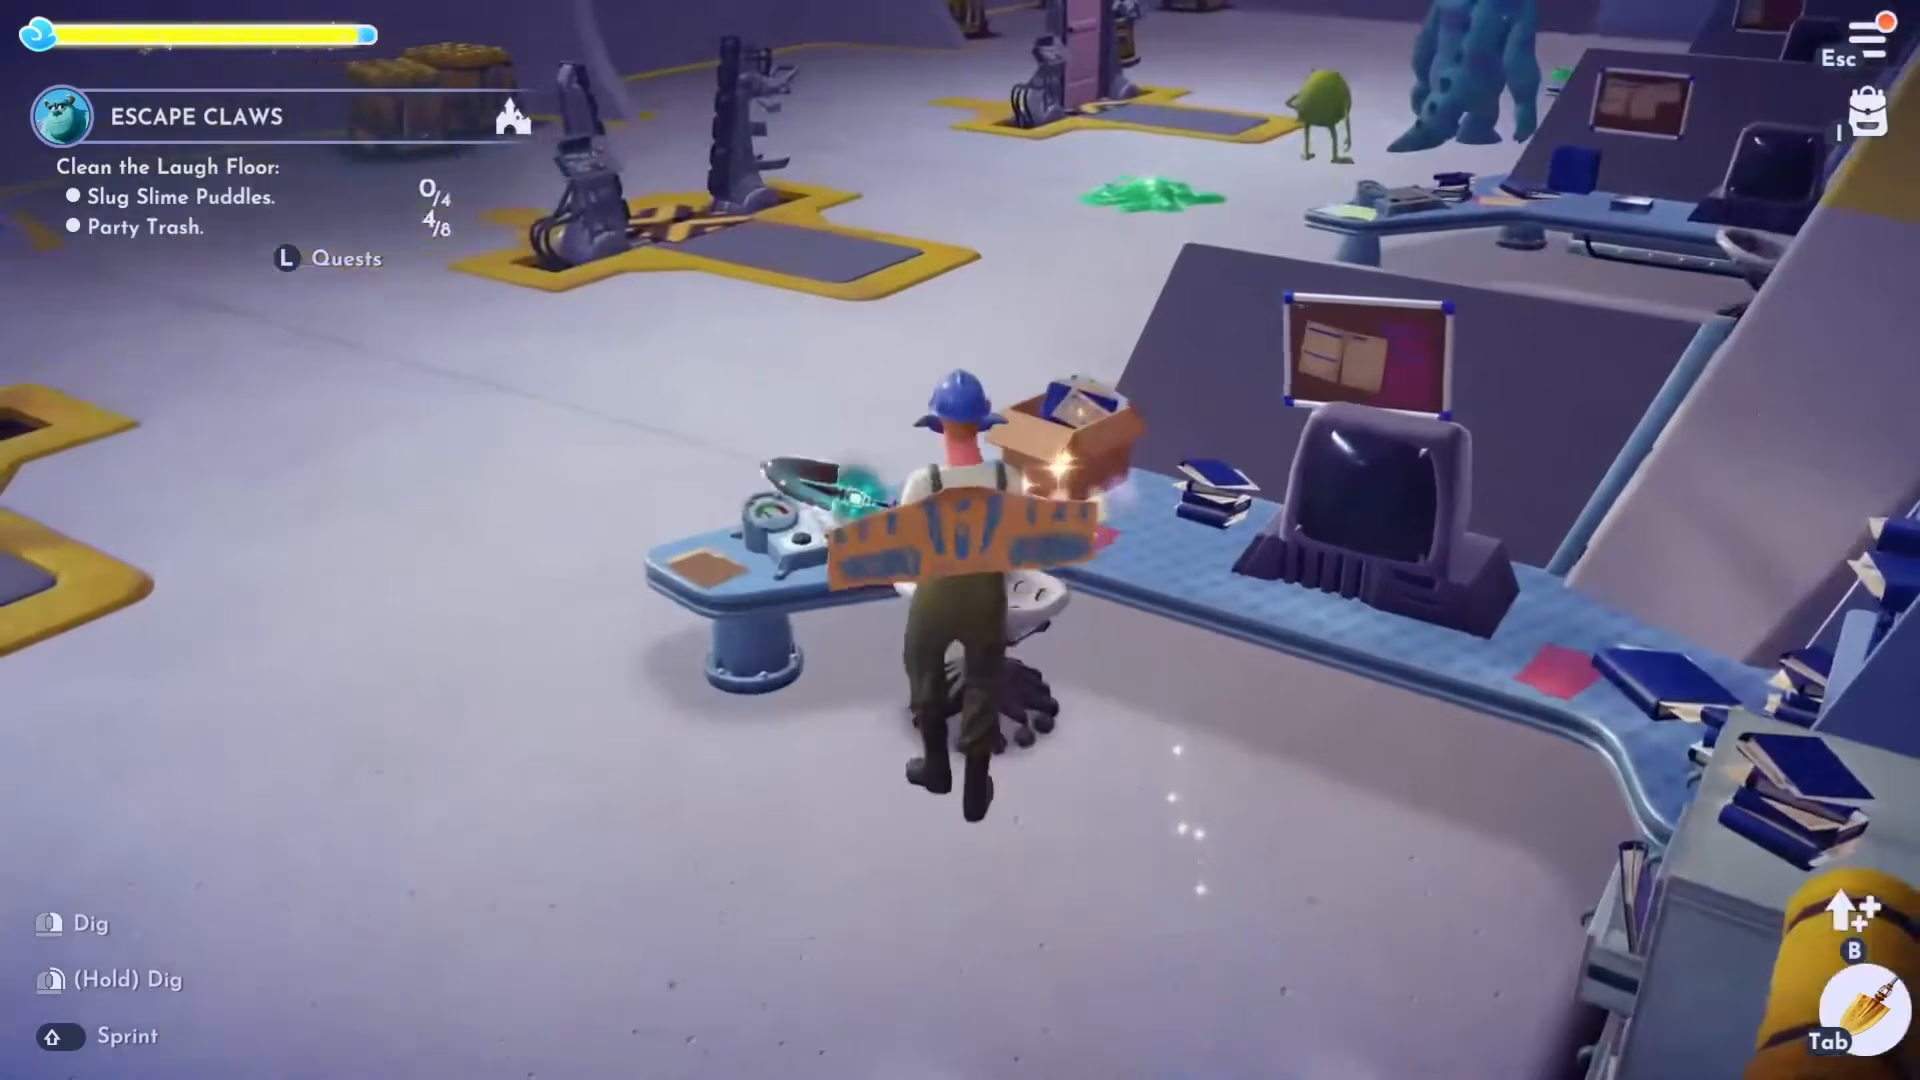
Cleaning Up Trash
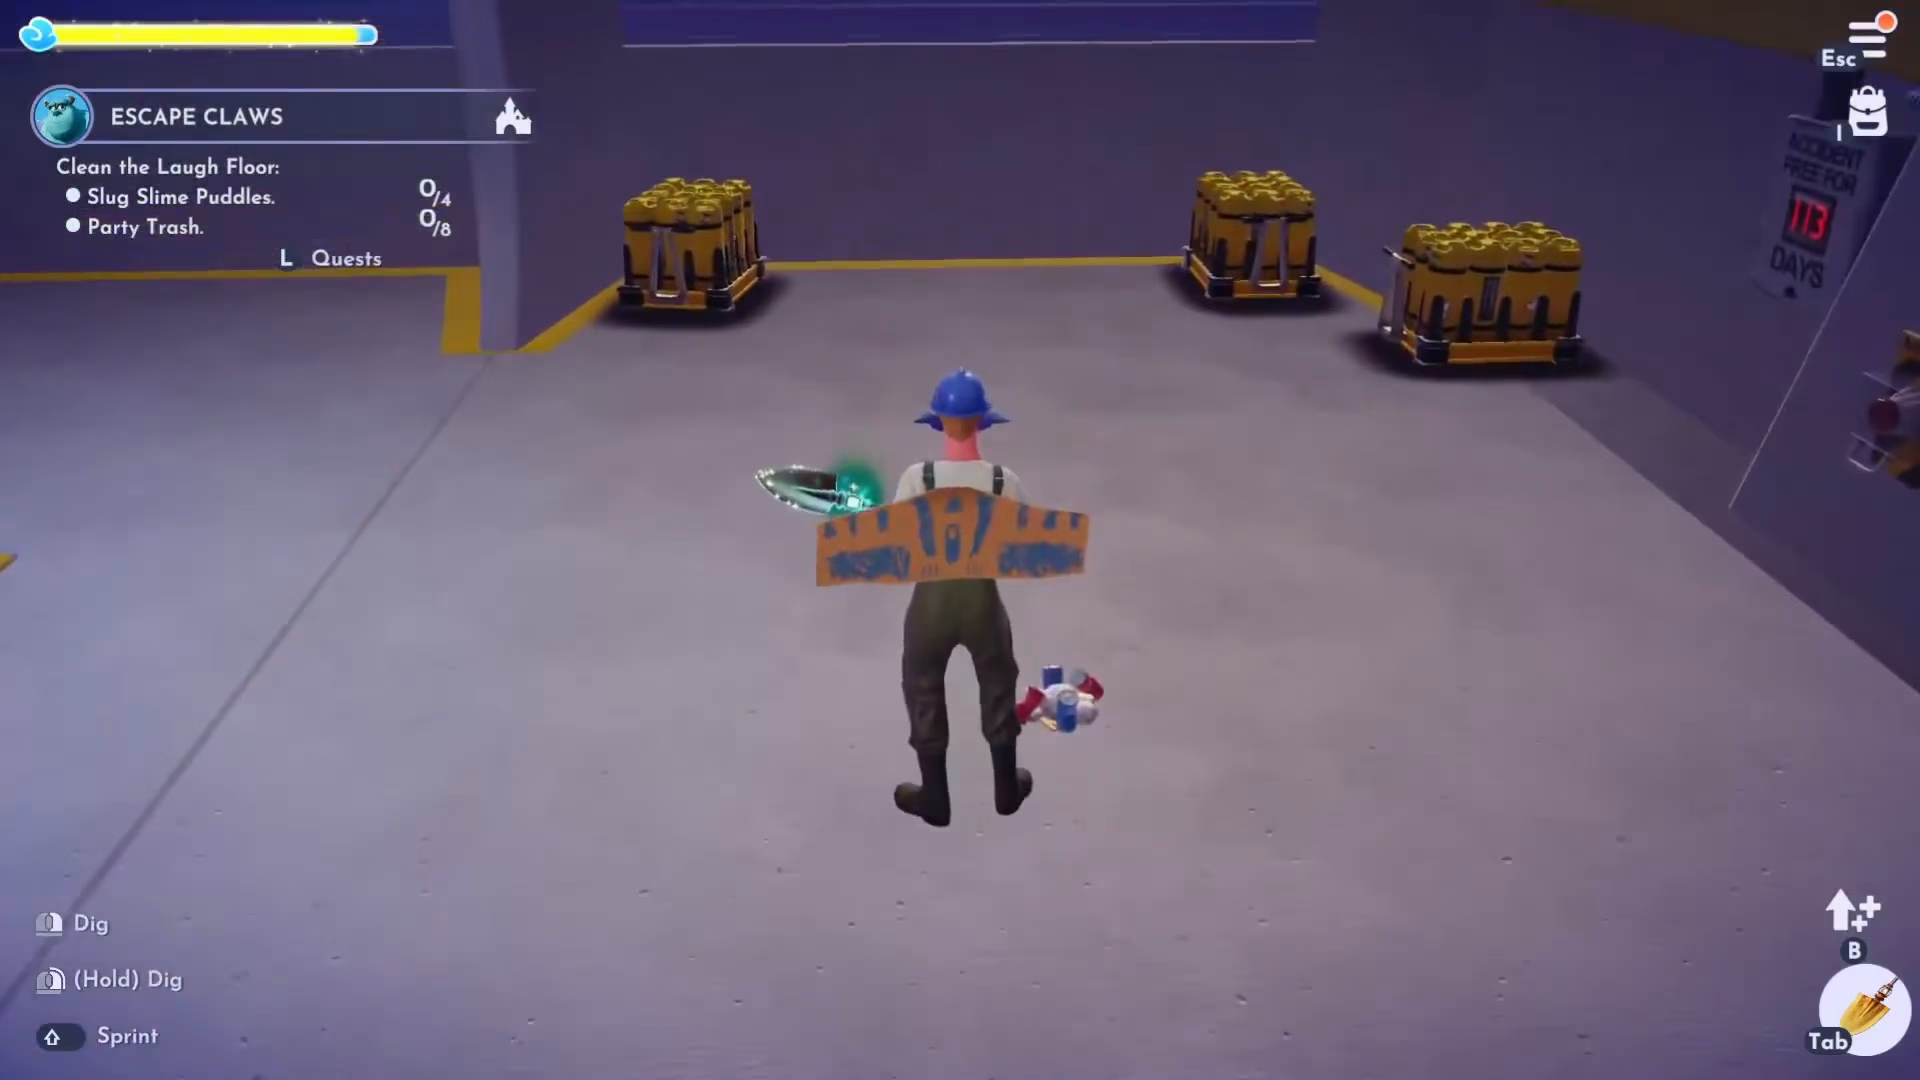
You’ll need to stomp on and collect trash scattered throughout the room. Here’s where to find all 8 pieces of trash:
One near the front door
Two behind Sally and Mike
One at the nearby desk
Two in the middle of the main area
One at the back desk
One near the front door (second location)
Be sure to collect the additional memory note you’ll find on the table while cleaning.
Removing Slug Slime Puddles
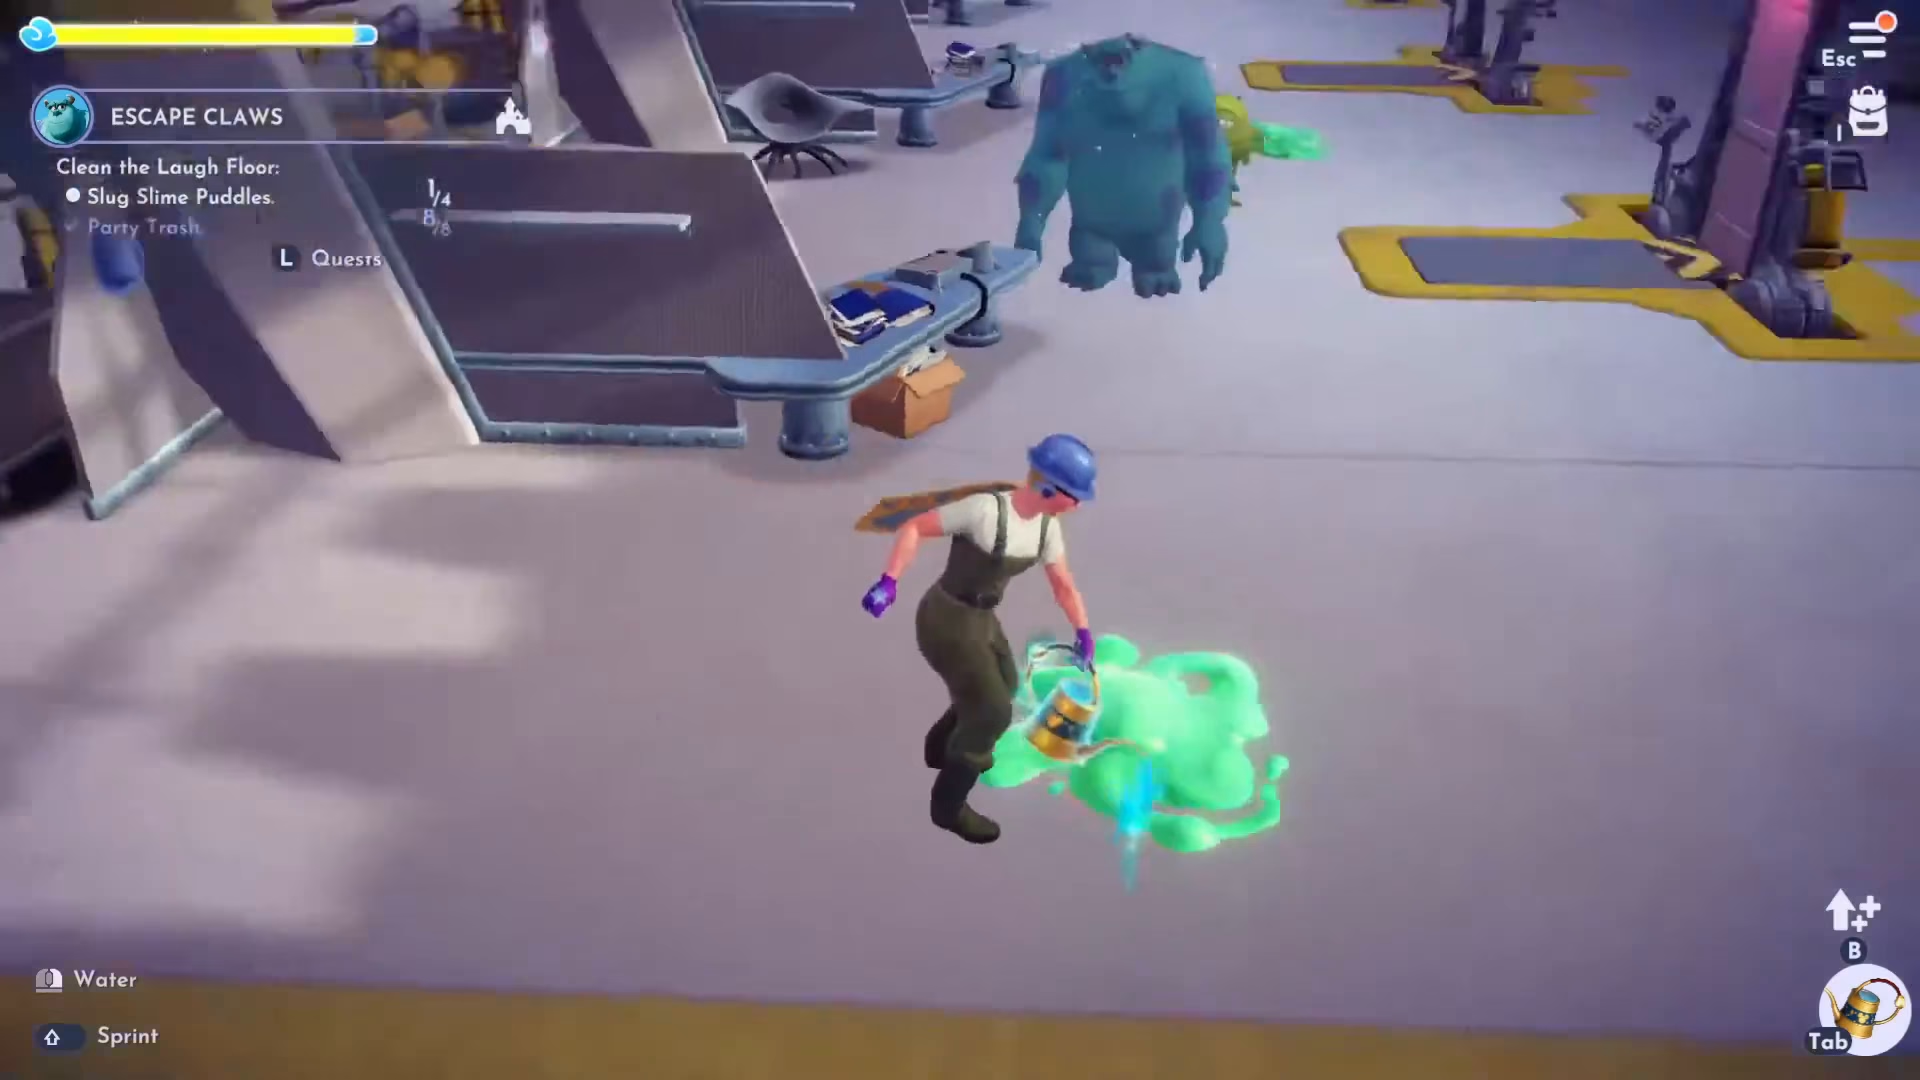
After collecting the trash, use your watering can to eliminate all the slug slime puddles. You’ll find them in the following locations:
Near the door entrance
Behind Mike and Sally
Near the back area
At the very back of the facility
Making Coffee Orders
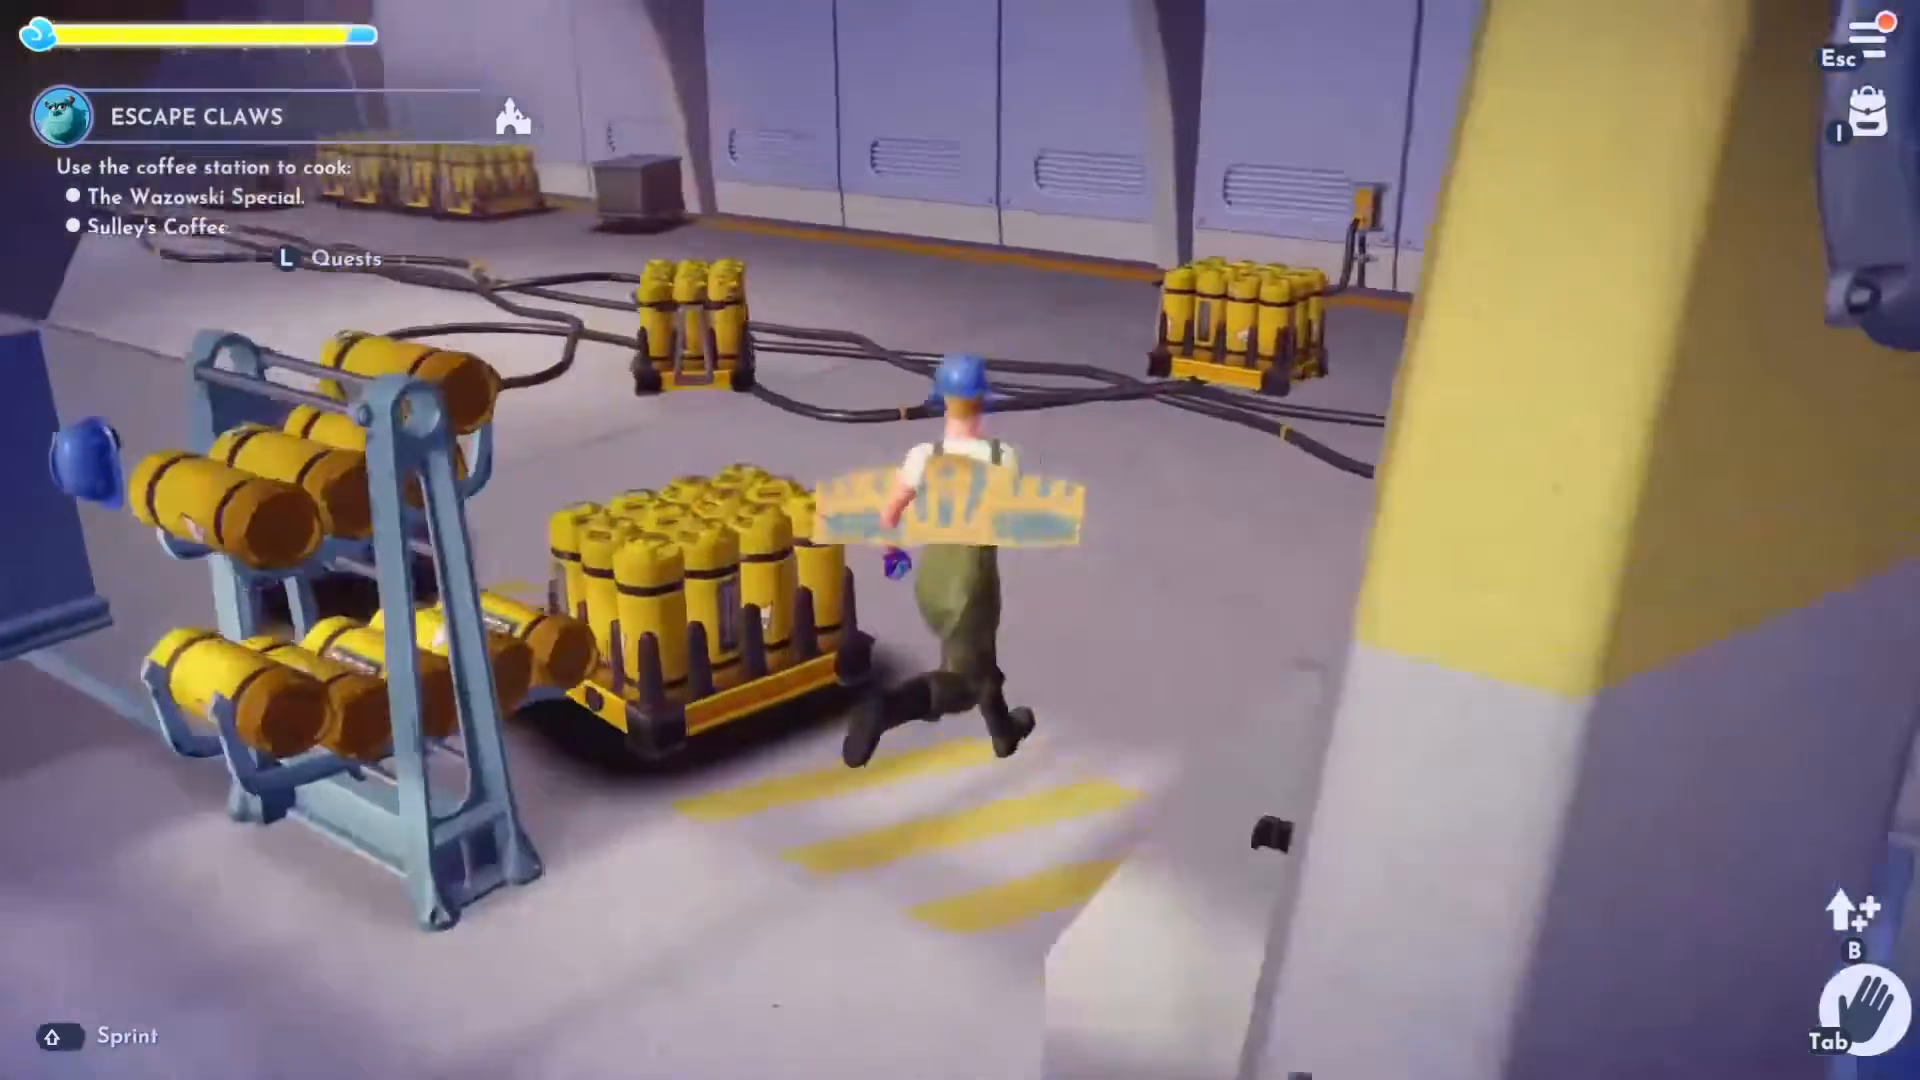
After cleaning up, Sally will ask you to use the coffee station to prepare two specialty drinks: the Wasowski Special and Sally’s Coffee. Head back to the entrance and locate the coffee machine.
Recipe Details
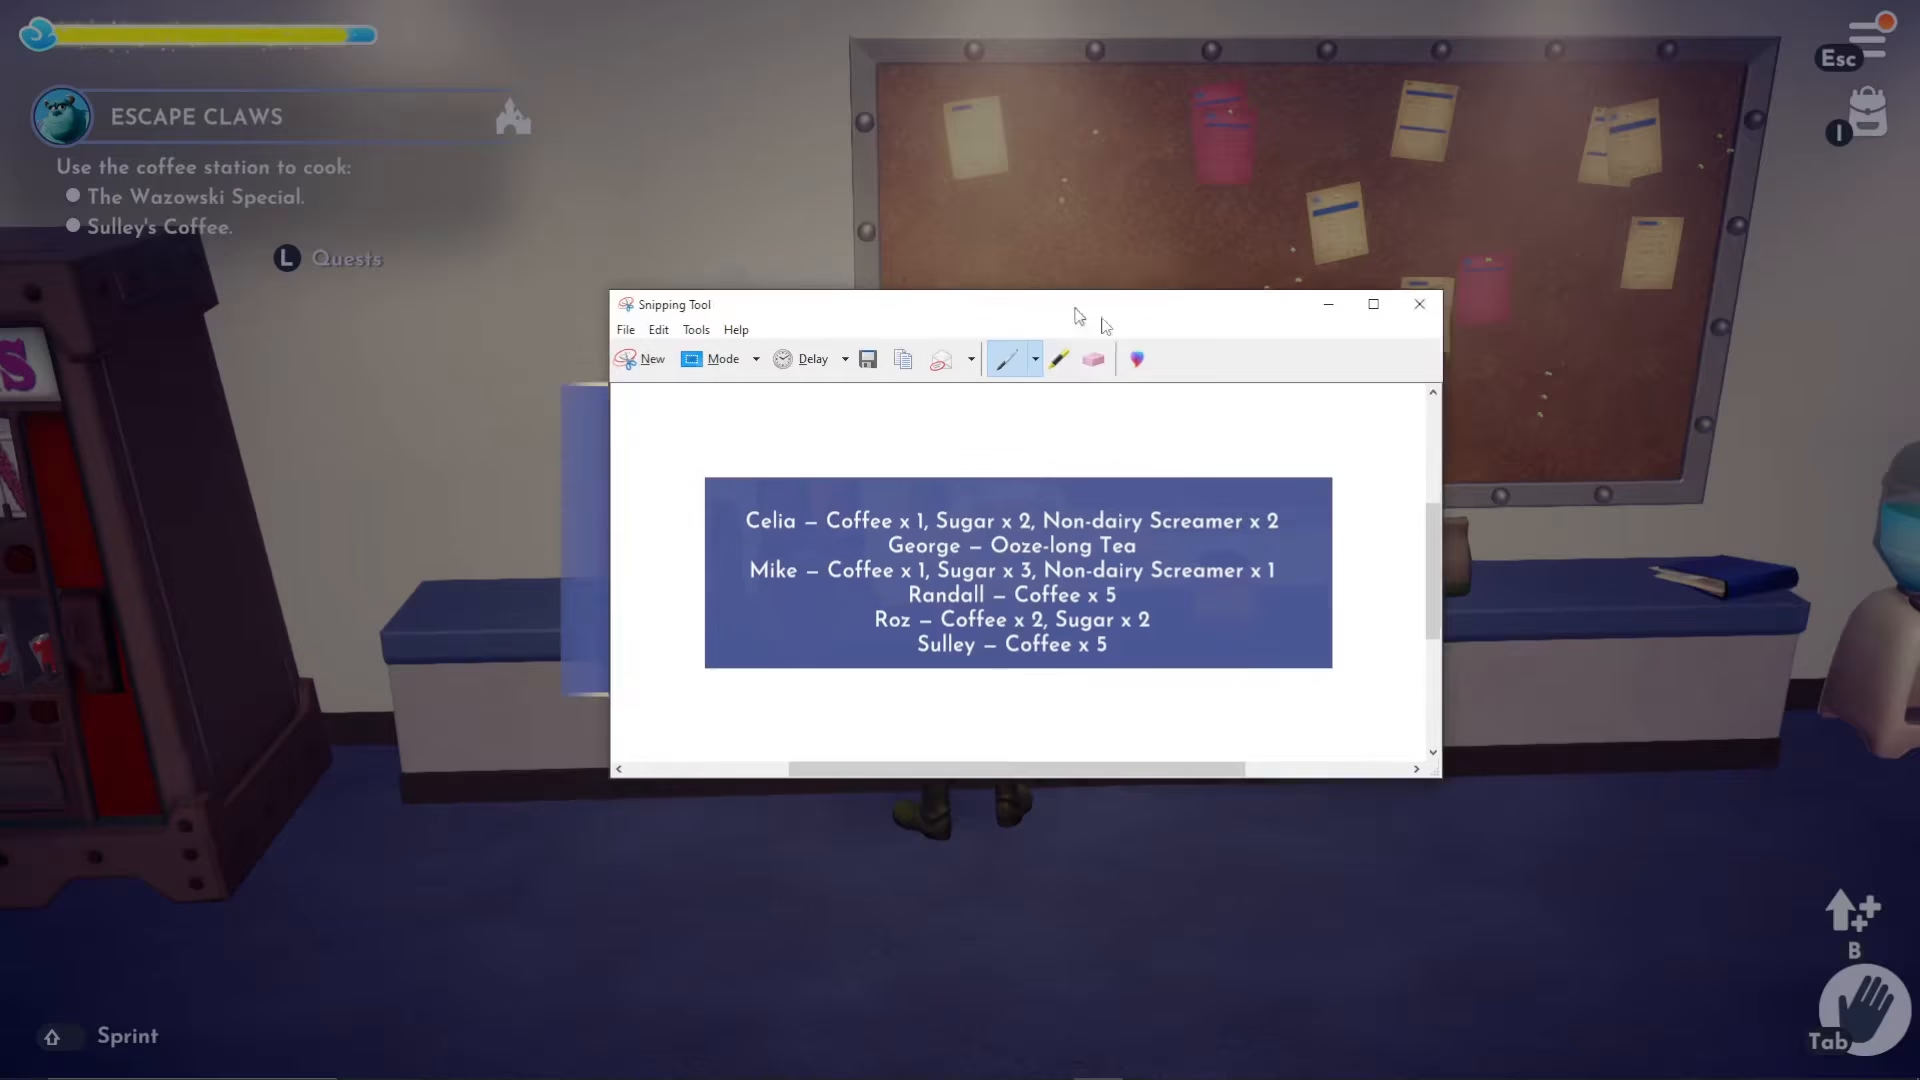
Check the coffee orders in the recipe section. You’ll be making:
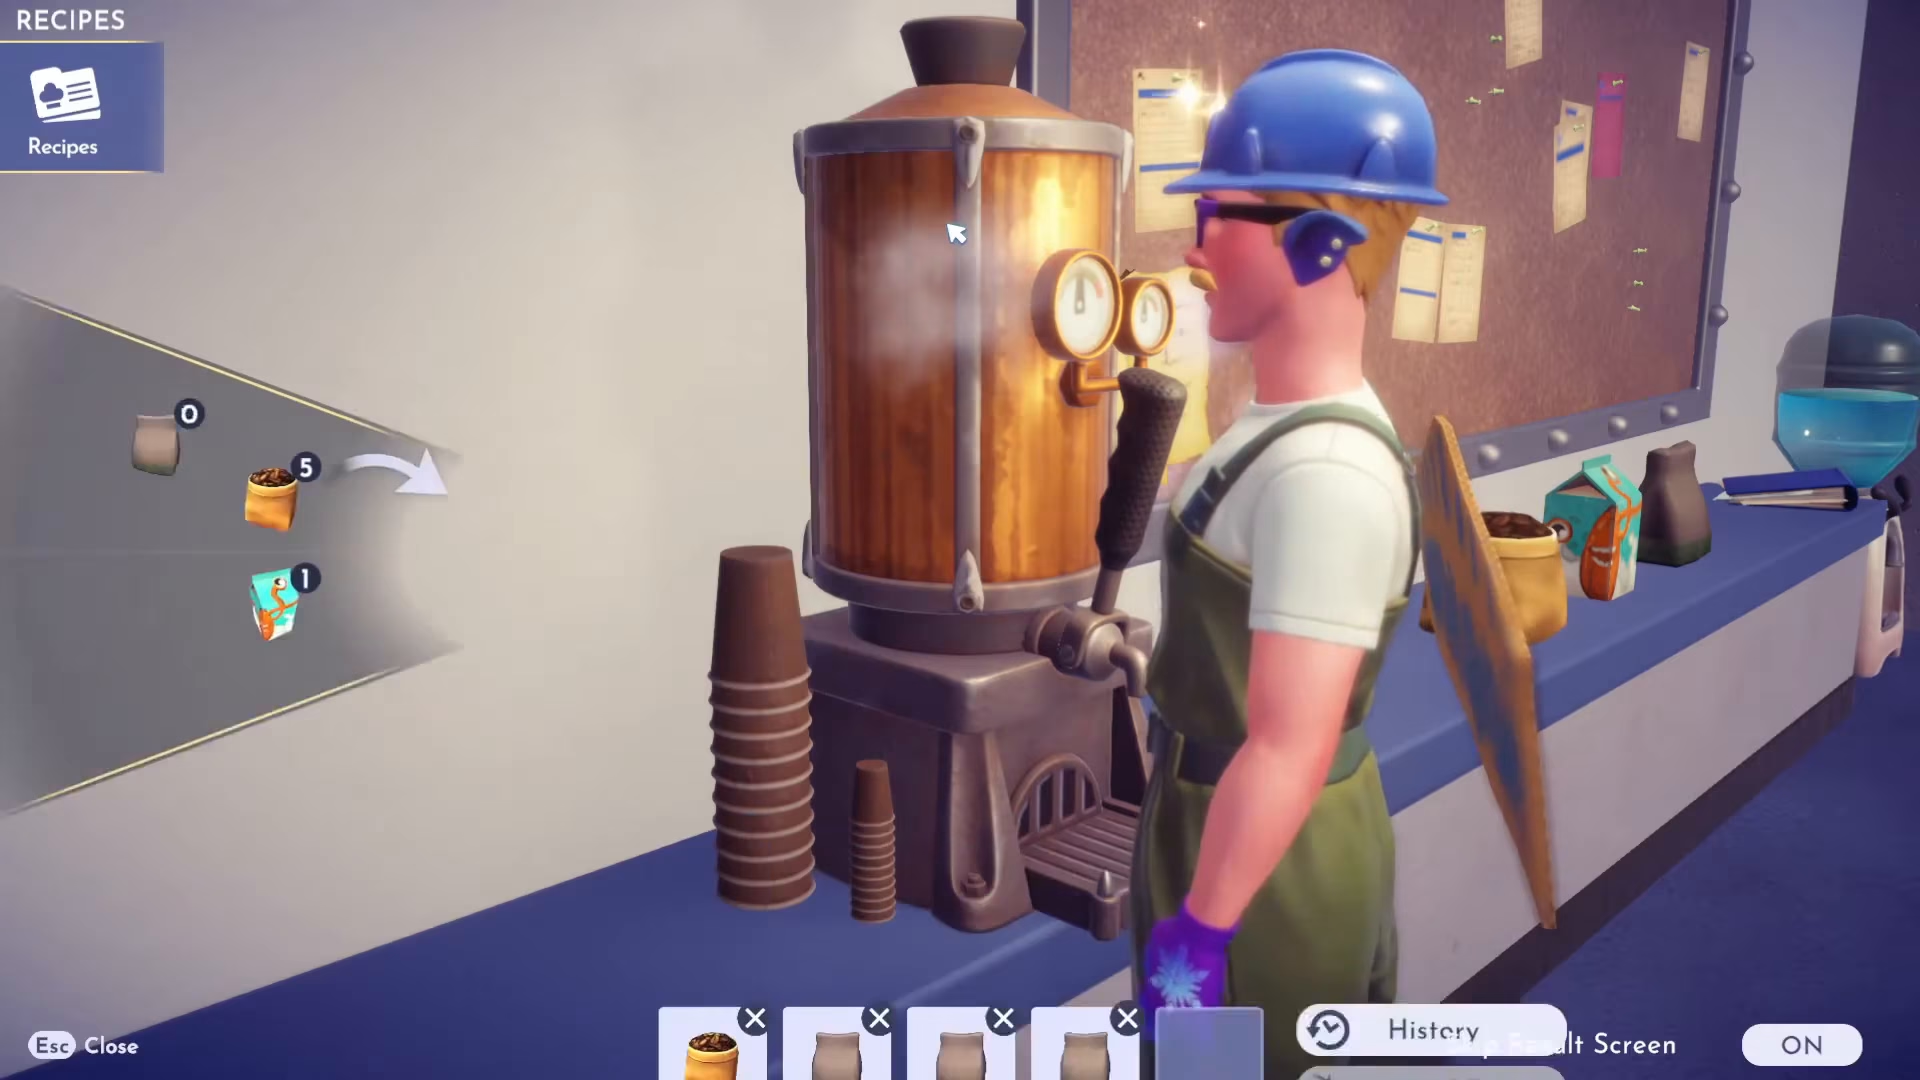
Sally’s Coffee: 5 Coffee Beans
Wasowski Special (Mike’s Coffee): 1 Coffee Bean, 3 Sugar, 1 Non-Dairy Creamer
Using the Coffee Machine
To make Sally’s Coffee, add 5 coffee beans to the coffee machine and start cooking. The non-dairy creamer requires 1 coffee bean as an ingredient, so gather your materials accordingly.
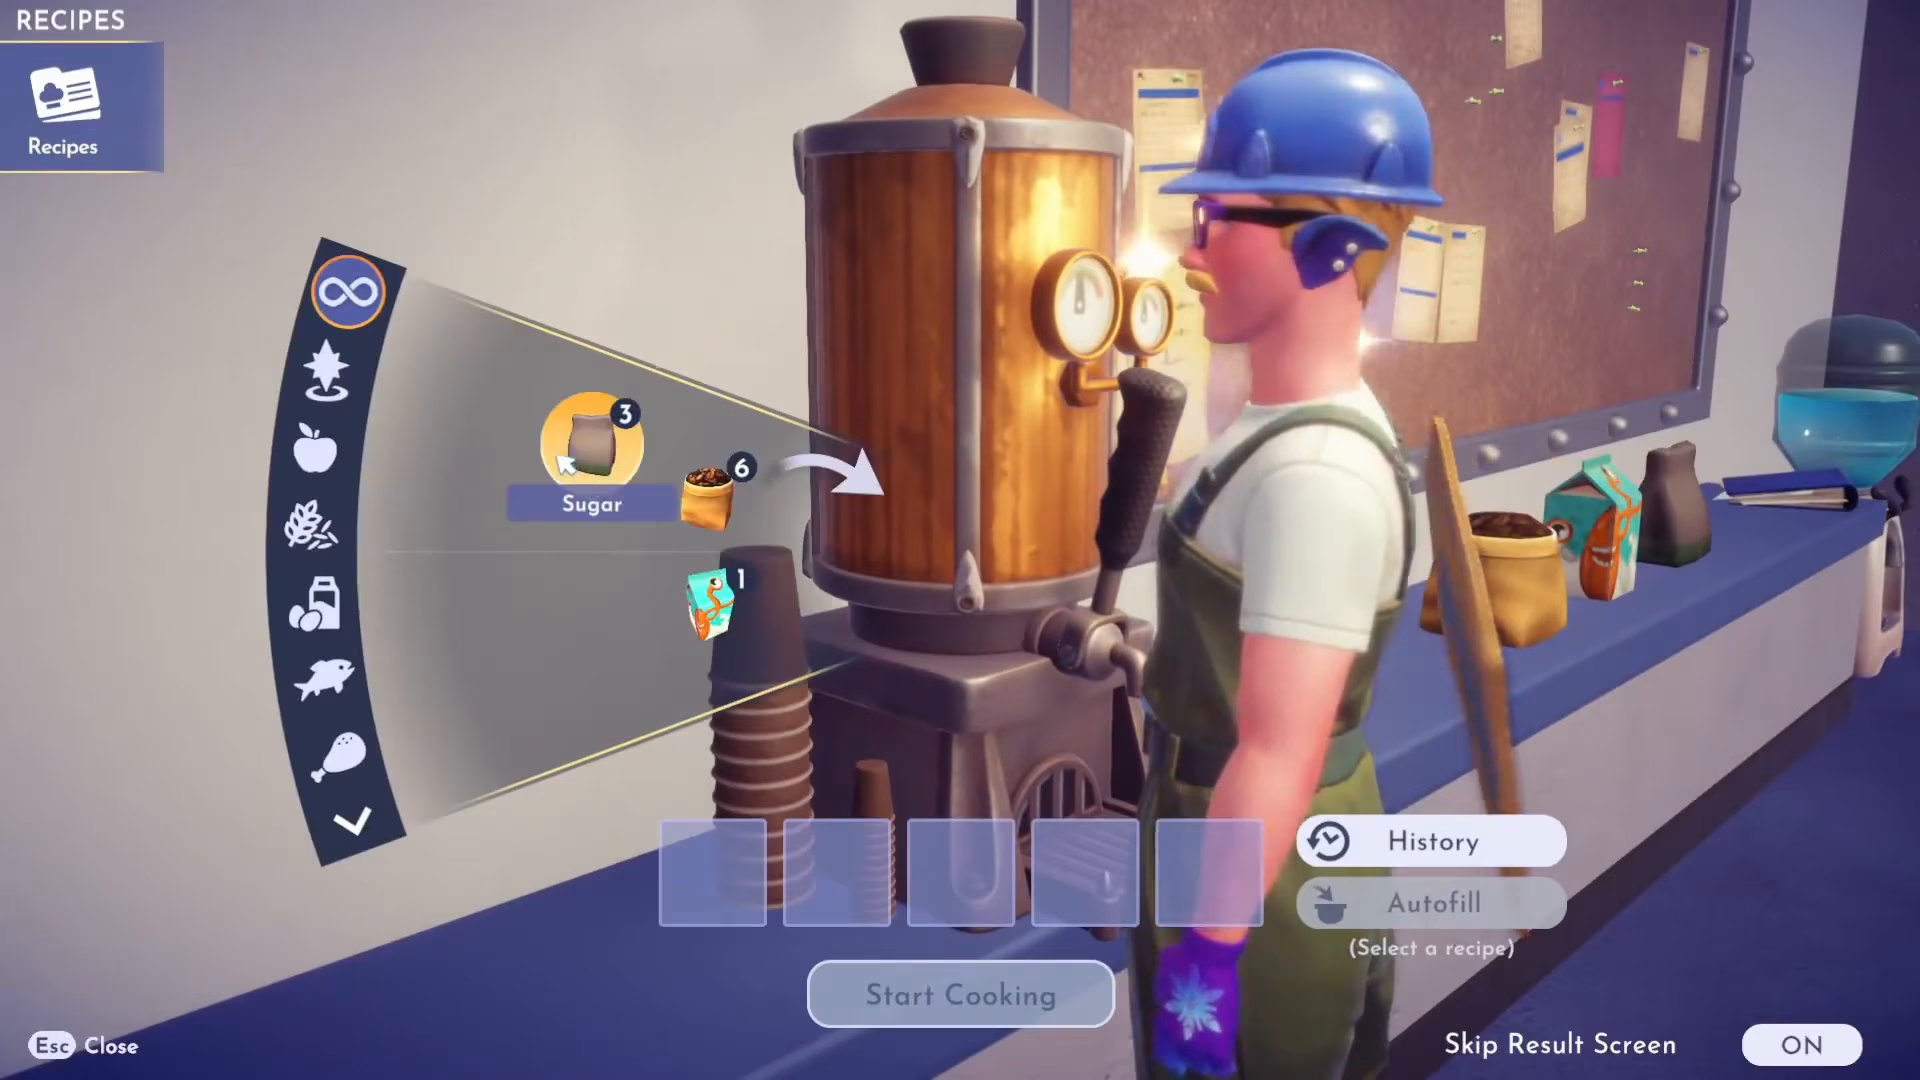
For the Wasowski Special, add 1 coffee bean, 3 sugars, and 1 non-dairy creamer to the machine and start cooking.
Delivering the Coffee
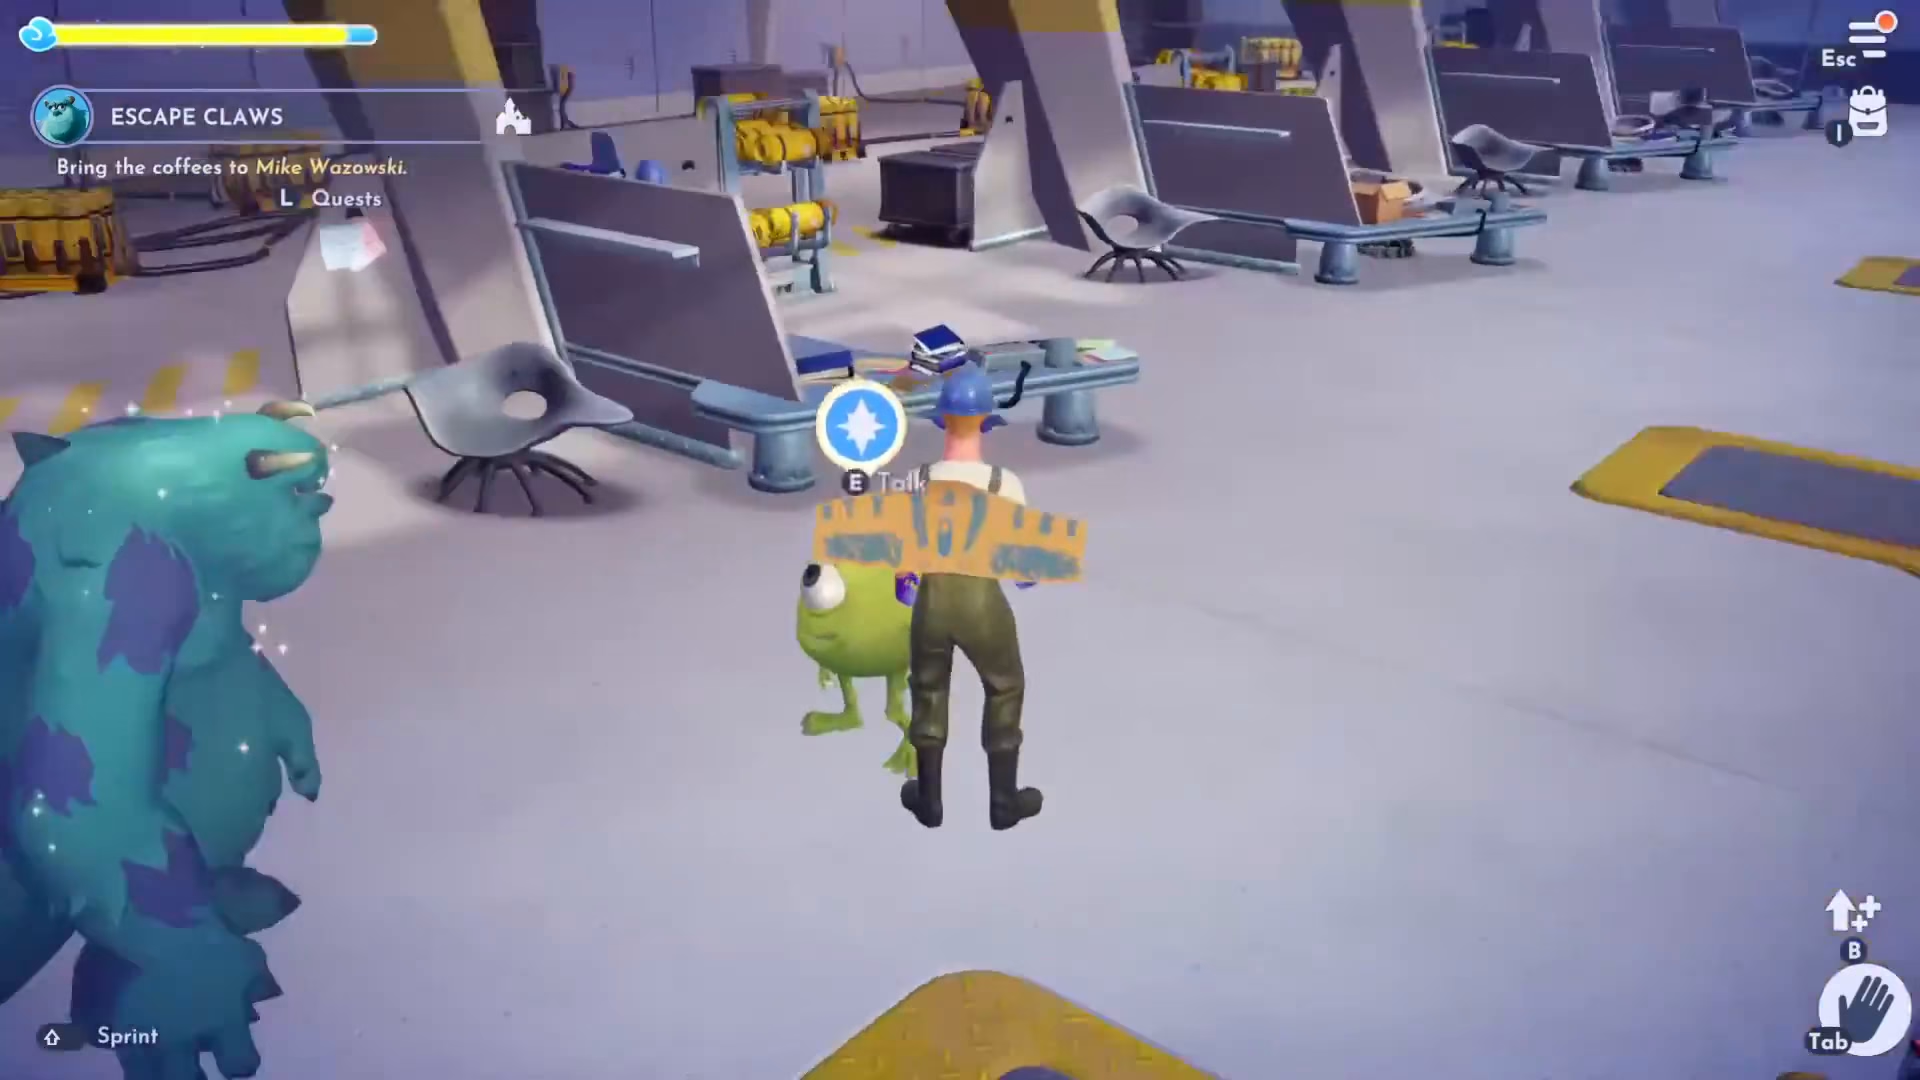
Once both coffees are prepared, bring them to Mike Wazowski and present them to him.
Rescuing Mike from the Human World
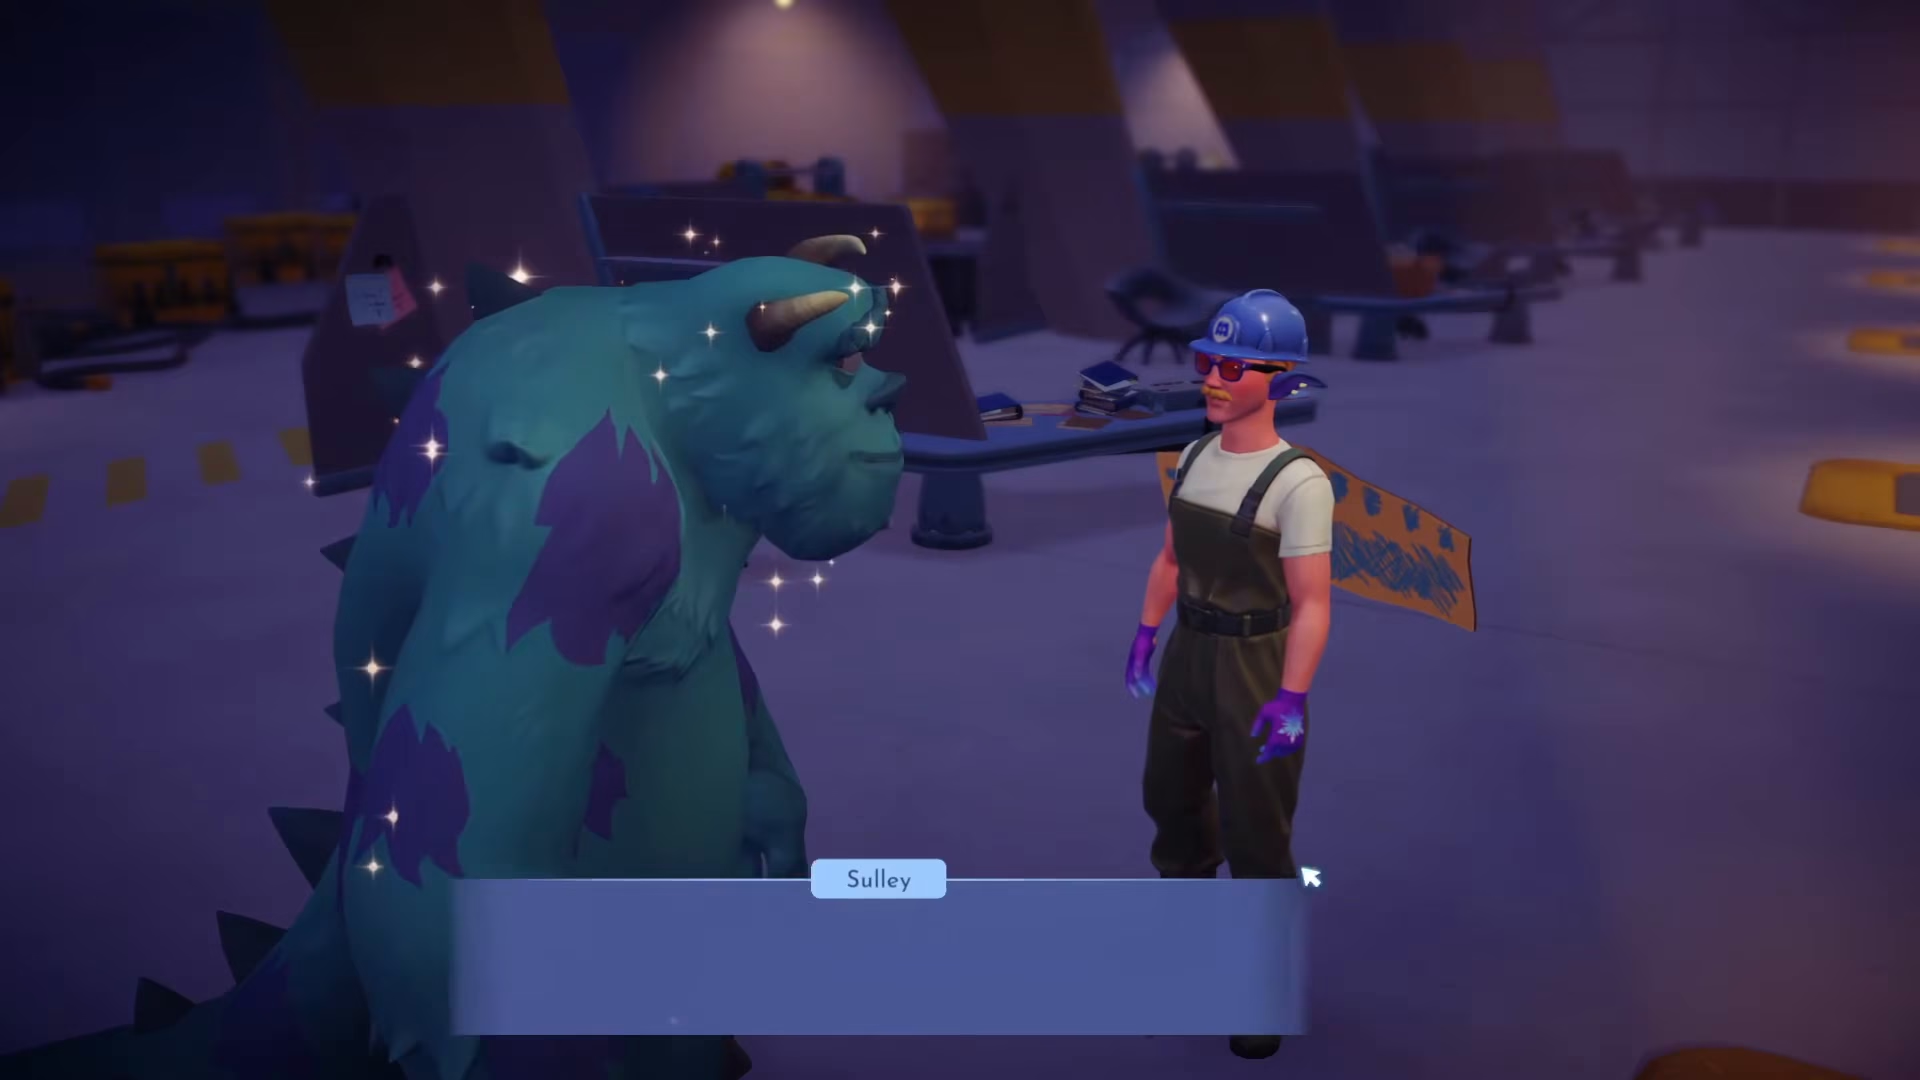
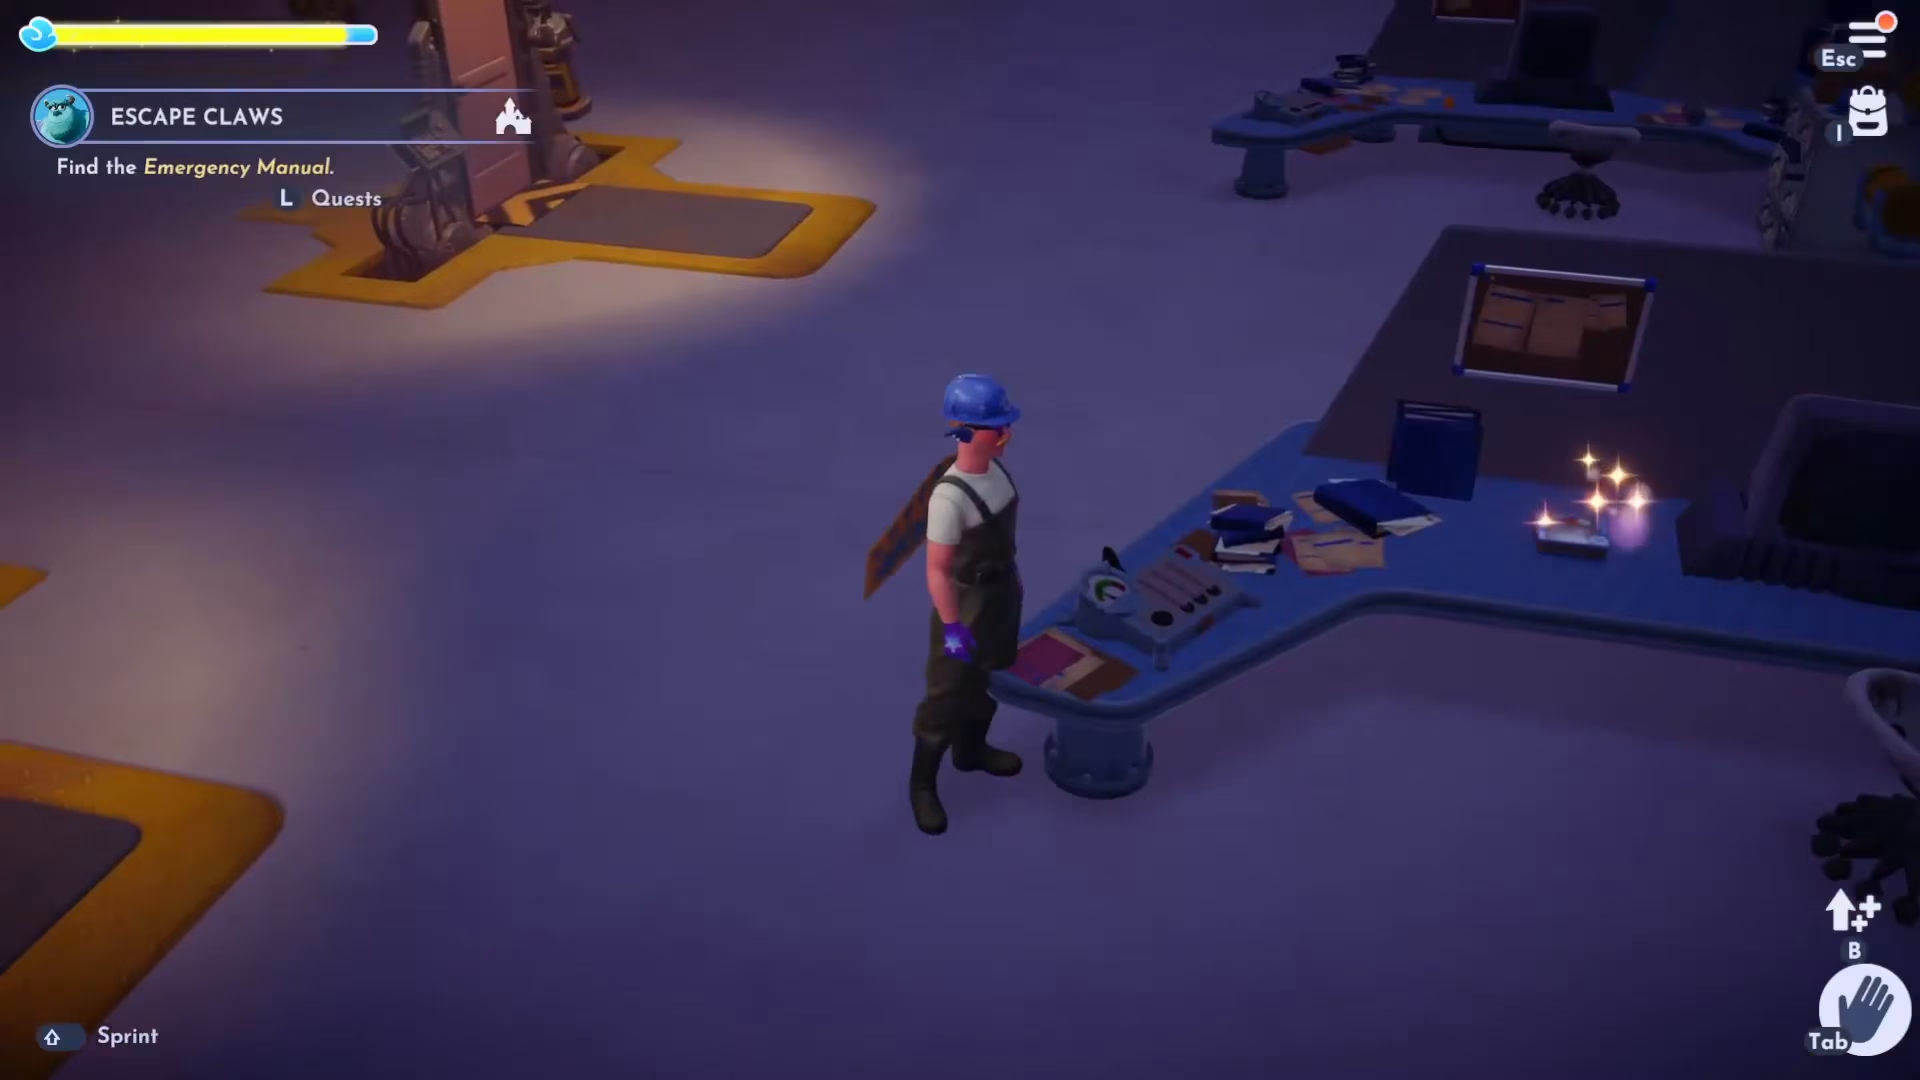
After Mike receives his coffee, he’ll reveal that he’s become stuck in the human world. Now you need to find the Emergency Manual to determine how to rescue him.
Finding the Emergency Manual
Look for the Emergency Manual on the second desk in the facility. Once located, bring it to Sally.
Restoring Power and Rescuing Mike
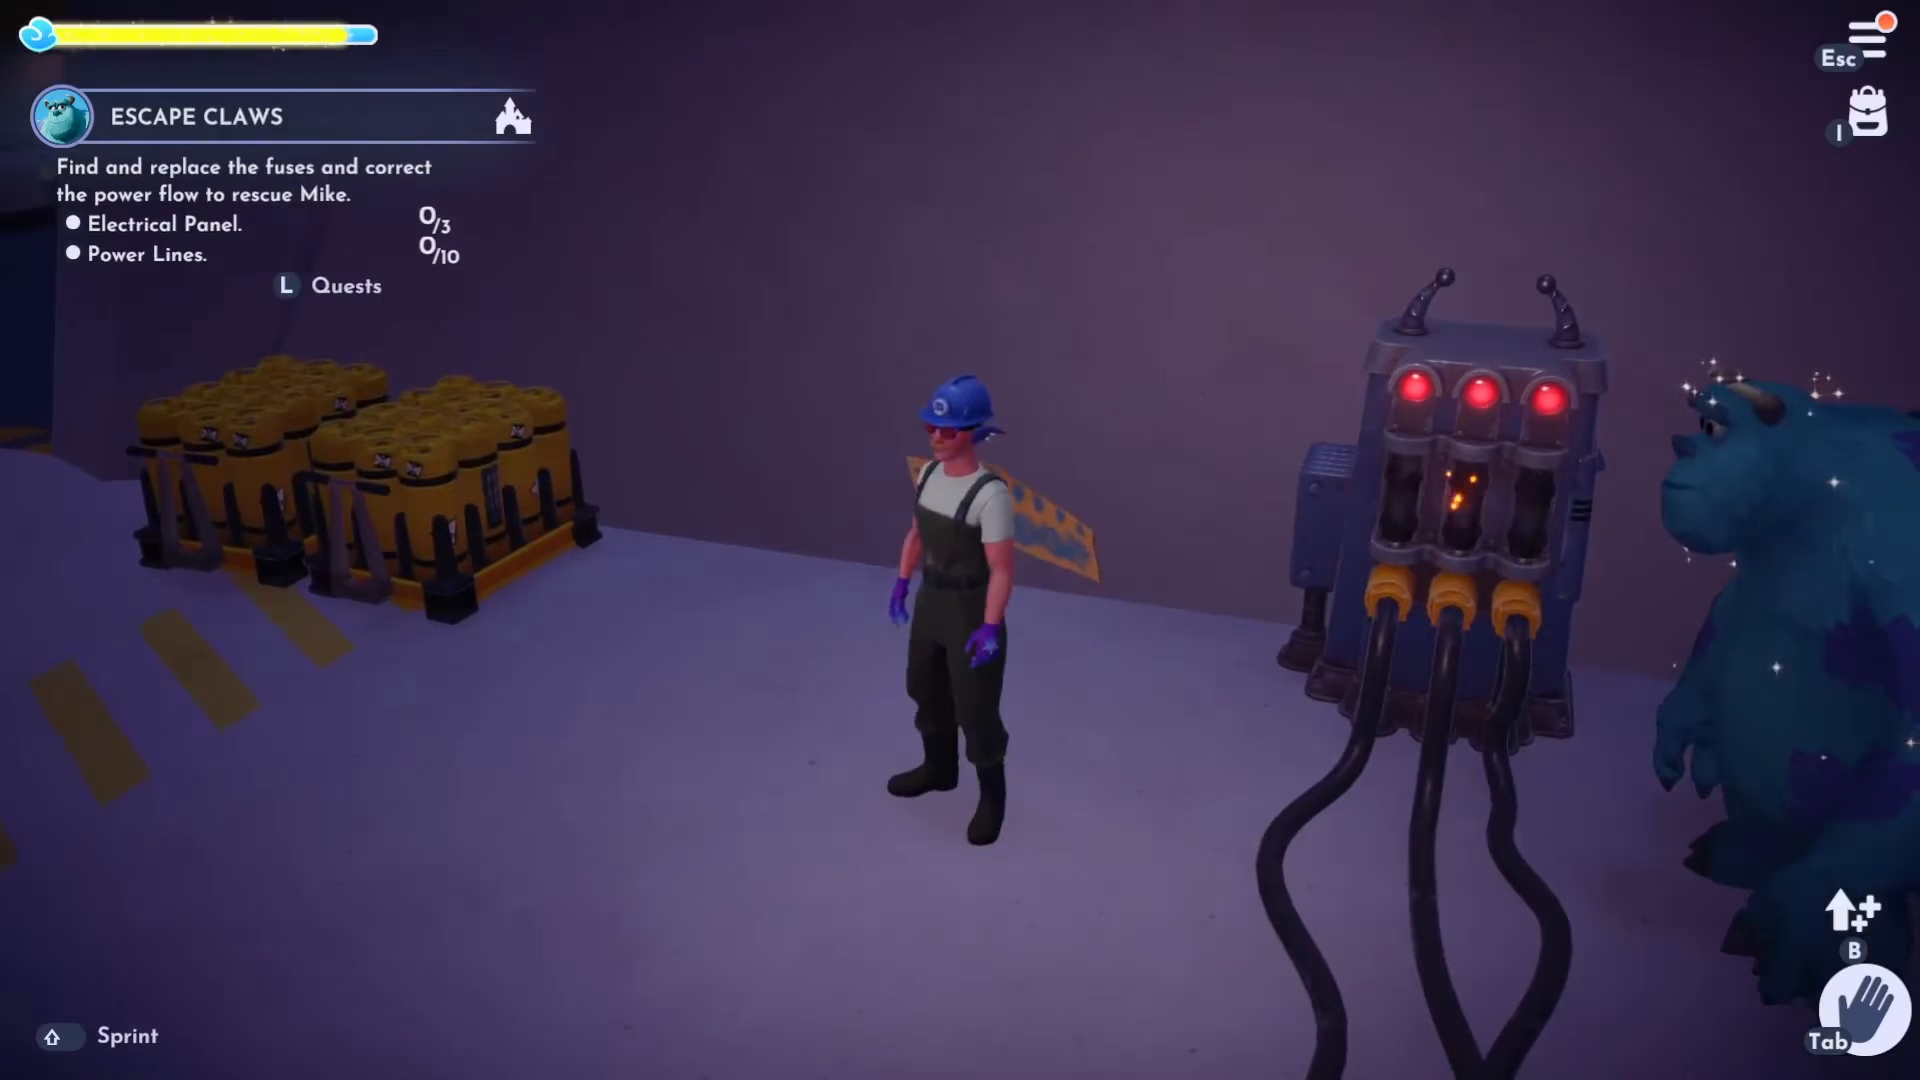
Sally will explain that you need to restore the power flow by finding fuses and replacing them in the fuse boxes. In total, you’ll need to collect 3 Laugh Floor Fuses and restore power to all three fuse boxes.
First Fuse Location and Installation
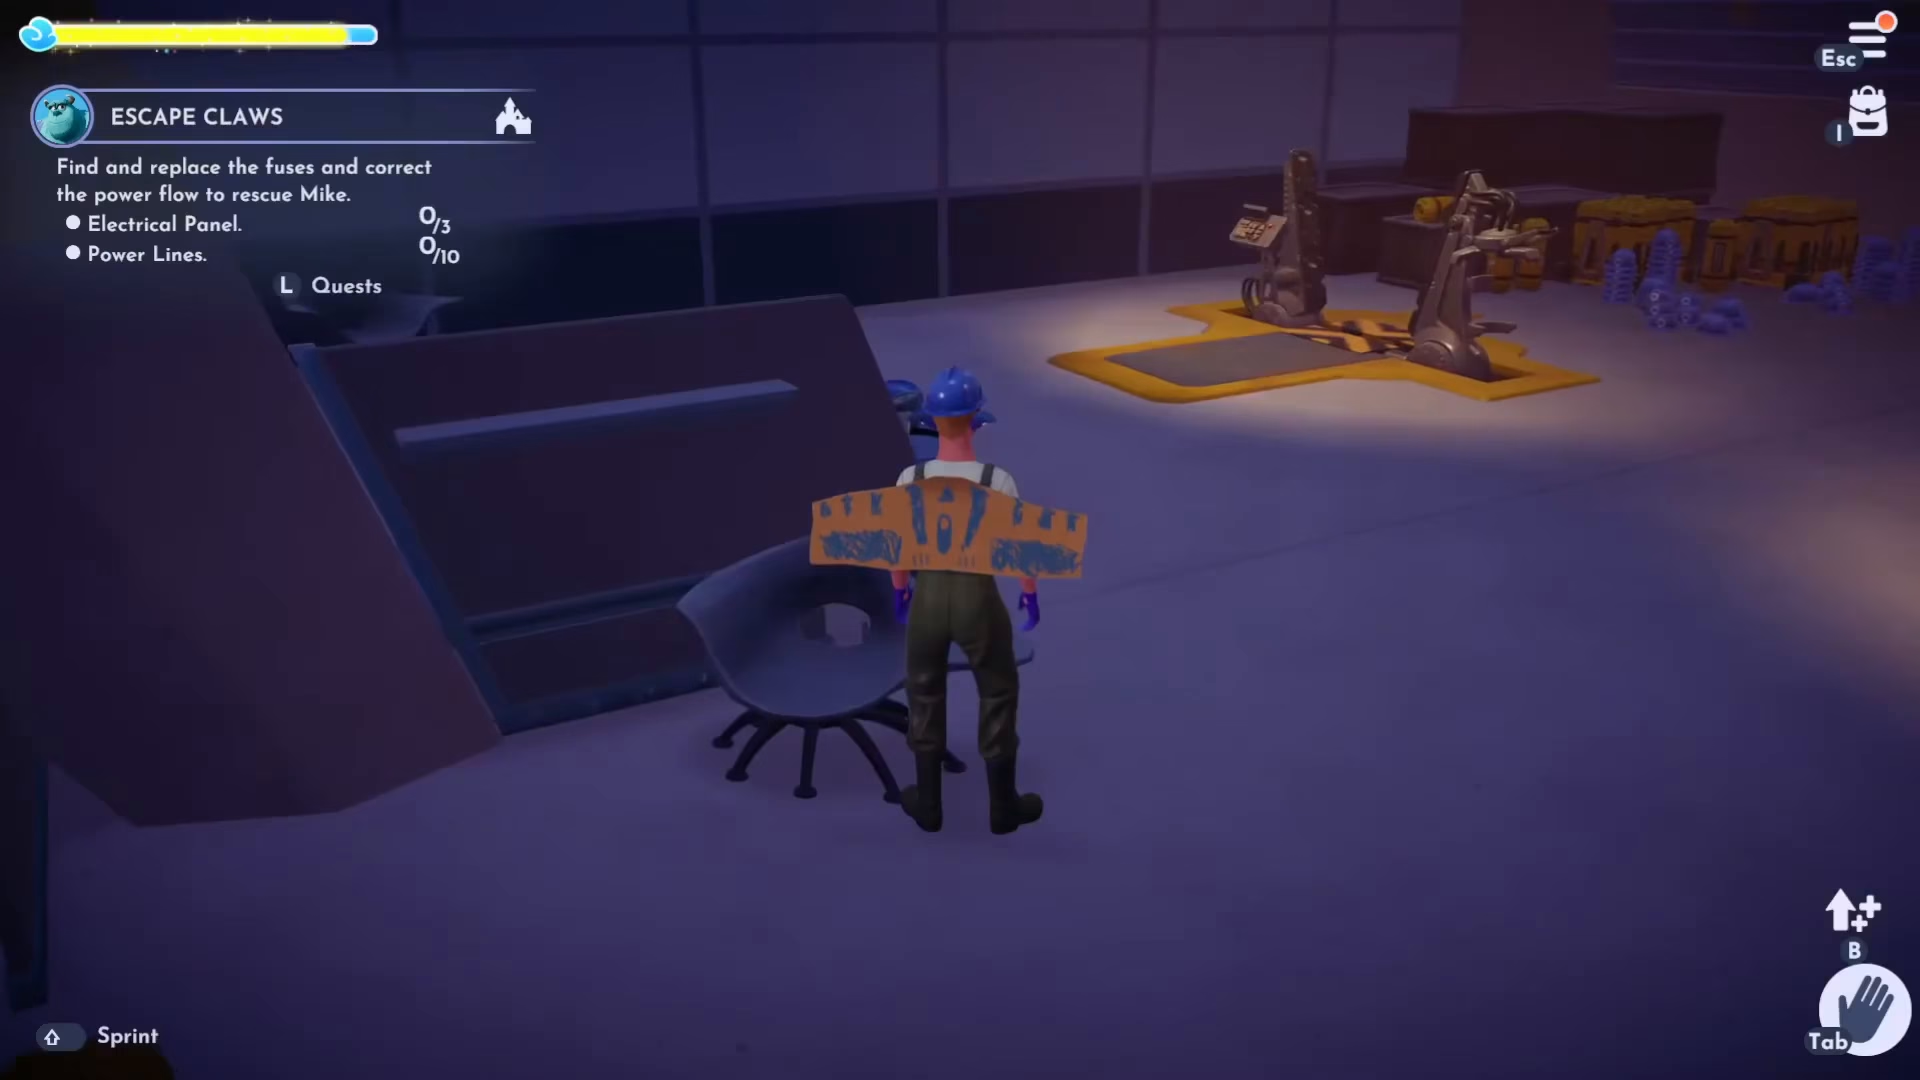
The first fuse is located at the very back of the room. Collect it and bring it to the first fuse box.
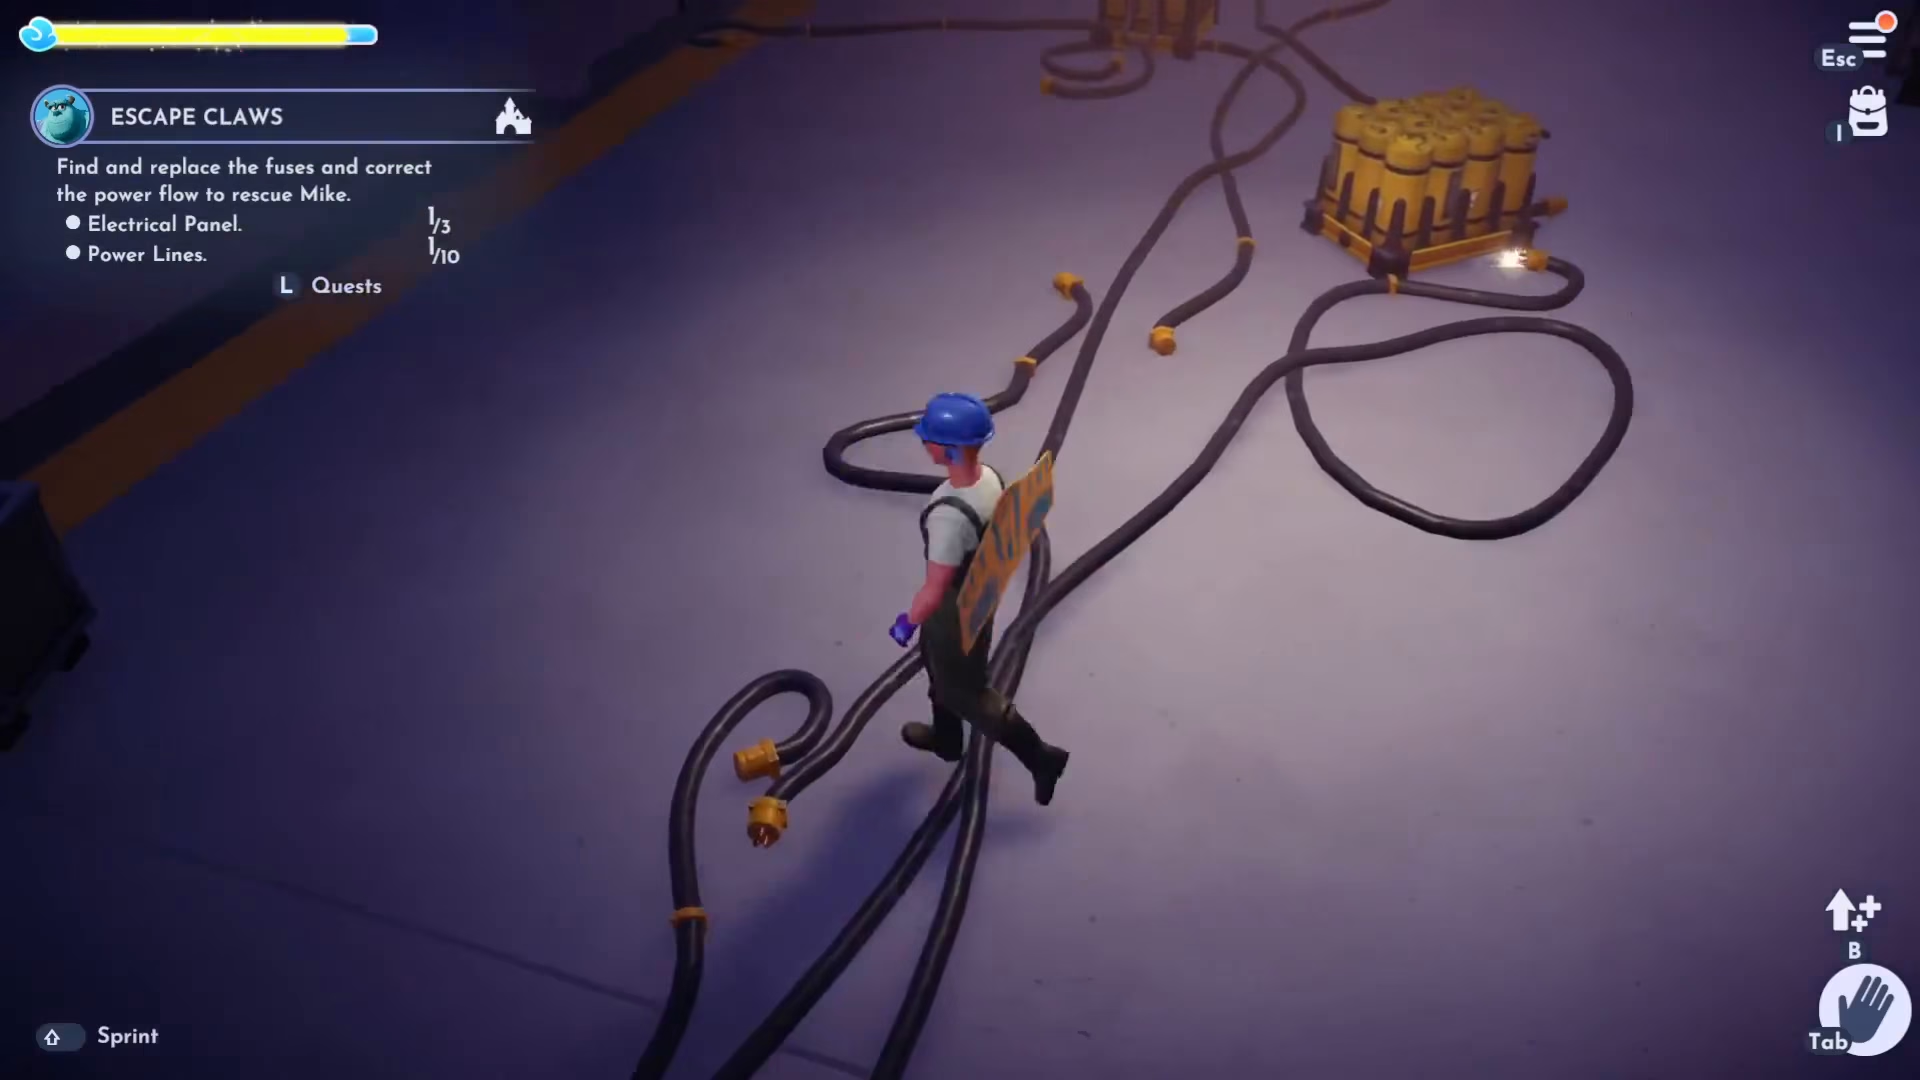
Once inserted, interact with the cables to connect them properly. Move the cable obstacles out of the way, connect each cable to its corresponding connection point, and plug in the final cable. When complete, the fuse box will display green, indicating successful power restoration.
Second Fuse Location and Installation
The second fuse can be found on the first desk near the wall. Collect it and insert it into the second fuse box.
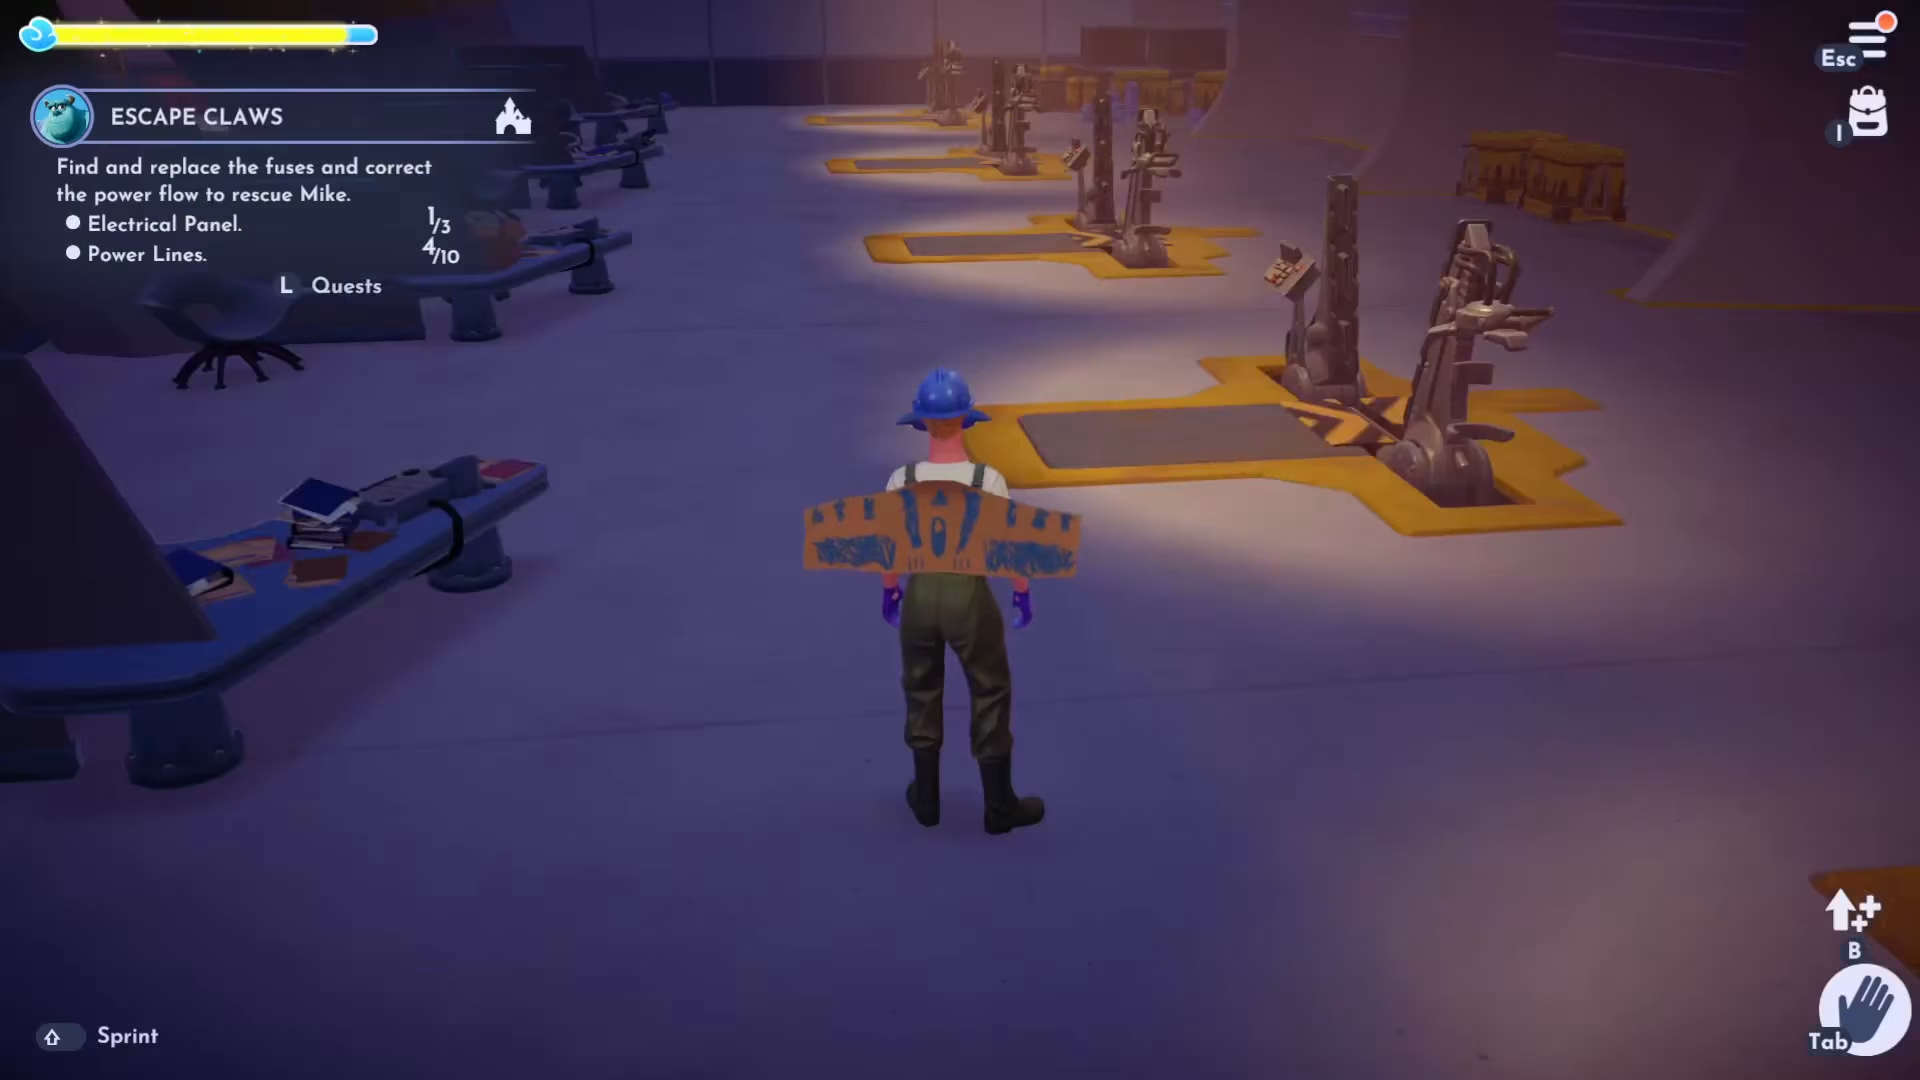
Repeat the cable connection process: move obstacles, plug in cables, and complete the circuit until the fuse box turns green.
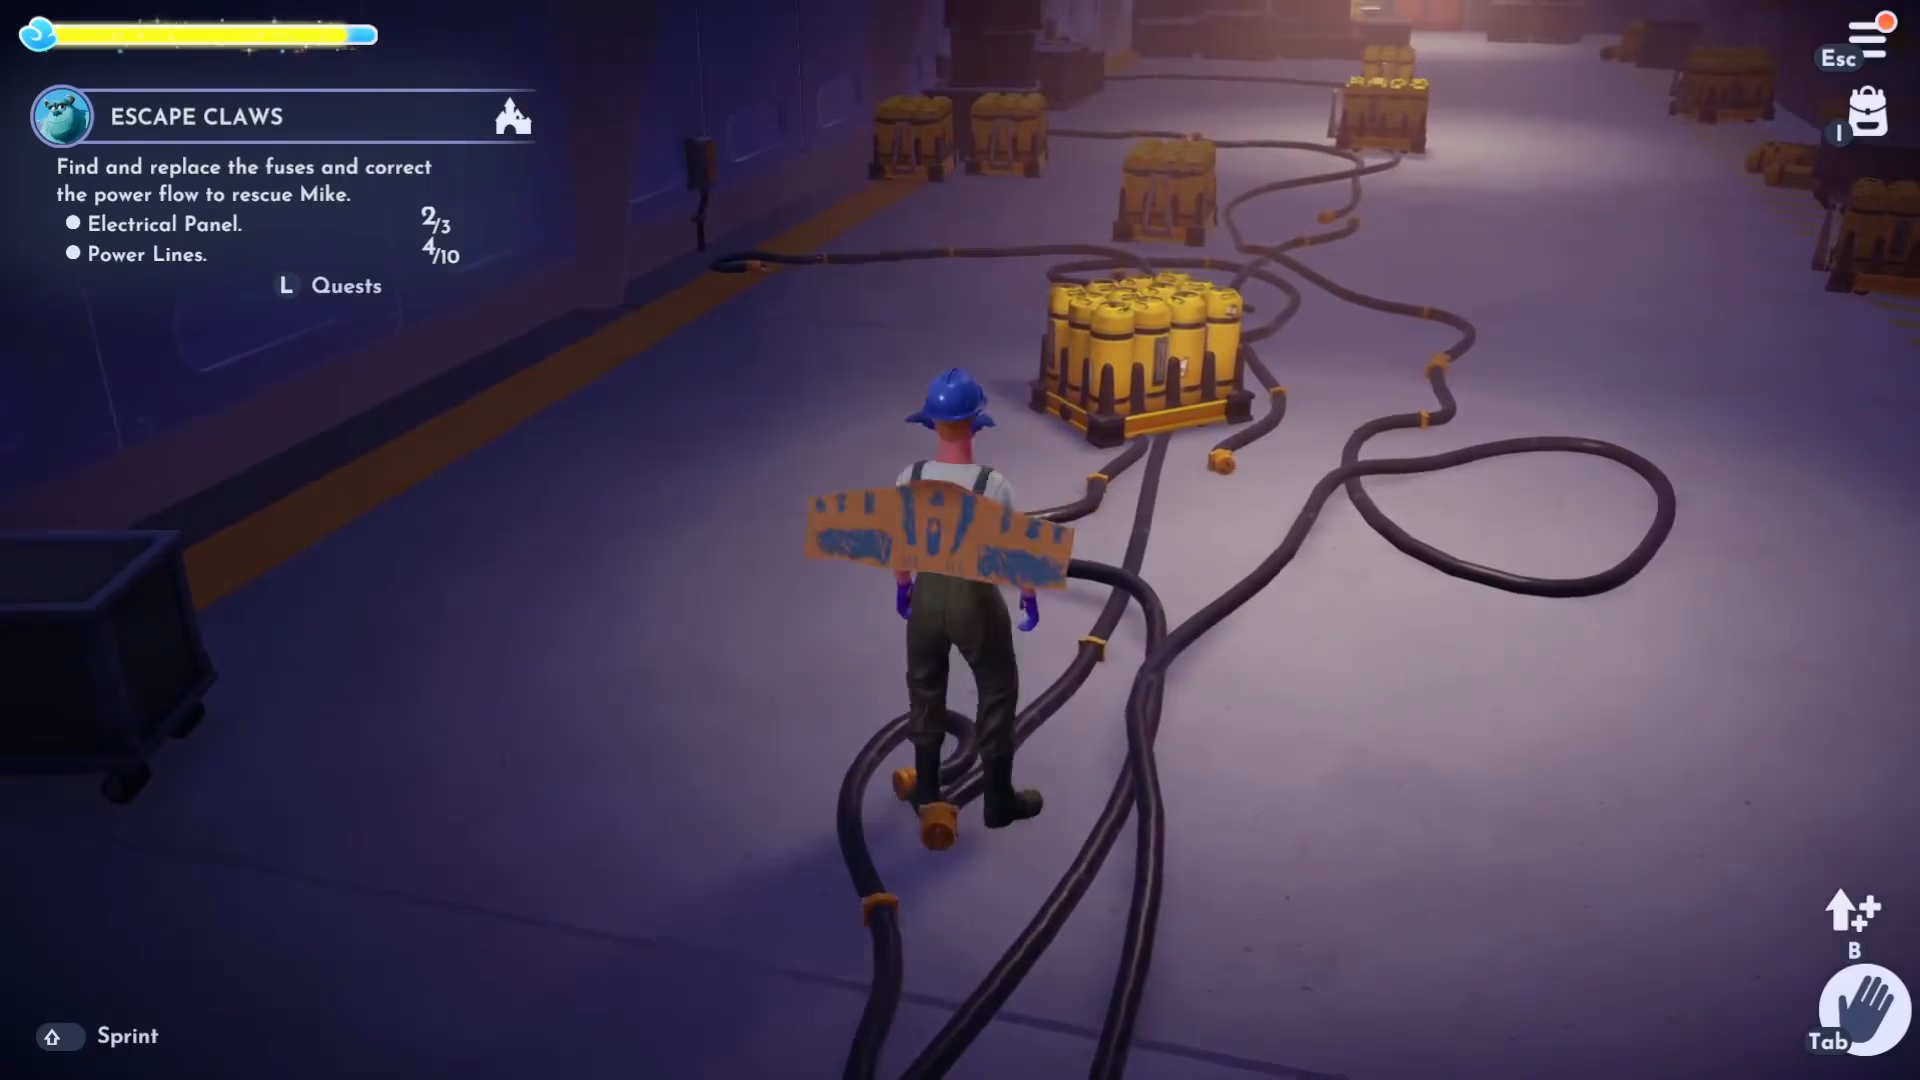
Third Fuse Location and Installation
The third and final fuse is located on the fourth desk. Collect it and insert it into the third fuse box.
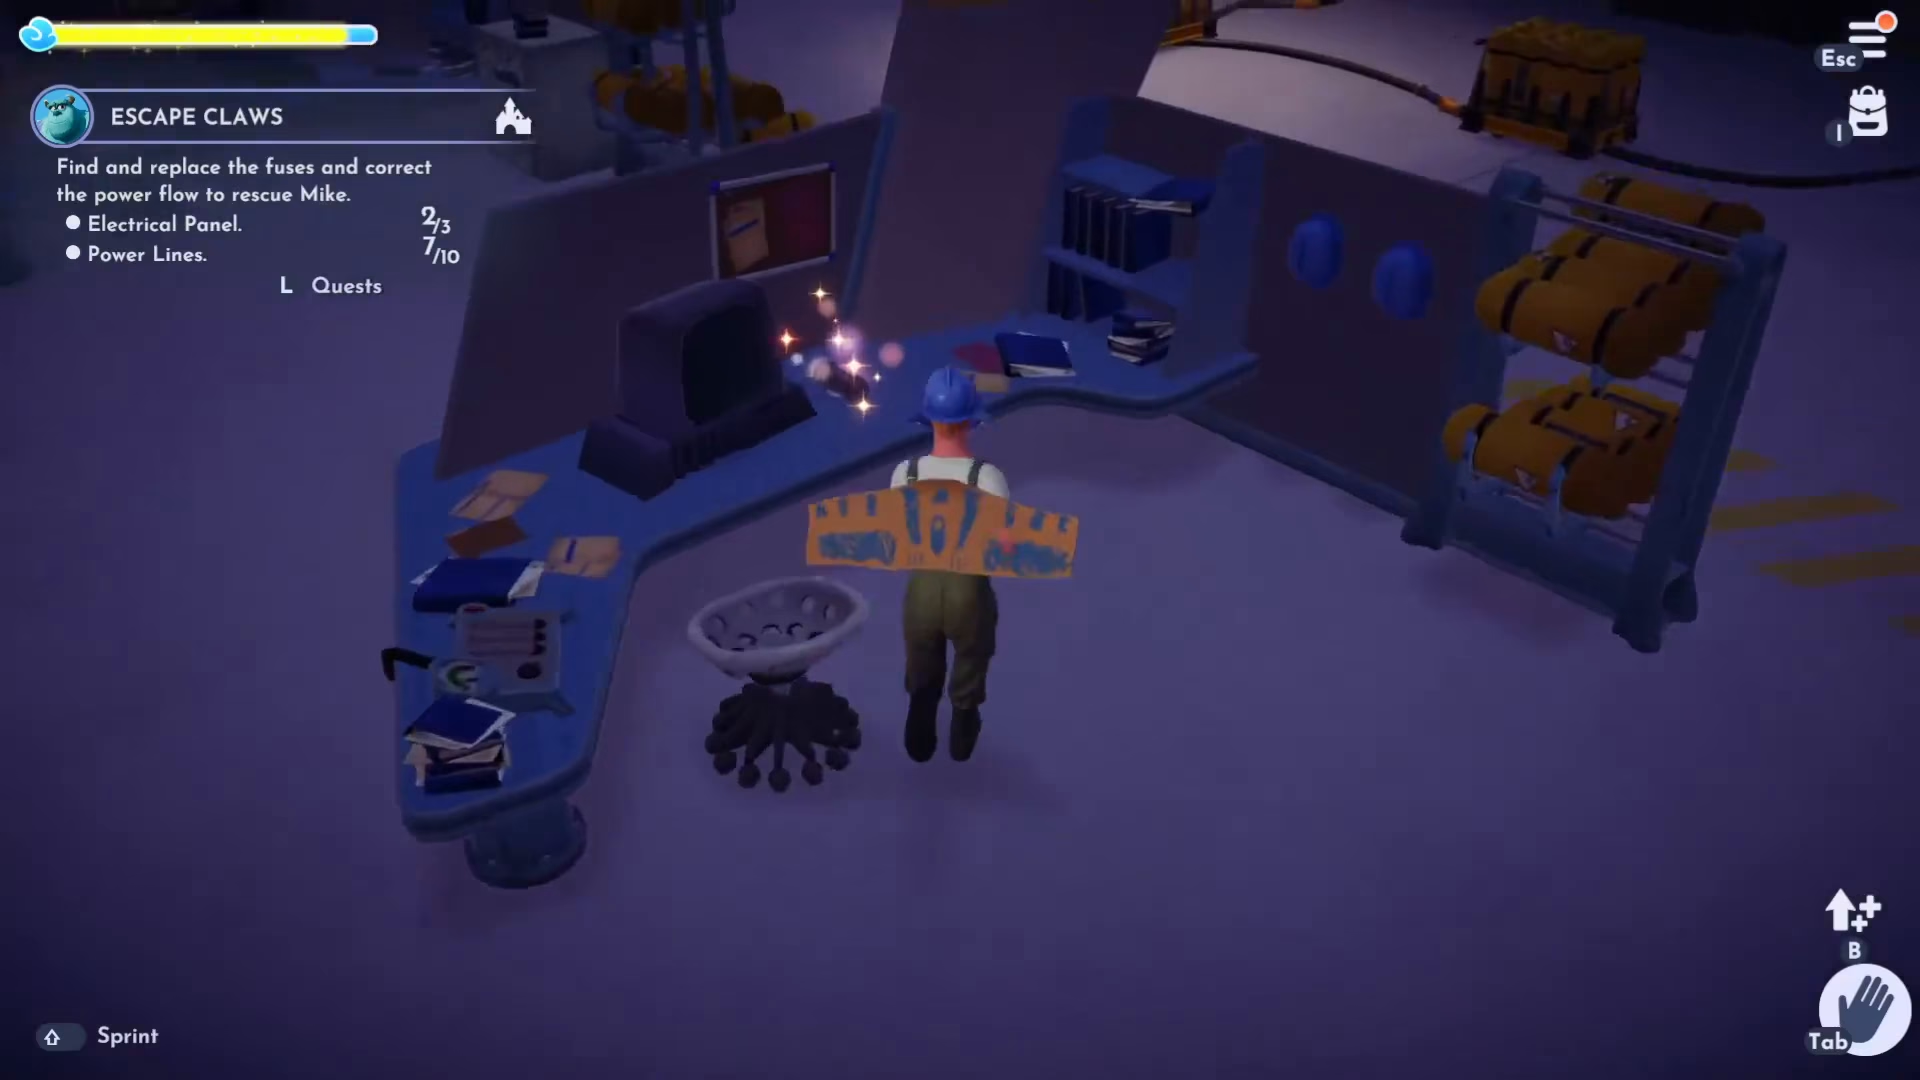
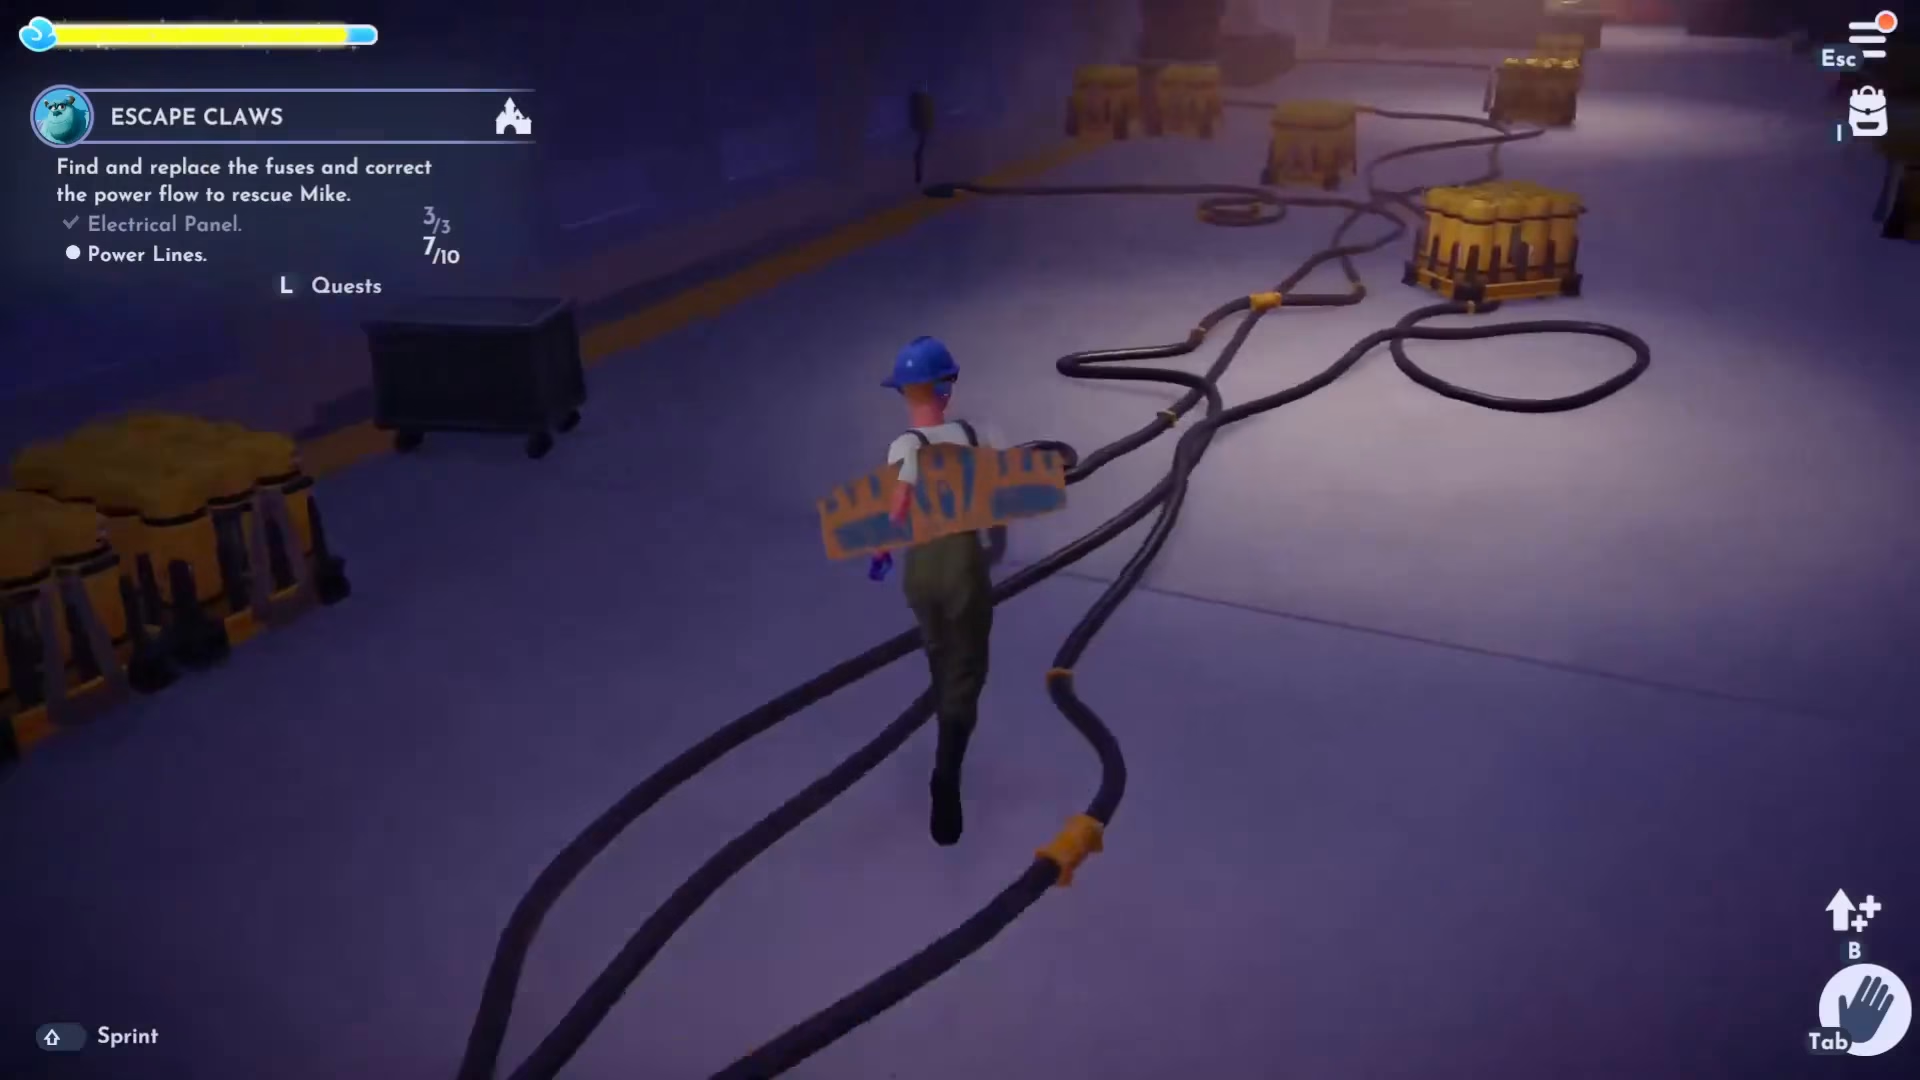
Connect all cables following the same process as before. Once the final cable is plugged in, the third fuse box will turn green and the power will be fully restored.
Quest Completion
With all three fuse boxes restored to full power, Mike will be rescued from the human world. Speak with either Sally or Mike to complete the Escape Clause quest.
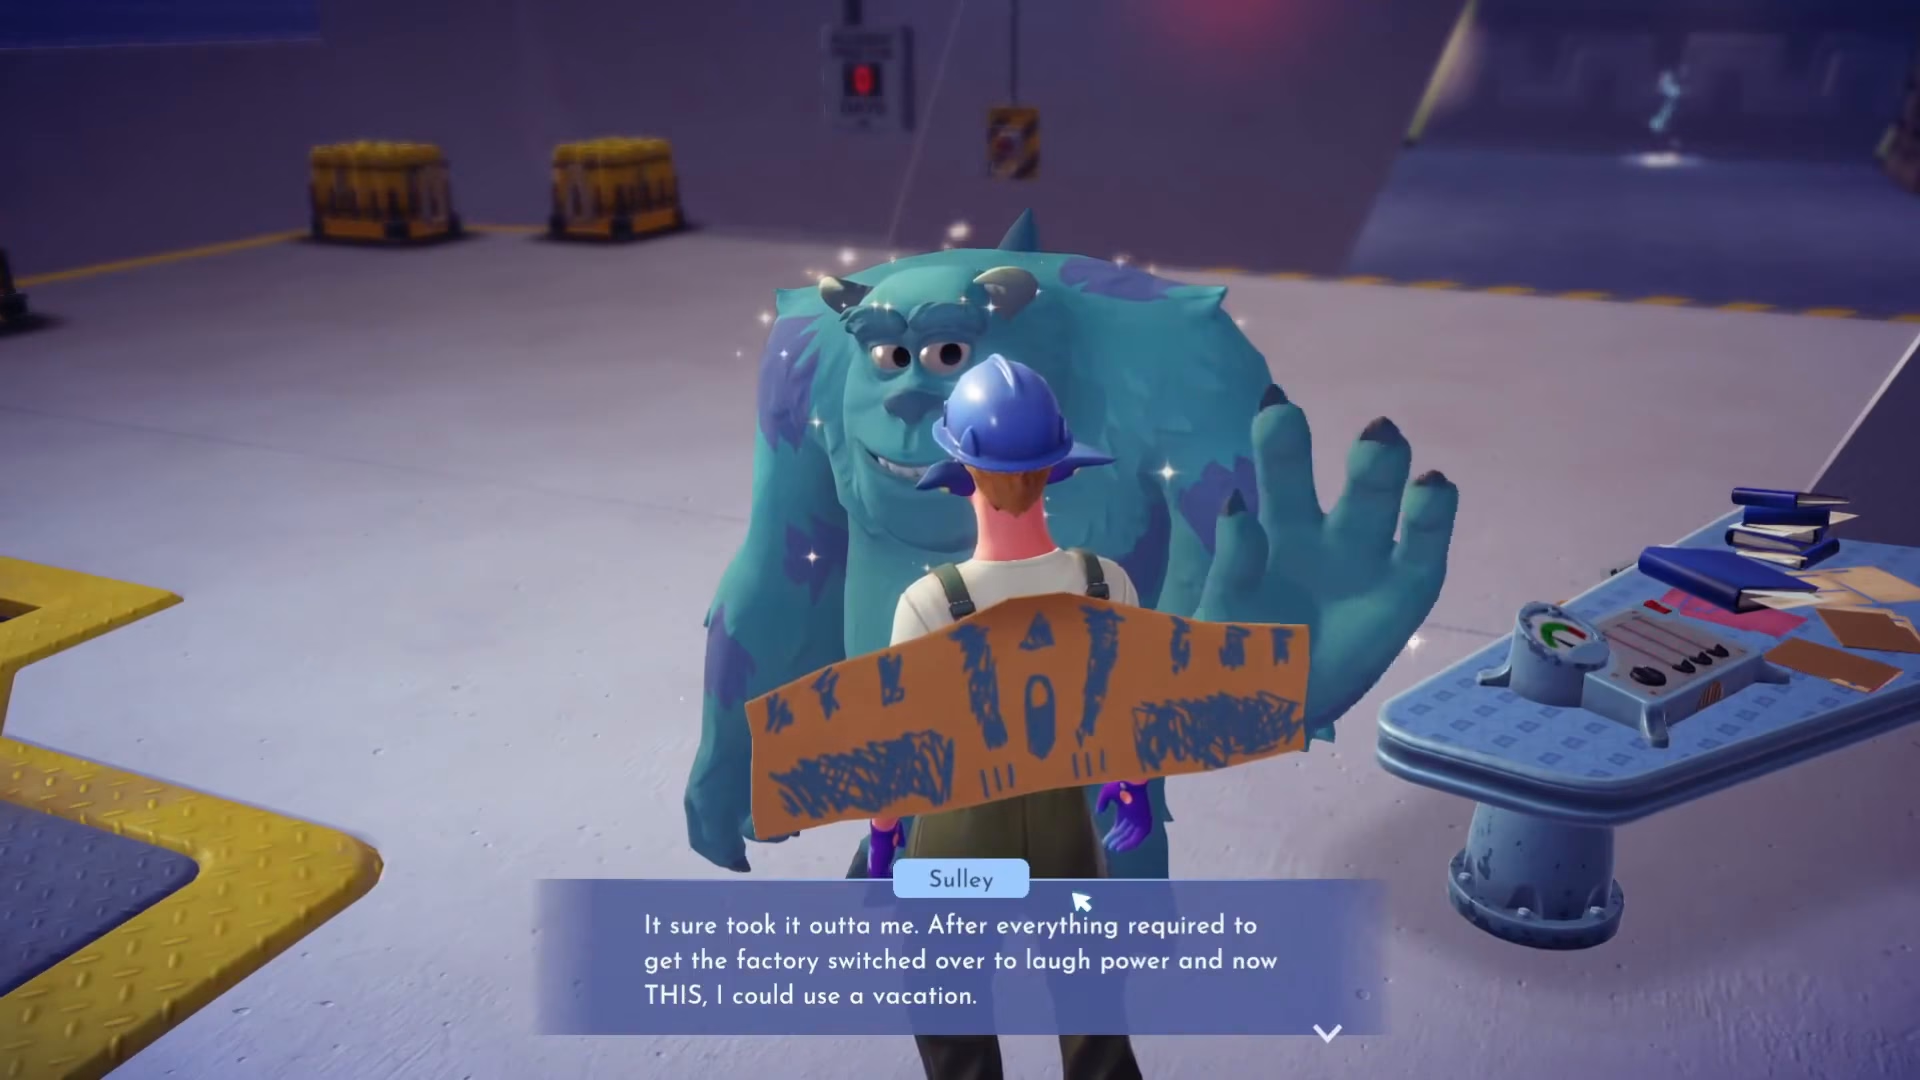
Congratulations! You’ve successfully completed the Escape Clause quest. This quest serves as an excellent introduction to the mechanics and storytelling of Disney Dreamlight Valley’s Monsters, Inc. realm. Be sure to check out the quest playlist for the next quest in the series: Eye on the Prize.
— Want to Support? —
If you would like to help us continue making these guides – please consider joining our patreon here – https://www.patreon.com/c/JaviHeals
Alternatively – you can join our discord here – https://discord.gg/zD7Gjt6MHF