



How to Change Characters in 7 Days to Die
How to Change Characters in 7 Days to Die
Changing your character in 7 Days to Die is a straightforward process that takes just a few clicks from the main menu. Whether you want to select from pre-made characters or create a custom one with your own settings, this guide will walk you through each step to get you ready for your next adventure.
Accessing the Character Menu
To begin changing your character, you’ll need to start from the main menu of 7 Days to Die. Once you’re on the main menu, look for the Options button and click on it.
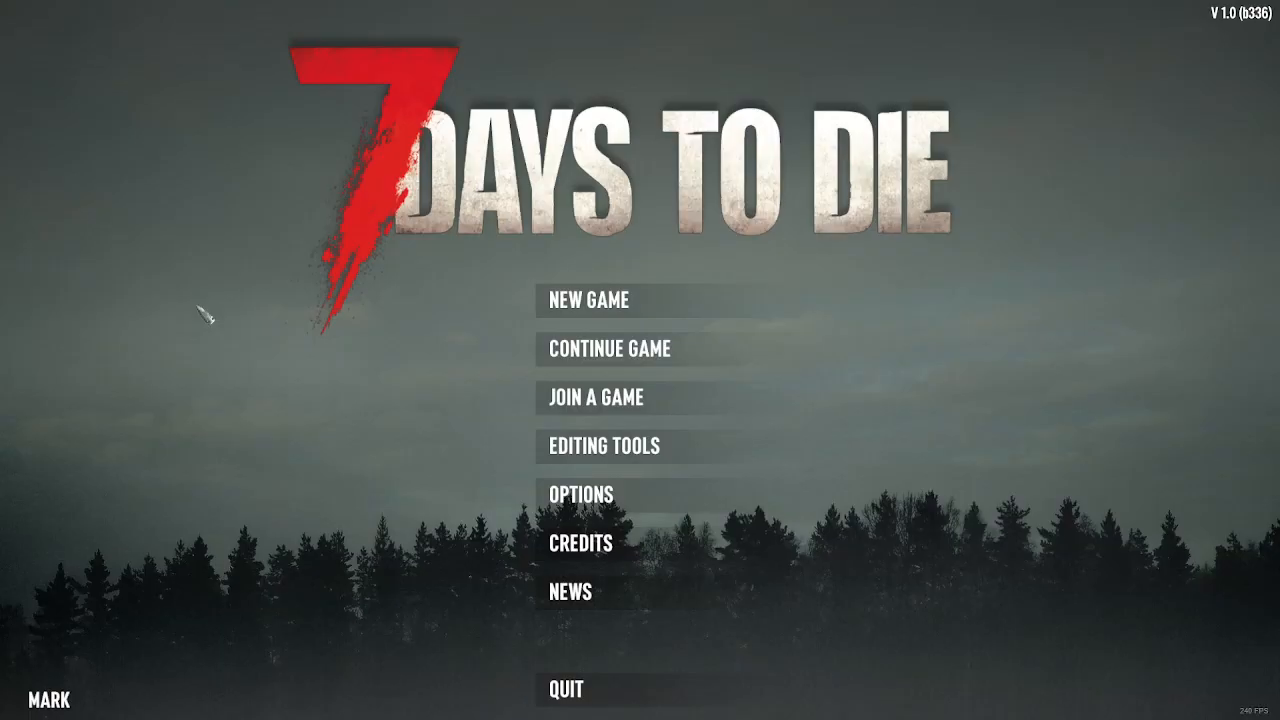
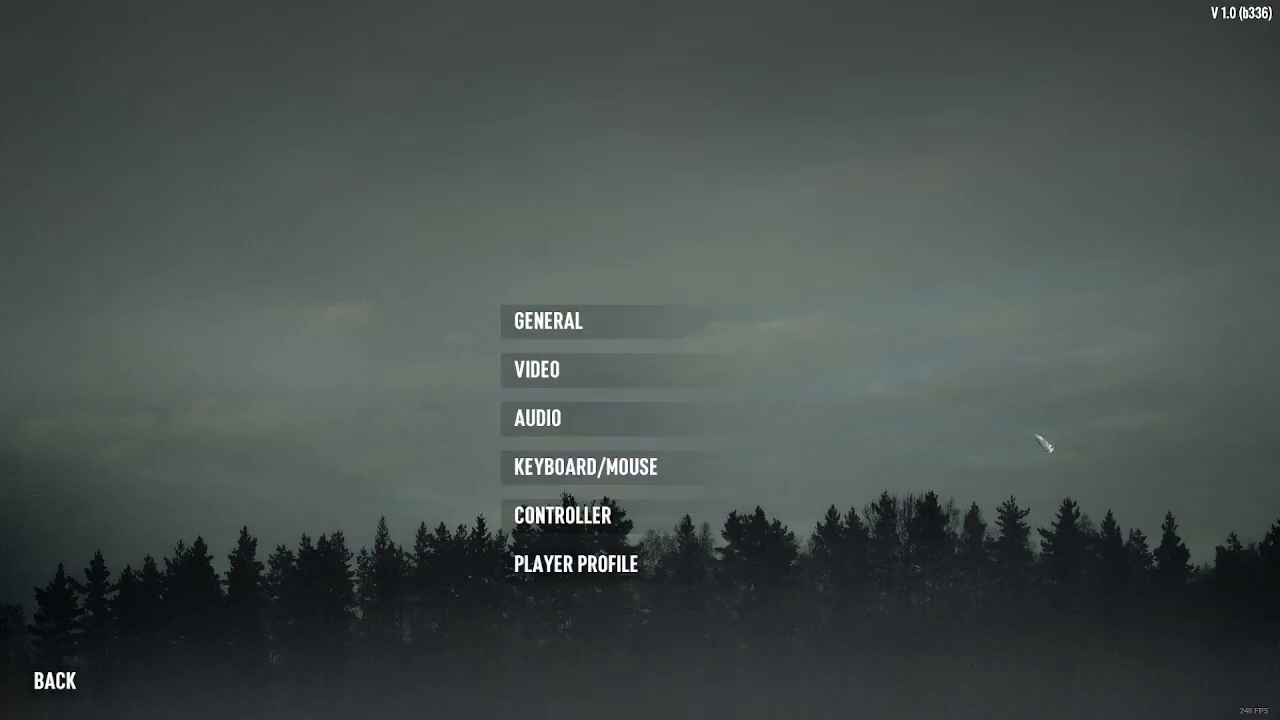
After clicking Options, you’ll see a menu with various settings. Navigate to the Player Profile option and click on it.
Selecting or Creating a Character
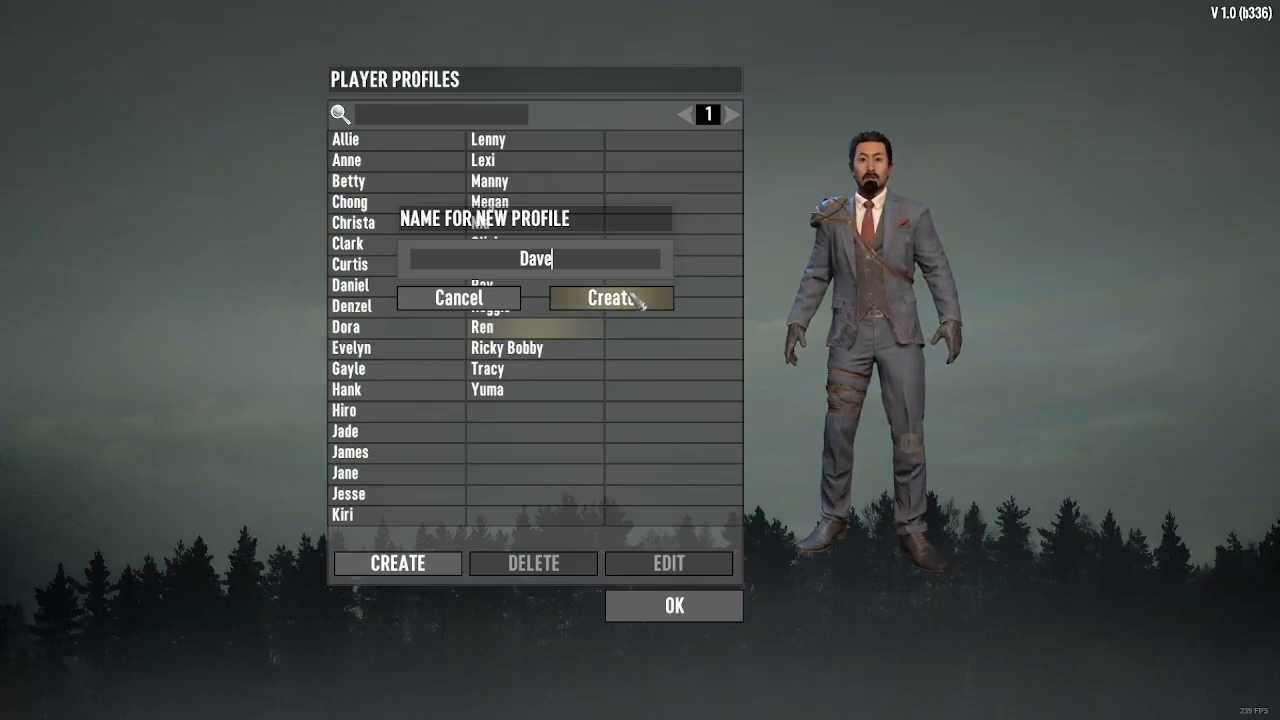
Once you’re in the Player Profile menu, you’ll have access to all of the available characters you can choose from. Browse through the pre-made character options to find one that suits your playstyle.
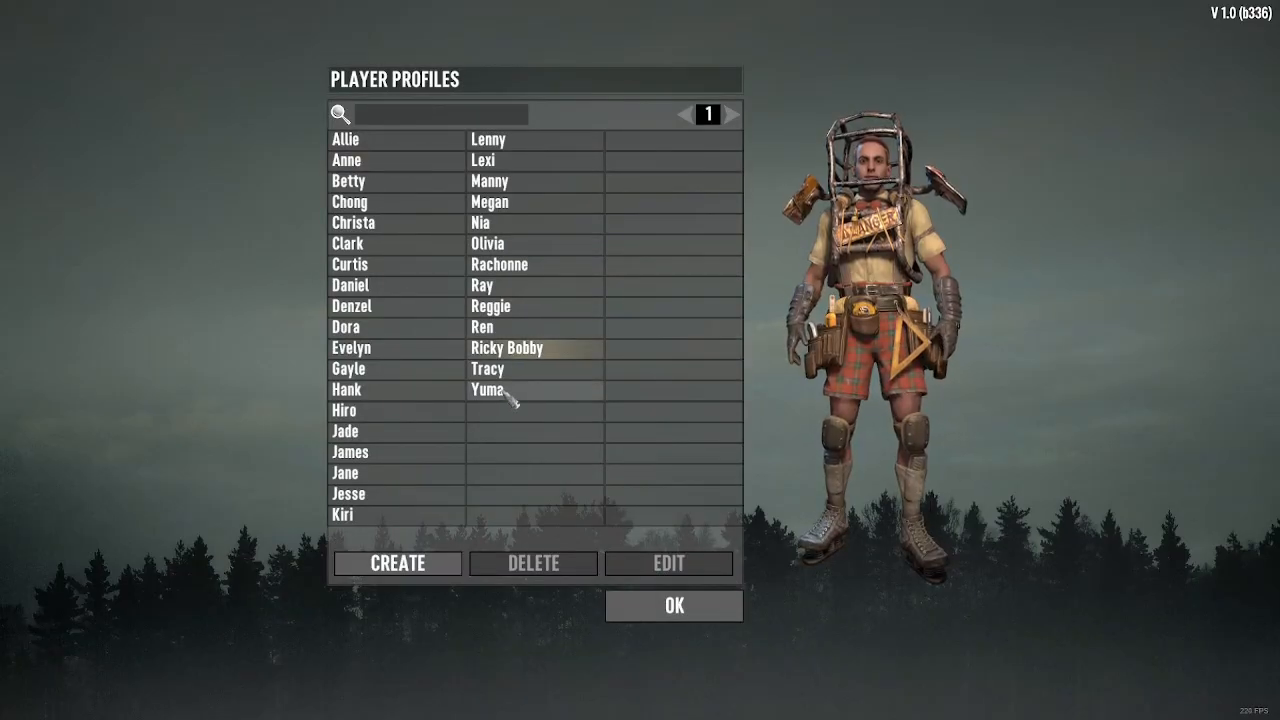
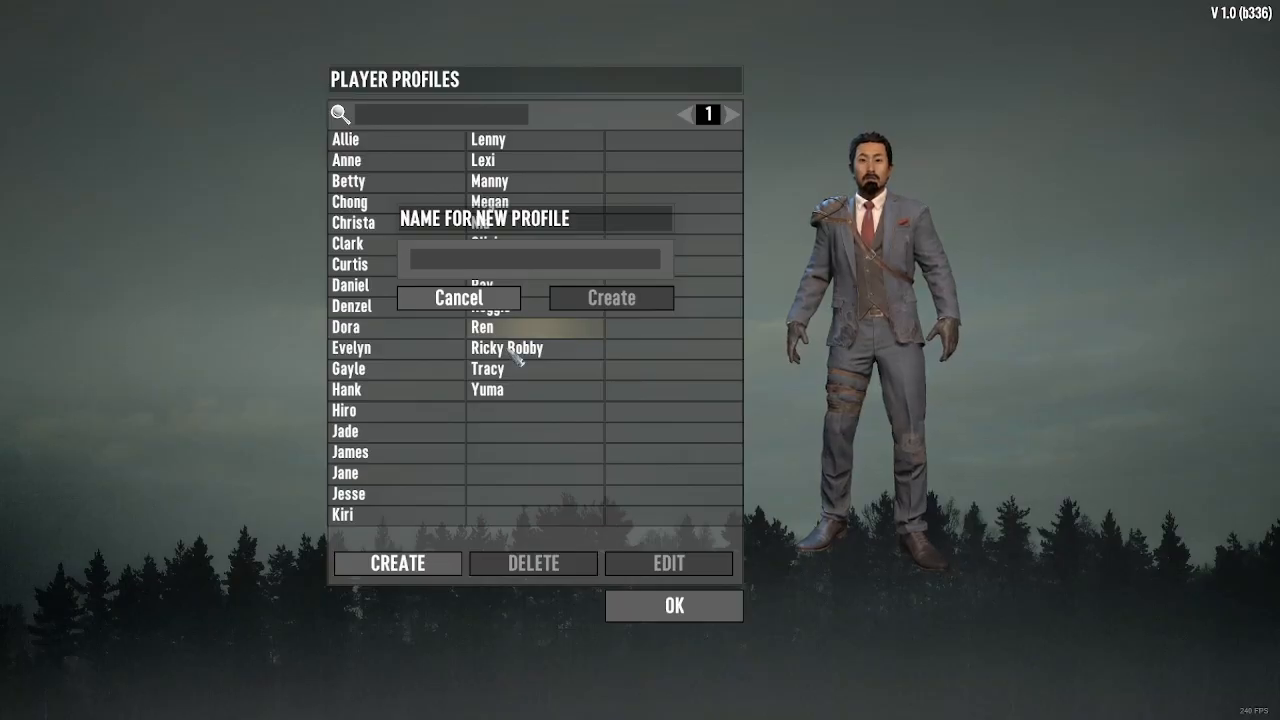
If the existing characters don’t appeal to you, you can create your own custom character from scratch. Simply select the create character option and give your new character a name—for example, you might name it “Dave” or any name you prefer.
Customizing Your Character Settings
After naming your custom character, you can adjust all of the character settings to match your preferences. This allows you to tailor everything about your character to your liking before you start playing.
Summary
Changing your character in 7 Days to Die is simple: access the main menu, click Options, select Player Profile, and then either choose from existing characters or create a new one with custom settings. With these steps complete, you’re ready to jump into the game with your chosen character.
— Want to Support? —
If you would like to help us continue making these guides – please consider joining our patreon here – https://www.patreon.com/c/JaviHeals
Alternatively – you can join our discord here – https://discord.gg/zD7Gjt6MHF