




How to Setup Ceiling Lights in Rust
How to Setup Ceiling Lights in Rust
Lighting up your base in Rust doesn’t have to be complicated. This guide walks you through the complete process of setting up ceiling lights, from choosing a power source to wiring multiple lights together in a chain. Whether you’re just starting out or expanding your base, you’ll learn exactly what components you need and how to connect them properly.
Getting Your Power Source Ready
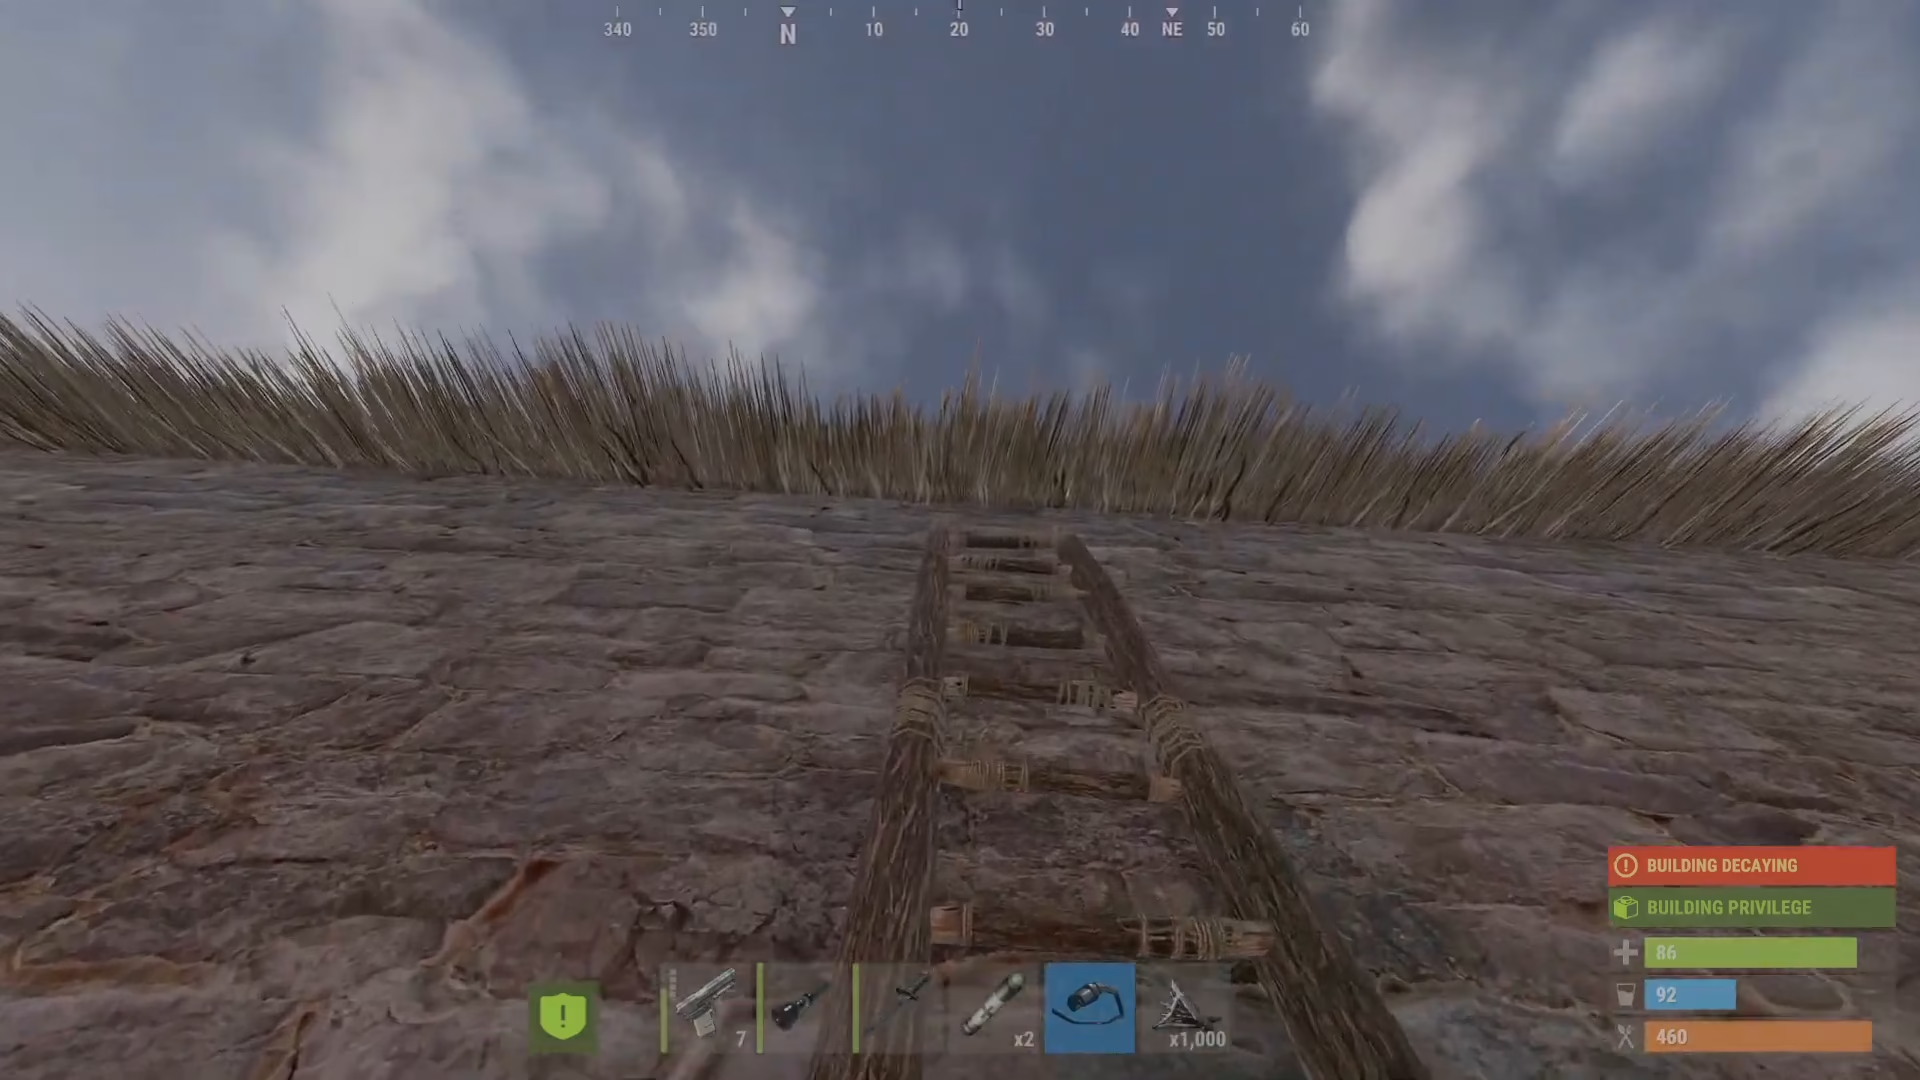
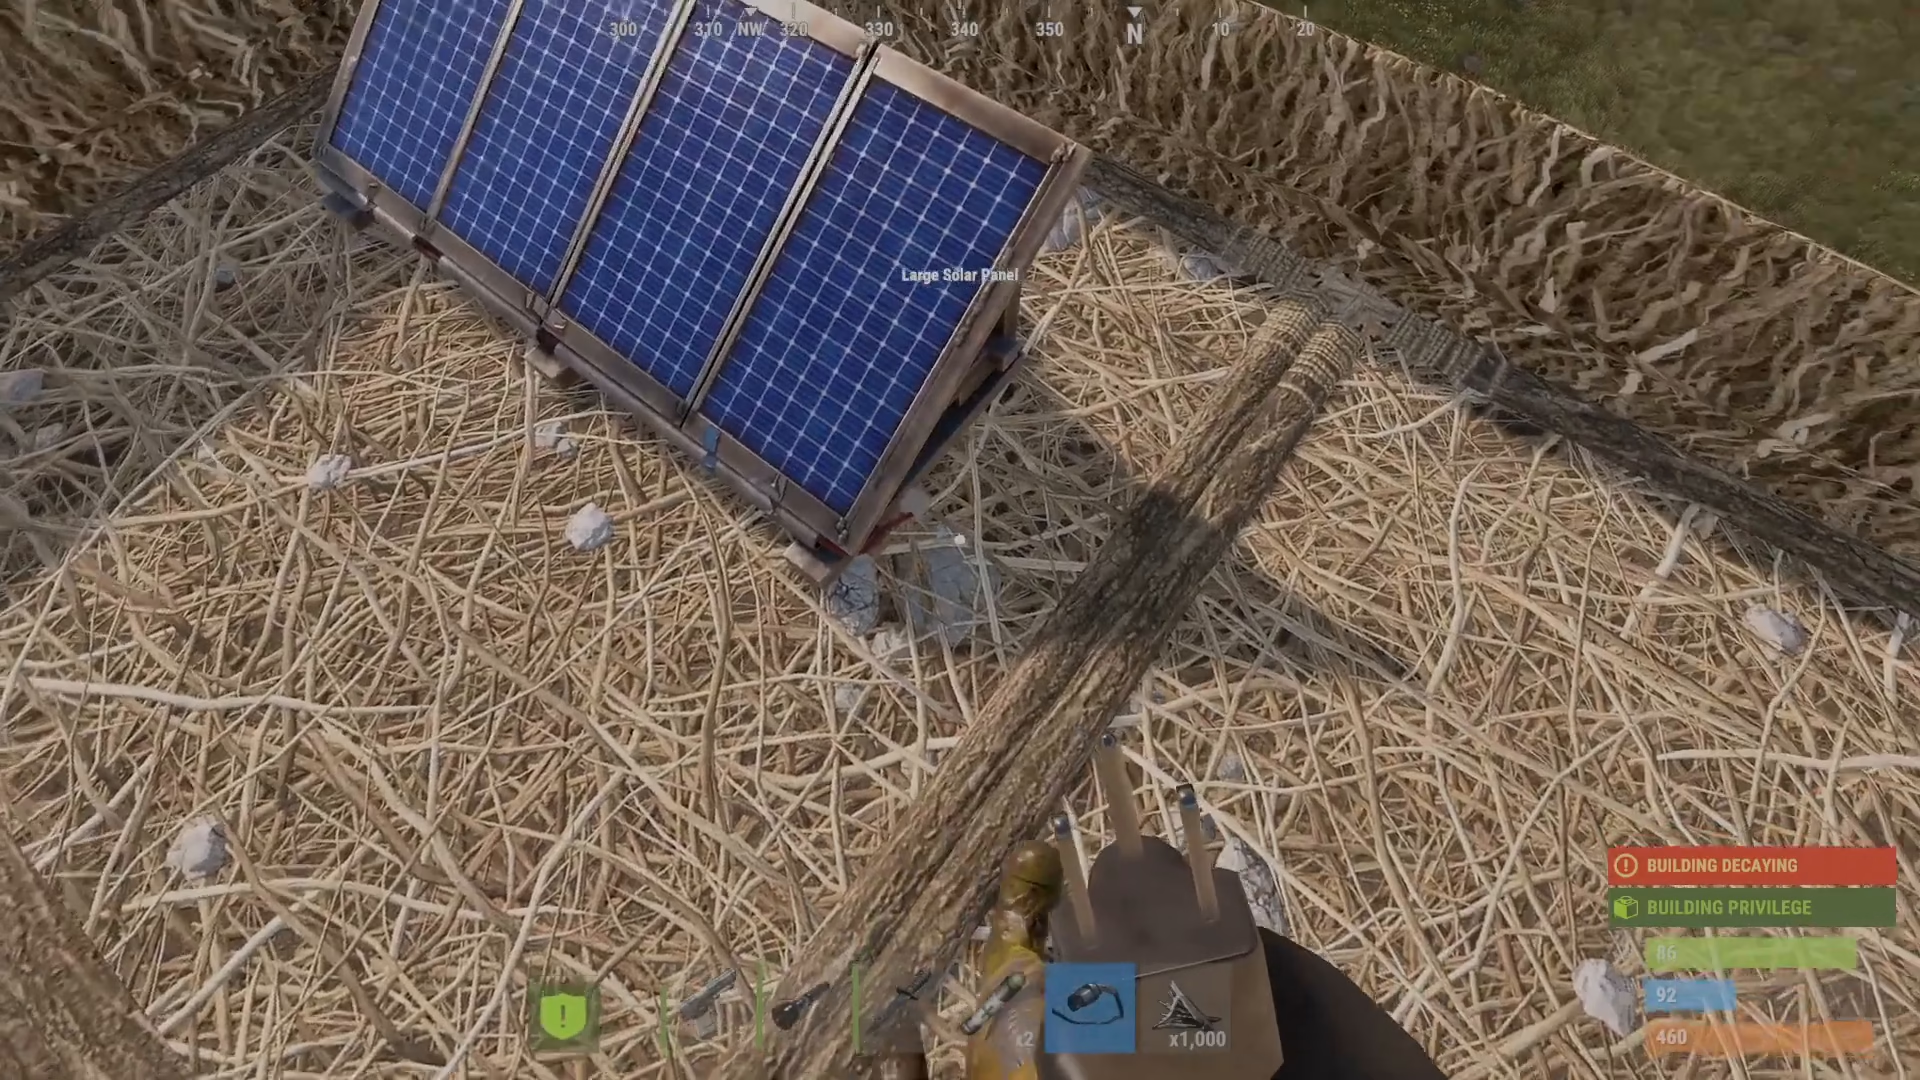
The first step is to establish a reliable power source. A solar panel is the most accessible option when you’re first getting into electricity in Rust. Make sure to position your solar panels facing the sun for optimal power generation, as this will be your initial power gen that you can craft early in the game.
Gathering Your Tools and Components
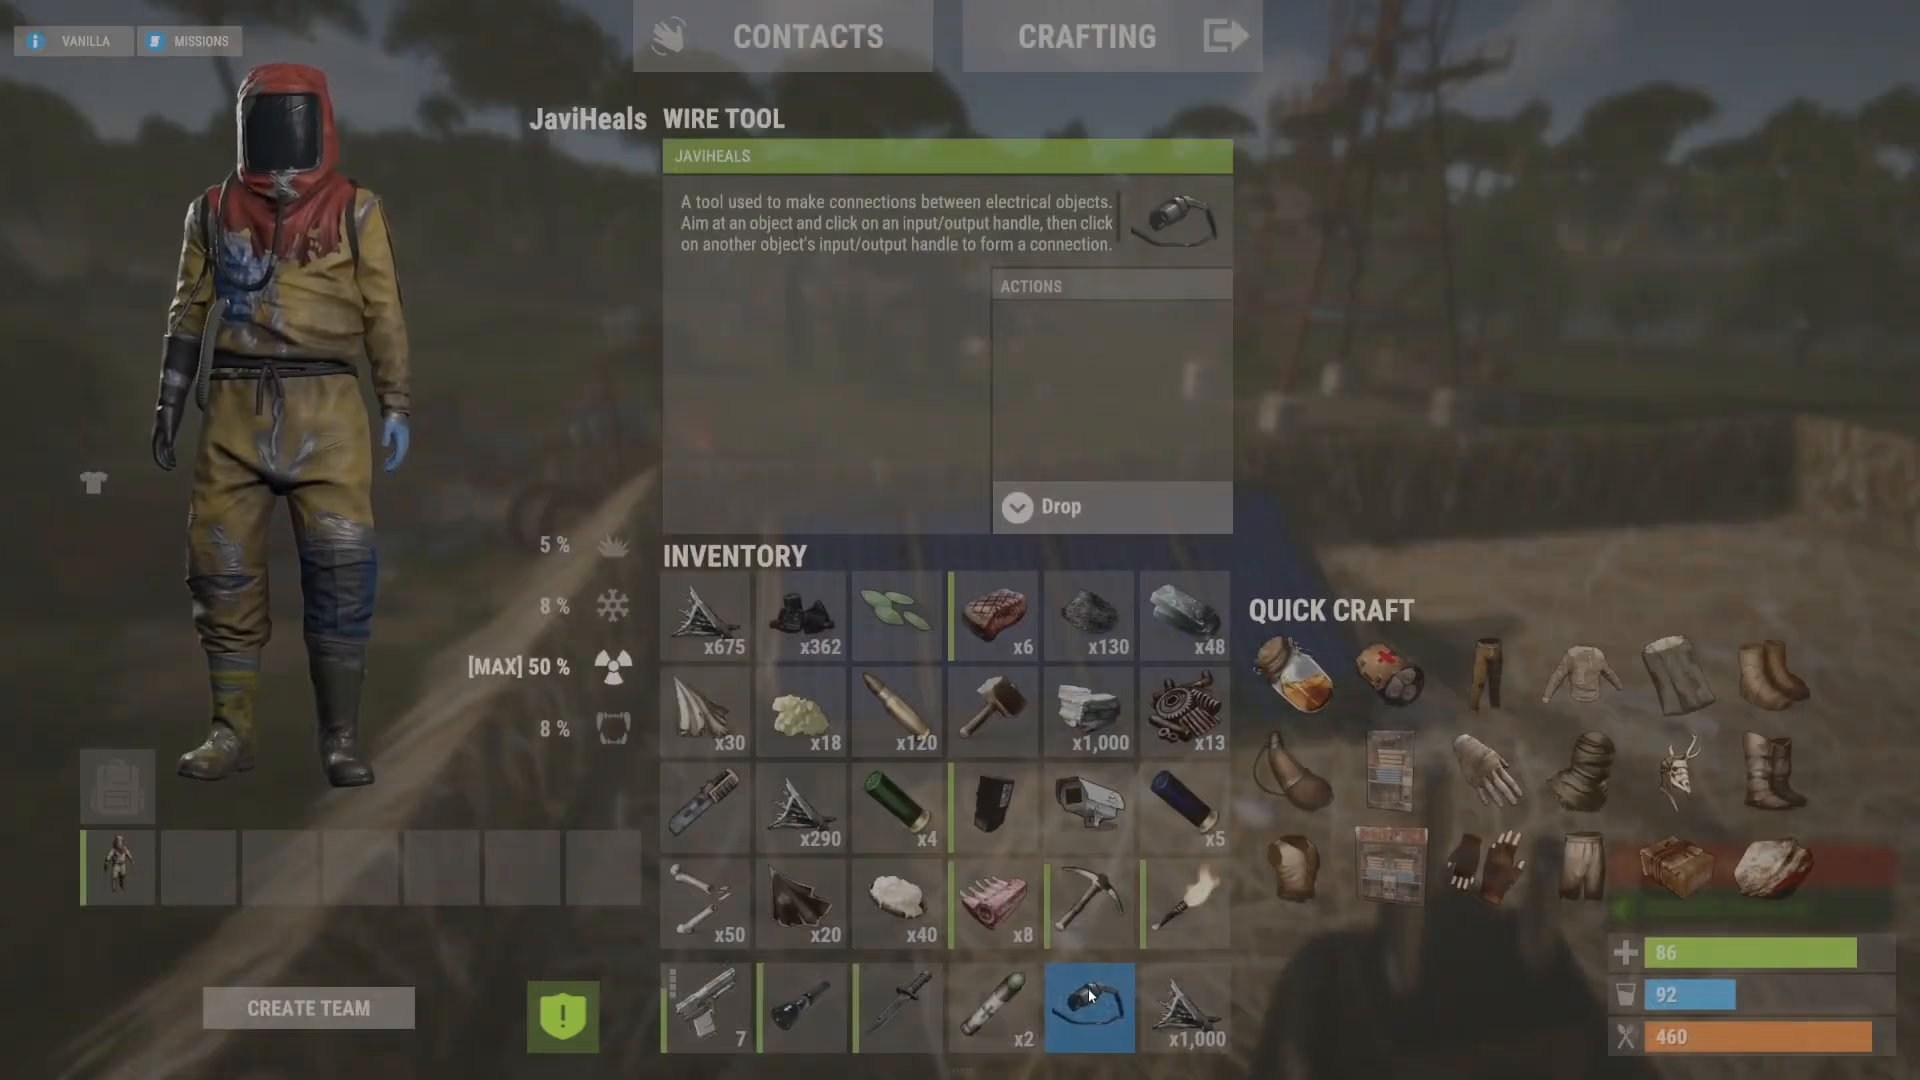
You’ll need a wire tool to connect all your electrical components together. This tool is essential for establishing connections between your power source and your lighting system. Keep it equipped as you work through the setup process.
Connecting Your Solar Panel
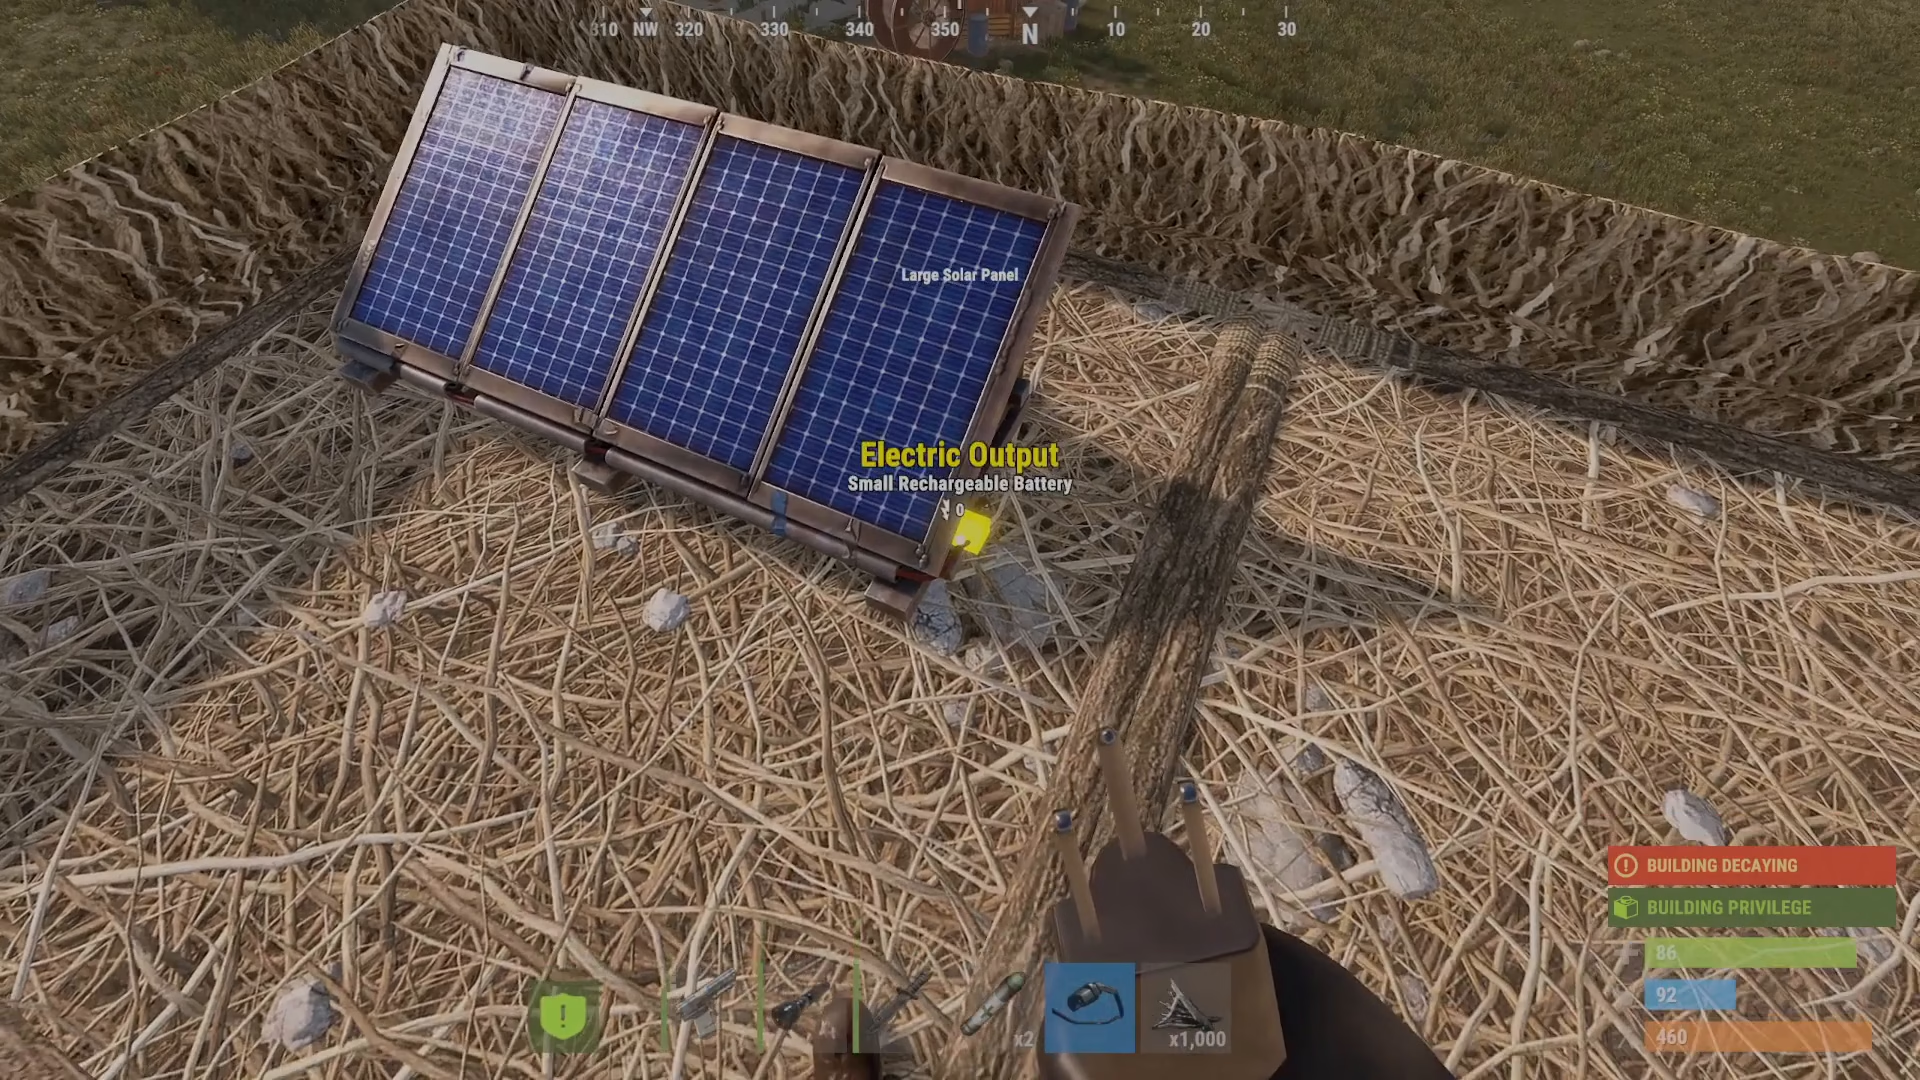
With your wire tool equipped, locate the electric output on the right side of your solar panel. Right-click this output point with your wire tool to begin the wiring process. This will give you coordinates on your screen showing where the connection point is located.
Setting Up Your Battery Storage
Instead of connecting directly to your lights, it’s better to route power through a small rechargeable battery first. This stores energy from your solar panel and provides more stable, consistent power to your lights. When connecting to the battery, left-click on the power input connector on the battery to complete the link from your solar panel’s output.
You should now see a wire connecting from your solar panel to the battery. The battery’s status will display as small rechargeable battery when properly connected, confirming the link is active.
Adding a Light Switch
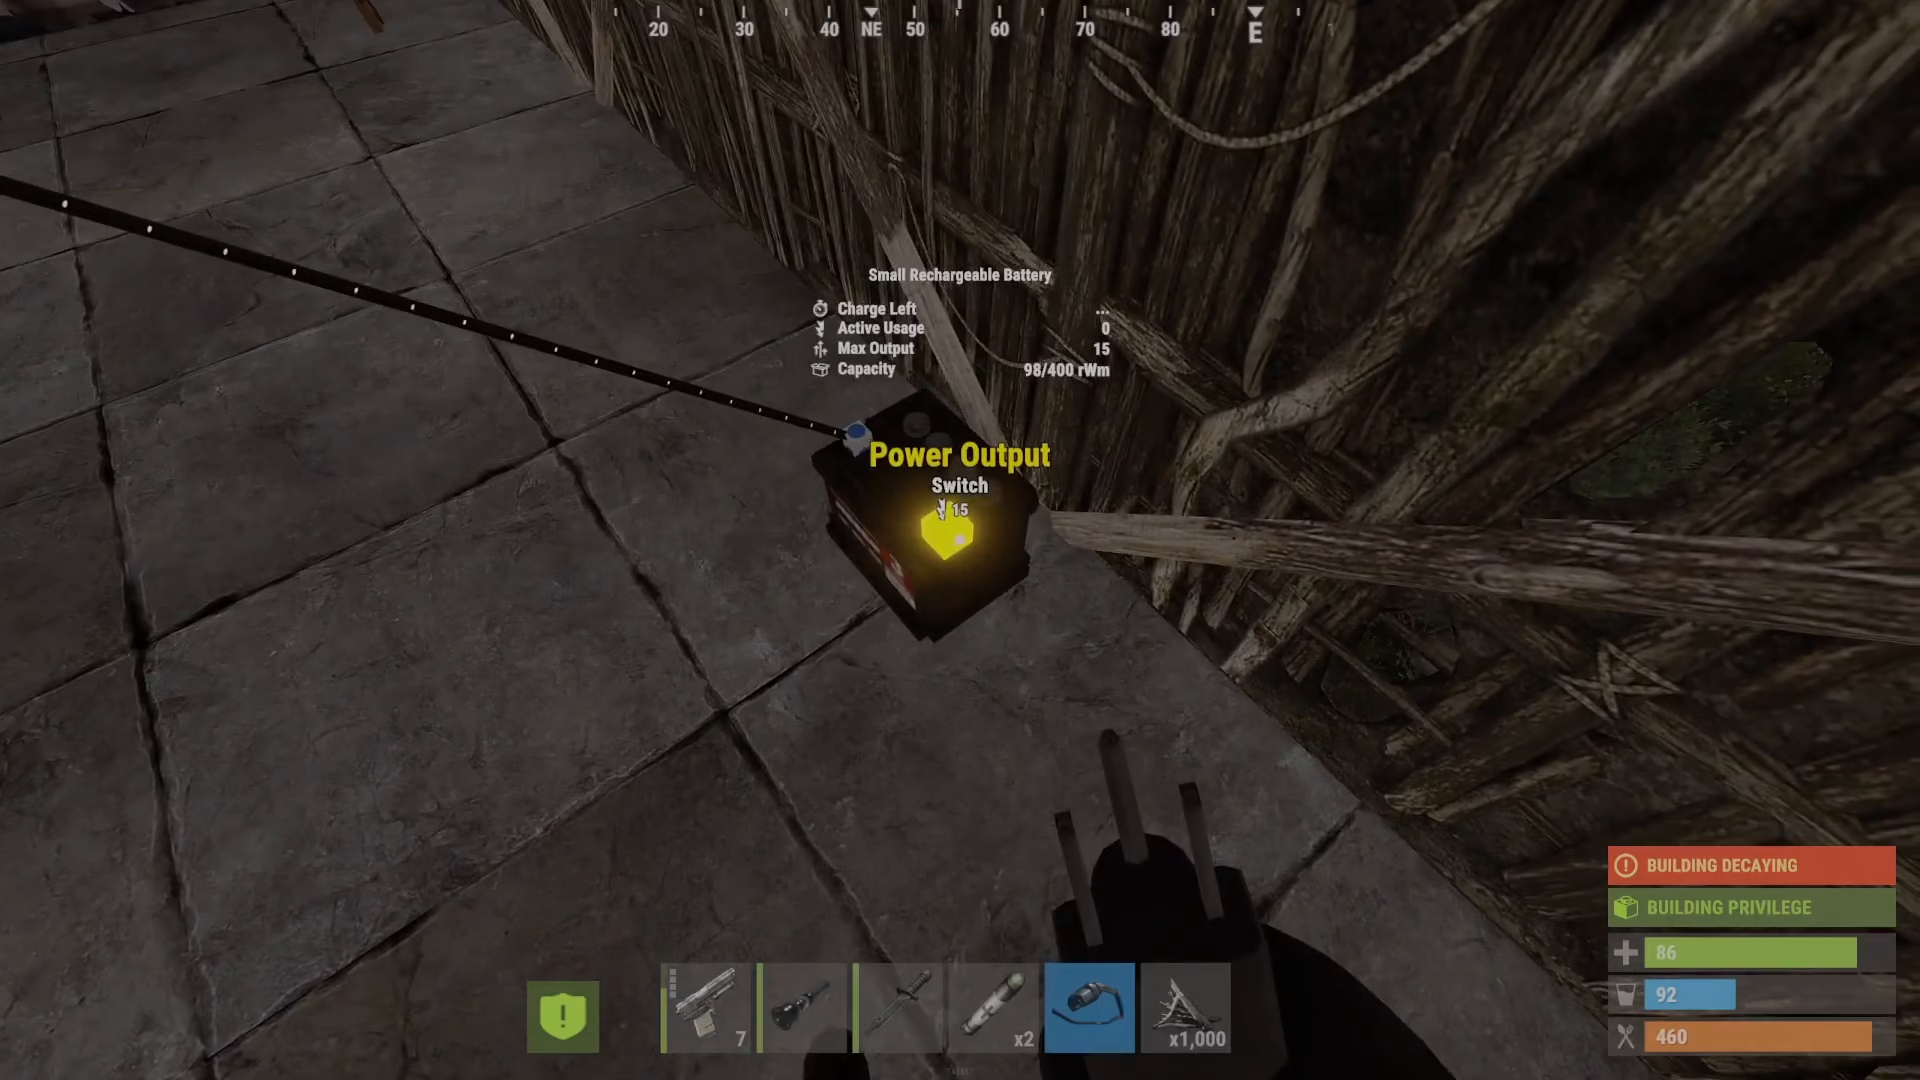
From your battery, run a wire to a light switch. Connect the battery’s power output to the switch’s power input. You can see this connection visually as a wire running from the battery down to the switch. The switch allows you to control all connected lights with a single interaction point.
Connecting Your Ceiling Lights
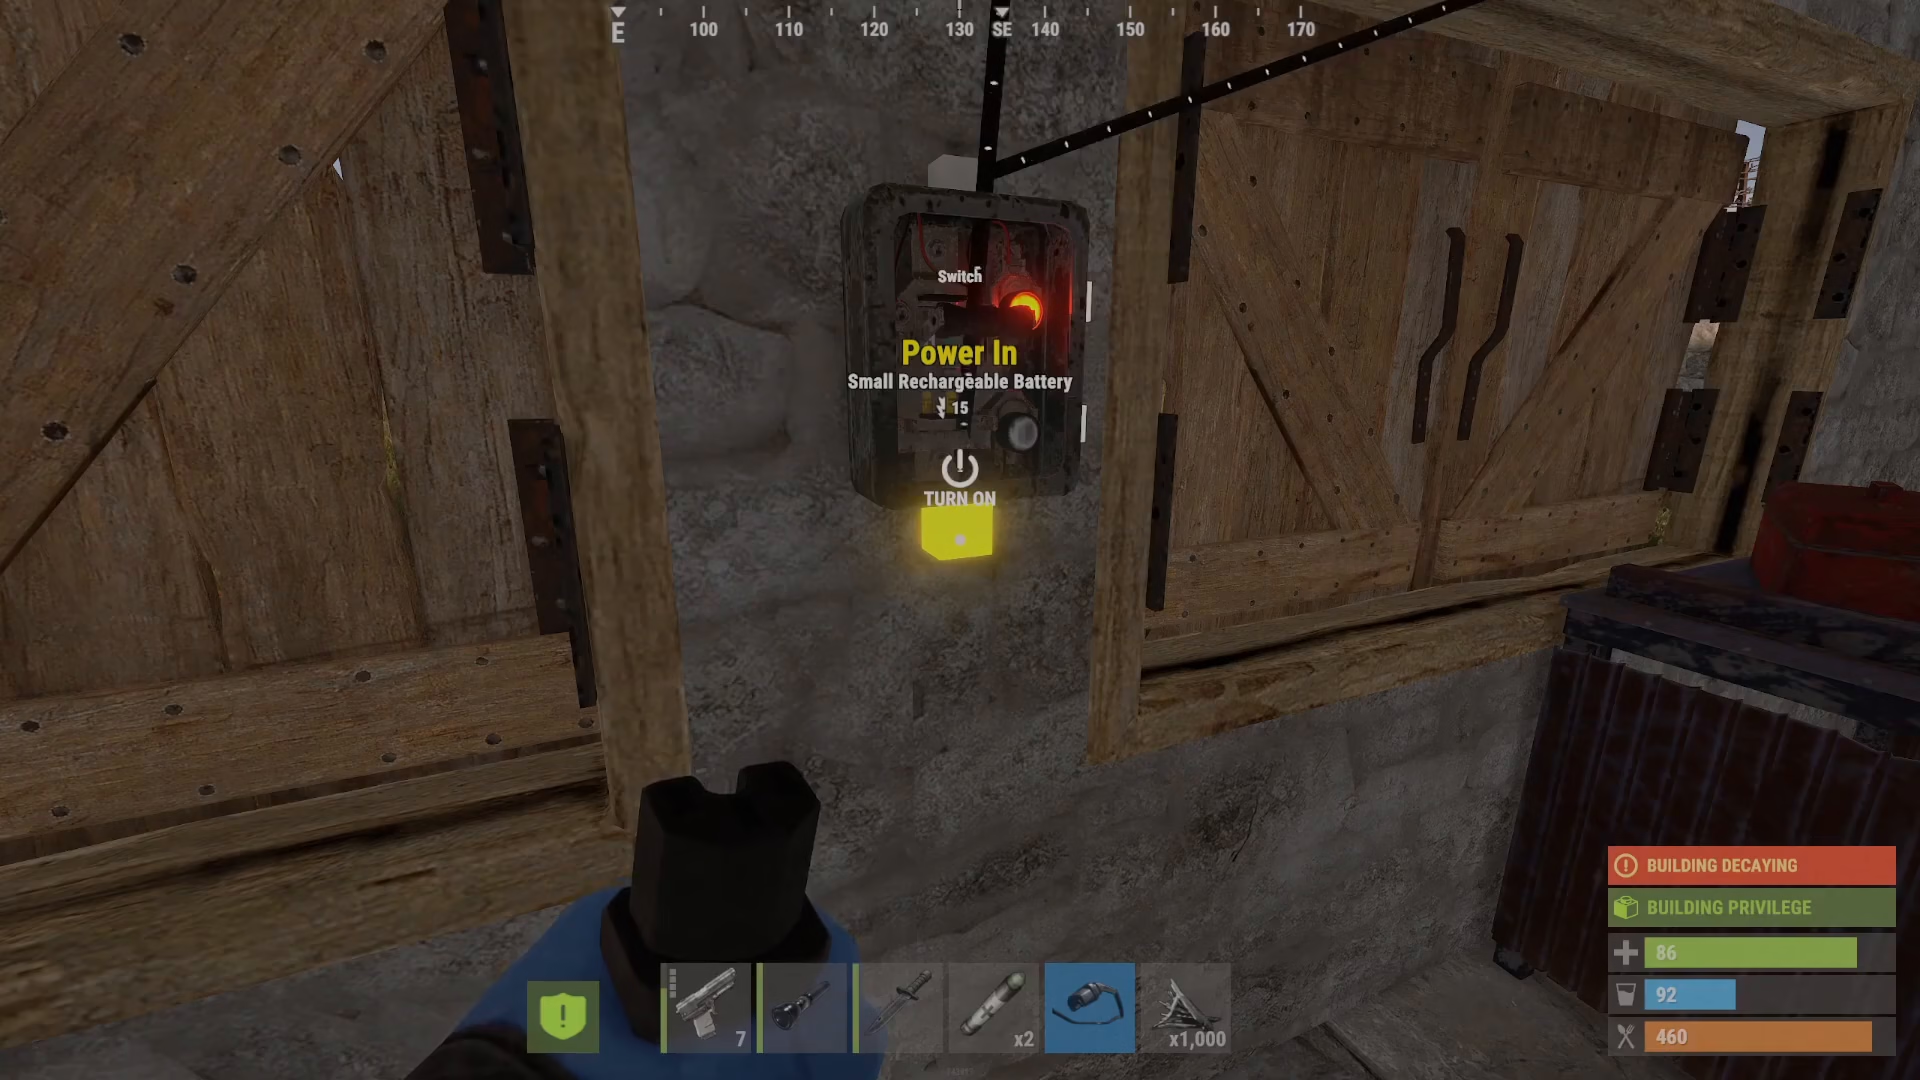
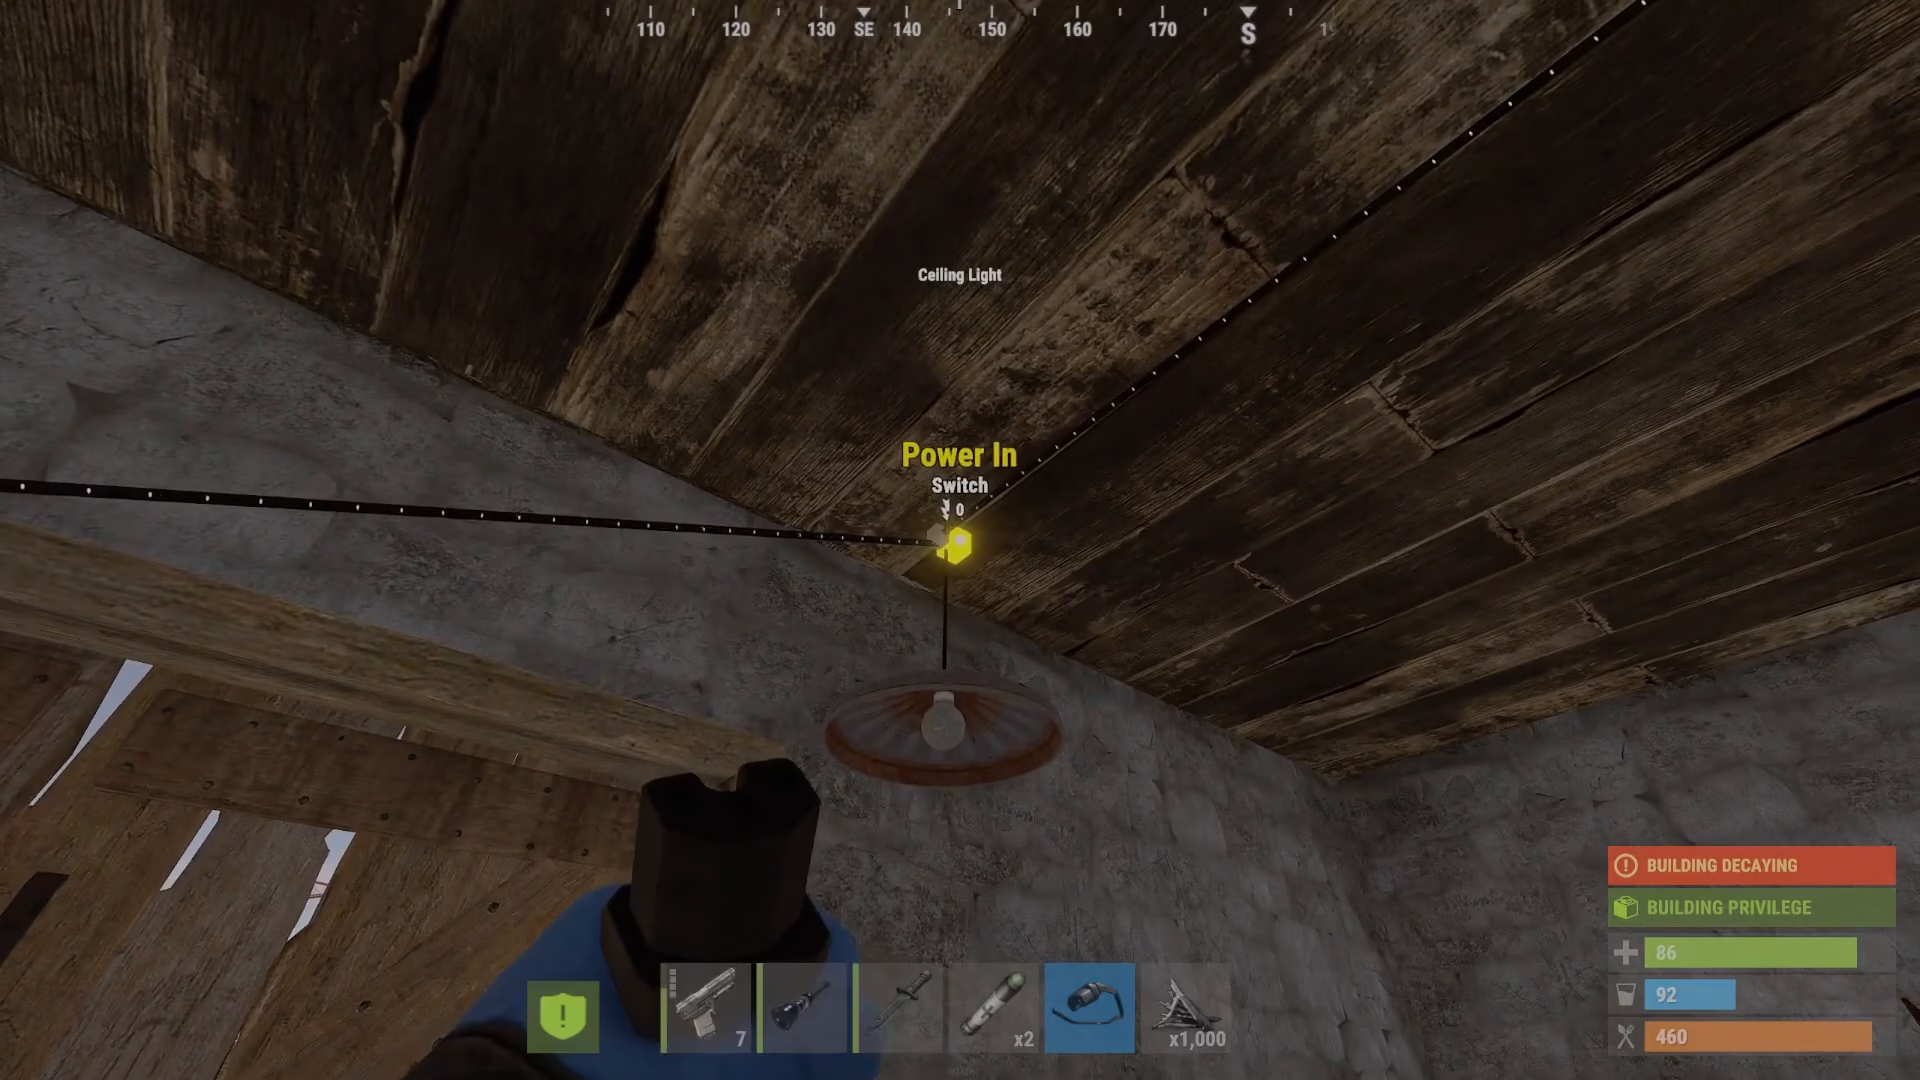
Now for the main event—connect your ceiling lights to the switch. Take the switch’s power output and connect it to the first light’s power input. This is where your lights finally get their power.
Creating a Chain of Lights
To add multiple lights to your setup without needing individual switches, use the pass through feature on each ceiling light. After connecting the first light, use its pass through output to connect to the next light’s power input. Repeat this process for each additional light you want to add. This creates a chain where all lights are powered simultaneously and controlled by your single light switch.
Testing Your Setup
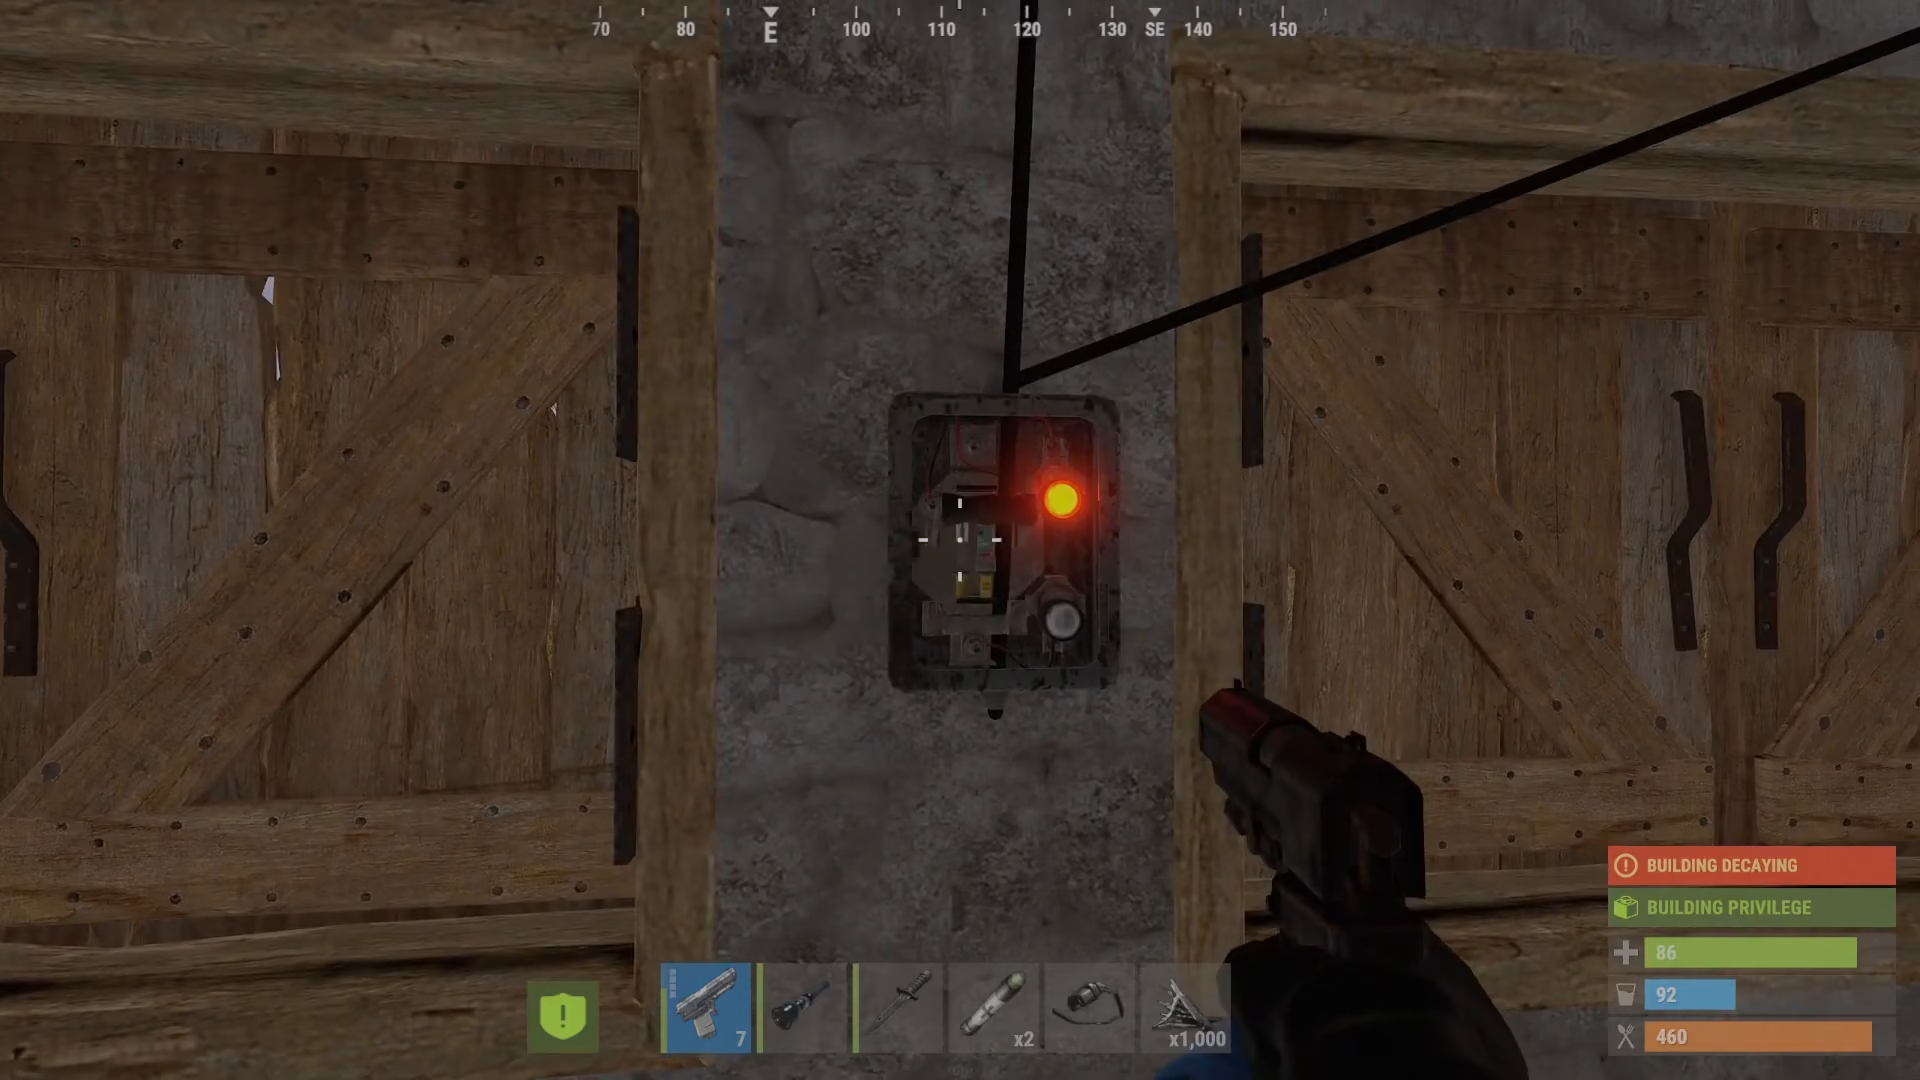
Walk up to your light switch and interact with it to turn on all connected ceiling lights. If all your wiring is correct, every light in the chain will illuminate simultaneously. Your entire lighting system is now operational and ready to use.
Summary
Setting up ceiling lights in Rust is straightforward once you understand the basics: start with a solar panel for power, route that power through a battery for stable energy storage, add a switch for control, then chain your ceiling lights together using their pass-through connections. This system is efficient, scalable, and perfect for any base configuration. With this setup complete, your base will be well-lit and fully controllable with a simple switch interaction.
— Want to Support? —
If you would like to help us continue making these guides – please consider joining our patreon here – https://www.patreon.com/c/JaviHeals
Alternatively – you can join our discord here – https://discord.gg/zD7Gjt6MHF