




The Treasure Hunt Part 2 Quest Guide in Disney Dreamlight Valley
The Treasure Hunt Part 2 Quest Guide in Disney Dreamlight Valley
Welcome to this comprehensive quest guide for the Treasure Hunt Part 2 quest in Disney Dreamlight Valley. This guide will walk you through every step of the quest, from assembling the treasure map to claiming your final reward. Follow along as we explore the valley, gather key pieces, and unlock the treasure chest together.
Starting the Quest and Meeting Marlin
Begin by starting the Treasure Hunt Part 2 quest. Once you’ve assembled the map, your next objective is to visit Marlin to learn what to do with it. Head to Marlin and present him with the treasure map.
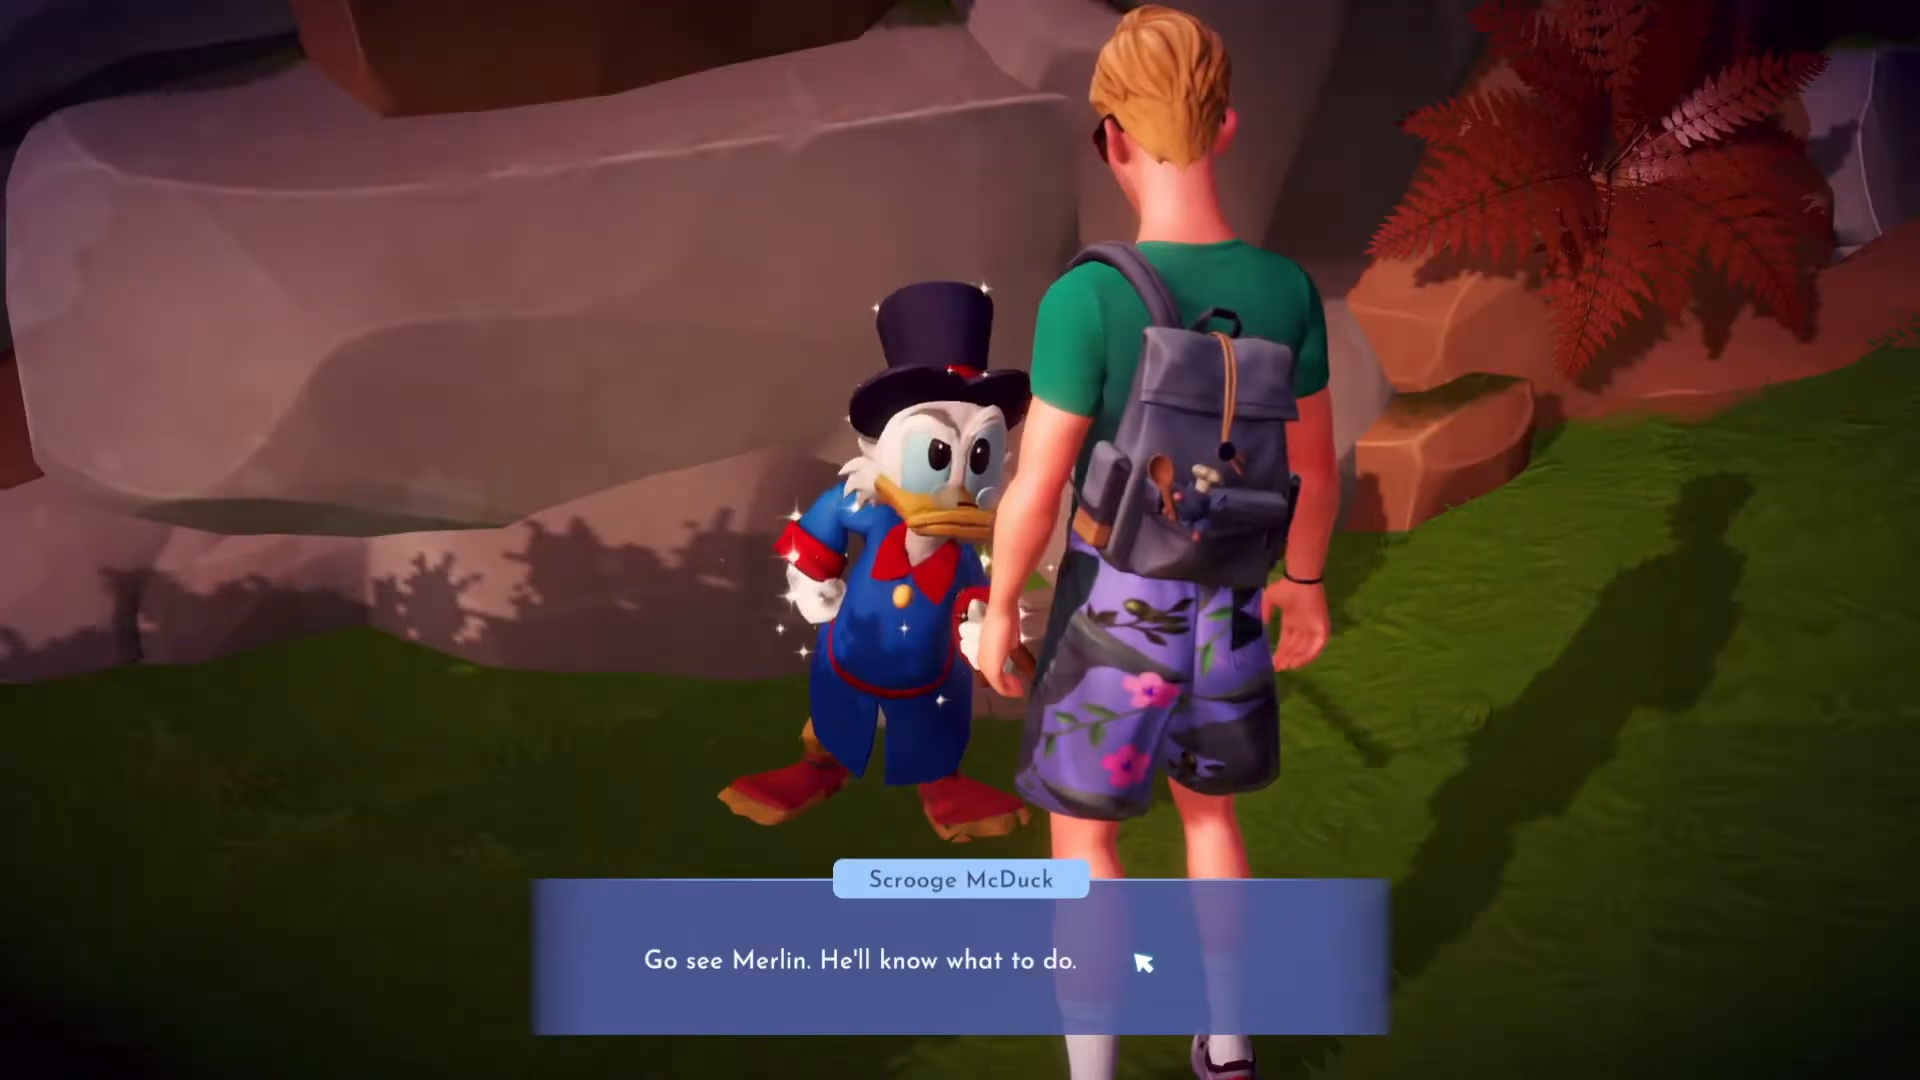
Marlin will examine the map and explain that he’s seen inscriptions of this sort before. He mentions that “the problematic words should reveal what’s written” and suggests you show the map to Zoe. The inscription on the map reads: “Only the one who wields the lenses of shadows shall find what’s hidden in here and there. Find the keys and make them whole for the treasure to be yours to hold.”
Opening the Treasure Map in Your Inventory
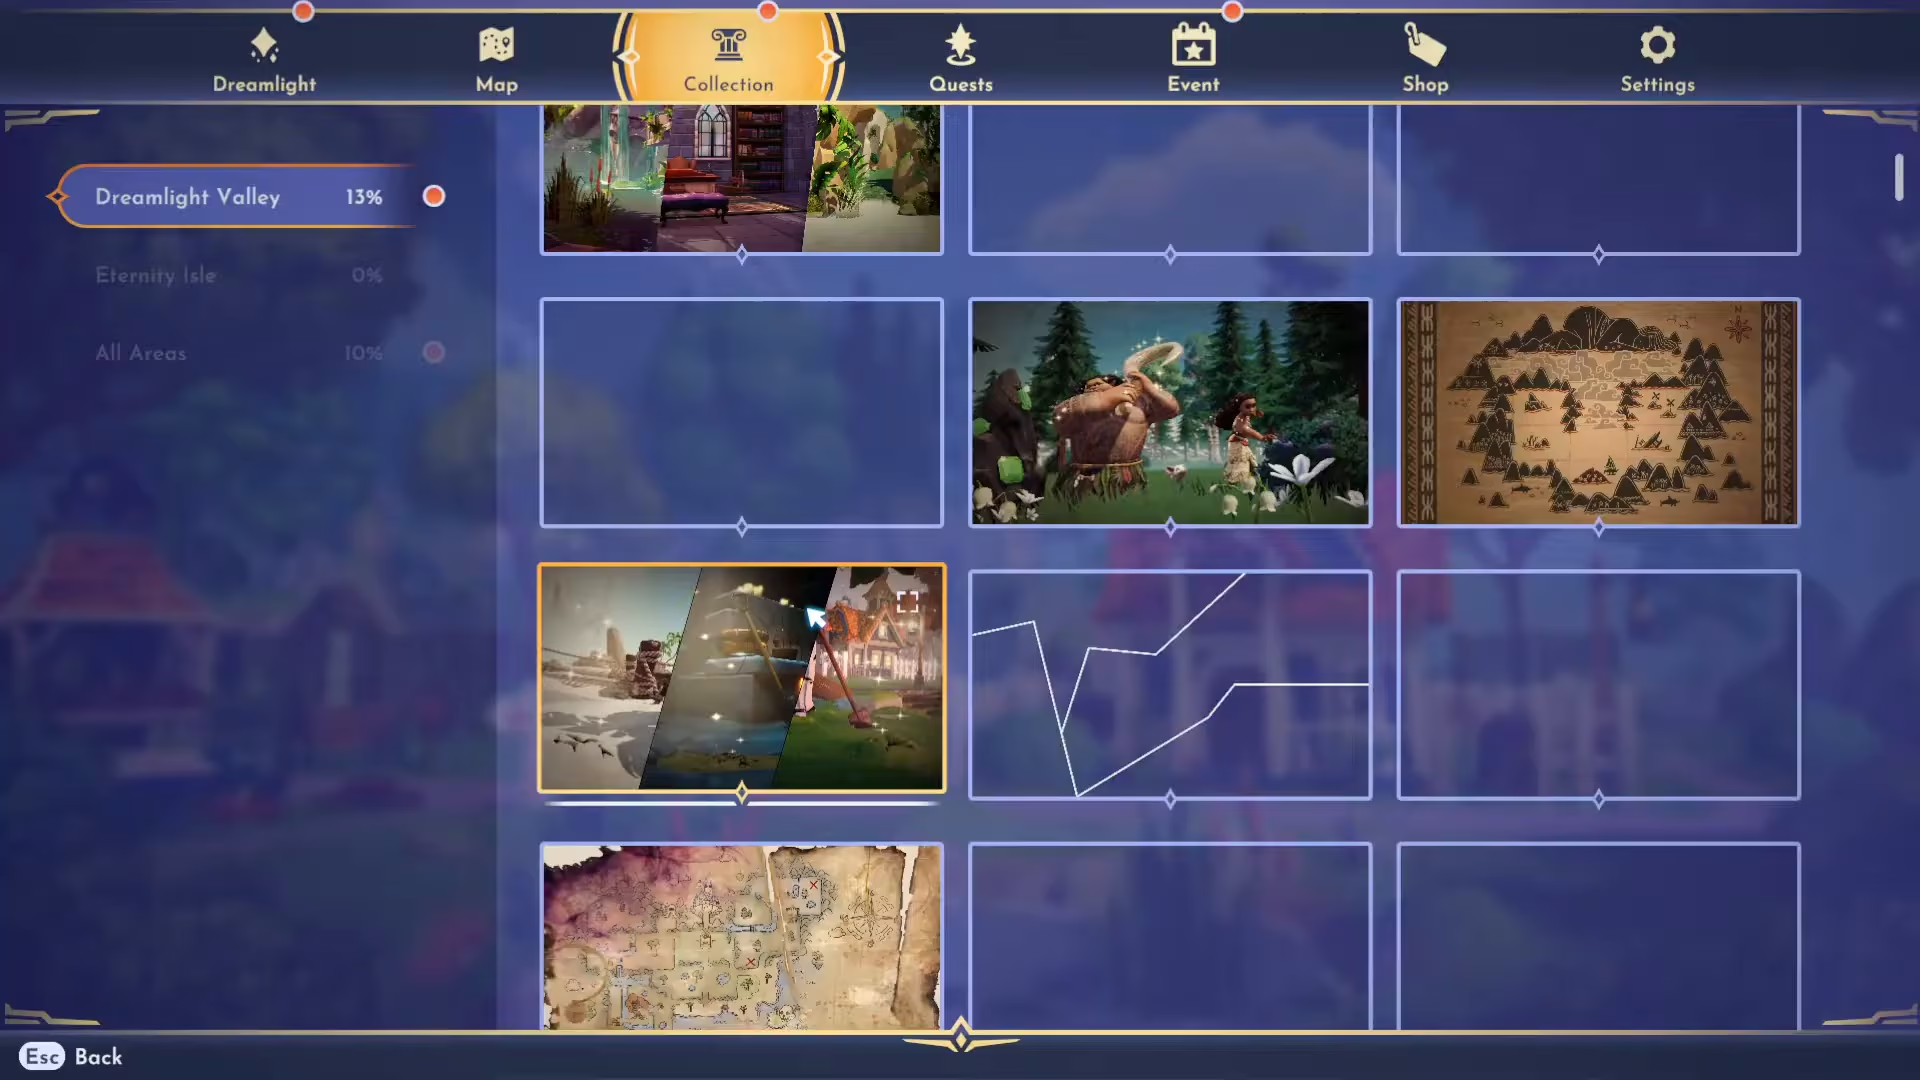
Next, open your inventory and interact with the treasure map directly. This will generate a Treasure Map Memory item. Using this memory, you’ll unlock a visual representation of the map showing the locations of three X marks scattered throughout Disney Dreamlight Valley.
Obtaining the Lenses of Shadows
According to Marlin’s instructions, you’ll need a special pair of lenses to complete this quest. Visit Scrooge McDuck to ask about the Lenses of Shadows. Scrooge will explain that these are special glasses he kept from the Forgetting event, which he stored in a safe that you previously helped him open. He’ll tell you: “Only those who can wield the power of dreamlight, like you, can use them.”
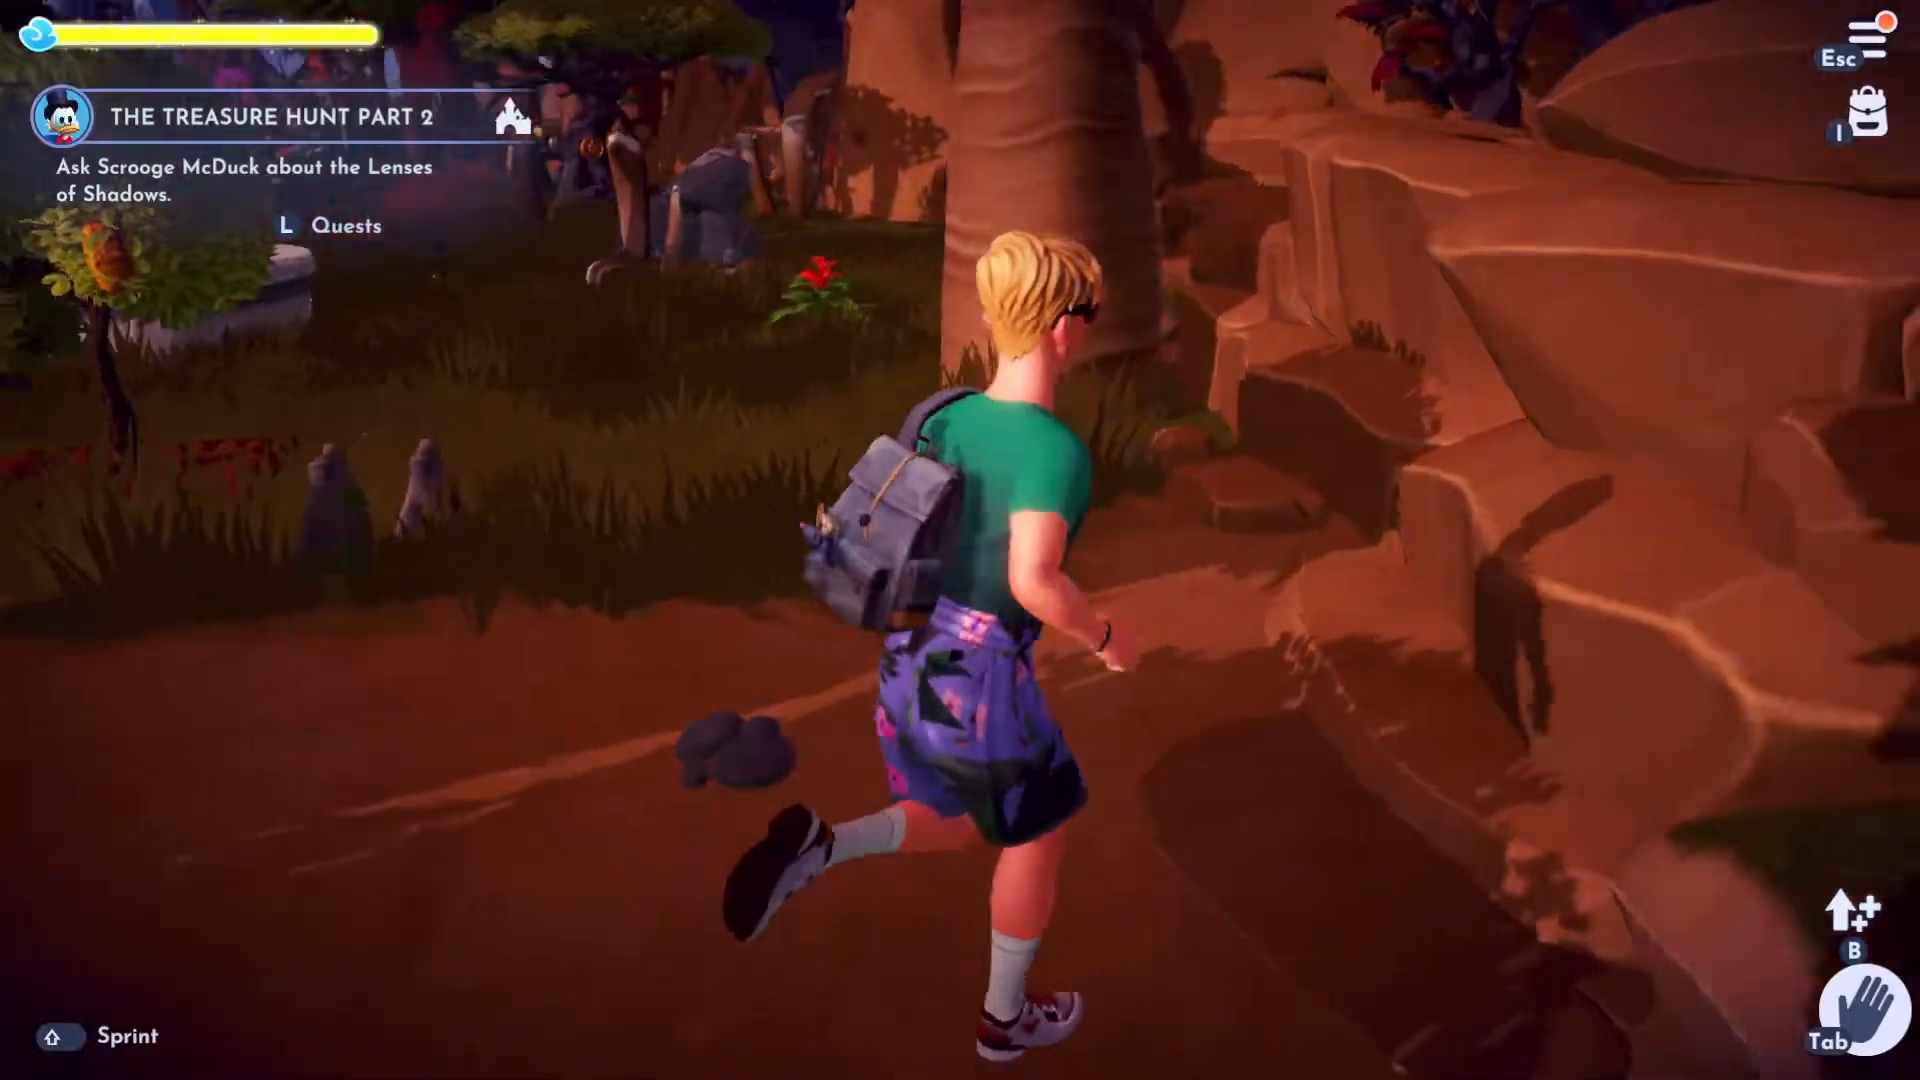
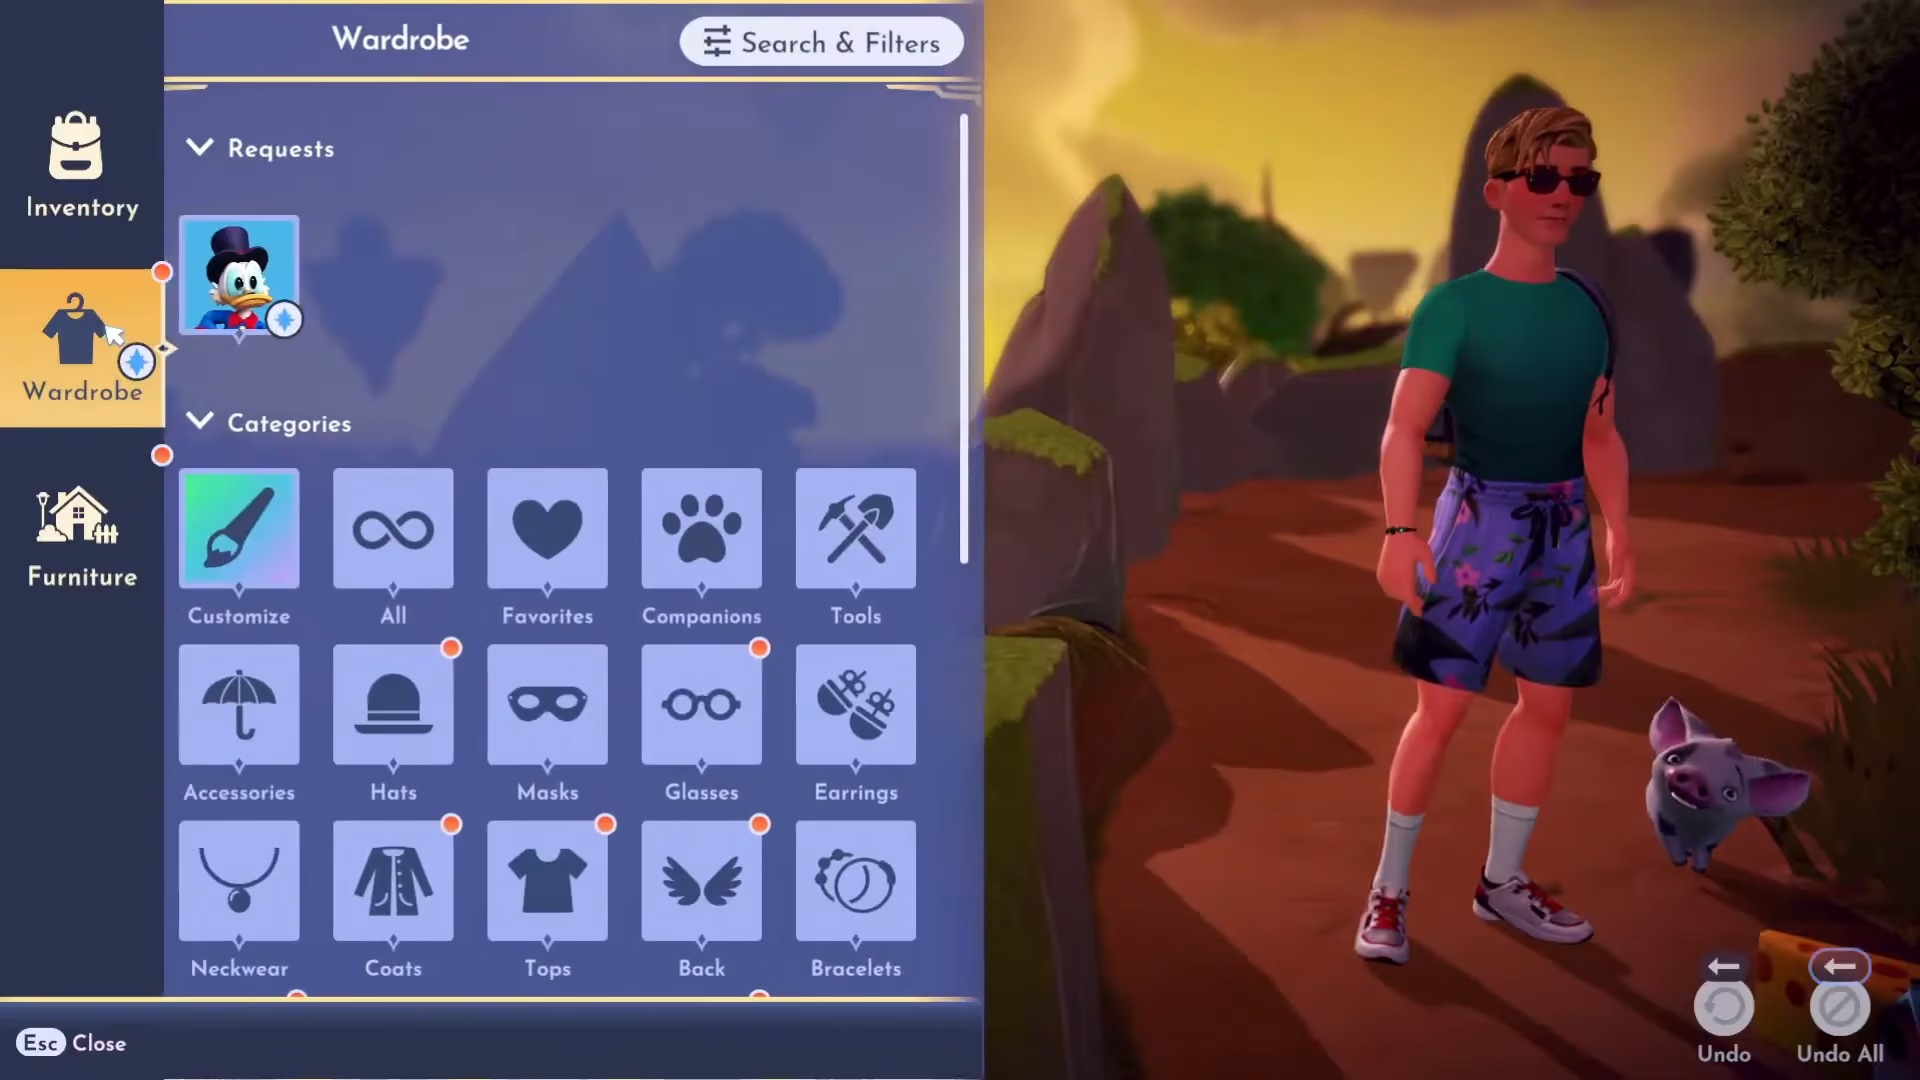
Scrooge will give you the special glasses. Head to your wardrobe menu, select Requests at the top, and equip the Lenses of Shadows.
Locating and Digging the Three Key Pieces
First Key Piece – Glade of Trust
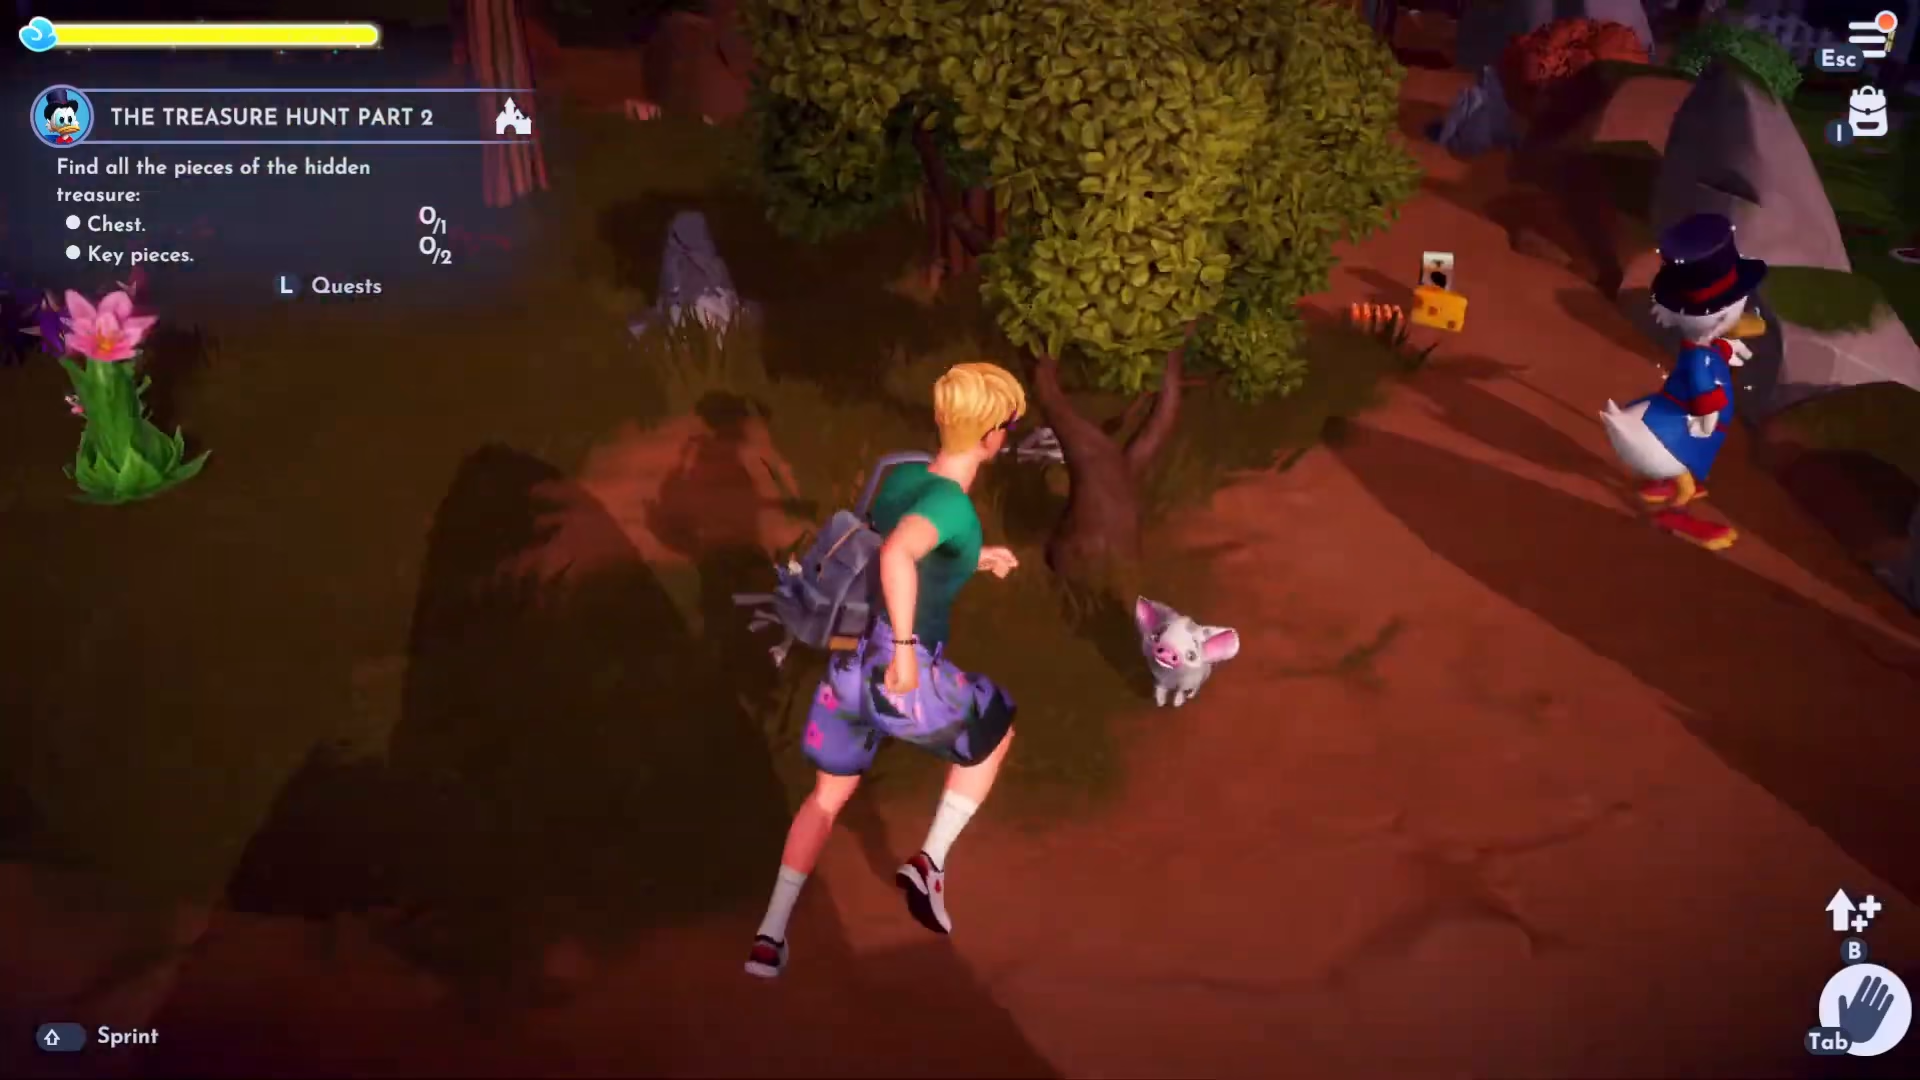
Return to your Treasure Map Memory in your collection to review the three marked locations. The first X mark is located in the Glade of Trust. Travel there and look for dig spots. You’ll find a broken key piece buried in this location.
Second Key Piece – Forest of Valor
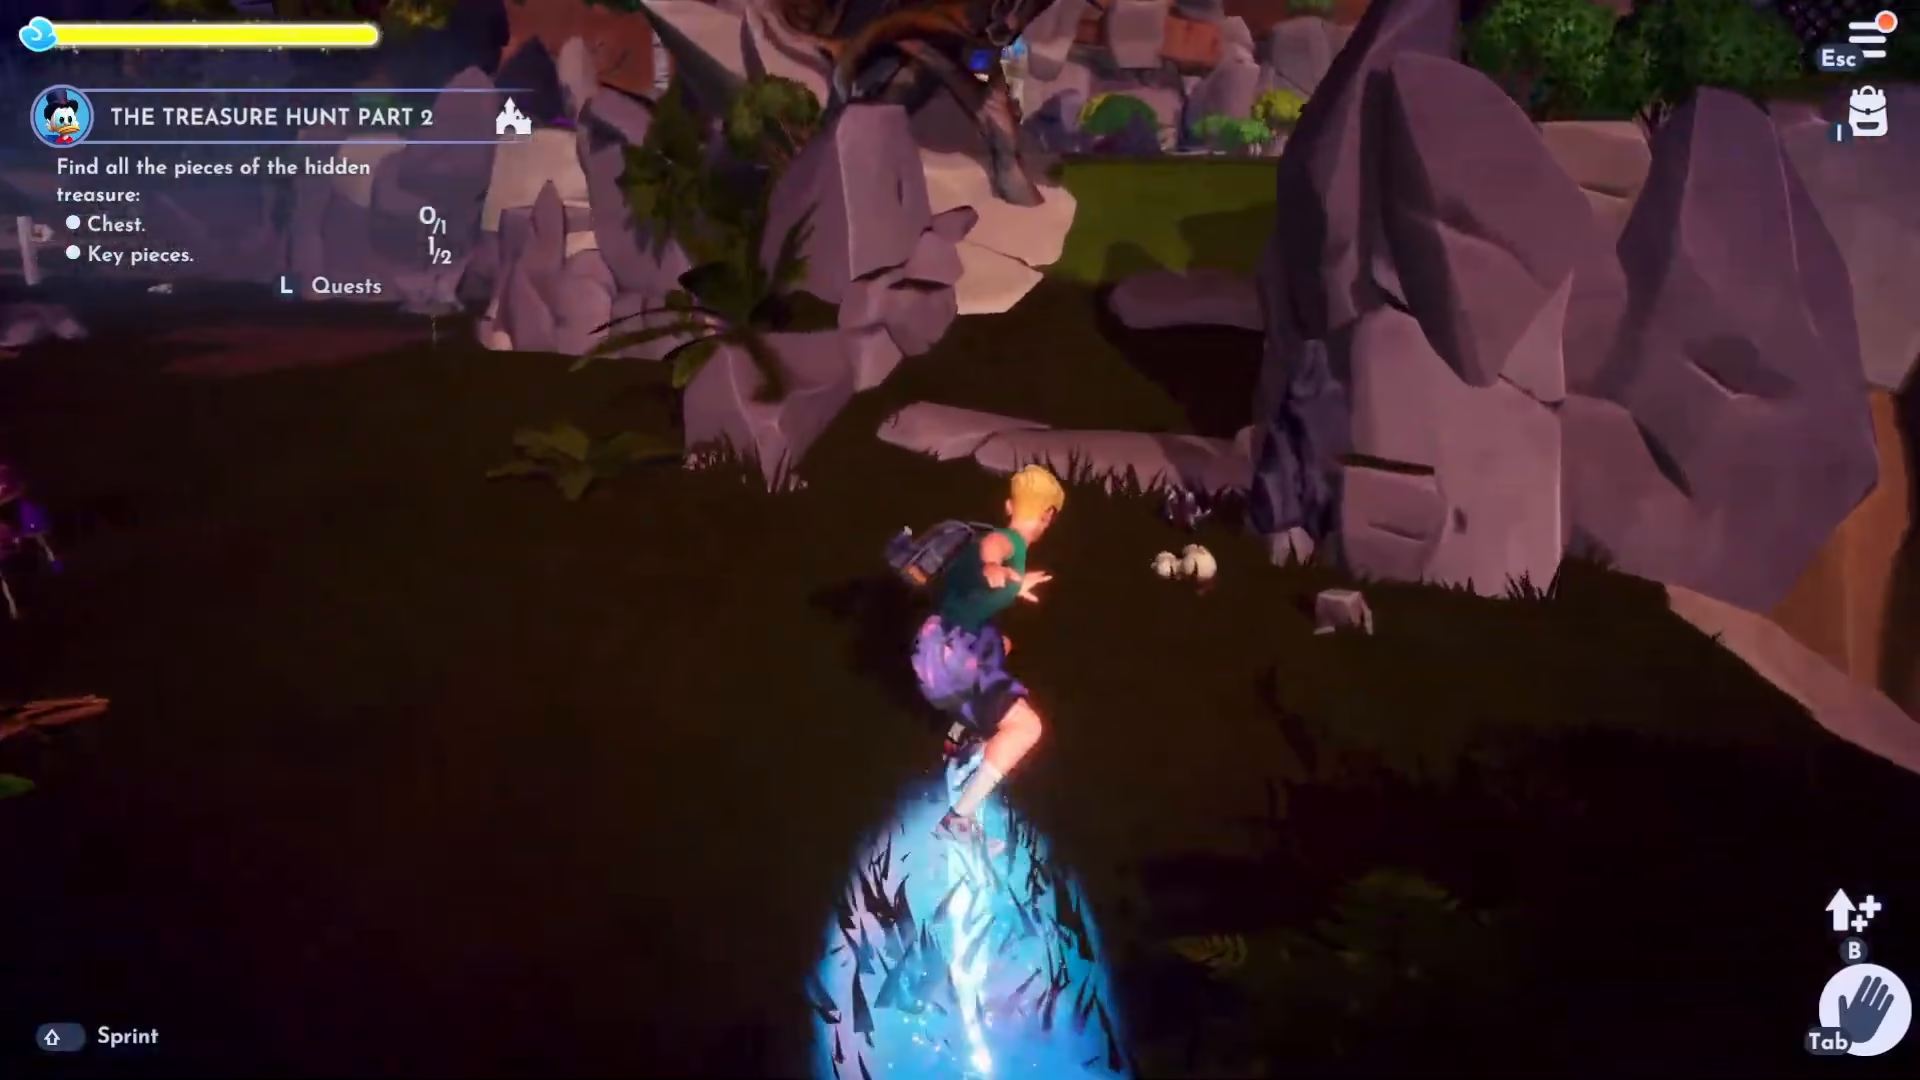
The second piece is hidden in the Forest of Valor, near where Christoph and the portals are located. This piece can be tricky to spot, so make sure you get close enough to see the dig spot clearly. Take your time searching this area—it may take a few minutes to locate even if you know the general vicinity.
Third Key Piece – Frosted Heights
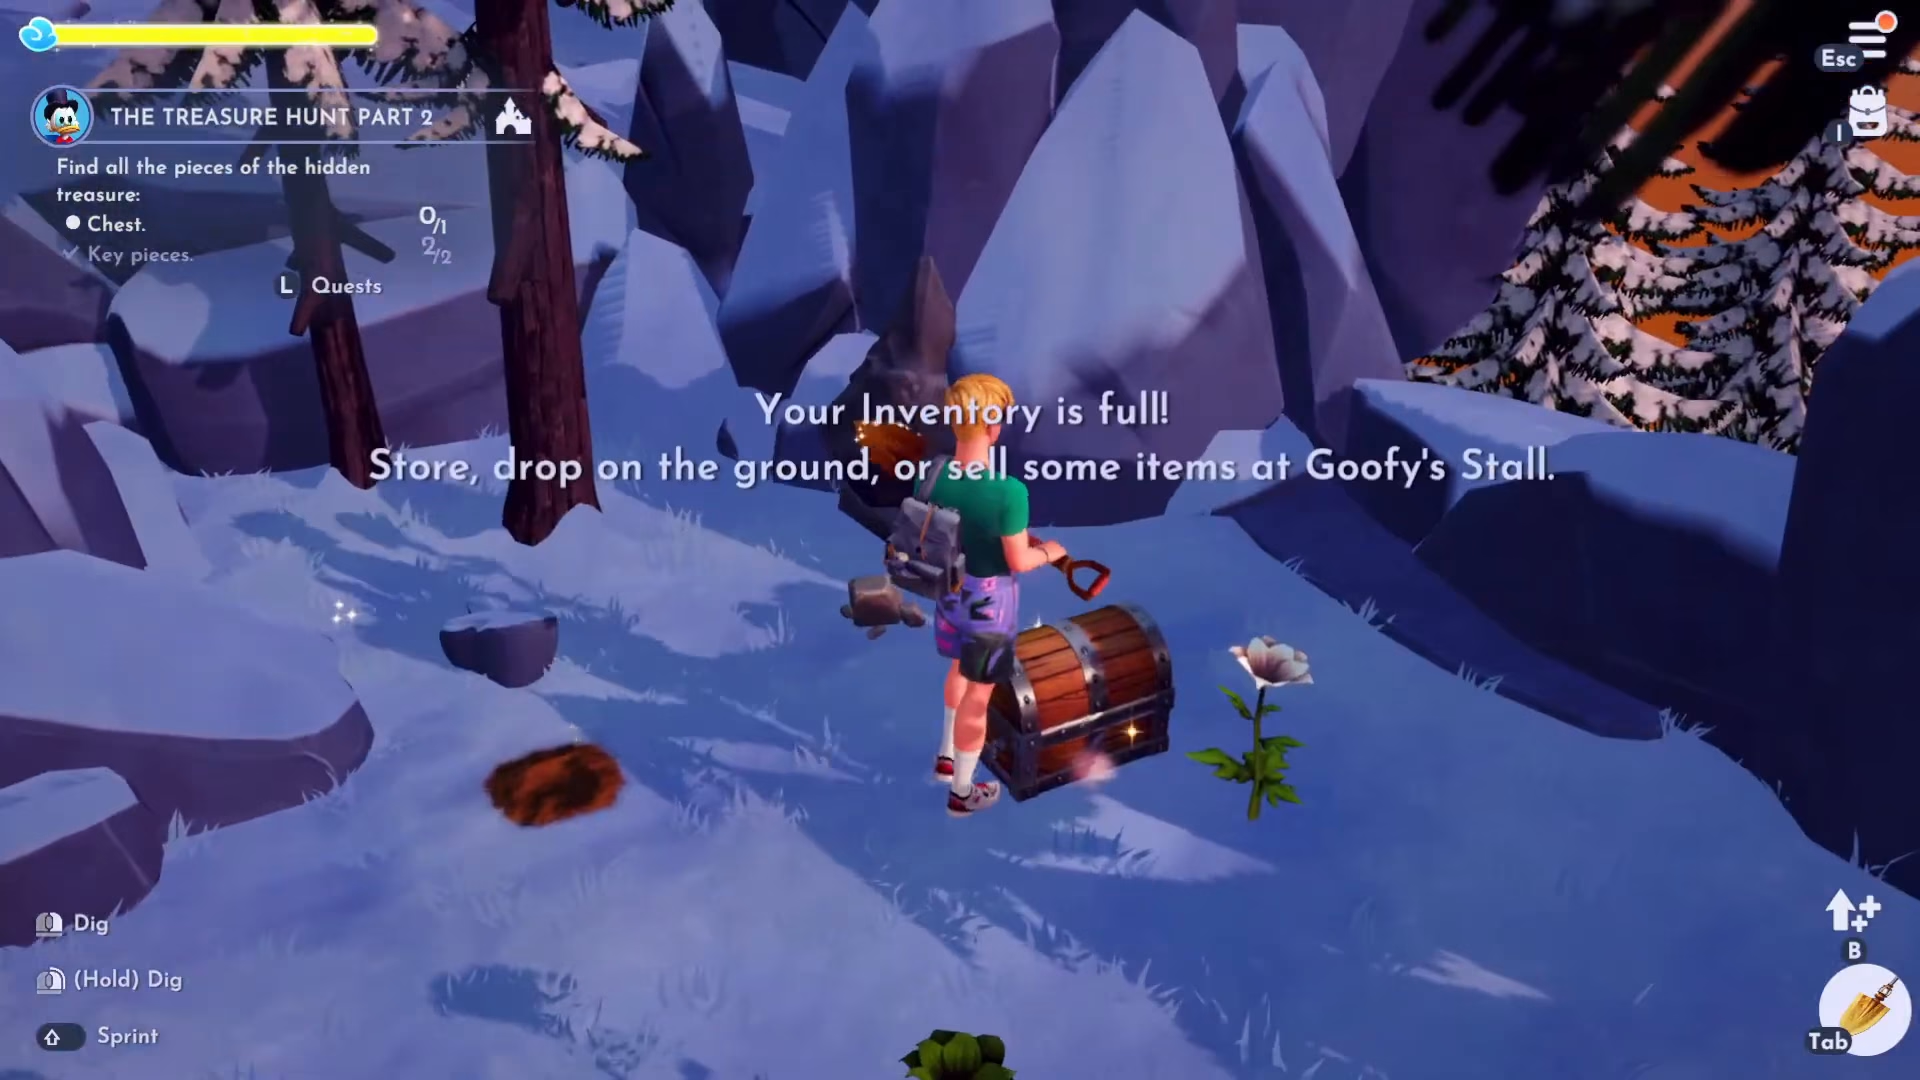
The final piece awaits in the Frosted Heights, in the top right corner of the region. Dig at this location to uncover the treasure chest.
Note: Your inventory may become full during this process. Make space as needed and collect all three pieces along with the chest.
Gathering Gold and Repairing the Key
Return to Scrooge McDuck with your collected key pieces and chest. Scrooge will inform you that the key needs to be repaired, and the only way to do this is to craft a new one. Since it’s a gold key, you’ll need to gather two gold ingots.
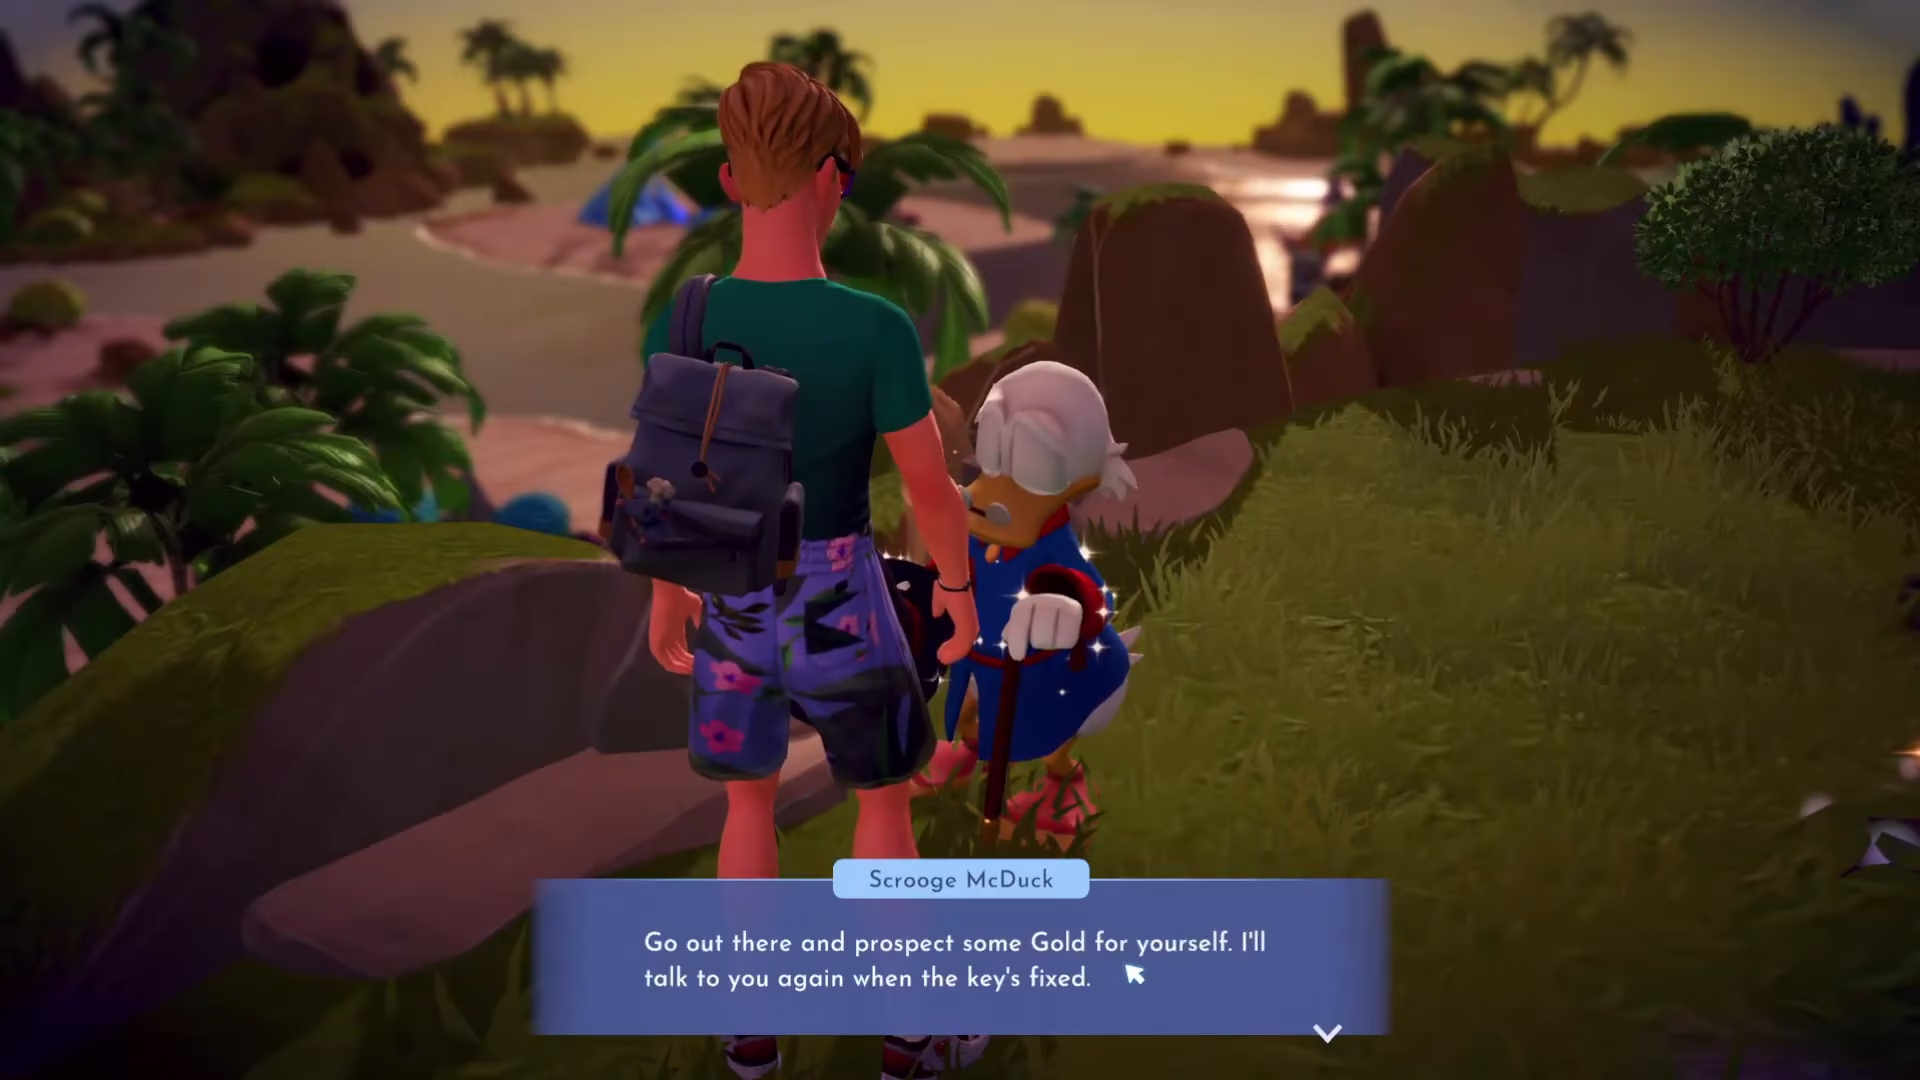
Mine stone rocks throughout the valley—particularly in the Glade of Trust and other resource-rich areas—to collect gold nuggets. You’ll need 10 gold nuggets total (5 per ingot for 2 ingots).
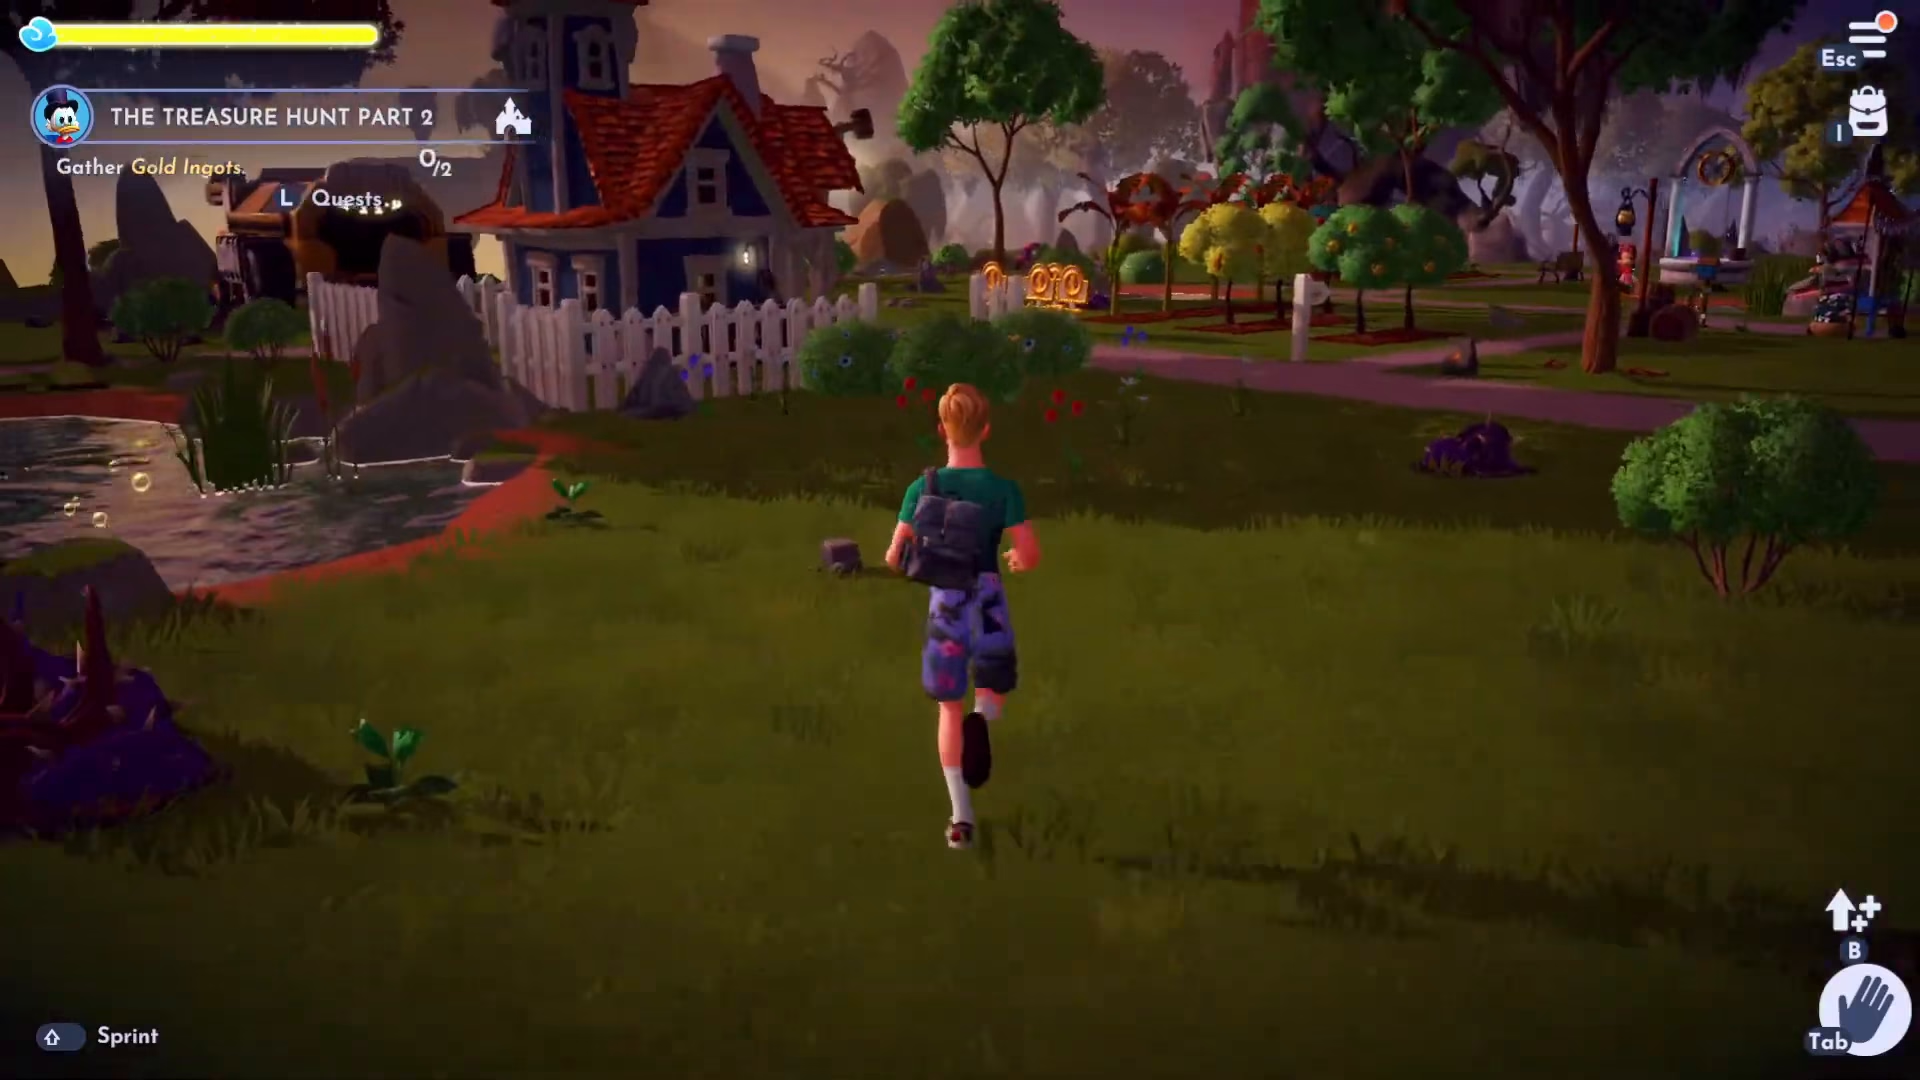
Crafting the Gold Ingots and Treasure Key
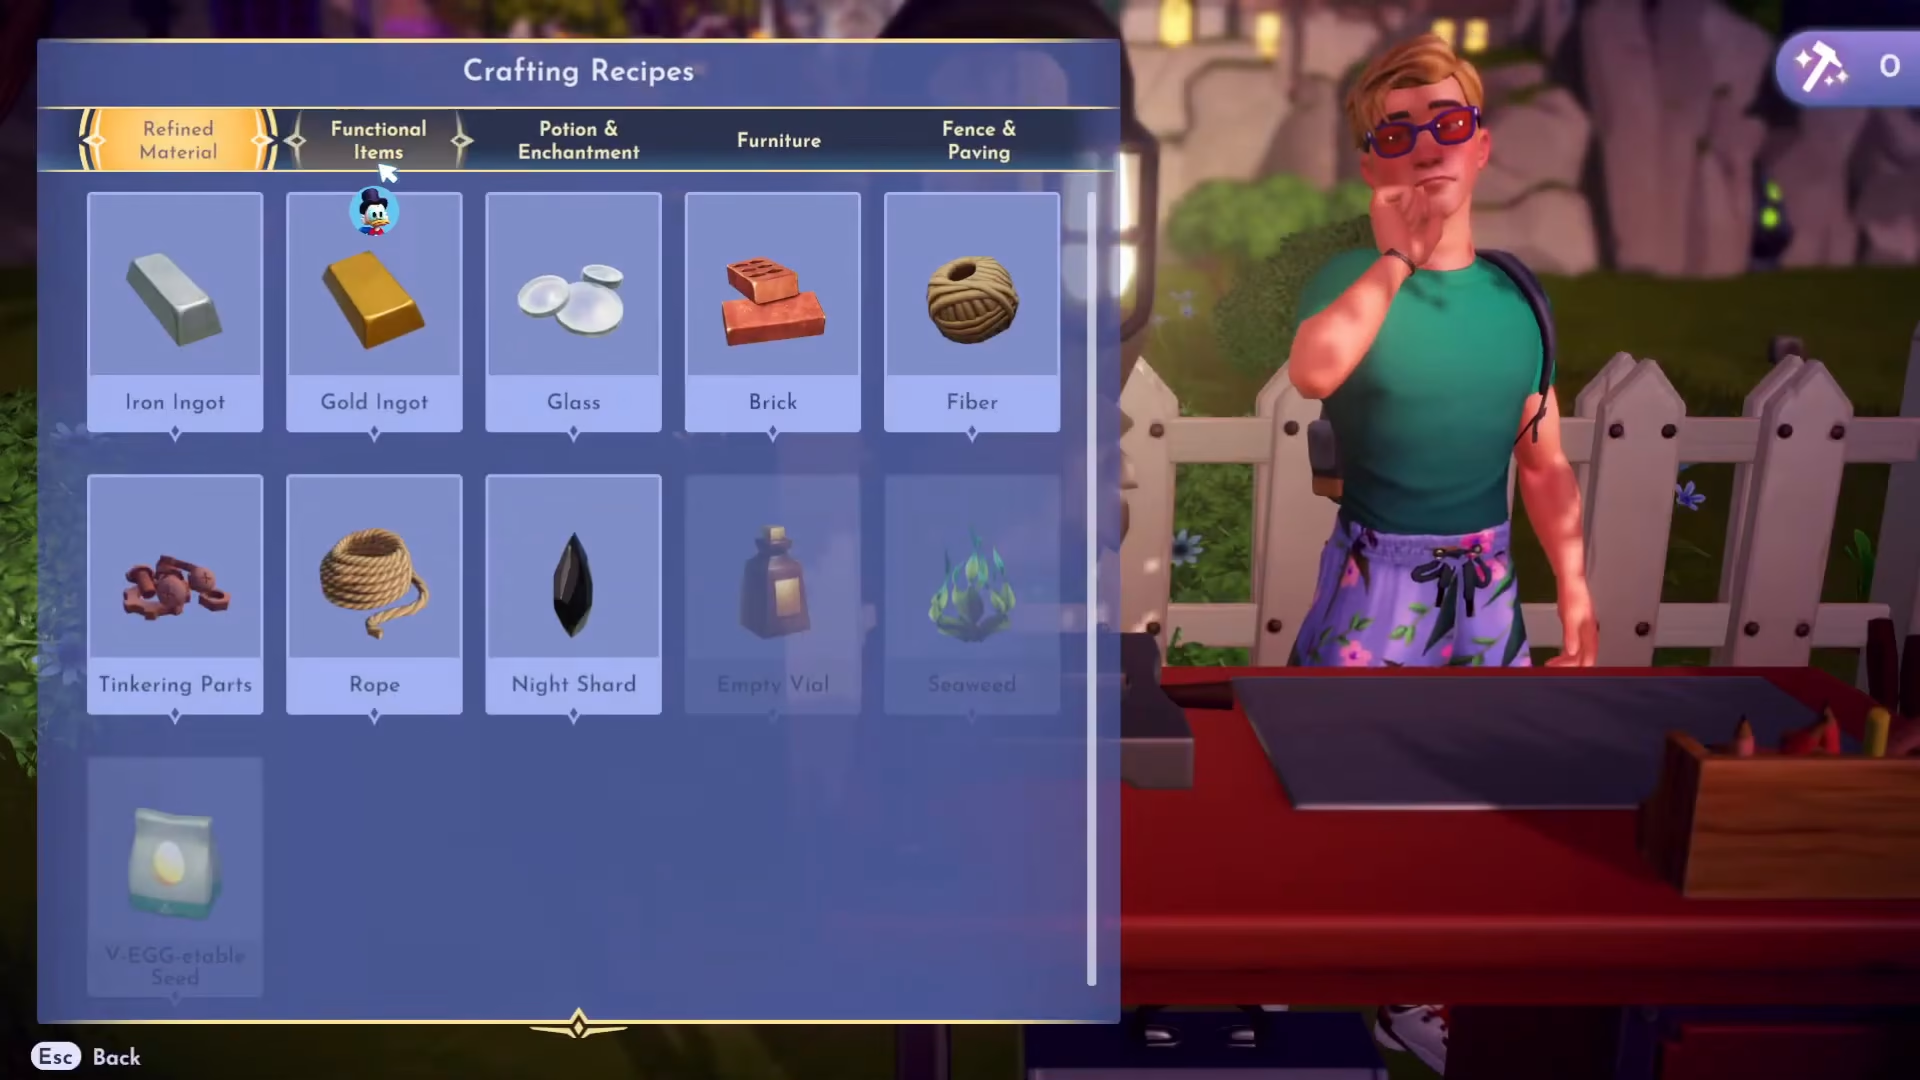
Head to your crafting table and create two gold ingots. Each ingot requires five gold nuggets.
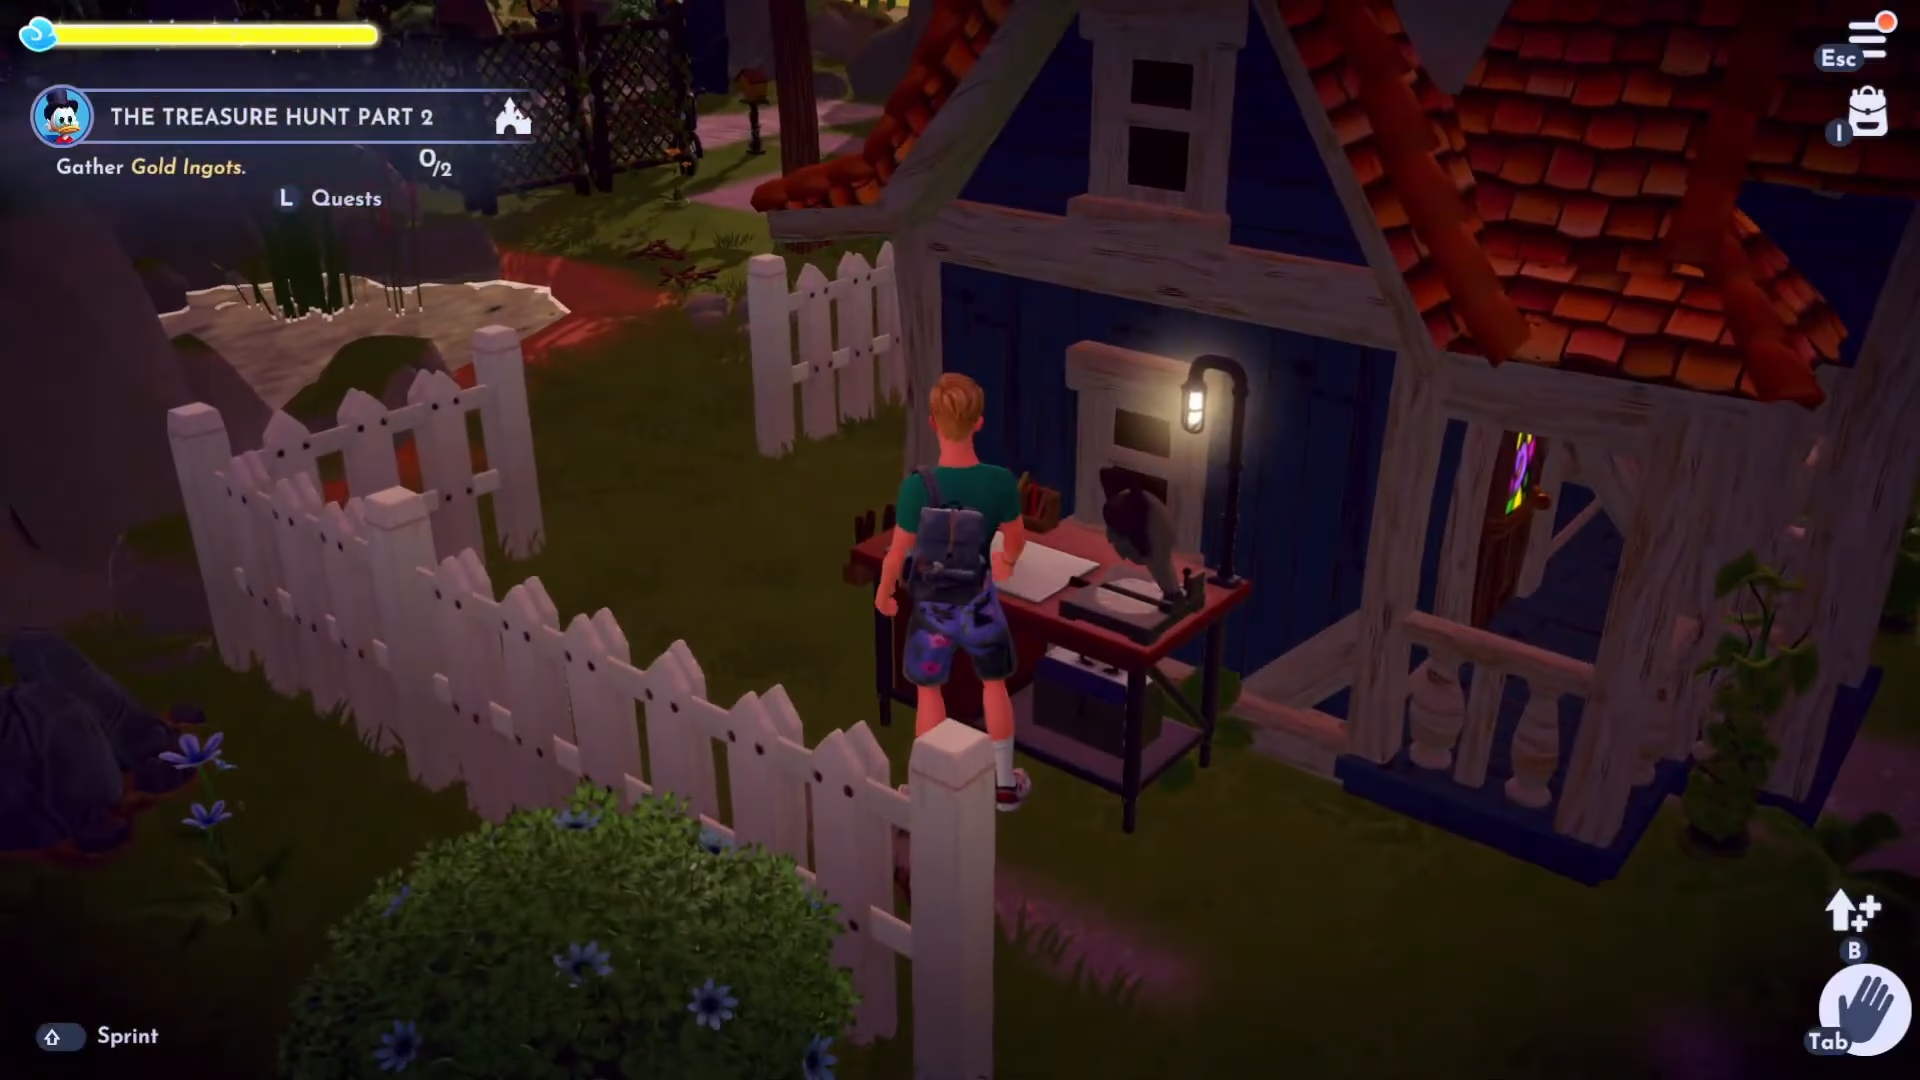
Once you have the two gold ingots, return to the crafting station and navigate to Functional Items. Here you’ll find the recipe for the Treasure Key, which requires:
Two broken key pieces (collected from dig sites)
Two gold ingots (just crafted)
Craft the Treasure Key to complete this step.
Completing the Quest and Claiming Your Reward
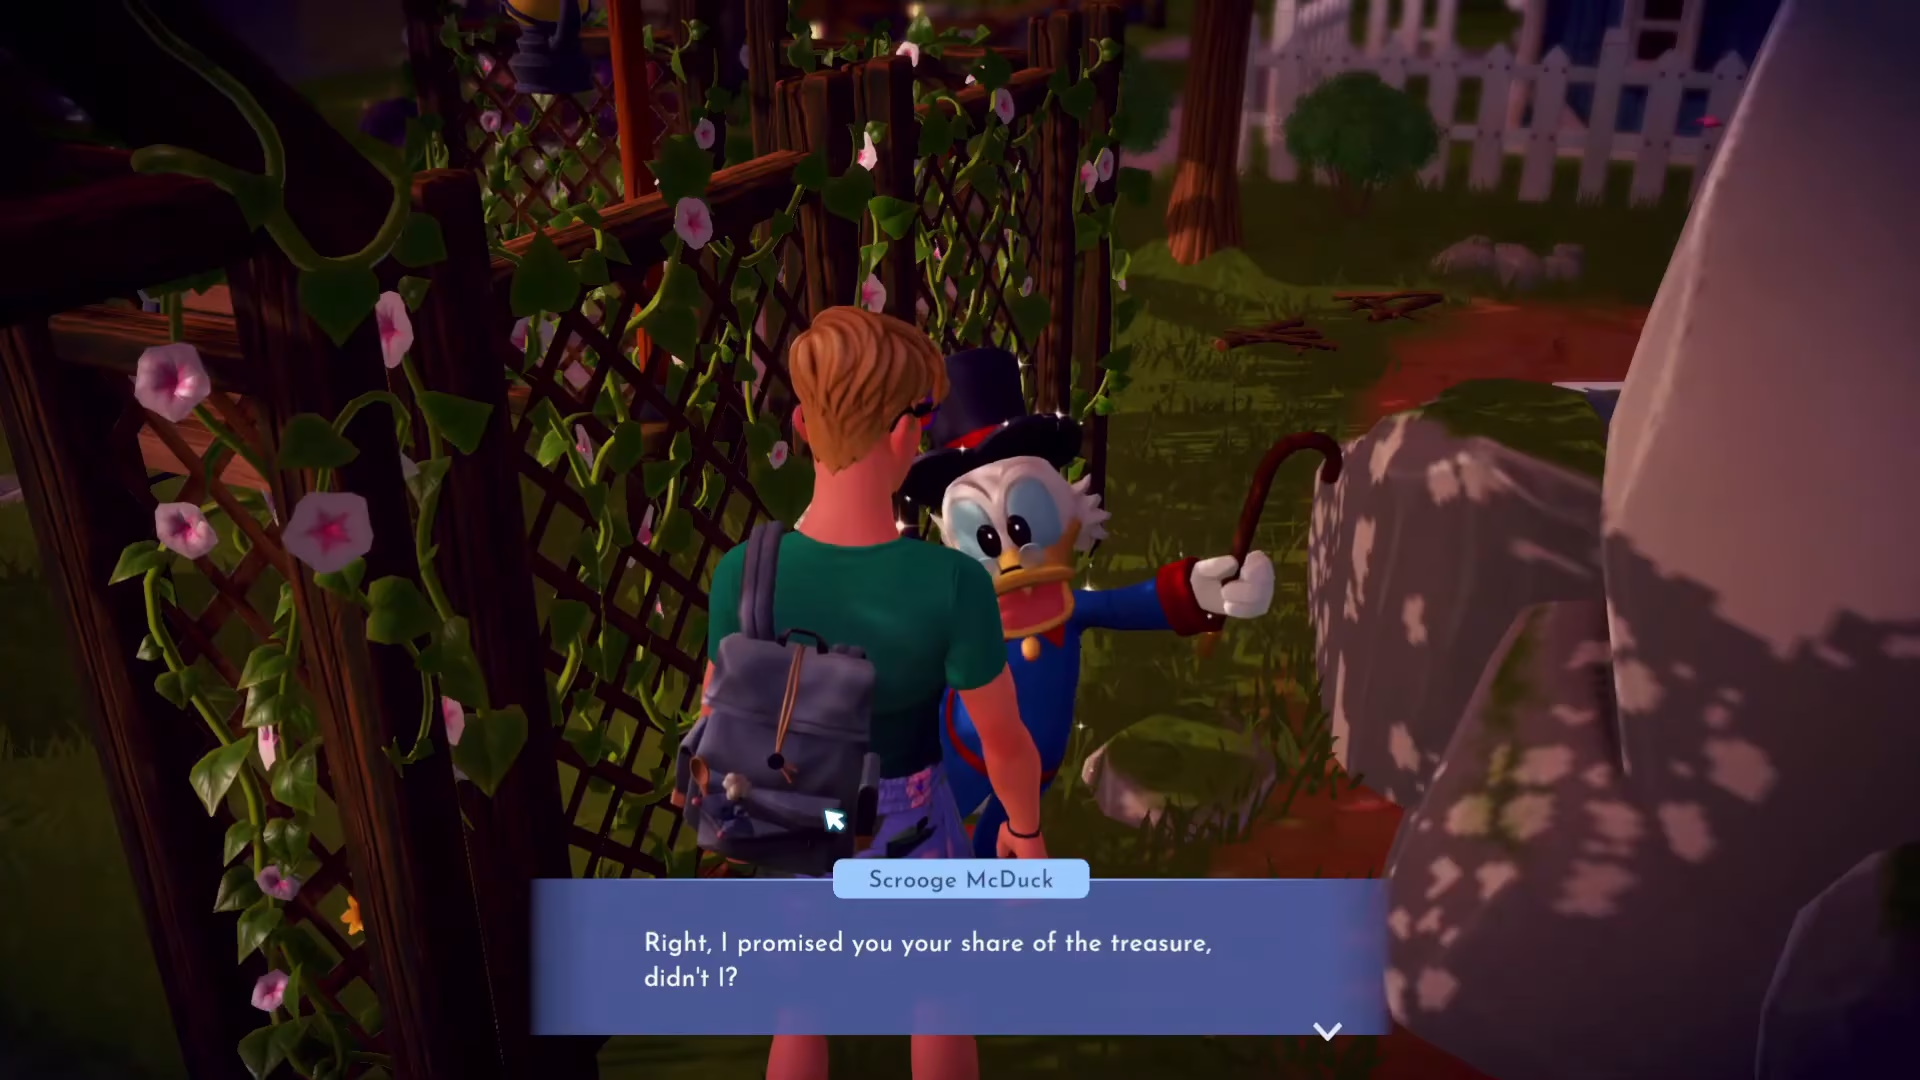
Return to Scrooge McDuck with both the treasure chest and the completed treasure key. Scrooge will open the chest and reward you with 2,000 gold coins as your share of the treasure.
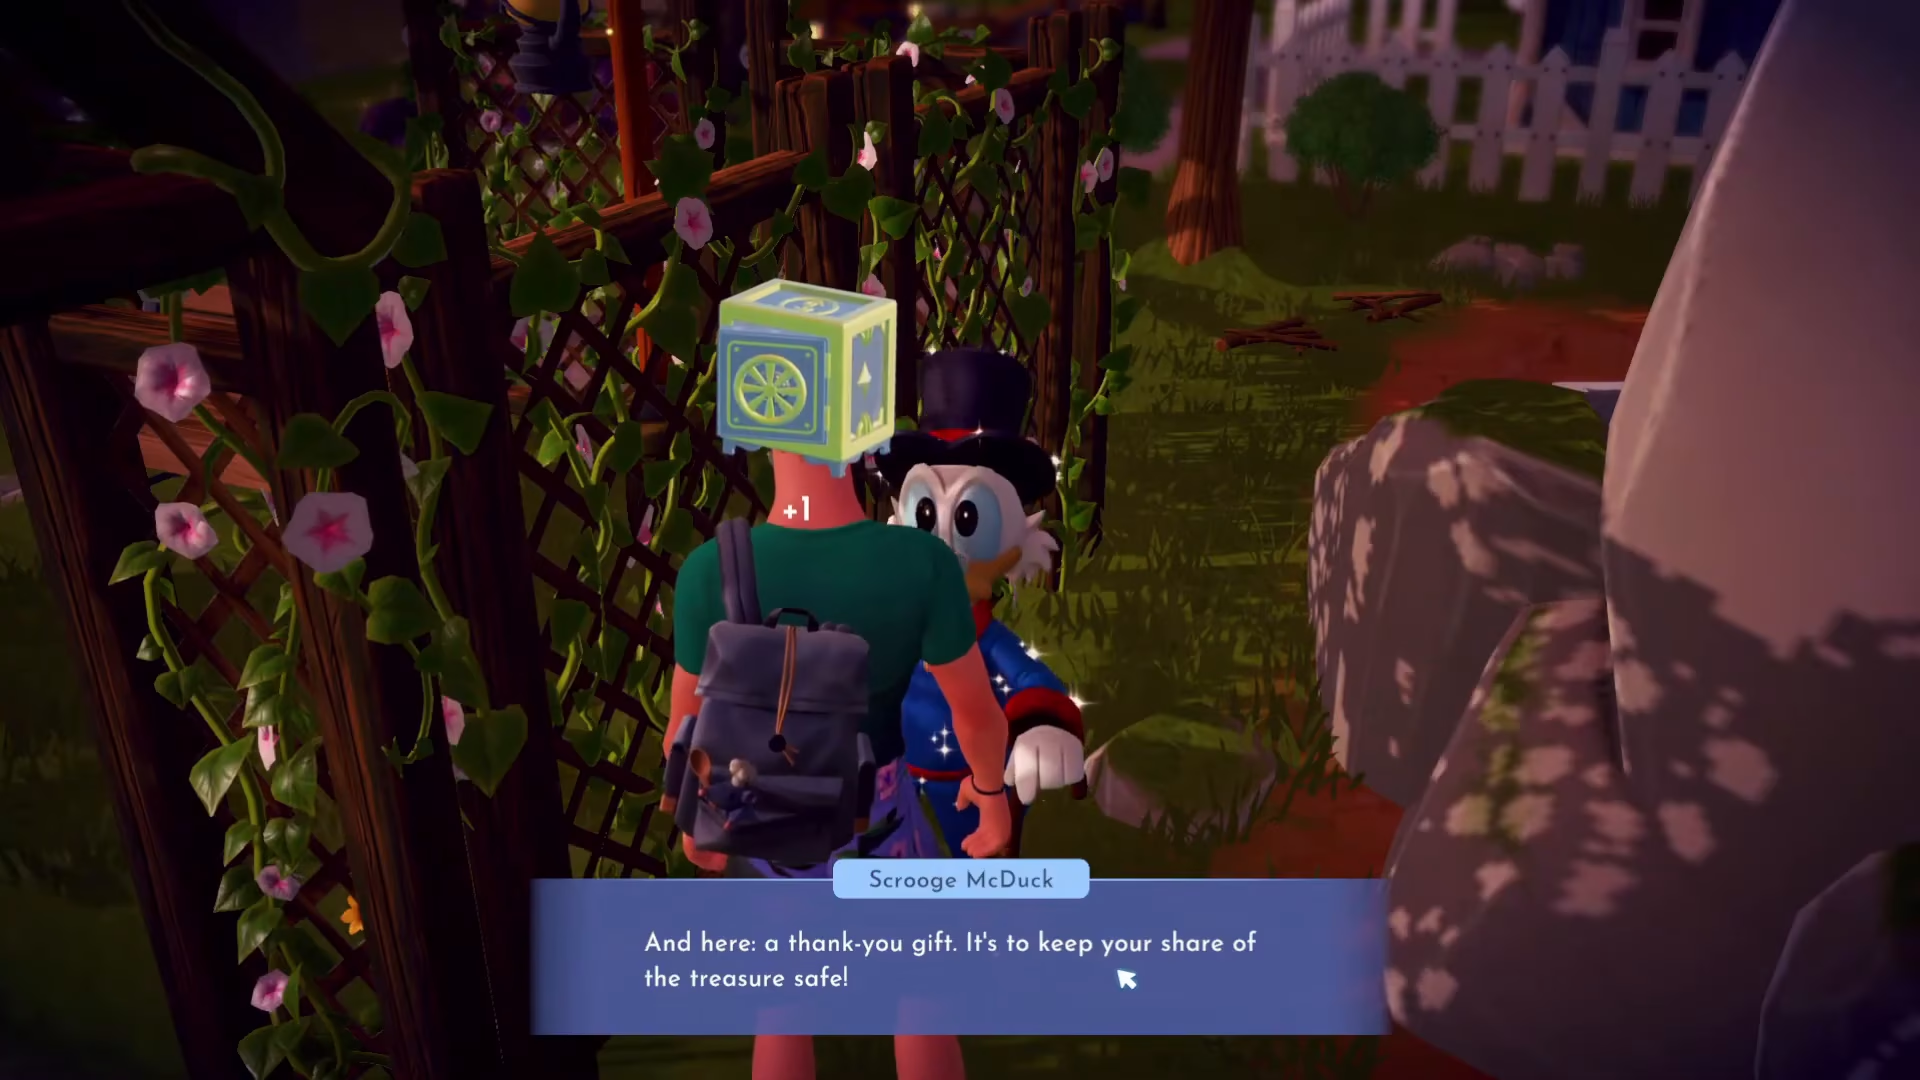
As a special thank you gift, Scrooge will also give you a Safe (furniture item) to keep your treasure safe. He’ll mention that if you find any additional treasure out in the valley, you should let him know.
Quest Complete!
Congratulations! You’ve successfully completed the Treasure Hunt Part 2 quest. You’ve earned 2,000 gold coins, received a decorative safe for your home, and unlocked the story of the hidden treasure in Disney Dreamlight Valley. This quest is now marked as complete, and you can move on to other adventures in the valley.
— Want to Support? —
If you would like to help us continue making these guides – please consider joining our patreon here – https://www.patreon.com/c/JaviHeals
Alternatively – you can join our discord here – https://discord.gg/zD7Gjt6MHF