The Ultimate Astroneer Beginner Guide
The Ultimate Astroneer Beginner Guide
Astroneer has one of the most challenging tutorials in gaming, which is why we’ve created this complete beginner guide to help you actually enjoy the game. Whether you’re just starting out or struggling with the basics, this guide will walk you through everything you need to know to get your space adventure off to a solid start.
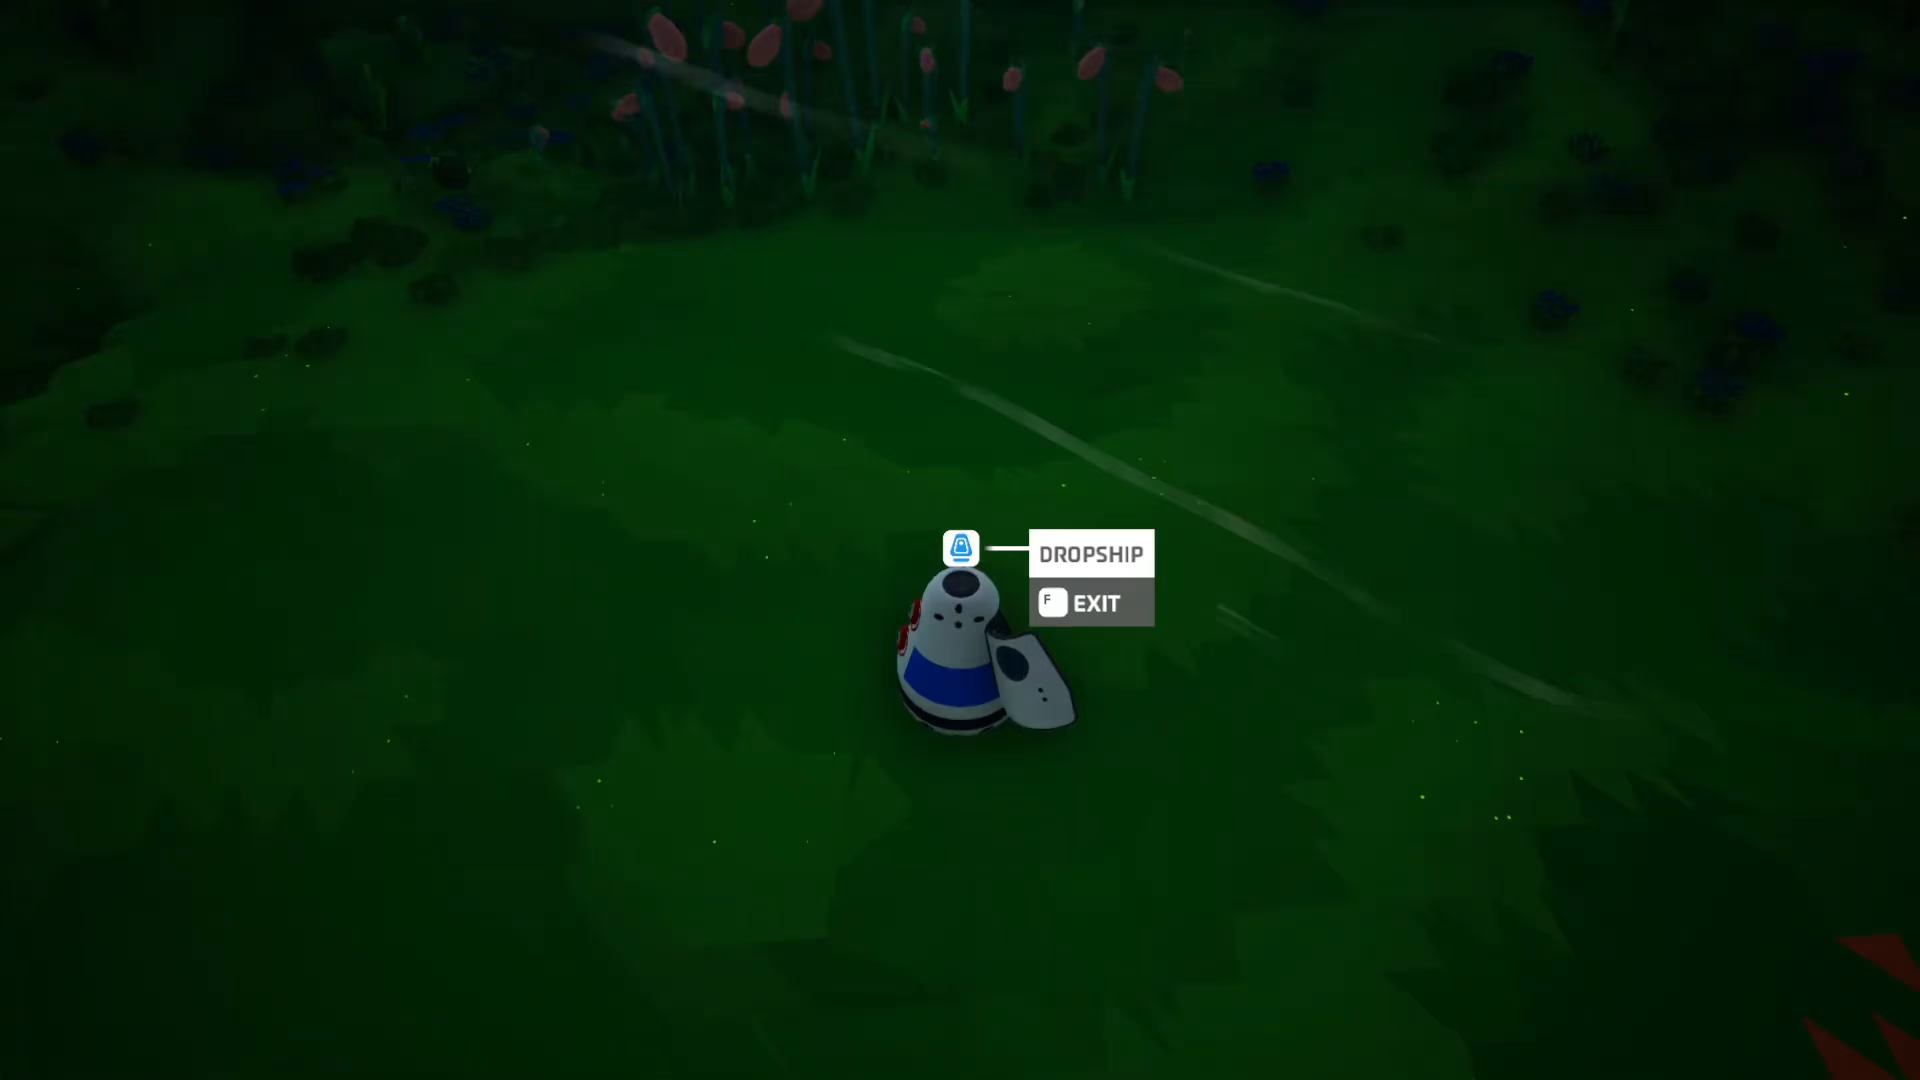
Getting Started: Exiting the Drop Ship
Your first action is to press F to exit your drop ship. The game will then display the basic controls. Don’t worry if it seems overwhelming—we’ll break everything down step by step.
Saving Your Game
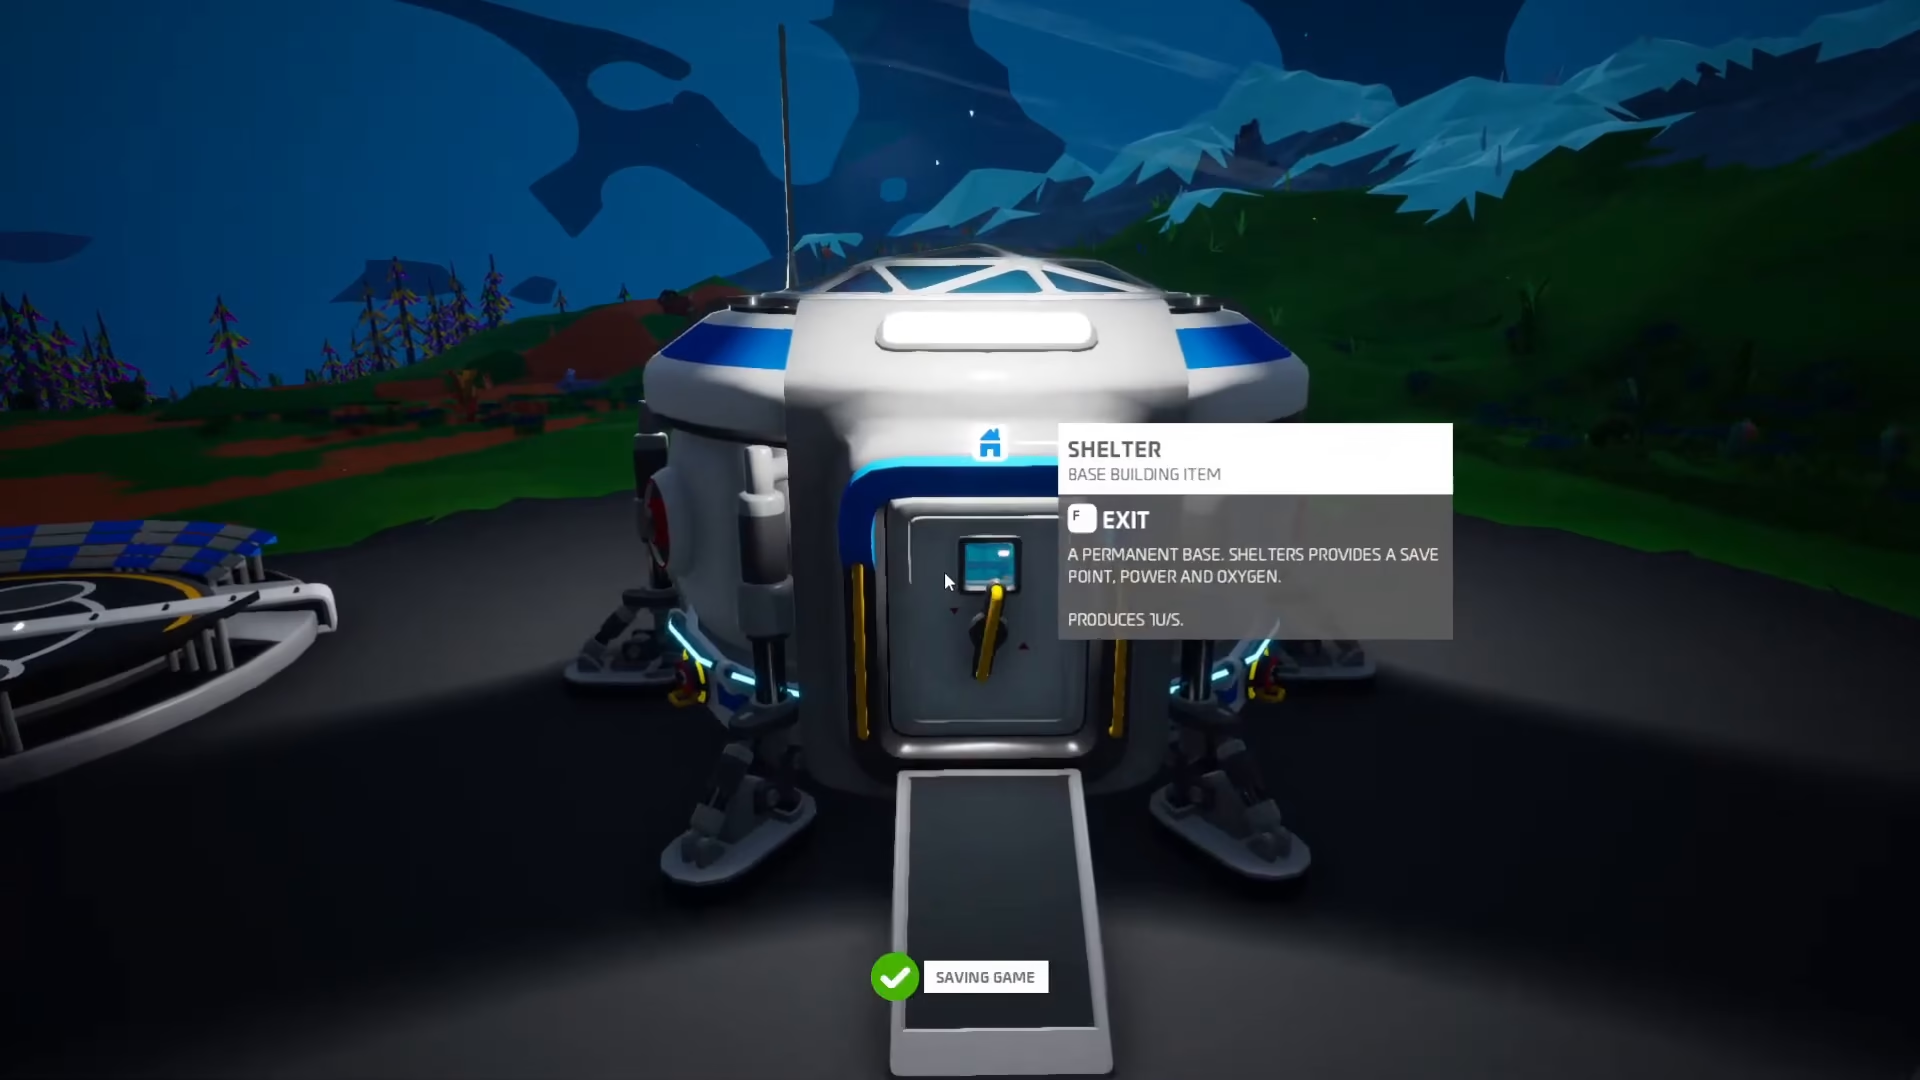
The first thing you should learn is how to save. Simply approach the shelter and press F to enter it. This will automatically save your game. Press F again to exit. Note that these controls are for PC; if you’re playing on Xbox or other platforms, check your specific control mappings.
Understanding the Mission Log and Research
Press R to open your research interface. You’ll see three options: Research Catalog, Compass, and Mission Log. Hover over the Mission Log and select it to view available quests. While these quests can be confusing and sometimes seem unhelpful, you should still complete them as they guide your progression.
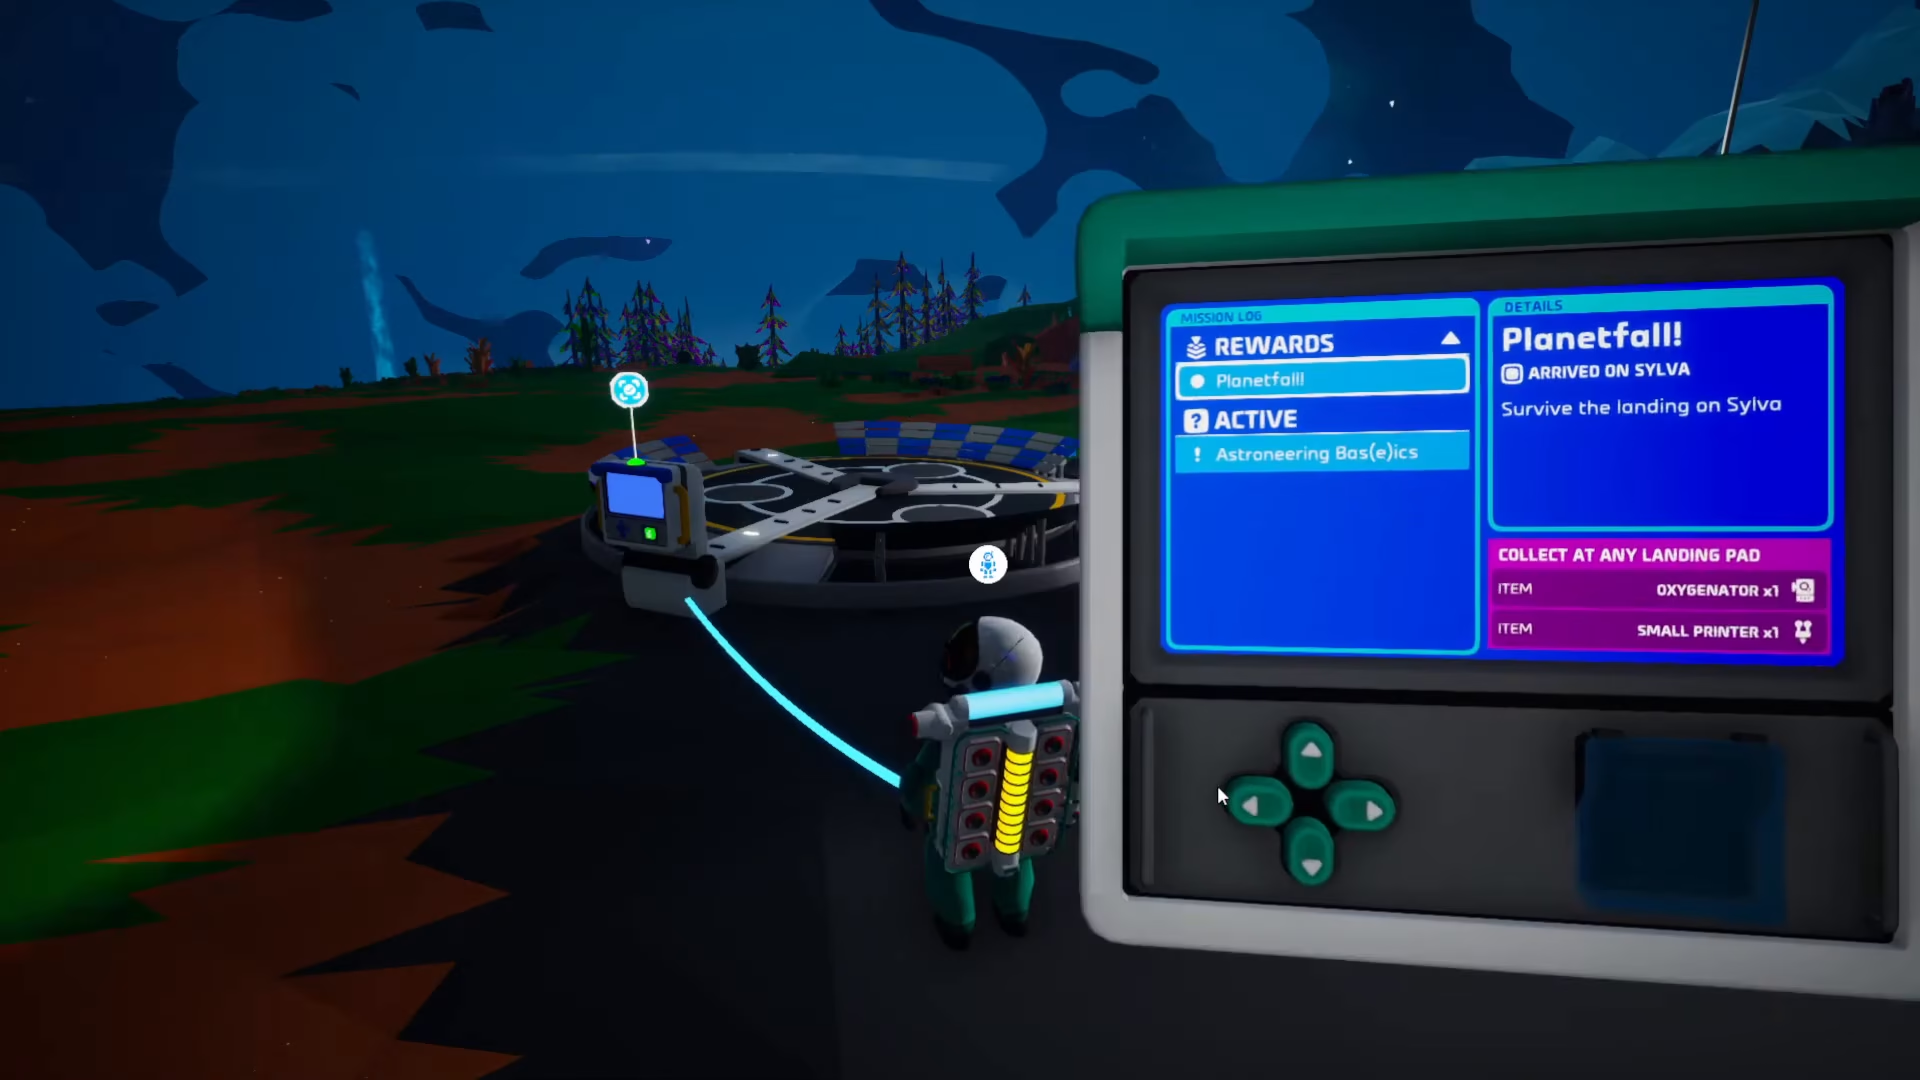
When a quest says “collect at any landing pad,” it means you must go to your actual landing pad (not the one accessed via the R menu) and use the mission log there. Press F to examine the mission log at the landing pad, click the button to open the flap, and it will dump the items in the landing zone.
Setting Up Your First Oxygenator
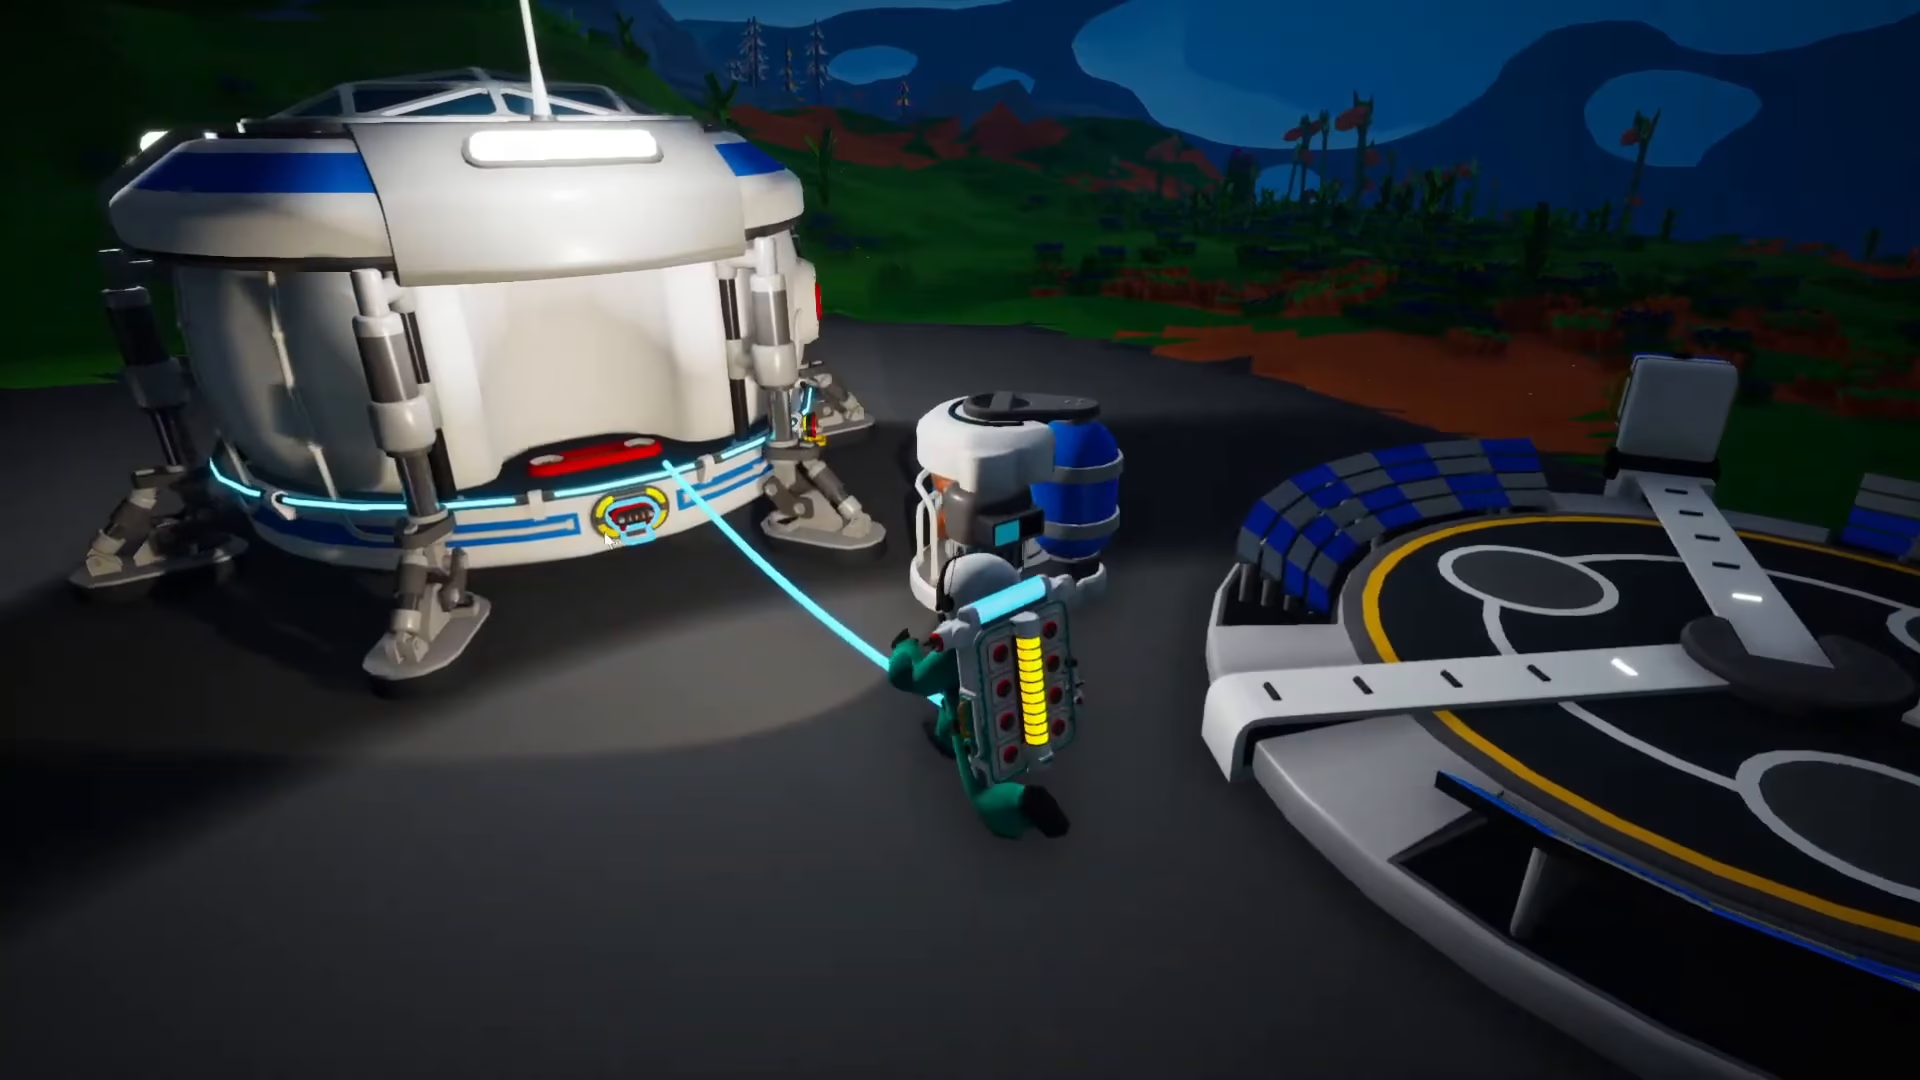
Your first major task involves unpacking an oxygenator. Hold F to unpack it. The oxygenator provides infinite oxygen, making it essential for survival. Pick it up by pressing F and drag it onto the red attachment points on your shelter—think of it like attaching LEGO blocks.
Once attached, you’ll see a blue oxygen cable connecting the shelter to the oxygenator. This cable determines your oxygen range. As long as you stay connected to this network, your oxygen will be supplied.
Connecting Your First Printer
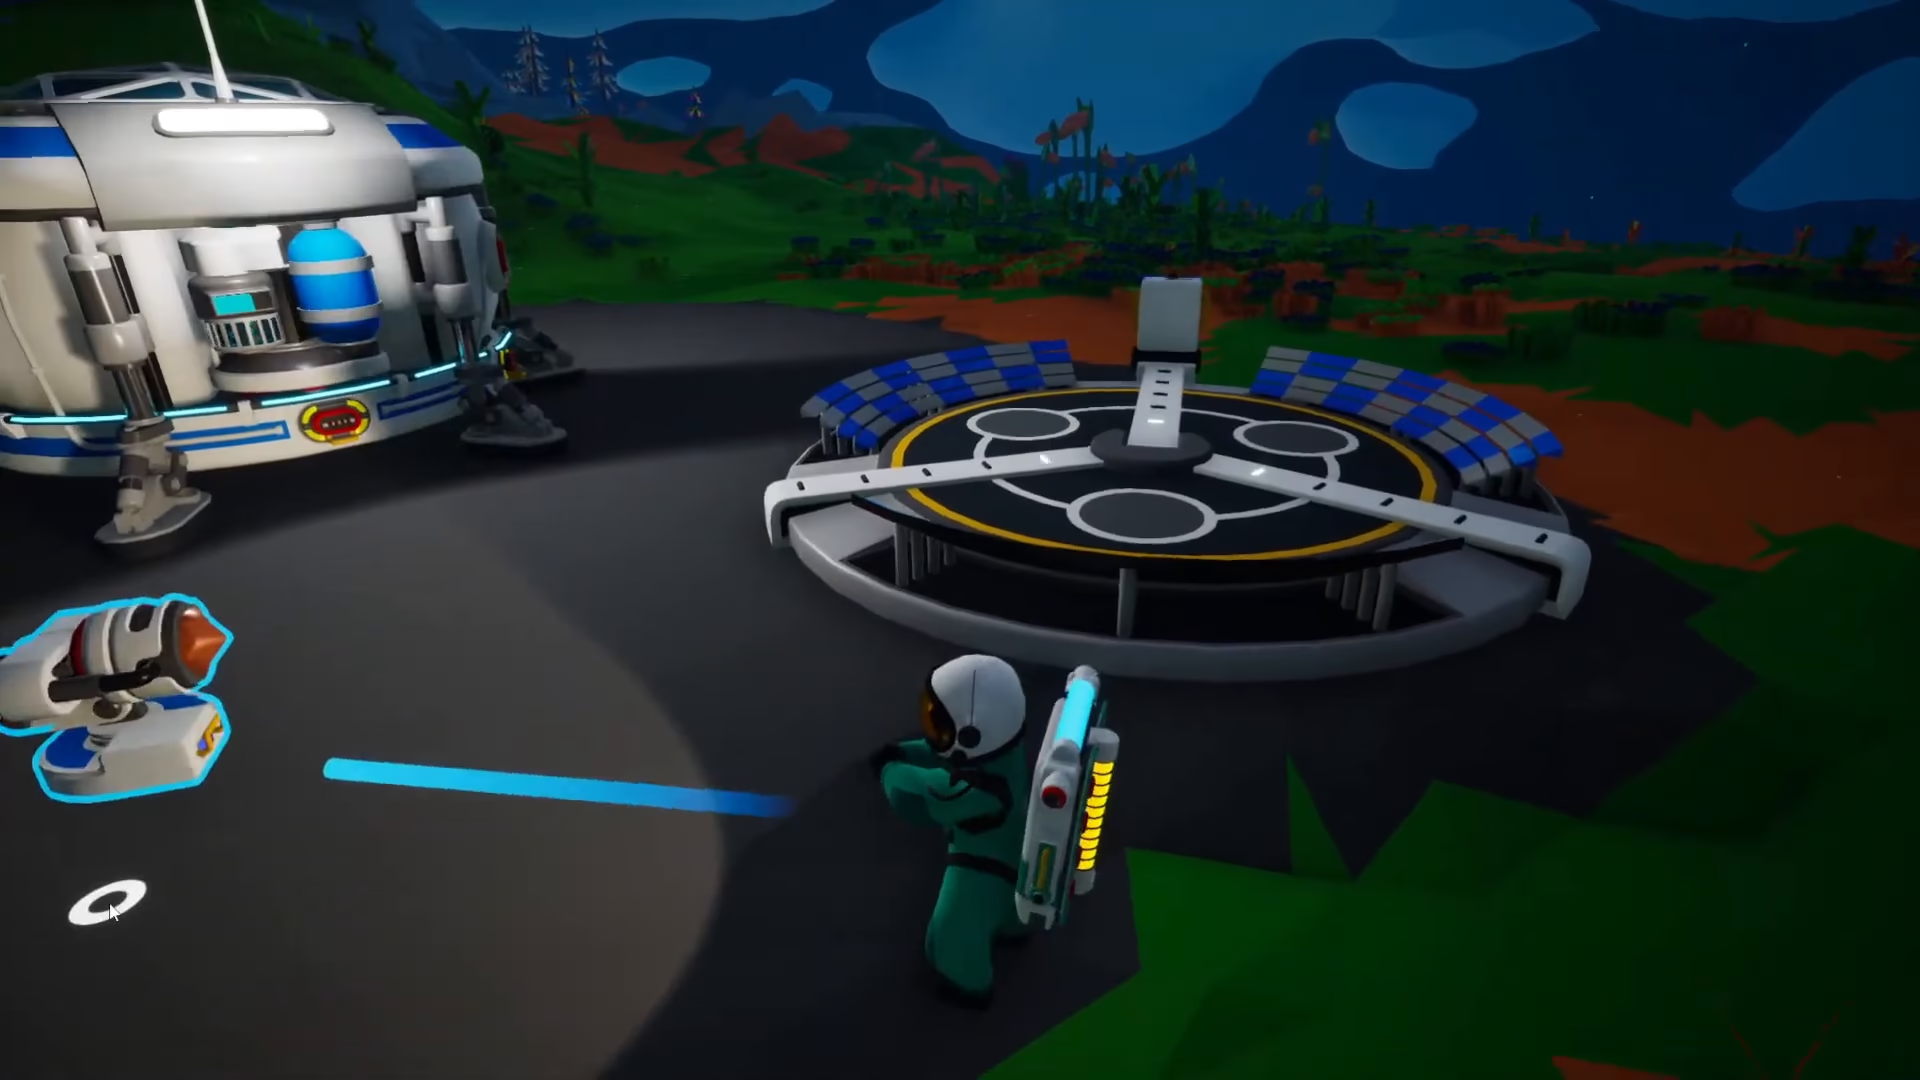
Next, unpack the small printer and place it on the ground. You’ll notice it consumes one power per second while active. The shelter produces one power per second, so your printer will operate without any issues.
To power the printer, click on the cable plug coming from the shelter and drag it to the plug on your printer. This establishes the power connection you need.
Understanding Bytes and Research
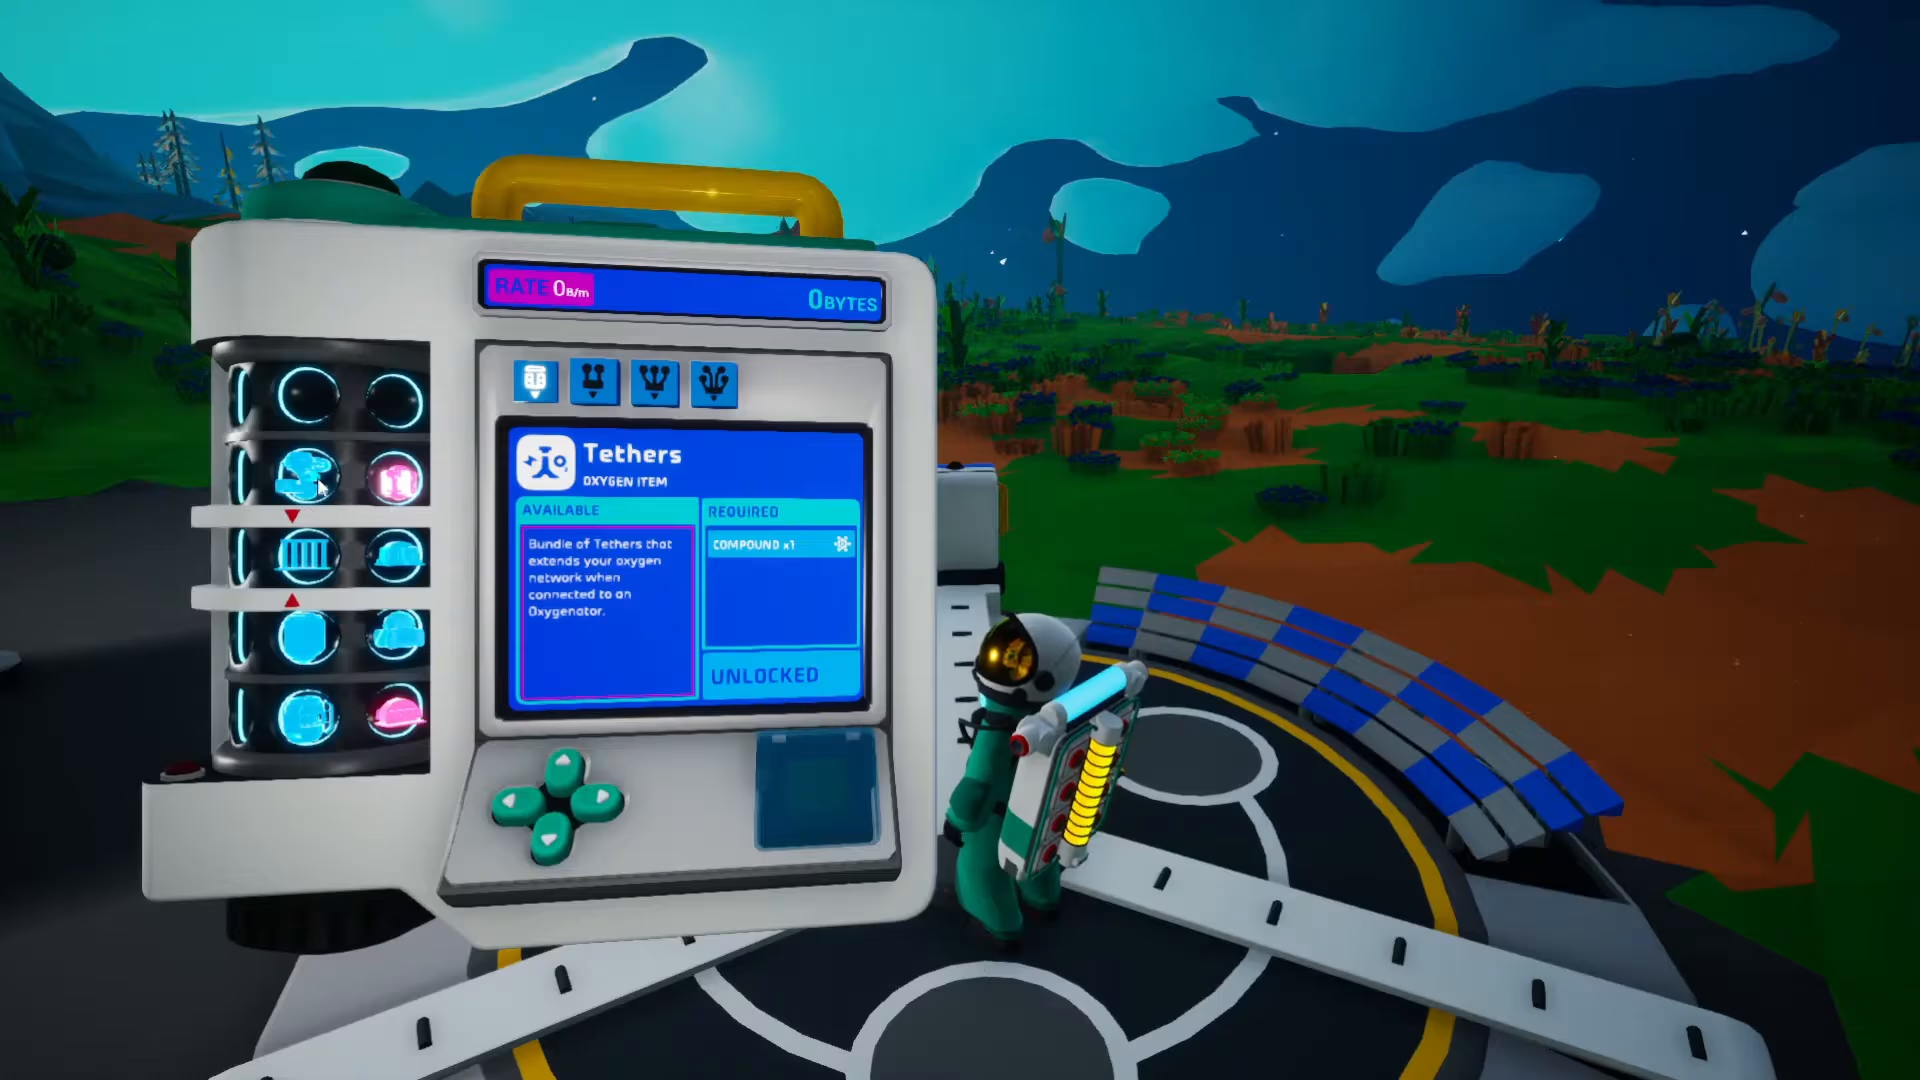
Once you complete missions at the landing pad, you’ll receive Bytes and Tevers. Bytes are your research currency. Open your Research Catalog (press R, then select Research Catalog) to see all available unlocks. Blue items are already unlocked, while pink items can be unlocked with Bytes.
The research catalog is organized by printer type: Small Printer, Medium Printer, Large Printer, and Shelter. Click each one to see what items you can craft with that specific printer.
Managing Your Inventory
Your backpack has multiple inventory slots. You can shift-click items to automatically place them in your inventory, or manually drag them into specific slots. If your backpack becomes full, you can click on it to dump items on the ground—they won’t disappear, so this is safe for beginners.
Using Tevers for Extended Oxygen
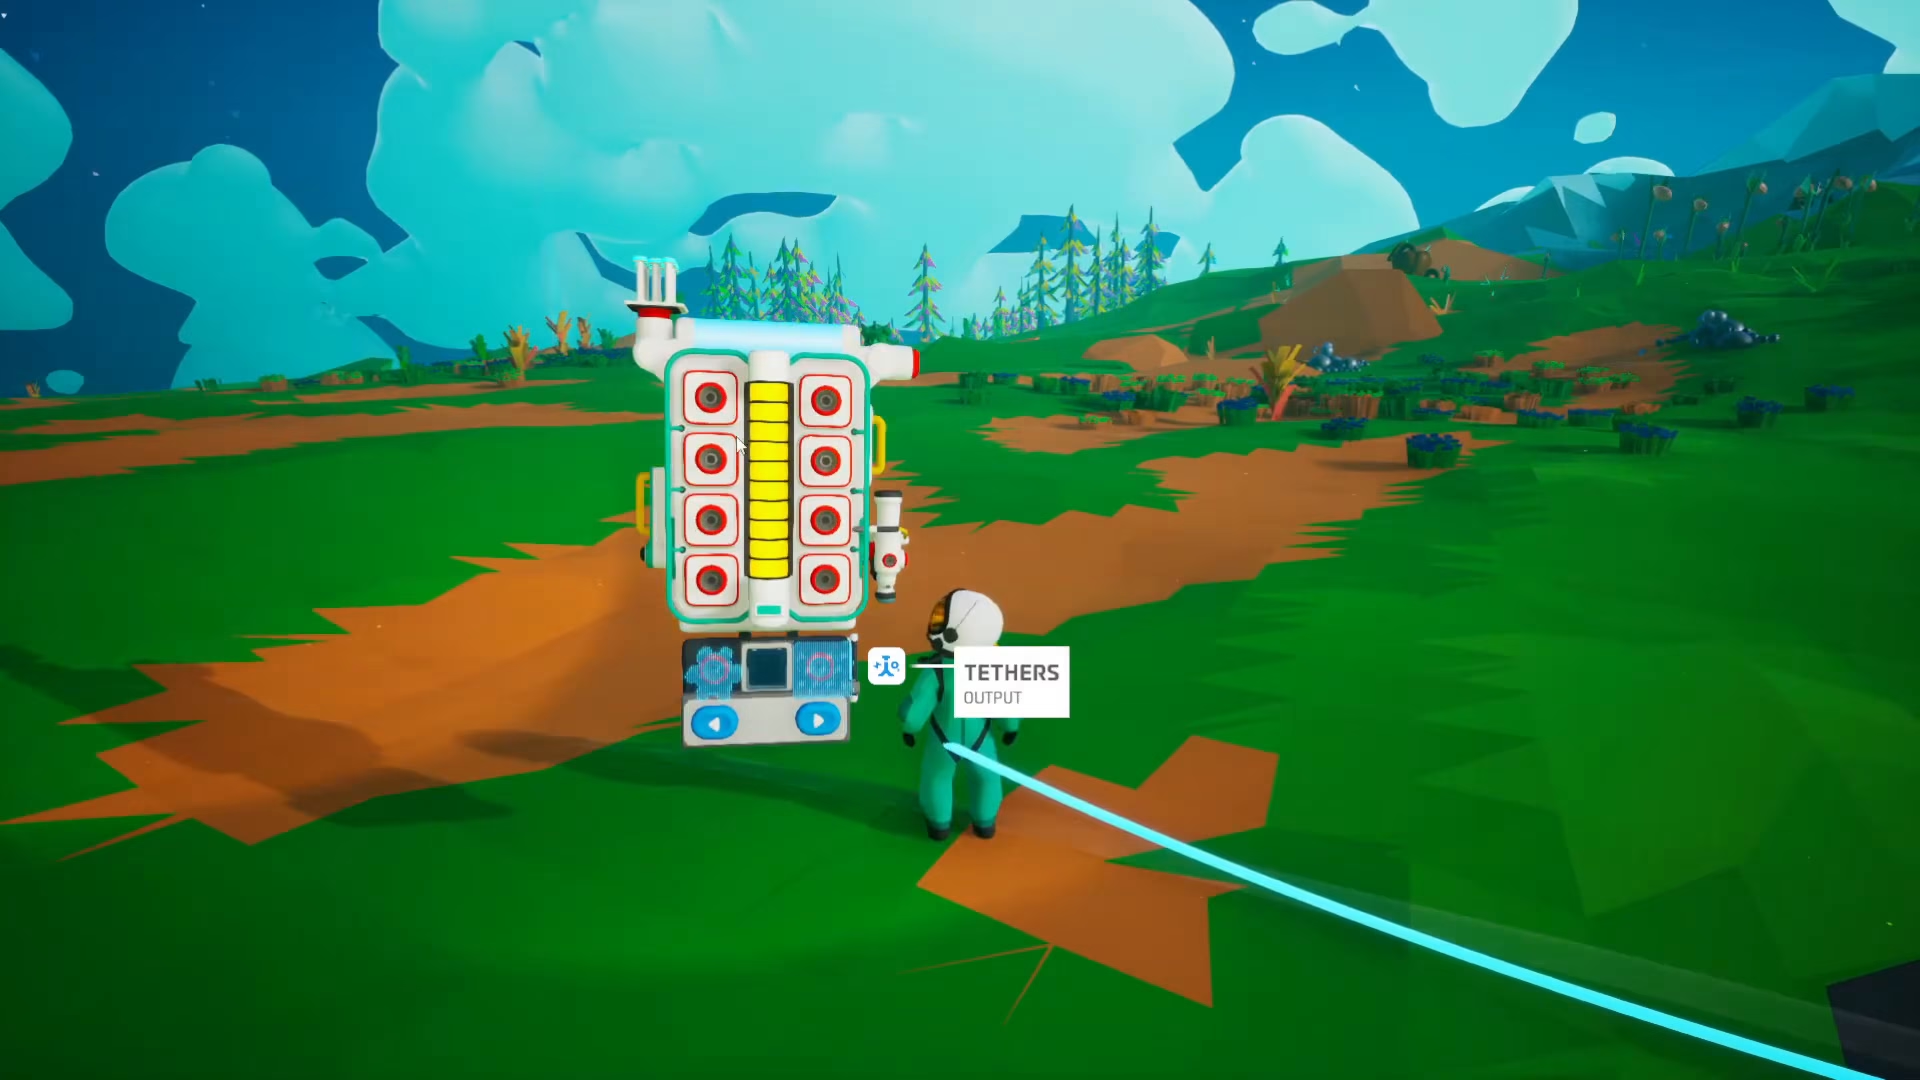
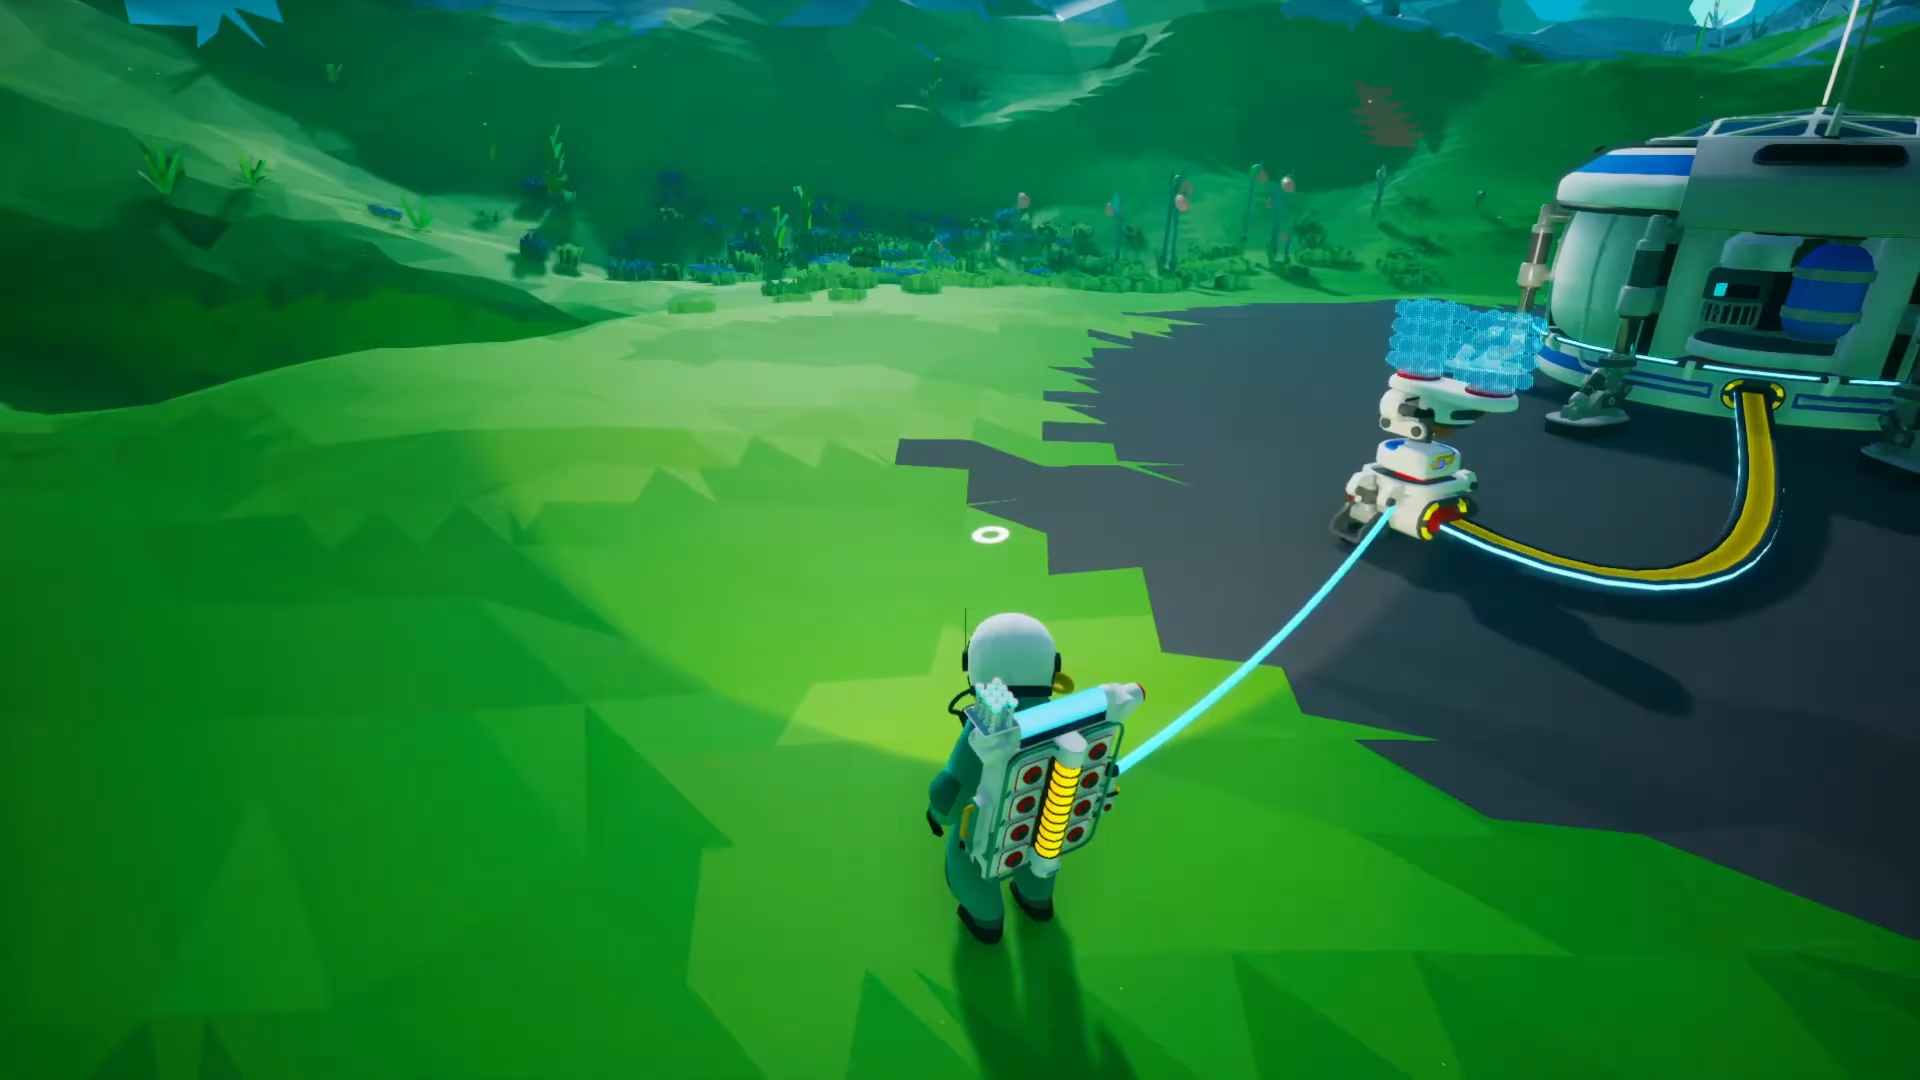
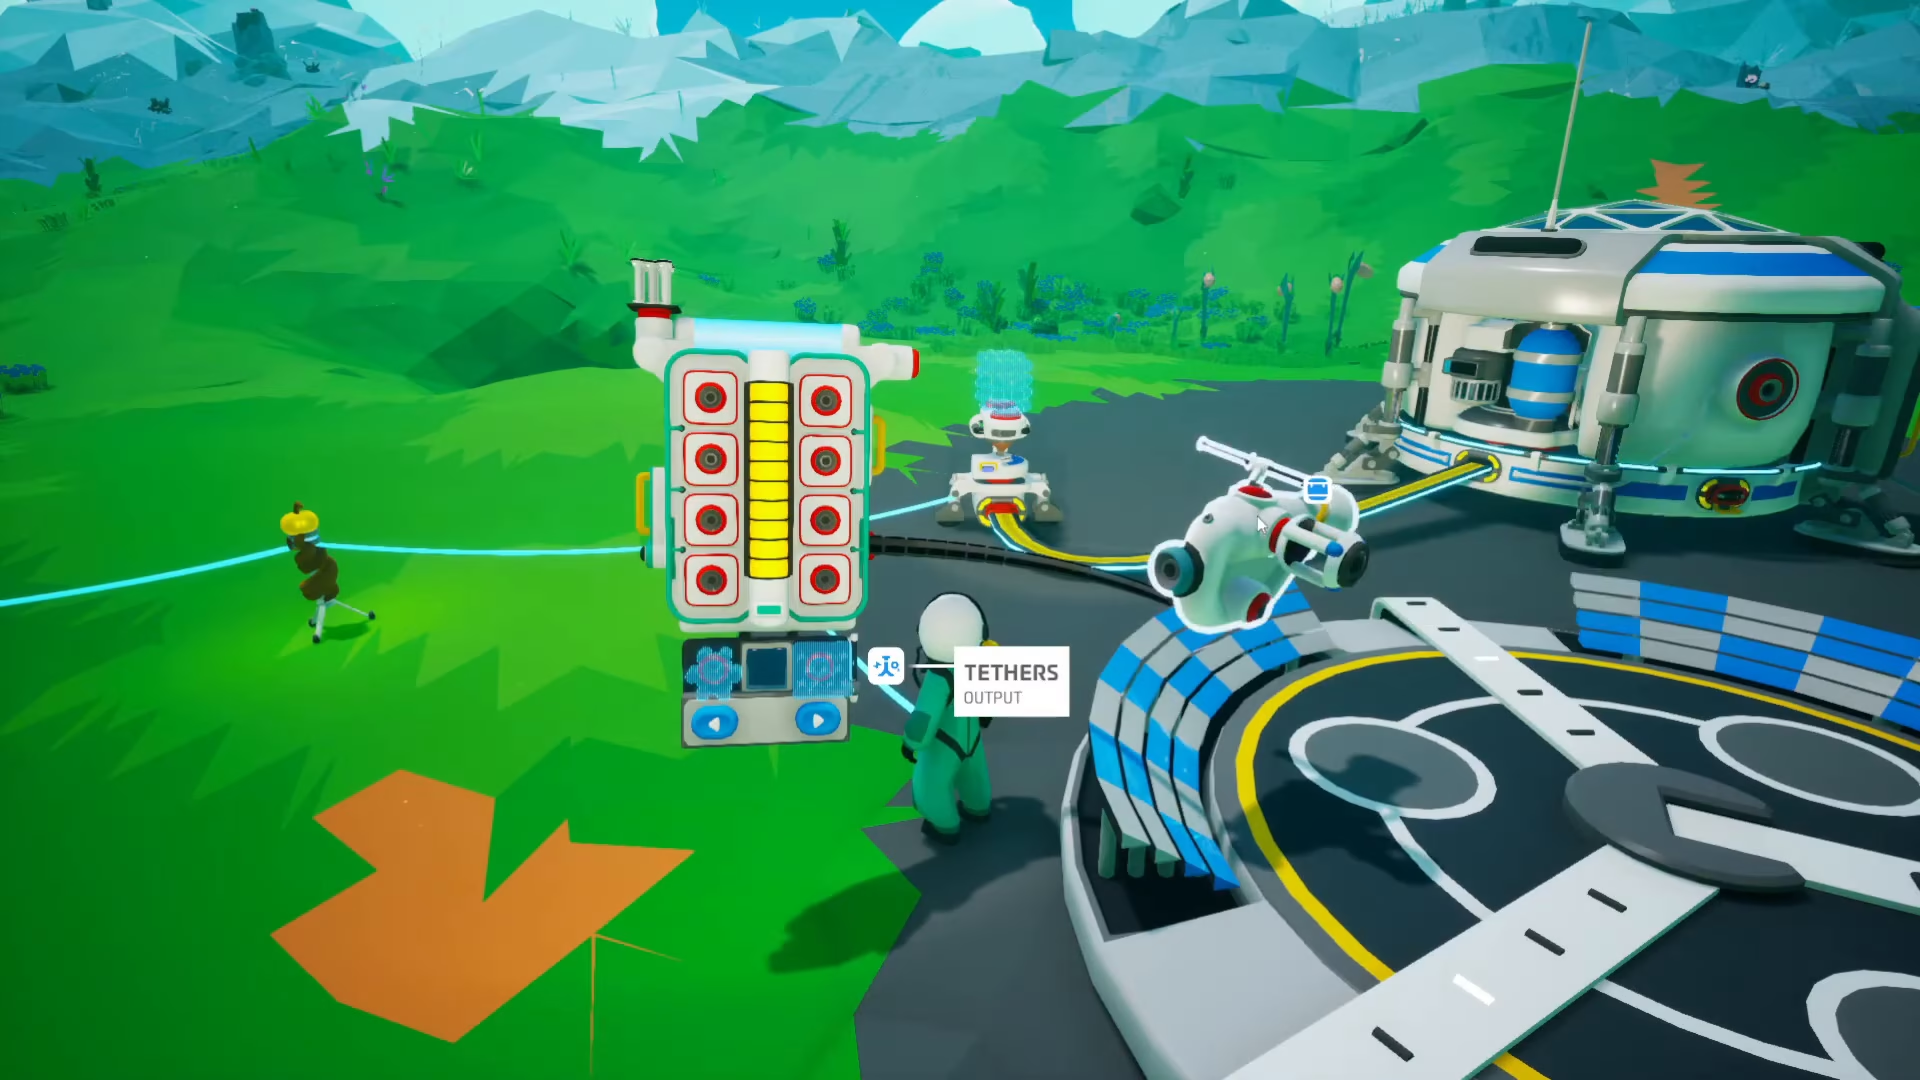
As you explore further from your base, you’ll need to extend your oxygen supply. Press T to place Tevers, which extend your oxygen network. You can place them in a connected line to reach distant areas. If a Tever isn’t connected, click and drag it until you see it snap into the network.
To pick up Tevers, shift-click them. You can reuse them as many times as needed.
Collecting Your First Resources
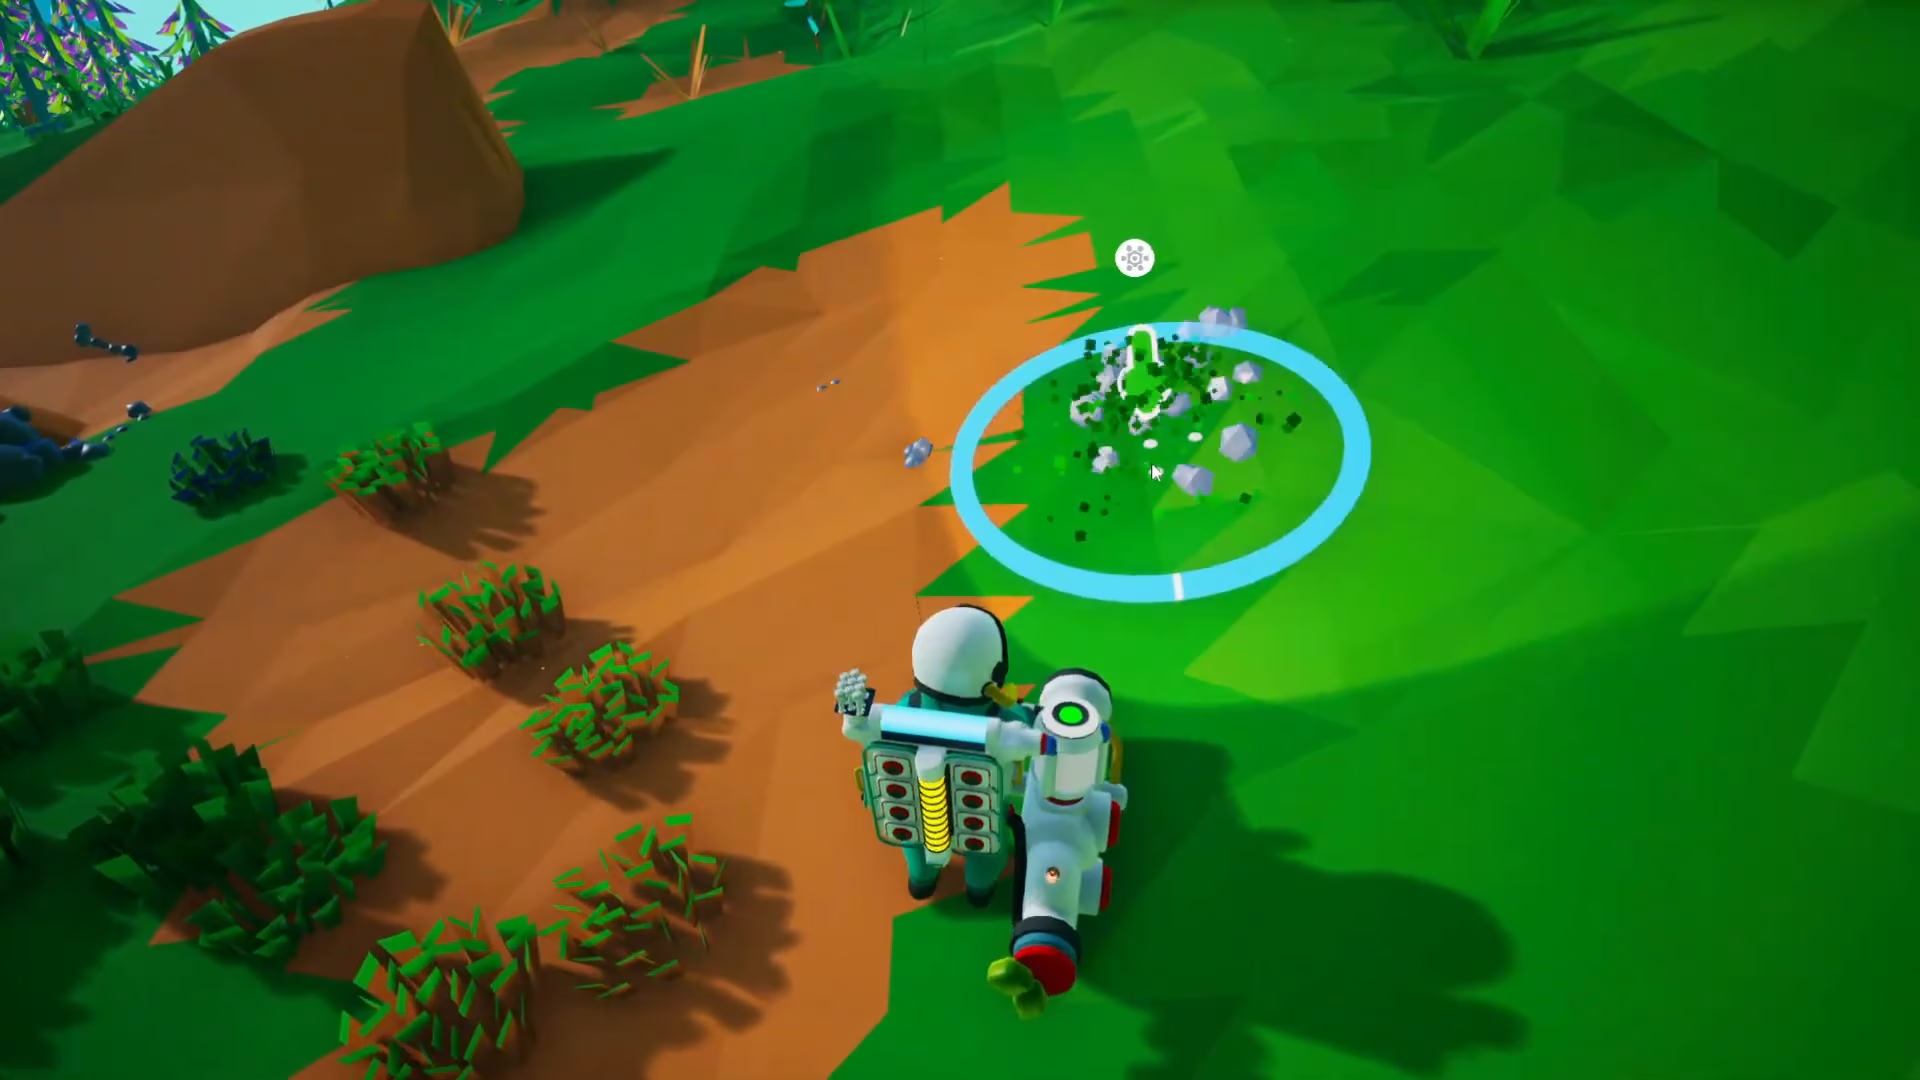
Your early missions will require you to collect Compound and Resin. Press E to equip your terrain gun. With the gun equipped, you’ll see a targeting reticle. Left-click to extract resources.
For Compound collection, you’ll use a small canister. Attach it to your terrain gun by clicking it into the red attachment slots, then left-click to fill it. You’ll see a white level indicator in your canister rising. Once it’s full, the indicator will turn green, and your canister is ready to use.
Finding Resources: Compound and Resin
Compound appears on the surface and underground. If you keep digging in the same area, you’ll often find more beneath the initial deposit. Resin appears as yellow sticks in the ground and can also be found in caves with large quantities.
If you get stuck in a cave, simply bore your way out using your terrain gun—dig upward at an angle until you reach the surface.
Navigating Back to Your Base
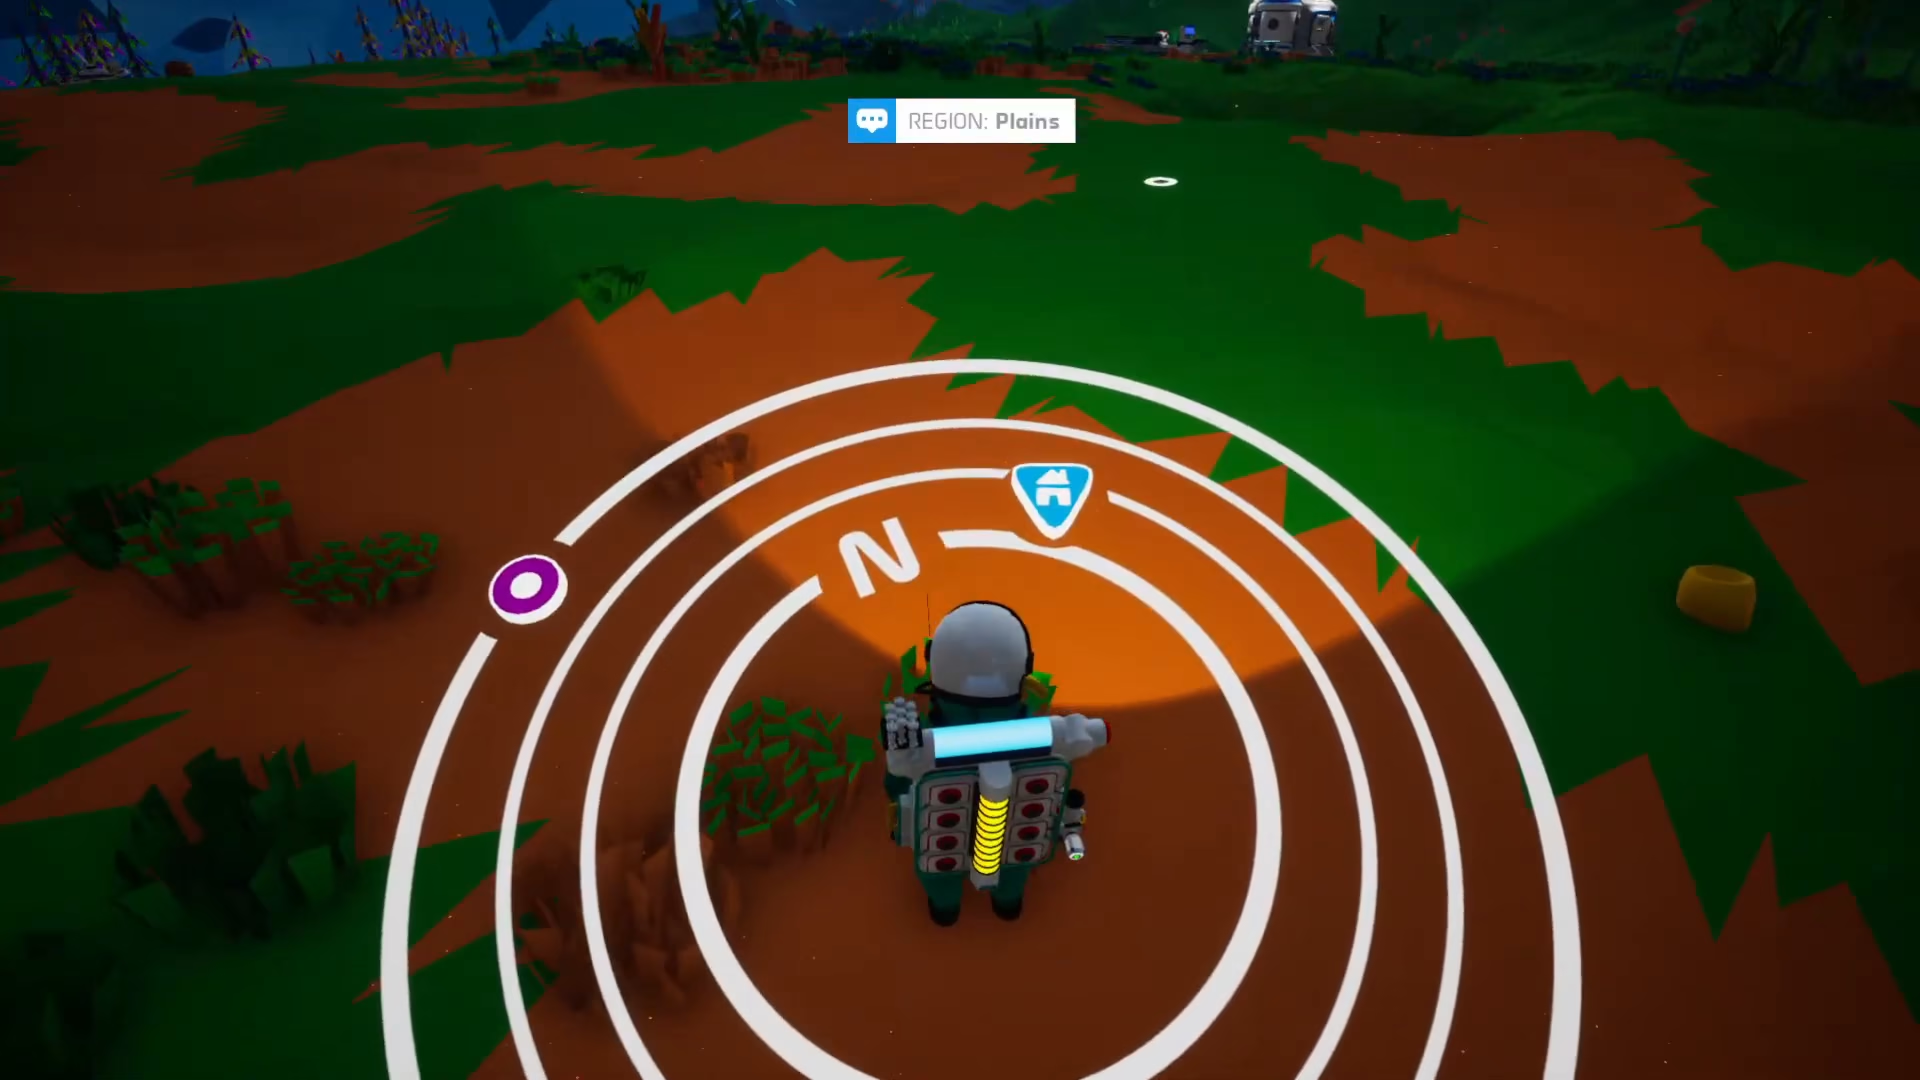
If you wander far from your base and lose your bearings, look for the home icon in your HUD. Press R and select Compass to see your base location relative to your current position. This compass prevents you from ever getting truly lost.
Expanding Your Base with Platforms and Storage
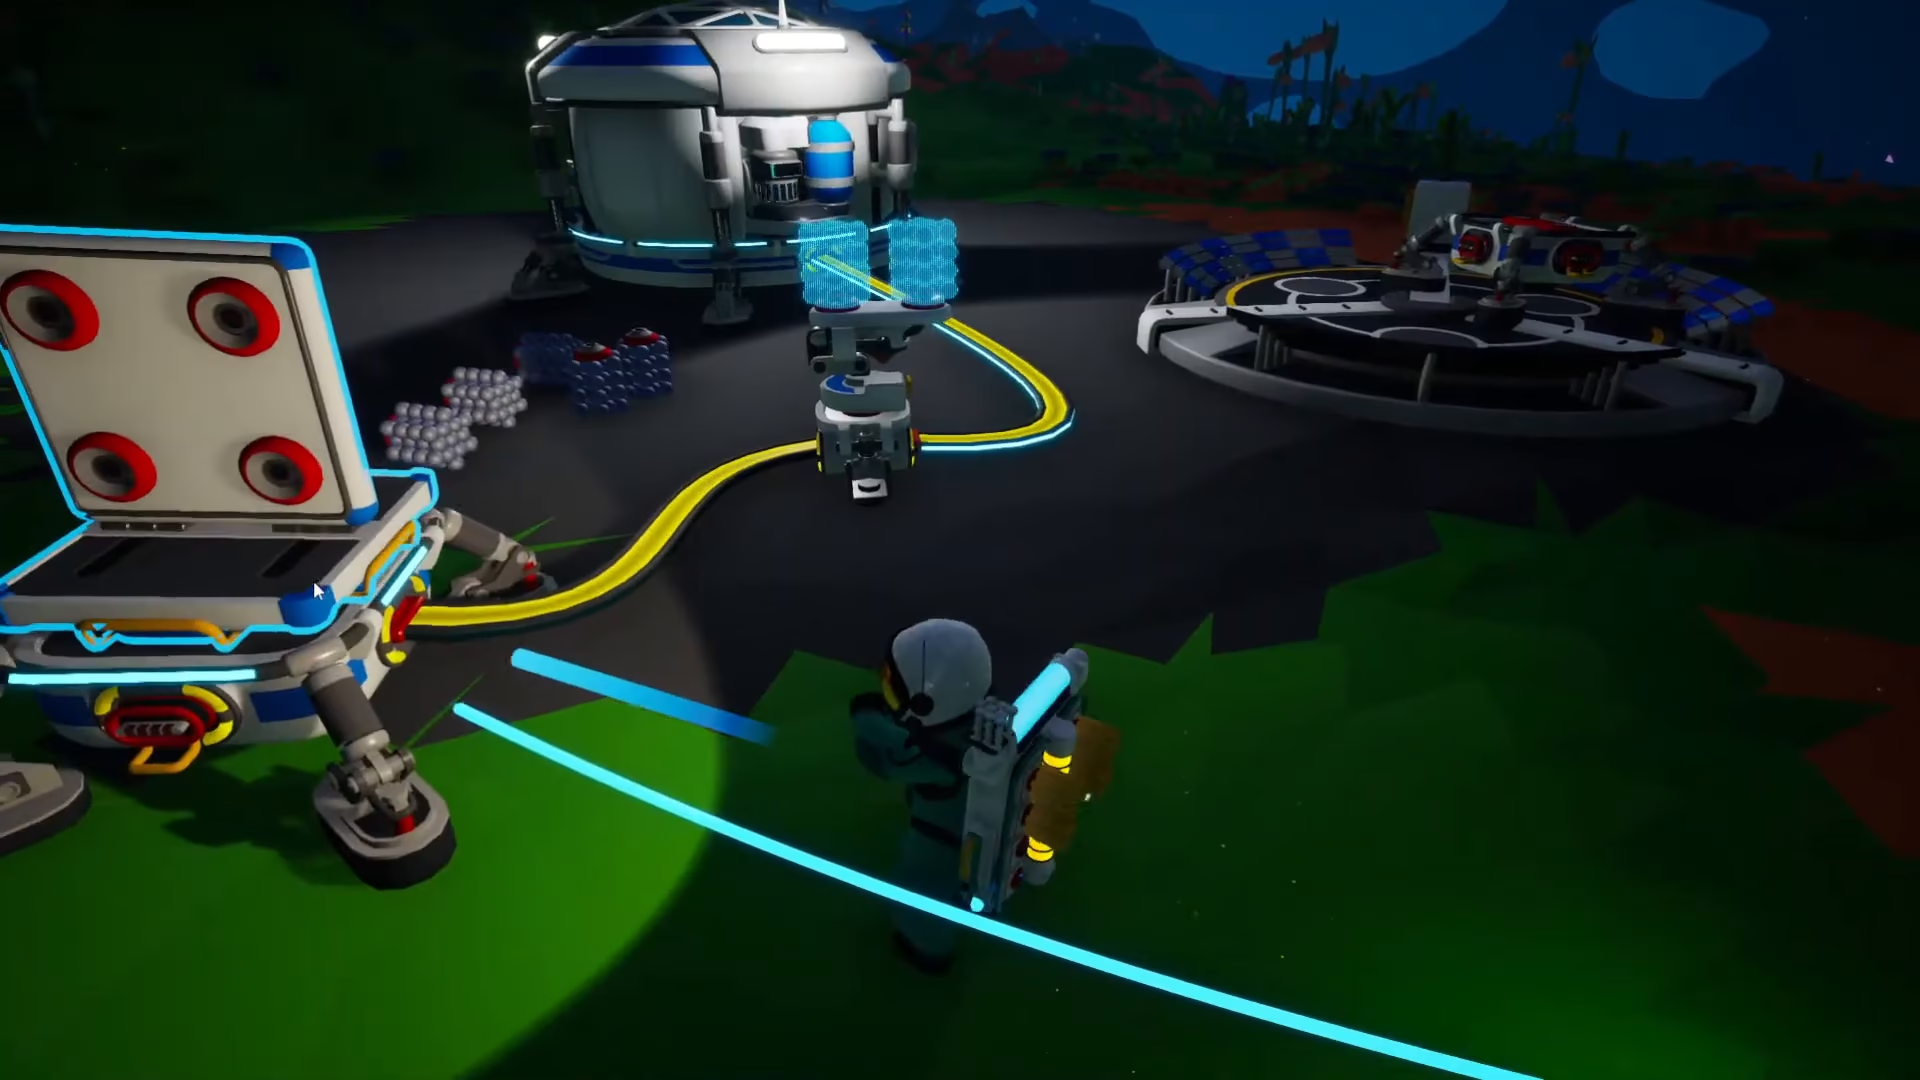
As you progress, you’ll unlock medium storage and medium platforms. These don’t require power by themselves, but any devices placed on them will draw power from your network if needed.
Click the medium storage to expand it, then click your collected Compound to place it inside. This storage system helps you organize materials efficiently.
Mastering the Printer Interface
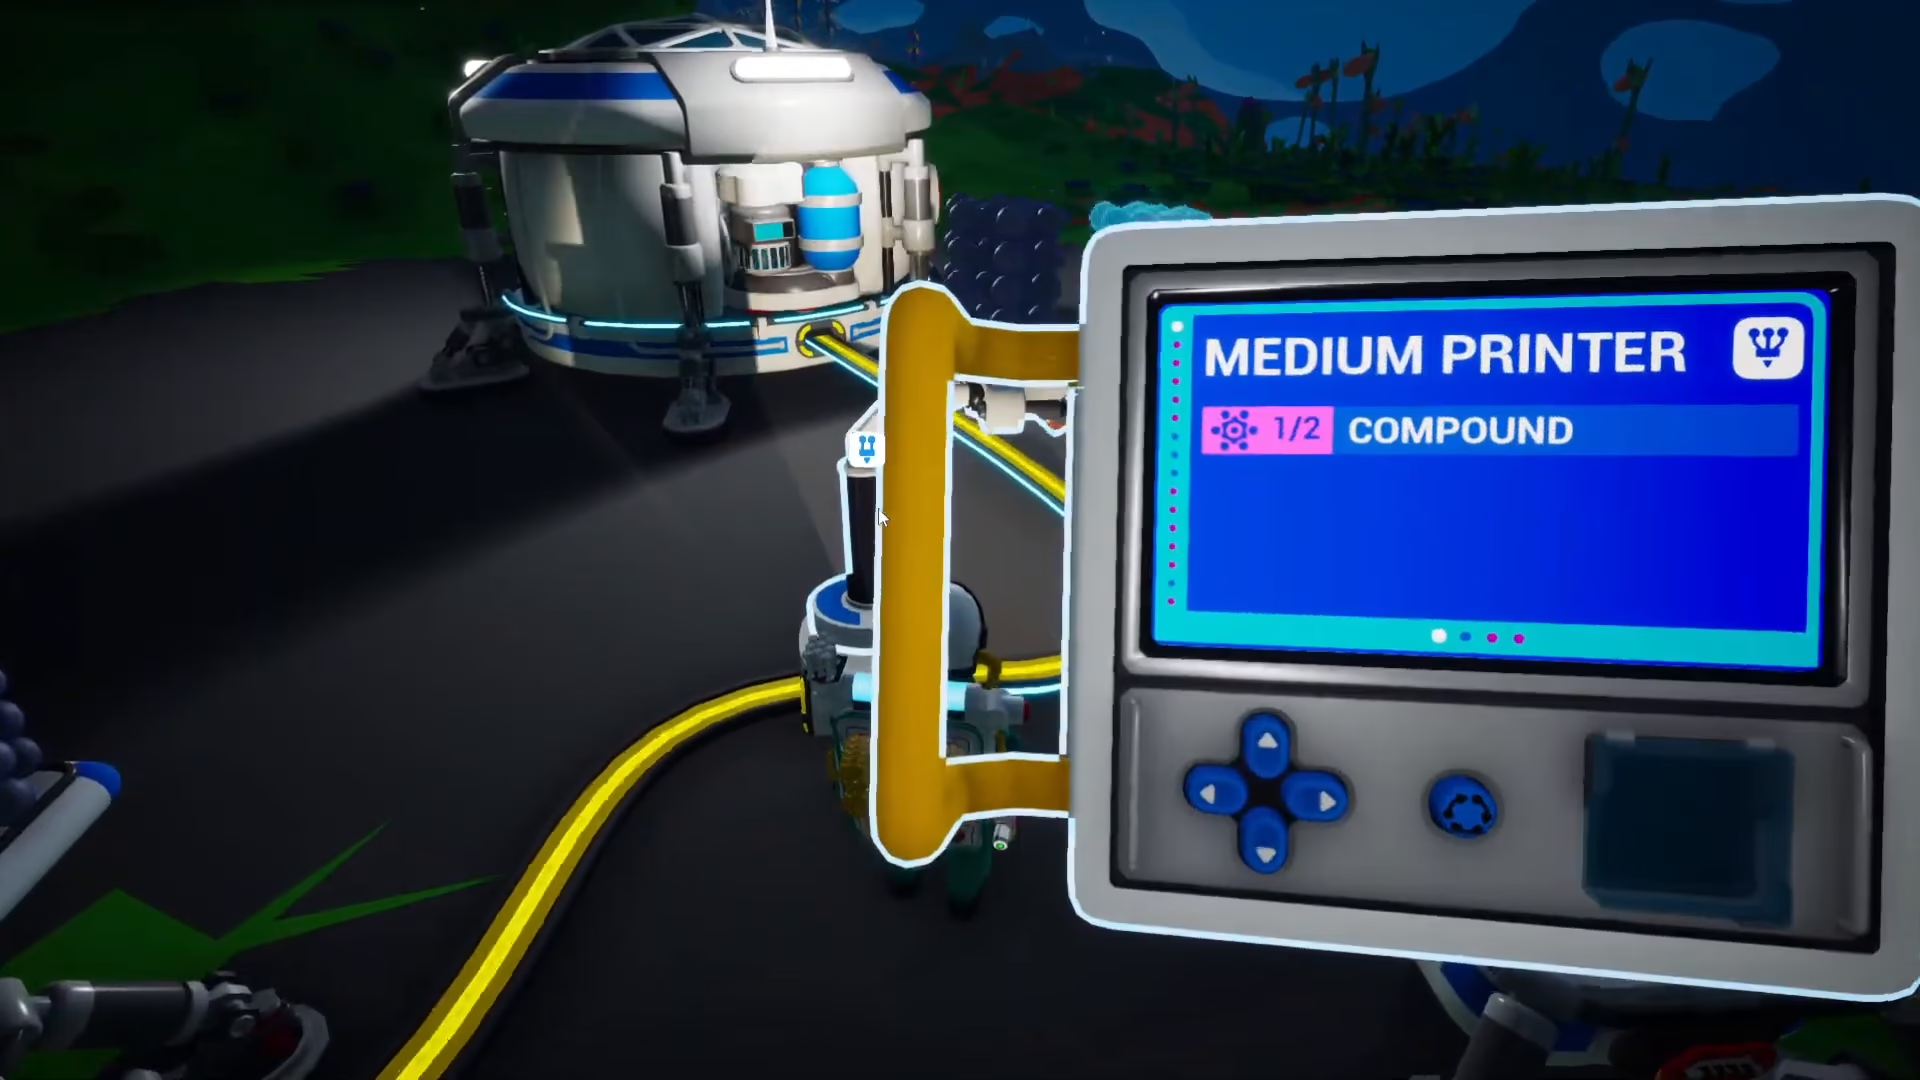
When you approach a printer and press F, you’ll see a menu with purple and blue dots. Navigate using your arrow keys: Press Down to move to the next item, and Right/Left to move between categories. Pink dots indicate items you haven’t unlocked yet.
To craft an item, select it and ensure you have the required materials. You can shift-click materials in your inventory to load them into the printer’s slots. Once you have everything needed, press the button to start printing.
Building Your First Medium Printer
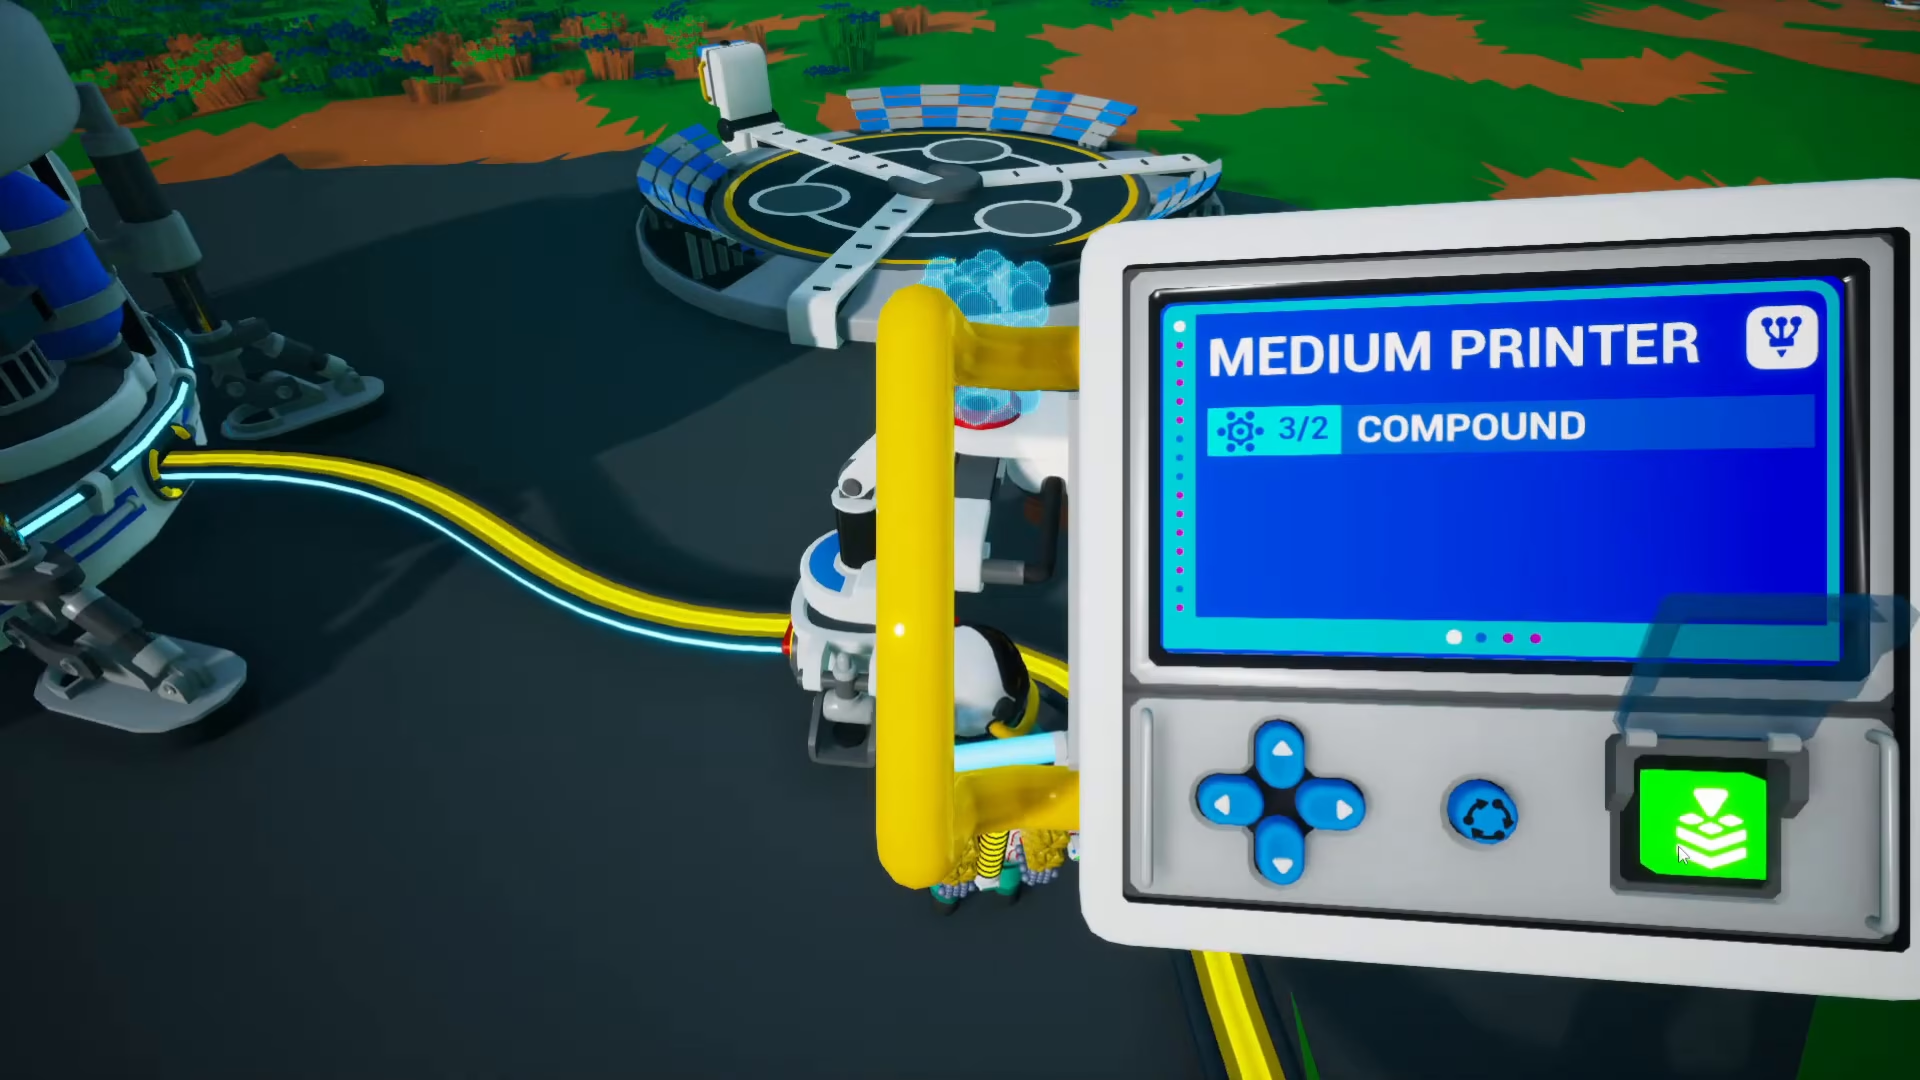
Your goal is to print a medium printer using the small printer. A medium printer requires two Compound. After loading the materials, the small printer will begin crafting. You can position a platform under the printer output, and the printed item will automatically place itself on the platform.
To lock a platform in place (preventing accidental pickup), press F while standing on it. To rotate items, press C.
Advanced Platform: Large Platform B
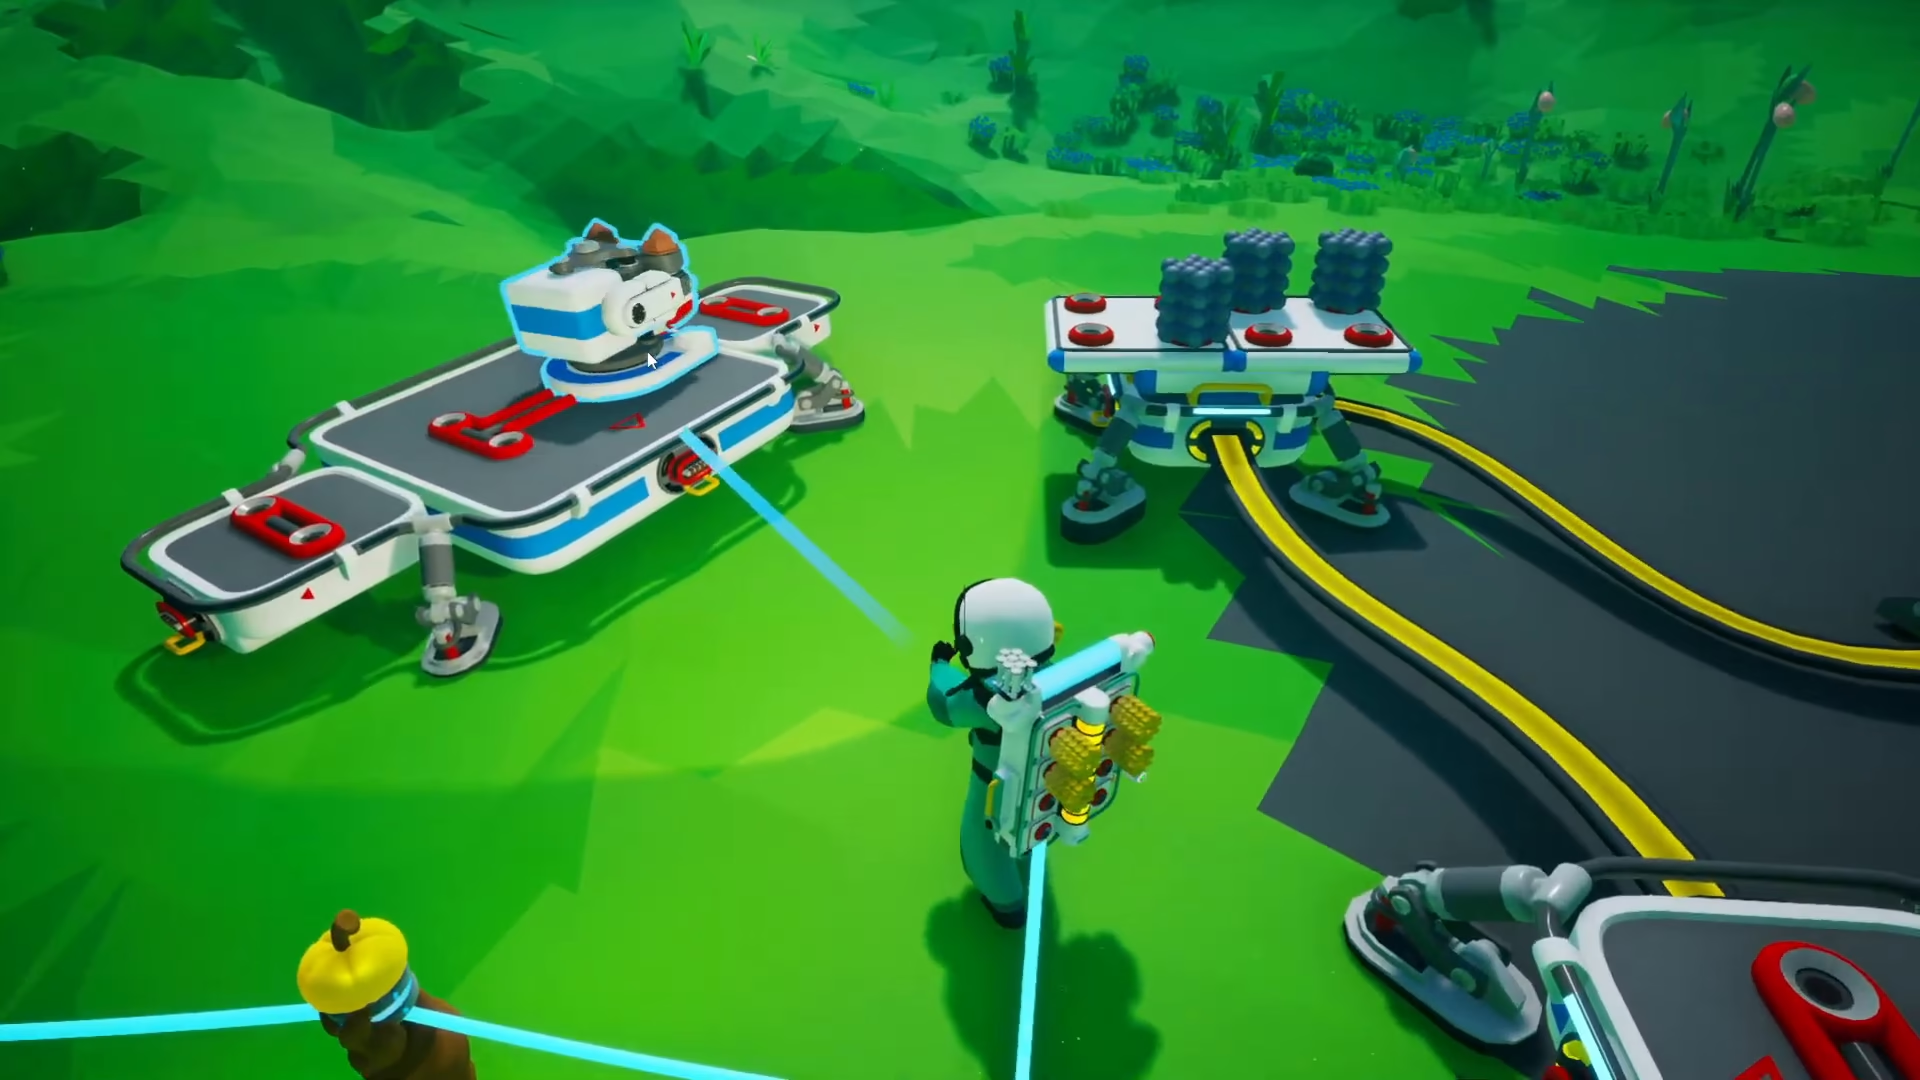
Once unlocked, the Large Platform B is incredibly useful. It features two slots that allow you to place both a printer and a storage container. This setup lets the printer automatically draw materials from the storage, making your crafting much more efficient.
Creating a Small Generator
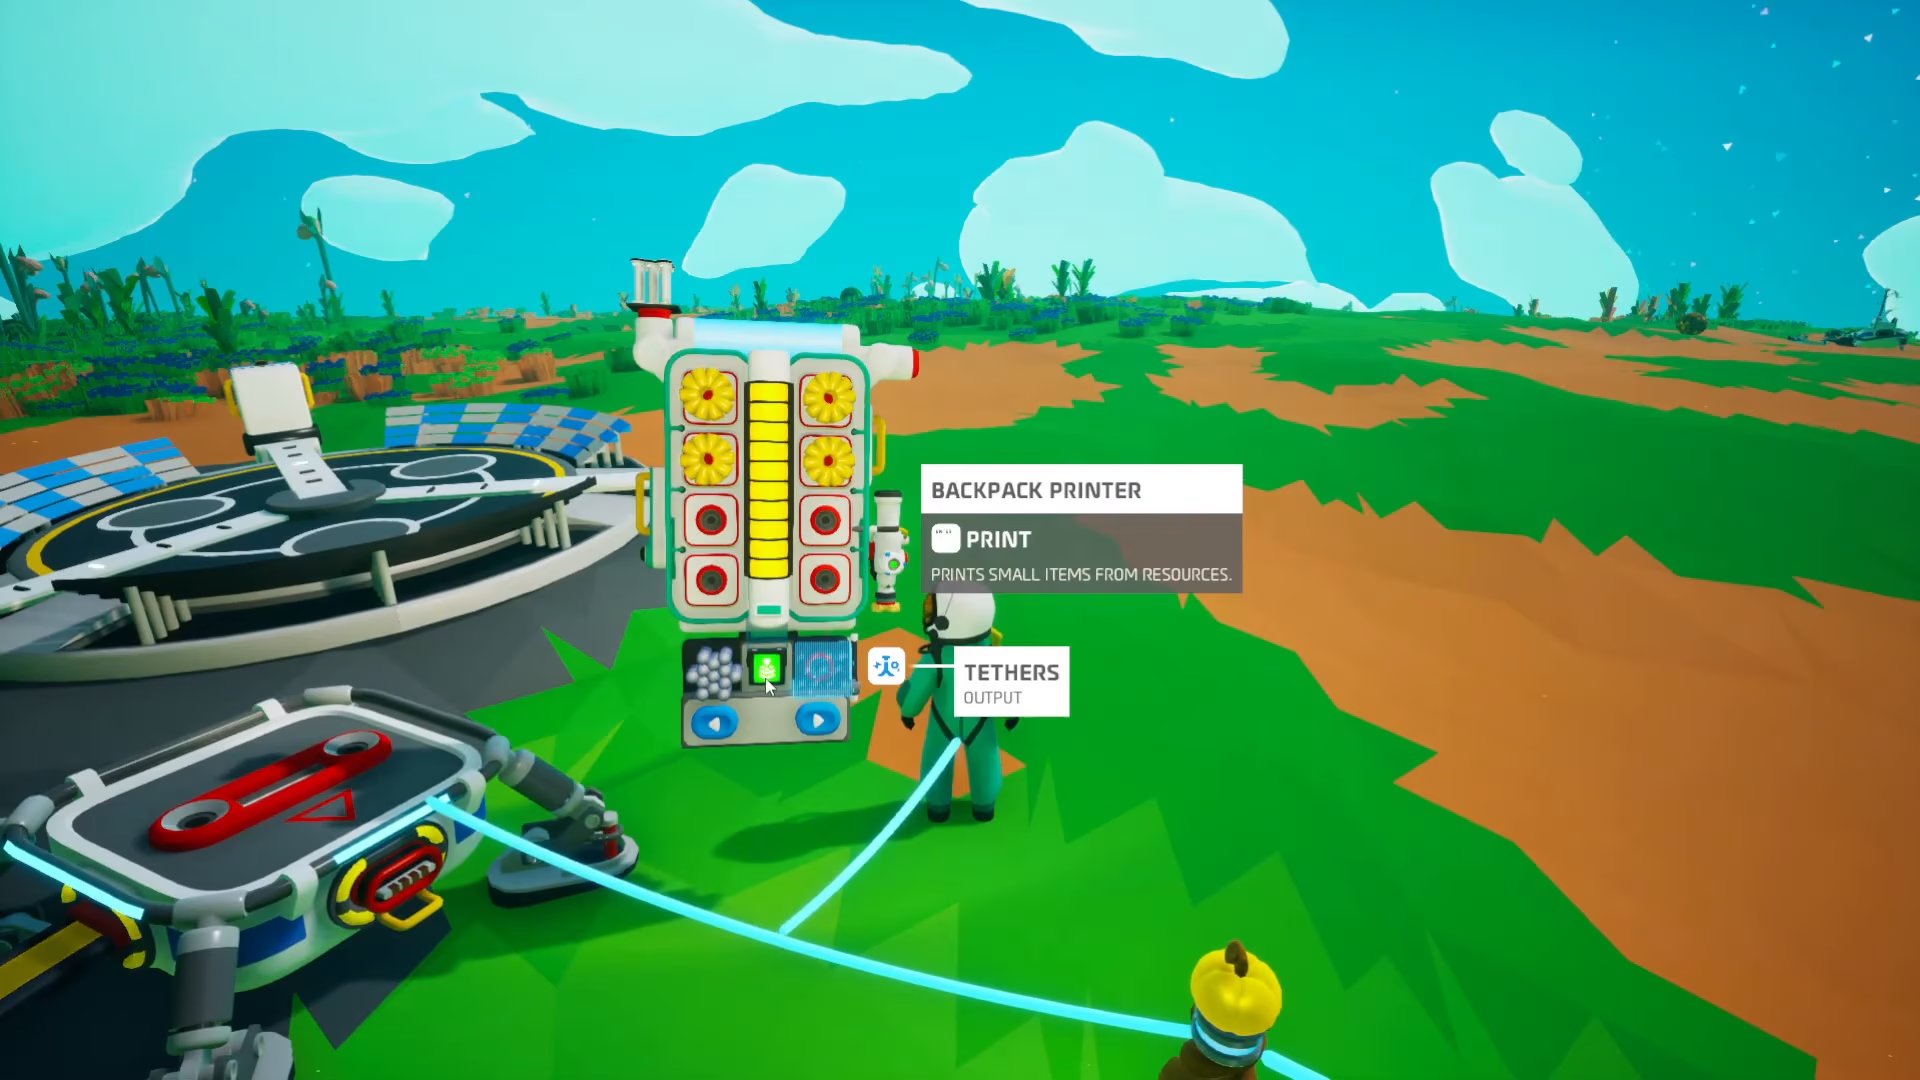
Small generators are made in your backpack, not in a printer. Open your backpack and look for the green flip button with an ingredient icon. This shows backpack recipes. Click the arrow to navigate through available items until you find the Small Generator, which requires one Compound.
Click the green button to craft it directly into your backpack inventory.
Understanding the Astropedia
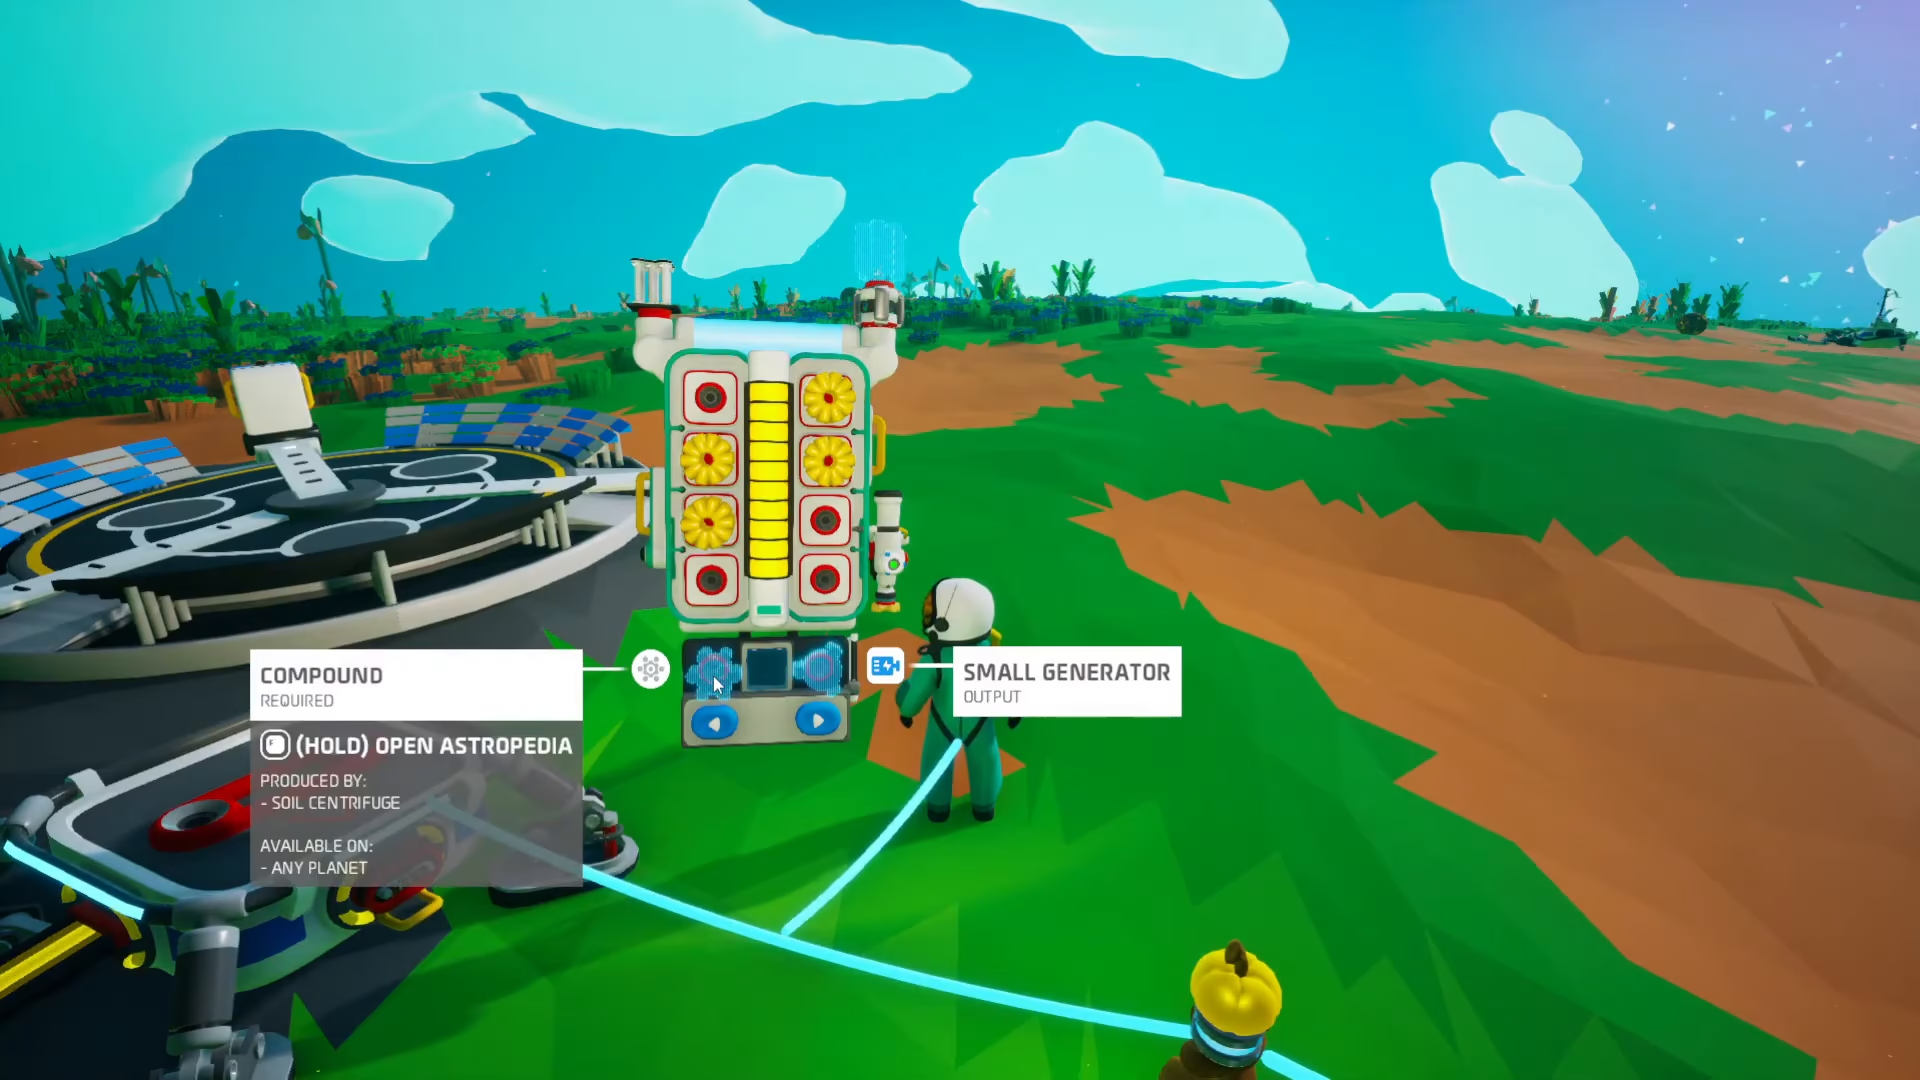
If you’re unsure how to obtain a material, hold F while hovering over it to access the Astropedia. This resource guide shows where to find every material in the game. You can also access it through the main menu under Astropedia > Resources.
Powering Your Network with Generators
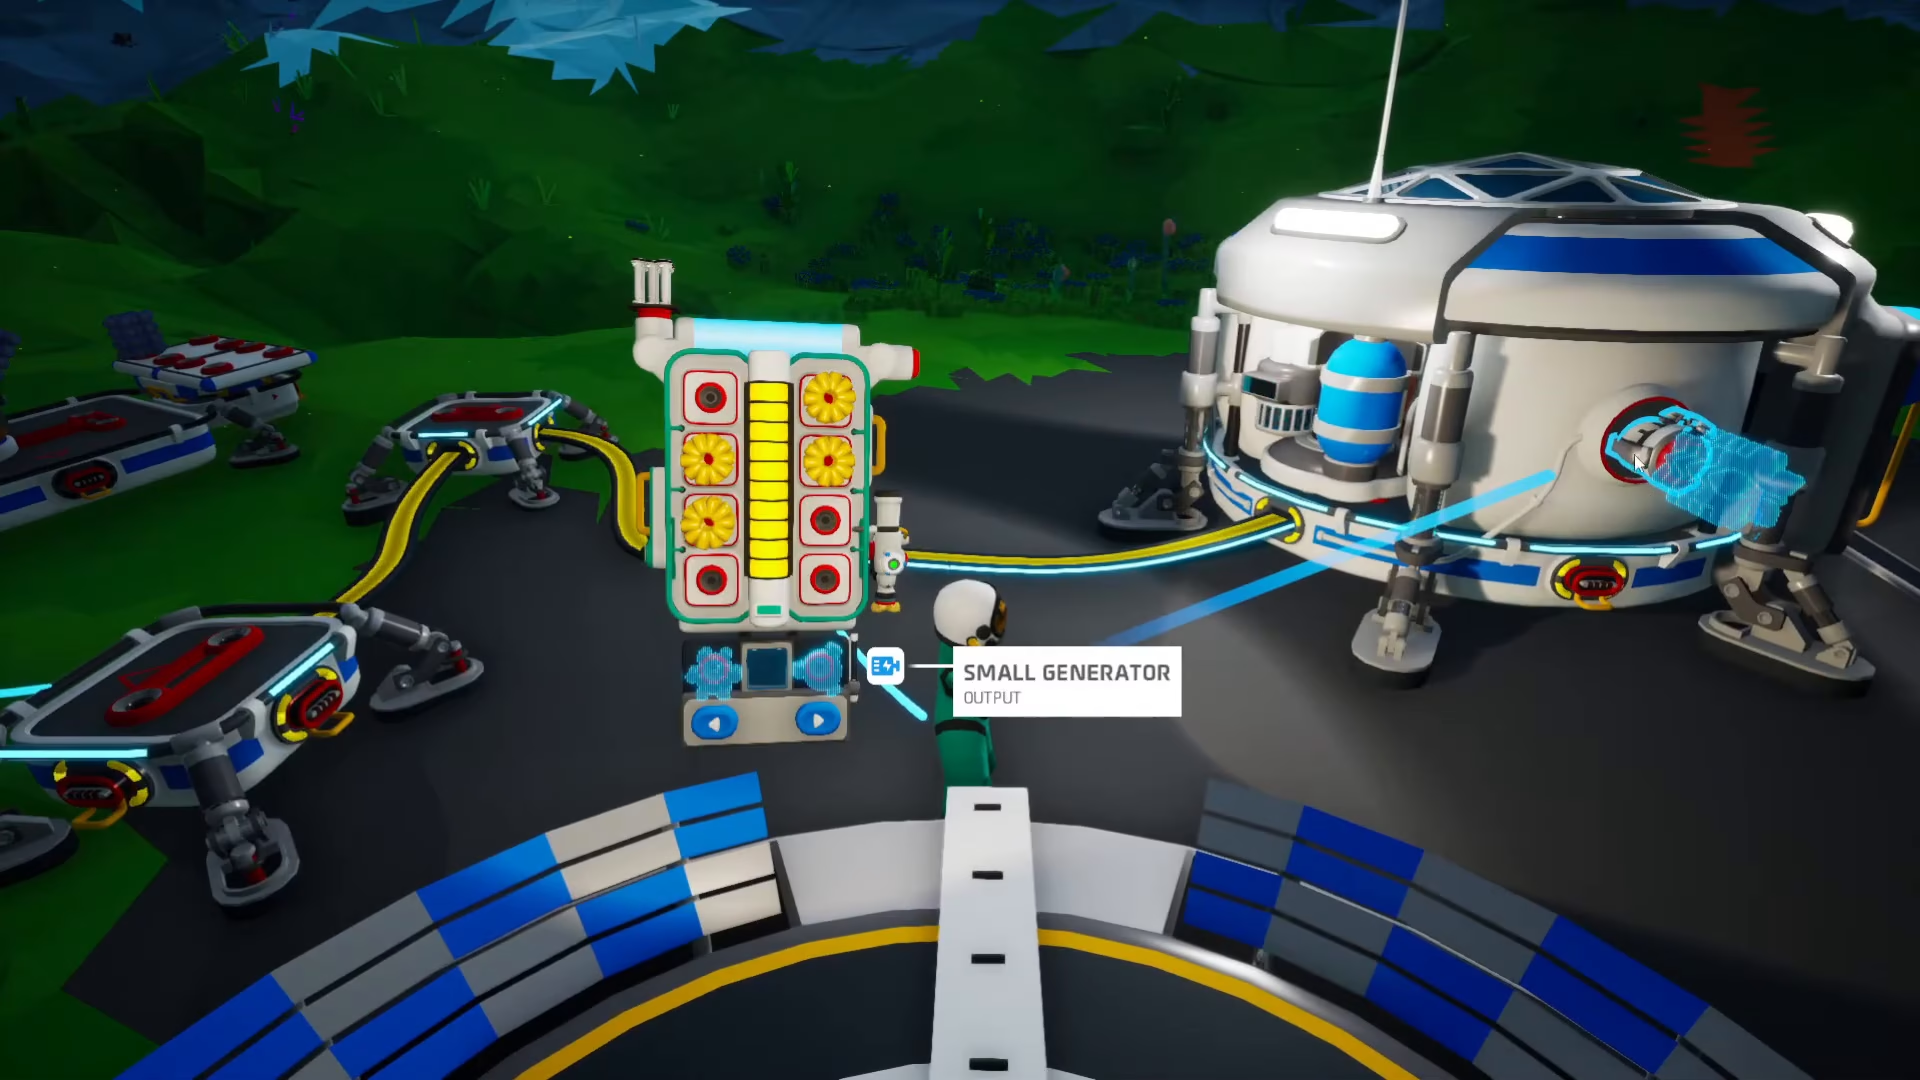
Place your small generator onto your shelter’s attachment points. Generators require organic resources (plants) to function. Press E to equip your terrain gun, then click on plants to harvest organic resources. Place the harvested resources onto your generator, and it will begin producing power.
Any batteries connected to your power network will automatically charge as power is generated.
The Research Chamber: Your Path to More Bytes
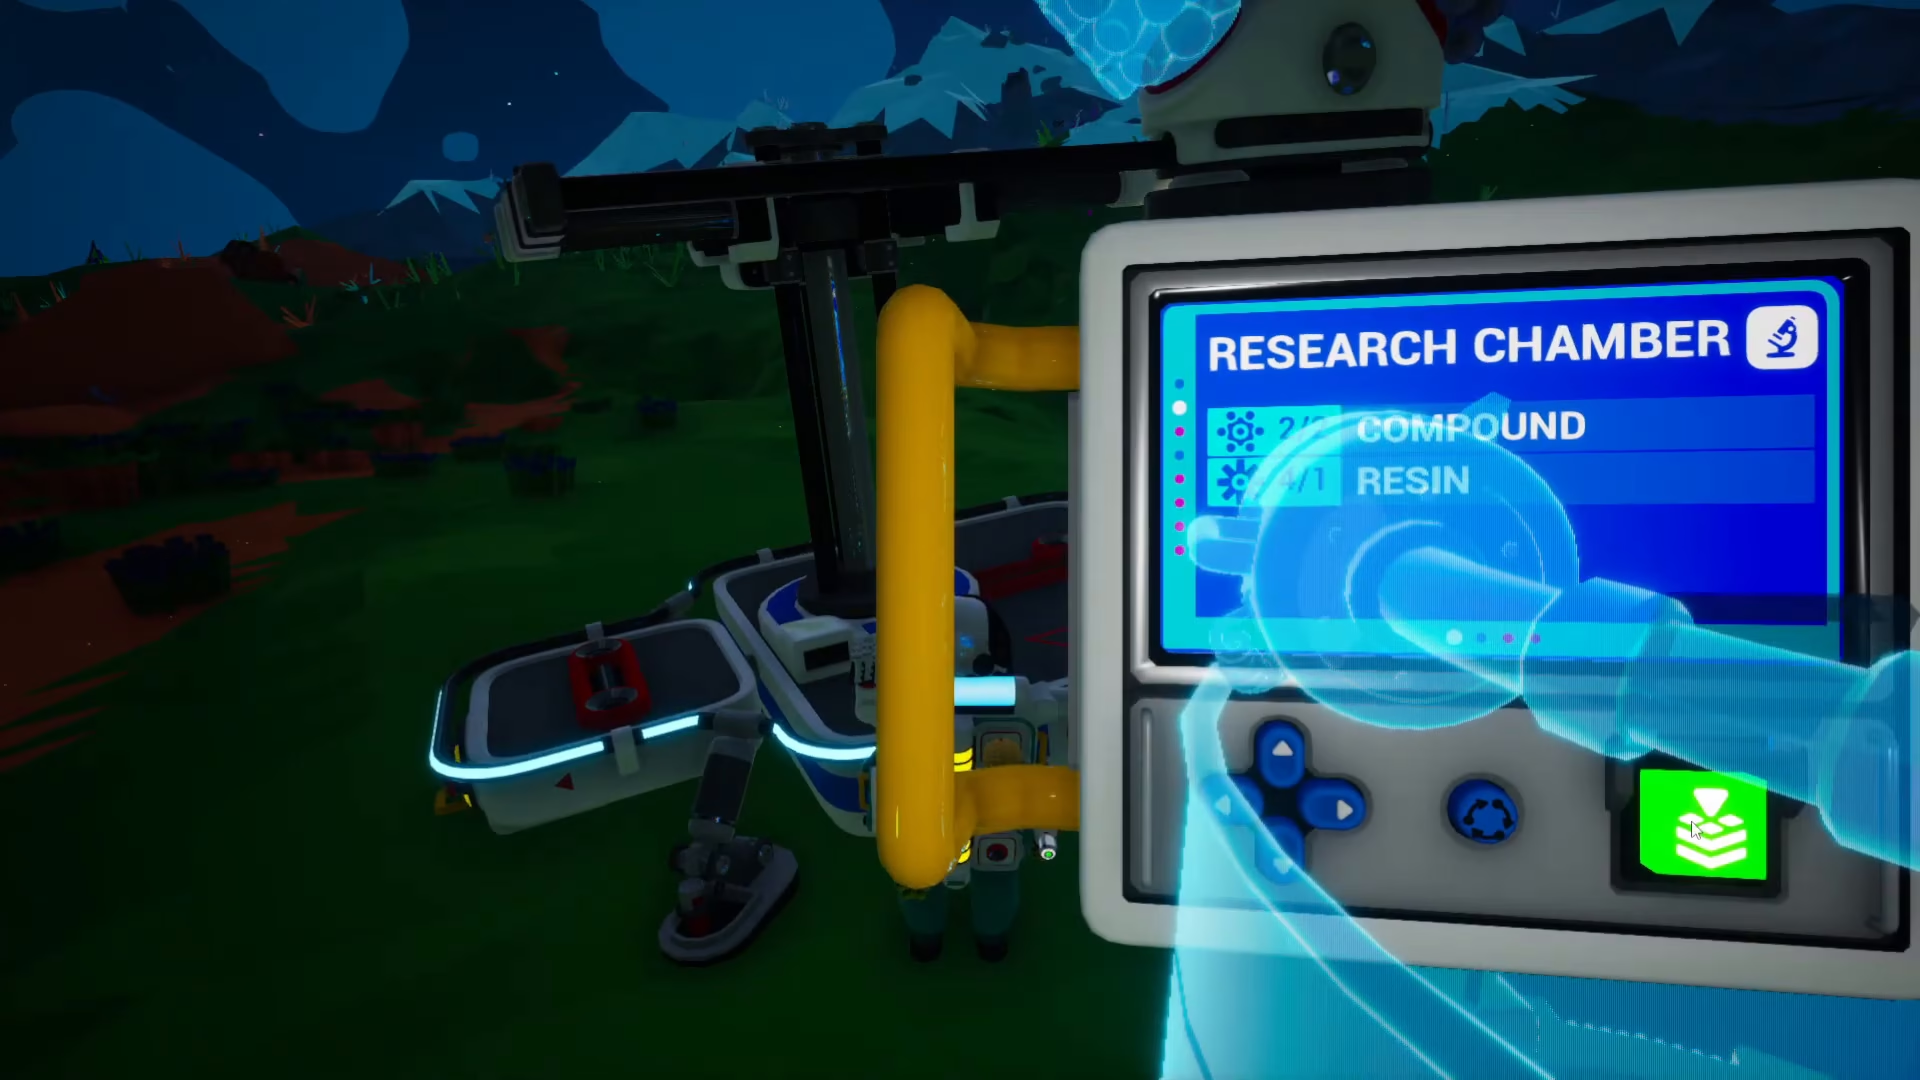
The Research Chamber is essential for generating Bytes, your research currency. It requires two Compound and one Resin to craft. Place it on your platform and power it with your cable network.
The primary way to gain Bytes is by researching items found while exploring. Look for large chunks labeled “Research Item” and bring them back to your base.
Finding and Processing Research Items
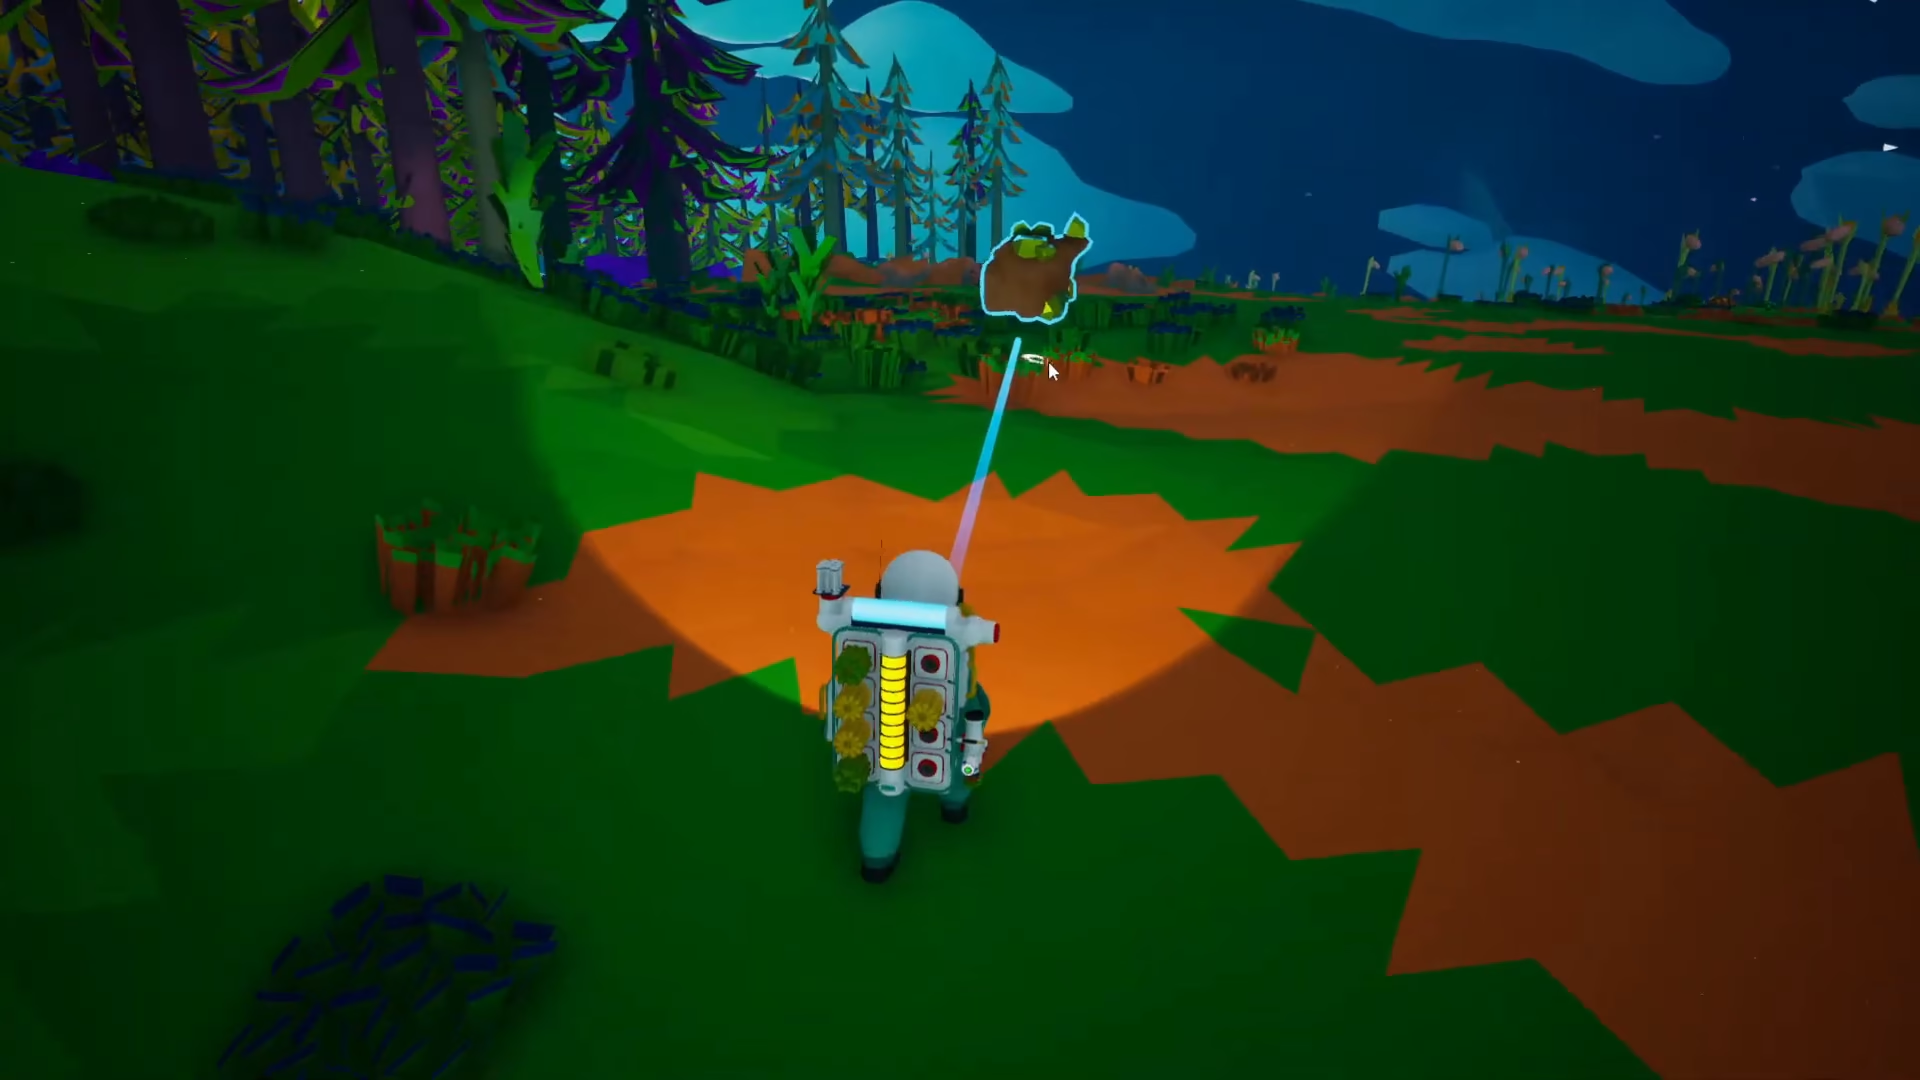
Research items are found throughout your planet. They’re heavy and will slow you down significantly. To manage this, hold your mouse button and drop the item periodically, then pick it back up and continue. This allows you to maintain better movement speed.
Once at your base, place the research item into your Research Chamber and activate it. The chamber will analyze the item over several minutes and produce Bytes based on the item’s value—large items typically yield around 500 Bytes.
Exploring Caves Safely
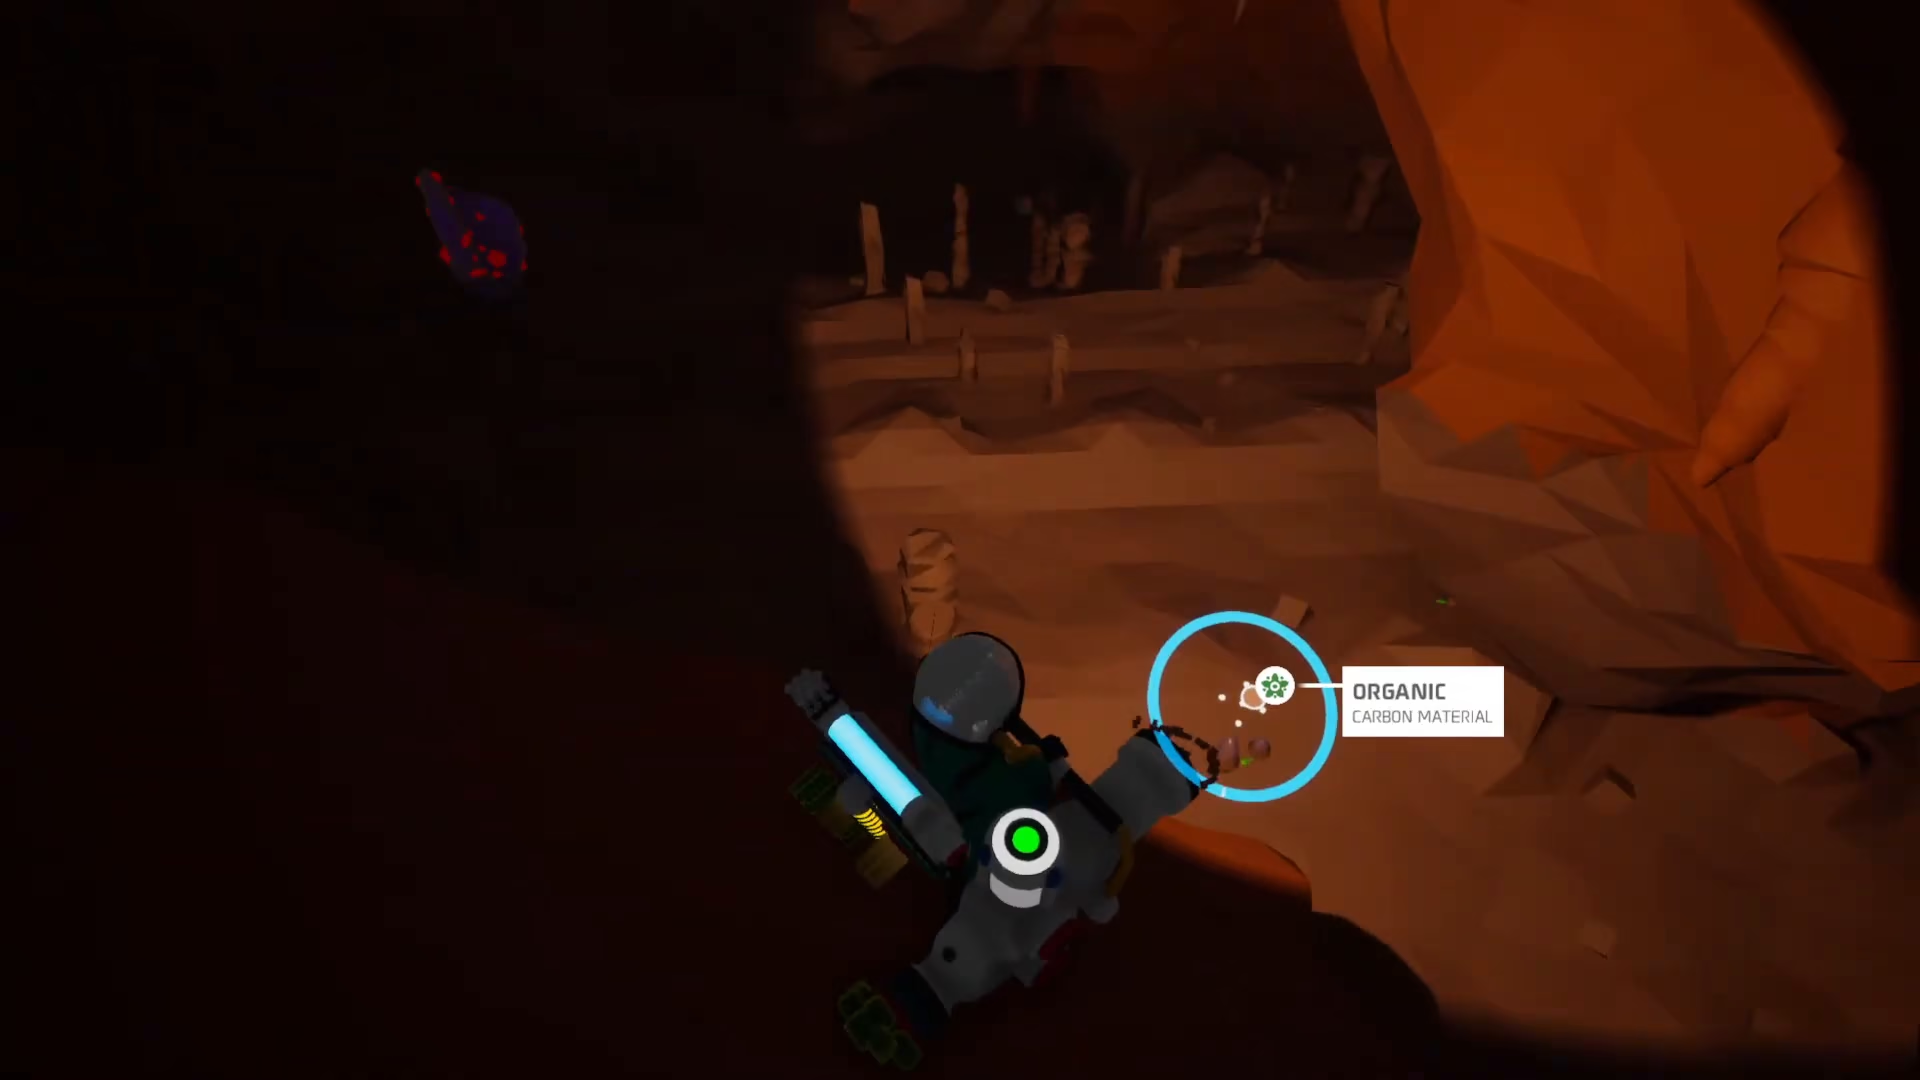
Caves contain valuable resources but can be dangerous for beginners. When descending into a cave, create a staircase using your terrain gun by digging at an angle. This gives you a safe path down and up.
Always place Tevers as you descend to maintain an oxygen supply line to the surface. When exiting, climb up your staircase by moving against the wall and jumping repeatedly until you reach the surface.
Mining Ores and Minerals
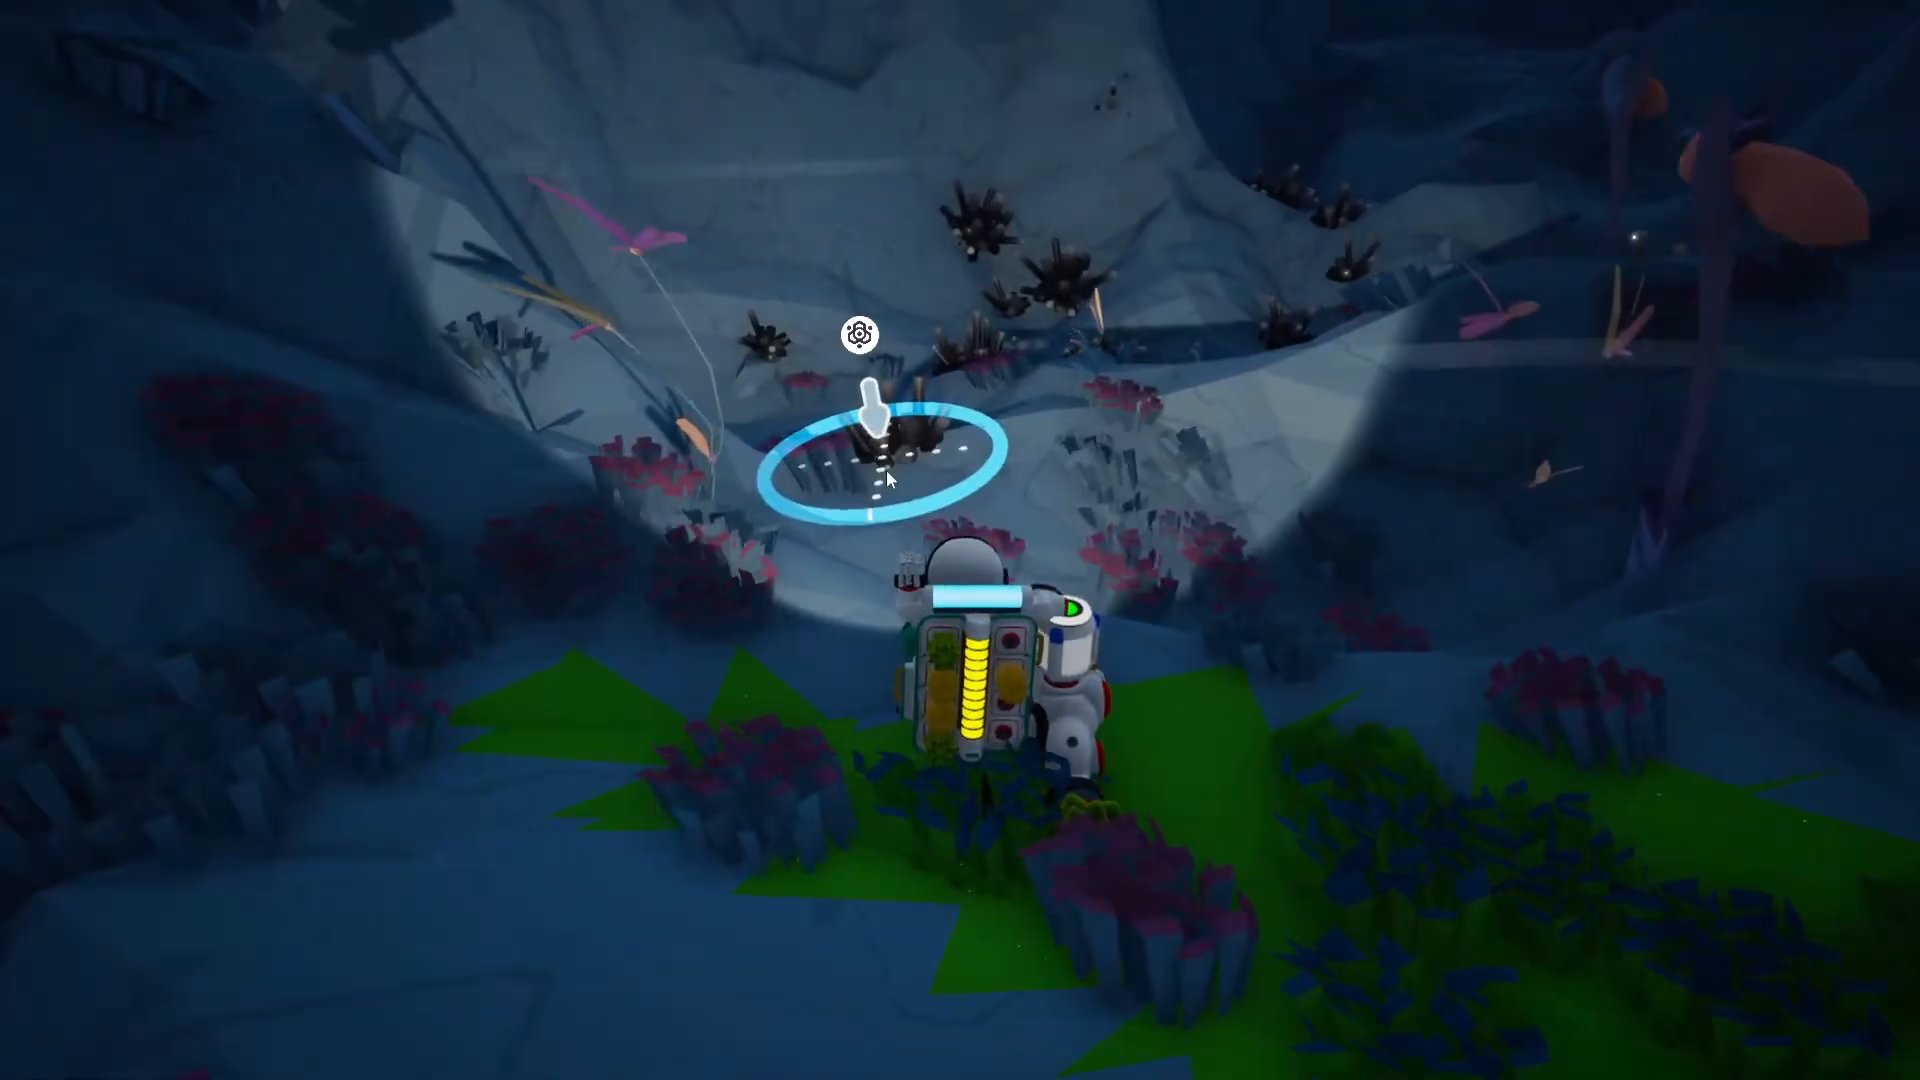
In caves, you’ll find Sphalerite (which refines into Zinc) and Laterite (which refines into Aluminum). On mountains and the surface, you’ll find Graphite (which makes Glass) and Malachite (which refines into Copper).
Clay is also important—it refines into Ceramic. These four refined materials are fundamental to advanced crafting.
The Smelting Furnace: Refining Your Resources
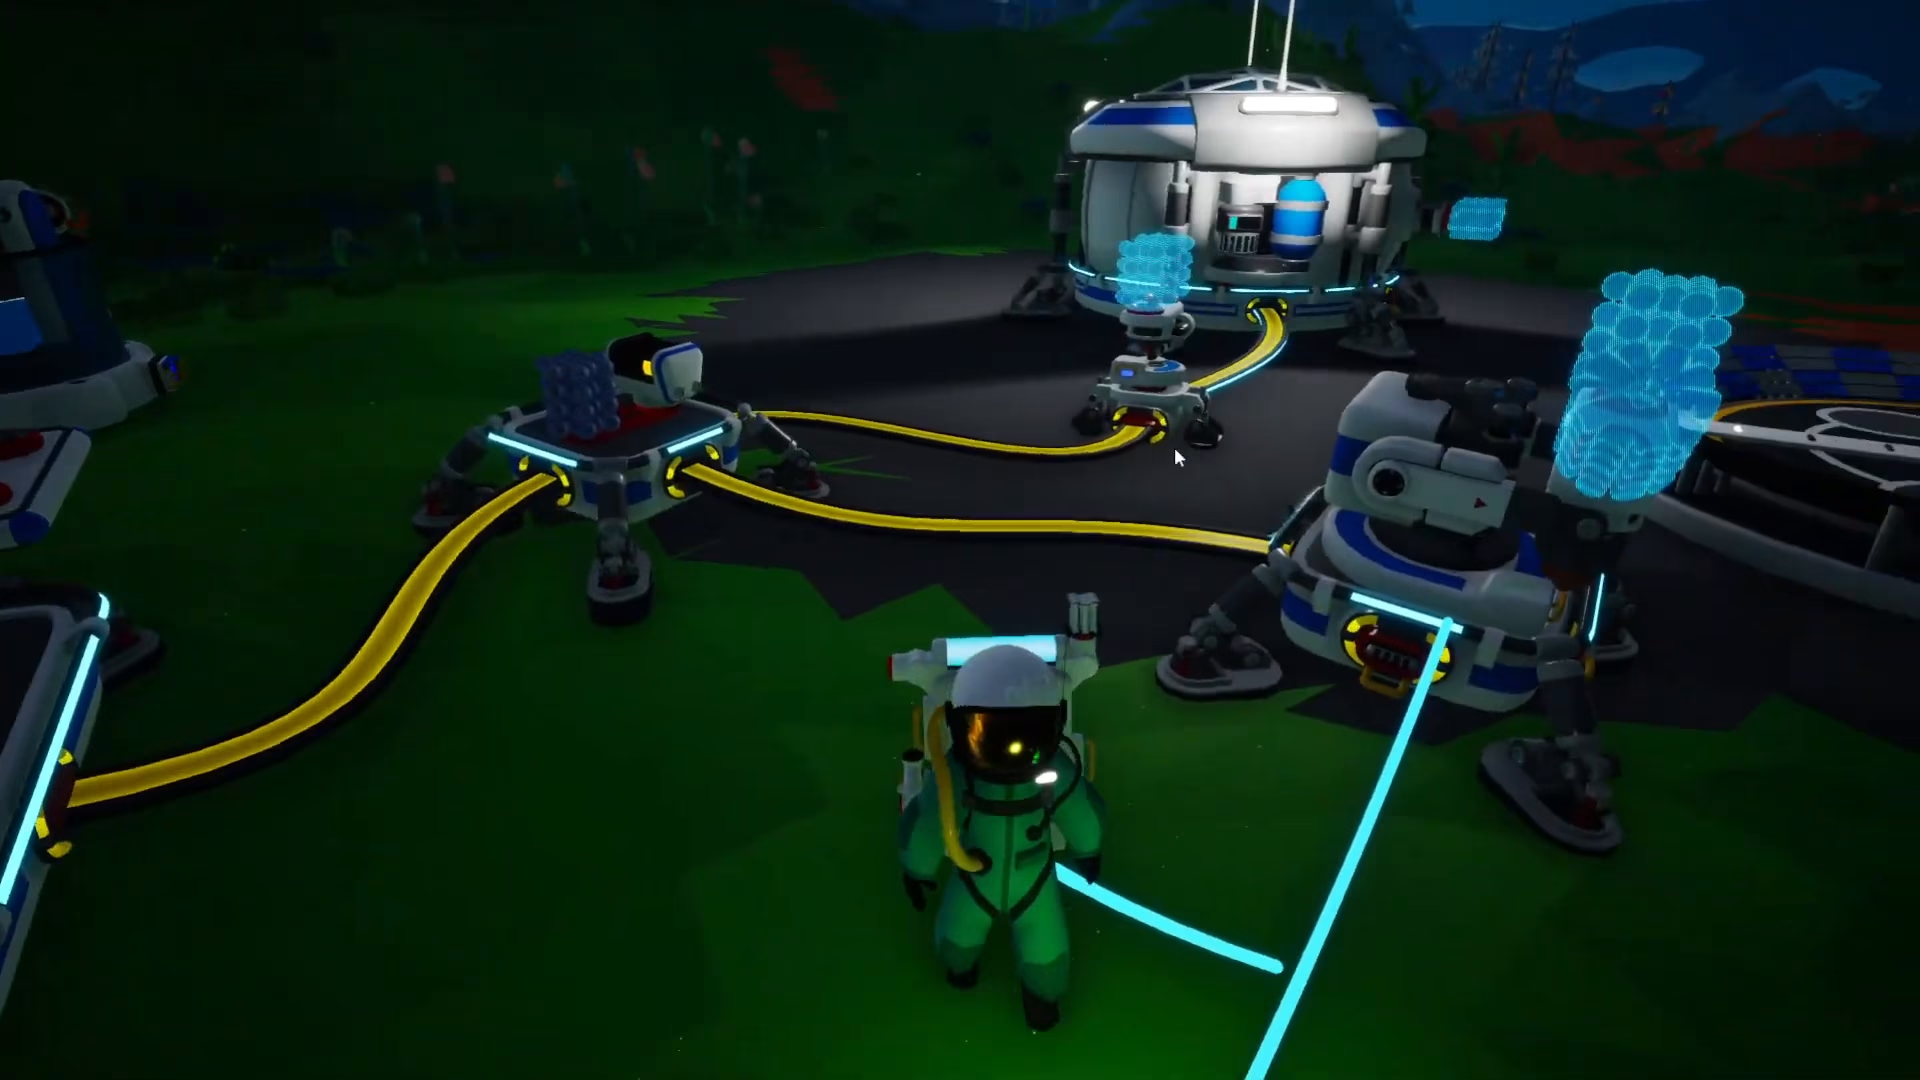
Once you unlock and print a Smelting Furnace (available from the medium printer for 250 Bytes), you can begin refining raw materials into usable resources. The furnace requires one Compound and two Resin to craft.
To use it, place your raw materials (like Clay) into the furnace and activate it. Over time, it will convert the raw material into refined resources (like Ceramic). This process powers your progression into mid-game content.
Summary and Next Steps
You now have the foundational knowledge to survive and thrive in Astroneer. Start by establishing your base, securing a power supply, and expanding your resource collection. Focus on unlocking the Smelting Furnace to begin refining raw materials. Remember to explore caves for valuable ores and always maintain your oxygen supply with Tevers.
As you grow more comfortable with these mechanics, you’ll unlock more advanced crafting options and technologies. Check out additional tutorials as you progress to mid-game and late-game content.
Support Our Guides
— Want to Support? —
If you would like to help us continue making these guides – please consider joining our patreon here – https://www.patreon.com/c/JaviHeals
Alternatively – you can join our discord here – https://discord.gg/zD7Gjt6MHF