






How to Repair Armour in 7 Days to Die
How to Repair Armor in 7 Days to Die
In 7 Days to Die, keeping your armor in good condition is essential for survival. Whether you’re dealing with zombies or just wear and tear from exploration, knowing how to repair your gear quickly can mean the difference between life and death. This guide will walk you through the simple process of repairing your armor so you can stay protected at all times.
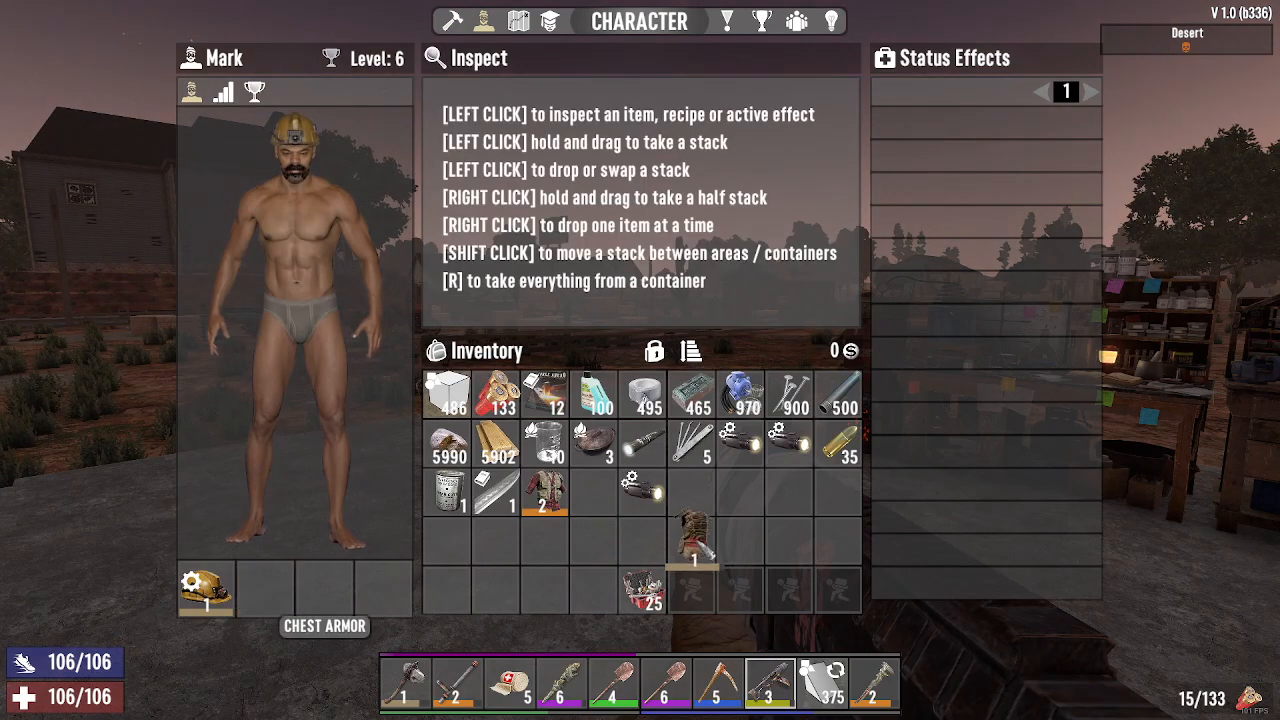
Unequip Your Armor First
Before you can repair any armor piece, you need to remove it from your character. Navigate to your character inventory slot and unequip the armor you want to repair. This is a crucial step—you cannot repair armor while you’re actively wearing it.
Craft or Obtain a Repair Kit
To repair your armor in 7 Days to Die, you’ll need a repair kit. You can craft a repair kit using the following materials:
1 Forged Iron
1 Duct Tape
Make sure you have both of these items in your inventory before proceeding with the repair.
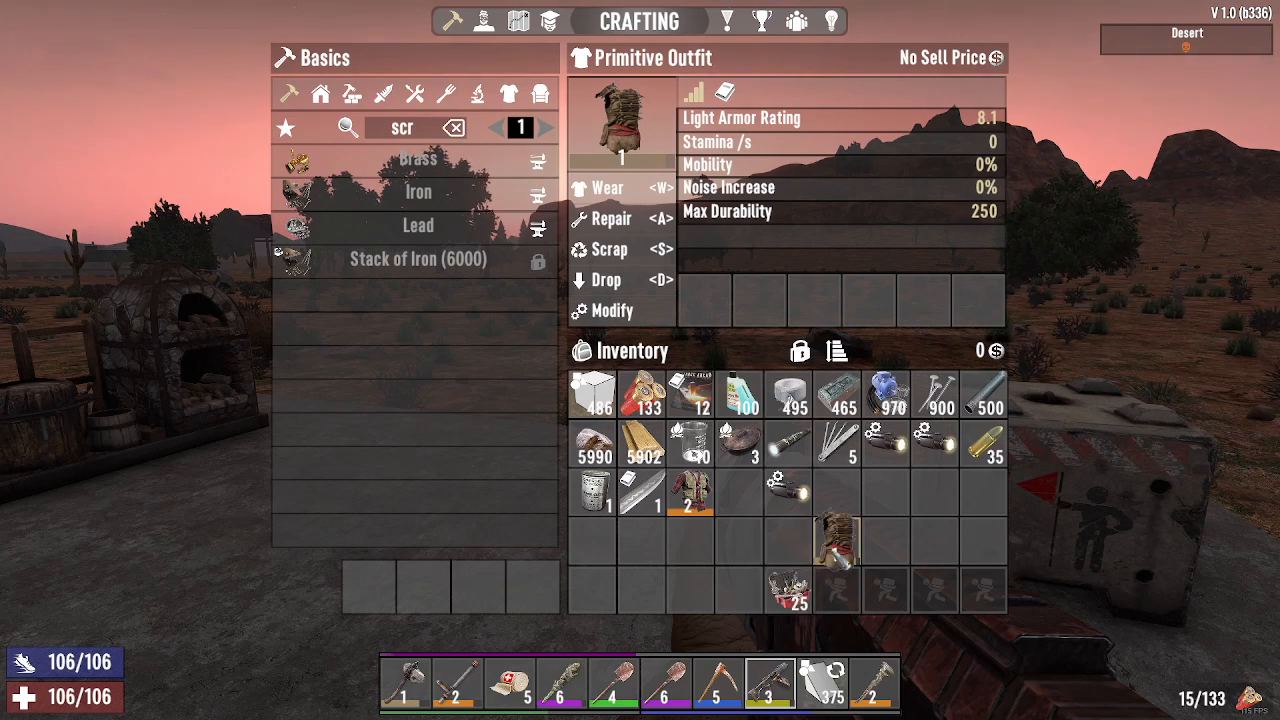
Use the Repair Kit on Your Armor
Once you have your repair kit ready and your armor unequipped, simply select the repair kit and apply it to the armor piece that needs fixing. The repair process only takes a few seconds to complete. You’ll notice that your repair kit’s quantity decreases by one with each use, so stock up on materials if you plan to do extensive repairs.
Summary
Repairing armor in 7 Days to Die is straightforward: unequip your armor, craft or find a repair kit using forged iron and duct tape, and apply the kit to restore your gear’s durability. With this knowledge, you’ll be able to keep your armor in top condition and stay ready for whatever threats the wasteland throws at you.
Want to Support?
If you would like to help us continue making these guides – please consider joining our patreon here – https://www.patreon.com/c/JaviHeals
Alternatively – you can join our discord here – https://discord.gg/zD7Gjt6MHF