How to Use Contracts in Farming Simulator 25
How to Use Contracts in Farming Simulator 25
Contracts are one of the best ways to earn money quickly in Farming Simulator 25, especially when you’re starting a new farm with limited funds. Whether you’re running a “rags to riches” playthrough or looking to learn new farming techniques, this guide will walk you through everything you need to know about using contracts effectively.
Accessing Contracts
To access contracts in Farming Simulator 25, look for the small A4 piece of paper icon on the left side of your menu. This will display all the contracts currently available for you to accept. Contracts vary in reward amount based on their size and difficulty level. For example, a bailing job requiring 0.51 hectares will pay significantly less than one requiring 1.68 hectares.
Understanding Contract Rewards
Each contract displays the amount you’ll earn upon completion. The reward directly correlates with the scope of work—larger fields and more demanding tasks offer higher payouts. When you’re examining contracts, you’ll see details about the field size, crop type, and equipment requirements.
Using Contracts to Learn New Skills
Contracts are an excellent way to experiment with farming tasks you haven’t tried before without committing to purchasing expensive equipment. For instance, if you’re curious about bailing but unsure what machinery you need, you can accept a bailing contract, lease the equipment at a reduced cost, and learn firsthand whether you’ll enjoy that farming activity. Since the leased equipment disappears at the end of the contract, you can decide if you want to invest in your own machinery with minimal financial risk.
The Equipment Strategy: Maximizing Contract Profits
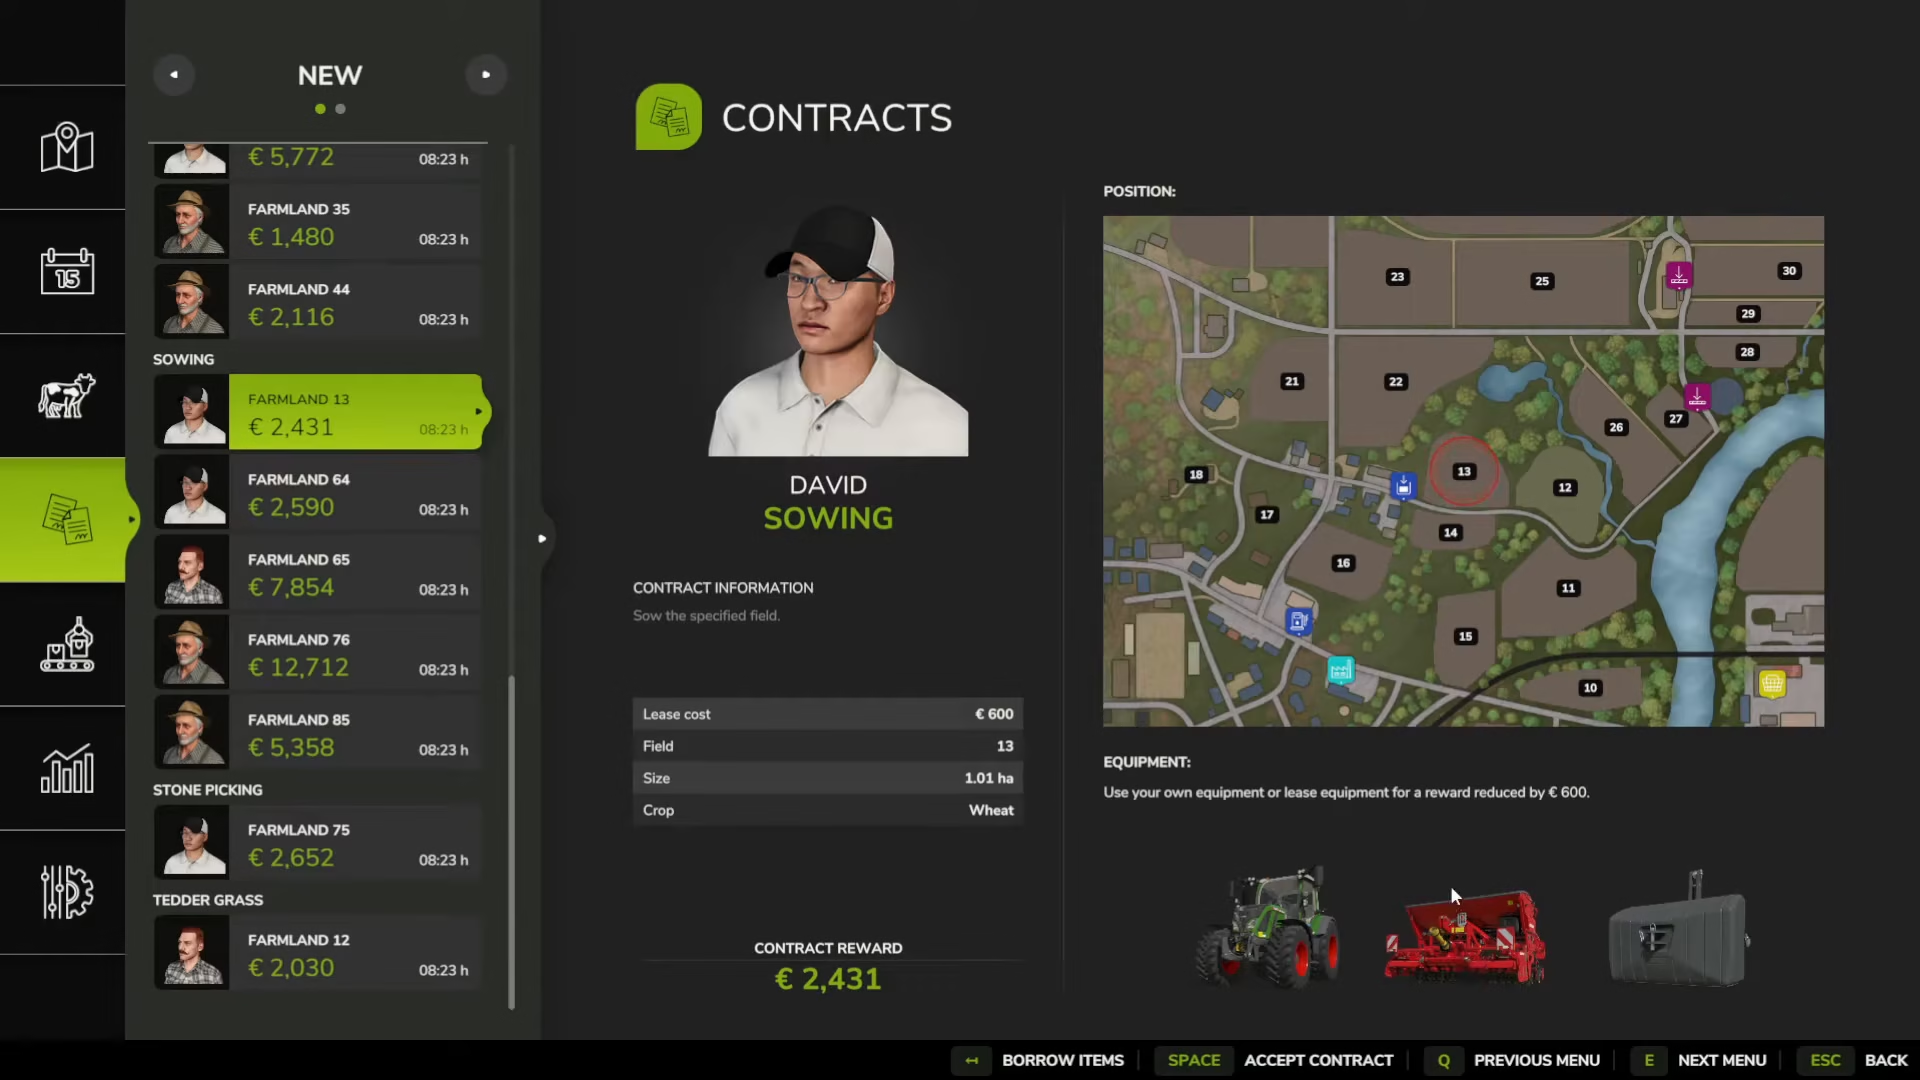
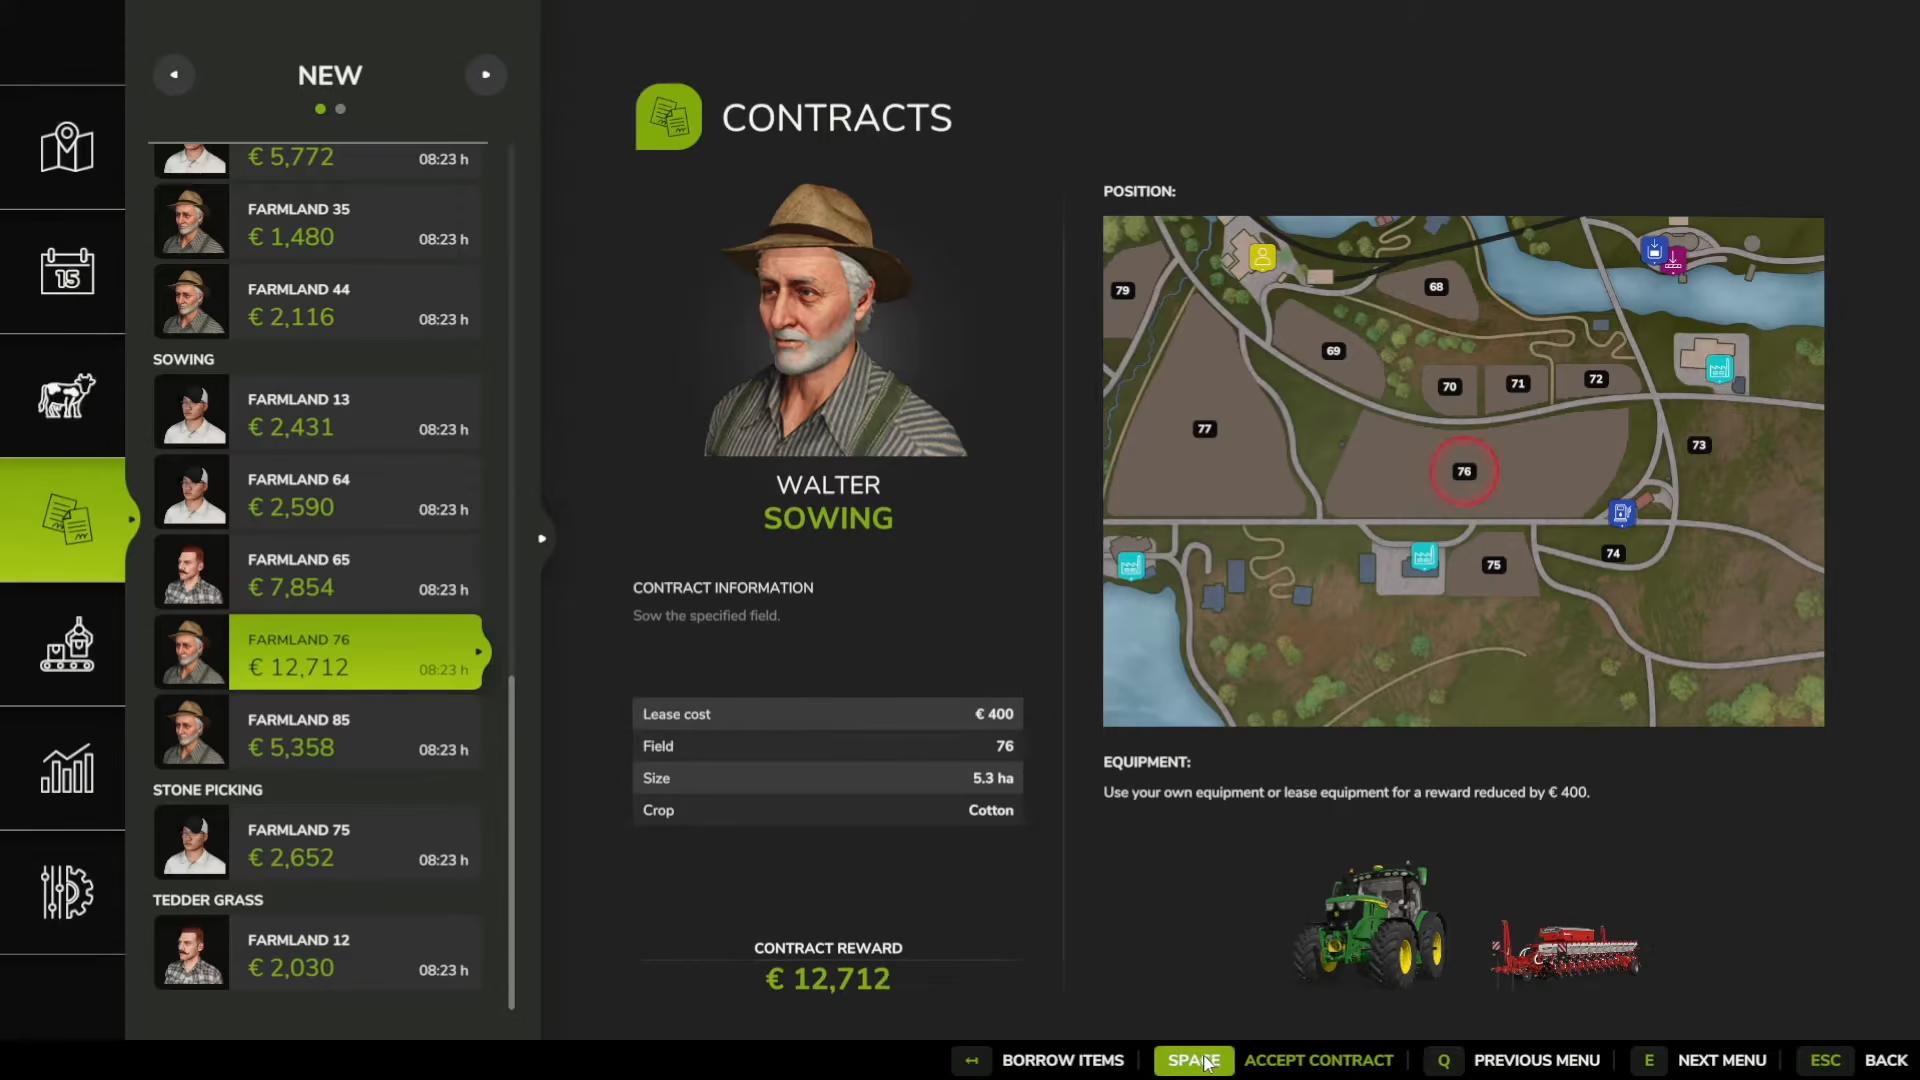
Here’s a valuable tip for significantly increasing your contract earnings: you can choose to use your own equipment or lease equipment for each contract. Using your own equipment provides a higher reward, while leasing equipment reduces the reward by a set amount (typically 400-600 euros). However, you can exploit this system for maximum profit.
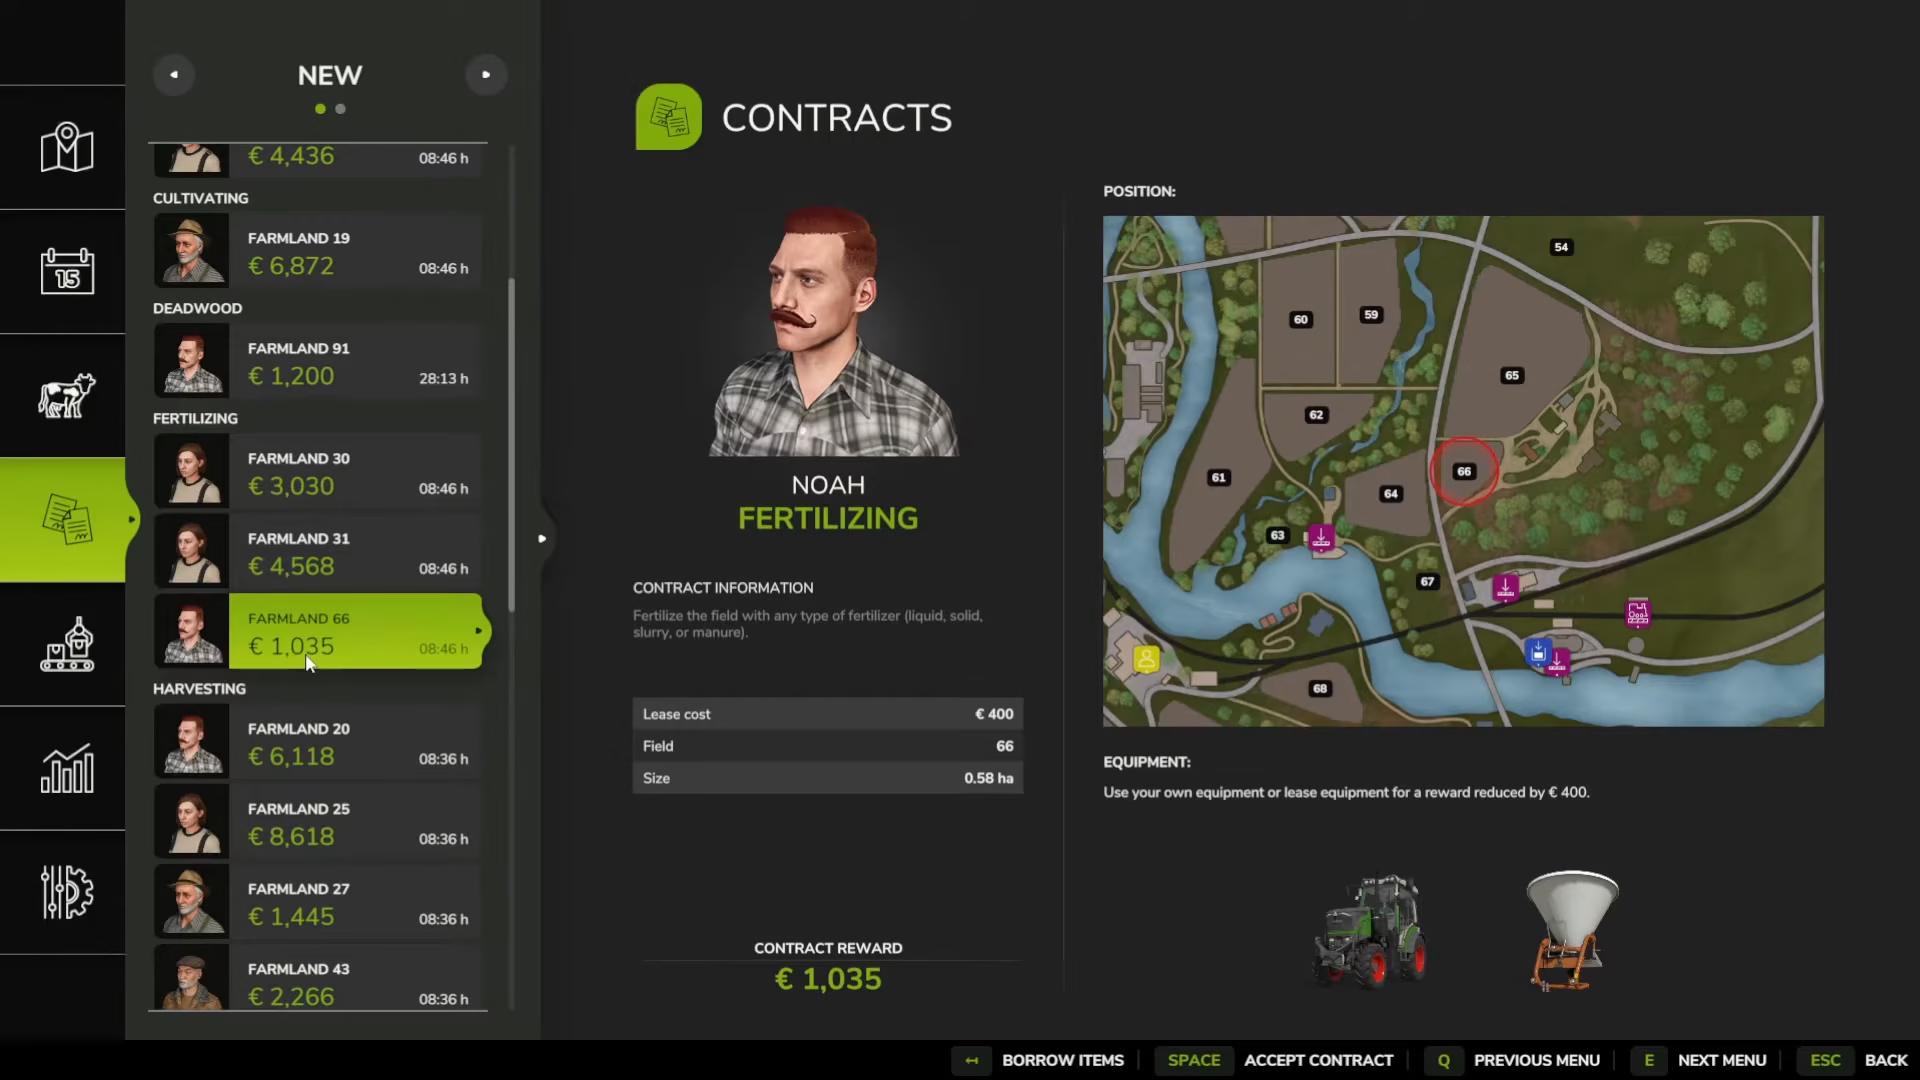
The key is to accept multiple contracts of the same type (you can have up to three active contracts at once). Look for one high-value contract with large equipment—for example, a 12,000 euro sewing contract with a gargantuan sewing machine. Accept this contract using the “Borrow Items” button to lease the large equipment. Then accept smaller sewing contracts without borrowing items. You can then use the large leased equipment to complete all the smaller contracts before returning it.
For example, if you accept a 12,000 euro contract with the largest sewing machine and then accept 2,000 euro contracts without borrowing, you can use the massive sewing machine to complete all the smaller contracts. Your reward only reduces by 400 euros per contract, so you’ll earn significantly more while completing tasks much faster with superior equipment.
Accepting and Managing Contracts
When viewing a contract, you have two options:
Accept Contract: Uses your own equipment for the full reward
Borrow Items: Leases equipment from the shop with a reduced reward, but you get the benefit of using that equipment
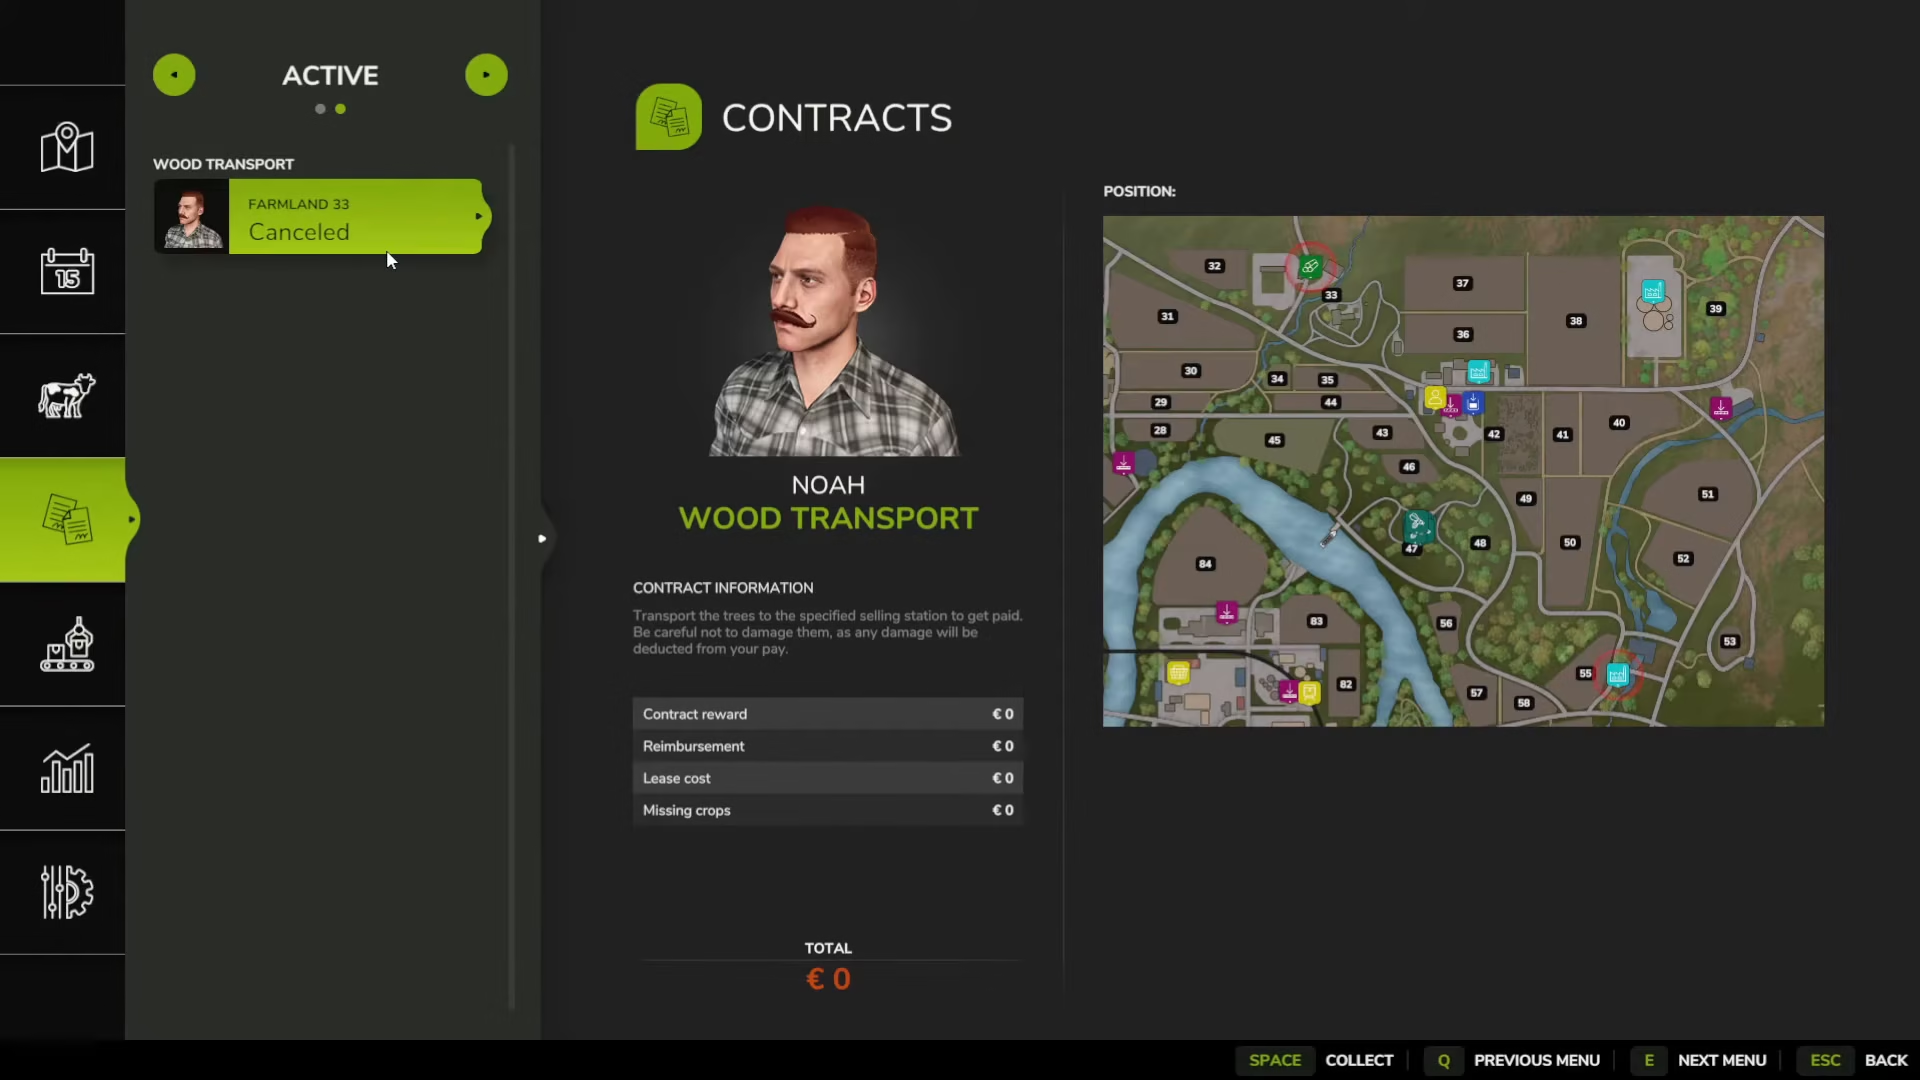
If you make a mistake or change your mind, you can cancel a contract through the contract menu. Select the contract and press “Collect” to cancel it completely.
Completing a Contract: Step-by-Step
Once you’ve accepted a contract with leased equipment, the machines will be waiting for you at the shop, marked with a small basket icon on your map. Navigate to the shop to pick up your equipment.
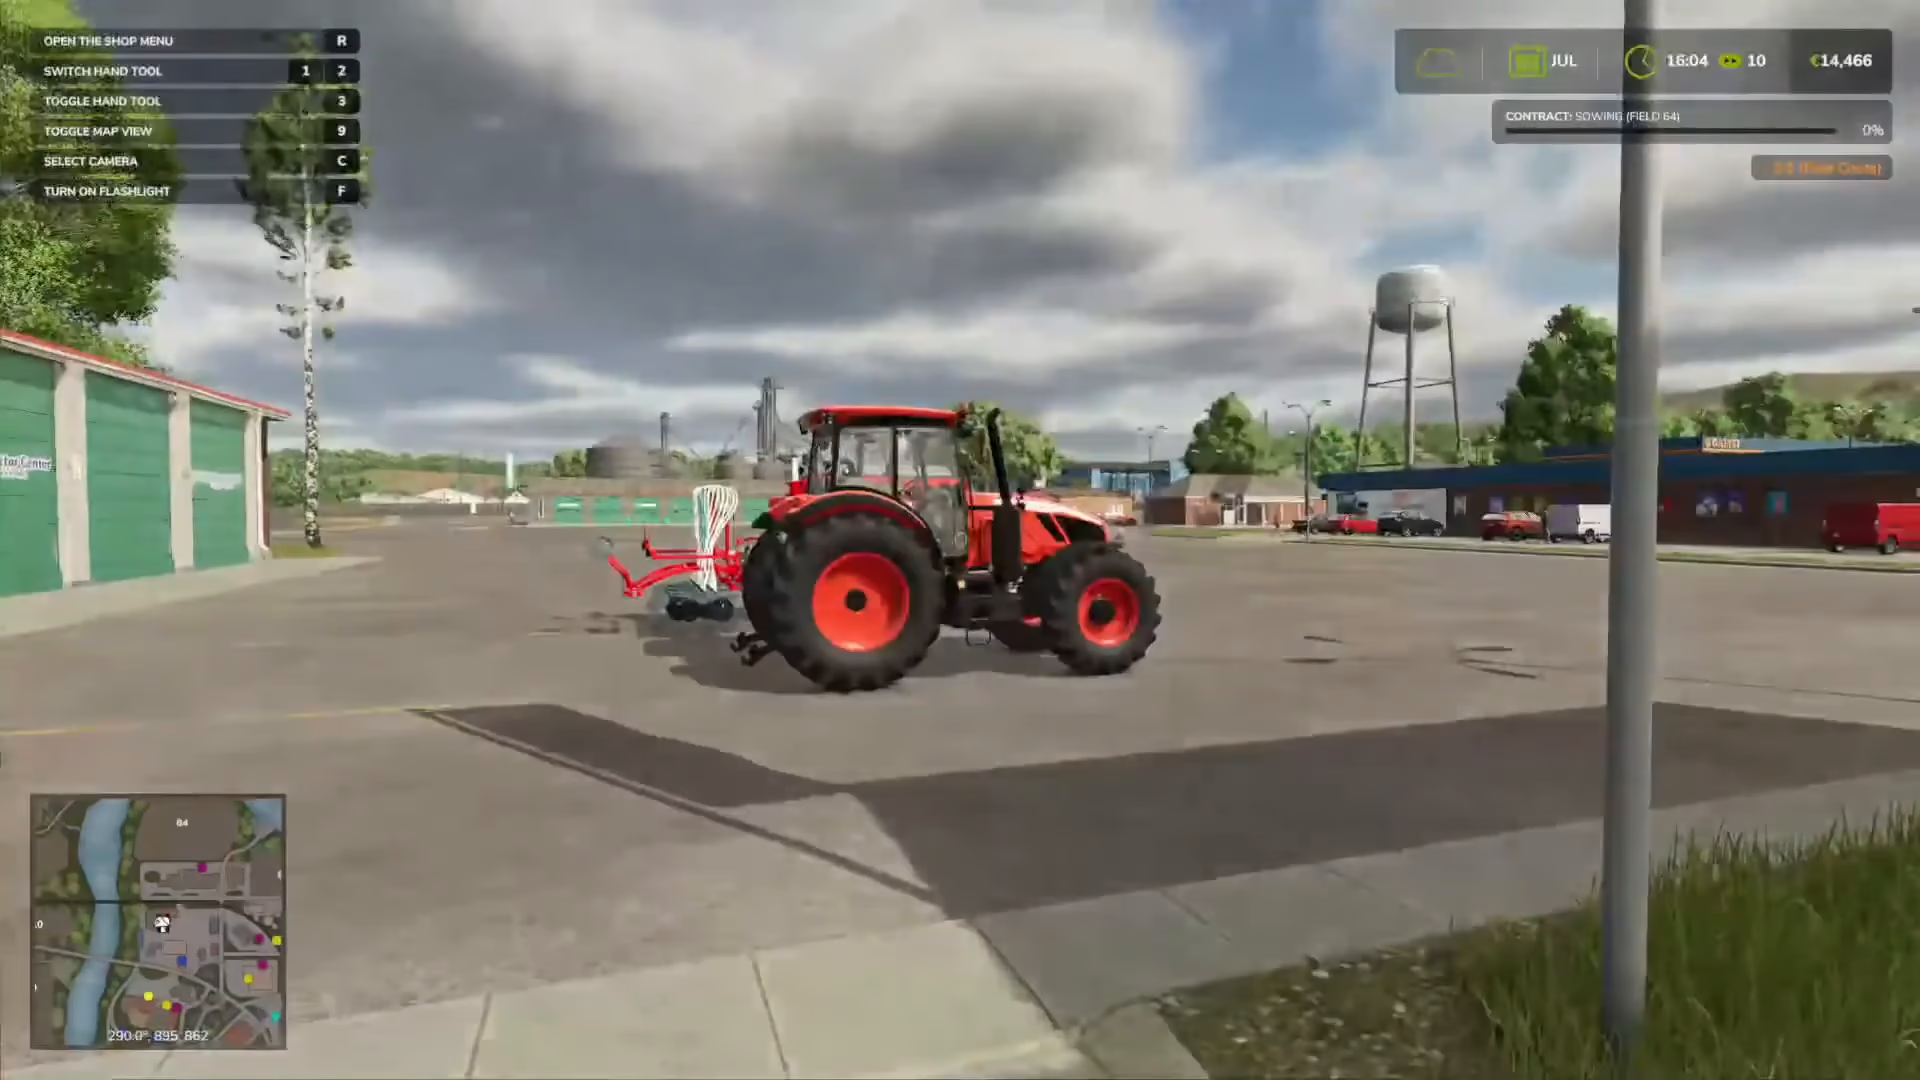
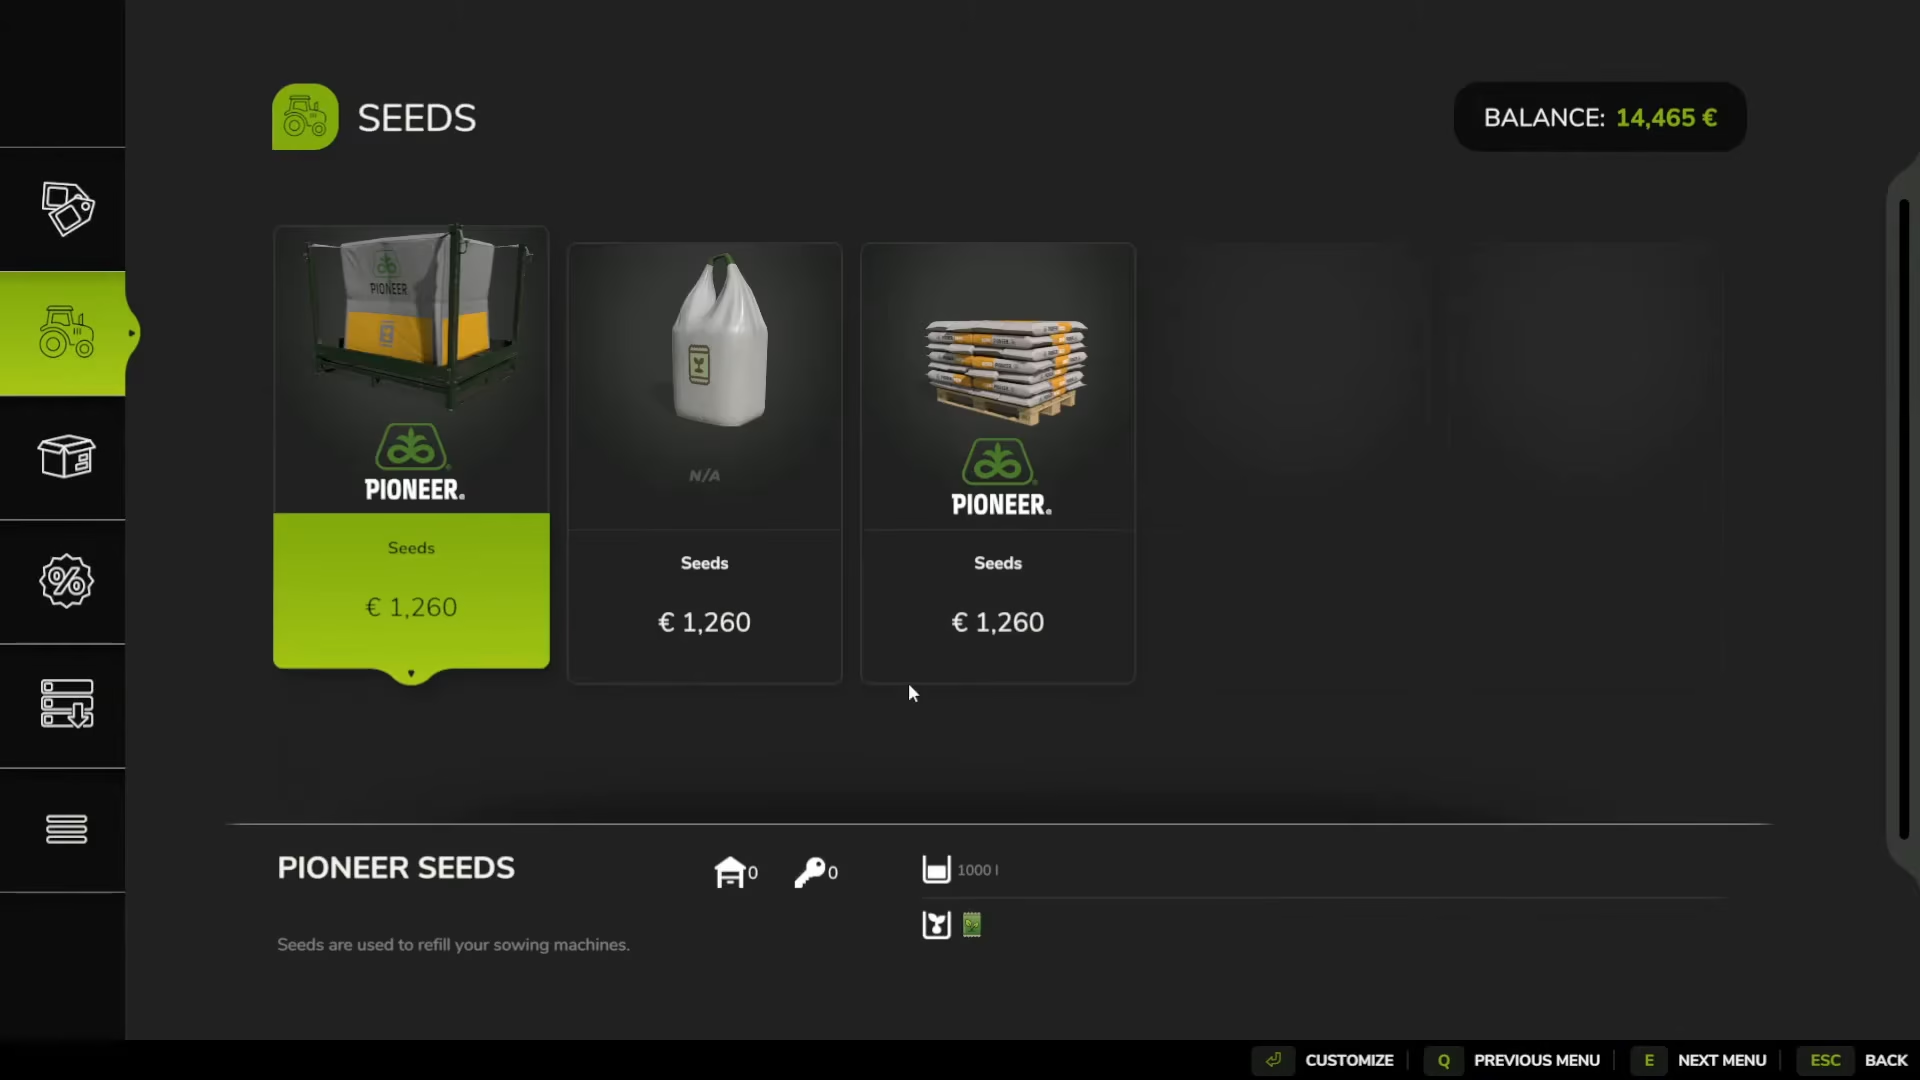
Before starting work, remember to fill any tools that need supplies. For example, if you’re sewing, you’ll need to purchase seeds. A single bag of seeds will typically cover multiple fields, so if you’re doing several sewing contracts, buying one large bag is more economical than purchasing separate bags for each contract.
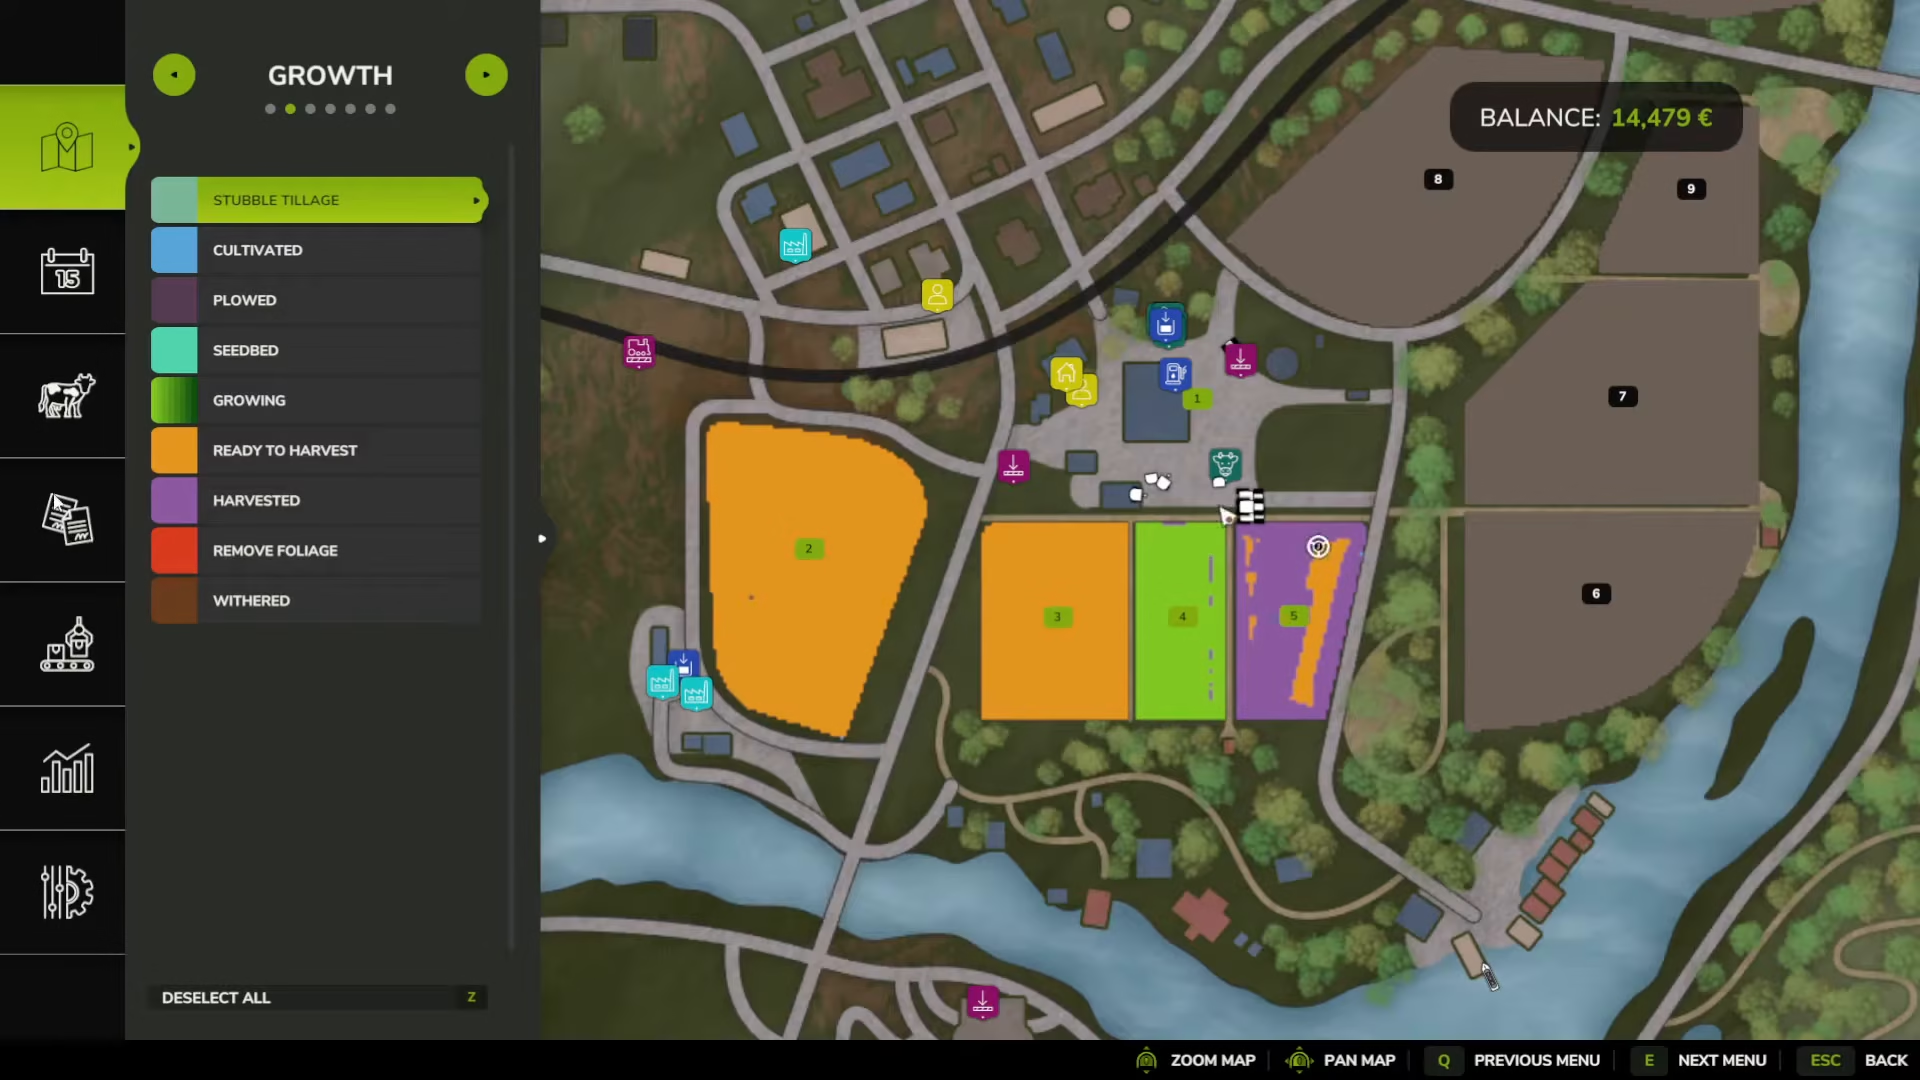
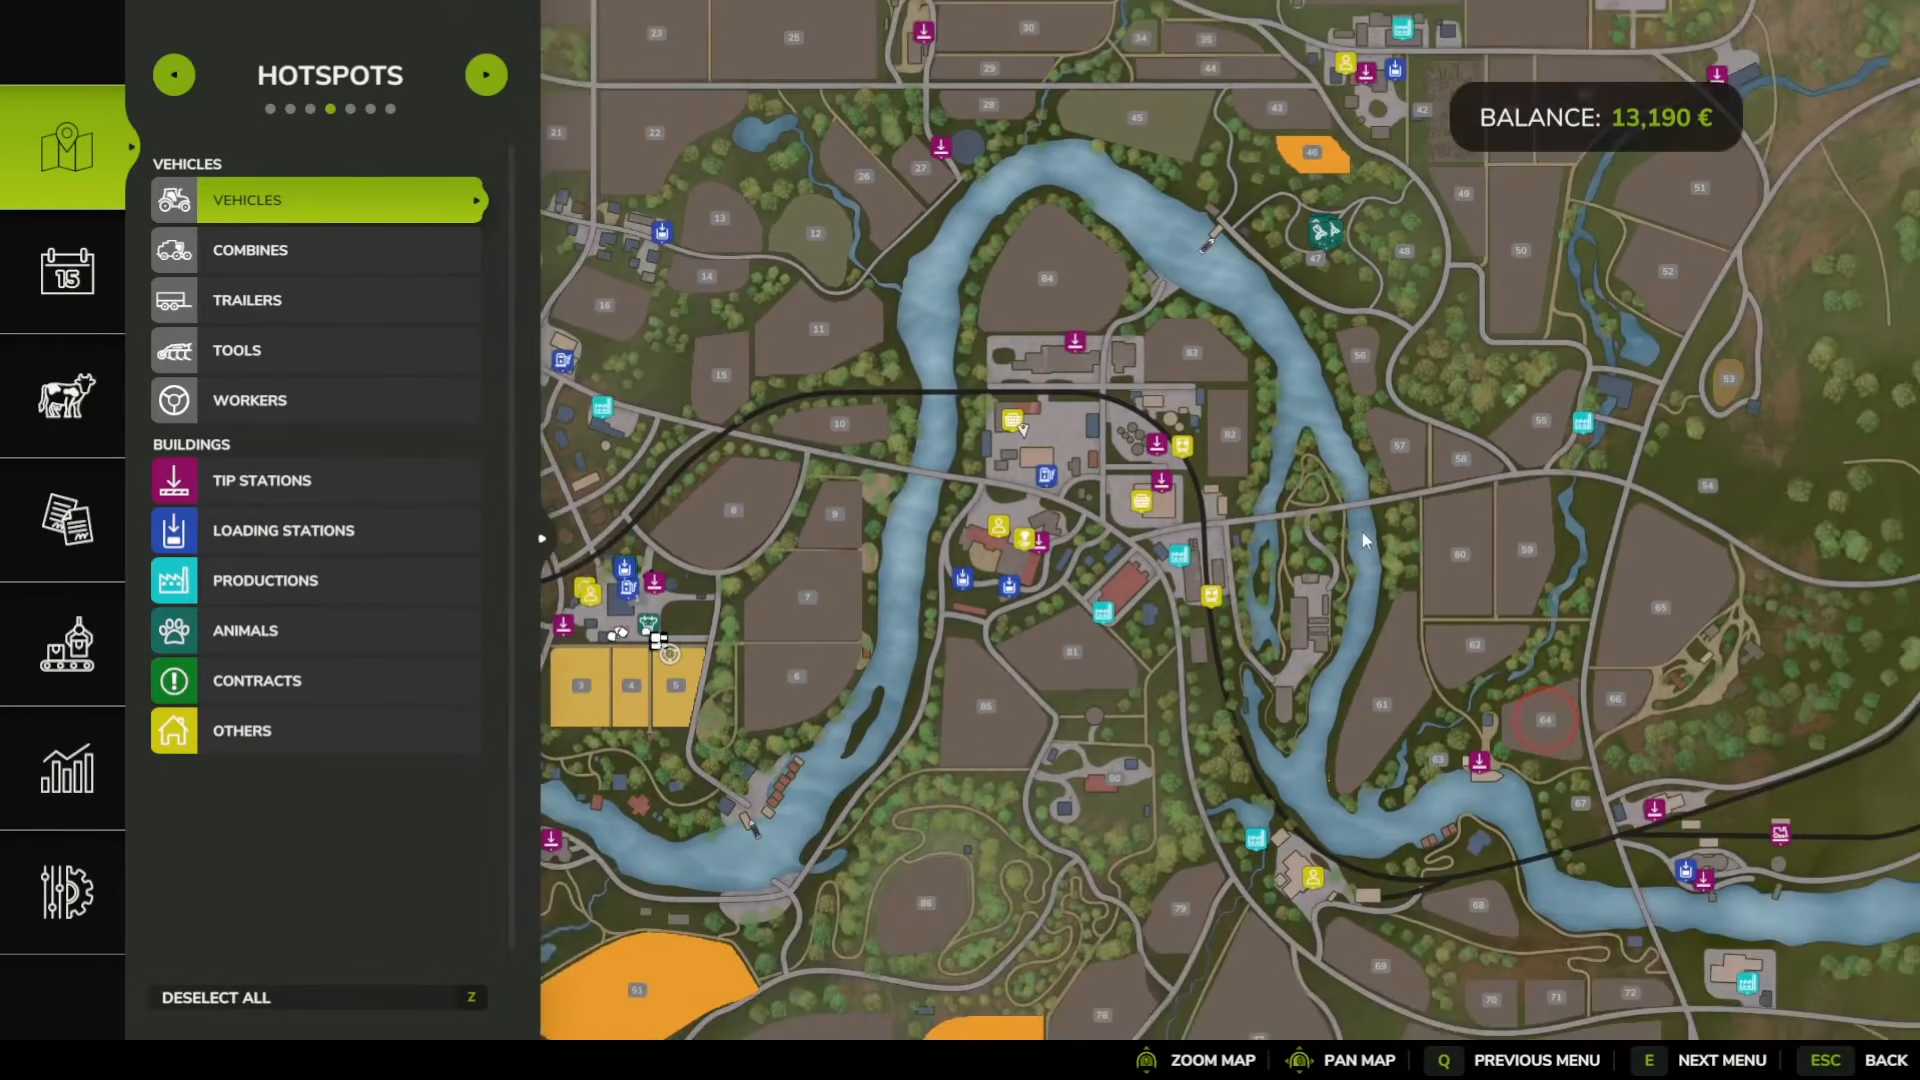
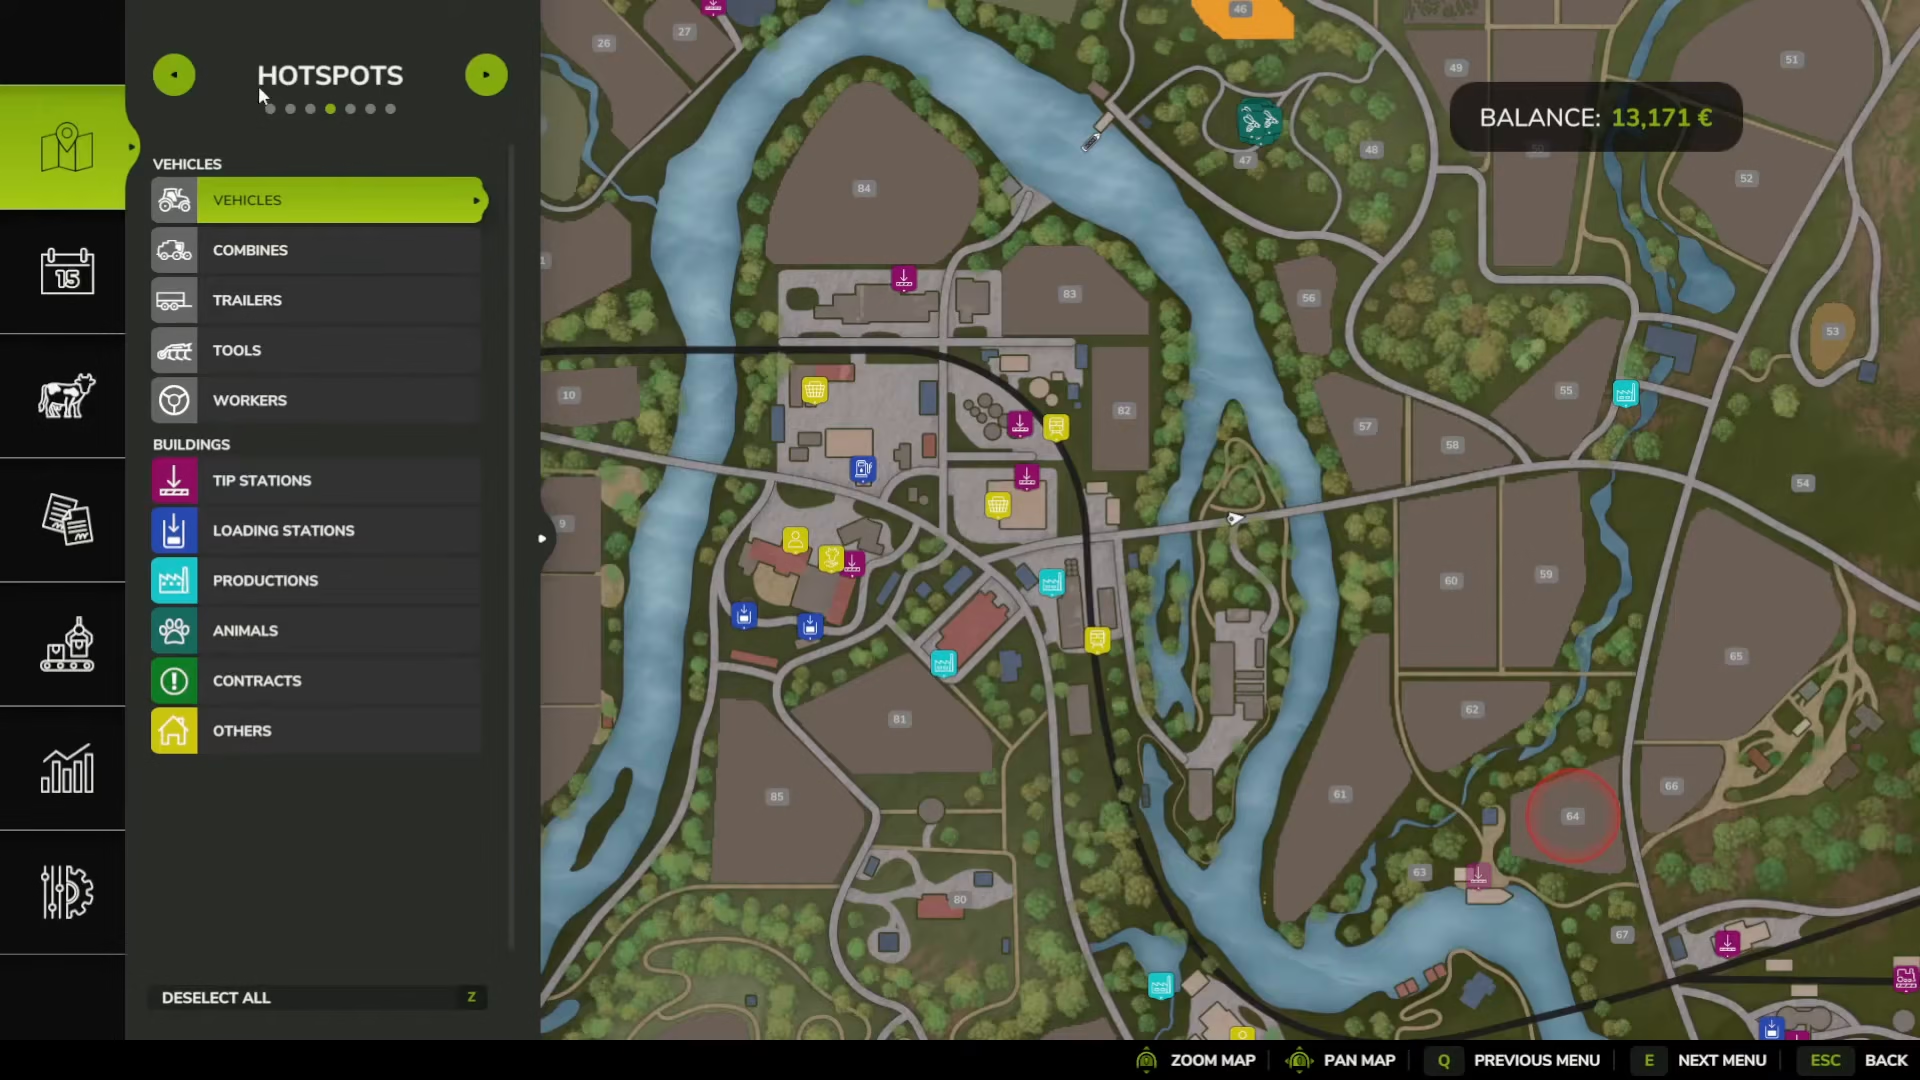
Once you have your equipment and supplies, drive to the field listed in your active contract. You can find the field by opening your map and looking for the contract location. A helpful tip is to click on the field in the map and select “Tag Place”—this will add a red circle marker on your map showing the distance and direction to the contract location.
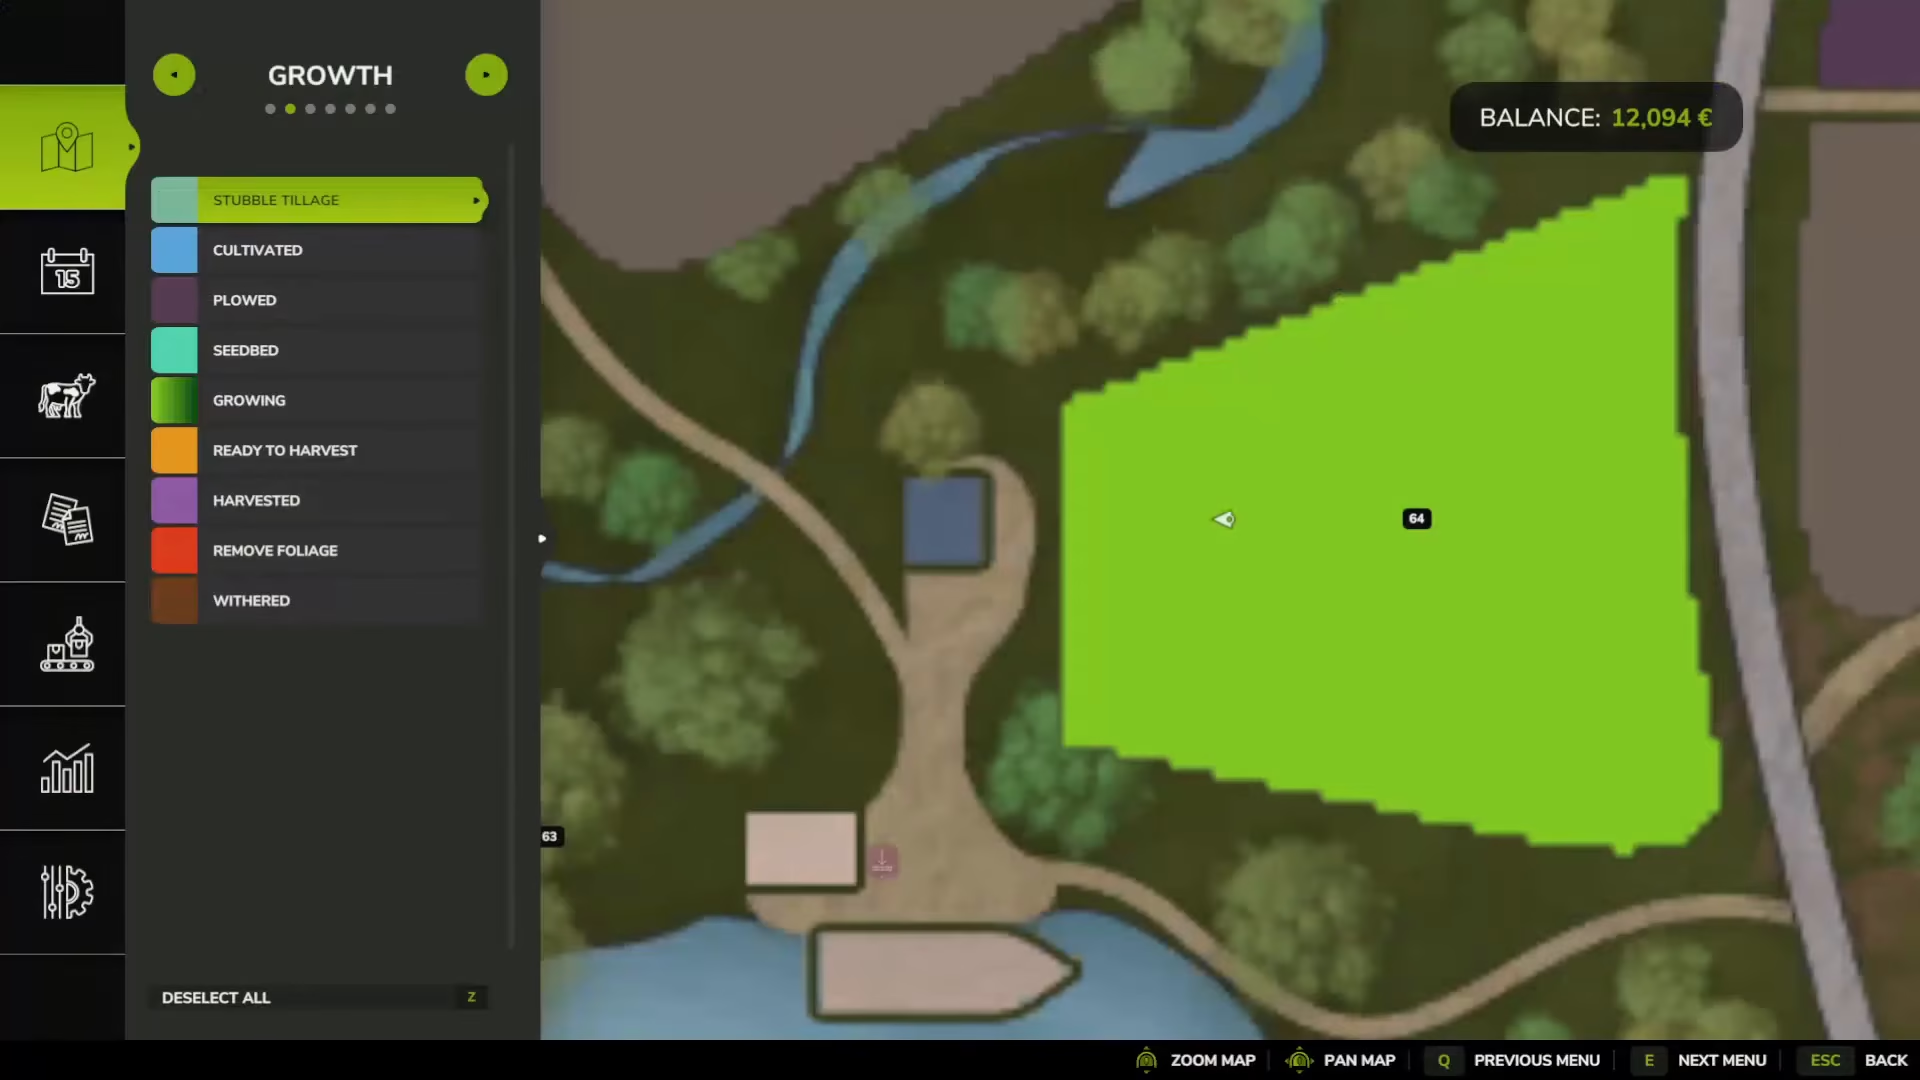
When you arrive at the field, attach the equipment and begin work. Make sure you’re using the correct seed or material for the contract. As you work, you’ll see a progress percentage in the top right of your screen. Once the field is 100% complete, the contract will automatically mark as completed.
Collecting Your Reward and Managing Equipment
After completing a contract, open your menu and navigate to Contracts. You’ll see the completed contract marked as “Complete.” Press the collect button to claim your reward. Important note: when you collect a contract where you borrowed items, those leased machines will disappear.
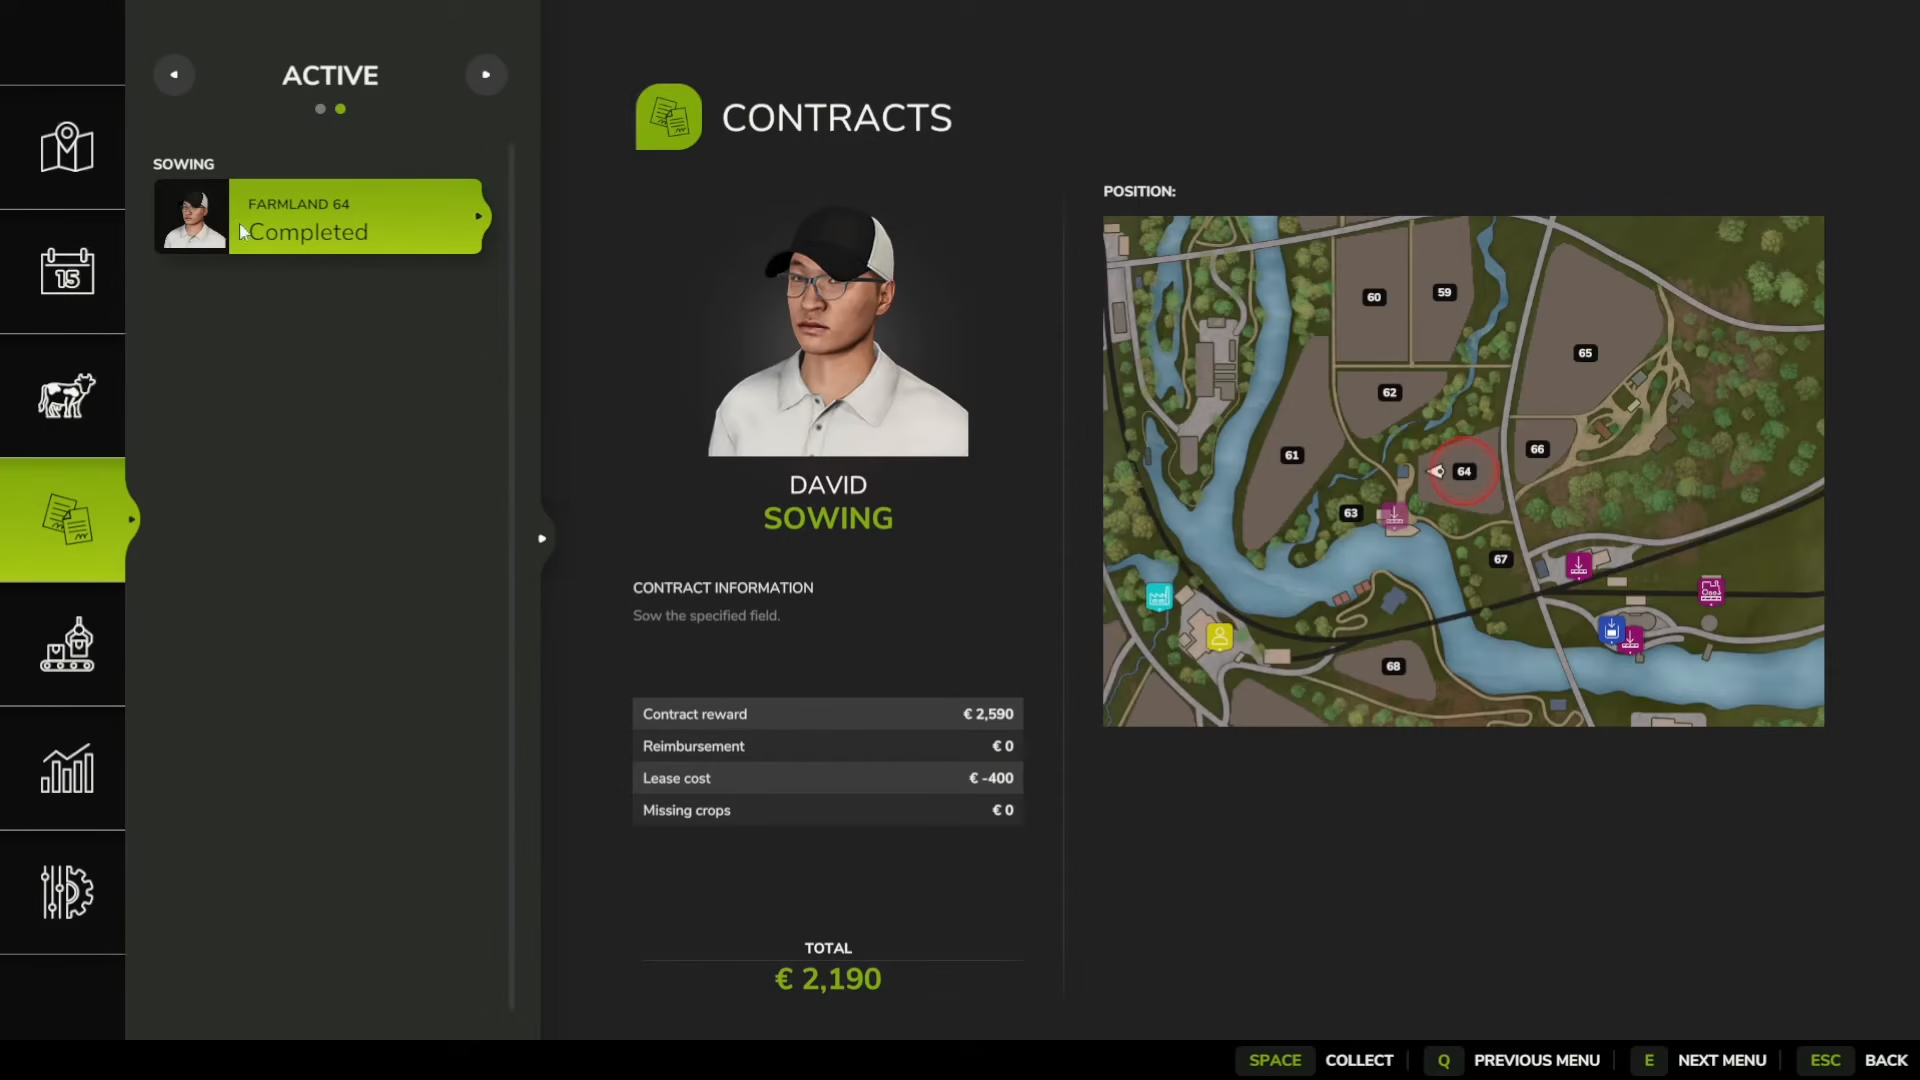
This is why the equipment strategy mentioned earlier is crucial—if you’re using the largest borrowed equipment across multiple contracts, you must complete the smaller contracts first and collect them before collecting the largest contract. Otherwise, the equipment will disappear and you won’t be able to finish your other jobs.
Using AI Workers to Complete Contracts
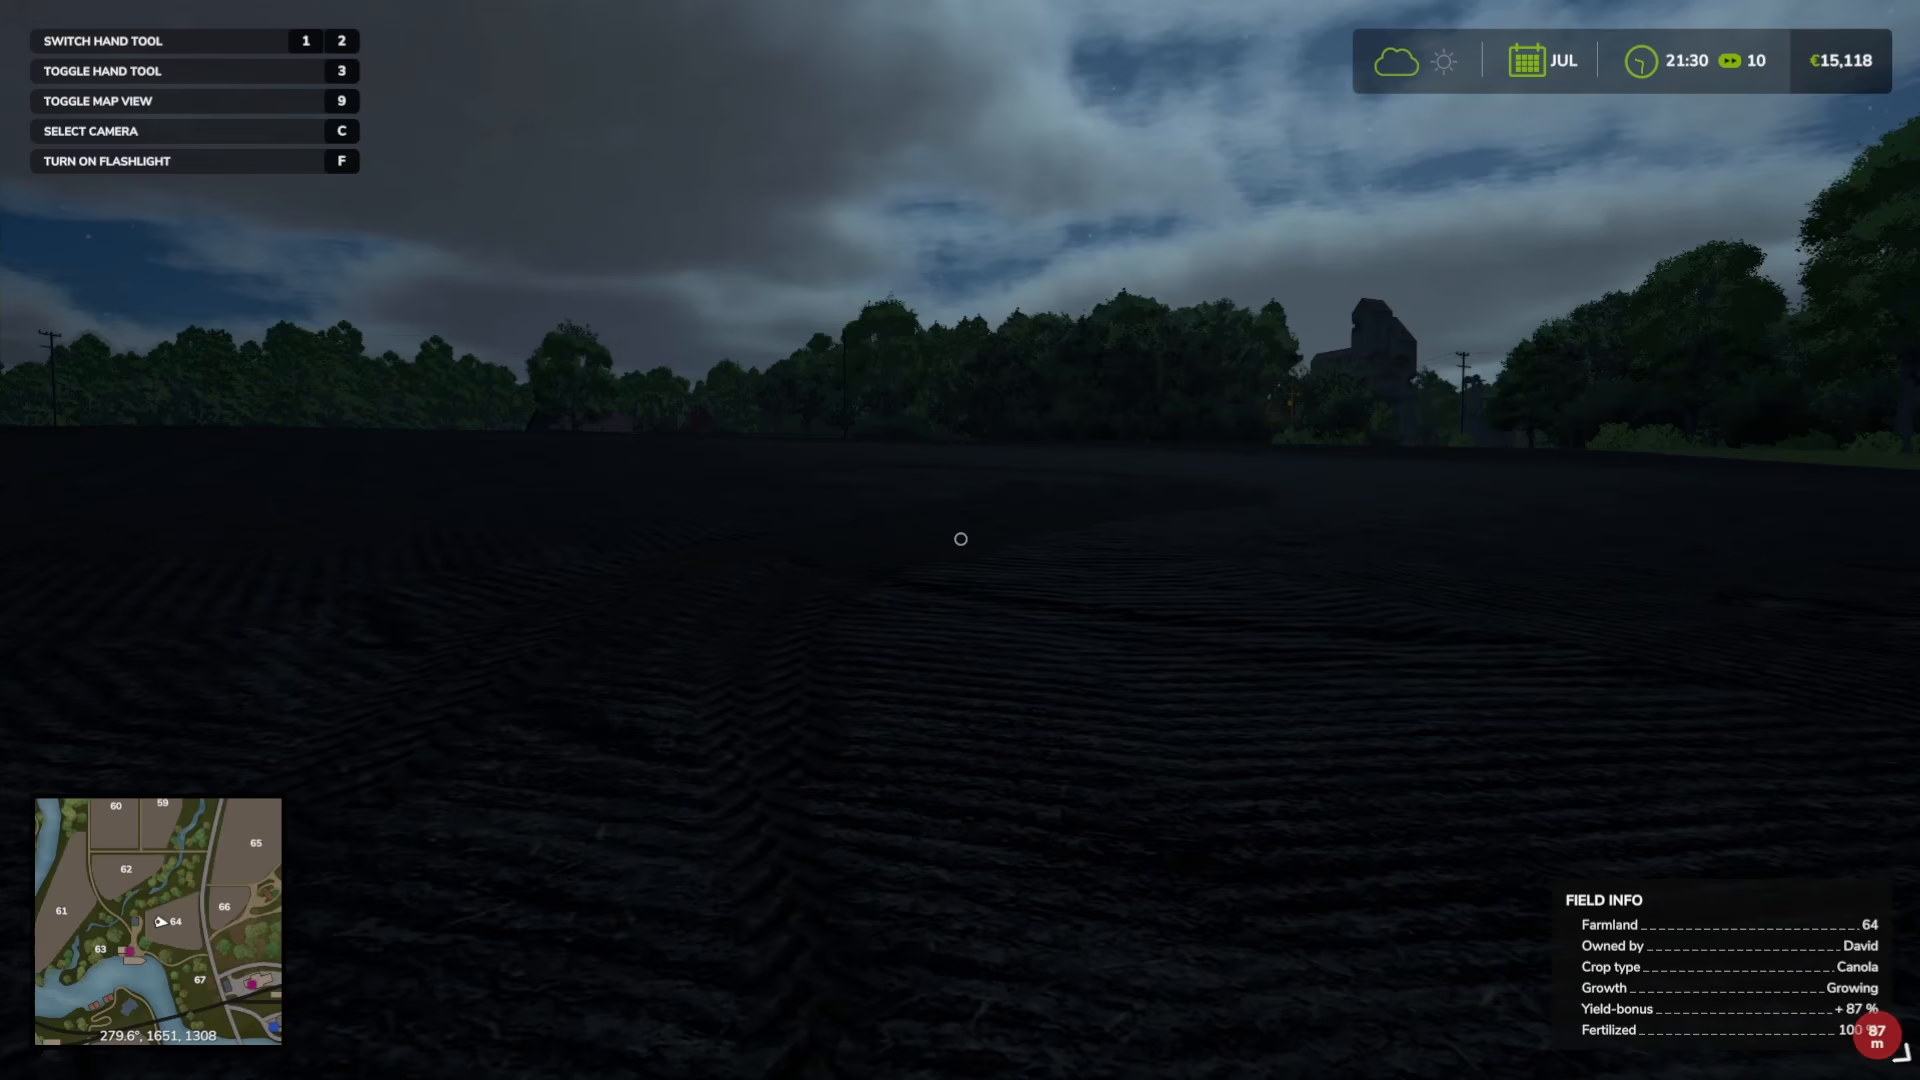
If you want to save time, you can toggle AI workers to complete contracts for you. This is particularly useful if you want to work on multiple tasks simultaneously. Simply go to the field, toggle the AI worker on, and they will finish the contract automatically. You can also set up AI workers on your own fields to harvest while you complete contracts elsewhere, maximizing your productivity and earnings.
Alternative: Creating Custom Jobs
For more manual control, you can create custom jobs using your map. Open the map and select “Create Job” at the top. Choose your vehicle, set a target location by dragging the icon on the map, and press “Start Job.” The AI will attempt to drive to that location. However, AI pathfinding can be unreliable for navigation jobs, so field-specific jobs tend to work better.
Summary
Contracts in Farming Simulator 25 are a fantastic income source and learning tool. Start by exploring available contracts and understanding their rewards. Use the equipment-leasing strategy to maximize profits by combining high-value contracts with large equipment and smaller contracts using the same machines. Remember to manage your active contracts carefully (you can only have three at once), purchase supplies before starting work, and use the map tagging feature to navigate efficiently. With these tips, you’ll build a profitable farm while exploring every farming activity the game has to offer.
— Want to Support? —
If you would like to help us continue making these guides – please consider joining our patreon here – https://www.patreon.com/c/JaviHeals
Alternatively – you can join our discord here – https://discord.gg/zD7Gjt6MHF